Healthy Cookie Dough Bites

Calling all cookie dough lovers. This recipe is for you.

Healthy Cookie Dough Bites - Calling all cookie dough lovers. This recipe is for you. Have your "cookie dough" and eat it too, with a healthy twist using chickpeas as the base.A few months ago, on a whim, I made a cookie dough dip. This was actually a simplified version of a “dessert hummus” recipe I created that was published in a cookbook I developed recipes for in a previous job.

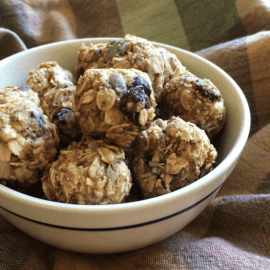
Healthy Cookie Dough Bites - Calling all cookie dough lovers. This recipe is for you. Have your "cookie dough" and eat it too, with a healthy twist using chickpeas as the base.This past weekend, being snowed in from winter storm Jonas, there was not much else to do (in between all the shoveling) but cook and bake all day! I was going to make the cookie dough dip again, but this cake pop video popped up on my facebook and inspired me to turn the dip into bite-size treats.

Healthy Cookie Dough Bites - Calling all cookie dough lovers. This recipe is for you. Have your "cookie dough" and eat it too, with a healthy twist using chickpeas as the base.

Healthy Cookie Dough Bites - Calling all cookie dough lovers. This recipe is for you. Have your "cookie dough" and eat it too, with a healthy twist using chickpeas as the base.I followed the same recipe, but in order to have them thick enough to roll in a ball and hold it’s shape I added some flour – oat flour to be exact. I’m sure any flour would work, but I find oat flour is easy to work with and makes it a great addition to add whole grains to a recipe.

Healthy Cookie Dough Bites - Calling all cookie dough lovers. This recipe is for you. Have your "cookie dough" and eat it too, with a healthy twist using chickpeas as the base.In true cake pop fashion, I added a chocolate coating. You can make them like a cake pop by simply adding a popsicle or leave them as little bite-size treats. Either way, they are perfectly portioned for a little sweet treat.

Healthy Cookie Dough Bites - Calling all cookie dough lovers. This recipe is for you. Have your "cookie dough" and eat it too, with a healthy twist using chickpeas as the base.

Print
clock clock iconcutlery cutlery iconflag flag iconfolder folder iconinstagram instagram iconpinterest pinterest iconfacebook facebook iconprint print iconsquares squares iconheart heart iconheart solid heart solid icon
Healthy Cookie Dough Bites coated with chocolate on a white plate

Healthy Cookie Dough Bites

  • Author: Chef Julie Harrington, RD
  • Prep Time: 25
  • Total Time: 25 minutes
  • Yield: 12 1x
  • Category: Dessert
  • Method: No-Cook

Ingredients

Scale
  • 1 (15 oz.) can chickpeas, drained and rinsed
  • 2 tablespoon peanut butter
  • 1 tablespoon maple syrup
  • 3 tablespoons oat flour
  • 3 tablespoons mini chocolate chips
  • 1/3 cup dark chocolate
  • 1 teaspoon coconut oil
  • (optional) sprinkles

Instructions

  1. In a food processor (or high powered blender) combine chickpeas, peanut butter, maple syrup, and oat flour. (if you find the batter is still too “wet” add an additional tablespoon of oat flour)
  2. Remove the mixture from the food processor into a bowl and fold in chocolate chips. Scoop about a tablespoon size of the dough into small balls and place on a plate lined with parchment paper. Leave as is, or add popsicle sticks into the balls. Put in the freezer for about 10-15 minutes to harden.
  3. Meanwhile, in a microwave safe bowl, add dark chocolate and coconut oil. Stir until silky smooth.
  4. Dip each cookie dough ball into the dark chocolate and dip until fully coated. Transfer back to the plate lined with parchment paper. Top with sprinkles. Place in the refrigerator until chocolate has completely hardened.

Keywords: dessert, cookie dough, bite size, chickpeas

Recipe Card powered byTasty Recipes

Chef Julie Harrington, RD - Culinary Nutrition Consultant of chefjulierd.comHealthy Cookie Dough Bites - Calling all cookie dough lovers. This recipe is for you. Have your "cookie dough" and eat it too, with a healthy twist using chickpeas as the base.



Vegetable Lentil Soup

Warm-up this winter with a warm bowl of Vegetable Lentil Soup. This vegan-friendly soup will be sure to help meet your daily recommendations of veggies for the day!

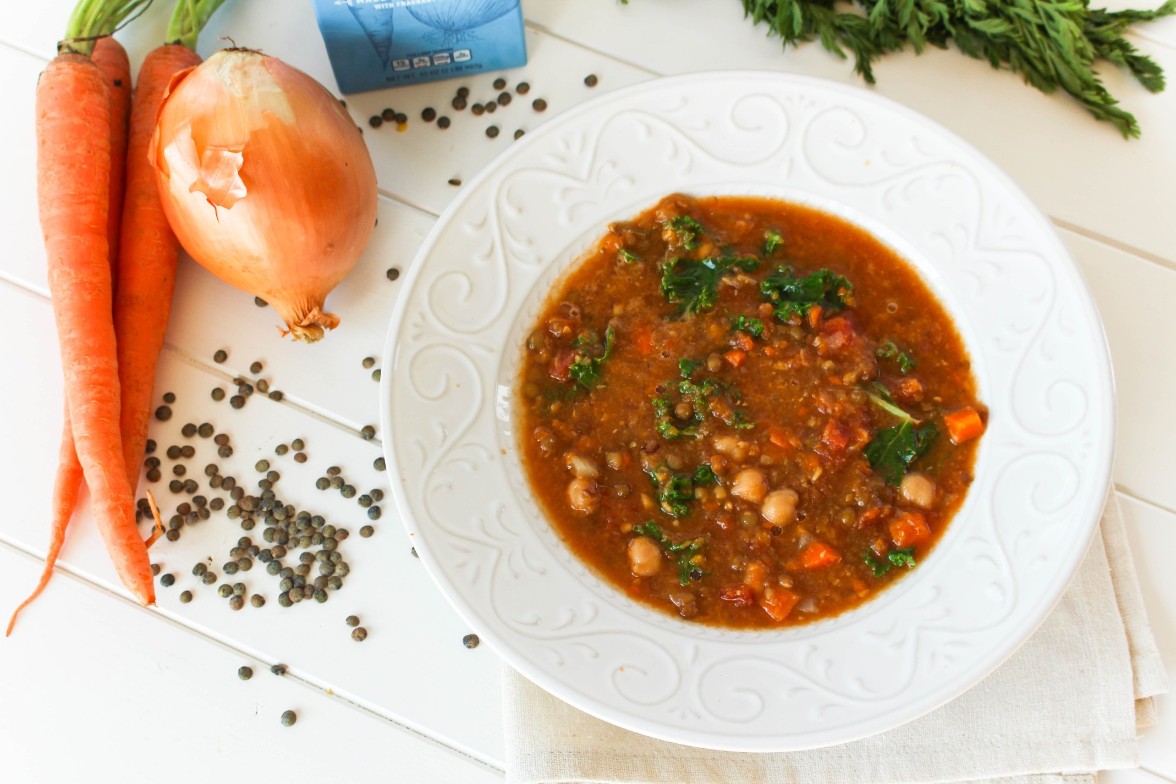
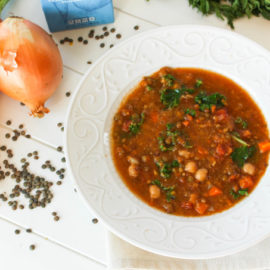
Vegetable Lentil Soup in a white decorative bowl

Dare I say it’s actually starting to feel like winter here in New Jersey. Usually, in December I’m beginning to make my favorite soups, but this year was just so warm. I’m hoping I’m not jinxing myself and all of a sudden we are going to get a blizzard. If so, I do have this big batch of vegetable lentil soup to warm up with!

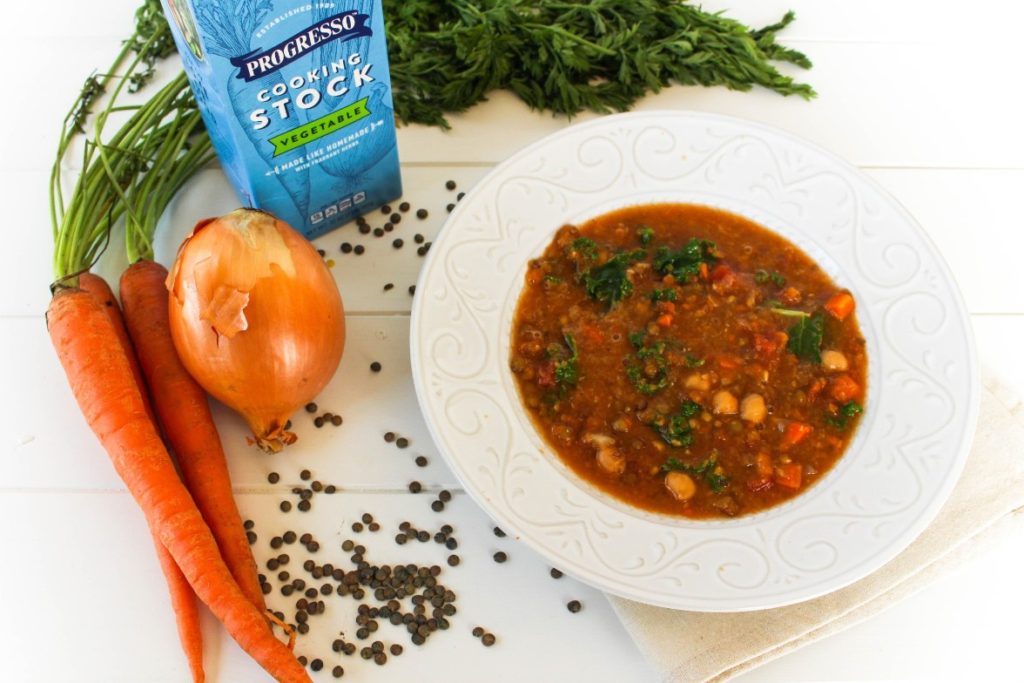
vegetable lentil soup in a decorative white bowl

One of my favorite things at work is teaching cooking classes. A few months ago I taught a class called “Soups and Stocks”. My goal for the class was to show how making soup at home can be simple, nutritious, and delicious. The biggest complaints I heard from customers is when they tried making it at home, their soups “tasted bland, watered down, and boring”. The key to a flavorful soup is the base: stock. Due to the process, Progresso’s chefs use to simmer the real bones, Progresso Cooking Stocks have rich, meaty flavor and are full of body, making them ideal for adding deep, complex flavor to many dishes including soups, stews, sauces, and gravies.

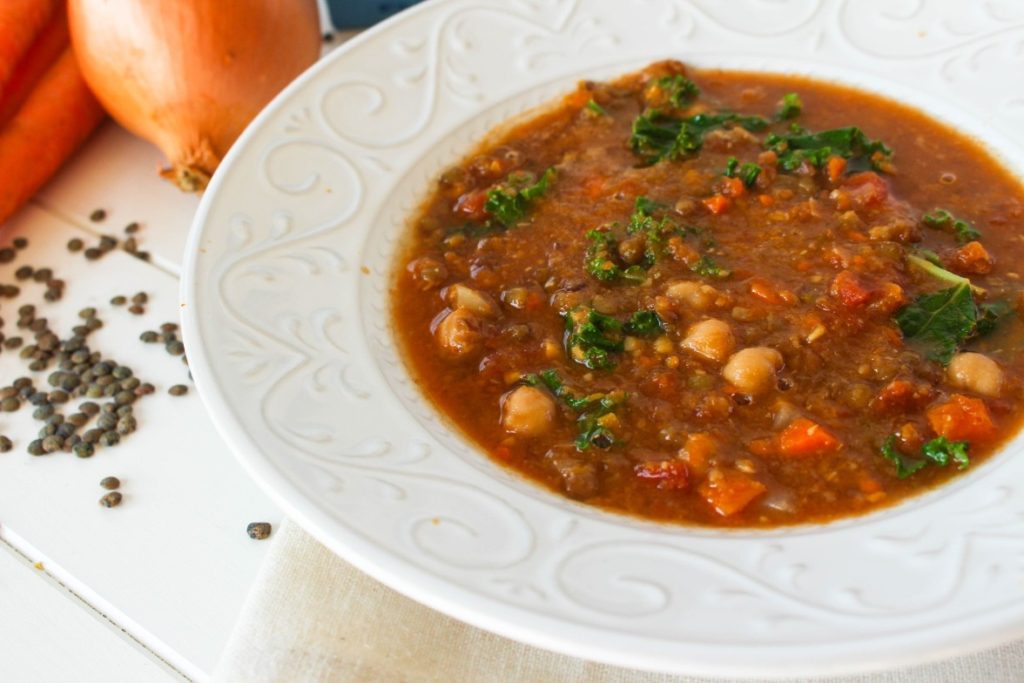
lentil soup in a decorative white bowl

What’s the difference between stock and broth?

The foundation of any great soup of stew is a flavorful broth or stock. Often the terms stock and broth are used interchangeably, but there are three important differences: ingredients, cook time, and seasoning.

Stock is made by simmering a combination of bones, mirepoix (carrots, celery, and onion), and aromatics in water for two to six hours. Gelatin from the bones is an essential part of the stock that is created when the connective tissue in meat breaks down, giving stock its body; the gelatin is what causes a stock to gel when chilled.

Broth is typically made by simmering meat, mirepoix, and aromatics for a shorter amount of time, typically between 1 and 2 hours. It is also often more heavily seasoned than stock.

Bone broth is a hybrid of broth and stock. It is cooked for a long period of time and the goal is not only to extract the gelatin from the bones (like in a stock), but also to release the nutritious compounds and minerals (namely collagen, but also glucosamine, amino acids, electrolytes, calcium, and more). 

Print
clock clock iconcutlery cutlery iconflag flag iconfolder folder iconinstagram instagram iconpinterest pinterest iconfacebook facebook iconprint print iconsquares squares iconheart heart iconheart solid heart solid icon
Vegetable Lentil Soup on a white wooden board

Vegetable Lentil Soup

  • Author: Chef Julie Harrington, RD
  • Prep Time: 20
  • Cook Time: 40
  • Total Time: 1 hour
  • Yield: 8
  • Category: Soup

Description

Warm up this winter with a warm bowl of Vegetable Lentil Soup. This vegan soup will be sure to help meet your daily recommendations of veggies for the day!


Ingredients

Scale
  • 2 tablespoons olive oil
  • 1 small onion, diced
  • 2 large carrots, peeled and chopped
  • 5 cloves garlic, minced
  • 2 teaspoons cumin
  • 1/2 teaspoon dried thyme
  • 2 (15 oz) cans fire roasted diced tomatoes
  • 1 (15 oz) can chickpeas, drained and rinsed
  • 1 cup green lentils
  • 1 (1 quart) box Progresso vegetable cooking stock
  • 3 cups water
  • 1 teaspoon salt
  • 1 teaspoon pepper
  • 1/2 teaspoon red pepper flakes
  • 2 cups kale, ribs removed and chopped

Instructions

  1. Heat olive oil in a large stock pot over medium heat. Add the onions and carrots, cook stirring often, until onion becomes tender and translucent.
  2. Add the garlic, cumin, and thyme. Cook until fragrant. Add fire roasted tomatoes and chickpeas.
  3. Add the lentils, then pour in Progresso vegetable cooking stock and water. Season with salt, pepper and red pepper flakes. Bring soup to a boil, then turn down to a gentle simmer. Cook for 30 minutes, until the lentils are tender.
  4. Transfer 3 cups of soup into a blender or food processor (make sure to get an even mixture of veggies and broth). Puree mixture until smooth. Add pureed soup back into the pot and add kale. Cook until wilted.

Keywords: lentil, vegan, vegetarian, soup, plant-based

Recipe Card powered byTasty Recipes

Disclosure: By posting this recipe I am entering a recipe contest sponsored by Progresso and am eligible to win prizes associated with the contest. I was not compensated for my time.

Other recipes you may enjoy

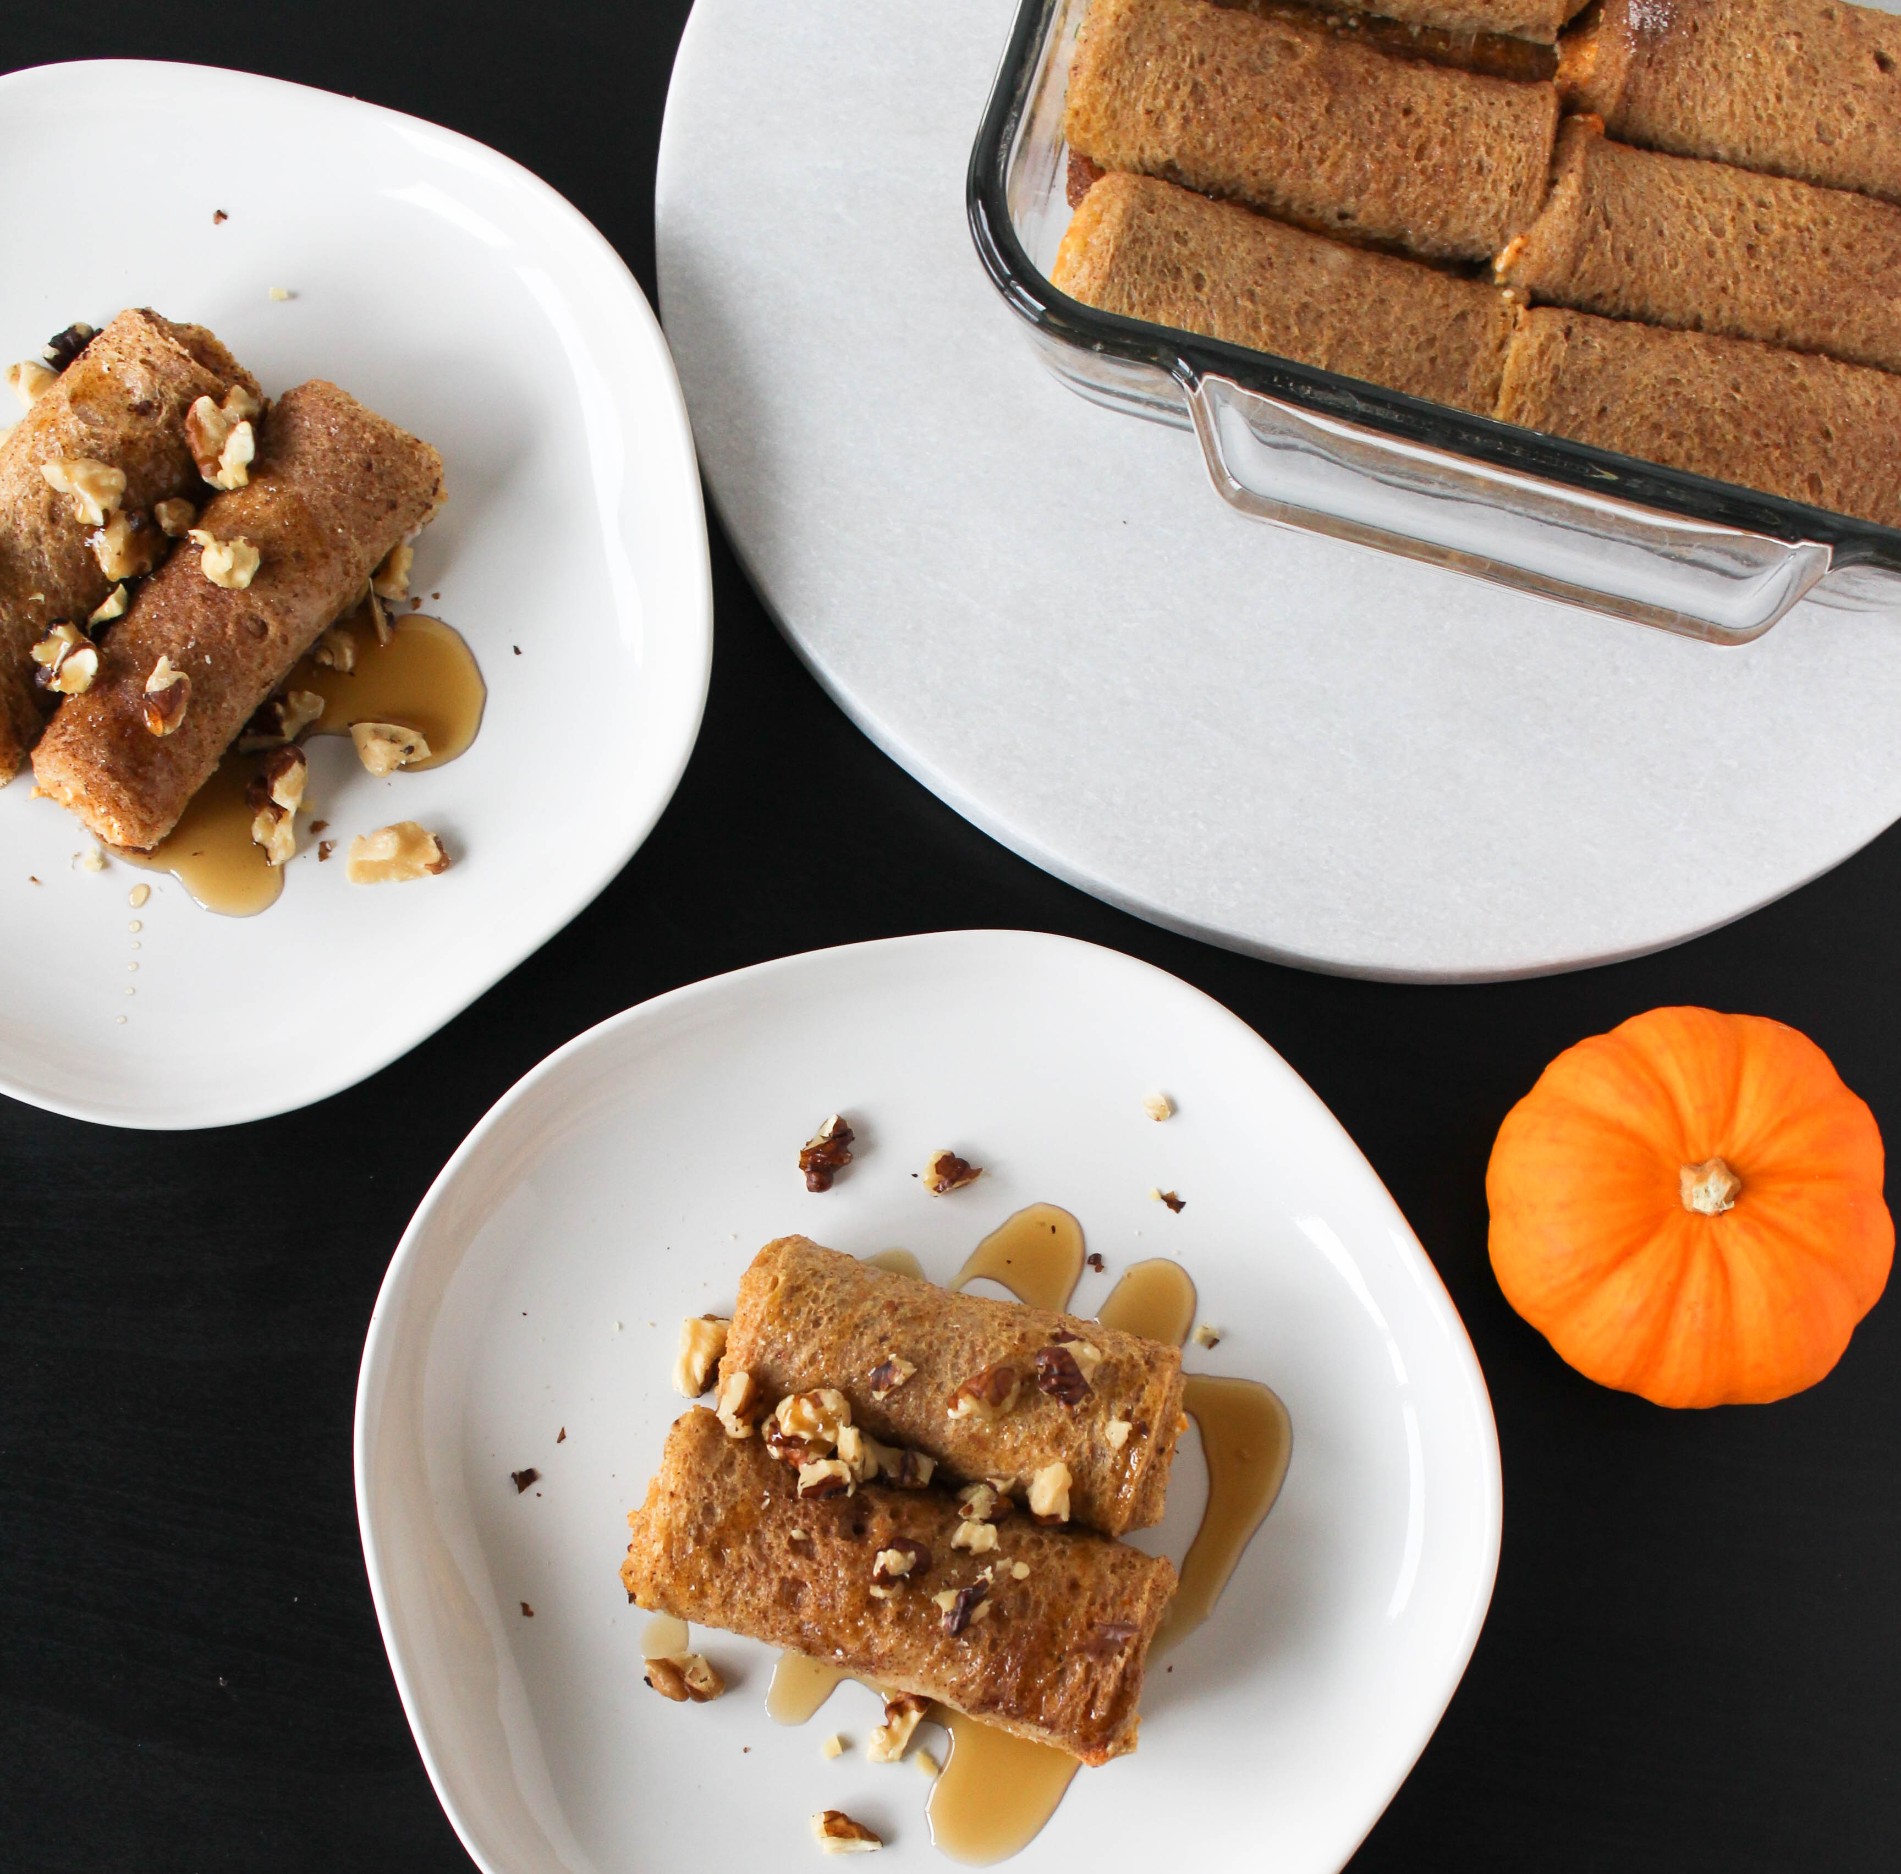
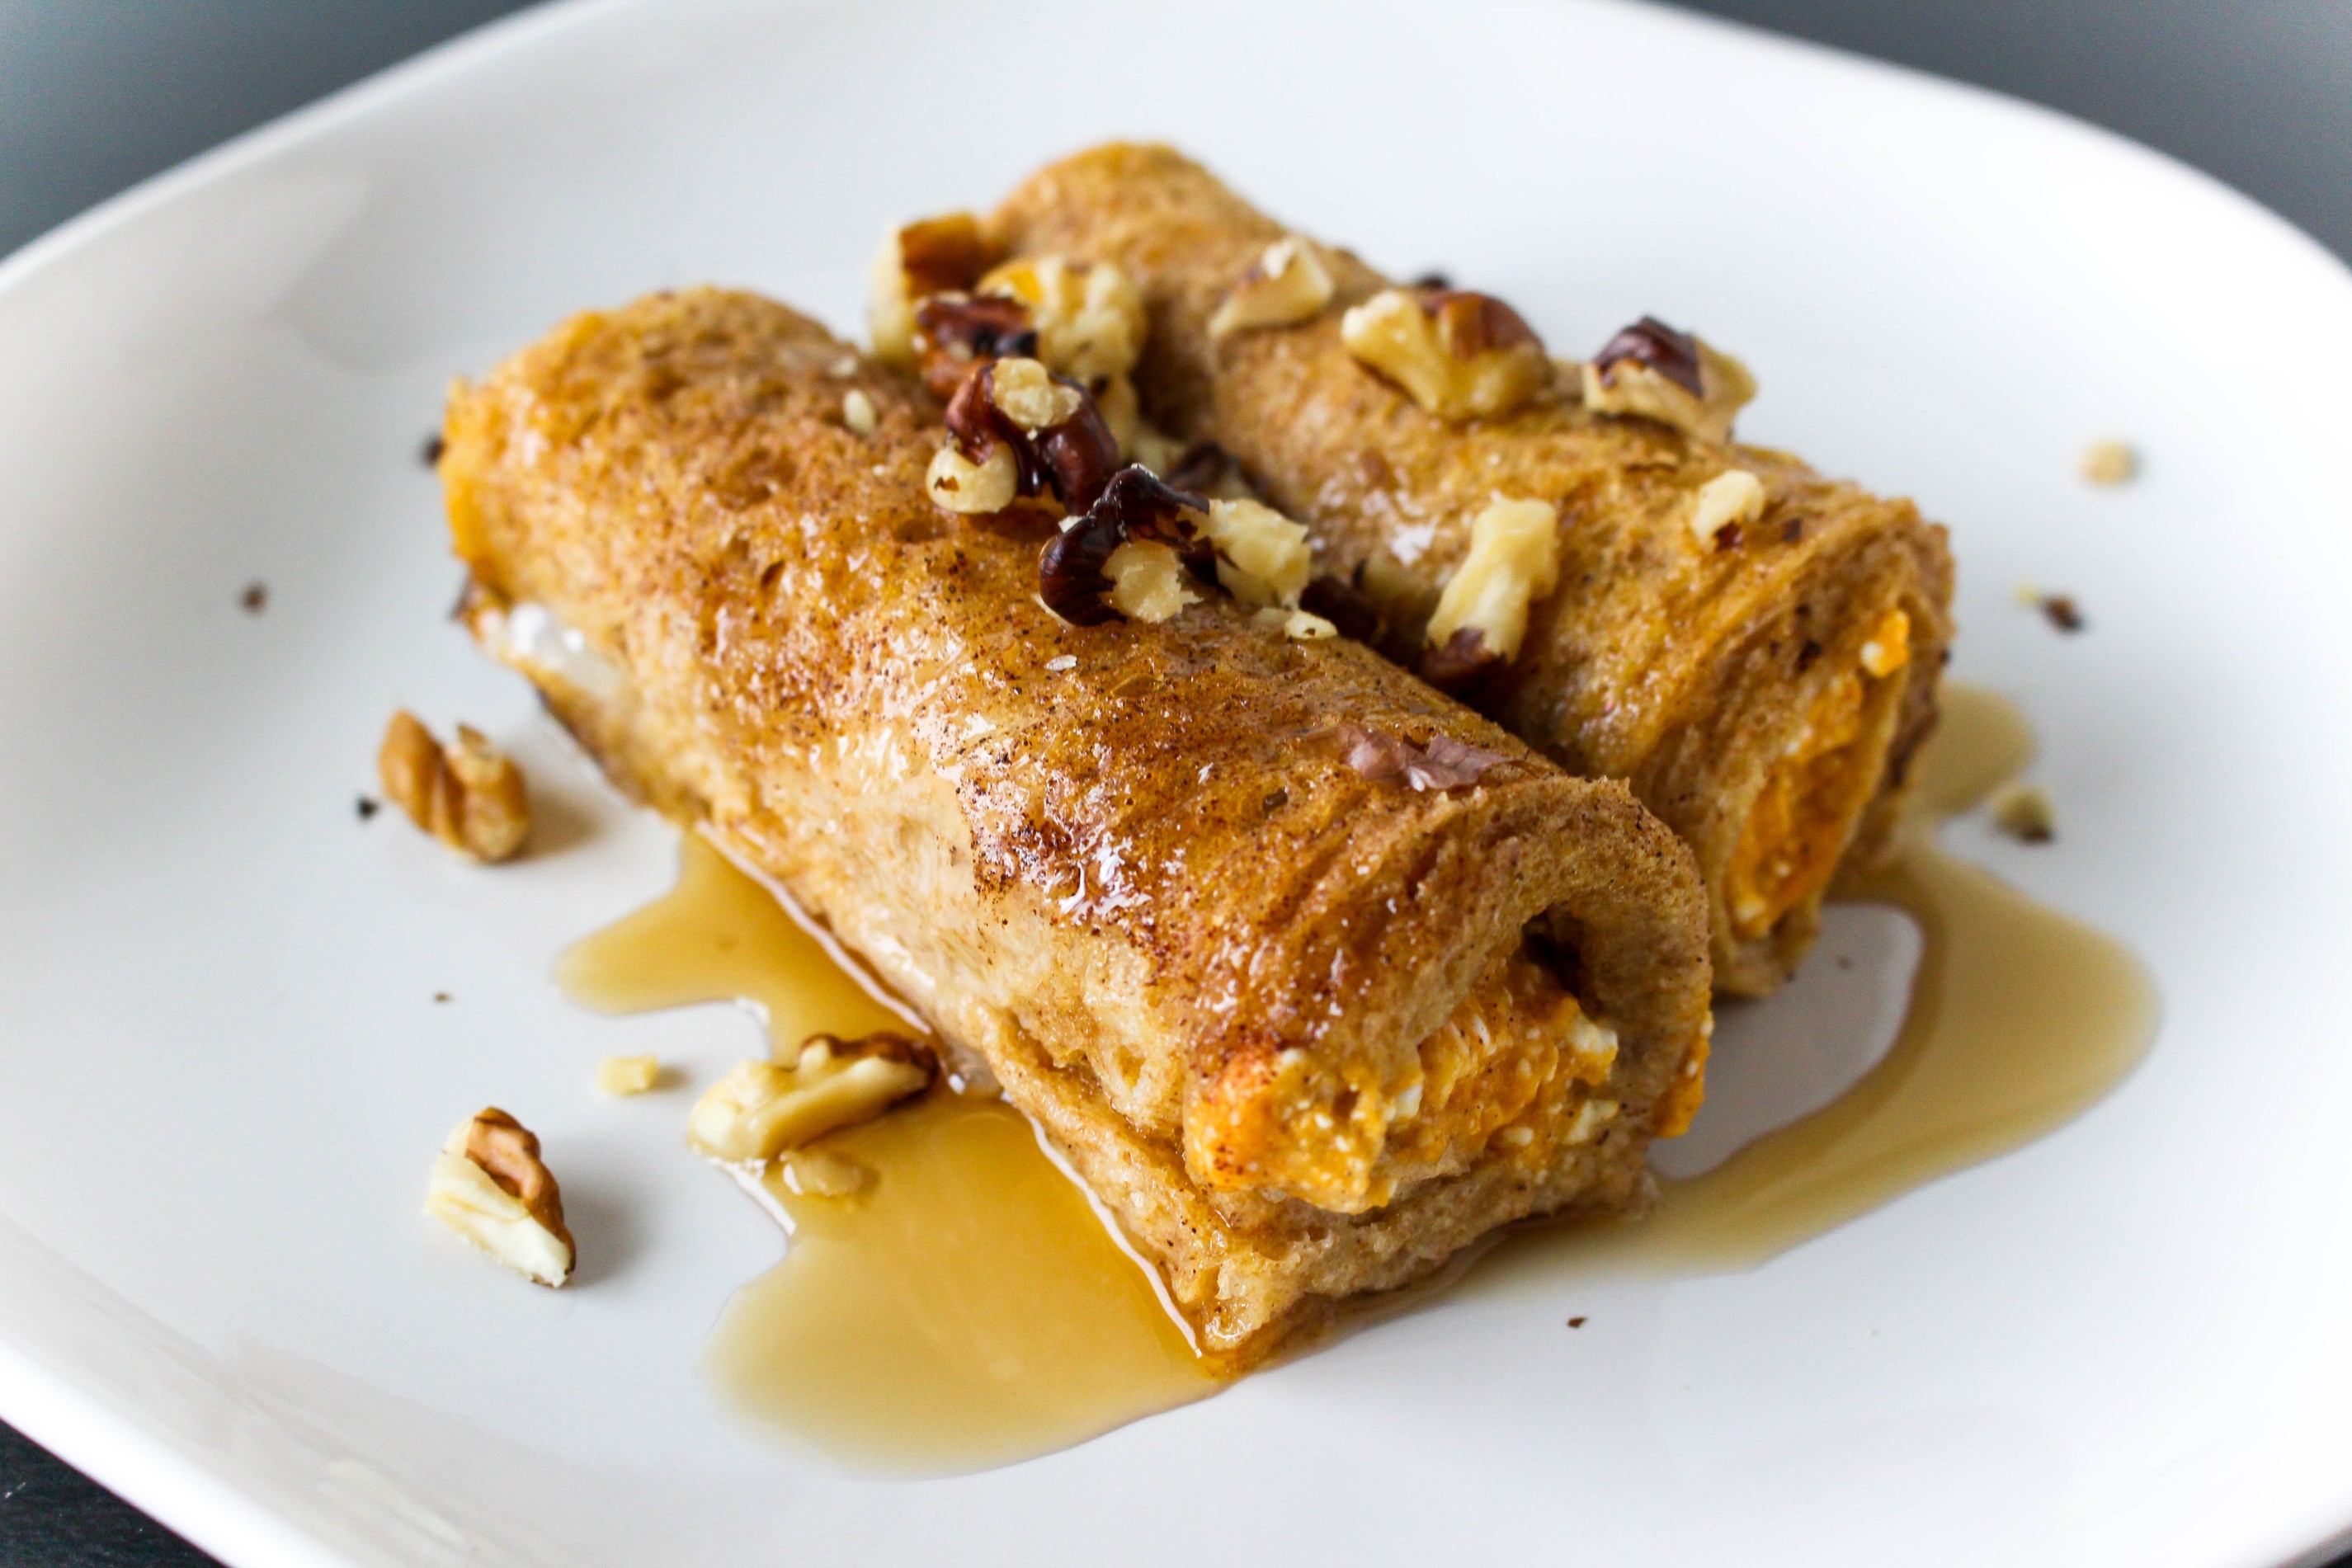
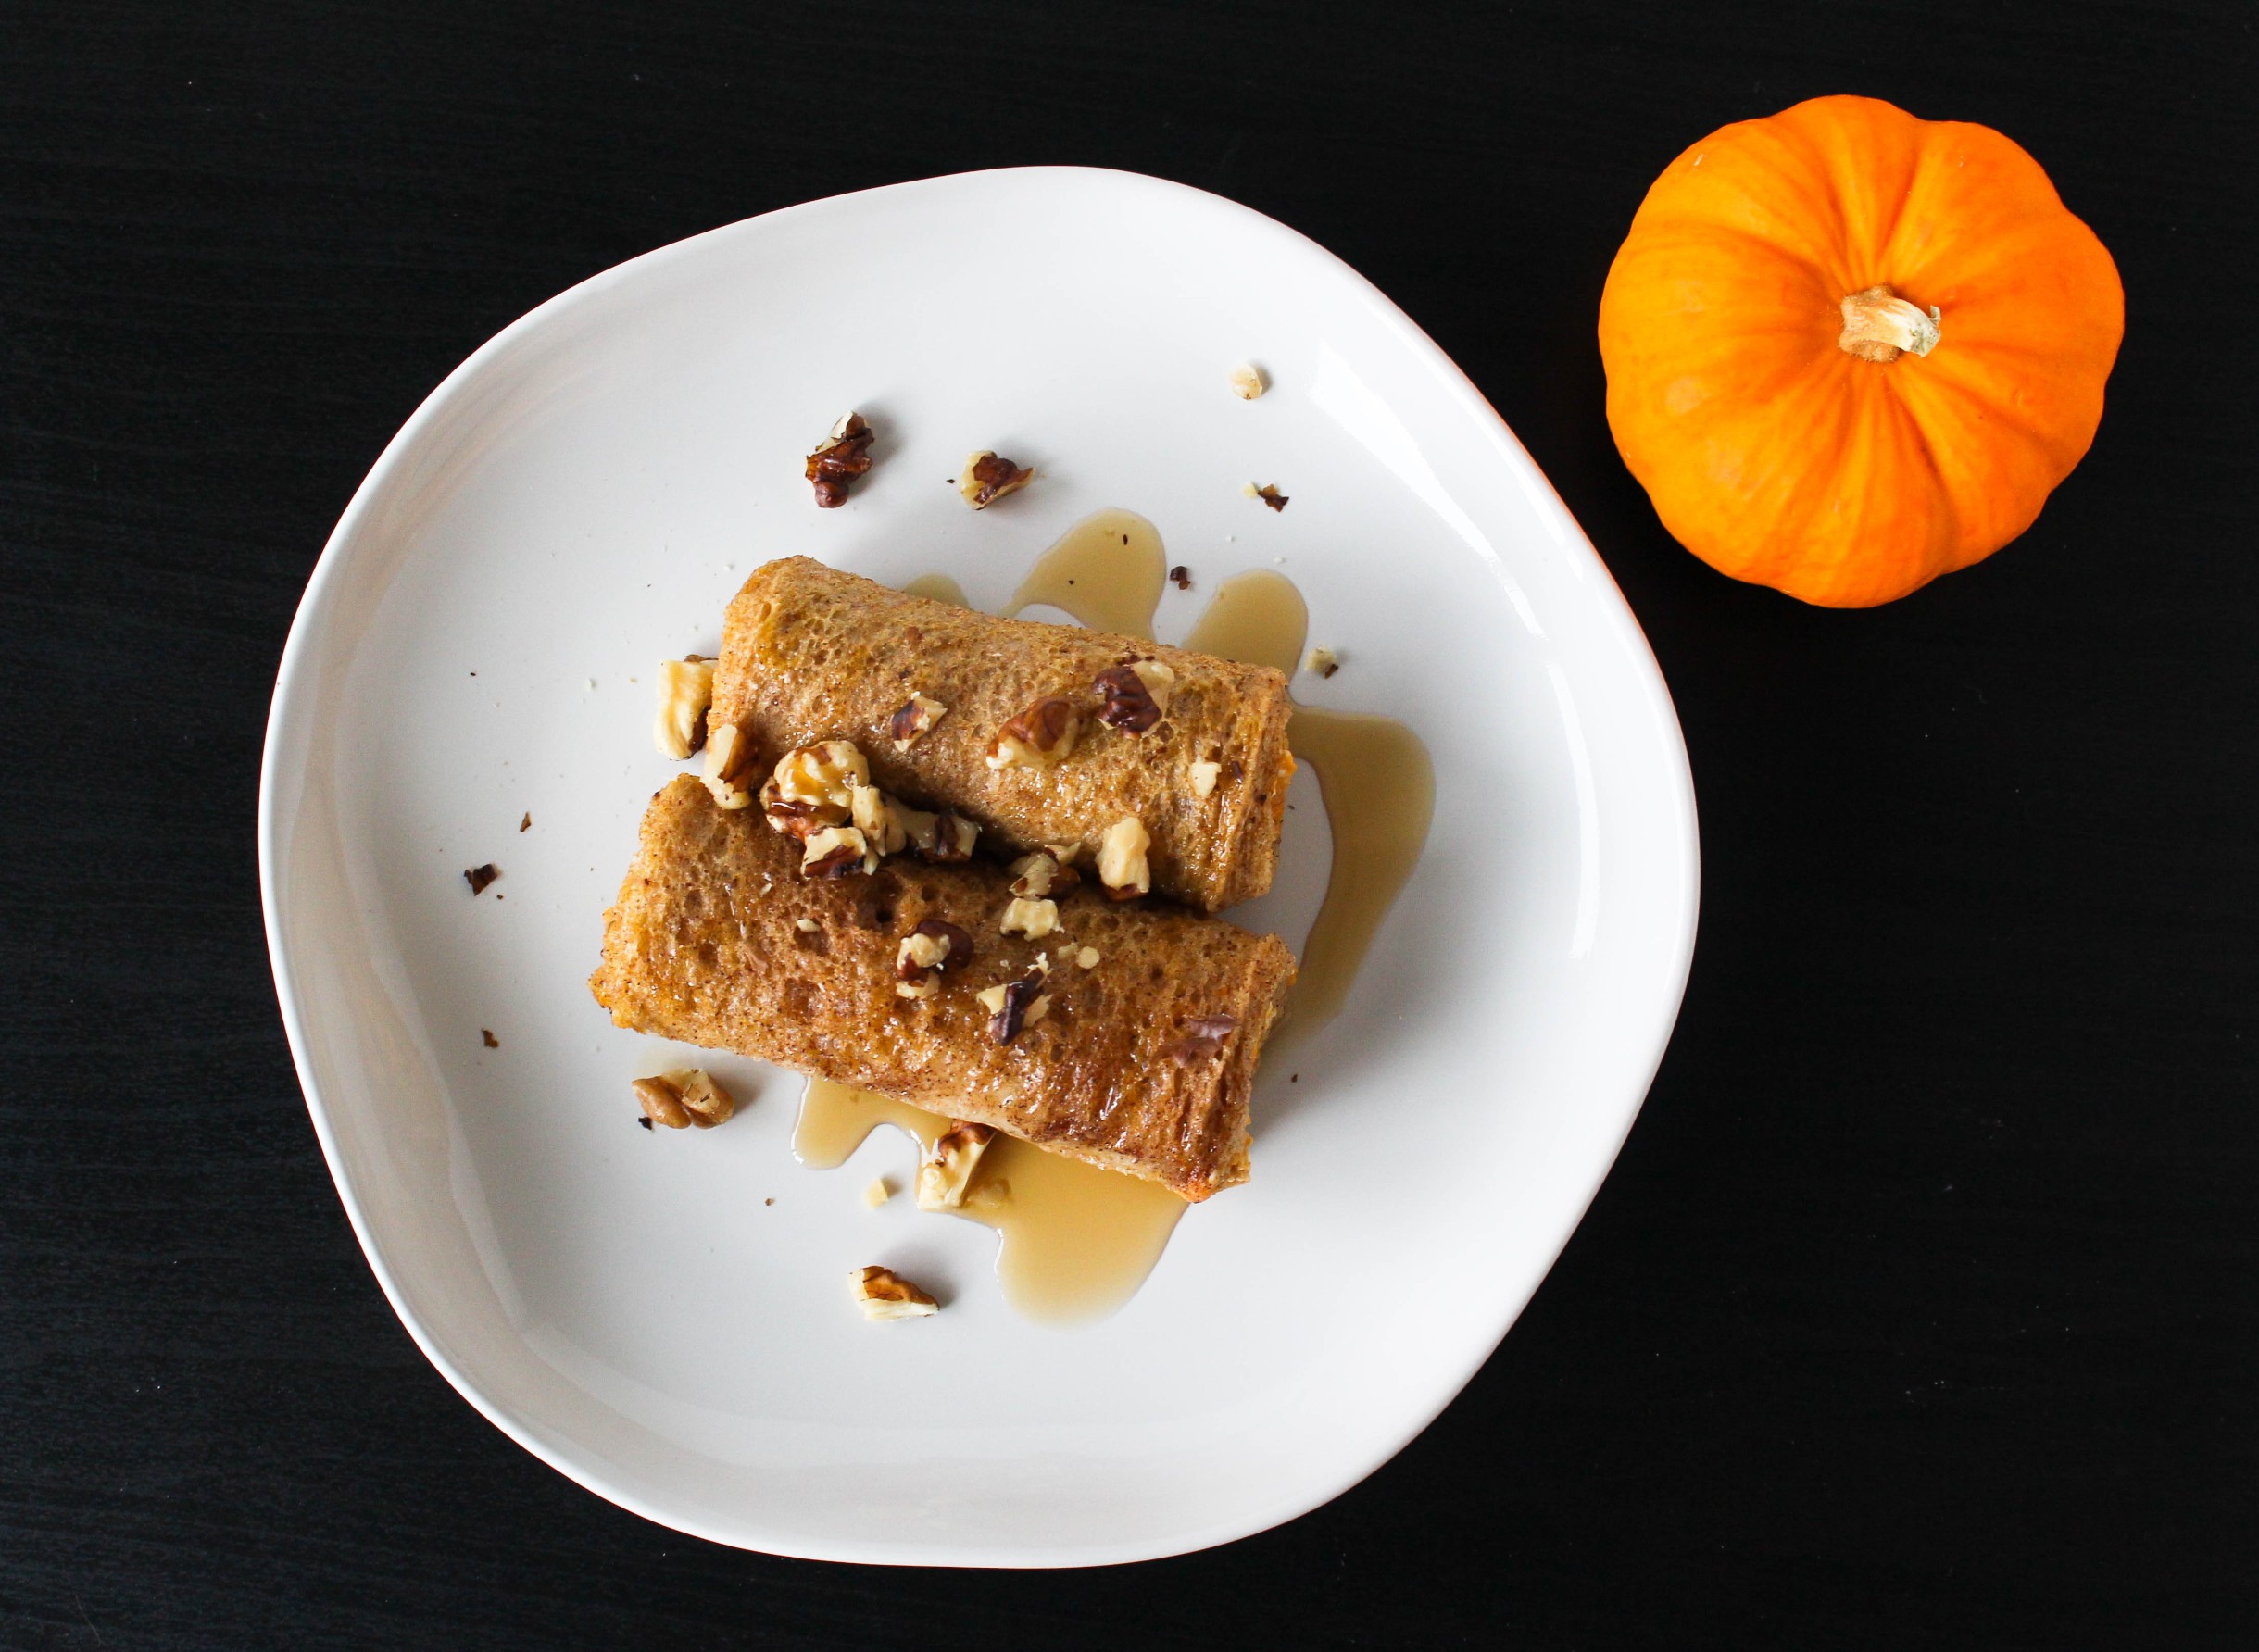
Pumpkin French Toast Roll Ups

Simple ingredient swaps and cooking techniques can make an indulgent recipe transform into a healthy recipe, while still keeping their indulgent flavors. Start with these Pumpkin French Toast Roll Ups.
Pumpkin French Toast Roll Ups via RDelicious Kitchen @rdkitchenI hope you aren’t sick of pumpkin yet! I still have quite the stash in my pantry that I’ve been using up.
The other day I was paroozing Pinterest and so many indulgent breakfasts were popping up on my feed. I’m all for a splurge kind of breakfast here or there, but they can be easily lighted up with a few twists and tricks.
Pumpkin French Toast Roll Ups via RDelicious Kitchen @rdkitchenLately, at work that is exactly what I’ve been doing. Clients have been submitting their favorite holiday recipes and I’ve been making healthy suggestions of how to lighten them up.
One recipe I was recently asked to lighten up was a full on dessert for breakfast. It was a stuffed french toast with challah bread stuffed with mascarpone cheese, vanilla frosting, pumpkin, and caramel, then coated with crushed frosted flakes. Holy sugar rush to start the day.
Pumpkin French Toast Roll Ups via RDelicious Kitchen @rdkitchenI typically just make little notes to the clients of where they could possibly make substitutions, try a different cooking method, add other ingredients, etc. but that recipe makeover inspired me to create this one.

Swapping out challah for whole grains, stuffing with a lower fat, higher fiber and higher protein option for the filling, and keeping a crunch factor of walnuts on top.
I have another batch of this recipe waiting in the freezer to be baked Christmas morning!

Print

clock clock iconcutlery cutlery iconflag flag iconfolder folder iconinstagram instagram iconpinterest pinterest iconfacebook facebook iconprint print iconsquares squares iconheart heart iconheart solid heart solid icon
pumpkin french toast roll up on a plate drizzled with syrup

Pumpkin French Toast Roll Ups

  • Author: Julie @ RDelicious Kitchen
  • Yield: 6

Ingredients

Scale
  • 1 loaf (about 12 slices) whole wheat bread
  • 1/2 cup whipped cottage cheese (see note)
  • 1/3 cup pure pumpkin puree
  • 1 1/2 tbsp cinnamon, divided
  • 1 tsp nutmeg
  • 3 eggs
  • (optional toppings) chopped walnuts, syrup

Instructions

  1. Preheat the oven to 350 degrees F. Spray an 8×8 baking pan with cooking spray and set aside until ready to use.
  2. In a small bowl, combine the cottage cheese, pumpkin, 1 tbsp cinnamon, and nutmeg, set aside.
  3. In a small bowl, whisk the eggs together, set aside.
  4. Remove the crust from the slices of bread. Working one at a time, use a rolling pin to flatten bread to about 1/4-inch thickness. Spread a thin layer of the cottage cheese and pumpkin mixture on the piece of the bread, leaving a little room at the edges. Carefully, roll up the bread (not too tight, or the filling will come out.). Repeat with the remaining slices of bread.
  5. Dip french toast roll ups into the egg mixture and line at the bottom of the baking pan. Sprinkle with remaining 1/2 tbsp of cinnamon.
  6. Bake in the oven for 12-14 minutes, until french toast roll ups are golden brown.
  7. Top with maple syrup and chopped walnuts, if using.

Notes

*Don’t have whipped cottage cheese? Simple put small/large curd cottage cheese in a food processor or blender.
*A simple swap for whipped cottage cheese could be ricotta cheese.

Recipe Card powered byTasty Recipes

Signature

Fresh & Easy Tomato Cucumber Salad with Chickpeas and Feta

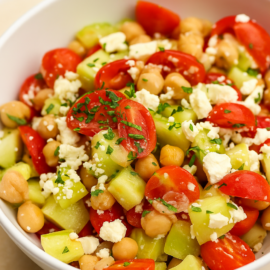
Looking for a refreshing, protein-packed salad that’s ready in minutes? This Tomato Cucumber Salad with Chickpeas and Feta is a must-try! Loaded with vibrant vegetables, plant-based protein, and creamy feta, this Mediterranean-inspired dish is perfect for meal prep, summer cookouts, or a quick weekday lunch.

Why You’ll Love This Salad

Quick & Easy – Ready in under 15 minutes with simple pantry ingredients.

Healthy & Fresh – Hydrating cucumbers, juicy tomatoes, and fiber-rich chickpeas make it light yet satisfying.

Make-Ahead Friendly – The flavors get even better after a few hours in the fridge.

Ingredients You’ll Need

English cucumbers – peeled and diced

Cherry tomatoes – halved

Canned Chickpeas – drained and rinsed

Did you know by simply rinsing canned beans can reduce sodium by 40%?

Feta cheese – crumbled

Fresh Parsley – or sub with dried

Olive oil – for a heart-healthy fat boost

Lemon juice – adds brightness

Salt & black pepper – to taste

How to Make Tomato Cucumber Salad

Prep the veggies: Peel and dice the cucumbers. Cut the cherry tomatoes in half. Drain and rinse the canned chickpeas.

Toss it all together: In a large bowl, combine cucumbers, tomatoes, chickpeas, feta, parsley, olive oil, lemon juice, salt, and pepper.

Taste and adjust: Mix well, taste, and adjust seasoning if needed. Serve immediately or chill to let the flavors meld.

Recipe Tips & Variations

Add Fresh Herbs: Swap dried parsley for fresh parsley, dill, or mint for a vibrant twist.

Make It a Meal: Add grilled chicken, salmon, or quinoa for extra protein and staying power.

Vegan Option: Use a plant-based feta alternative or omit cheese entirely.

Meal Prep Tip: Store in an airtight container in the fridge for up to 3 days.

Nutrition Highlights

High in fiber and plant protein from chickpeas
Hydrating and low in calories from cucumbers and tomatoes

Rich in calcium and flavor from feta cheese

Print
clock clock iconcutlery cutlery iconflag flag iconfolder folder iconinstagram instagram iconpinterest pinterest iconfacebook facebook iconprint print iconsquares squares iconheart heart iconheart solid heart solid icon
white bowl with chickpeas, tomatoes, cucumber, feta cheese, and parsley

Cucumber, Tomato, Chickpea Salad

  • Author: Chef Julie Lopez, RD
  • Prep Time: 10 mins
  • Total Time: 10 mins
  • Yield: 8

Ingredients

Scale
  • 2 English cucumbers, peeled and diced
  • 1 pint cherry tomatoes, halved
  • 1 (15 oz.) can chickpeas, drained and rinsed
  • 1/2 cup feta cheese
  • 1 tablespoon chopped fresh parsley
  • 1 tablespoon olive oil
  • 1 tablespoon lemon juice
  • salt & pepper, to taste

Instructions

  1. Toss cucumbers, tomatoes, chickpeas, feta cheese, parsley, olive oil, lemon juice, salt & pepper in a large bowl.
  2. Adjust seasonings, to taste and serve.

Recipe Card powered byTasty Recipes

📌 Save This Tomato Cucumber Salad Recipe!

Whether you’re meal-prepping for the week or need a colorful side dish for a potluck, this easy chickpea cucumber salad is a go-to that everyone will love. Plus, it’s naturally gluten-free and packed with nutrients.

Don’t forget to pin or bookmark this post for later!

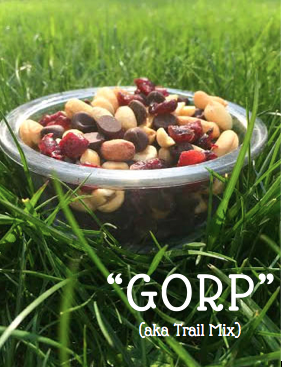
Gorp (aka Trail Mix)

Skip the packaged trail mix where there are often a laundry list of ingredients and just make it yourself! Try this simple DIY trail mix which is perfect to bring on your next hike or as a grab and go snack!

Gorp (aka Trail Mix) via RDelicious Kitchen
This month has been quite hectic. Work has been busier than ever, Adrain (the bf) is moving, and now I am a day late for the Recipe ReDux monthly recipe. Ahh.. life!
Adrain is moving to south jersey to start Physical Therapy school, so this week has been packing and moving. I am currently sitting on the new couch (that I assembled), sipping on coffee, and writing this post in his new apartment.
Unfortunately, I am not moving here right now. I’m not going to lie, it sucks. From going to seeing each other every day, to only once a week, is going to be a big adjustment. Fortunately, I’m only in north jersey so it’s only about 2+ hours of a trip, which I will finagle getting here as much as I can.

A few weeks ago, we went hiking at the Delaware Water Gap on the Mount Tammany, Dunnfield Creek trail. Adrain is a hiking guru and did a bunch of big hiking trips in college. Also, the website linked is awesome. It has a detailed description and pictures of exactly what your hike will be like and where to go. The guy who writes this blog and his hiking pal (his pup!) have gone on hiking trails nationwide, so definitely check it out for your next hiking trip.
Gorp (aka Trail Mix) via RDelicious Kitchen
Trail mix is one of the most common hiking snacks to bring because it is calorically dense and nourishing for a hike without taking up much space in your pack. I learned some hiking terminology from Adrain. Apparently true hikers call trail mix, “gorp”. Fun fact! 

Gorp (aka Trail Mix) via RDelicious Kitchen
I never buy trail mix from the store. 1) because I enjoy making my own flavor combinations. 2) because in a pre-packaged trail mix there are typically overly salted nuts, sweetened fruit, and other weird ingredients.
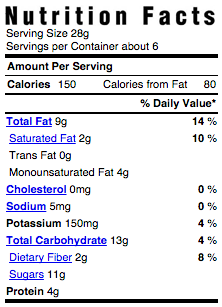
Let’s compare my trail mix with a store bought trail mix:

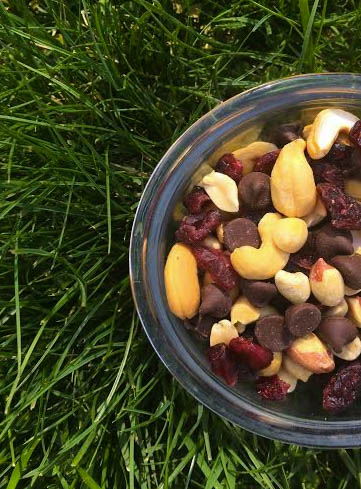
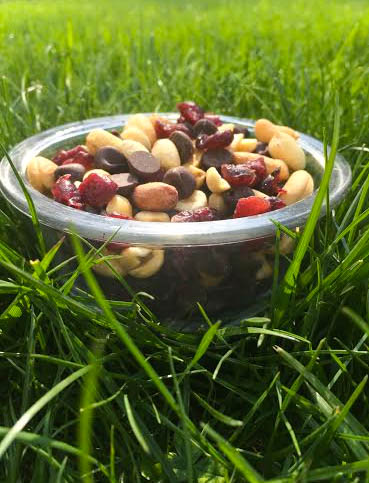
My DIY trail mix:
4 ingredients
Gorp (aka Trail Mix) via RDelicious Kitchen

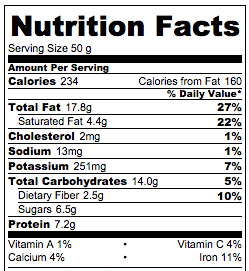
Pre-packaged trail mix:
laundry list of (and artificial) ingredients, more sugar, less protein

Ingredients: PEANUTS, CHOCOLATE CANDY PIECES [MILK CHOCOLATE (SUGAR, COCOA BUTTER, MILK, CHOCOLATE, LACTOSE, SOY LECITHIN–EMULSIFIER, VANILLIN–ARTIFICIAL FLAVOR), SUGAR, ARTIFICIAL COLOR (INCLUDES YELLOW 5 LAKE, YELLOW 6, BLUE 1 LAKE, RED 40 LAKE), GUM ARABIC, CORN SYRUP, CARNAUBA WAX, BEESWAX, CONFECTIONER’S GLAZE], RAISINS, ALMONDS, COTTONSEED OIL.
Screen Shot 2015-05-23 at 11.05.23 AM

Gorp (aka Trail Mix) via RDelicious Kitchen

The Best Overnight Oats

Not have enough time to make a wholesome breakfast every morning? Enjoy this overnight oats recipe that you can make the night before to help power you through your busy morning. 

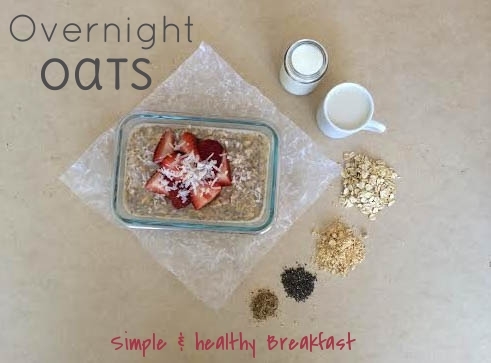
The Best Overnight Oats: simple & healthy breakfast
Oatmeal is one of those “stick-to-your-guns” kind of breakfast that I know will fuel me through the morning. Problem is, I don’t always have the time in the morning. I will savor that extra 10 minutes of sleep knowing I have breakfast ready to go waiting for me. I’ll even sacrifice doing my hair in the morning for extra sleep. Top buns for the win.

Half the time I am so rushed in the morning, I drink my coffee on the way to work and then eat my breakfast as I am returning emails and getting organized for my day.
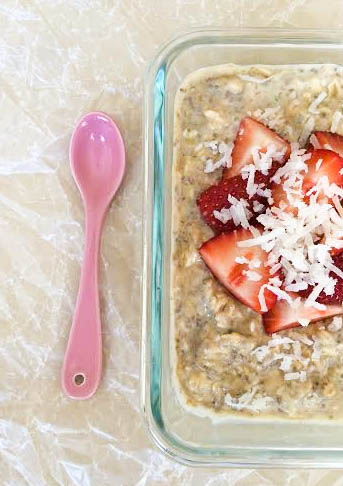
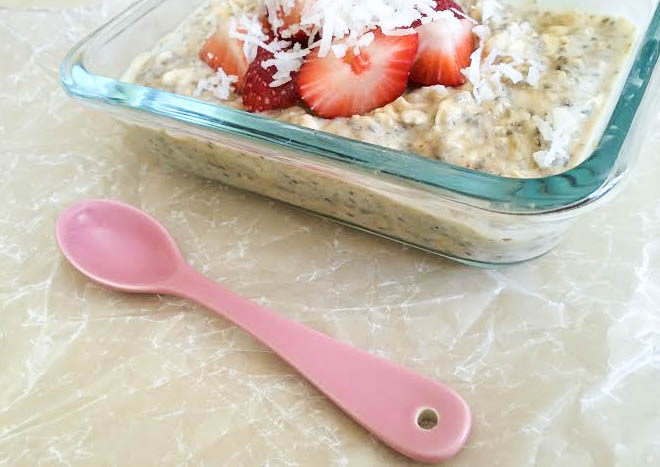
The Best Overnight Oats: simple and healthy breakfastSkip those instant oatmeal packets. They are typically loaded with added sugar and even salt! This recipe is packed with ingredients you can feel good about. Filled with fiber & protein, it will keep you full all morning. Overnight, the oats absorb all the liquid and it becomes a thick cake batter consistency.
The Best Overnight Oats: simple and healthy breakfastYou could always heat the oats up, but I enjoy them cold. Of course this recipe can be easily adapted with your favorite fix-ins. I always like adding a little extra fruit on top. And if I am feeling a little indulgent, I’ll stir in a little unsweetened cocoa powder for a chocolate peanut butter flavor!
The Best Overnight Oats: simple and healthy breakfast

Print

clock clock iconcutlery cutlery iconflag flag iconfolder folder iconinstagram instagram iconpinterest pinterest iconfacebook facebook iconprint print iconsquares squares iconheart heart iconheart solid heart solid icon
simple overnight oats with a pink spoon

The Best Overnight Oats

  • Author: Julie @ RDelicious Kitchen
  • Prep Time: 5 mins
  • Total Time: 5 mins
  • Yield: 1
  • Category: Breakfast

Description

Never have enough time in the morning to make breakfast? Make these overnight oats the night before for a wholesome breakfast you can enjoy in the morning.


Ingredients

Scale
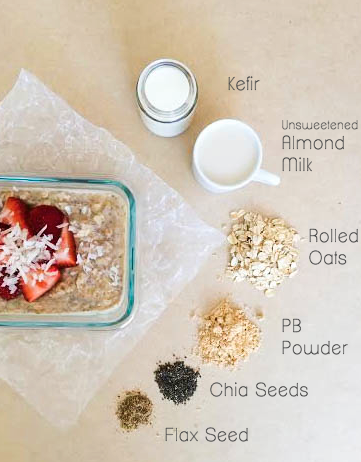
  • 1/3 cup rolled oats
  • 1/3 cup plain kefir
  • 1/3 cup unsweetened almond milk
  • 1 small banana, mashed
  • 1 tbsp peanut butter powder
  • 1 tsp chia seeds
  • 1 tsp ground flax seed
  • [optional] Toppings: fresh fruit, unsweetened coconut, unsalted nuts

Instructions

  1. Simple stir all ingredients together.
  2. Cover and refrigerate overnight.
  3. The next morning add toppings and enjoy chilled.

Notes

Nutrition facts based on My Fitness Pal.


Nutrition

  • Serving Size: 1
  • Calories: 267
  • Sugar: 17
  • Sodium: 106
  • Fat: 10
  • Saturated Fat: 1
  • Trans Fat: 0
  • Carbohydrates: 43
  • Fiber: 8
  • Protein: 12
  • Cholesterol: 3
Recipe Card powered byTasty Recipes

What’s your go-to breakfast to keep you full and focused all morning?

RDelicious Kitchen

Cheesy Deviled Eggs with a Cheese Crisp

Family and friends will love this cheesy version of classic deviled eggs.  

Cheesy Deviled Eggs with a Cheese Crisp
Growing up, I really never liked deviled eggs. I think because the traditional way is heavy with mayonnaise and I just absolutely do not like mayo.  It is just one of those foods that gives me the heebie jeebies. I don’t mind that I dislike mayo, because as a dietitian, I always encourage others to cut back on condiments like mayo and to use other substitutes like yogurt instead.
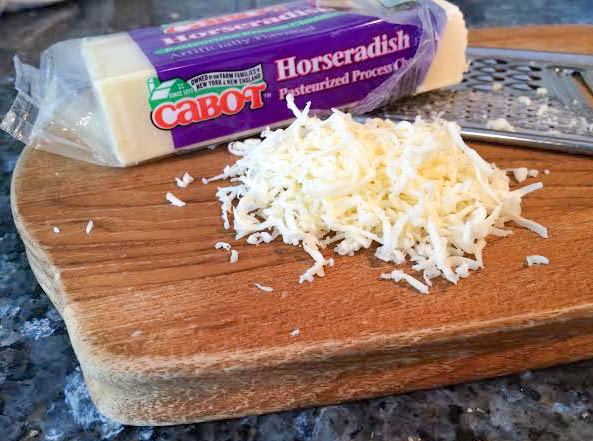
Don’t even get me started about cilantro. I think it tastes like soap. We can talk about that another day. Let’s get back to these deviled eggs. I wanted to make them cheesy, but also pop with flavor. That’s why I chose the horseradish variety for this recipe. Of course, you can always substitute with any kind of cheddar you would like. #cheddaisbetta
Cheesy Deviled Eggs with a Cheese Crisp
What’s that delicious crispy garish? Keep scrolling.. you won’t be sorry.

By posting this recipe I am entering a recipe challenge sponsored by Cabot Creamery and am eligible to win prizes associated with the contest. I was not compensated for my time. 

Print

clock clock iconcutlery cutlery iconflag flag iconfolder folder iconinstagram instagram iconpinterest pinterest iconfacebook facebook iconprint print iconsquares squares iconheart heart iconheart solid heart solid icon
cheesy deviled eggs on a tan board

Cheesy Deviled Eggs with a Cheese Crisp

  • Author: Julie @ RDelicious Kitchen
  • Yield: 12 1x

Ingredients

Scale

Instructions

  1. Place 6 eggs in a pot and fill with cold water, covering the eggs by an inch. Bring the water to a boil, uncovered. Turn off the heat and cover the pot. As soon as the water comes to a boil, remove the pot from heat and cover. Leave the eggs in the covered pan for 10-12 minutes. Remove from water, Chill, and peel.
  2. Cut each egg in half and scoop out the yolk into a bowl. Add the horseradish cheddar cheese, yogurt, dijon mustard, and chives. Mix well.
  3. Stuff the egg whites with the yolk mixture. Garnish with chives, a sprinkle of paprika, and a cheesy chip.

Recipe Card powered byTasty Recipes

Let’s talk about these cheesy crisps. It will change your life. Okay, maybe a little dramatic, but if you are a cheese lover you understand. 😉
cabot horseradish cheese
Confession: I had to make extra cheesy crisps for the pictures because I may have snacked on the first batch a little too much.
horseradish cheese garnish

Print

clock clock iconcutlery cutlery iconflag flag iconfolder folder iconinstagram instagram iconpinterest pinterest iconfacebook facebook iconprint print iconsquares squares iconheart heart iconheart solid heart solid icon
cheesy deviled egg with cheese crisp

Cheese Crisp

  • Author: Julie @ RDelicious Kitchen
  • Yield: 12 cheese crisps 1x

Ingredients

Scale
  • 1/4 cup your favorite cheddar cheese

Instructions

  1. Preheat oven to 350 degrees.
  2. Finely grate cheddar cheese.
  3. Using a teaspoon, make 12 small piles of cheese about an inch apart on a baking sheet. (if using an aluminum baking sheet, use parchment paper)
  4. Bake in the oven for 5-7 minutes until cheese has full melted and golden brown.
  5. Remove pan from oven and let cool for cheese to harden before removing from the pan.
  6. Use as a garnish, or to simply munch on!

Recipe Card powered byTasty Recipes

Don’t know what to make this weekend for Super Bowl Sunday? Welp, I think you know what you’re making now!

Greek Yogurt Pumpkin Pie Bars

I have a cooking classes coming up this week at work with the theme of lightened up Thanksgiving desserts. I’ve been playing around with the recipe idea all weekend after posting my Supermarket RD’s Pick of pumpkin puree.
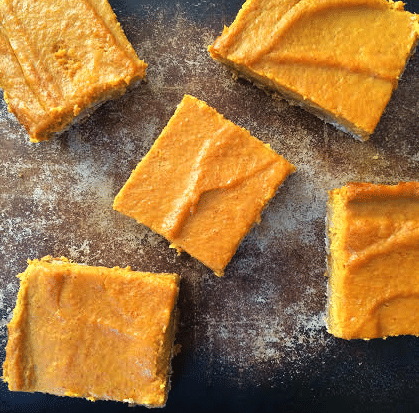
Greek yogurt pumpkin pie bars 1
Pumpkin pie is my ultimate favorite dessert on Thanksgiving and I make sure I always save room for it. Of course, there’s not too much room after a delicious Thanksgiving day meal, so I always found it so annoying when I would try to cut myself a sliver of pie and end up making a mess trying to get that perfect little piece.
Greek yogurt pumpkin pie bars 2
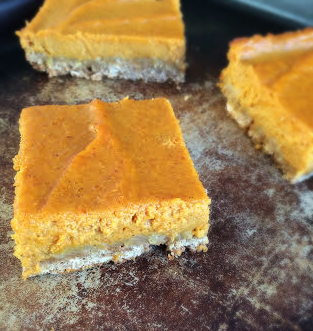
This recipe I decided to skip the pie plate and use a sheet cake pan to easily cut into little squares to get that perfect little slice.
Greek yogurt pumpkin pie bars 3
While this recipe is still a dessert, it is lightened up by cutting back on sugar and adding Greek yogurt in place of other fats.

This was the first time I made a graham cracker crust, but using yogurt instead of butter and I am quite pleased with the results.

Print

clock clock iconcutlery cutlery iconflag flag iconfolder folder iconinstagram instagram iconpinterest pinterest iconfacebook facebook iconprint print iconsquares squares iconheart heart iconheart solid heart solid icon
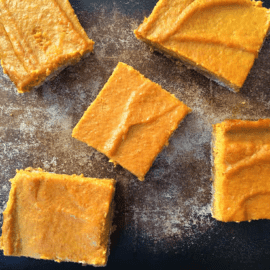
Greek yogurt pumpkin pie bars on a baking sheet

Greek Yogurt Pumpkin Pie Bars

  • Author: Julie @ RDelicious Kitchen
  • Prep Time: 15 mins
  • Cook Time: 55 mins
  • Total Time: 1 hour 10 mins

Description

Move over pumpkin pie. These pumpkin pie bars can satisfy your craving with lightened up ingredients. Plus, it’s easier for portion control by cutting them into small squares versus trying to cut a sliver of pie.


Ingredients

Scale
  • For the crust:
  • 1 cup graham crackers, crushed
  • 1 cup quick oats
  • 1 tbsp cinnamon
  • 1/4 cup light brown sugar
  • 2/3 cup Cabot low fat vanilla yogurt
  • 1/2 tsp vanilla extract
  • For the pumpkin pie filling:
  • 1 (29 oz) can pumpkin puree
  • 1 cup Cabot low fat vanilla yogurt
  • 1/4 cup evaporated skim milk
  • 1/3 cup sugar
  • 1/3 cup light brown sugar
  • 2 eggs, beaten
  • 1 heaping tbsp pumpkin pie spice

Instructions

  1. Preheat the oven to 425 degrees F.
  2. For the crust: With cooking spray, grease a 9×13 baking dish; set aside. In a food processor, combine the graham crackers and quick oats. and pulse until fine crumbs. Add the cinnamon, light brown sugar, yogurt, and vanilla extract. Press evenly in the bottom of the baking dish.
  3. For the pumpkin pie filling: In a large bowl, whisk together the pumpkin puree, yogurt, sugar, brown sugar, eggs, and pumpkin pie spice.
  4. Pour the filling over the crust evenly. Bake in the oven at 425 degrees F for 10 minutes, then turn down to 350 and bake for an additional 45 minutes. Take out of the oven and let cool completely before slicing.

Recipe Card powered byTasty Recipes

Let me tell you, I even surprised my hardest critics with this recipe. It tastes exactly like pumpkin pie!
Signature

Pumpkin Peanut Butter Bites

It’s pumpkin everything this time of year. When I saw Wild Friends create a new seasonal pumpkin spice peanut butter, I was so excited! I am a big fan of wild friends nut butters.

I’m not going to lie, I’ve been eating it straight from the jar with a spoon. I made energy bites with wild friends vanilla espresso flavor, so I created another energy bite recipe using this new nut butter!

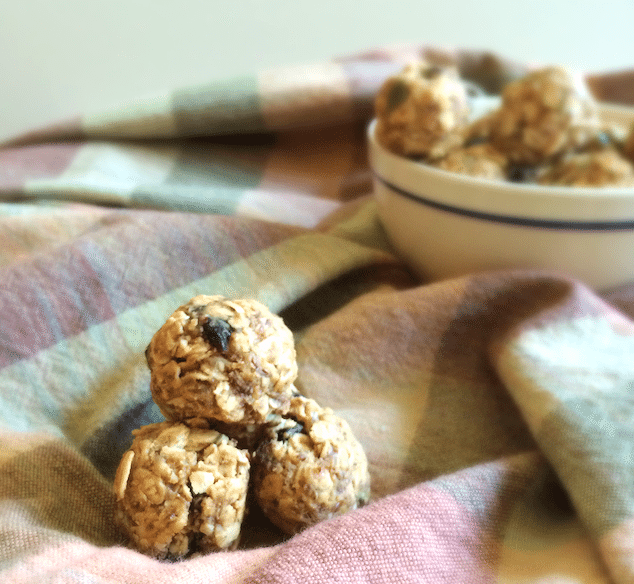
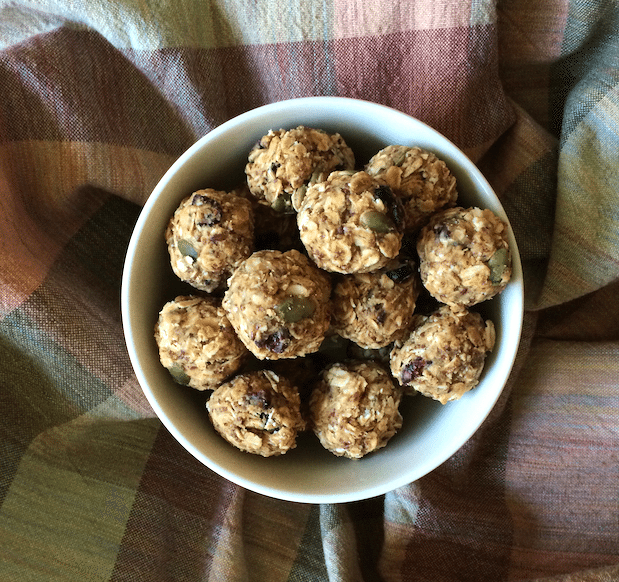
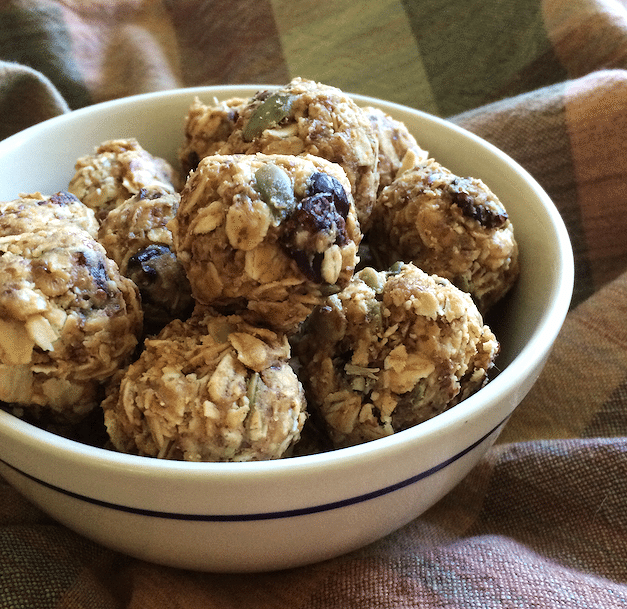
pumpkin pb bites 1Perfect little bite size snacks for on the go easy snacking.
pumpkin pb bites 3
Play around with the ingredients to create the perfect flavor for you!
pumpkin pb bites 2

Print

clock clock iconcutlery cutlery iconflag flag iconfolder folder iconinstagram instagram iconpinterest pinterest iconfacebook facebook iconprint print iconsquares squares iconheart heart iconheart solid heart solid icon
pumpkin peanut butter bites in a bowl with checkered napkin

Pumpkin Peanut Butter Bites

  • Author: Julie @ RDelicious Kitchen

Ingredients

Scale

Instructions

  1. Add oats, flax seed, dried cranberries and pumpkin seeds in a large bowl. Toss to combine.
  2. Put pumpkin spice peanut butter and maple syrup in a small bowl and microwave for 30 seconds or until softened.
  3. Combine the peanut butter mixture with the oat mixture until combine. The mixture will be thick. Shape into tablespoon-sized balls. Store in refrigerator.

Notes

Use certified gluten free oats to guarantee gluten free recipe.

Recipe Card powered byTasty Recipes

Signature

Double Chocolate Zucchini Muffins

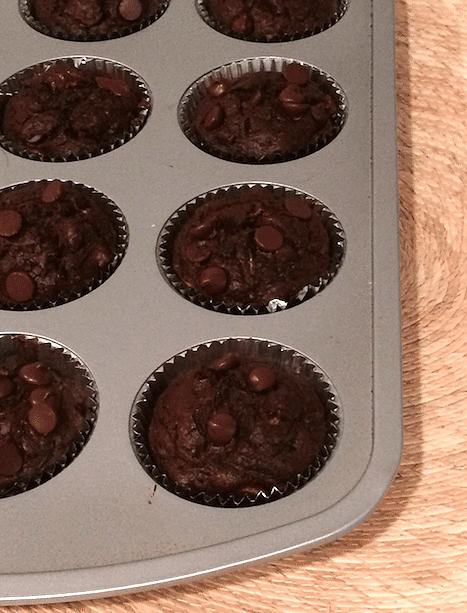
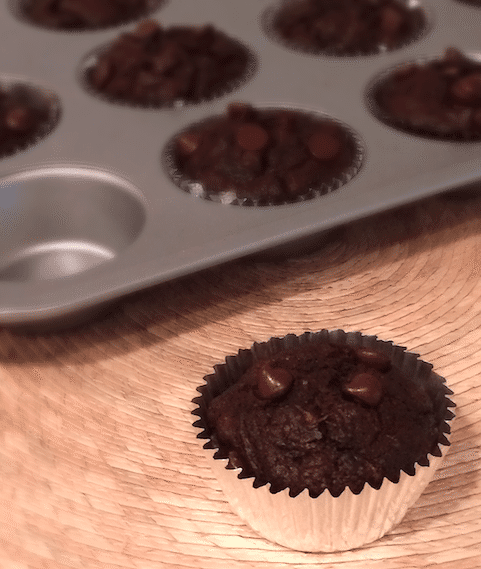
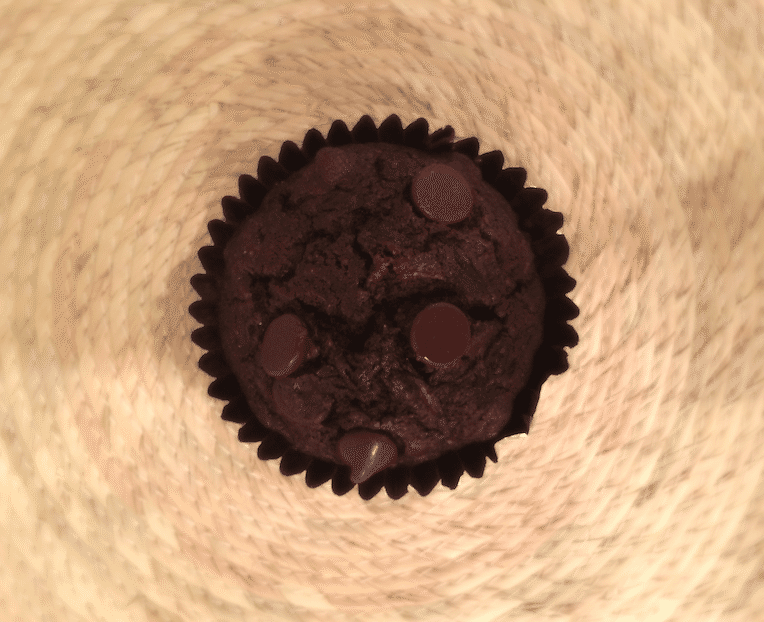
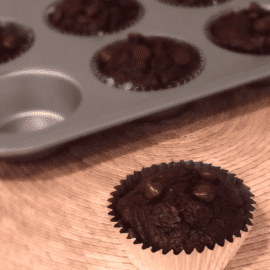
What do you do when you have an over abundance of zucchini and don’t know what to do with it all? … Make muffins!! Double chocolate zucchini muffins that is.
double chocolate zucchini muffins 3
Two of my biggest nutrition tips for making healthy choices regarding muffins:

1. Make them yourself from scratch

2. Keep the size in check

double chocolate zucchini muffins 2
1. When you make your own muffins, you know exactly what is going in your recipe. Don’t like how much sugar the recipe calls for, simply trim the amount or use healthier swaps like pure maple syrup.
2. I always opt for the traditional size muffin tin when I am baking. Even though I am always trying to make my baked good recipes a little lighter, they aren’t a substitute for a whole meal.
For example, many grab breakfast on the go going to work in the morning. Maybe they pick up a coffee and a reduced fat blueberry muffin. One may think deciding on the reduced fat is a healthier choice, but let’s see how that measures out. Below is an example of a reduced fat blueberry muffin from a popular chain restaurant:

Just by looking at the nutrition facts, it looks like a cupcake in disguise. 410 calories!? 40 grams of sugar !? 26% of the daily value of sodium!? 10 grams of total fat!?

Scroll down a little and look at the ingredients from the muffins I made. Now scroll back up and look at the ingredients in that muffin? Have you even heard of half of those ingredients before? I’m thinking my muffins win!

double chocolate zucchini muffins 1

Real food. Real ingredients. (while sneaking in some vegetables!)
Pair one of these muffins with a glass of milk and a piece of fruit for a balance way to start your day! (instead of a giant sugar bomb!)

Print

clock clock iconcutlery cutlery iconflag flag iconfolder folder iconinstagram instagram iconpinterest pinterest iconfacebook facebook iconprint print iconsquares squares iconheart heart iconheart solid heart solid icon
double chocolate zucchini muffins in a muffin tin

Double Chocolate Zucchini Muffins

  • Author: Julie @ RDelicious Kitchen
  • Yield: 12 1x

Ingredients

Scale
  • 1 cup oat flour
  • 1/2 cup unsweetened cocoa powder
  • 1/2 tsp salt
  • 1 tsp baking soda
  • 1/4 tsp baking powder
  • 1/3 cup coconut oil (melted then cooled – make sure it’s not hot!)
  • 1/3 cup maple syrup
  • 4 egg whites
  • 1 tsp vanilla
  • 2 cups grated zucchini
  • 3/4 cup chocolate chips

Instructions

  1. Preheat the oven to 350 degrees. Line a 12-cup muffin tin with muffin liners or grease with cooking spray.
  2. In a bowl combine the oat flour, cocoa, salt, baking soda, and baking powder. Set aside.
  3. In another bowl, whisk together the coconut oil, maple syrup, eggs and vanilla.
  4. Slowly incorporate the dry ingredients into the wet ingredients.
  5. Using a few paper towels or a cloth wring out excess moisture from the zucchini. Fold in the zucchini and chocolate chips (save some to add on top) until just combined.
  6. Fill each muffin tin and sprinkle a few chocolate chips on top.
  7. Bake for 18-20 minutes. Let cool for at least 5 minutes before removing from the pan. Store in an airtight container.

Recipe Card powered byTasty Recipes