This post may contain affiliate links. Read my privacy policy.
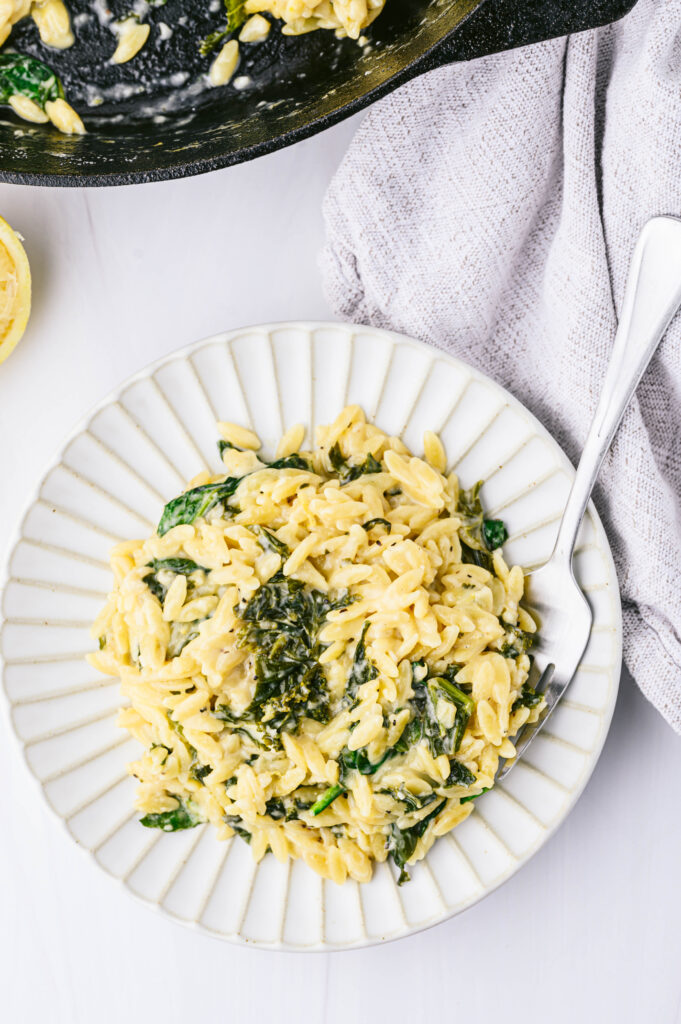
Lemon orzo with spinach is creamy, cheesy, and bursting with flavor! It’s an easy, but delicious meal that is ready in less than 30 minutes with minimal cleanup!

Whether you are searching for a tasty side dish or meatless main course, lemon orzo is on the must make list! It’s almost a sin at how quick and easy it is to make.
You can even serve your favorite protein on the side for a full balanced meal! Grilled salmon or chicken would taste delicious.
Why We Love Spinach Lemon Orzo
- The entire meal is cooked in one pan.
- It’s simple and quick.
- Can be served alongside a main course or by itself.
- An easy way to sneak some extra greens in.

Ingredients Needed
- olive oil
- Garlic cloves
- kale
- low-sodium vegetable broth
- heavy cream
- orzo
- baby spinach
- grated Parmesan cheese
- lemon
- Salt and pepper
How to Make Creamy Lemon Orzo with Spinach
Heat the olive oil in a large skillet over medium high heat. Add the garlic and saute until fragrant.

Stir in the kale and cook until it starts to wilt.
Then stir in the heavy cream and veggie broth, bring to a simmer.
Stir in the orzo and cook until al dente (or for about 9 minutes).

Stir in the spinach and turn off the heat.
Add the parmesan cheese, lemon zest, and lemon juice.
Season with salt and pepper, then serve!
Tips for Making Lemon Orzo
- Although it’s not always available, whole wheat orzo can be used.
- Any hearty dark leafy green (such as Swiss chard, collard greens, or mustard greens) can be substituted for the kale.
- Do not let the garlic burn! If it gets over cooked it will have a bitter taste.
- To add more lemon flavor with the acid use zest instead.
- We love using orzo, but you can also use other small pastas if needed.
- For those who like using herbs, basil and thyme go great with these flavor combos.
- Peas and mushrooms are other veggie options that could be added if desired.
Storing and Reheating
Orzo recipes are best eaten the same day, but when kept in an airtight container in the fridge they can be eaten up to 3 days later.
When it cools, the orzo soaks up the sauce. When reheating you may want to add a little more broth, cream, or water to thin it out. It’s also best reheated over low heat on the stovetop.

Is Orzo and Rice the Same Thing?
No. Orzo is actually considered pasta. Normally you would cook it in boiling water and drain just like any other noodles. Rice is a grain that soaks up the moisture while cooking.
Remember, for this recipe the orzo cooks in the creamy sauce! So there’s no reason to make it in another pot.
Print
Quick Creamy Lemon Spinach Orzo
- Yield: 4 servings 1x
Description
Lemon orzo with spinach is creamy, cheesy, and bursting with flavor! It’s an easy, but delicious meal that is ready in less than 30 minutes with minimal cleanup!
Ingredients
1 tablespoon olive oil
2 cloves garlic, sliced
2 cups kale, chopped
2 cups low-sodium vegetable broth
½ cup heavy cream
1 cup orzo
3 cups baby spinach, stems removed
¾ cup grated Parmesan cheese
1 lemon, juiced and zested
Salt and pepper, to taste
Instructions
1. In a large skillet heat olive oil over medium-high heat. Add garlic and cook until just fragrant, about 1 minute. (Do not overcook or garlic will burn, and garlic will be bitter) Add the kale and sauté for a minute until it starts to wilt.
2. Stir in vegetable broth and heavy cream; bring to a simmer.
3. Stir in orzo and cook for 9 minutes or until al dente.
4. Stir in spinach.
5. Turn off the heat and stir in parmesan, lemon juice, and lemon zest.
6. Season with salt and pepper, to taste.
Notes
Can substitute with whole wheat orzo (although it is not always available in grocery stores)
Substitute any hearty dark leafy green for the kale like collard greens, Swiss chard, mustard greens, etc.