Strawberry Rhubarb Crisp with Streusel Topping

This ​​Strawberry Rhubarb Crisp is an easy fruit dessert that can be made year-round and what makes it even better is the oat streusel topping! 
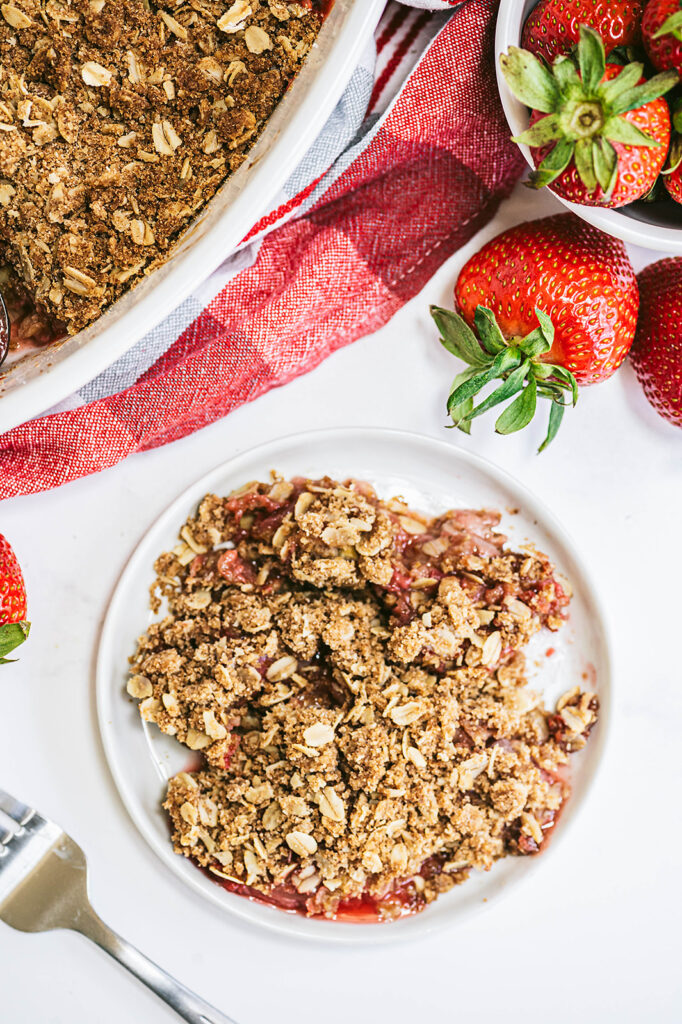
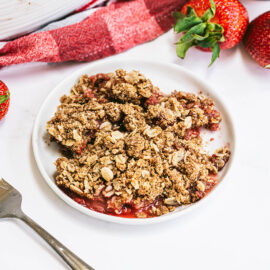
strawberry rhubarb crisp on small white plate next to baking dish and whole strawberries

Normally we see fruit desserts throughout the spring and summer seasons, but Strawberry Rhubarb crisp can truly be made any time of the year! 

Both of these fruits are filled with antioxidants and packed full of vitamins and nutrients that have anti-inflammatory properties and have been shown to decrease risks of certain diseases. 

Did you know that frozen fruit is just as healthy as fresh? Fruits are picked and frozen at peak ripeness, and studies show that they retain a comparable vitamin, mineral, and phytochemical content to their fresh counterparts.

If you love recipes that have a crisp topping, don’t leave before you check out my Almond Pear Crisp for Two!

Crisp, Cobbler, Crumble: What’s the Difference?

Sometimes these terms are used interchangeably but there is actually a difference! All of these types of recipes usually contain fruit, but it’s the topping that makes the difference! 

A cobbler typically has a doughy, biscuit-like topping. When you think of cobblers you are probably thinking about your grandma’s traditional recipe that has been passed down for ages! 

Crumbles are more like a streusel topping, but they don’t contain any oats. 

If it’s a true crisp, it will definitely have oats in the topping! 
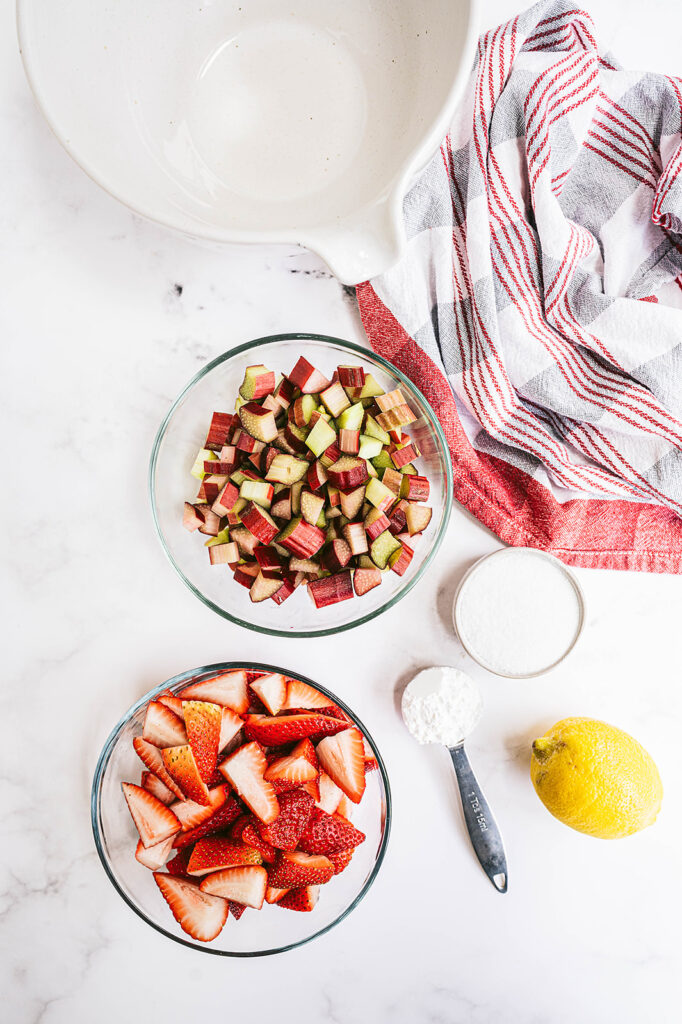
ingredients for strawberry rhubarb crisp

What You Need to Make Strawberry Rhubarb Crisp with Streusel Topping


For the filling:

fresh strawberries

rhubarb 

granulated sugar – you can also swap this for coconut or maple sugar

cornstarch

lemon juice

salt

For the topping:

light brown sugar

old-fashioned rolled oats – Bob’s Red Mill is a great option! 

whole-wheat pastry flour

unsalted butter – be sure to set it out in time so it can soften up

How to Make a Crisp with Strawberries and Rhubarb 

Go ahead and preheat your oven to 350 degrees and spray your baking dish with non-stick cooking spray. 
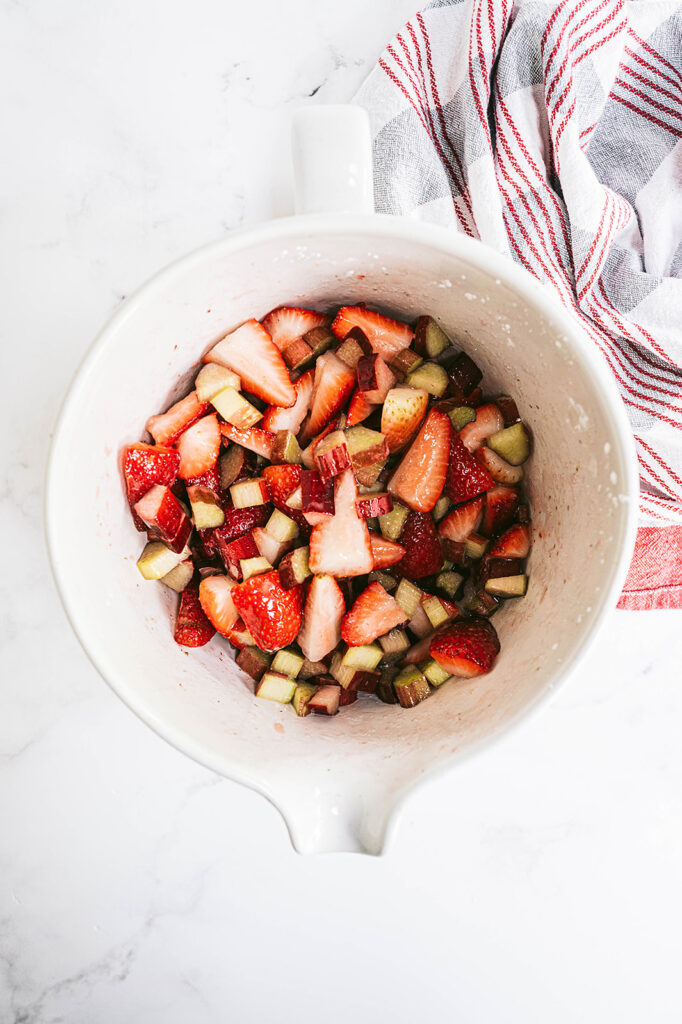
diced strawberries and rhubarb in a white mixing bowl

In a large mixing bowl, combine granulated sugar, lemon juice, cornstarch, strawberries, rhubarb, and salt. Stir together then transfer the mixture to your baking dish. 
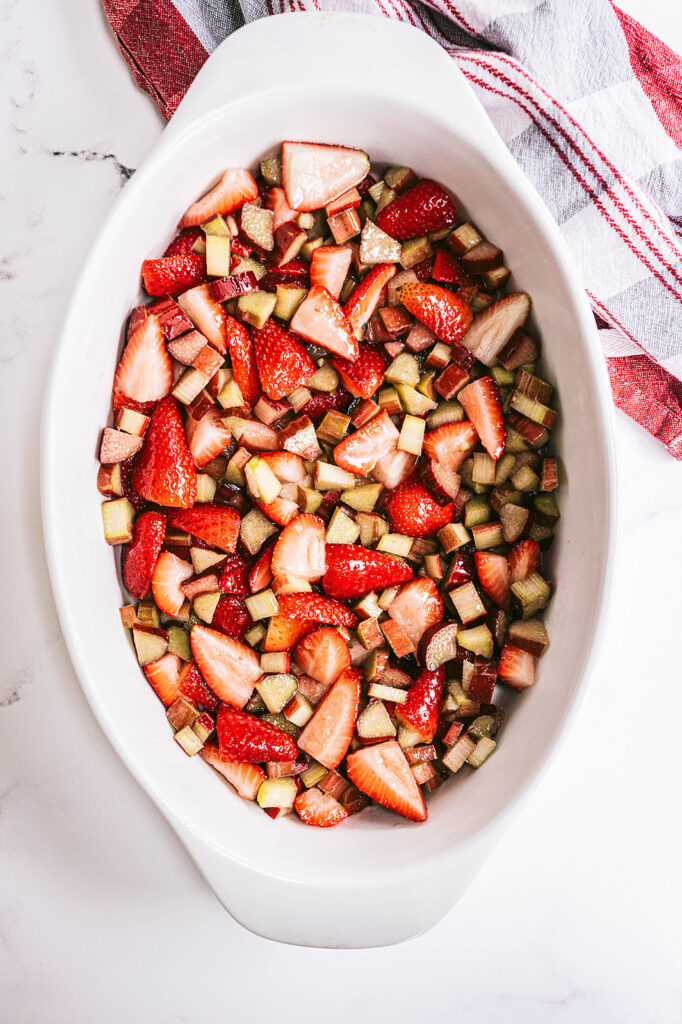
strawberry rhubarb mixture in baking dish before topping has been added

Now let’s make the streusel topping! 

In a medium bowl, add the oats, flour, brown sugar, and 4 tablespoons of butter. Stir it all together until it’s combined well. Add additional butter ( one to two tablespoons) if it seems too dry. 
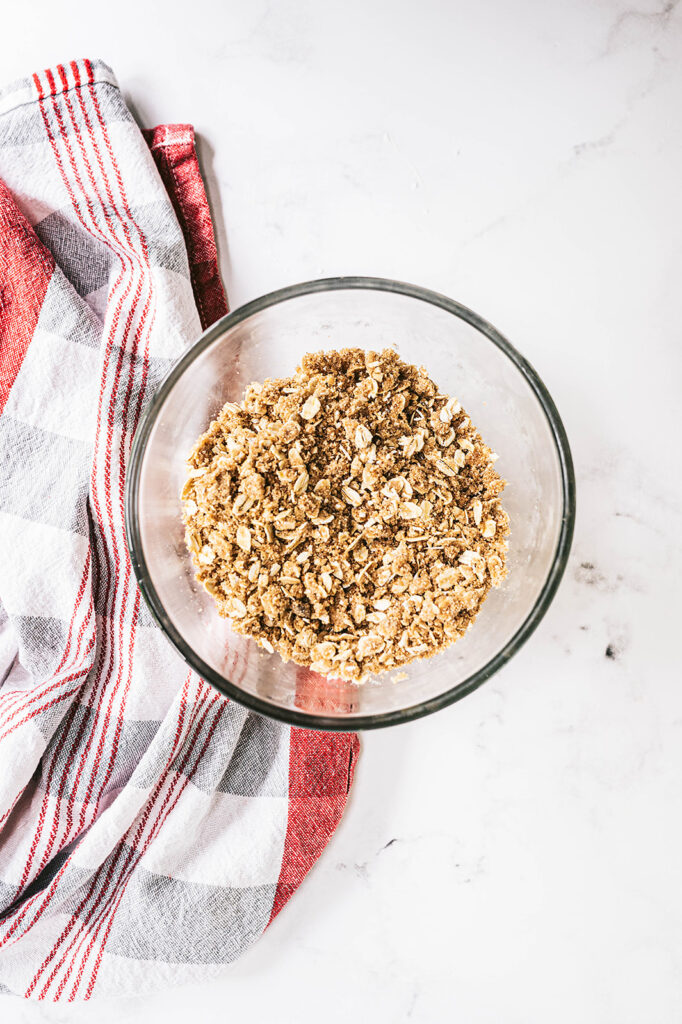
top shot of streusel top in glass mixing bowl

Crumble the topping over the mixture into a baking dish. 

Bake until the top of the crisp is golden, which will take about 35 to 50 minutes. 

Once it has finished baking, let it cool on a wire rack before serving. 

You can serve it warm or at room temperature! 
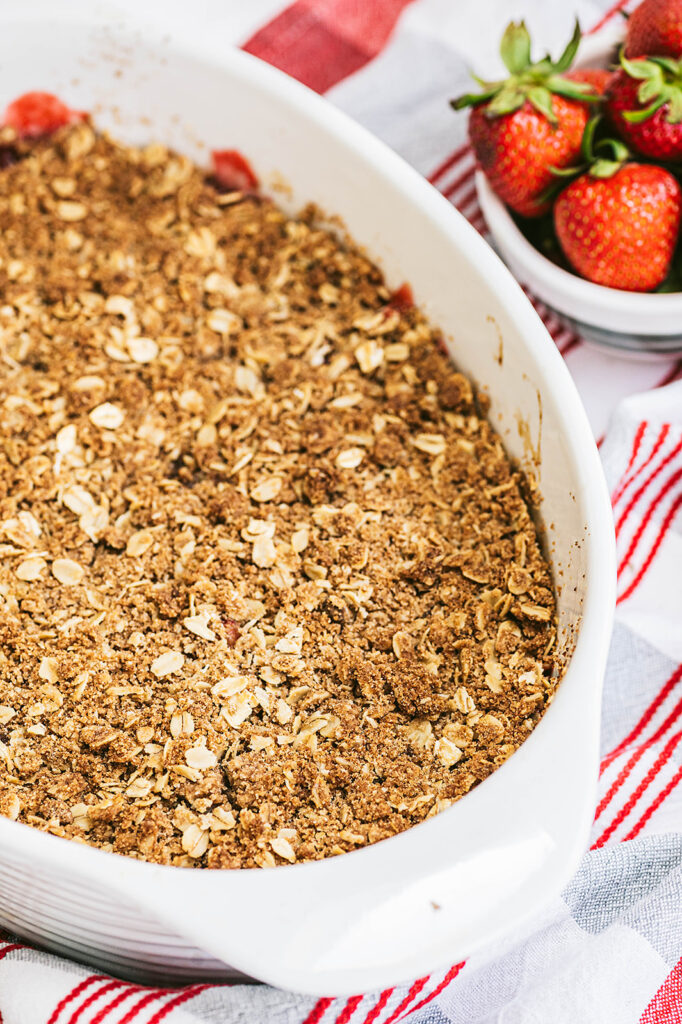
close up of strawberry rhubarb crisp in white baking dish next to bowl of strawberries

What If I Don’t Have Whole Wheat Pastry Flour?

A nice substitute when you don’t have whole wheat pastry flour is a 1:1 ratio of all purpose flour and whole wheat flour. 
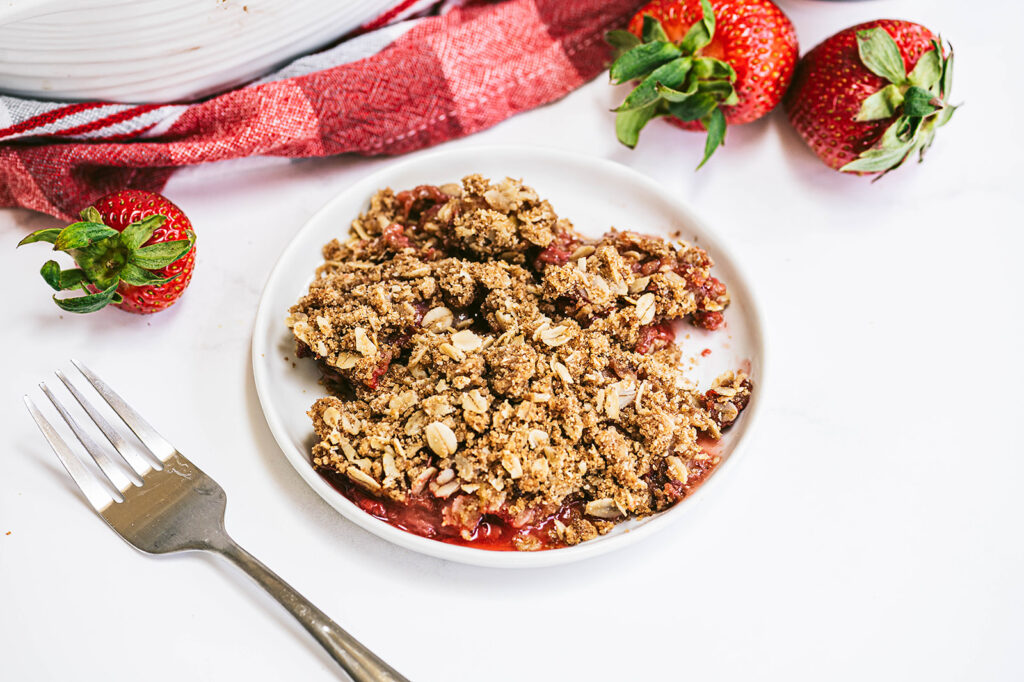
strawberry rhubarb crisp on small white plate next to fork and strawberries

Crisp Topping and Serving Suggestions

This strawberry rhubarb crisp is perfect just the way it is, but here are some great ideas for serving and other variations

  • Serve with a scoop of your favorite vanilla ice cream 
  • Add a dollop of my Homemade Coconut Whipped Cream
  • Sprinkle some nuts into the streusel topping for a nice crunch

Can This Recipe Be Made Vegan Friendly? 

Sure! To make this crisp vegan, simply use a plant based butter!

Need a Gluten Free Option?

If you want to make the topping using gluten free ingredients, make sure the oats are gluten free and swap the pastry flour or almond flour instead! 
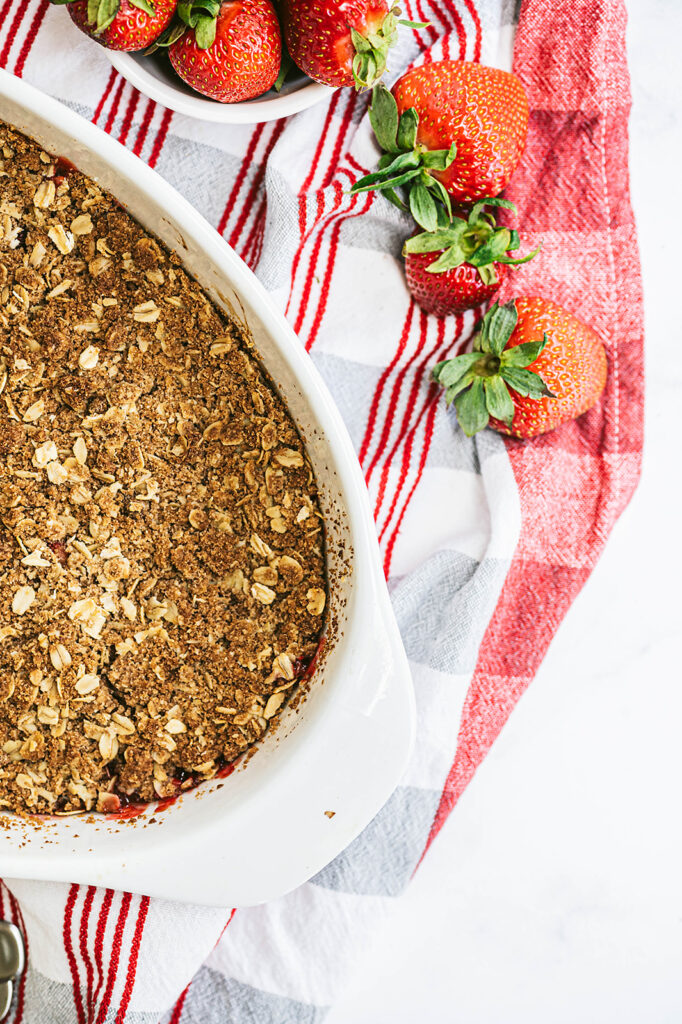
strawberry rhubarb crisp after baking next to whole strawberries

Can You Use Frozen Strawberries and Rhubarb? 

If you want to make this fruit crisp and you don’t have a chance to grab fresh strawberries and rhubarb, or maybe they are out of season you can use frozen instead. 

Be sure that the fruit is thawed completely and drained so that the crisp does not come out soggy from the excess liquid.
Print
clock clock iconcutlery cutlery iconflag flag iconfolder folder iconinstagram instagram iconpinterest pinterest iconfacebook facebook iconprint print iconsquares squares iconheart heart iconheart solid heart solid icon
strawberry rhubarb crisp on small white plate next to fork and strawberries

Strawberry Rhubarb Crisp with Streusel Topping

  • Author: Chef Julie Harrington, RD
  • Prep Time: 15
  • Cook Time: 40
  • Total Time: 55 minutes
  • Yield: 6
  • Category: dessert
  • Method: bake

Description

This ​​Strawberry Rhubarb Crisp is an easy fruit dessert that can be made year round and what makes it even better is the oat streusel topping! 


Ingredients

For the filling:
3 cups quartered fresh strawberries
3 cups sliced fresh rhubarb or thawed frozen rhubarb*
¼ cup granulated sugar
1 tablespoon cornstarch
1 tablespoon lemon juice
¼ teaspoon salt

For the topping:
½ cup lightly packed light brown sugar
½ cup old-fashioned rolled oats
⅓ cup whole-wheat pastry flour
4–6 tablespoons unsalted butter, softened


Instructions

  1. Preheat the oven to 350 degrees F. Coat an 11-by-7-inch baking dish with cooking spray.
  2. In a large bowl, combine strawberries, rhubarb, granulated sugar, cornstarch, lemon juice, and salt, transfer to the prepared baking dish.
  3. To prepare topping: Combine brown sugar, oats, flour, and butter (starting with 4 tablespoons of butter) in a medium bowl; stir until thoroughly combined. If mixture seems to dry, add additional 1-2 tablespoons of butter. Crumble the topping evenly over the strawberry-rhubarb mixture.
  4. Bake the crisp until the topping is golden, 35 to 40 minutes. Cool on a wire rack for 5 minutes; serve warm or at room temperature.

Notes

  • If using frozen rhubarb or strawberries, thaw then be sure to drain any excess liquid.

Keywords: crisp, strawberry, rhubarb, summer dessert, dessert

Recipe Card powered byTasty Recipes

Rustic Apple Galette

Get creative with apples this season and switch it up by making this Rustic Apple Galette.

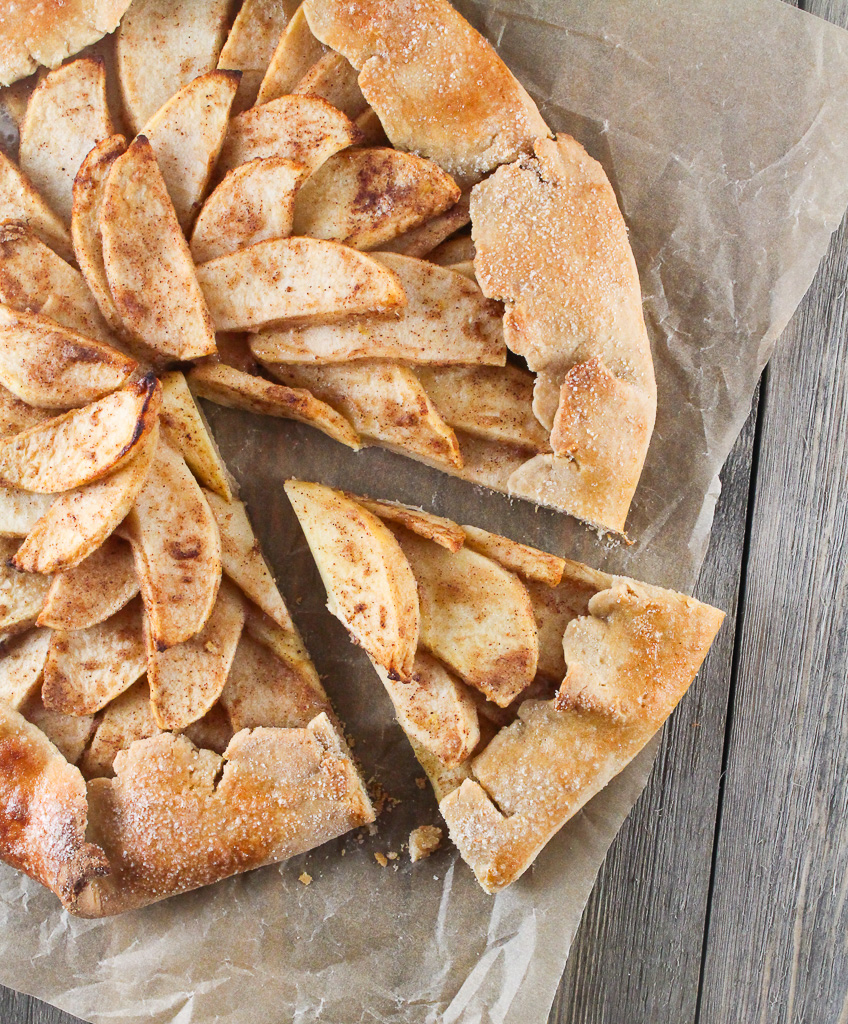
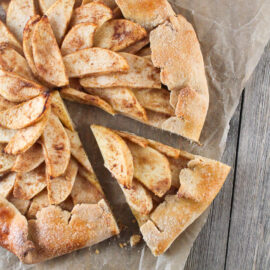
slice cut out of an apple galette

We are all creatures of habit. When I have apples on my grocery list, I walk straight to the produce department and pick the same few apple varieties each time. When I was in culinary school, it really opened my eyes to exploring new foods. I’m not just talking about unique foods, but rather some of the everyday foods that we don’t necessarily take advantage of. The majority of grocery stores carry over six varieties of apples at a time. When I was a supermarket dietitian, during the fall season, I’ve seen even up to 15 varieties taking up a spot in the produce department.

It’s not just apples to apples. Different apples contain different tastes, culinary uses, and may even ripen at different times during the season. Here are some apple varieties to look out for and ways to use them in the kitchen.

Best apples for making applesauce:

  • Pink Lady
  • Granny Smith
  • Braeburn

The best apple for making tart applesauce is a Pink Lady (for a tangy-sweet flavor) or, depending on taste, you could opt for a true tart variety like Granny Smith. Unless you have a high-powered blender, be sure to peel the skin prior to cooking. Add a hint of sweetness without added sugar, by sweetening applesauce with cinnamon.

Best apples for baking:

  • Granny Smith
  • Pink Lady
  • Golden Delicious
  • Fuji

There are a few! Apples on the sweeter end of things are a good choice, as their higher sugar content means you can go a bit lighter on added sugars in the recipes. If you want your apples to maintain a bit of crispness, look for firmer apples that will maintain texture under the heat.

Best apples for salads:

  • Honeycrisp
  • Pink Lady
  • Fuji
  • Jazz
  • Empire

For salads, you’ll want a crunchy apple that doesn’t brown too quickly when sliced or chopped.  Honeycrisp, Pink Lady, Fuji, Jazz, and Empire apples have bright white flesh that resists browning when cut.

Best apples for stuffing:

  • Pink Lady
  • Golden Delicious

Looking for a balance of sweet and savory in your stuffing recipe? Both Pink Lady and Golden Delicious varieties make a great addition to savory stuffing with their firm texture and sweet/tart flavor.

Best apples for making galettes:

  • Golden Delicious
  • Pink Lady
  • Honeycrisp
  • Golden Delicious
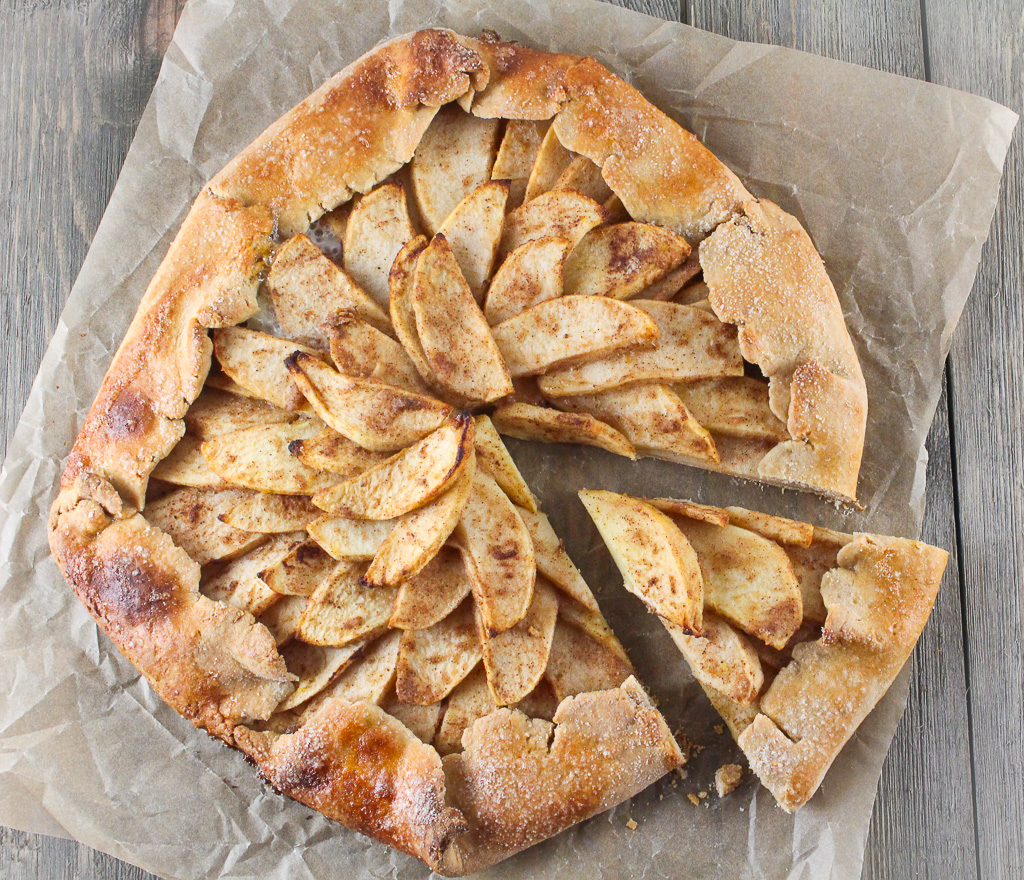
full apple galette on a piece of parchment paper with a slice cut out

What is a galette?

A galette is a French term for round or freeform crusty cakes. The fillings can be made with both sweet or savory ingredients.

The best apples to use for making an apple galette is one that is sweet and tart that holds up exceptionally well to heat, like pink lady, fuji, or honey crisp. If you are looking for a little extra tartness, using Golden Delicious apples is a great way to go too.

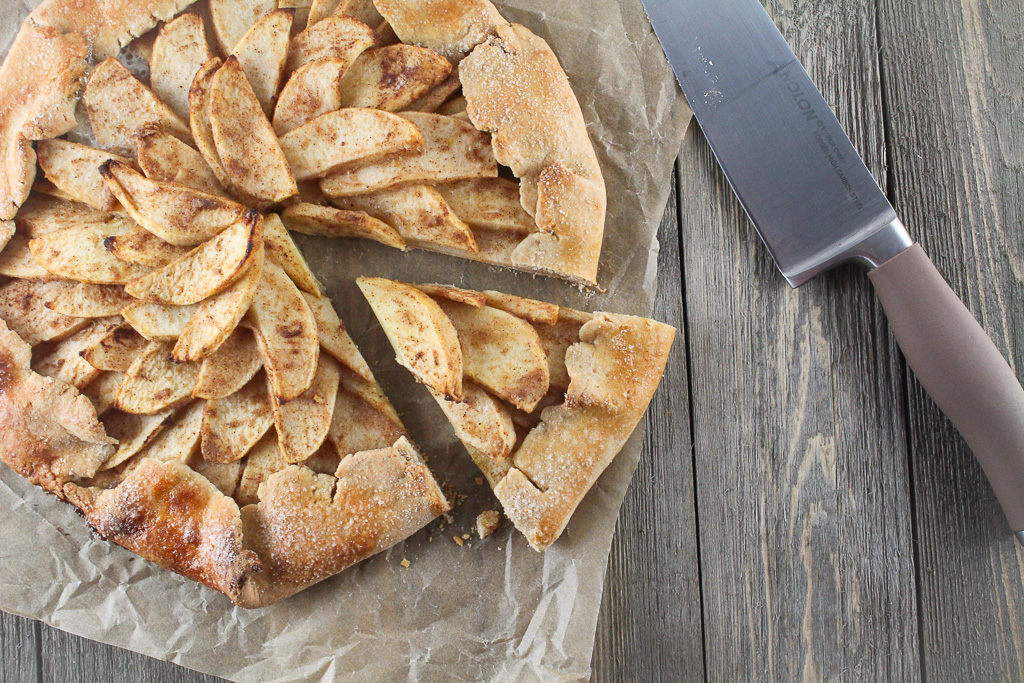
apple galette with a slice removed and a knife

Next time apples are on your grocery list, I challenge you to choose a different apple variety than your typical choice.

Print
clock clock iconcutlery cutlery iconflag flag iconfolder folder iconinstagram instagram iconpinterest pinterest iconfacebook facebook iconprint print iconsquares squares iconheart heart iconheart solid heart solid icon

Rustic Apple Galette

  • Author: Chef Julie Harrington, RD

Ingredients

Scale

For the crust:
¾ cup white whole-wheat flour
2/3 cup all-purpose flour
½ tablespoon sugar
½ teaspoon salt
1/3 cup unsalted butter (5 tablespoons), cut into ½ inch pieces
3 tablespoons low-fat milk
¼ cup plain Greek yogurt

For the filling:
3 apples, peeled and thinly sliced (choose a firm, sweet and tart variety, like Pink Lady)
2 tablespoons white whole-wheat flour
2 tablespoons maple syrup
2 tablespoons lemon juice
1 teaspoon lemon zest
½ teaspoon ground cinnamon
1/8 teaspoon ground nutmeg
1/8 teaspoon ground ginger

1 large egg white, lightly beaten
(optional) 1 teaspoon sugar


Instructions

  1. Preheat oven to 425 degrees F. Line a large baking sheet with parchment paper.
  2. Unwrap dough and place on a floured surface. Roll out dough to a 15-inch circle. Place the dough on the baking sheet. Evenly, spoon the apple mixture onto the dough, leaving a 2-inch border around the edges.
  3. Fold the edges of the dough over the apples. Brush edges with the whisked egg white. Sprinkle with sugar, if using.
  4. Bake for 25-30 minutes until the crust is golden brown. Let cool for at least 20 minutes before cutting. Cut into 8 wedges.

Recipe Card powered byTasty Recipes

This recipe was originally posted in the November 2018 issue of Today’s Dietitian.

FAQ:

Do I have to make a homemade crust?
Nope! You can definitely skip that step and use a pre-made pie crust.

What other fruits would work well in this recipe?
Any fruits that don’t have too much moisture. Pears, plums, and peaches work well in galettes.

What savory flavor combinations would you try?
I developed a savory root vegetable galette for the American Pecan Council that was delicious!

Other recipes you may enjoy

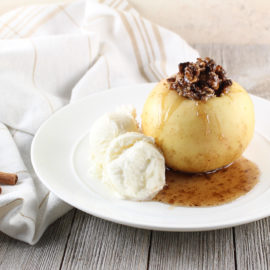
Baked Apple for One

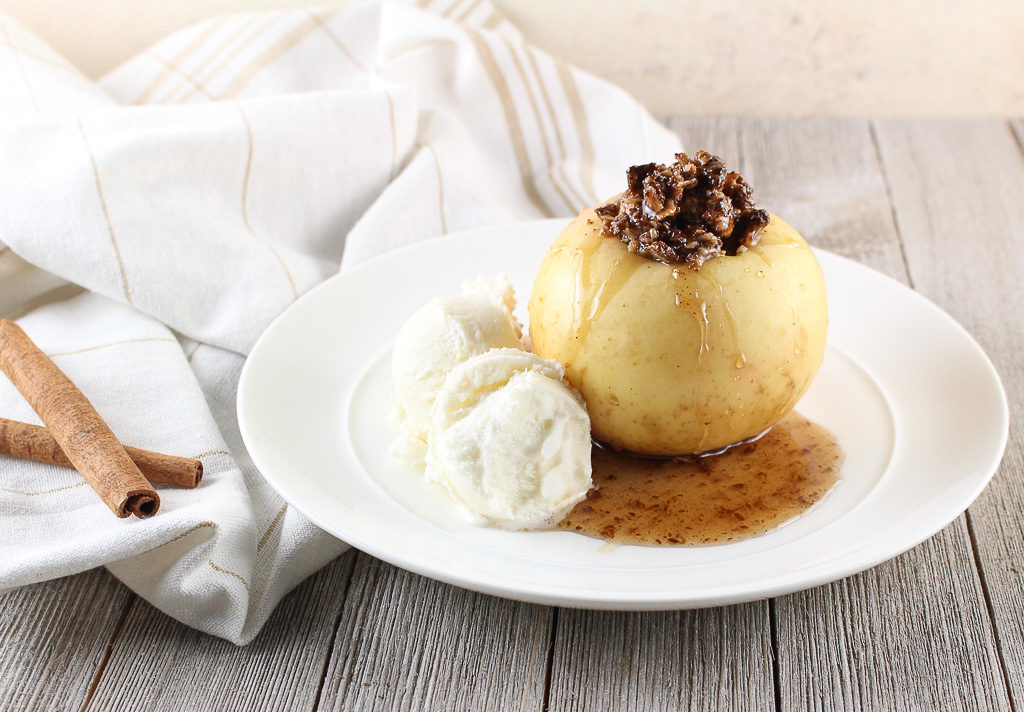
Craving something sweet, but don’t want to make a whole batch of a dessert recipe? Enter this delicious (and allergy-friendly) Baked Apple for One.

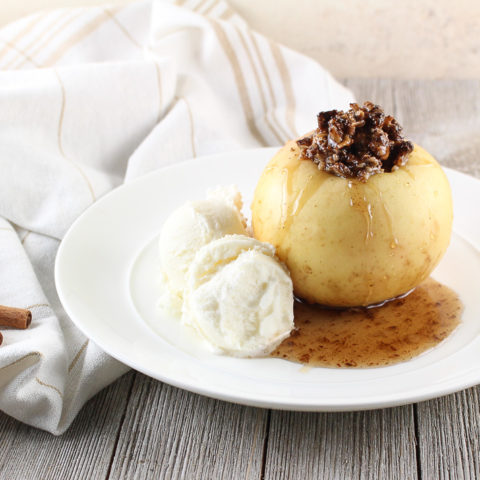
Baked Apple with vanilla ice cream on a white plate

I received free samples from Kip’s for the development of this recipe and am eligible for prizes for their recipe contest.

Baked fruit is often overlooked for dessert. Fruit is sweet as is, but when baked the natural sweetness intensifies. Baked apples are a delicious dessert. Simply remove the core, stuff with your favorite filling, and bake!

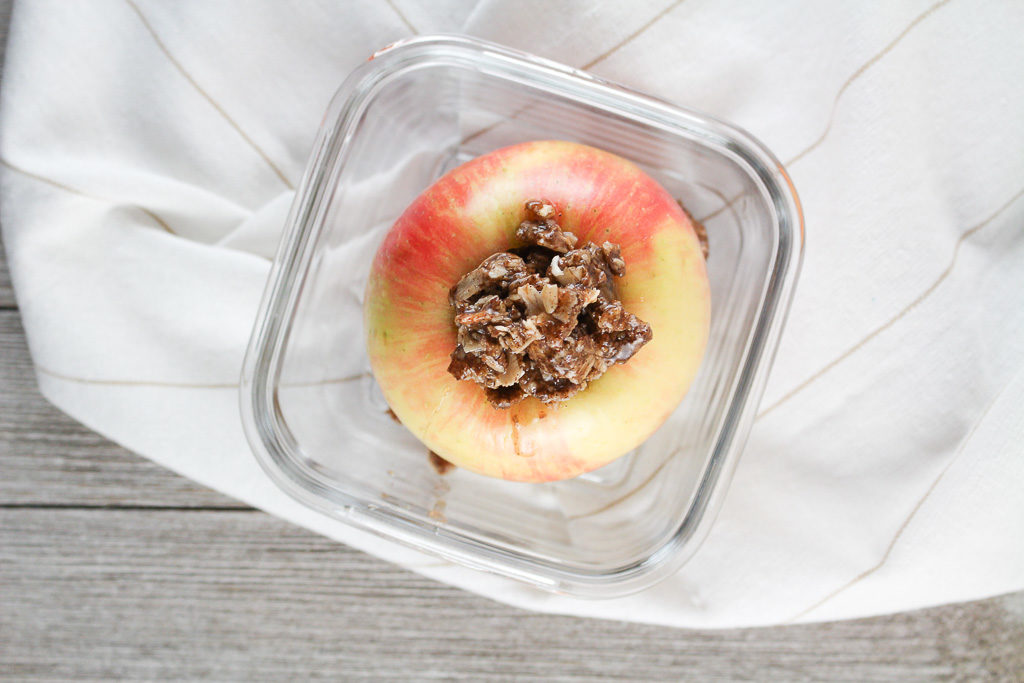
stuffed apple in a glass container

Using a dry-cook method, like baking, will break down the cell walls of the fruit and result in water loss from being exposed to heat. Be mindful of the cooking time. Too long, the fruit will become too mushy and mealy.

When creating a recipe for a single serving, there is no need to complicate the cooking technique with too many ingredients. If cooking for one, keep it simple!

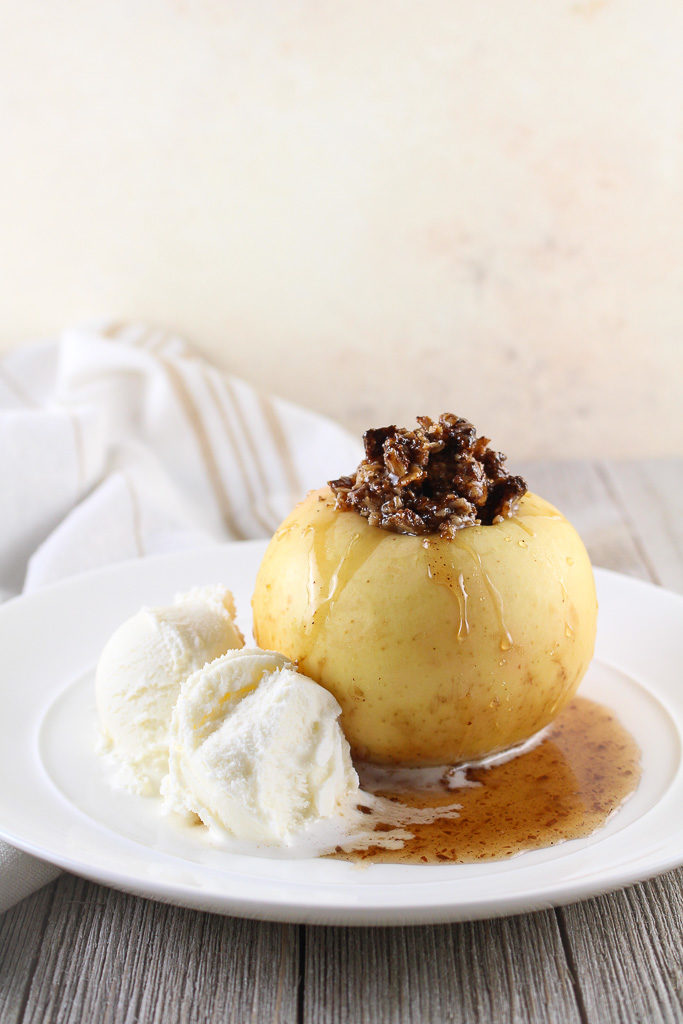
baked stuffed apple with vanilla ice cream on a white plate

These baked apples are stuffed with Kip’s Granola Bark. Kip’s is an allergy-friendly, gluten-free, and vegan granola bark is free from the eight main food allergens, including peanuts, tree nuts, wheat, dairy, eggs, and soy, and additionally free of sesame and sunflower seeds.

For those navigating food allergies, Kip’s Granola Bark is a wholesome snack that can be enjoyed as is or incorporated into a recipe.

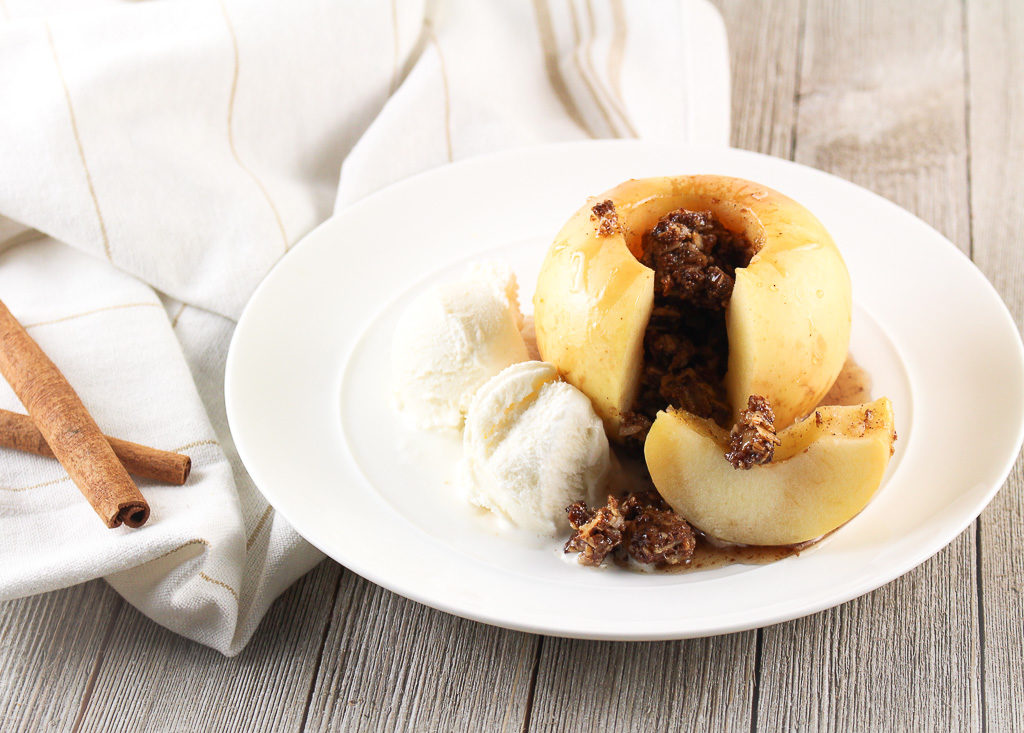
stuffed baked apple sliced
Print
clock clock iconcutlery cutlery iconflag flag iconfolder folder iconinstagram instagram iconpinterest pinterest iconfacebook facebook iconprint print iconsquares squares iconheart heart iconheart solid heart solid icon
baked apple on a white plate with vanilla ice cream and cinnamon sticks

Baked Apple for One

  • Author: Chef Julie Harrington, RD
  • Prep Time: 5
  • Cook Time: 30
  • Total Time: 35 minutes
  • Yield: 1
  • Category: dessert
  • Method: baking

Description

Craving something sweet, but don’t want to make a whole batch of a dessert recipe? Enter these delicious (and allergy friendly) Baked Apple for One.


Ingredients

Scale

1 honeycrisp apple (or another variety like gala or granny smith)
2 tablespoons crumbled Kip’s Cinnamon Crunch Granola Bark
1/2 teaspoon butter, melted (or dairy-free, soy-free margarine)
1/2 teaspoon maple syrup
1/4 teaspoon ground cinnamon
1 tablespoon water


Instructions

Preheat the oven to 350ºF. Use a melon baller, carefully remove the stem and seeds from the apples, making a deep hole where the filling will go. 
In a small bowl, combine the crumbled Kip’s Cinnamon Crunch Granola Bark, butter, maple syrup, and ground cinnamon. Fill into the cavity of the apple.
Add water to a small oven-safe baking dish and place the stuffed apple on top.
Bake for 30 minutes, until apple, is fork tender. Remove from oven and allow to cool for a few minutes.
Spoon the sauce drippings from the pan over the apples. Serve with ice cream, if desired.


Keywords: apple, baked apple, allergy-friendly, gluten-free, dessert

Recipe Card powered byTasty Recipes

Other recipes you may enjoy

Pumpkin Pie Bites

Do you ever have something on your to-do list that just keeps getting rolled over every time to a new to-do list? Welp. That’s posting this Pumpkin Pie Bites recipe. Sorry for holding out on you.

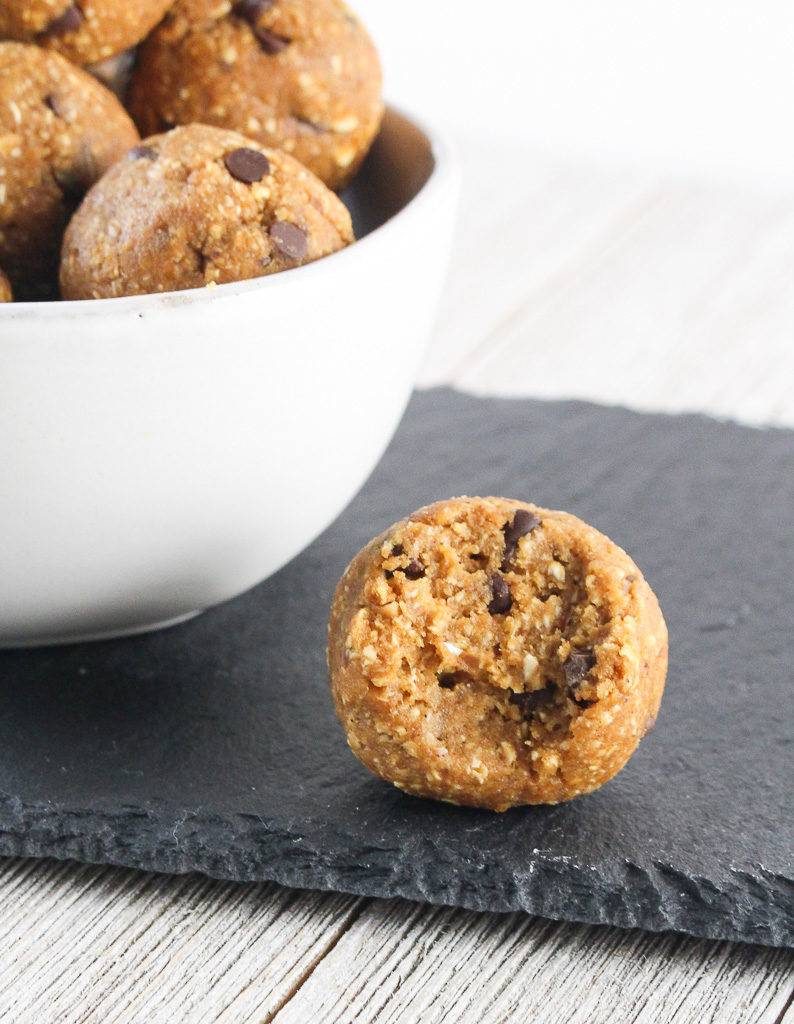
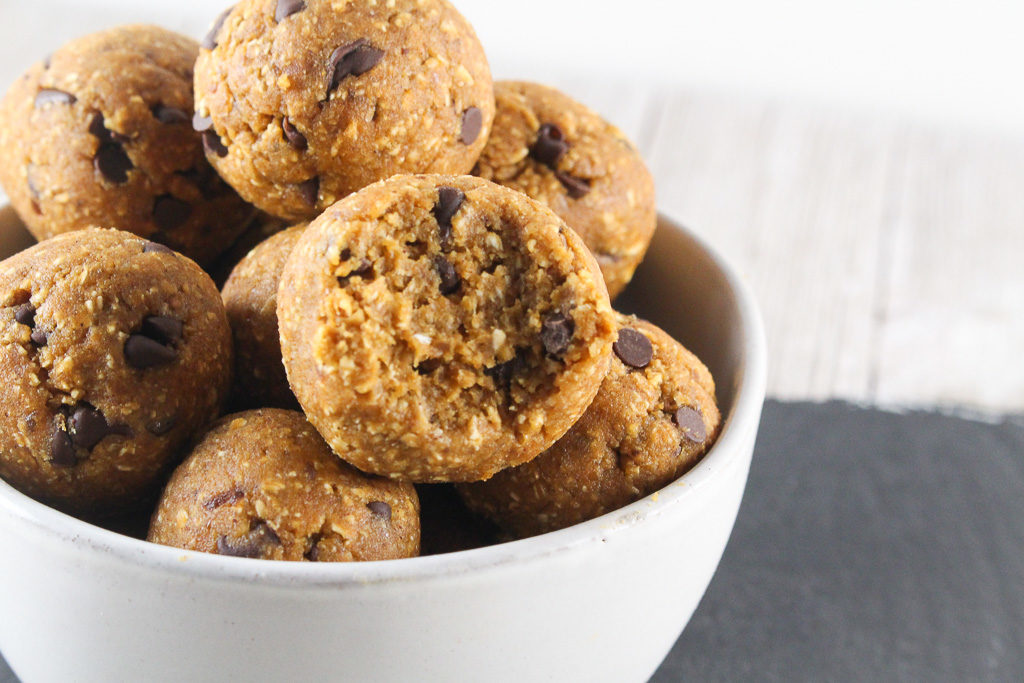
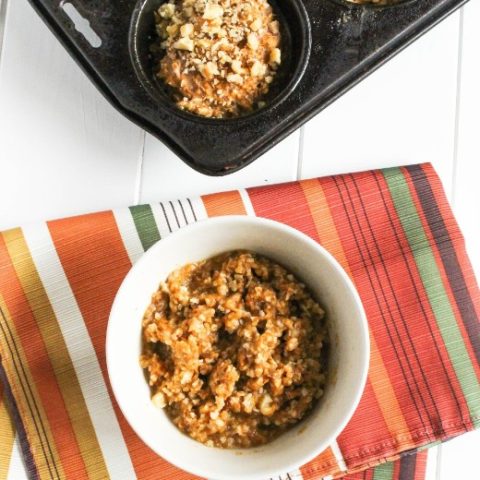
bite taken out of an energy bite

I know I am often the minority when it comes to the love of my paper planner. (Passion Planner to be exact) For the month of January, the pages are completely filled with meetings, cooking classes, presentations, parties, etc. I’m one of those people who likes being busy, but sometimes things fall through the cracks, like posting this recipe which has been sitting in draft for the past two weeks. #sorryivebeenbusy

bite taken out of a pumpkin pie bite

A version of this recipe was developed with one of my awesome JWU interns. I have a sweet spot for JWU interns and I am a JWU alum myself. I love spending days in the kitchen as a full “test kitchen” days. It’s been fun working with JWU interns because we speak the same “culinary language”. This recipe was tested a few times until the texture and taste came out just right.

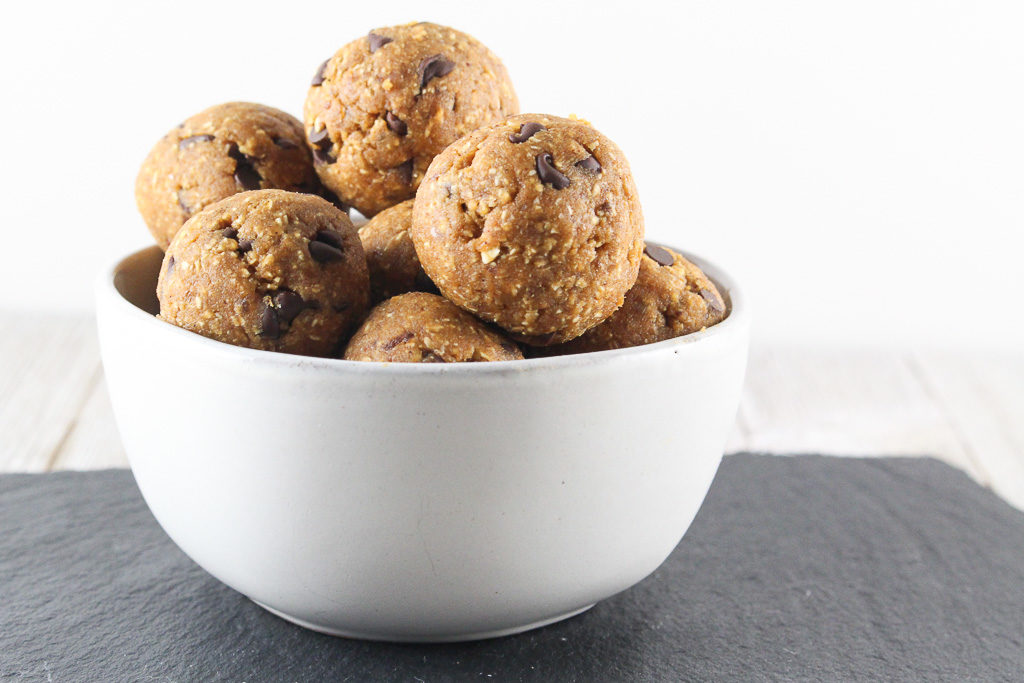
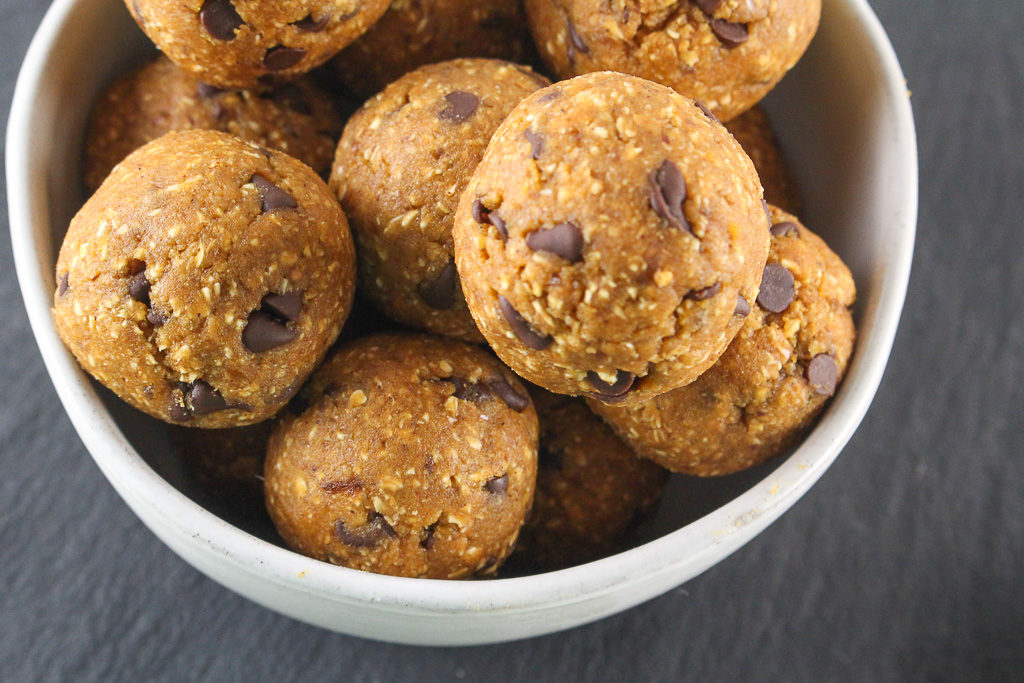
energy bites in a white bowl on a stone slab

Batch cook these little energy bites for the week. They are the perfect on-the-go snack. Who says pumpkin season is over? Let’s keep the pumpkin around all year round!

bowl of pumpkin pie bites
Print
clock clock iconcutlery cutlery iconflag flag iconfolder folder iconinstagram instagram iconpinterest pinterest iconfacebook facebook iconprint print iconsquares squares iconheart heart iconheart solid heart solid icon
pumpkin pie energy bites in a white bowl on a slate

Pumpkin Pie Bites

  • Author: Chef Julie Harrington, RD
  • Prep Time: 10
  • Total Time: 10 minutes
  • Yield: 8 servings (2 bites per serving) 1x
  • Category: snack, dessert
  • Method: no-cook

Description

Batch cook these bites for an energy-boosting snack during the day!


Ingredients

Scale
  • 1/4 cup Medjool dates, pitted
  • boiling water, as needed
  • 1/4 cup almond butter
  • 1/4 cup pumpkin puree
  • 2 teaspoons maple syrup
  • 1  1/2 teaspoons pumpkin pie spice (or a mix of 1/2 tsp ginger, 1/2 tsp nutmeg, 1 tsp cinnamon)
  • 1/4 teaspoon salt
  • 2 tablespoon coconut flour*
  • 1  1/2 cup oats
  • 1/2 cup mini chocolate chips

Instructions

  1. Soak the dates in boiling water for 10 minutes. Drain.
  2. Combine all ingredients, except for the chocolate chips, in a food processor. Process until fairly smooth, stopping occasionally to scrape down the sides.
  3. Transfer to a separate bowl and fold in chocolate chips. Chill in the fridge for at least 20 minutes.
  4. Once chilled, scoop 1-tablespoon sized portions and roll into balls. The mixture makes about 16 bites. Store in the refrigerator in an airtight container.

Notes

If the dough is too sticky, pulse in additional coconut flour, 1/2 teaspoon at a time. 

Keywords: pumpkin, pumpkin pie, energy bites, snack,

Recipe Card powered byTasty Recipes

other recipes you may enjoy

Peanut Butter Chocolate Chip (Chickpea) Cookies

Baking in the kitchen brings back so many great memories. Growing up, my favorite recipe I would make with my mom is chocolate chip cookies. Over the years I’ve been tweaking that original recipe and have come up with a few alternatives over the years. My latest creation are these Peanut Butter Chocolate Chip (Chickpea) Cookies.
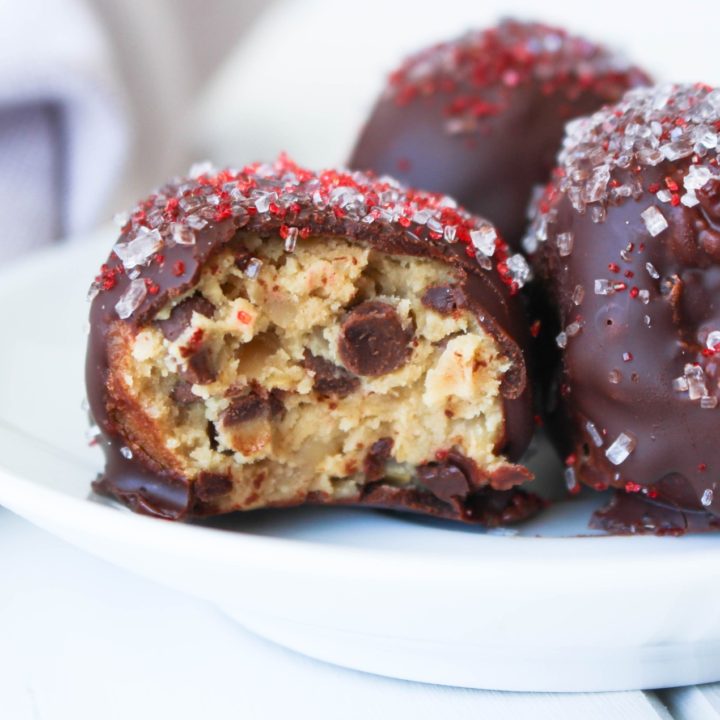
Peanut Butter Chocolate Chip (Chickpea) Chia Cookies - A healthy twist to a classic - Peanut Butter Chocolate Chip (Chickpea) Cookies Do you have a favorite family recipe? My mom’s classic chocolate chip cookie recipe is a tried and true recipe in our family. The recipe is typed up on (note: from a typewriter) paper is all torn and there are food spills and stains all over it. That’s what makes it so nostalgic.
Peanut Butter Chocolate Chip (Chickpea) Chia Cookies - A healthy twist to a classic - Peanut Butter Chocolate Chip (Chickpea) Cookies These cookies are always made when guests are over for any holiday or celebration. It has become a dessert staple in our house. But they are not the healthiest (hello butter-flavored shortening and sugar!). I’m all for sweets in treats in moderation, but it’s fun to recreate a classic with a healthier twist.
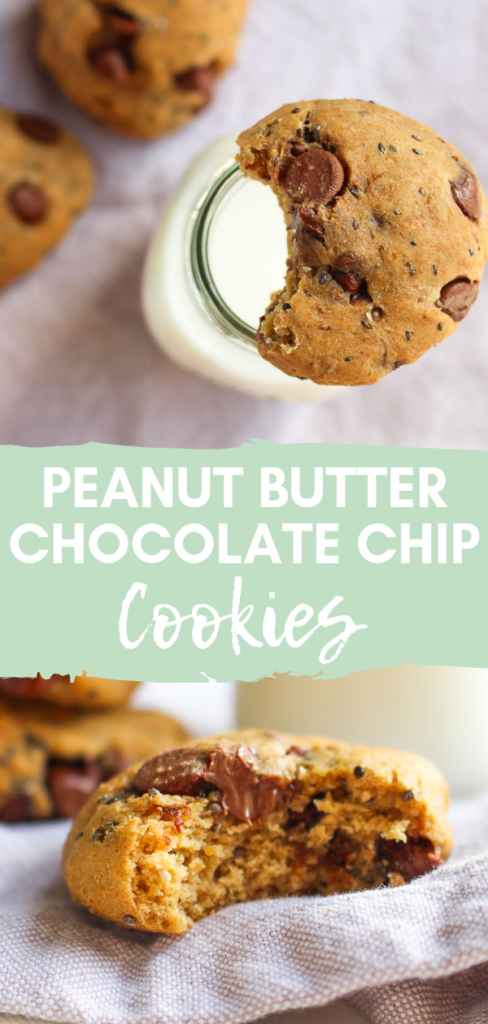
Peanut Butter Chocolate Chip (Chickpea) Chia Cookies - A healthy twist to a classic - Peanut Butter Chocolate Chip (Chickpea) Cookies Beans have been sneaking into more and more baked goods lately because 1) it can help reduce the amount of flour 2) beans can add a boost of protein and fiber. I used chickpeas since they have a very neutral taste and they match the color of chocolate chip cookies best.

Of course, I had to add peanut butter because peanut butter and chocolate is my favorite combo. And just for fun, I added some chia seeds. I really enjoy the added texture it gives to these cookies.
Peanut Butter Chocolate Chip (Chickpea) Chia Cookies - A healthy twist to a classic - Peanut Butter Chocolate Chip (Chickpea) Cookies These cookies are a little more dense than your typical chocolate chip cookies. Whip up a batch of these when you are looking for a little treat midweek.

Print

clock clock iconcutlery cutlery iconflag flag iconfolder folder iconinstagram instagram iconpinterest pinterest iconfacebook facebook iconprint print iconsquares squares iconheart heart iconheart solid heart solid icon
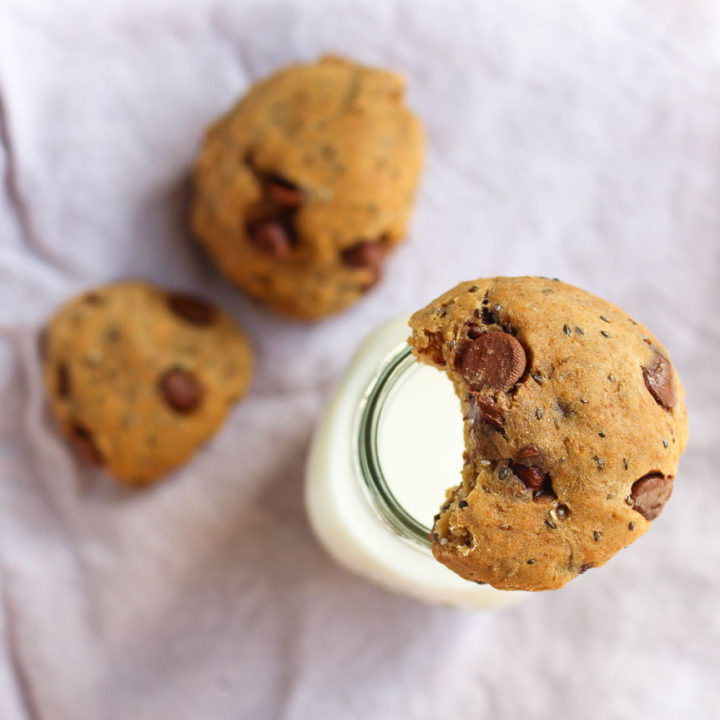
chocolate peanut butter chickpea cookies with a bite on a glass of milk

Peanut Butter Chocolate Chip (Chickpea) Chia Cookies

  • Author: Chef Julie Harrington, RD
  • Prep Time: 15
  • Cook Time: 12
  • Total Time: 27 minutes
  • Yield: 15 1x

Ingredients

Scale
  • 1 (15-ounce) can chickpeas, drained and rinsed
  • 1 cup whole wheat pastry flour
  • 1/4 cup chia seeds
  • 1/2 tsp baking soda
  • 1/4 tsp salt
  • 1/2 cup peanut butter
  • 1/4 cup brown sugar
  • 1/4 cup unsweetened applesauce
  • 1 tbsp vanilla extract
  • 2 eggs
  • 1/2 cup chocolate chips

Instructions

  1. Preheat the oven to 375 degrees. Spray 2 large baking sheets with cooking spray or parchment paper.
  2. In a food processor, puree the chickpeas until smooth, set aside.
  3. In a medium sized bowl, mix together the whole wheat pastry flour, chia seeds, baking soda, and salt. Set aside.
  4. In a large bowl, beat together the peanut butter, brown sugar, and applesauce until smooth. Add in the chickpeas, vanilla extract, and eggs. Beat until smooth.
  5. Slowly mix in the dry ingredients with a spatula until just combined. Mix in the chocolate chips. (Batter will be thick)
  6. Scoop the cookie dough batter (about 2 ounces each) onto the prepared baking sheets about 1 inch apart. Bake 10-12 minutes, until golden brown. Transfer the cookies to a wire rack to completely cool.

Keywords: cookie, chocolate chip cookie, chia seeds, healthy dessert, dessert, chickpeas

Recipe Card powered byTasty Recipes

Chef Julie Harrington, RD - Culinary Nutrition Consultant of chefjulierd.com
Peanut Butter Chocolate Chip (Chickpea) Chia Cookies - A healthy twist to a classic - Peanut Butter Chocolate Chip (Chickpea) Cookies

Caramelized Banana Sundae

Looking for a sweet treat to end the summer? Enjoy a Caramelized Banana Sundae to finish off the summer in a sweet way.

Caramelized Banana Sundae via RDelicious Kitchen @rdkitchen

This post is sponsored by Blue Diamond Almonds.

There is small ice cream shop in my hometown called Cliff’s ice cream. It’s the home of the skyscraper – aka a giant soft serve ice cream cone. In second grade, on the last day of school, all the students received a free skyscraper coupon. I remember going to redeem my free skyscraper that summer and was so excited for this massive ice cream cone (as a second grader not concerned about portion control). There was always the debate vanilla, chocolate, or swirl soft serve with chocolate or rainbow sprinkles, or no sprinkles at all. My choice to this day is always vanilla/chocolate twist with rainbow sprinkles.
I still can picture my second grade self walking over to the park benches to dive right into my massive skyscraper ice cream cone, not only to trip and knock my ice cream onto the ground. #fail The wonderful employees at Cliff’s saw my mishap and came over with a new for me.
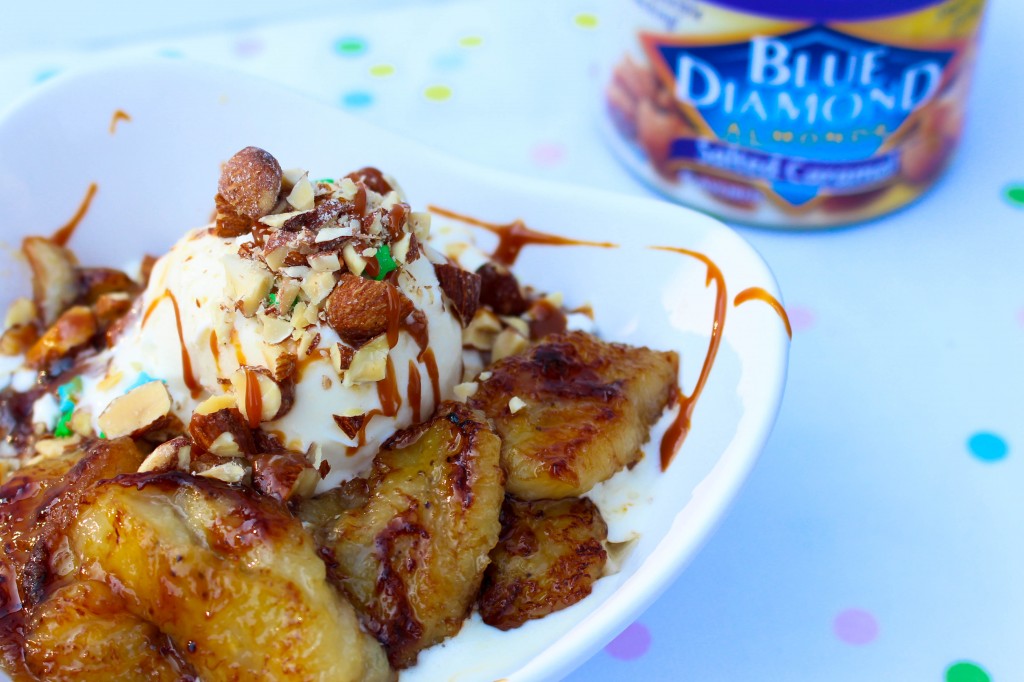
Caramelized Banana Sundae via RDelicious Kitchen @rdkitchenDon’t worry, I recovered from my second grade mishap and ice cream is still my favorite treat of choice in the summer time. A banana split just screams the ultimate ice cream treat, but today I’m showing you a more creative way to spruce it up.
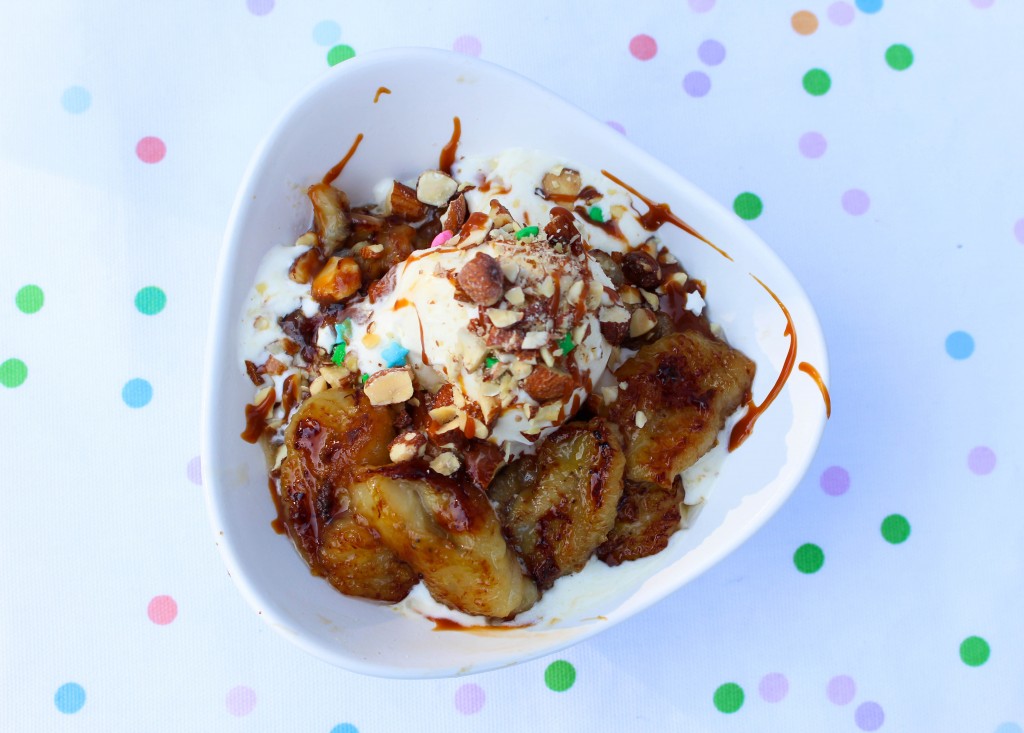
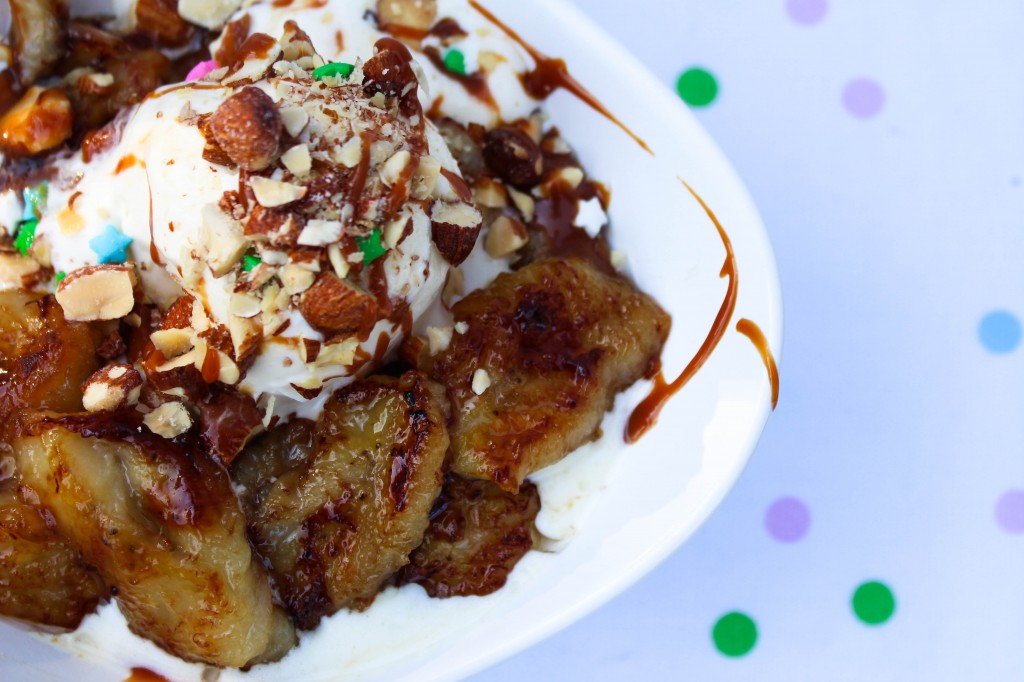
Caramelized Banana Sundae via RDelicious Kitchen @rdkitchenThe caramelized bananas tastes just like bananas foster but with letting the bananas themselves bring out their natural sweetness. The warm bananas on top of the cold ice cream is indulgent.
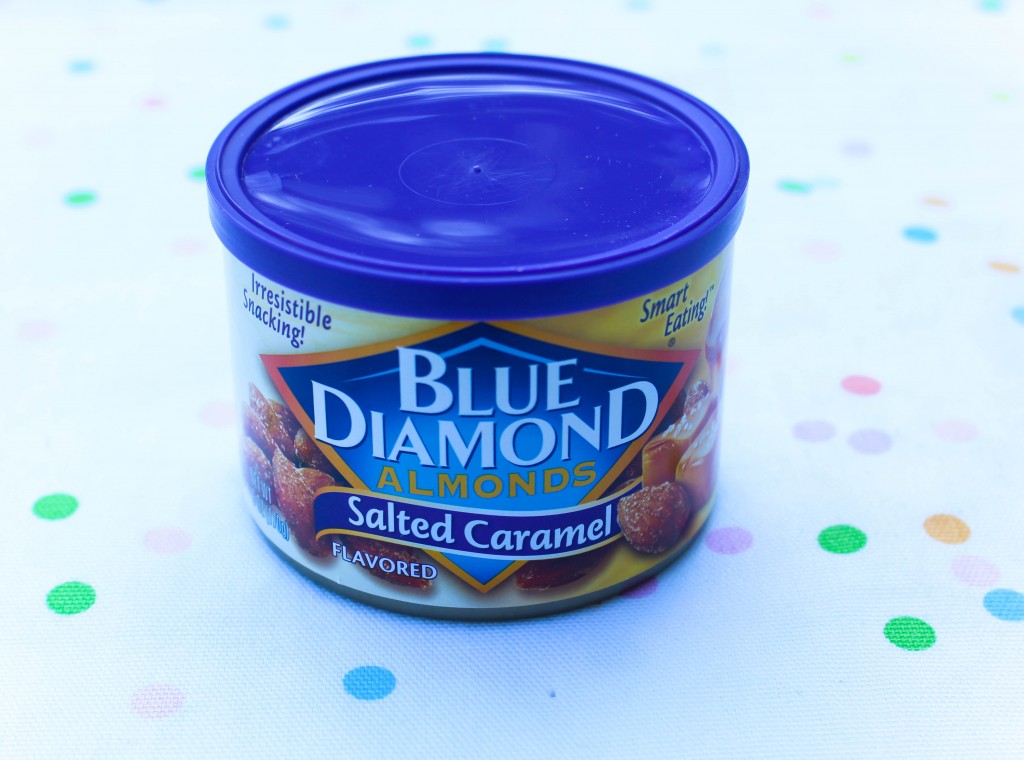
Caramelized Banana Sundae via RDelicious Kitchen @rdkitchenIn culinary school, one of the areas we were always critiqued on was to vary the textures on the plate. The ice cream is soft, smooth and creamy. The bananas are warm, soft, and gooey. With two soft ingredients, you need that crunch factor. Blue Diamond’s Caramel Sea Salt Almonds match up perfectly with this recipe to top this sundae with.

Print

clock clock iconcutlery cutlery iconflag flag iconfolder folder iconinstagram instagram iconpinterest pinterest iconfacebook facebook iconprint print iconsquares squares iconheart heart iconheart solid heart solid icon
caramelized banana sundae

Caramelized Banana Sundae

  • Author: Julie @ RDelicious Kitchen
  • Yield: 2

Ingredients

Scale
  • 2 scoops of your favorite ice cream
  • 1 banana, sliced
  • 1 tsp coconut oil
  • 2 tbsp Blue Diamond Salted Caramel Almonds, chopped
  • optional toppings: sprinkles, caramel sauce

Instructions

  1. In a small skillet over medium heat, melt the coconut oil.
  2. Add the banana slices and cook until lightly browned. Flip and cook the other side is caramelized and has lightly browned.
  3. Scoop ice cream into a bowl and top with caramelized bananas and Blue Diamond Salted Caramel Almonds (along with additional topping if you choose to).

Recipe Card powered byTasty Recipes

Signature

S’mores Smoothie

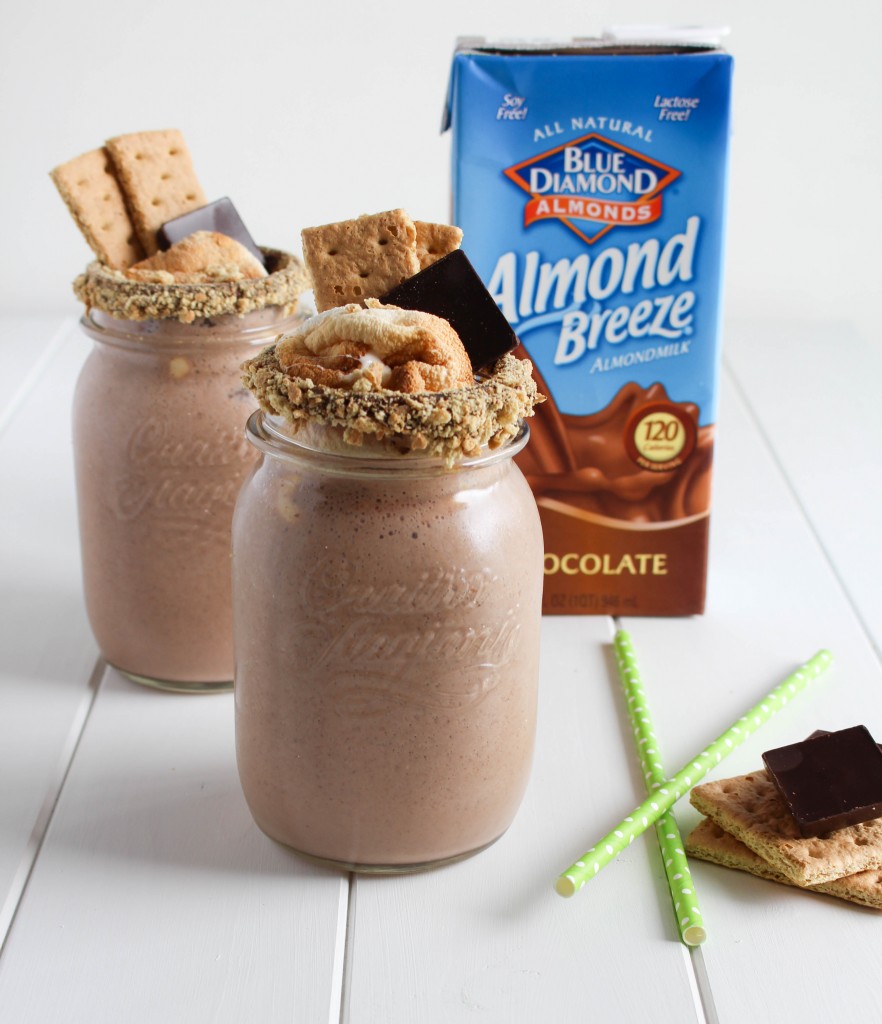
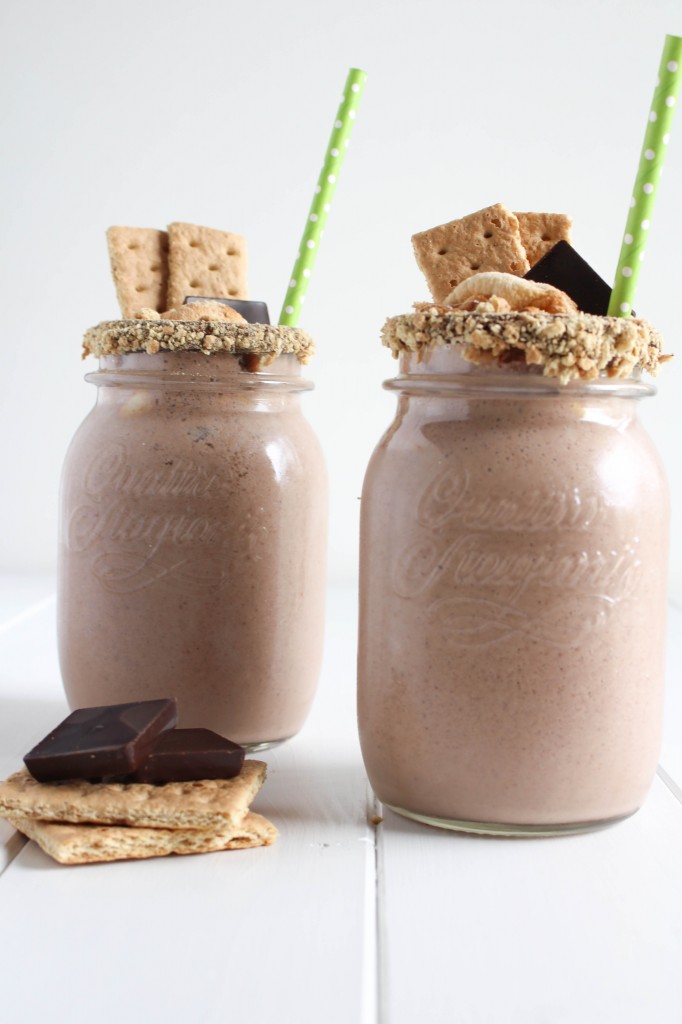
Power up your blender for a twist of a campfire favorite – s’mores!

S'mores Smoothie - Power up your blender for a twist of a campfire favorite - s'mores! via Chef Julie Harrington, RD @ChefJulie_RD #EasyAsBreeze #ad #smoothie #dessert #smores #summer #classic #recipe

This “Easy as Breeze” post is sponsored by Almond Breeze Almondmilk. Thank you for supporting brands who help make this website possible!

S'mores Smoothie - Power up your blender for a twist of a campfire favorite - s'mores! via Chef Julie Harrington, RD @ChefJulie_RD #EasyAsBreeze #ad #smoothie #dessert #smores #summer #classic #recipe
S’mores – it’s a summer time favorite. Summer is not complete without a perfect s’more over a campfire. S’mores creations have really gotten creative lately. Adding a reese pb cup instead of a chocolate square, adding in a brûlée banana slice, or even using chocolate chip cookies instead of graham crackers. I’m thinking a little more out of the box today with a drinkable form.

S'mores Smoothie - Power up your blender for a twist of a campfire favorite - s'mores! via Chef Julie Harrington, RD @ChefJulie_RD #EasyAsBreeze #ad #smoothie #dessert #smores #summer #classic #recipe
As crazy as this sounds, my uncle didn’t know what a s’more was. Uhhhh.. what! How do you not know what a s’more is?! And even after my cousins and I explained it to him, he never says it correctly. He pronounces it like s’moré.

S'mores Smoothie - Power up your blender for a twist of a campfire favorite - s'mores! via Chef Julie Harrington, RD @ChefJulie_RD #EasyAsBreeze #ad #smoothie #dessert #smores #summer #classic #recipe
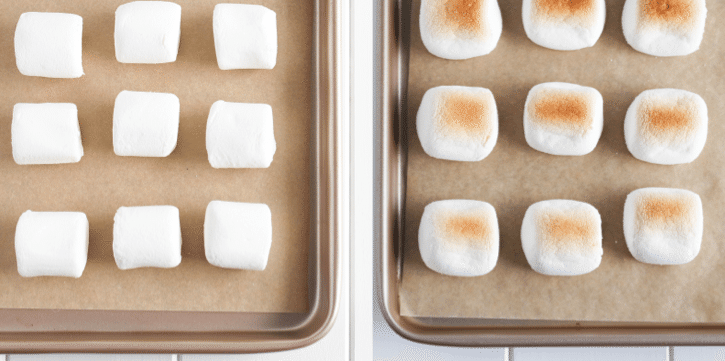
With no opportunity being around a campfire or fire pit yet this summer, I had to improvise to enjoy my s’more craving. Simply toast marshmallows by broiling them. NOTE: keep an eye on them! I burned the first batch, oops!

Learn the history of s’mores.

S'mores Smoothie #EasyAsBreeze via RDelicious Kitchen @rdkitchen

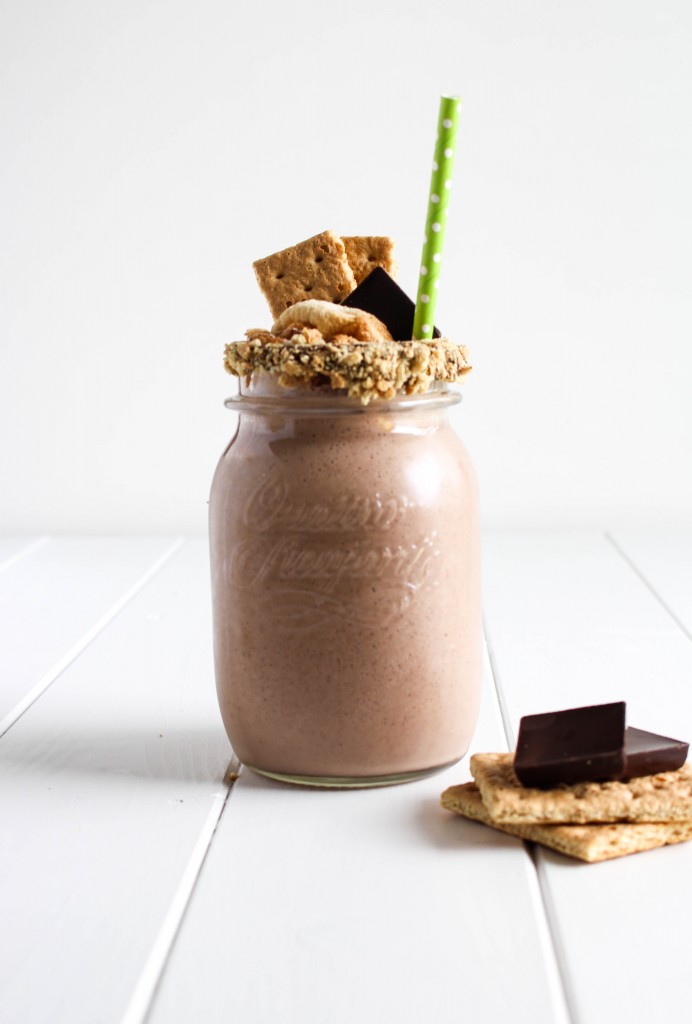
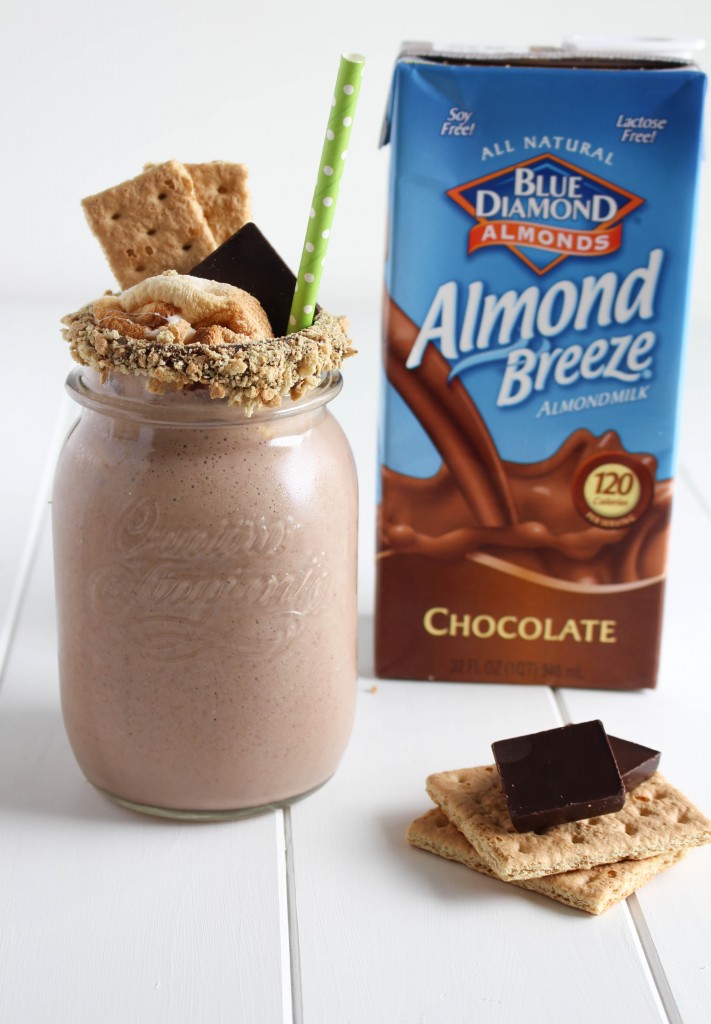
The chocolate almond milk was the perfect addition to make it taste rich and indulgent. It literally tastes like a drinkable s’more. If you have s’mores ingredients at home, it’s time to make a s’more smoothie .. now! You can thank me later.

Print
clock clock iconcutlery cutlery iconflag flag iconfolder folder iconinstagram instagram iconpinterest pinterest iconfacebook facebook iconprint print iconsquares squares iconheart heart iconheart solid heart solid icon
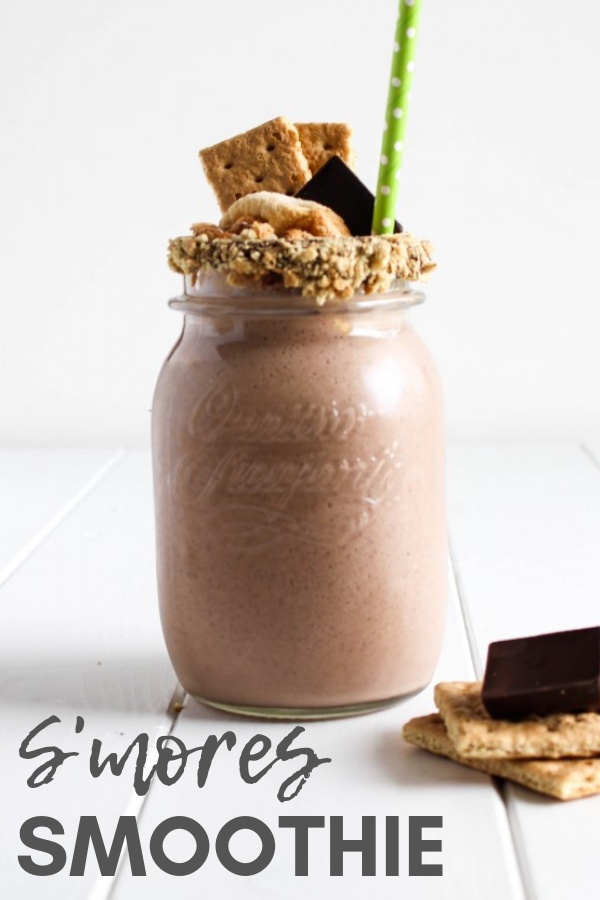
s'mores smoothie in a mason jar with a green straw

S’mores Smoothie

  • Author: Chef Julie Harrington, RD
  • Prep Time: 10 mins
  • Total Time: 10 mins
  • Yield: 2-4 1x
  • Category: Smoothie
  • Method: Blender
  • Cuisine: American

Ingredients

Scale
  • 1 1/2 cups chocolate almond milk
  • 2 cups vanilla Greek yogurt
  • 6 large marshmallows
  • 4 chocolate squares
  • 2 sheets honey graham crackers

Instructions

  1. Line a baking sheet with parchment paper. Place marshmallows on baking sheet and place under broiler on low for 2-3 minutes. (note: keep a close eye on the marshmallows as they can burn quickly)
  2. In a blender, combine the chocolate almond milk, vanilla Greek yogurt, toasted marshmallows, chocolate squares, and graham crackers. Blend until smooth.
  3. (optional) Melt additional chocolate and rim the glasses with chocolate and crushed graham crackers. Add additional toasted marshmallows, graham crackers, and chocolate for a garnish.

Notes

Don’t skip toasting the marshmallows or they will not blend up all the way in the smoothie.

Keywords: s’mores, smoothie, almond milk, chocolate

Recipe Card powered byTasty Recipes
Chef Julie Harrington, RD - Culinary Nutrition Consultant of chefjulierd.com
S'mores Smoothie - Power up your blender for a twist of a campfire favorite - s'mores! via Chef Julie Harrington, RD @ChefJulie_RD #EasyAsBreeze #ad #smoothie #dessert #smores #summer #classic #recipe

Dark Chocolate Peanut Butter Mousse

I’ve mentioned time and time again here on RDelicious Kitchen about my love for chocolate. Hi my name is Julie, and I’m a chocoholic. I was overly excited for this months Recipe ReDux theme.

Dark Chocolate Peanut Butter Mousse - a dessert you can feel good about eating via @rdkitchen

Favorite Chocolate Matches – Does your chocolate need a friend? This month’s posting will be after Valentine’s Day, so you may have a bit of extra chocolate around. What’s your favorite chocolate match? Be it traditional peanut butter or something more exotic like cayenne + chocolate. Show us your favorite healthy chocolate combo recipe.

You can’t go wrong with pairing chocolate with peanut butter. You can find me in the kitchen at night with a spoonful of peanut butter with chocolate chips on top. (Robin & Kylie do the same! Great minds think alike 🙂 )

Dark Chocolate Peanut Butter Mousse - a dessert you can feel good about eating via @rdkitchen

Each month for for the recipe redux challenge, I make a list of recipe ideas and narrow it down, closer and closer to the due date. Yesterday, I was still figuring out what I was going to make. [#procrastination at it’s finest] I wanted to try and think outside the box, but it always came back to my favorite: chocolate + peanut butter.

Dark Chocolate Peanut Butter Mousse - a dessert you can feel good about eating via @rdkitchen

I actually made a rendition of this recipe with just chocolate for a valentine’s day event at work, so I know it’s a crowd pleaser. The one thing that shocked people the most is one of the ingredients .. TOFU! It mades the mousse light and airy, plus packs in protein for a dessert recipe!

Print

clock clock iconcutlery cutlery iconflag flag iconfolder folder iconinstagram instagram iconpinterest pinterest iconfacebook facebook iconprint print iconsquares squares iconheart heart iconheart solid heart solid icon
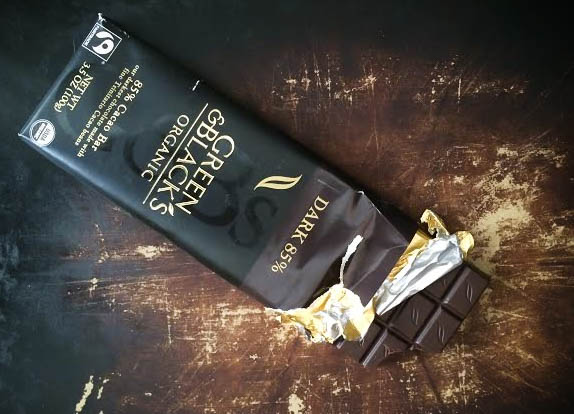
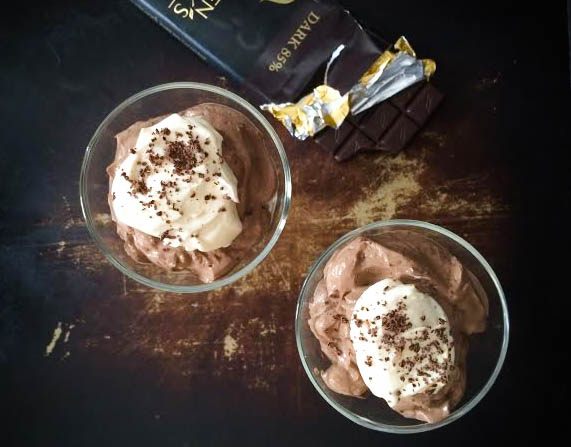
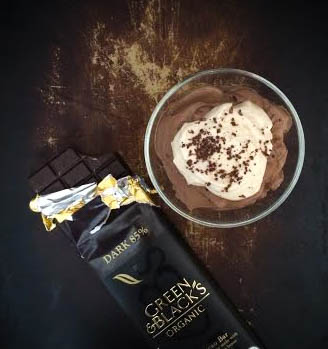
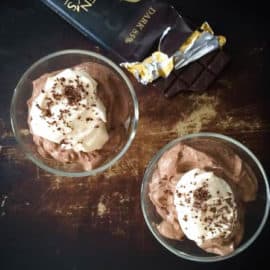
Dark Chocolate Peanut Butter Mousse with a chocolate bar on a dark pan

Dark Chocolate Peanut Butter Mousse

  • Author: Julie @ RDelicious Kitchen
  • Yield: 4
  • Category: Dessert

Ingredients

Scale
  • 3 pitted dates
  • 4 ounces dark chocolate
  • 1/4 cup natural creamy peanut butter
  • 1/2 tsp espresso powder
  • 1/4 tsp salt
  • 1 cup silken tofu
  • [Topping]
  • 1/2 cup vanilla yogurt
  • 1 tsp creamy peanut butter
  • 1 tsp shaved dark chocolate

Instructions

  1. Soak dates in water to soften. Set aside.
  2. Using a double boiler, melt chocolate over medium heat. Stir in peanut butter, espresso, and salt. Remove from heat and let slightly cool.
  3. In a blender combine the dates, chocolate, and tofu. Blend throughly until combined.
  4. Divide equally into 4 small bowls. Cover and refrigerate for at least 2 hours to set.
  5. As the mousse is chilling, stir together the yogurt and peanut butter.
  6. Evenly divide the mousse into 4 small bowls. Add a dollop of peanut butter yogurt. Garnish with shaved chocolate.

Recipe Card powered byTasty Recipes

RDelicious Kitchen


Calling All Chocolate Lovers {Recipe Round Up}

Screen Shot 2015-02-03 at 11.50.12 PM

For anyone who knows me well, knows I love chocolate. I have a small piece of dark chocolate every. single. day. The second I am done with dinner, no matter what dinner was, I always crave something a little sweet! What helps me keep my portion control in check is to savor the little piece. It helps me slow down and truly enjoy it.
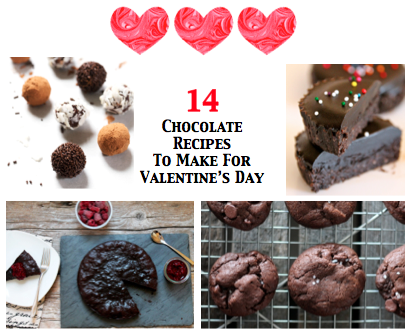
With Valentine’s Day coming up I was thinking what I would make this year for me and the bf. With these 14 chocolate-y recipes I rounded up from some of my favorite bloggers, now I can’t decide! Which one are you going to make?

Double Chocolate Mocha Cookies

cookies
Double Chocolate Mocha Cookies // Dietitian Debbie Dishes
Soft Chewy Double Chocolate Cookies // paleOMG
Chewy Double Chocolate Chip Cookies with Sea Salt // Ambitious Kitchen

Chocolate Cookie Bars

bars & brownies
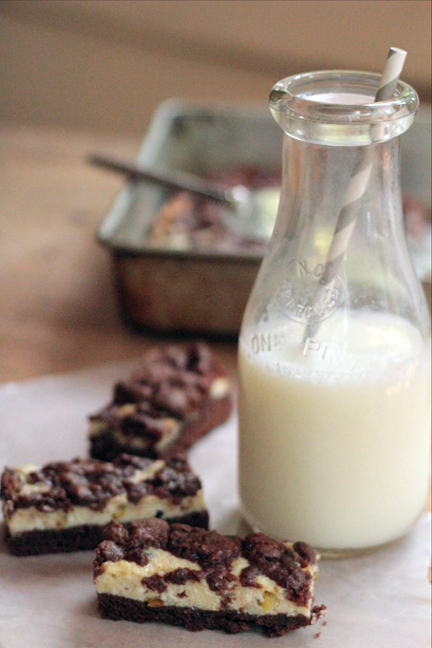
Chocolate Cookie Bars // Cape Fear Nutrition
Black Bean Brownies // Imma Eat That
German Chocolate Brownies // Living Well Kitchen

Superfood Chocolate Muffins

muffins & breads
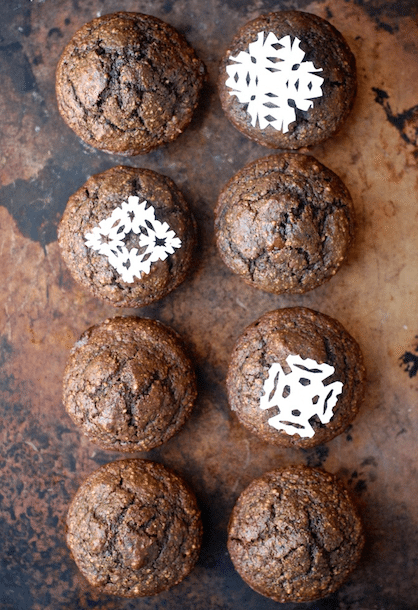
Superfood Chocolate Muffins // Kumquat
Triple Chocolate Quick Bread // Edible Perspective

Gluten Free Double Chocolate Cupcakes for 2

cakes & cupcakes
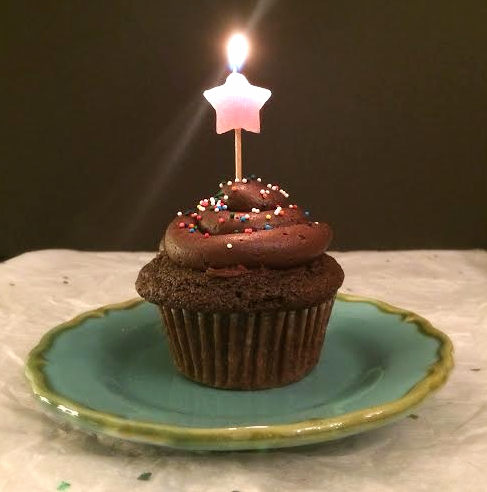
Double Chocolate Cupcakes for 2 {GF} // RDelicious Kitchen
Flourless Dark Chocolate Peanut Butter Cake with Raspberry Sauce // My Cape Cod Kitchen
{GF} Classic Chocolate Pound Cake // Healthy Aperture

Dark Chocolate Cherry & Chia Bark

bite sized
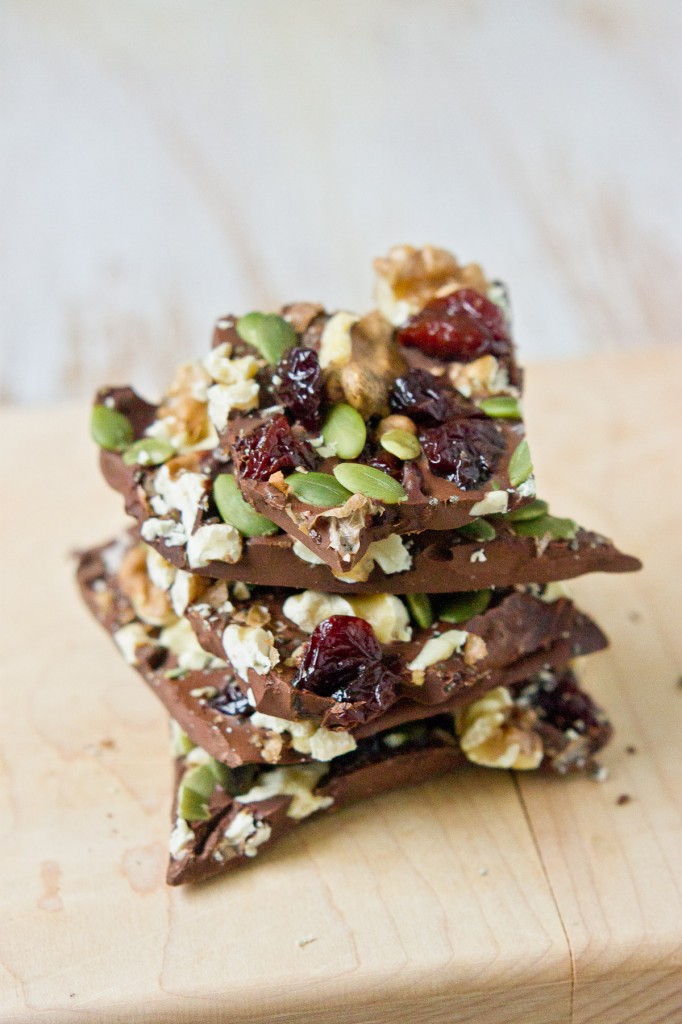
Dark Chocolate Cherry & Chia Bark // Love & Zest
Dark Chocolate Ganache Tartlets // Sweet Dreaming
Inner Goddess Chocolate Truffles // Pinch of Yum

Not enough chocolate recipes? No problem. I created a Pinterest board just for you 😉

Pinterest board at RDkitchen

heart

Signature

Double Chocolate Cupcakes for 2

Shhhhhh… It’s a surprise!

It’s a super secret virtual surprise party!

Gluten Free Double Chocolate Cupcakes for 2

Happy 40th Birthday Regan!

I had the pleasure of meeting Regan at Blog Brulee this past September. This woman seriously does it all – Owner of Healthy Aperture, Recipe ReDux, RDs4Disclosure, & co-founder of Blog Brulee. She is a wonderful woman and puts so much hard work and dedication into all the work she does. She had truly opened so many doors for Registered Dietitian’s especially in the internet world.
Regan – You have inspired me in so many ways and I hope to be as accomplished as you are one day! Happy Birthday!
Now, back to these cupcakes.

Gluten Free Double Chocolate Cupcakes for 2

Since it’s Regan birthday, this birthday party was inspired by her amazing Gluten Free desserts like her,  SugarFree GlutenFree Lemon-Nut Sandies, Mulled Wine Raisin Bread, and Gluten-Free Classic Chocolate Pound Cake. So we were inspired to bring a gluten free treat to the party too!
I’ve experimented with coconut flour in the past to create GF treats. The one thing I noticed after a complete recipe fail, that coconut flour sucks up any moisture, so you have to make sure to have enough wet ingredients.
Gluten Free Double Chocolate Cupcakes for 2
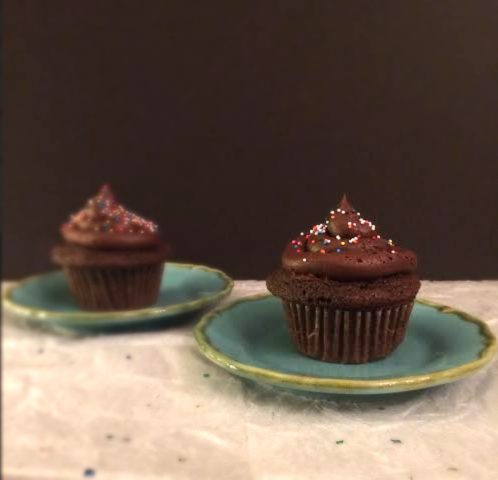
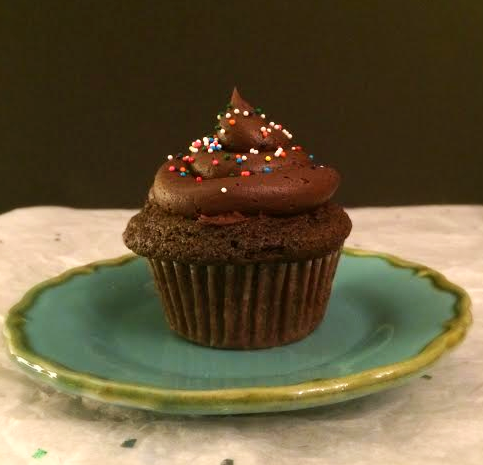
I am a total chocolate lover, so of course I made a chocolate on chocolate cupcake. This is perfect for when you are craving a chocolately treat, but don’t want to make a whole batch of something. And perfect for a special homemade dinner date night with a dessert just for 2!
Nutrition needs for GF double chocolate cupcake recipe

Print

clock clock iconcutlery cutlery iconflag flag iconfolder folder iconinstagram instagram iconpinterest pinterest iconfacebook facebook iconprint print iconsquares squares iconheart heart iconheart solid heart solid icon
single serve chocolate cupcake on a blue plate

{Gluten Free} Double Chocolate Cupcakes for 2

  • Author: Julie @ RDelicious Kitchen
  • Category: dessert

Description

Craving a chocolate cupcake, but don’t want to have a whole batch tempting you for the rest of the week. These Gluten Free Chocolate Cupcakes for 2 is the perfect solution.


Ingredients

Scale
  • 1 1/2 tbsp unsweetened cocoa
  • 1 1/2 tbsp coconut flour
  • 3/4 tsp gluten free baking powder
  • Pinch of salt
  • 2 eggs
  • 1 1/2 tbsp maple syrup
  • 1/2 tsp vanilla extract
  • 1 1/2 tbsp coconut oil melted and cooled

Instructions

  1. Preheat the oven to 325 degrees F.
  2. Combine the the cocoa, coconut flour, baking powder, and salt.
  3. Add the the eggs, honey, vanilla and coconut oil.
  4. Mix well until combined.
  5. Put two cupcake liners in a cupcake tin. Fill the batter 3/4 of the way.
  6. Bake for 20 minutes.
  7. Let cupcakes completely cool and add frosting of your choice.

Recipe Card powered byTasty Recipes

Thanks Gretchen for putting this surprise party together! Regan – I hope you were super surprised and had an amazing 40th birthday!
Signature