This post may contain affiliate links. Read my privacy policy.
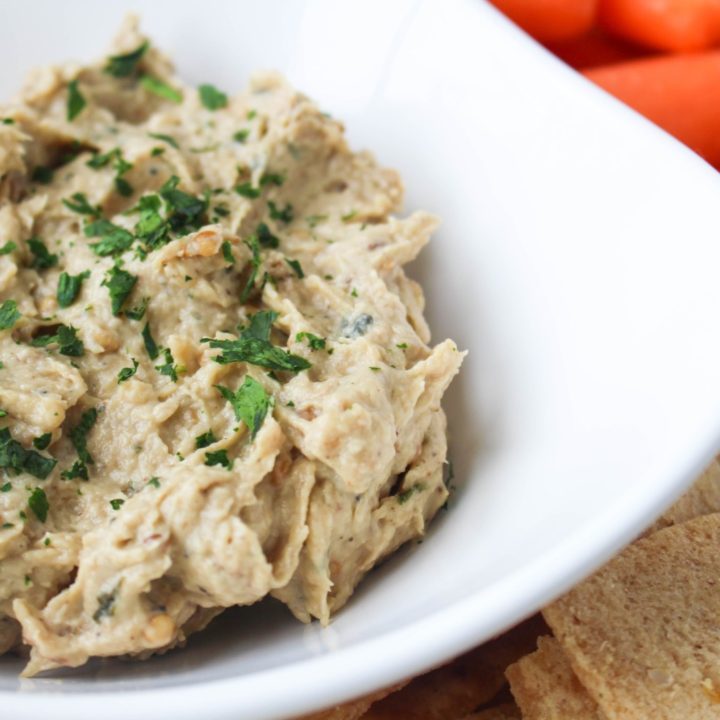
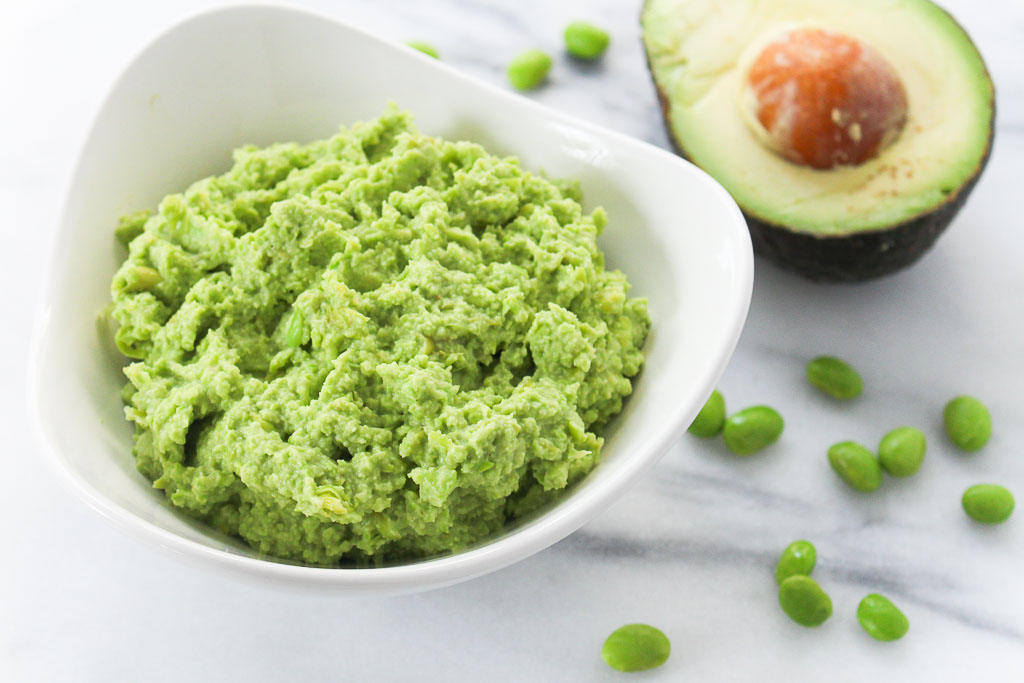
Move over chickpea hummus. There’s a new hummus in town – Edamame Avocado Hummus.
I recently did a presentation about smart snacking. One thing I like to mention about smart snacking is to opt for real food first. Snacking is an opportunity for nourishment.
Yes, grabbing a bar is quick (some bars do pack in great nutritional value), but really think about your snacks throughout the day. How many of them are real food vs. processed foods?
I’ve been challenging myself to include more veggies into my snacks. I go through snacking phases, and raw veggies have fallen out of my routine a little bit.
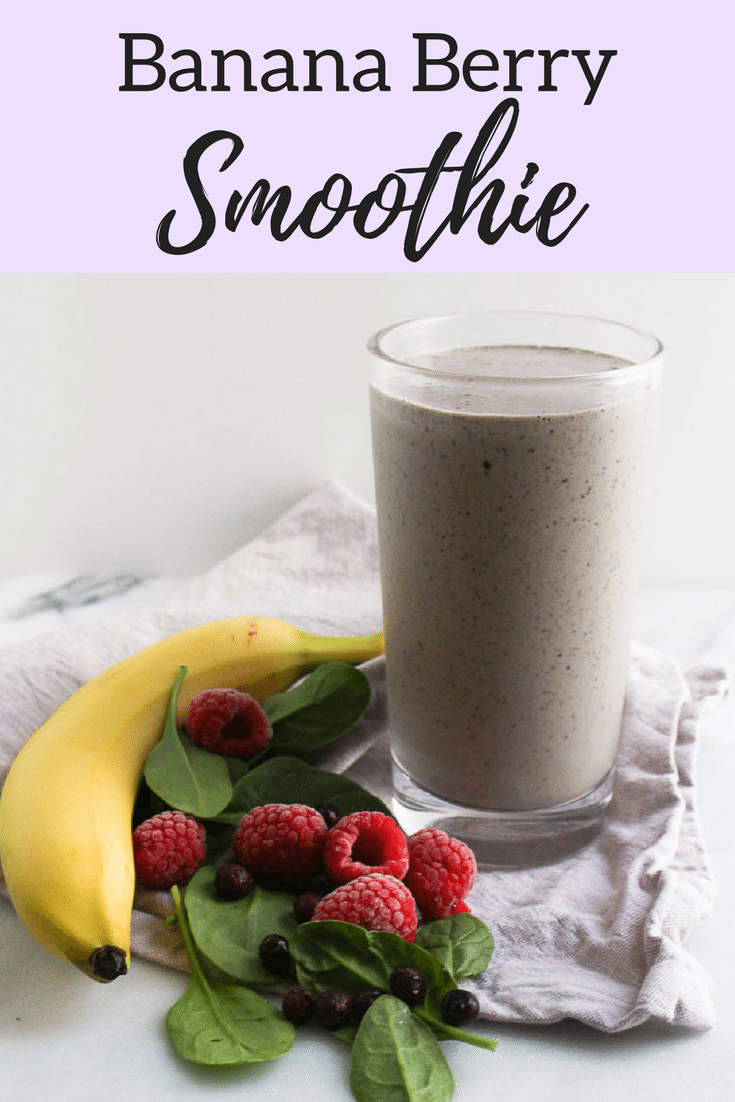
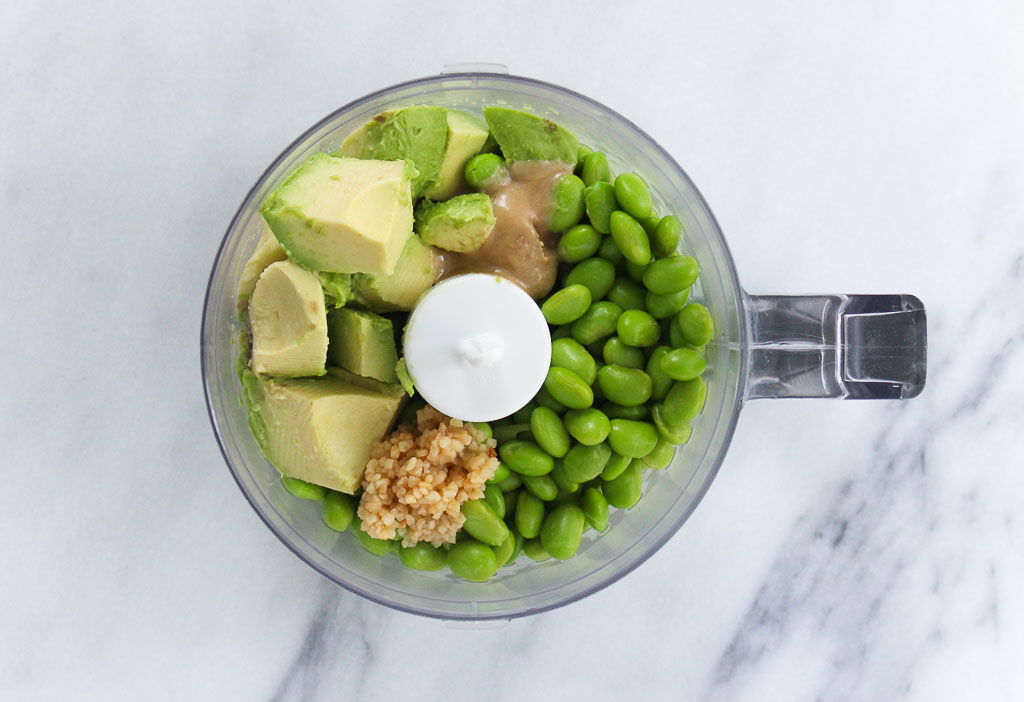
Snacking is more fun when you are dunking. I love dunking my veggies into hummus, but I decided to switch it up a bit and use edamame as the base instead of chickpeas. Edamame, a plant-based protein is a young soybean that has been harvested before the beans have had a chance to harden.

Adding avocado to the edamame helps make this dip creamy. Avocados can act as a booster to help your body absorb fat-soluble nutrients from the foods eaten with them, like vitamin A. Vitamin A foods, like carrots, contain carotenoids, which not only promote healthy skin but benefit the heart and immune system as well. This vitamin is a potent antioxidant that protects the skin from free radicals. So, pair carrot sticks with this delicious dip!

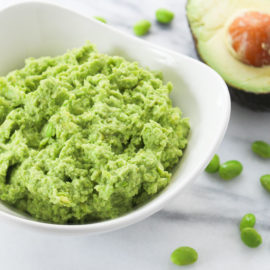
Edamame Avocado Hummus
- Prep Time: 10 minutes
- Total Time: 10 minutes
- Yield: 8
- Category: dip
- Method: no-cook
Ingredients
- 1 cup frozen shelled edamame, thawed
- 1/2 large avocado
- 1 tbsp fresh lemon juice
- 2 cloves garlic, minced
- 1 teaspoon tahini
- 1/2 teaspoon onion powder
- 1/8 teaspoon ground pepper
- pinch of salt
- 2 tbsp avocado oil (can sub olive oil)
Instructions
- Add edamame, avocado, lemon juice, garlic, tahini, onion powder, pepper and salt in a food processor. Pulse for 30 seconds and scrape down sides.
- Slowly drizzle in oil while motor is running and pulse until reach desired consistency.
Keywords: hummus, avocado, edamame, dip