Creamy Tomato Soup

A creamy soup without the cream? Check out the secret ingredient that makes this dairy free Creamy Tomato Soup thick and creamy. Creamy Tomato Soup via RDelicious Kitchen @RD_kitchenCan you believe it’s almost 2017!? Where did the year go? The Recipe ReDux club is playing a little party game at the end of 2016: Grabbing your nearest cookbook and ReDux the recipe on page 201, 16, 216 – or any combination of the number ‘2016.’

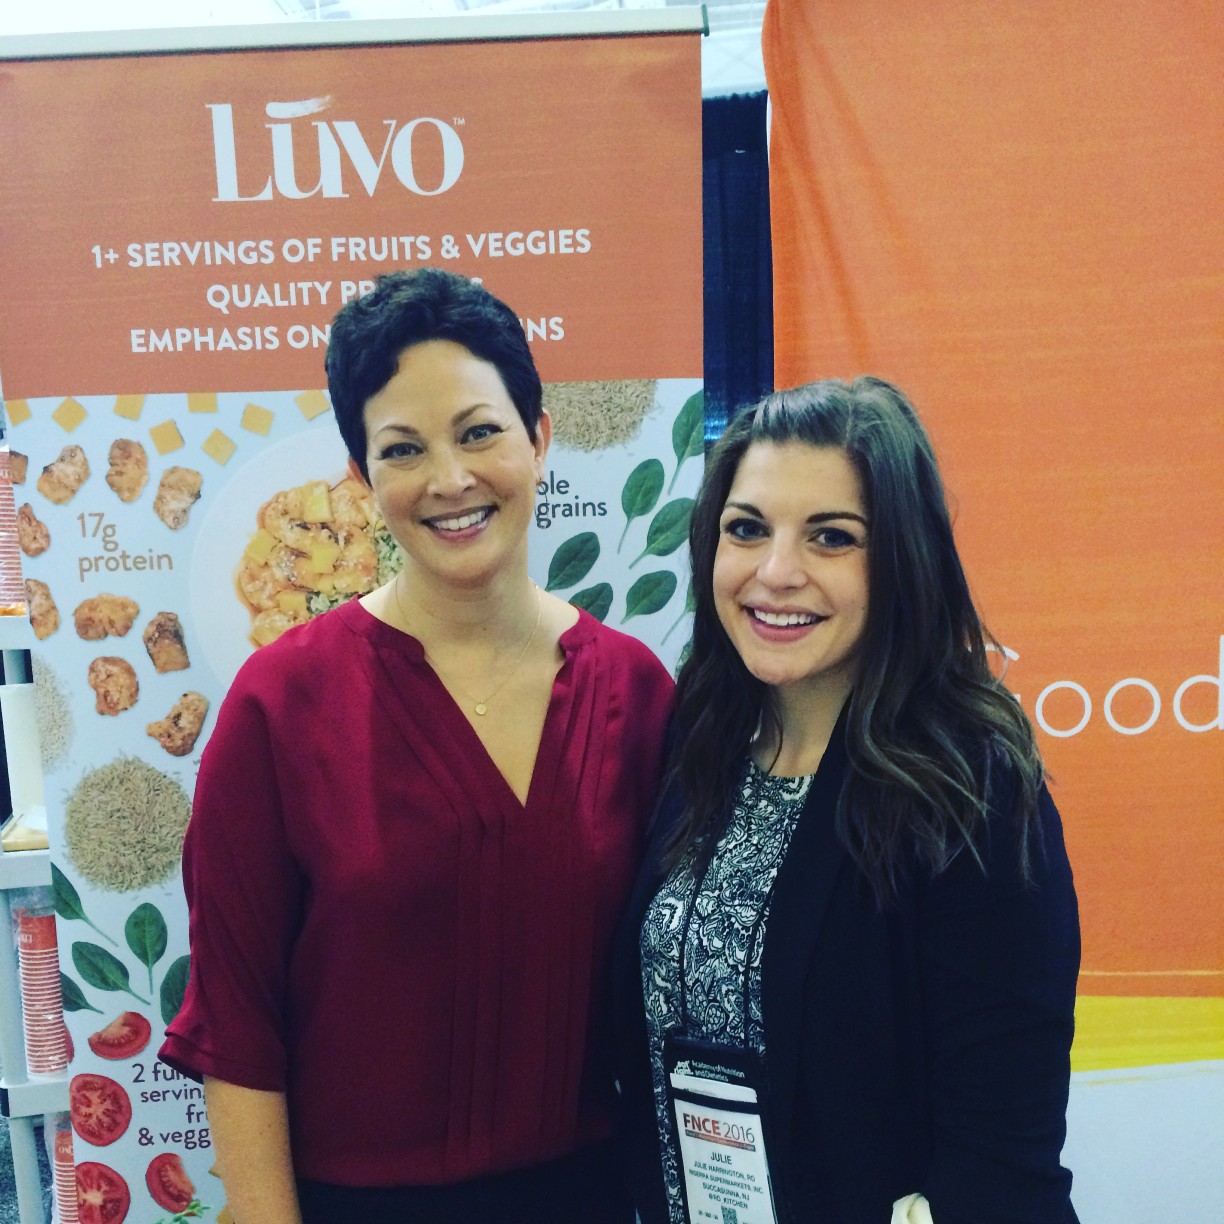
I opened You Have It Made cookbook by Ellie Krieger to page 126 – creamy tomato soup. I actually won this cookbook at FNCE at the Luvo booth and was able to meet one of favorite chef/RD’s Ellie Krieger. Julie with Ellie Krieger via RDelicious Kitchen via @RD_kitchenThis soup is so simple and packed with flavor. It’s called a “Creamy” Tomato Soup, but guess what? There’s no cream! That’s the magic of Registered Dietitian chefs – we know how to alter recipes with alternative ingredients to pack in more nutritional value while still getting delicious results.
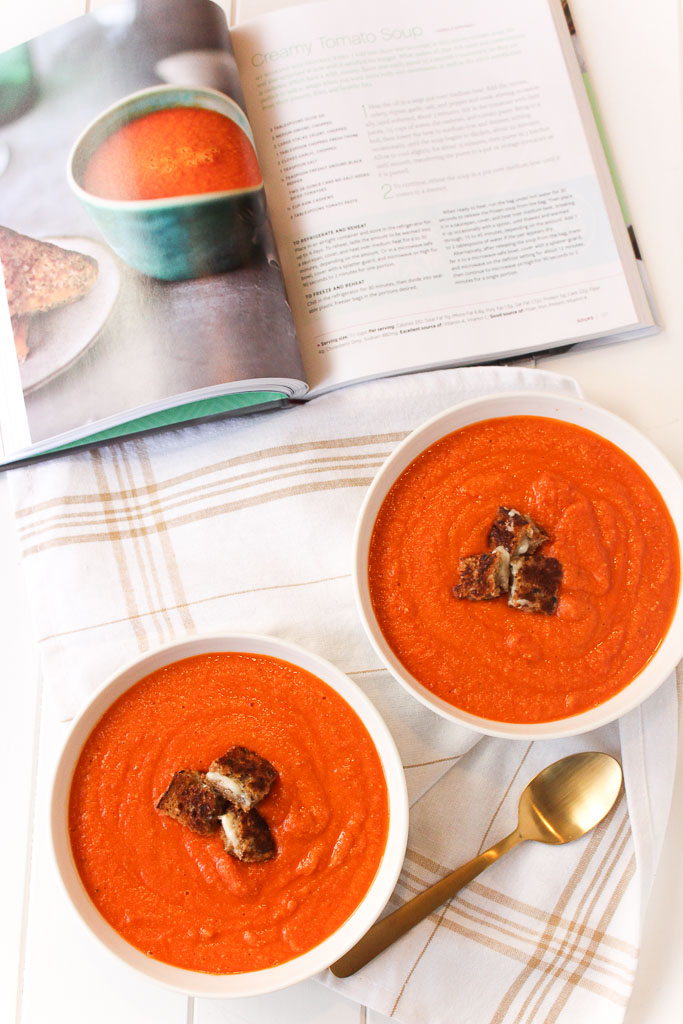
Creamy Tomato Soup via RDelicious Kitchen @RD_kitchenThe magic behind this creamless creamy soup – cashews! Cashews provide the ultimate creaminess when blended into soups. They make this creamy tomato soup so thick and smooth you would never know there isn’t dairy in there.
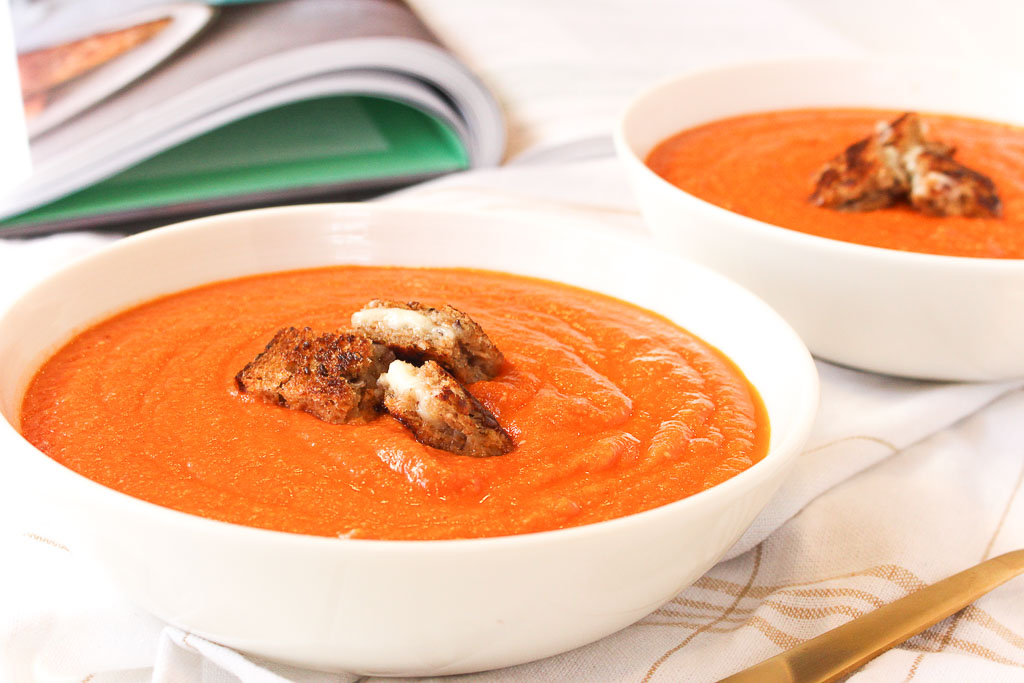
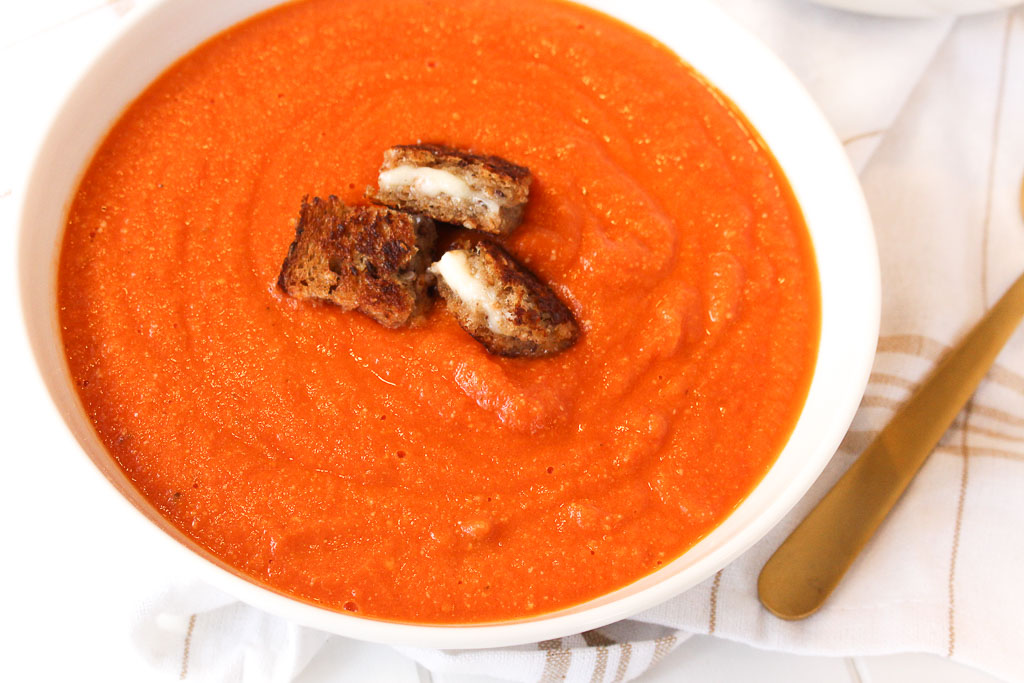
Creamy Tomato Soup via RDelicious Kitchen @RD_kitchenYou can’t have tomato soup without grilled cheese, am I right? Instead of adding a grilled cheese on the side, I made mini grilled cheese “croutons” with my favorite whole grain bread + Cabot cheddar cheese.
Creamy Tomato Soup via RDelicious Kitchen @RD_kitchen

Print
clock clock iconcutlery cutlery iconflag flag iconfolder folder iconinstagram instagram iconpinterest pinterest iconfacebook facebook iconprint print iconsquares squares iconheart heart iconheart solid heart solid icon
creamy tomato soup with grilled cheese croutons on a white bowl

Creamy Tomato Soup

  • Author: Julie @ RDelicious Kitchen
  • Yield: 6

Ingredients

Scale
  • 2 tablespoons olive oil
  • 2 onions, chopped
  • 2 celery stalks, chopped
  • 1 tablespoon thyme
  • 2 cloves garlic, chopped
  • 1 teaspoon salt
  • 1/2 teaspoon black pepper
  • 2 (28-ounce) cans no-salt-added diced tomatoes
  • 3/4 cup raw cashews
  • 2 tablespoons tomato paste
  • 2 slices whole wheat bread
  • 2 ounces cheddar cheese, thinly sliced
  • 1 teaspoon butter

Instructions

  1. Heat the oil in a large pot over medium heat. Add the onions, celery, thyme, garlic, salt and pepper and cook, stirring occasionally, until softened, about 5 minutes. Stir in the tomatoes with their juice, 1 1/2 cups of water, the cashews, and tomato paste. Bring to a boil, then lower the heat to medium-low and simmer, stirring occasionally, until the soup begins to thicken, about 20 minutes. Allow to cool slightly, for about 15 minutes, then puree in 3 batches until smooth, transferring the puree to a pot or storage container as it is pureed.
  2. To continue, reheat the soup in a pot over medium heat until it comes to a simmer.
  3. As the soup is cooking, spread butter on each slice of bread. Place butter side of bread down in a small pan, layer with cheese, then place the other slice of bread on top (butter side facing up). Cook until golden brown on each side and cheese has melted. Cut into small squares.
  4. Pour soup into bowl and top with mini grilled cheese “croutons”.

Notes

Creamy Tomato Soup recipe by Ellie Krieger’s You Have It Made cookbook.

Recipe Card powered byTasty Recipes

RDelicious Kitchen @RD_Kitchen
Creamy Tomato Soup via RDelicious Kitchen @RD_kitchen

Balsamic Roasted Almonds + Fun Facts about Almonds

This past September I traveled to California for the first time. I was so fortunate that California Almond Board invited me on an amazing trip to the almond orchards in Lodi, California with a group of amazing Registered Dietitians and food bloggers. We learned a wealth of information of all things almonds, including sustainability, growing methods, almond life cycles and nutrition research. Fun Facts About Almonds via RDelicious Kitchen @RD_KitchenDisclosure: I was provided with free travel and accommodations to the California Almond Orchard experience. I was not additionally compensated for my time or to write this post. 
Ever wonder where those almonds that are in your trail mix, granola bars, and cereals are from? The almond lifecycle has many stages before they end up in your kitchen cabinets.
Did you know, there are more than 30 different varieties of almonds? 10 of them comprise the majority of almonds produced in California.Fun Facts About Almonds via RDelicious Kitchen @RD_Kitchen
80% of the world’s almonds are produced in California, and from raw almonds and almond butter to almond flour, almond milk, and almond oil. The Central Valley of California is the perfect spot for almonds to grow due to their mild, wet winters and hot, dry summers.
The Almond Lifecycle:
November – February: Almond trees go through a period of dormancy when the cold weather lets them sit back, relax and store up almond nutrients for next year’s crop.
Late February – early March: Almond tree buds burst into light pink and white blooms in preparation for pollination. Nonpareils are among the first to bloom, while other varieties, such as Carmel and Mission, bloom later.
Many almond trees are not self-pollinating, so bees provide the missing piece of the puzzle. Populations of bees are brought to the orchard to carry pollen and initiate crop development.
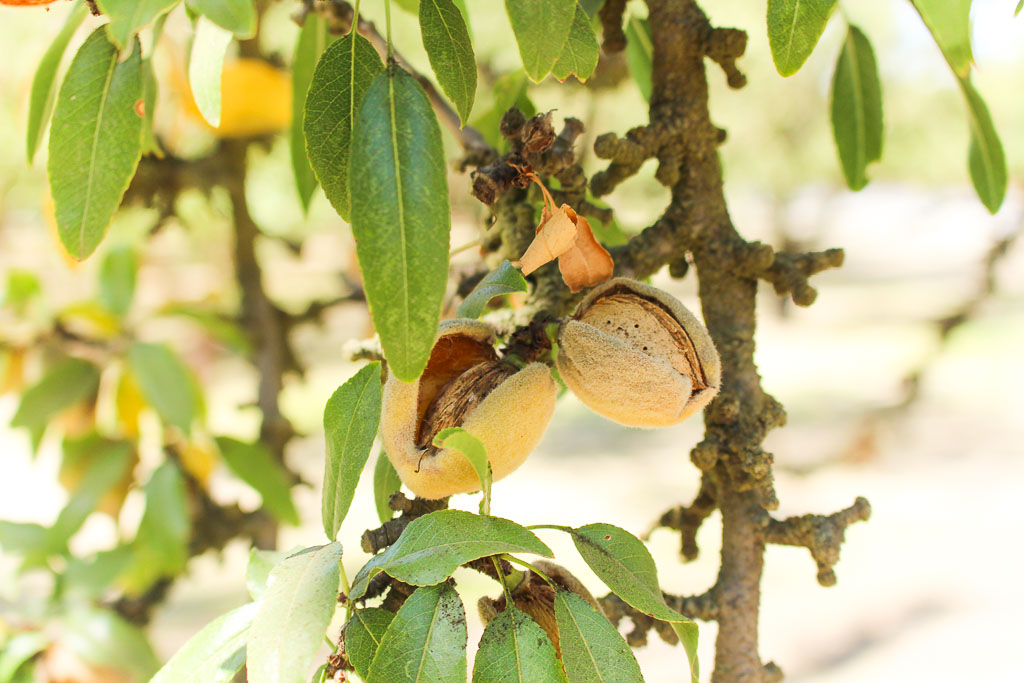
March – June: Almonds continue to mature, with the shell hardening and kernel forming. Also at this time, green almonds are harvested for various culinary uses.Fun Facts About Almonds via RDelicious Kitchen @RD_KitchenJuly – early August: Almond hulls begin to split open exposing the almond shell and allowing it to dry. Shortly before harvest, the hulls open completely.
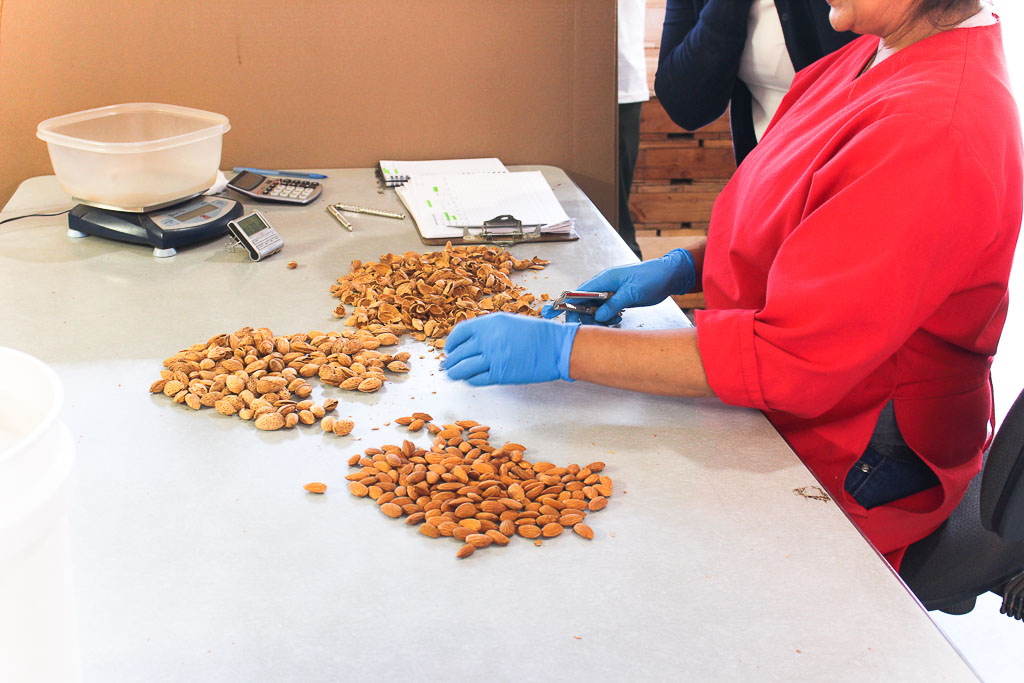
Mid-August through October: Mechanical tree “shakers” harvest the almonds by vigorously shaking them to the ground. The almonds then dry naturally for 8–10 days in the orchard before they are swept into rows and picked up by machine.Fun Facts About Almonds via RDelicious Kitchen @RD_KitchenAfter harvest, almonds go to a huller/sheller where the kernels pass through a roller to remove the hull, shell, and any remaining debris. Next stop: the handler for sizing, where the almond kernels drop into separate bins according to size.
After sizing, almonds are kept in controlled storage conditions to maintain quality until they’re either shipped or further processed into any variety of different almond forms for diverse culinary uses. (source: California Almonds)Fun Facts About Almonds via RDelicious Kitchen @RD_Kitchen
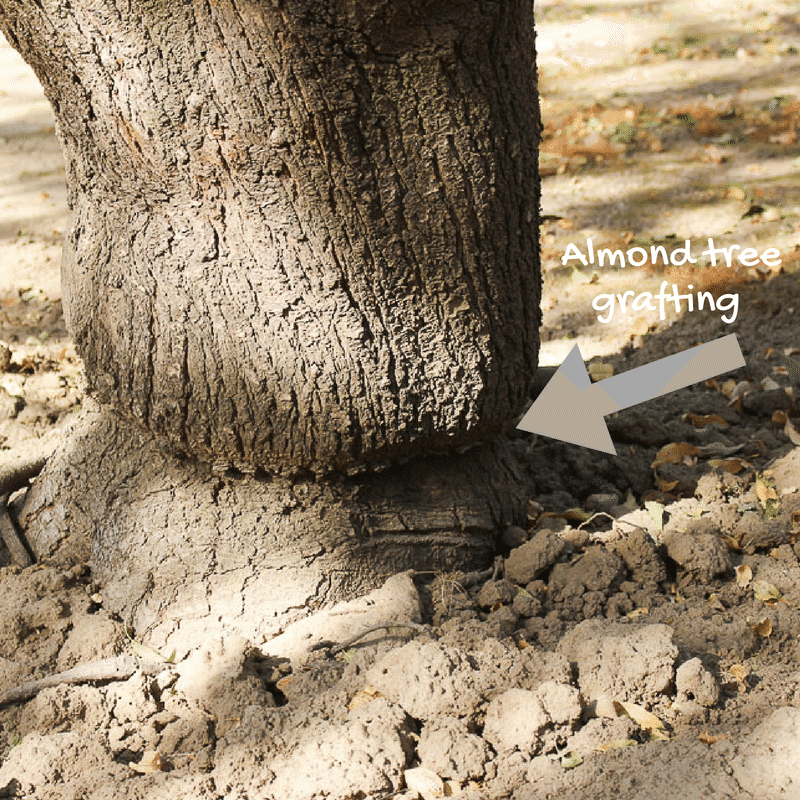
Did you know – Almond trees are grafted on the roots of peach or plum trees for a stronger root base. The almond trees are grown in a nursery, then grafted onto the root of a peach or plum tree to grow to maturity. Through the orchard you are able to see the point where they were grafted since they overlap each other. 
Fun Facts About Almonds via RDelicious Kitchen @RD_KitchenDid you know there are three parts to an almond? The hull, shell, and kernel make up this mighty little nut and all parts are used. The hull is the dry and fuzzy outer later. Hulls are sold as livestock feed, which reduces the amount of water used to grow other feed crops. The shells go to various alternative farming uses such as livestock bedding. The kernel, which most think of when thinking about almonds, is the nutrient-rich almond we eat. Each serving (28 g) contains 6 grams of energy-packed protein, 4 grams of hunger-fighting fiber, 13 grams of “good” unsaturated fat and only 1 gram of saturated fat.

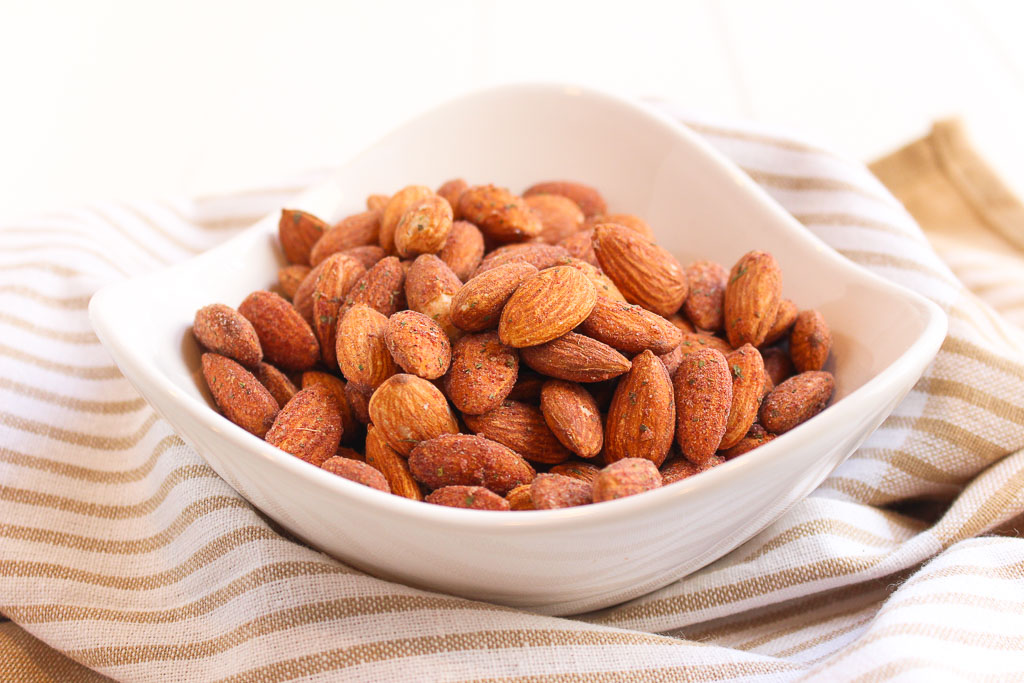
Now that I have you craving almonds, here is a delicious recipe to jazz up your almond snacks. Try these Balsamic Roasted Almonds. Just a few simple ingredients and snack time is jazzed up a little.
Balsamic Roasted Almonds via RDelicious Kitchen @RD_Kitchen

Warning: these almonds are addicting. The whole batch was gone in less than a week. Add them to salads, pair with a piece of fruit, the possibilities are endless. Be on the look out for another recipe soon using these almonds!
Balsamic Roasted Almonds via RDelicious Kitchen @RD_Kitchen

Print
clock clock iconcutlery cutlery iconflag flag iconfolder folder iconinstagram instagram iconpinterest pinterest iconfacebook facebook iconprint print iconsquares squares iconheart heart iconheart solid heart solid icon
balsamic roasted almonds in a white bowl

Balsamic Roasted Almonds + Fun Facts about Almonds

  • Author: Julie @ RDelicious Kitchen
  • Prep Time: 1 hour
  • Cook Time: 8 mins
  • Total Time: 1 hour 8 mins

Ingredients

Scale
  • 1 cup raw almonds
  • 1/2 cup balsamic vinegar
  • 1 teaspoon sea salt
  • 2 tablespoon rosemary, very finely chopped

Instructions

  1. Place almonds in a small bowl. Pour the balsamic vinegar into the bowl, stir to coat the almonds. Let sit for one hour.
  2. Pre-heat the oven to 350˚. Drain the vinegar from the almonds and pat almonds dry. Add sea salt and rosemary to the bowl and stir well to coat the almonds evenly. Spread almonds evenly onto a cookie sheet and bake for 8 minutes (stir the almonds halfway through cooking).
  3. Remove from oven and let cool for 30 minutes. Store almonds in an airtight container.

Recipe Card powered byTasty Recipes

RDelicious Kitchen @RD_Kitchen
Balsamic Roasted Almonds via RDelicious Kitchen @rd_kitchen

Thank you California Almonds for this amazing experience! To learn more about California Almonds check out their website. They have great resources for health professionals!

website // facebook // twitter // instagram

Fun Facts About Almonds via RDelicious Kitchen @RD_Kitchen

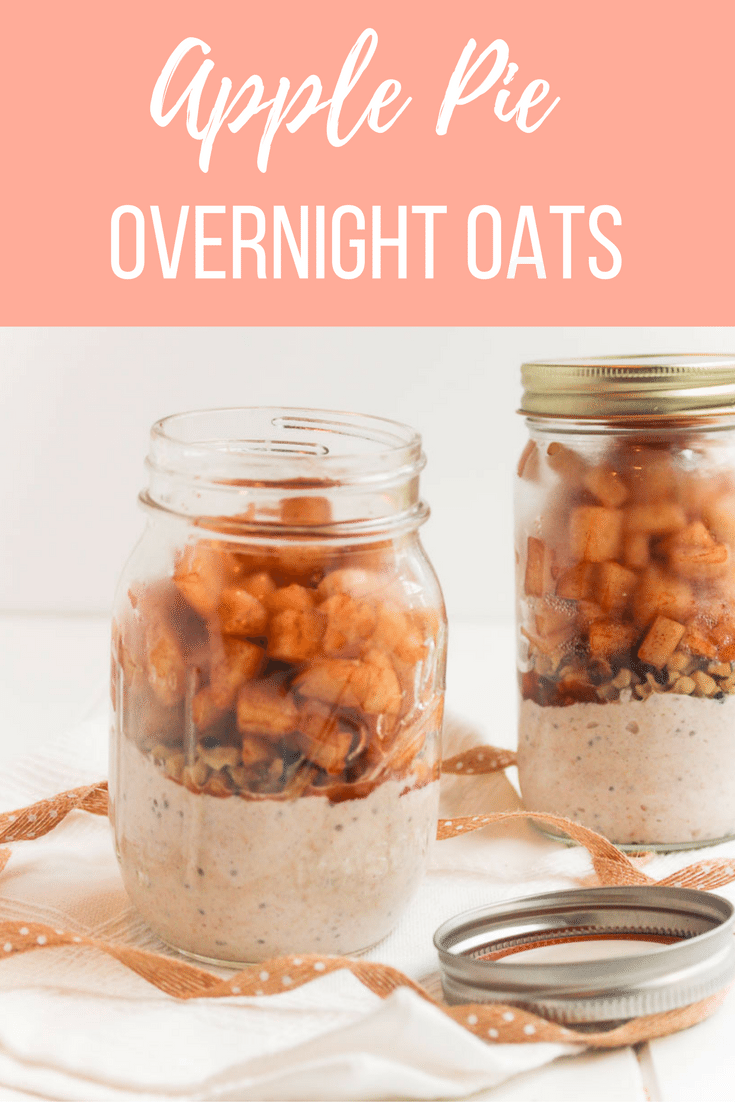
Apple Pie Overnight Oats

Pressed for time in the morning, but don’t want to skimp on a nutritious and filling breakfast? Make these Apple Overnight Oats and breakfast will be ready for you as you run out the door!
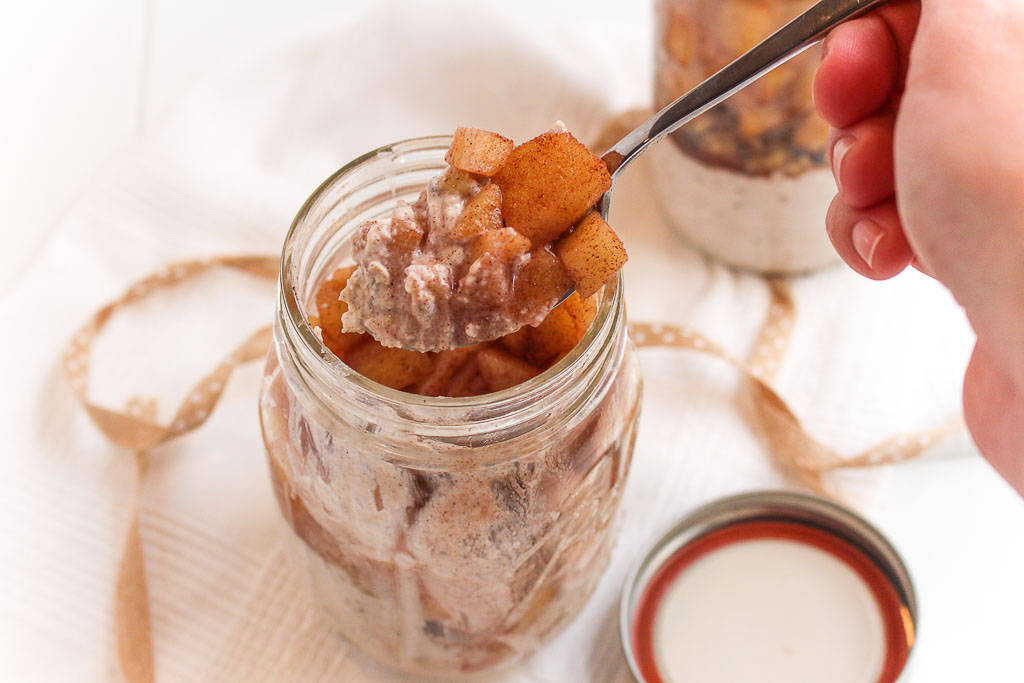
Apple Pie Overnight Oats via RDelicious Kitchen @rd_kitchenOn these chilly mornings, the snooze button has been becoming my best friend. Overnight oats save my mornings when I leave myself just 20 minutes to get out the door. With just a little prep the night before I know breakfast is ready for me, so I don’t feel guilty for getting those extra 10 (errr 20) minutes of sleep.
Apple Pie Overnight Oats via RDelicious Kitchen @rd_kitchenAfter many mornings of overnight oats, I am always looking for new flavor combos. The base of my overnight oats is typically a plain yogurt or kefir with fruit along with the oats. I often hear that plain yogurt is too tangy and tart. One of my favorite RD tips is to stir in unsweetened applesauce. It adds that sweetness without adding added sugars like flavored yogurts have. Plus, adding a pinch of cinnamon, it adds that perfect sweetness.

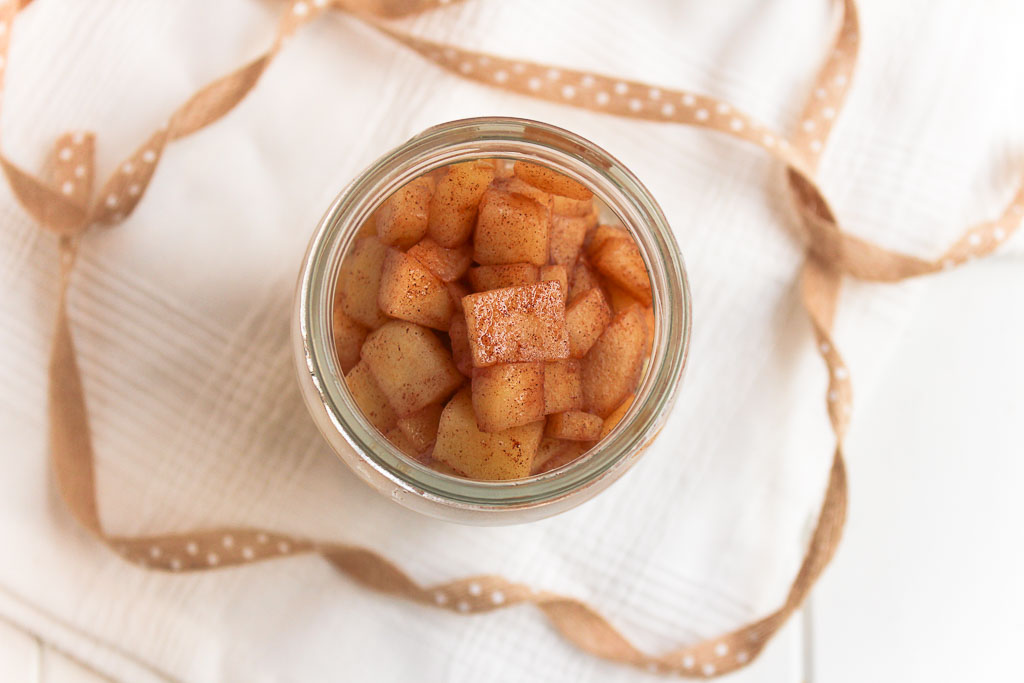
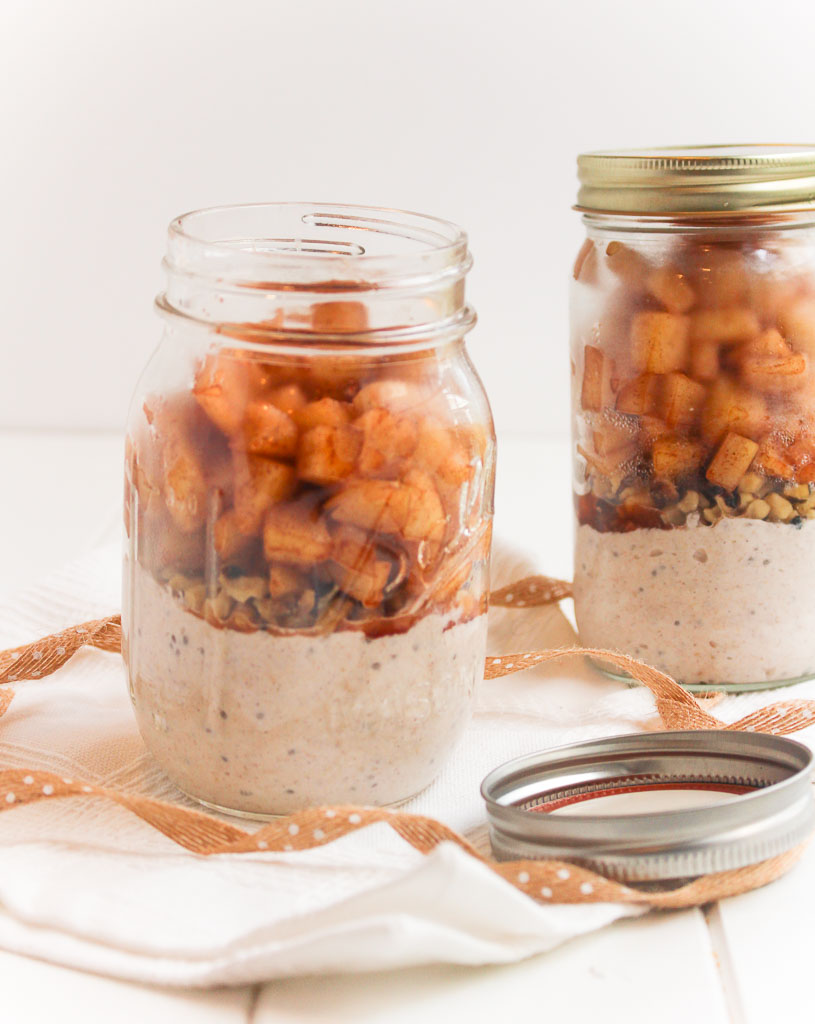
Apple Pie Overnight Oats via RDelicious Kitchen @rd_kitchenAdding cooked apples make these overnight oats tastes like dessert. I love apple pie, but I typically only eat the filling of the apples and ditch the crust. The soft apples add that extra element of sweetness from the apples being cooked down.

Print
clock clock iconcutlery cutlery iconflag flag iconfolder folder iconinstagram instagram iconpinterest pinterest iconfacebook facebook iconprint print iconsquares squares iconheart heart iconheart solid heart solid icon
apple pie overnight oats in a mason jar

Apple Pie Overnight Oats

  • Author: Julie @ RDelicious Kitchen
  • Prep Time: 15 mins
  • Total Time: 15 mins
  • Yield: 2

Ingredients

Scale
  • 2 small apples, peeled and chopped
  • 1 teaspoon lemon juice
  • 1 1/2 tablespoons cinnamon, divided
  • 1/2 cup quick oats
  • 1/2 cup unsweetened applesauce
  • 1/2 cup plain yogurt (I used Siggi’s)
  • 2 tablespoons chia seeds
  • 1/4 cup walnuts, chopped

Instructions

  1. In a small pot combine, chopped apples, lemon juice, and 1 tablespoon cinnamon. Heat over low heat until apples soften. Remove from heat and let cool completely.
  2. In a bowl, combine oats, applesauce, yogurt, chia seeds, and remaining cinnamon. Distribute oat mixture evenly between two mason jars. Add walnuts evenly over the oats, then top with the cooked apples.
  3. Seal with a lid and store in the refrigerator overnight.

Recipe Card powered byTasty Recipes

RDelicious Kitchen @RD_Kitchen
Apple Pie Overnight Oats via RDelicious Kitchen @rd_kitchen

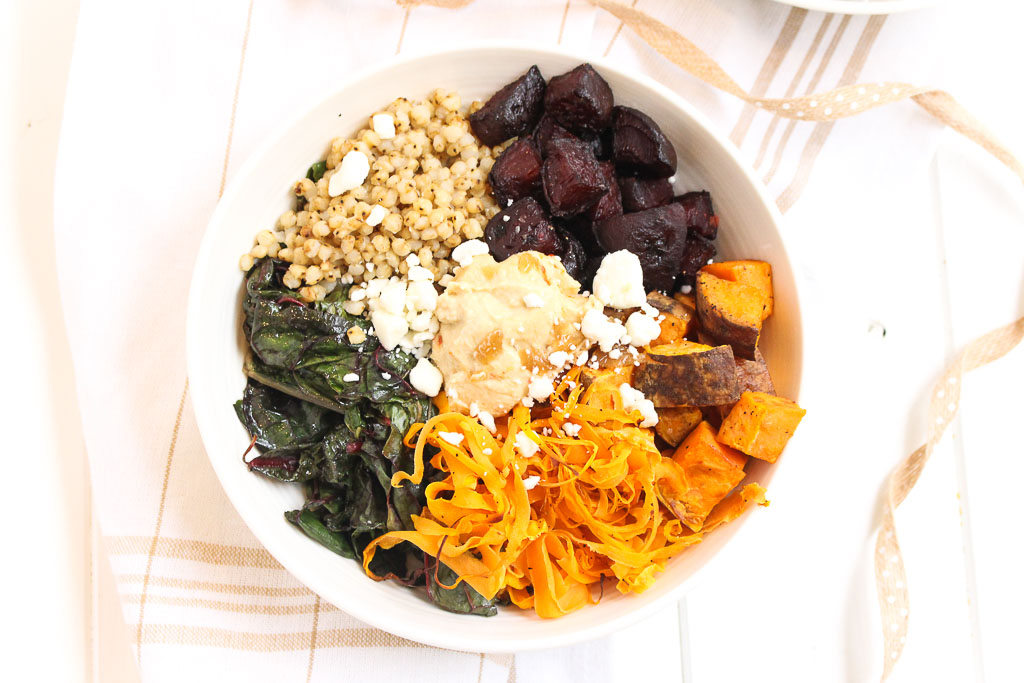
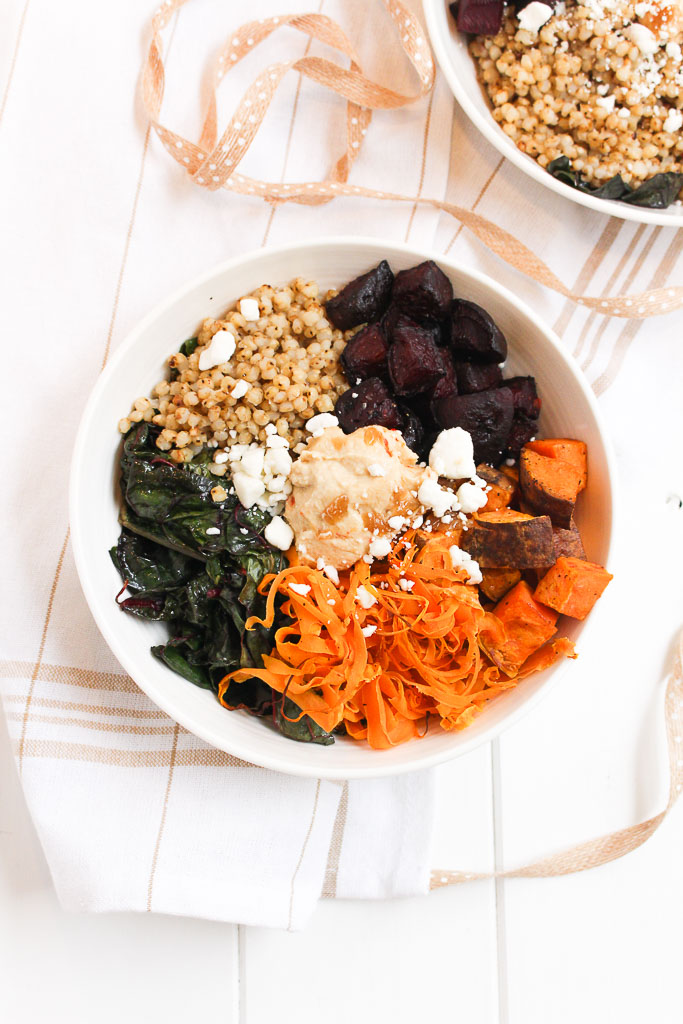
Roasted Root Vegetable Power Bowl

A comforting, satisfying plant-based bowl, this Roasted Root Vegetable Power Bowl is the perfect colorful fall dinner to cozy up to on a chilly night. 
Fall is my favorite season! I just love the cool, crisp weather, the beautiful fall foliage, and of course the food!
Roasted Root Vegetable Power Bowl via RDelicious Kitchen @RD_Kitchen
This time of year, I find myself roasting vegetables daily. Roasting is one of my favorite cooking methods for veggies, but there’s something about cracking the windows on a cool fall evening and cozying up with fluffy blankets with a warm comforting meal.
Recipe ReDux members were challenged to create a plant protein power bowl, packed with protein, fiber and color, plant power bowls are trendy and delicious.
Roasted Root Vegetable Power Bowl via RDelicious Kitchen @RD_Kitchen

I decided to use sorghum as my whole grain in this recipe because I was inspired when I met Katie Cavuto, RD at the sorghum booth at FNCE this past weekend. She just released a new cookbook “Whole Cooking and Nutrition” and I was able to sample her sorghum recipe.
Have you ever used sorghum before? When I counsel clients, I encourage them to expand their variety of whole grains in their diet. I often see that their first swap is switching white bread to whole wheat bread or white rice to brown rice, which is great, but I don’t want them to just stop there.
Ancient grains, like sorghum, have more nutrition bang for your buck. Sorghum, which doesn’t have an inedible hull like some other grains, is commonly eaten with all its outer layers, thereby retaining the majority of its nutrients. One serving of sorghum contains 5 grams of fiber and is a good source of iron!
Roasted Root Vegetable Power Bowl via RDelicious Kitchen @RD_Kitchen
I absolutely love how colorful this recipe is. More colors = more nutrients. Another plus is it’s so simple to make. Simply place your veggies on a pan to roast as you prep the remaining ingredients.
If you want a shortcut, you can use Love Beets instead of the mess of peeling beets at home. Love Beets come peeled, steamed and vacuum packed.

Print
clock clock iconcutlery cutlery iconflag flag iconfolder folder iconinstagram instagram iconpinterest pinterest iconfacebook facebook iconprint print iconsquares squares iconheart heart iconheart solid heart solid icon
Roasted Root Vegetable Power Bowl

Roasted Root Vegetable Power Bowl

  • Author: Julie @ RDelicious Kitchen
  • Yield: 4

Ingredients

Scale
  • 2 sweet potatoes, chopped
  • 4 beets, peeled and chopped
  • 4 carrots, peeled
  • 2 tablespoons olive oil, divided
  • 1 bunch Swiss chard, roughly chopped
  • 1 tablespoon garlic powder
  • 1 tablespoon apple cider vinegar
  • 1 cup sorghum
  • 4 cups water
  • 1/4 cup hummus (your favorite flavor!)
  • 1/4 cup goat cheese, crumbled
  • salt and pepper, to taste

Instructions

  1. Preheat the oven to 400 degrees F. Coat a large baking sheet with cooking spray. Toss sweet potatoes and beets with 1 tablespoon olive oil and sprinkle with salt and pepper. Bake for 15 minutes.
  2. Using a peeler, create long strands of carrots. Remove vegetables from oven, add carrots and toss. Bake for an additional 10-15 minutes until vegetables are fork tender. Remove from oven.
  3. In a large bowl, massage Swiss chard leaves with olive oil and apple cider vinegar. Add garlic powder, salt and pepper. Add Swiss chard on a large baking sheet. Roast for 10 minutes until Swiss chard is tender (not crispy).
  4. As vegetables are roasting, cook the sorghum. Add sorghum and water to a pot. Bring to a boil; cook 5 minutes. Turn heat down to low; cover and cook for about 45 minutes or until tender-firm. (for an extra boost of flavor, add a splash of vegetable stock with the water) Season with salt and pepper.
  5. Assemble your bowls, by adding sections of sweet potatoes, beets, carrots, Swiss chard, and sorghum. Add a dollop of hummus and sprinkle with goat cheese. Serve warm.

Recipe Card powered byTasty Recipes

RDelicious Kitchen @RD_Kitchen
Roasted Root Vegetable Power Bowl via RDelicious Kitchen @RD_Kitchen


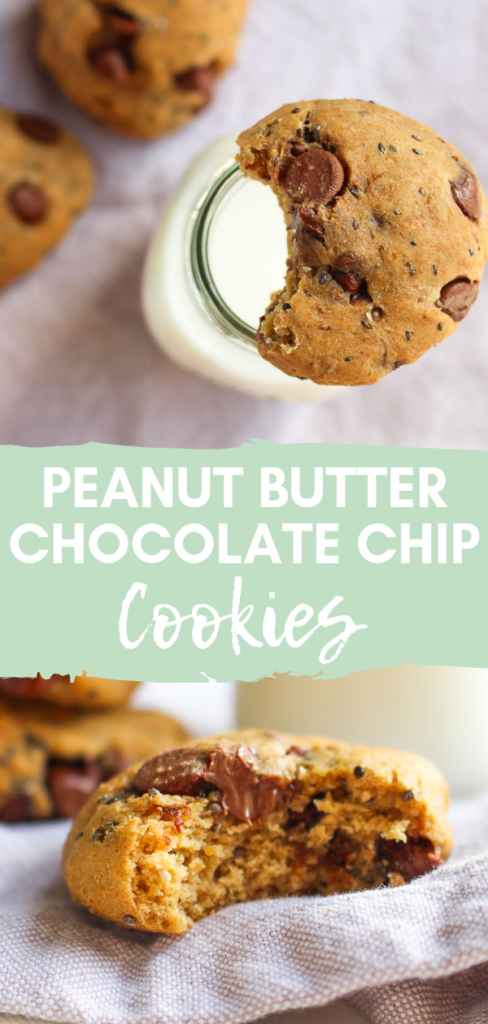
Peanut Butter Chocolate Chip (Chickpea) Cookies

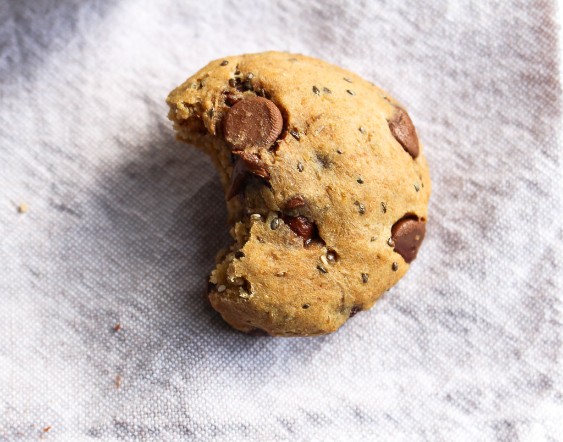
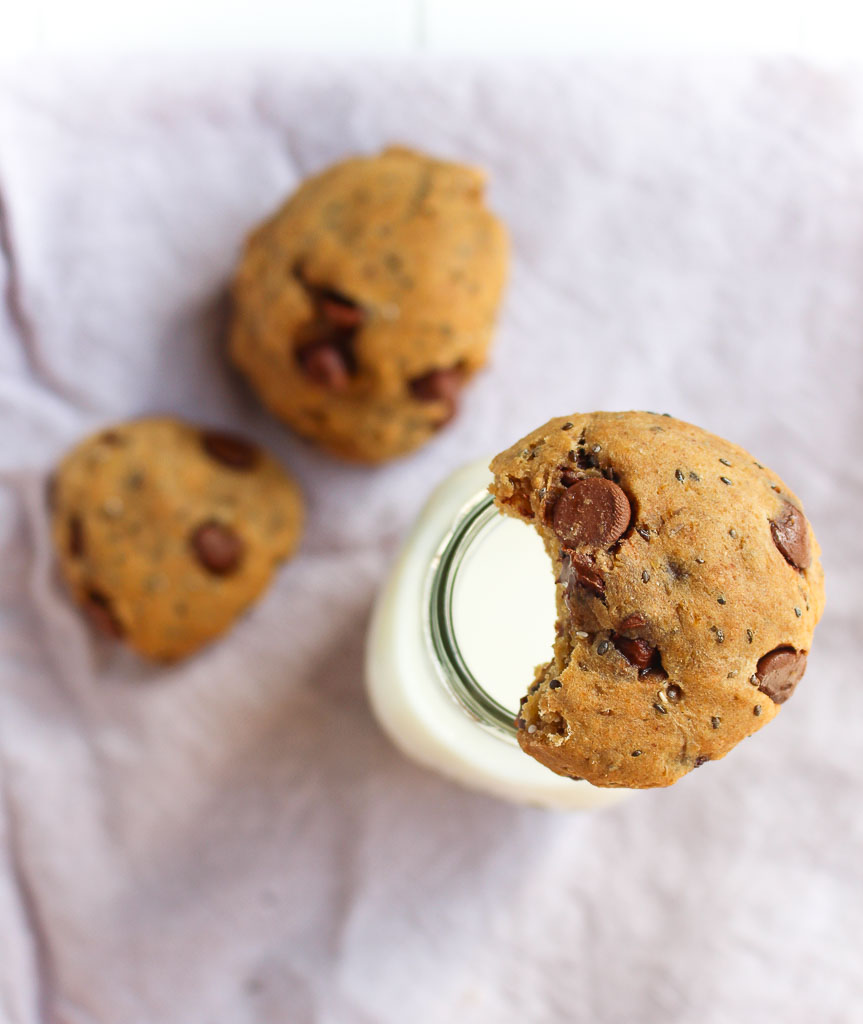
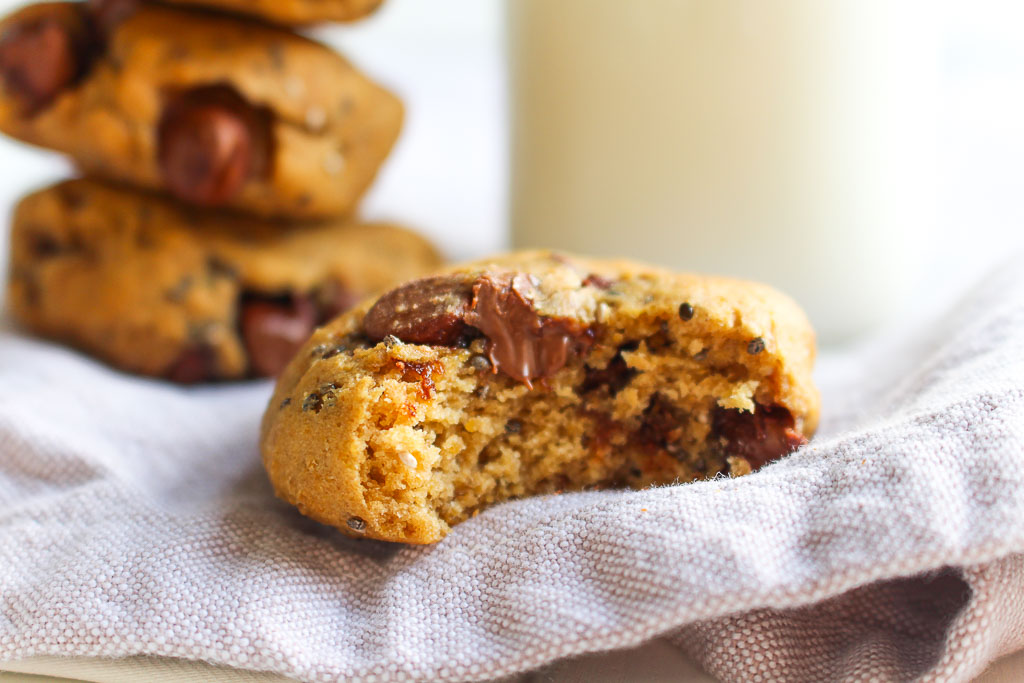
Baking in the kitchen brings back so many great memories. Growing up, my favorite recipe I would make with my mom is chocolate chip cookies. Over the years I’ve been tweaking that original recipe and have come up with a few alternatives over the years. My latest creation are these Peanut Butter Chocolate Chip (Chickpea) Cookies.
Peanut Butter Chocolate Chip (Chickpea) Chia Cookies - A healthy twist to a classic - Peanut Butter Chocolate Chip (Chickpea) Cookies Do you have a favorite family recipe? My mom’s classic chocolate chip cookie recipe is a tried and true recipe in our family. The recipe is typed up on (note: from a typewriter) paper is all torn and there are food spills and stains all over it. That’s what makes it so nostalgic.
Peanut Butter Chocolate Chip (Chickpea) Chia Cookies - A healthy twist to a classic - Peanut Butter Chocolate Chip (Chickpea) Cookies These cookies are always made when guests are over for any holiday or celebration. It has become a dessert staple in our house. But they are not the healthiest (hello butter-flavored shortening and sugar!). I’m all for sweets in treats in moderation, but it’s fun to recreate a classic with a healthier twist.

Peanut Butter Chocolate Chip (Chickpea) Chia Cookies - A healthy twist to a classic - Peanut Butter Chocolate Chip (Chickpea) Cookies Beans have been sneaking into more and more baked goods lately because 1) it can help reduce the amount of flour 2) beans can add a boost of protein and fiber. I used chickpeas since they have a very neutral taste and they match the color of chocolate chip cookies best.

Of course, I had to add peanut butter because peanut butter and chocolate is my favorite combo. And just for fun, I added some chia seeds. I really enjoy the added texture it gives to these cookies.
Peanut Butter Chocolate Chip (Chickpea) Chia Cookies - A healthy twist to a classic - Peanut Butter Chocolate Chip (Chickpea) Cookies These cookies are a little more dense than your typical chocolate chip cookies. Whip up a batch of these when you are looking for a little treat midweek.

Print
clock clock iconcutlery cutlery iconflag flag iconfolder folder iconinstagram instagram iconpinterest pinterest iconfacebook facebook iconprint print iconsquares squares iconheart heart iconheart solid heart solid icon
chocolate peanut butter chickpea cookies with a bite on a glass of milk

Peanut Butter Chocolate Chip (Chickpea) Chia Cookies

  • Author: Chef Julie Harrington, RD
  • Prep Time: 15
  • Cook Time: 12
  • Total Time: 27 minutes
  • Yield: 15 1x

Ingredients

Scale
  • 1 (15-ounce) can chickpeas, drained and rinsed
  • 1 cup whole wheat pastry flour
  • 1/4 cup chia seeds
  • 1/2 tsp baking soda
  • 1/4 tsp salt
  • 1/2 cup peanut butter
  • 1/4 cup brown sugar
  • 1/4 cup unsweetened applesauce
  • 1 tbsp vanilla extract
  • 2 eggs
  • 1/2 cup chocolate chips

Instructions

  1. Preheat the oven to 375 degrees. Spray 2 large baking sheets with cooking spray or parchment paper.
  2. In a food processor, puree the chickpeas until smooth, set aside.
  3. In a medium sized bowl, mix together the whole wheat pastry flour, chia seeds, baking soda, and salt. Set aside.
  4. In a large bowl, beat together the peanut butter, brown sugar, and applesauce until smooth. Add in the chickpeas, vanilla extract, and eggs. Beat until smooth.
  5. Slowly mix in the dry ingredients with a spatula until just combined. Mix in the chocolate chips. (Batter will be thick)
  6. Scoop the cookie dough batter (about 2 ounces each) onto the prepared baking sheets about 1 inch apart. Bake 10-12 minutes, until golden brown. Transfer the cookies to a wire rack to completely cool.

Keywords: cookie, chocolate chip cookie, chia seeds, healthy dessert, dessert, chickpeas

Recipe Card powered byTasty Recipes

Chef Julie Harrington, RD - Culinary Nutrition Consultant of chefjulierd.com
Peanut Butter Chocolate Chip (Chickpea) Chia Cookies - A healthy twist to a classic - Peanut Butter Chocolate Chip (Chickpea) Cookies

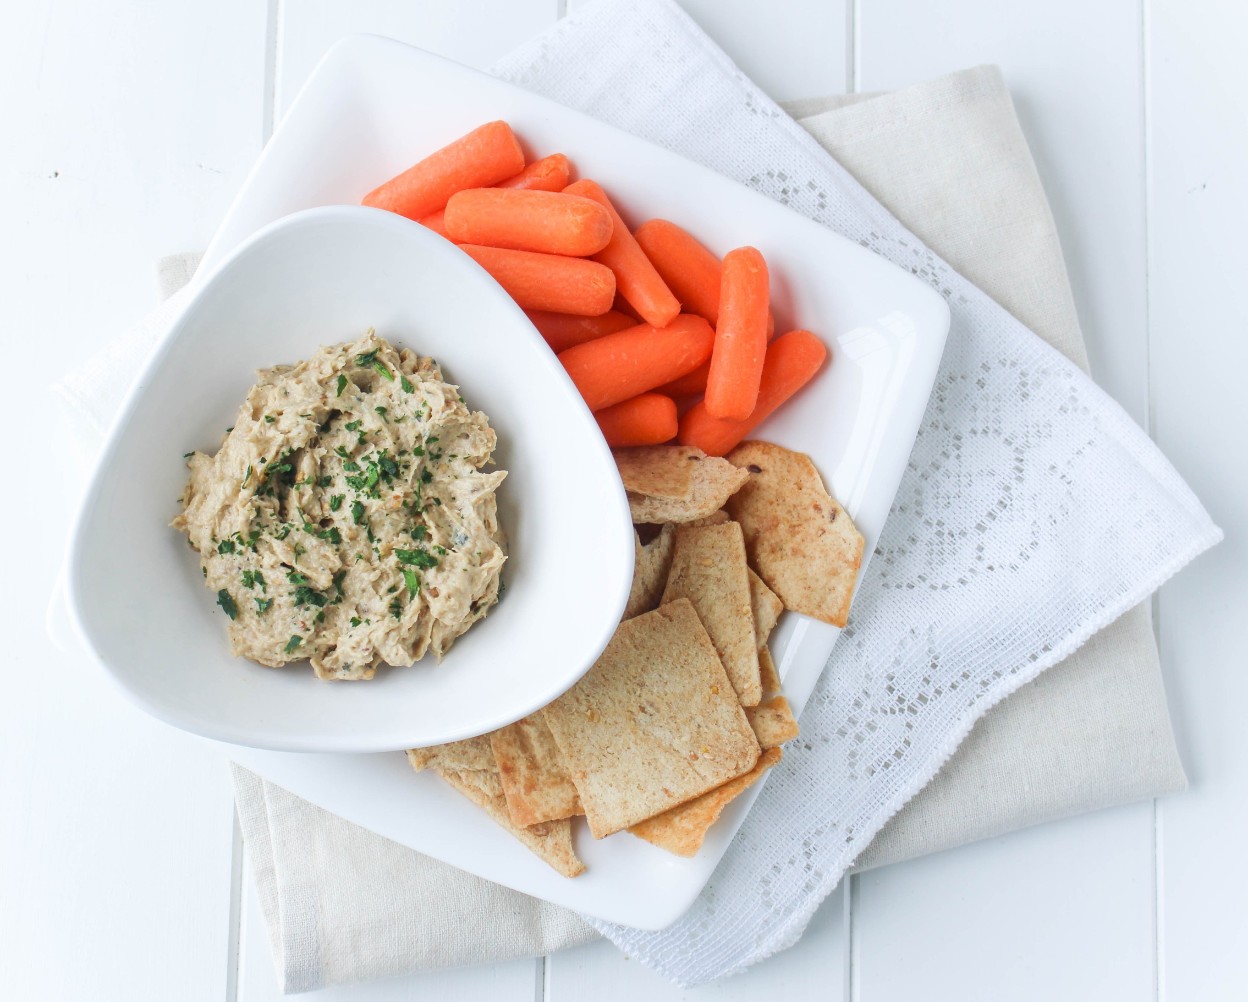
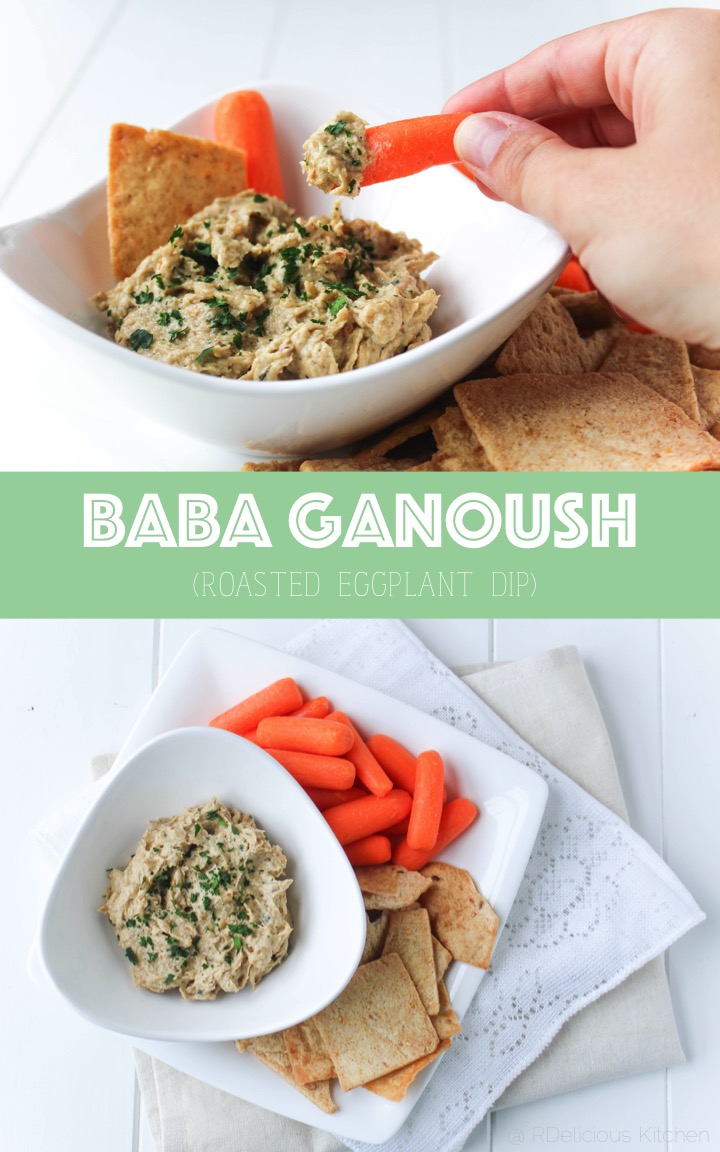
Baba Ganoush (Roasted Eggplant Dip)

Looking for a new dip for your veggies? Try baba ganoush – a signature Middle Eastern roasted eggplant puree enriched with tahini and seasoned with lemon juice and lots of garlic.
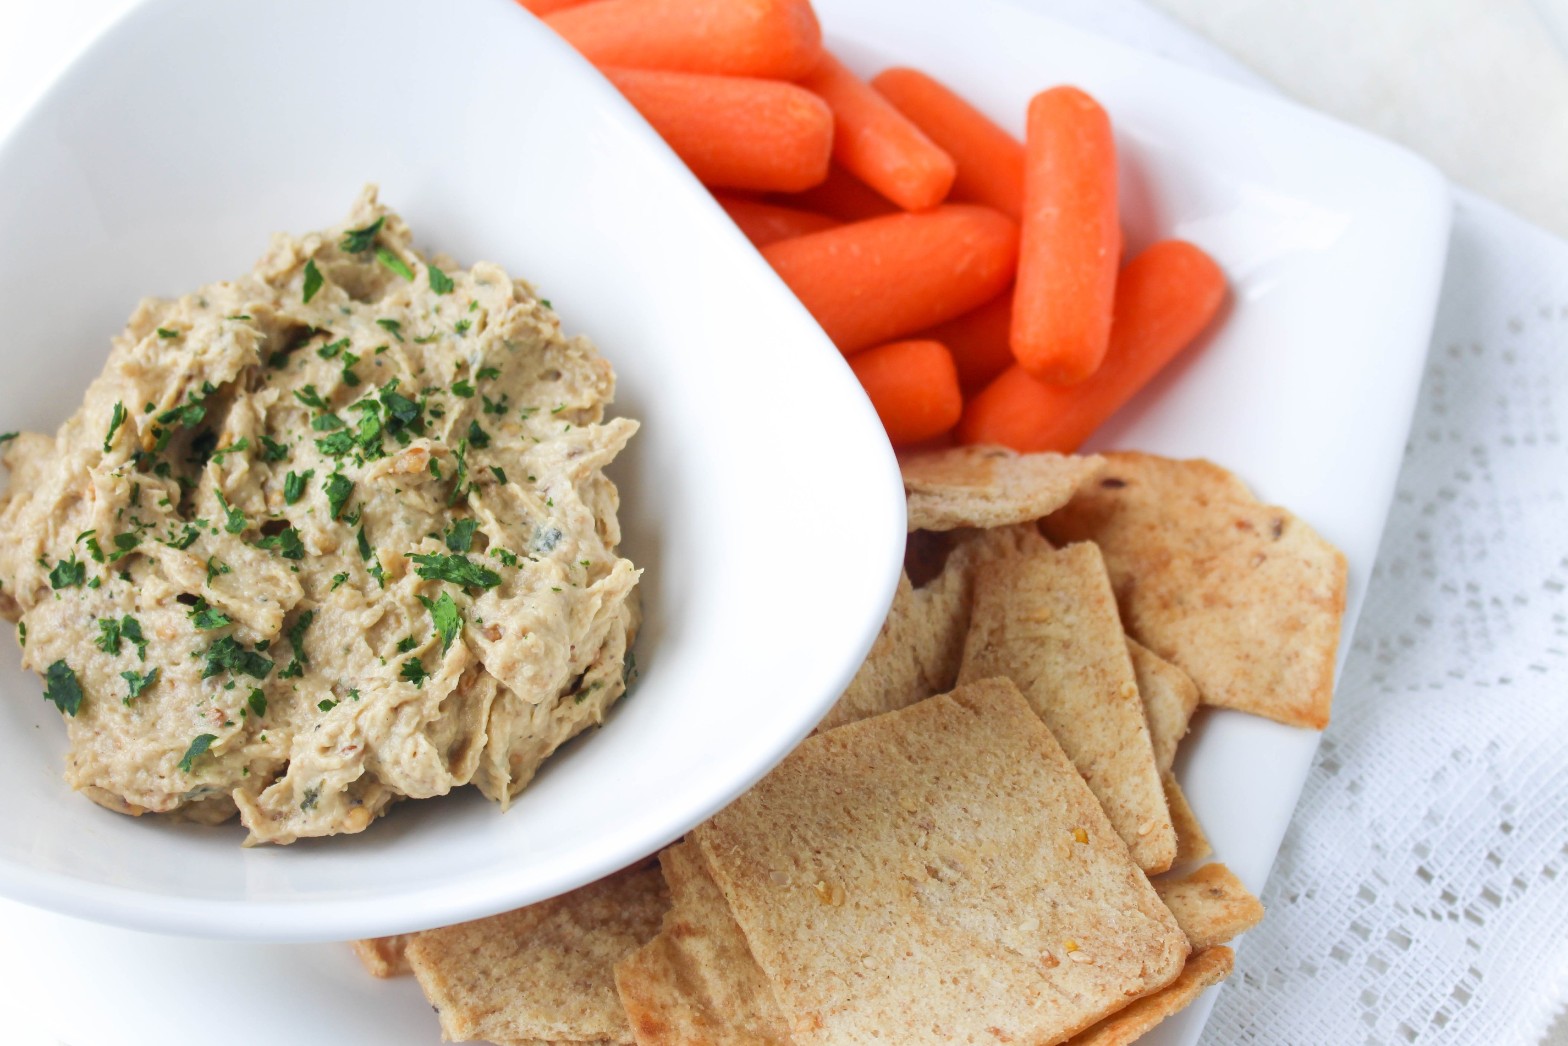
Baba Ganoush (Roasted Eggplant Dip) via RDelicious Kitchen @rdkitchenBaba Ganoush (Roasted Eggplant Dip) via RDelicious Kitchen @rdkitchen

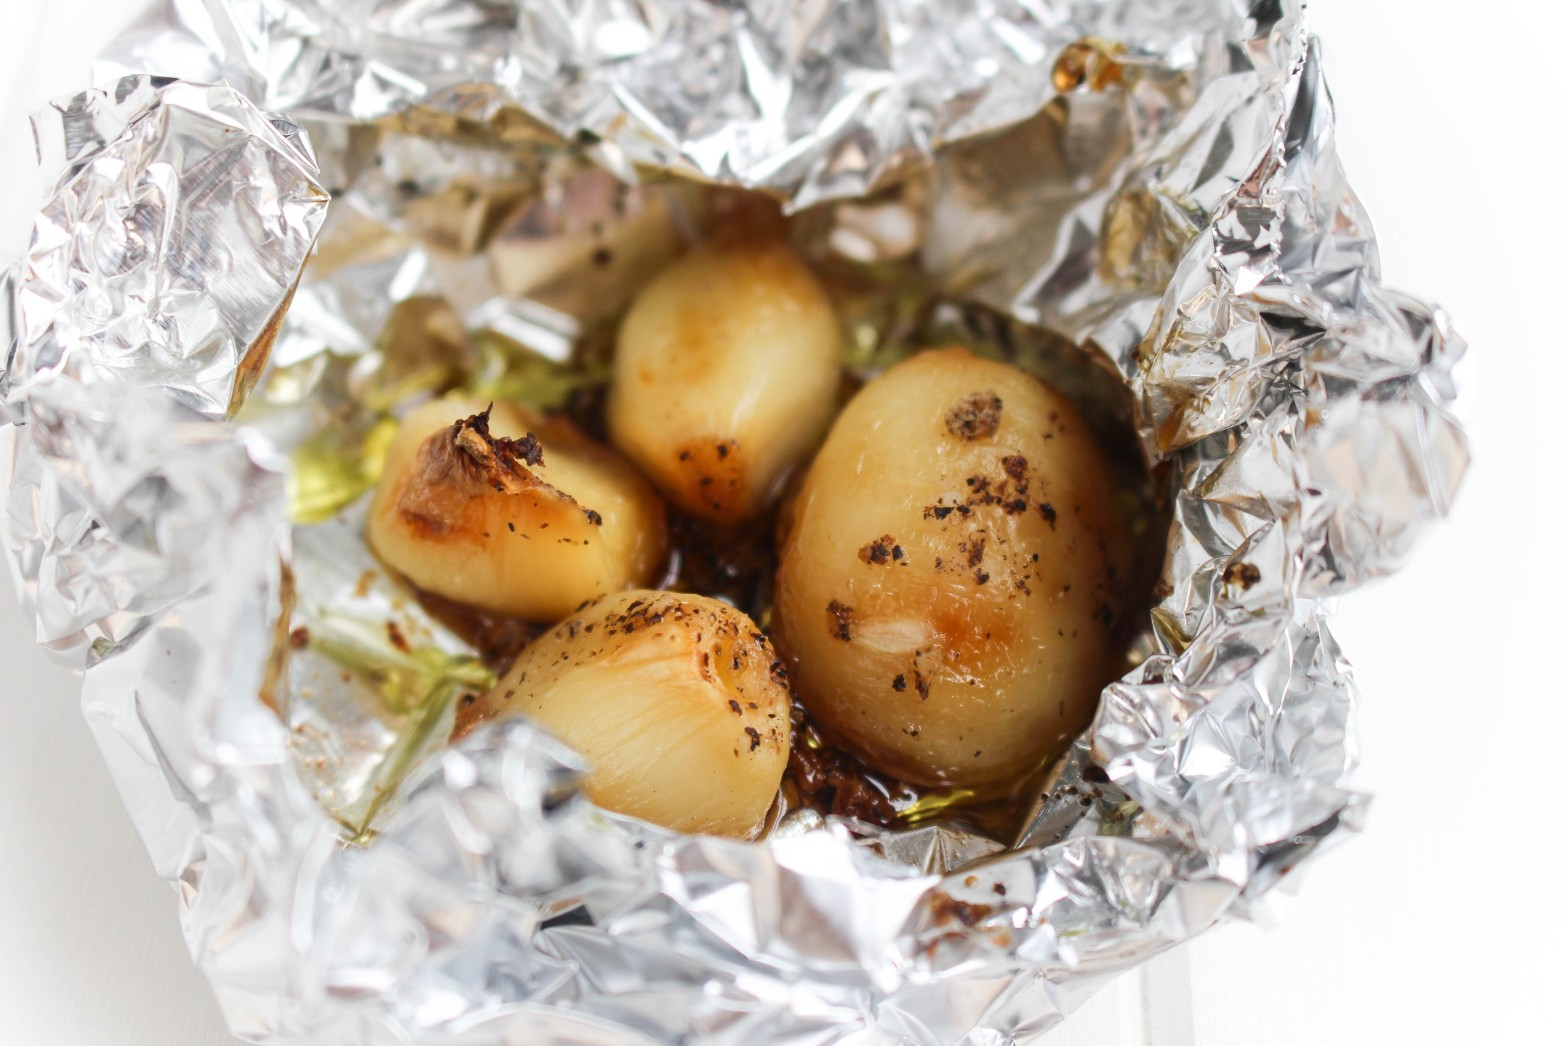
My favorite part of this dip is the smokiness that the dish brings when roasting the eggplant. I additionally roasted the garlic for this dip too. Have you ever roasted garlic before? It adds that same smokiness but also a subtle sweet flavor. Simply add cloves of garlic (you can even do the whole head of garlic at once!) in a little tin foil pouch, drizzle with some olive oil and sprinkle a little salt and pepper. Seal up the foil and roast along with the eggplant. This will also help incorporate the garlic flavor throughout the dip because it is much easier to blend since it is softer when you puree the dip.

Baba Ganoush (Roasted Eggplant Dip) via RDelicious Kitchen @rdkitchenI picked up a bunch of eggplant at my last farmer’s market visit. It’s been sitting in my refrigerator because I just couldn’t decide what to make. I had so many recipe ideas running through my head. #foodbloggerproblems
Baba Ganoush (Roasted Eggplant Dip) via RDelicious Kitchen @rdkitchenMy extended family decided this year to do a big fantasy football draft. It was pretty entertaining. One thing about our family is that we are all very loud. So all of in the room trying to have an organized fantasy draft = chaos. Everyone was just talking over each other, but once we figured everything out, everyone picked their teams. Wish me luck this season!

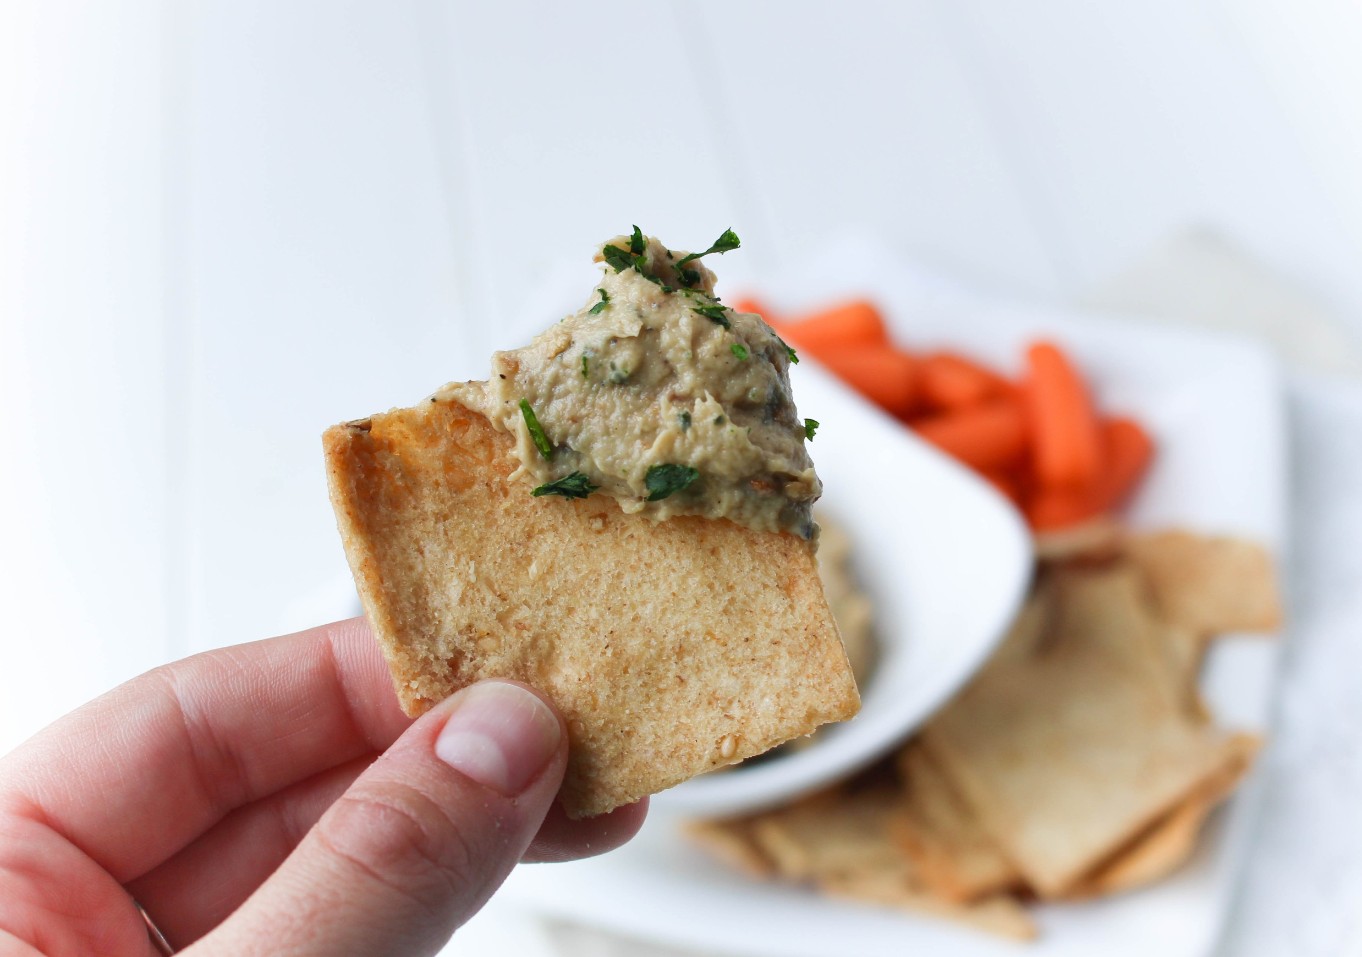
Baba Ganoush (Roasted Eggplant Dip) via RDelicious Kitchen @rdkitchenBaba ganoush is very similar to hummus, but instead of chickpeas being the base, roasted eggplant is. Don’t skimp on the tahini (ground sesame seeds). It really adds that extra boost of flavor, plus heart healthy unsaturated fats.
Baba Ganoush (Roasted Eggplant Dip) via RDelicious Kitchen @rdkitchen
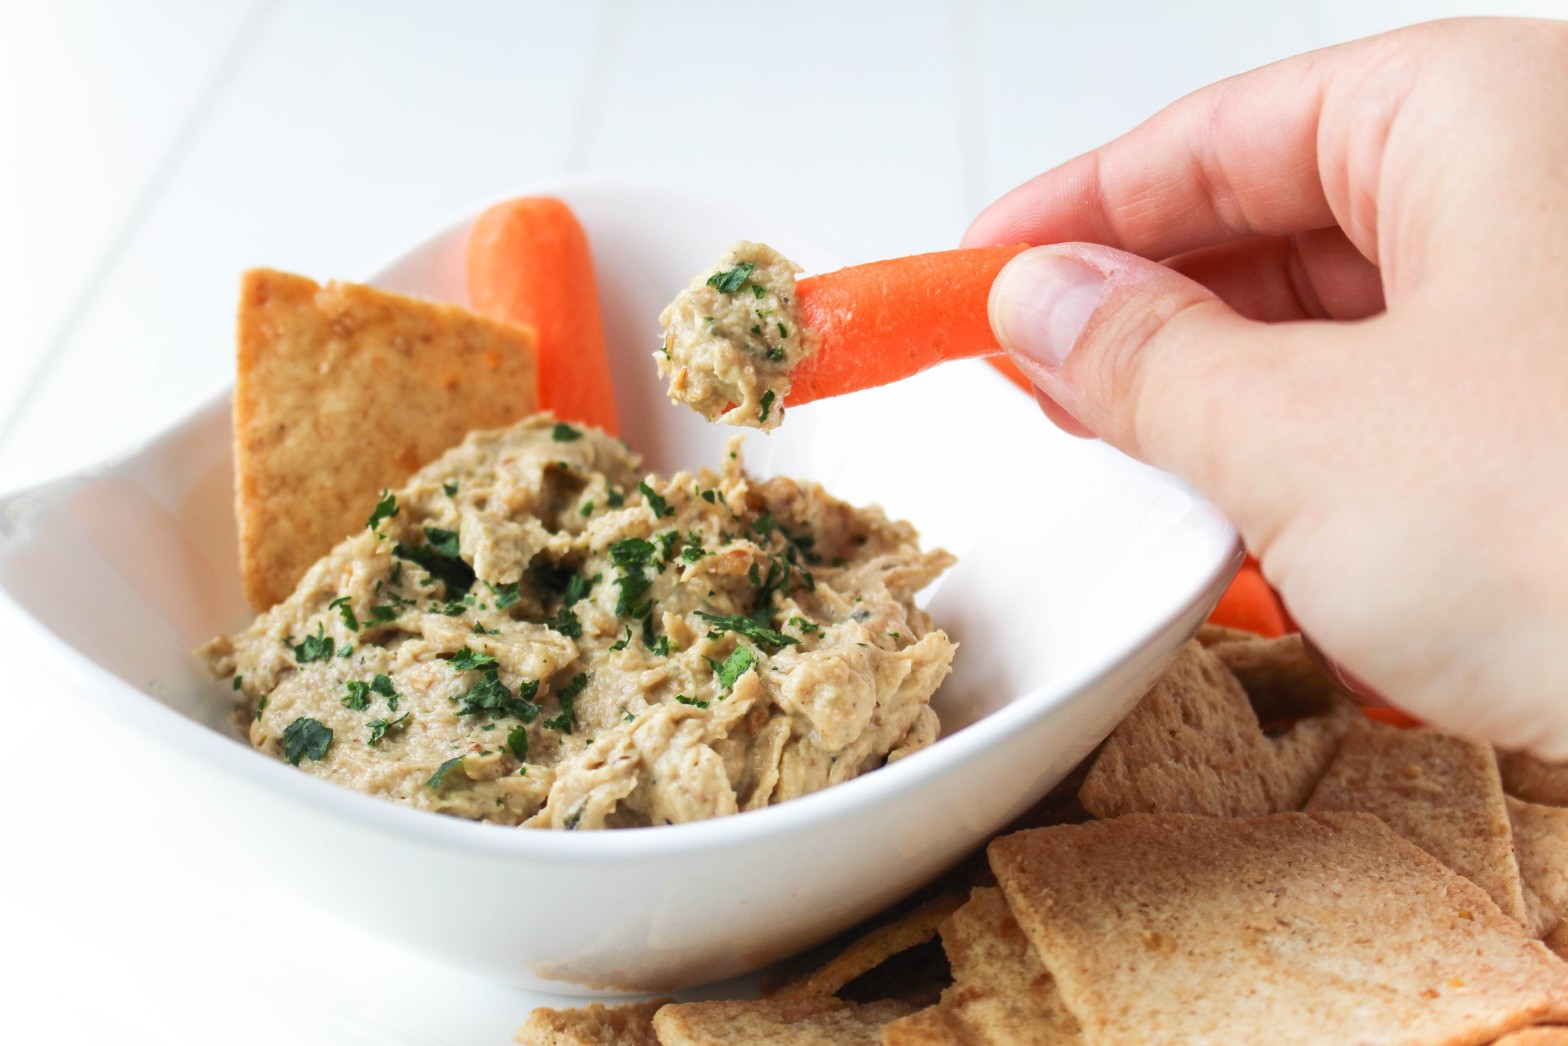
You can use baba ganoush like in any application where you would use hummus. Spread it on a sandwich instead of mayo. Swirl it in to mashed potatoes or mashed cauliflower to kick it up with some flavor. Or just simply dunk with your favorite veggies or pita chips.

Baba Ganoush (Roasted Eggplant Dip) via RDelicious Kitchen @rdkitchen

Print
clock clock iconcutlery cutlery iconflag flag iconfolder folder iconinstagram instagram iconpinterest pinterest iconfacebook facebook iconprint print iconsquares squares iconheart heart iconheart solid heart solid icon
Baba Ganoush (Roasted Eggplant Dip) in a white bowl

Baba Ganoush (Roasted Eggplant Dip)

  • Author: Julie @ RDelicious Kitchen
  • Prep Time: 15 mins
  • Cook Time: 35 mins
  • Total Time: 50 mins

Ingredients

Scale
  • 2 tablespoons olive oil, divided
  • 1 large eggplant
  • 4 cloves garlic
  • 2 tablespoons tahini
  • 1 lemon, juiced
  • 1 tablespoon parsley
  • salt and pepper, to taste

Instructions

  1. Preheat the oven to (high) broil.
  2. Slice eggplant into 1/4 inch rounds and place on a large baking sheet. Drizzle with 1 tablespoon olive oil and sprinkle with salt and pepper.
  3. On a small piece of tin foil, add the garlic cloves, drizzle over 1/2 tablespoon of olive oil and sprinkle with salt and pepper. Loosely wrap the foil around the garlic. Place the wrapped garlic on the baking sheet with the eggplant.
  4. Broil for 5 minutes, turn eggplant and broil for an additional 5 minutes. Turn broiler off, but do not remove eggplant from the oven. Heat oven to 350 degrees and roast for an additional 25 minutes.
  5. Remove from pan, wrap the rounds in foil to lock in moisture; let sit for about 5 minutes.
  6. Peel away most of the skin of the eggplant and add flesh to a food processor. It should be soft and tender and the skin should come off easy. Add the roasted garlic tahini, lemon juice, remaining 1 tablespoon olive oil, and parsley. Process until smooth and creamy. Season with salt and pepper.
  7. Garnish with additional parsley. Serve with pita chips and veggies.

Recipe Card powered byTasty Recipes

Baba Ganoush (Roasted Eggplant Dip) via RDelicious Kitchen @rdkitchen

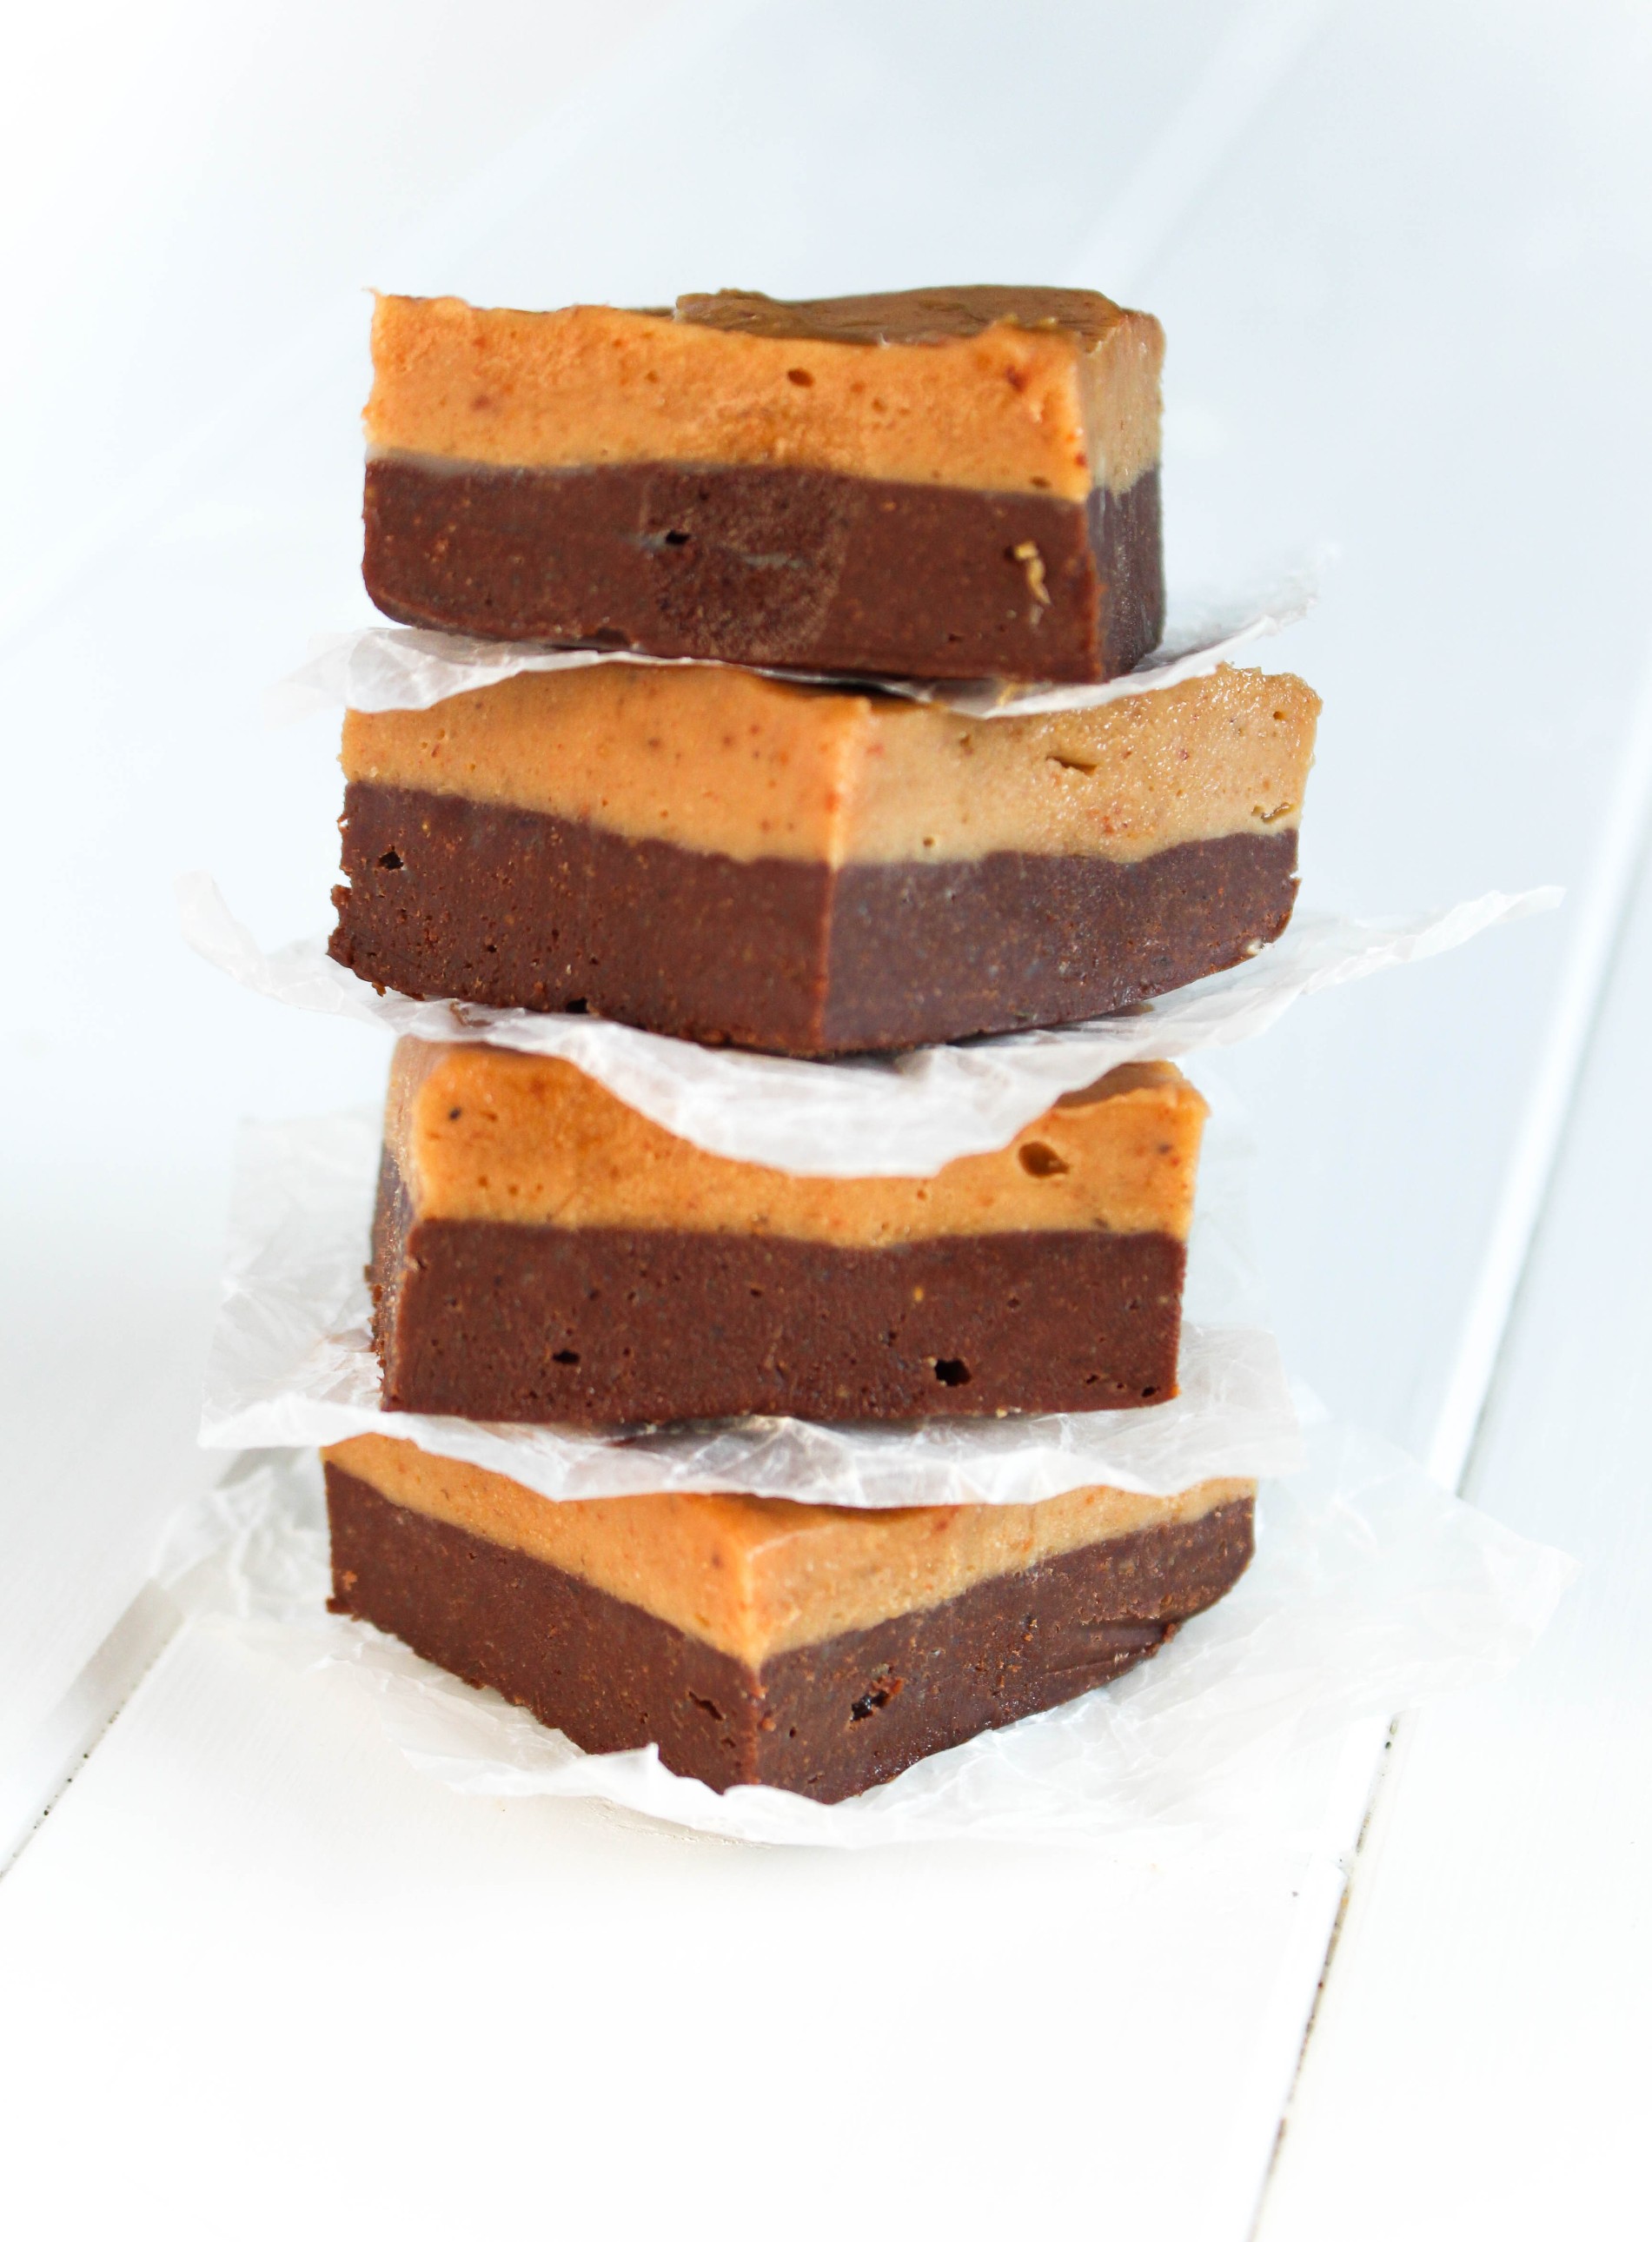
Double Layer Chocolate Peanut Butter Fudge

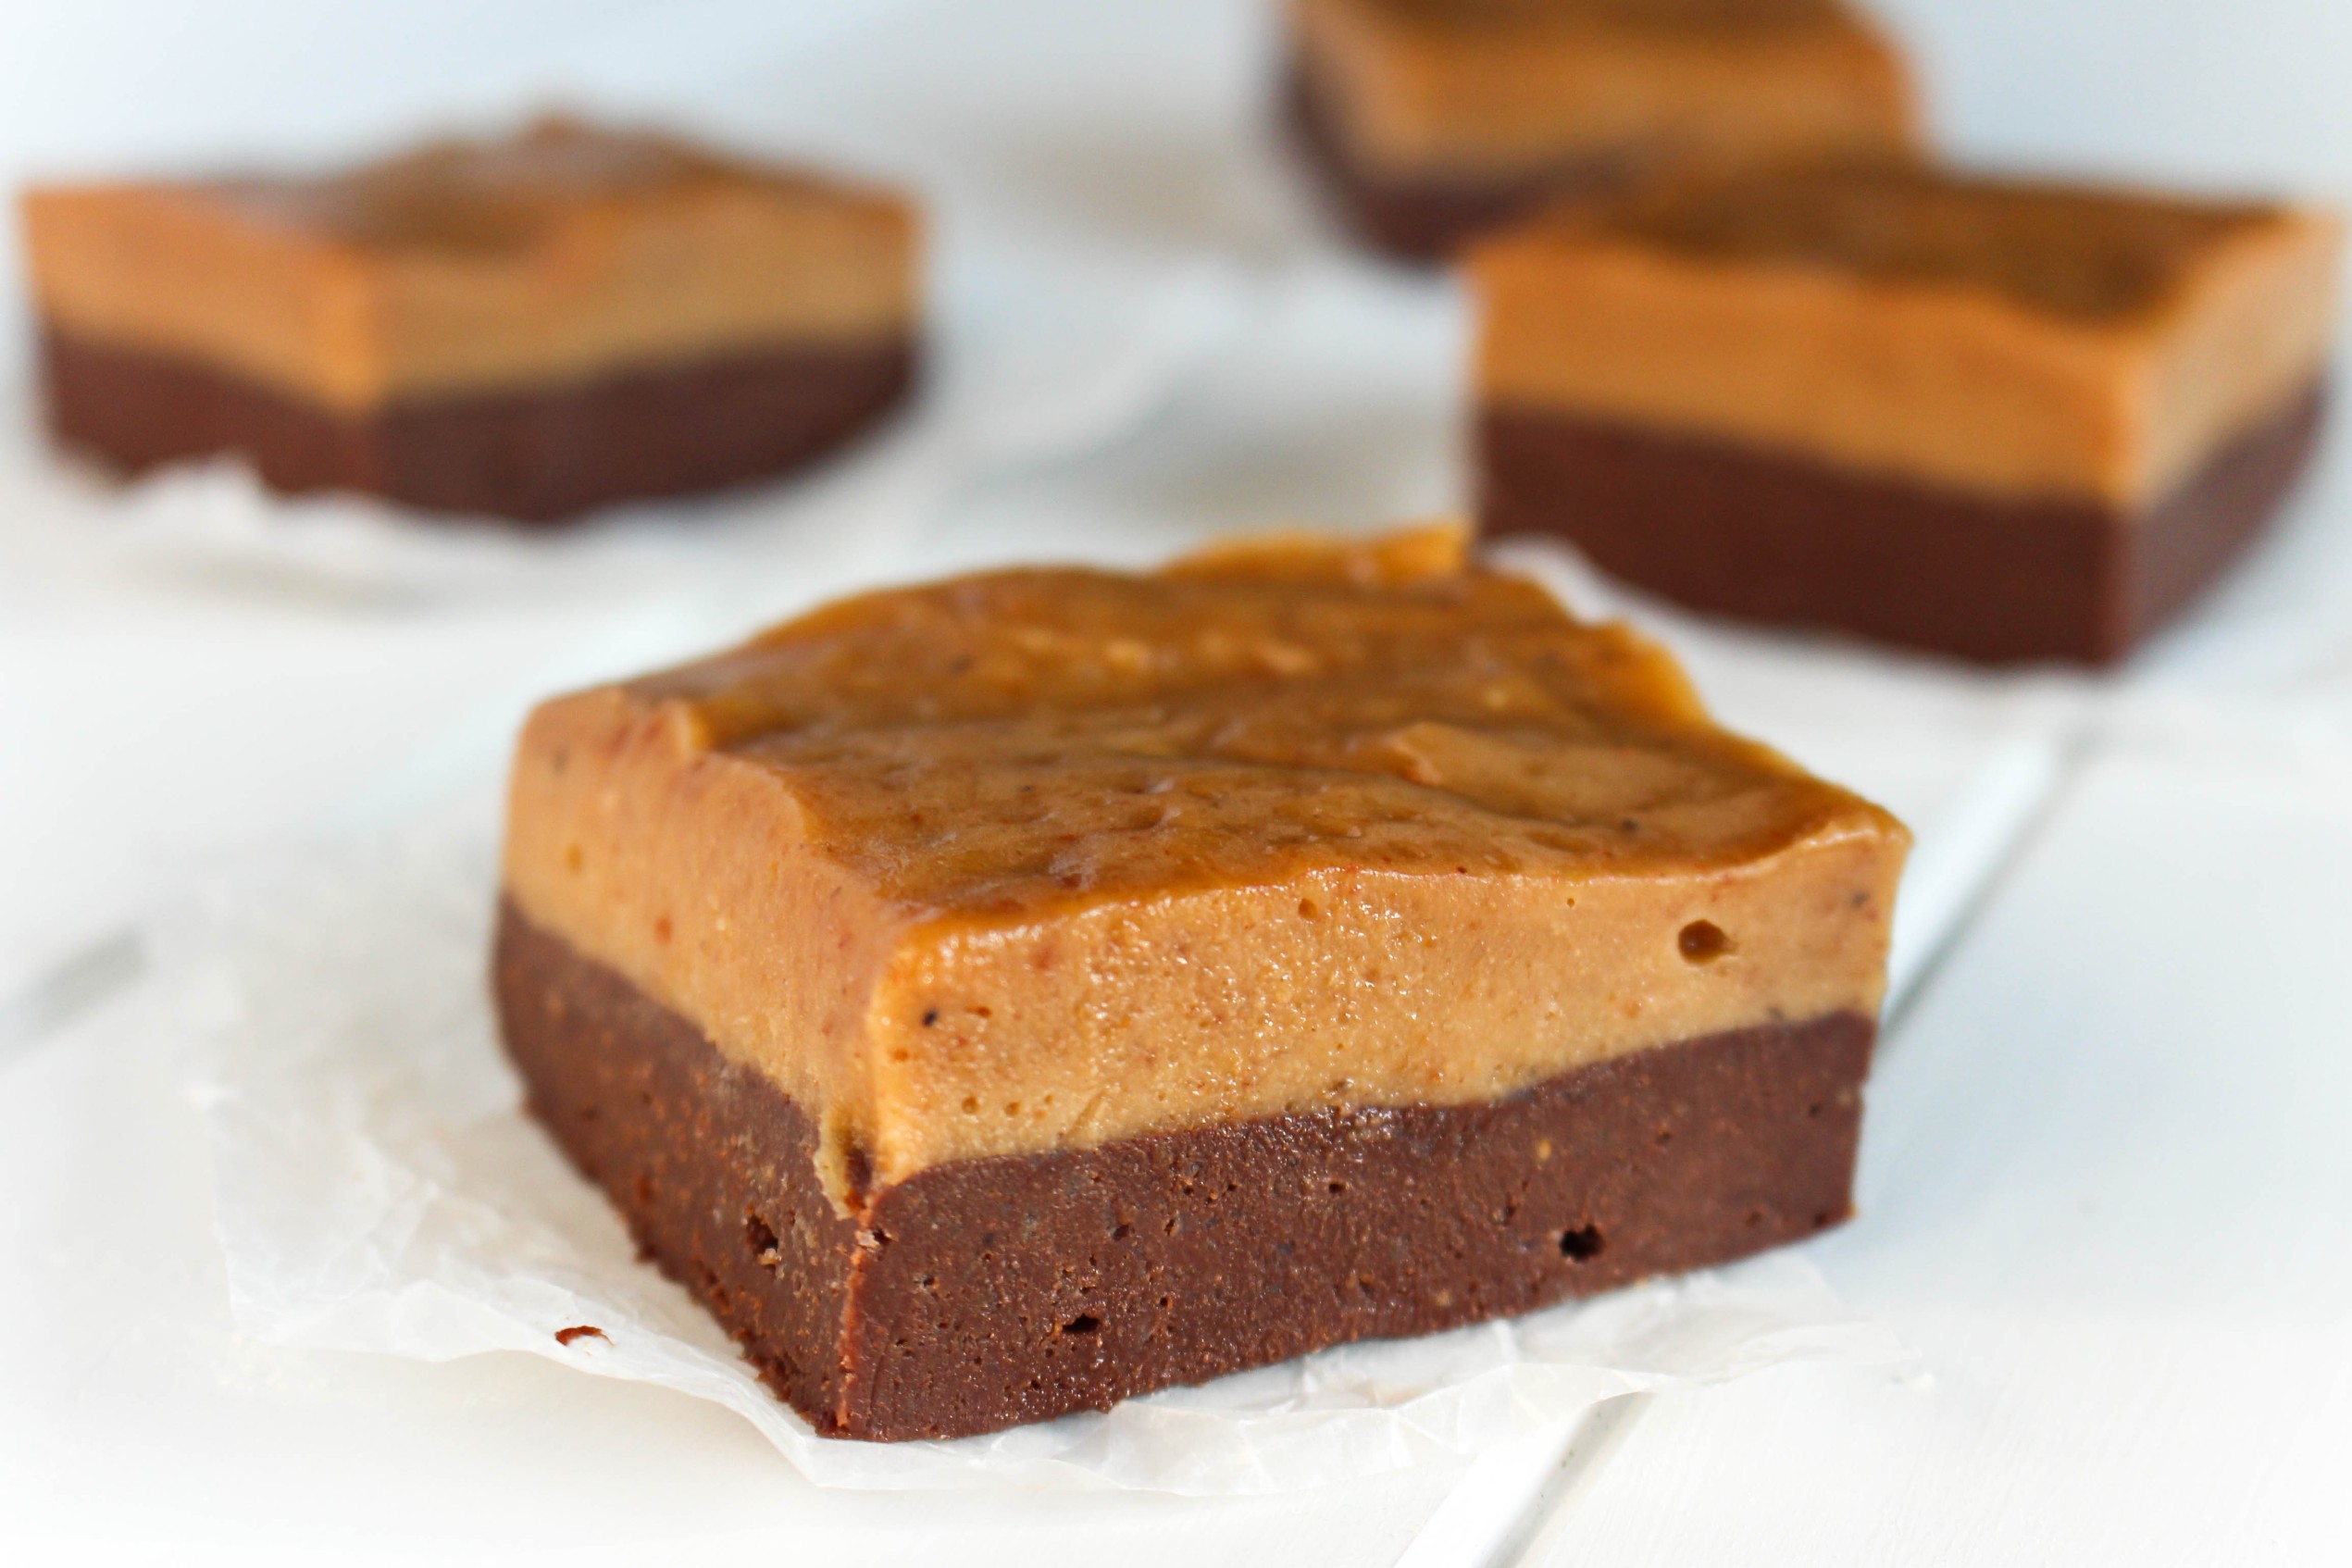
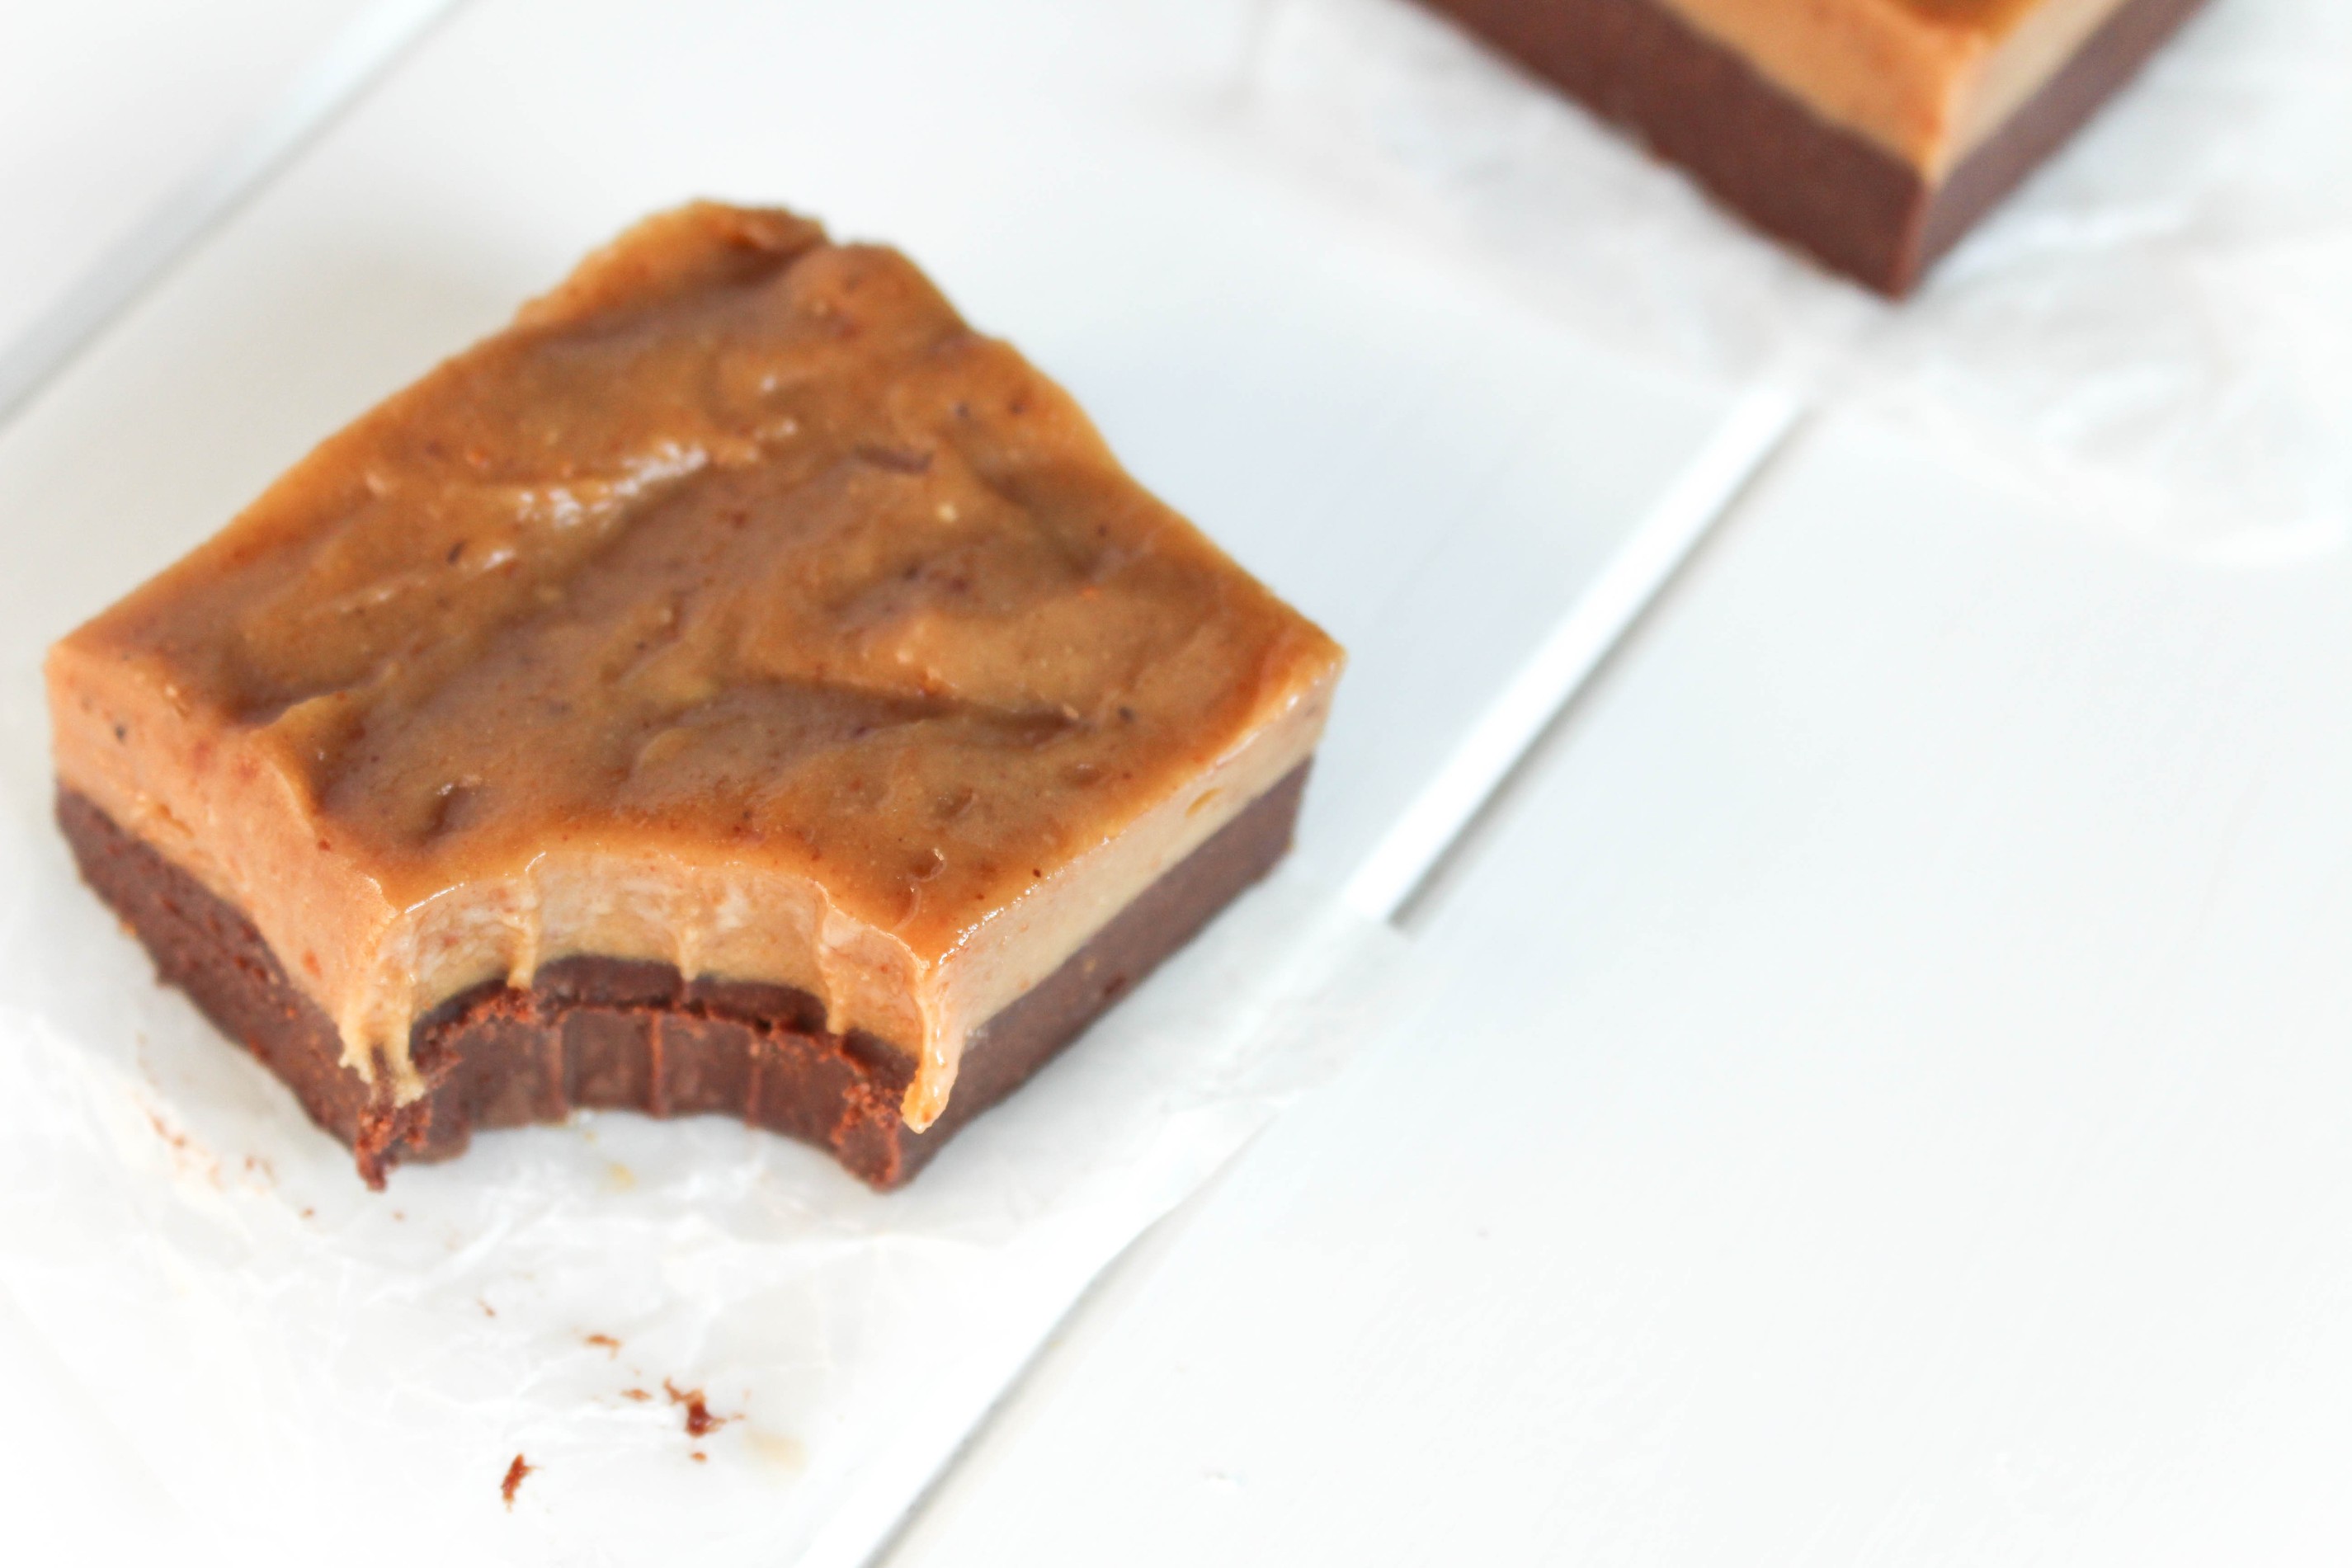
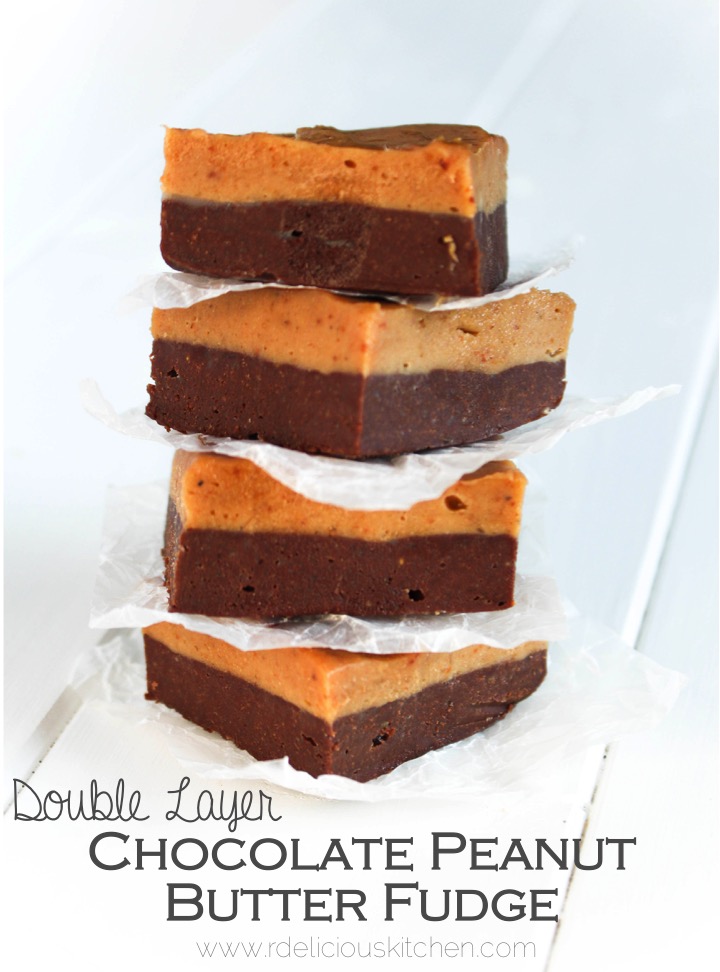
Chocolate fudge or peanut butter fudge – which one is your favorite? If you can’t decide like me, layer them together to make delicious creamy fudge.
Double Layer Chocolate Peanut Butter Fudge via RDelicious Kitchen @rdkitchenThe Recipe ReDux is challenging members this month to take a trip down memory lane with recreating a fun vacation memory recipe.

A Vacation-Inspired Recipe:
Start unpacking your favorite vacation memories. Think about a trip you took state-side or internationally and create a healthy recipe from an unforgettable meal you enjoyed. Or, create a recipe from a native ingredient you saw or tasted on your travels.

Double Layer Chocolate Peanut Butter Fudge via RDelicious Kitchen @rdkitchenWhen I was younger, my family used to go down to Wildwood, NJ every summer. I was recently reminiscing about our Wildwood vacations with my mom and the one place that we HAD to stop by was Fudge Kitchen. They make the silkiest fudge that just melts in your mouth. Plus, they had so many flavors to choose from, it was so hard to decide which one to get.
Double Layer Chocolate Peanut Butter Fudge via RDelicious Kitchen @rdkitchenWe used to get combo boxes of fudge because everyone in my family wanted different flavors. My two favorite were the classic chocolate and peanut butter fudge. So why not get the best of both flavors and layer them! Now, I know fudge is a treat, but hey when you’re on vacation it’s okay to indulge a little.
Double Layer Chocolate Peanut Butter Fudge via RDelicious Kitchen @rdkitchenTo lighten up this fudge I swapped out the sugar and sweetened it with a little maple syrup and a banana. The only problem with this fudge is you have to be patient. Since there are two layers you have a waiting time in the middle for the chocolate layer to harden before you can add the peanut butter layer.

Print
clock clock iconcutlery cutlery iconflag flag iconfolder folder iconinstagram instagram iconpinterest pinterest iconfacebook facebook iconprint print iconsquares squares iconheart heart iconheart solid heart solid icon
Double Layer Chocolate Peanut Butter Fudge stacked on top of each other

Double Layer Chocolate Peanut Butter Fudge

  • Author: Julie @ RDelicious Kitchen

Ingredients

Scale
  • 1 tablespoon cocoa powder
  • 1/4 cup dark chocolate chips
  • 3/4 cup natural peanut butter
  • 1 medium banana
  • 1 teaspoon vanilla extract
  • 2 tablespoons coconut oil
  • 2 tablespoons pure maple syrup

Instructions

  1. In a small pot over low heat, combine 1/4 peanut butter, 1/2 teaspoon vanilla extract, 1 tablespoon coconut oil, 1 tablespoon maple syrup, and 1/4 cup dark chocolate chips; until melted. Let cool slightly.
  2. In a food processor or blender combine 1/2 banana and chocolate mixture and blend until smooth.
  3. Pour into an 8×8 pan lined with wax paper; spread evenly.
  4. Place in the freezer for 1 hour to harden.
  5. In a small pot over low heat, combine remaining 1/2 cup peanut butter, 1/2 teaspoon vanilla extract, 1 tablespoon coconut oil, and 1 tablespoon maple syrup; until melted. Let cool slightly.
  6. In a food processor or blender combine 1/2 banana and peanut butter mixture and blend until smooth. Pour peanut butter mixture over the chocolate layer; spread evenly. Return back to the freezer for an hour or until fudge hardens.
  7. (Store in the freezer)

Recipe Card powered byTasty Recipes

Signature
Double Layer Chocolate Peanut Butter Fudge via RDelicious Kitchen @rdkitchen

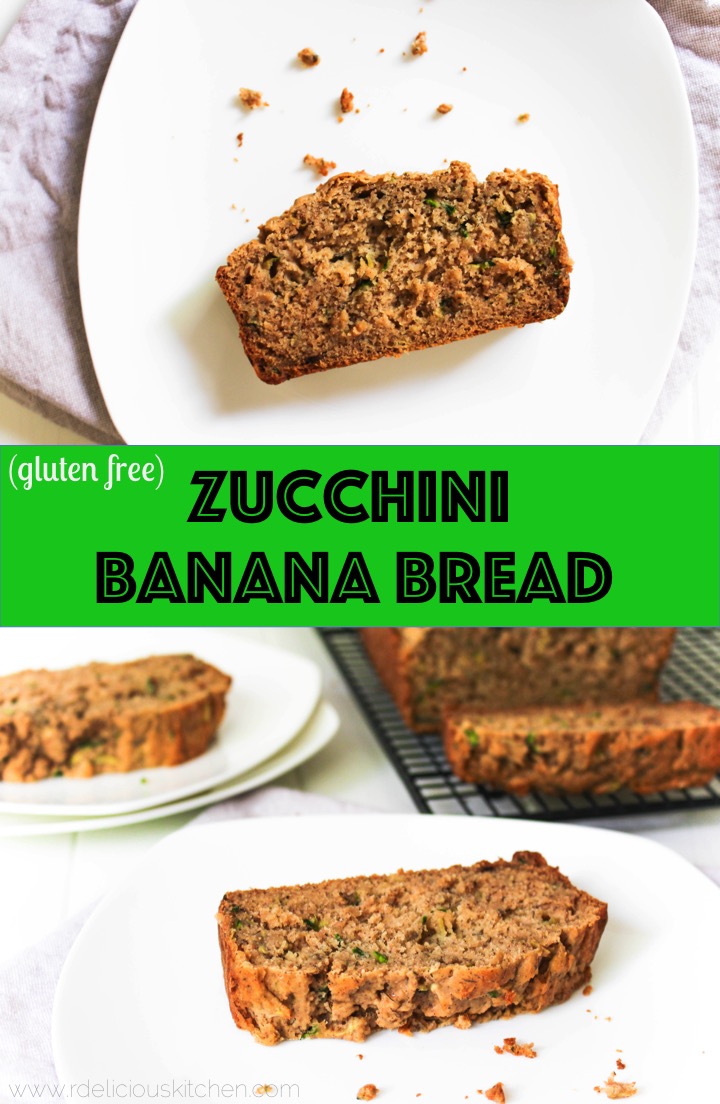
Gluten Free Zucchini Banana Bread

Gluten Free Zucchini Banana Bread! This low-sugar bread option is perfect for breakfast or dessert.
Gluten Free Zucchini Banana Bread via RDelicious Kitchen @rdkitchenOne of my friends has been bringing me all kinds of goodies from her garden. I am in garden envy because my green thumb is not doing that well this year. I do have some peppers that are almost ready to be harvested and mint is completely taking over, but I think my zucchini plant is dead – womp!
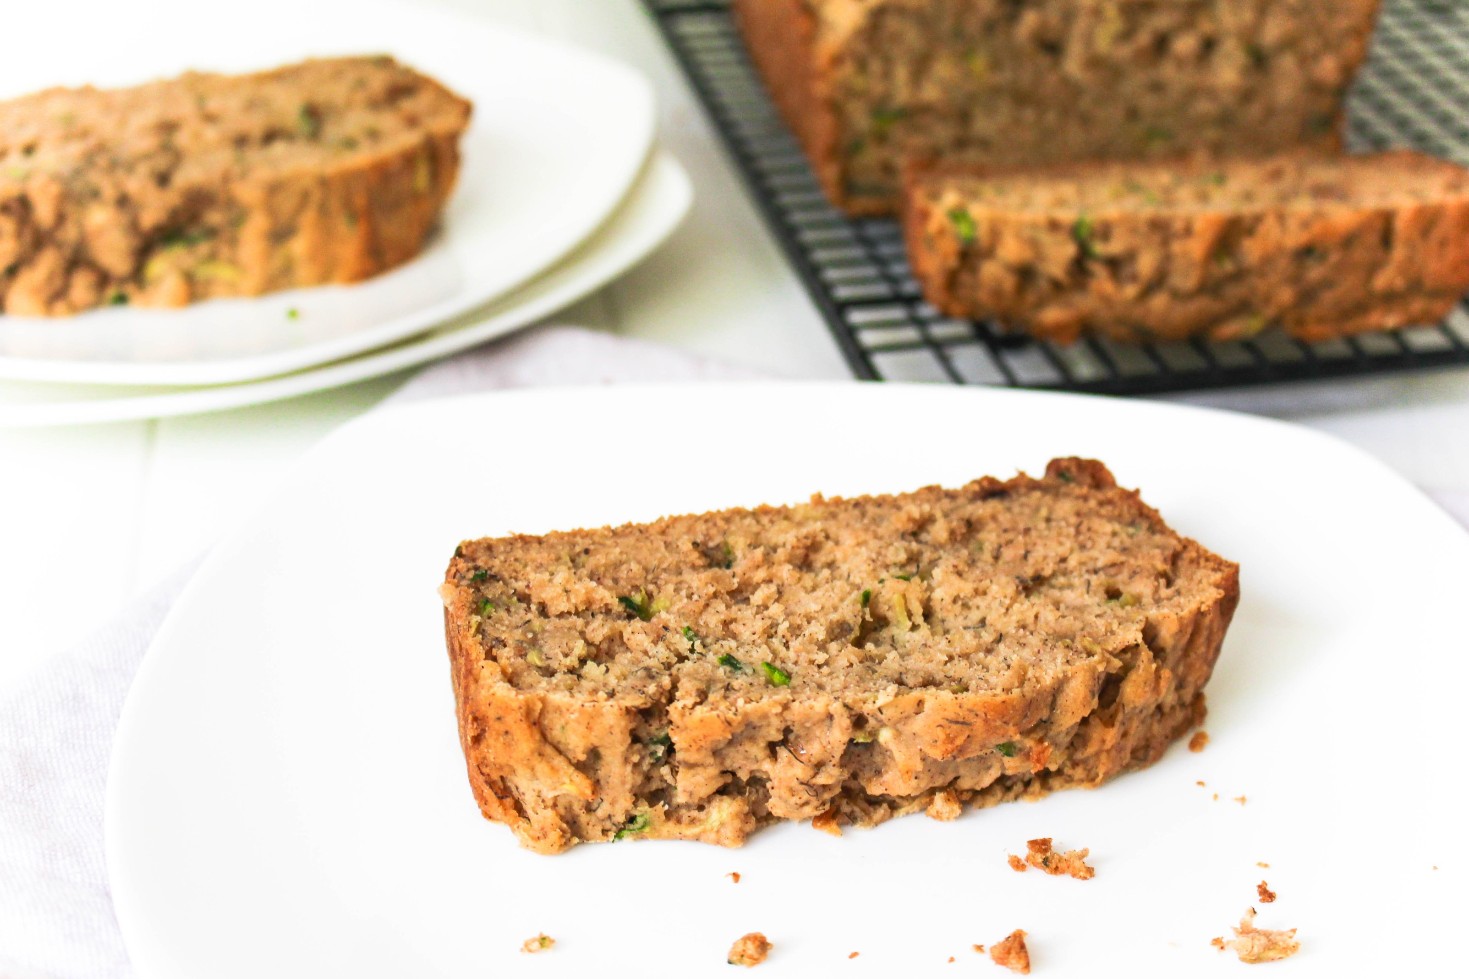
Gluten Free Zucchini Banana Bread via RDelicious Kitchen @rdkitchenI don’t always bake gluten free goodies, but I had an opened bag of Bob’s Red Mill gluten free 1-to-1 baking flour.  Gluten free baking can be tricky but this 1-to-1 mix makes it extremely easy.

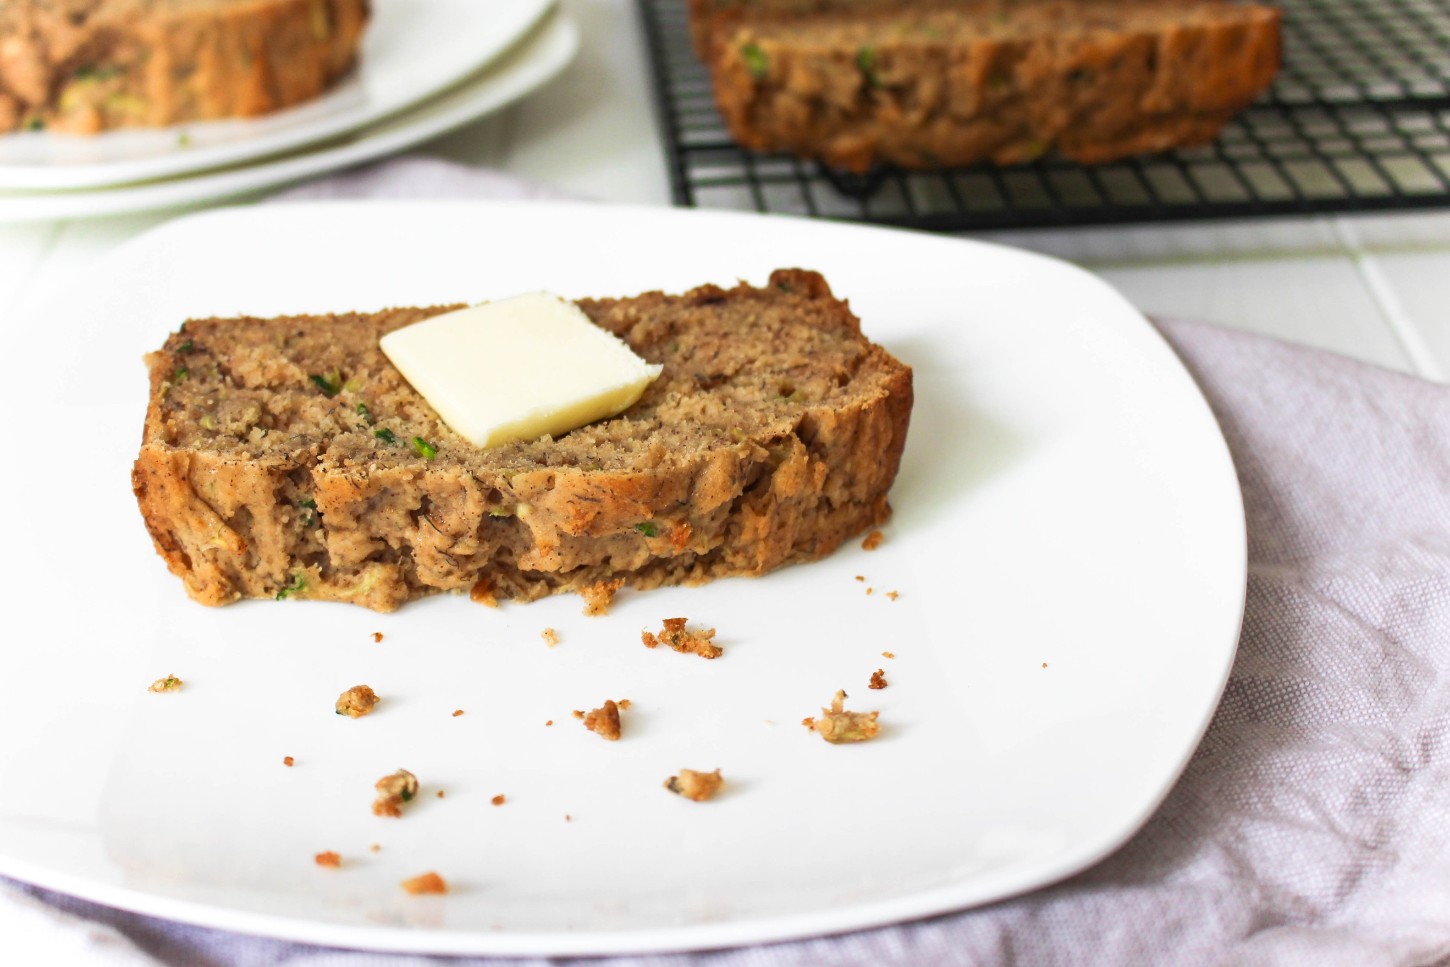
Gluten Free Zucchini Banana Bread via RDelicious Kitchen @rdkitchenI love zucchini bread and banana bread, so why not mix them together? This is a low-fat, low-sugar quick bread that can be part of a balanced breakfast or enjoyed as dessert. Breakfast suggestion: crumble zucchini banana bread on yogurt with fresh fruit.
Gluten Free Zucchini Banana Bread via RDelicious Kitchen @rdkitchen

Print
clock clock iconcutlery cutlery iconflag flag iconfolder folder iconinstagram instagram iconpinterest pinterest iconfacebook facebook iconprint print iconsquares squares iconheart heart iconheart solid heart solid icon
Gluten Free Zucchini Banana Bread sliced on a white plate

Gluten Free Zucchini Banana Bread

  • Author: Julie @ RDelicious Kitchen
  • Yield: 12 1x

Ingredients

Scale
  • 1 3/4 cups gluten free flour (I used Bob’s Red Mill 1-to-1 baking flour)
  • 1 1/4 teaspoon baking powder
  • 1/2 teaspoon baking soda
  • 1 1/2 teaspoons ground cinnamon
  • 2 medium ripe bananas, mashed
  • 1 tablespoon canola oil
  • 1/4 cup pure maple syrup
  • 1 teaspoon vanilla extract
  • 2 egg whites
  • 1 cup shredded zucchini (about 1 medium zucchini)
  • 1/4 cup unsweetened applesauce
  • 1/3 cup nonfat plain greek yogurt

Instructions

  1. Preheat oven to 375 degrees F. Generously spray inside loaf pan with cooking spray.
  2. Squeeze shredded zucchini of excess water with a paper towel.
  3. In medium bowl combine flour, baking powder, baking soda, and cinnamon. Toss with zucchini until zucchini shreds are evenly coated with the flour mixture.
  4. In another bowl of an electric mixer, add mashed banana, oil, maple syrup, vanilla and eggs; mix until smooth. Add applesauce and yogurt and beat again until well combined. Gently mix in dry ingredients until just combined.
  5. Add to loaf pan. Bake for 45-55 minutes or until toothpick inserted into the middle comes out clean.

Recipe Card powered byTasty Recipes

Signature
Gluten Free Zucchini Banana Bread via RDelicious Kitchen @rdkitchen

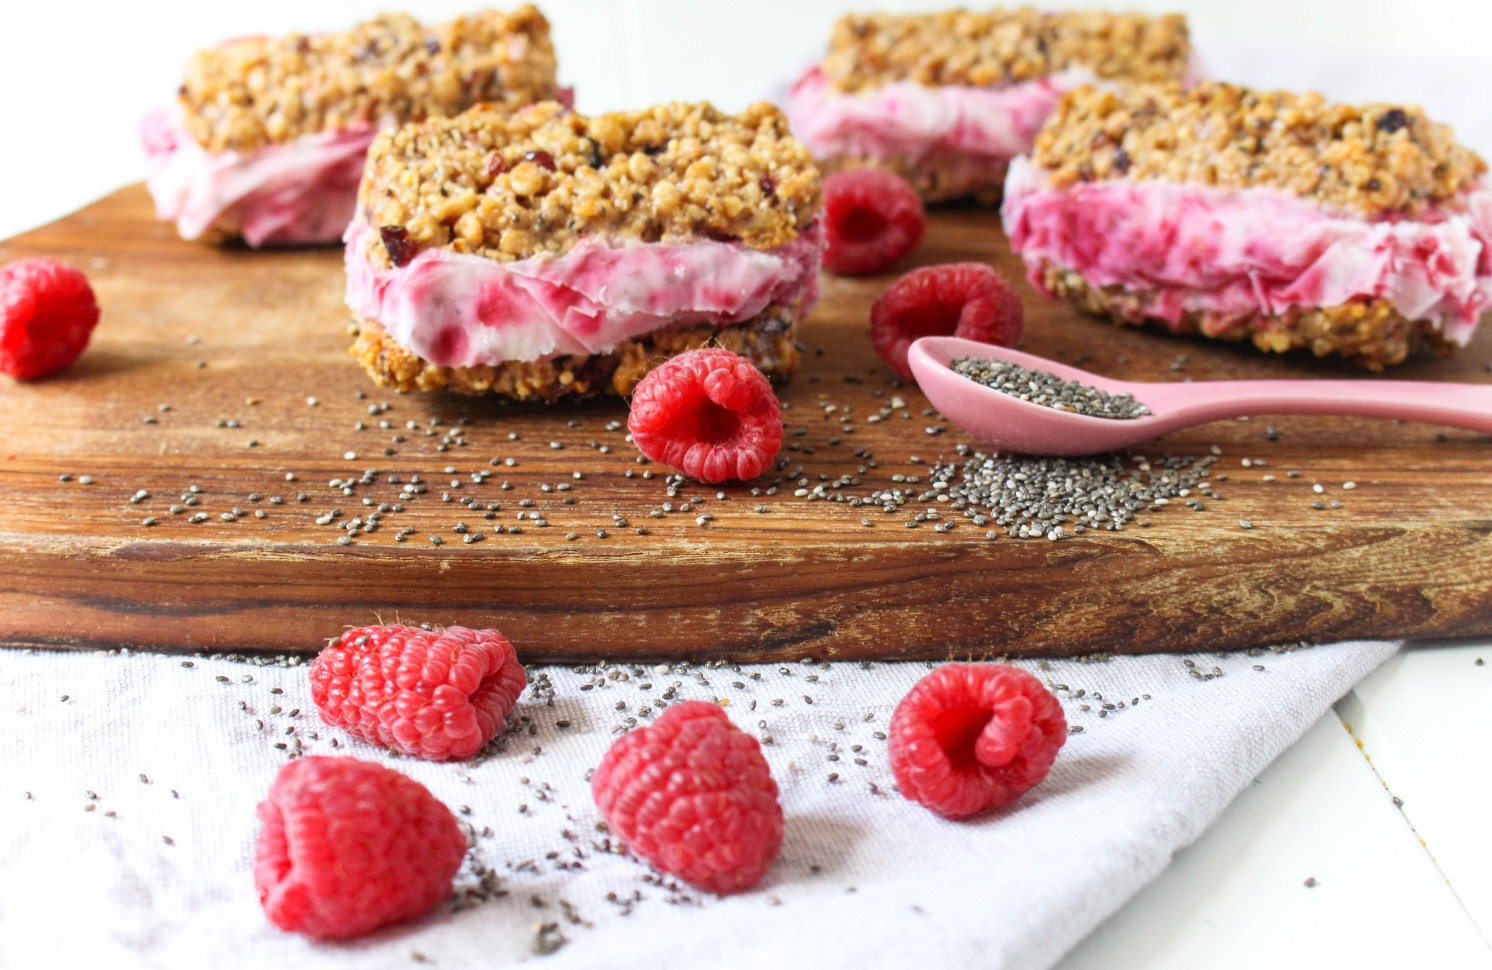
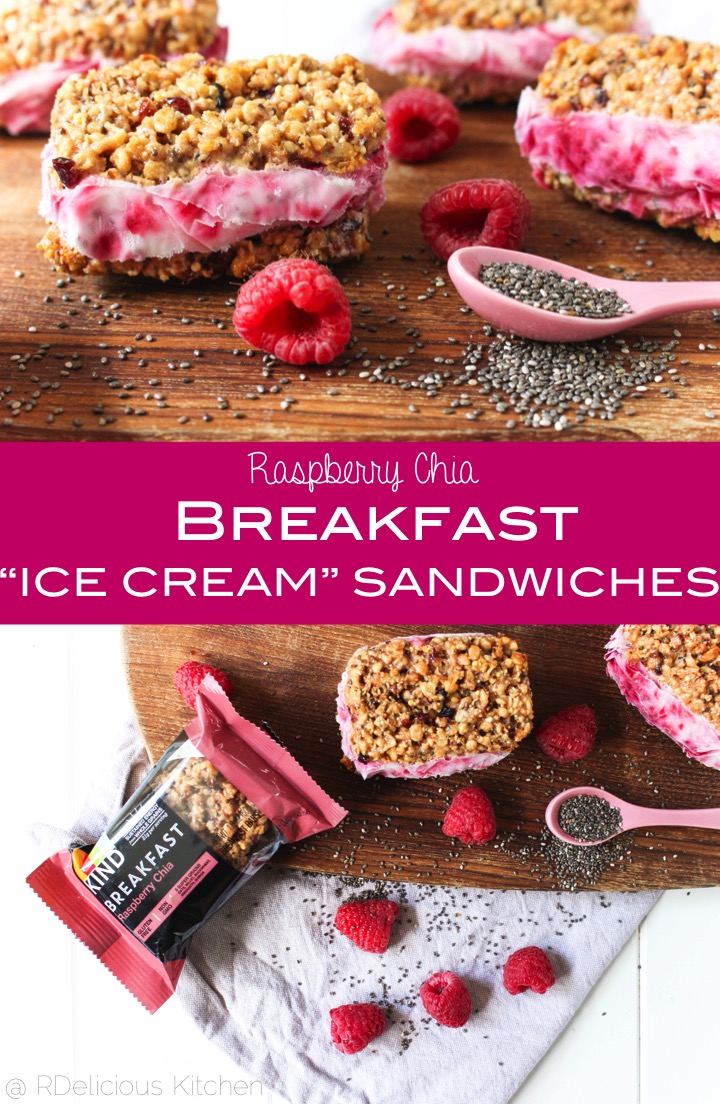
Breakfast “Ice Cream” Sandwiches

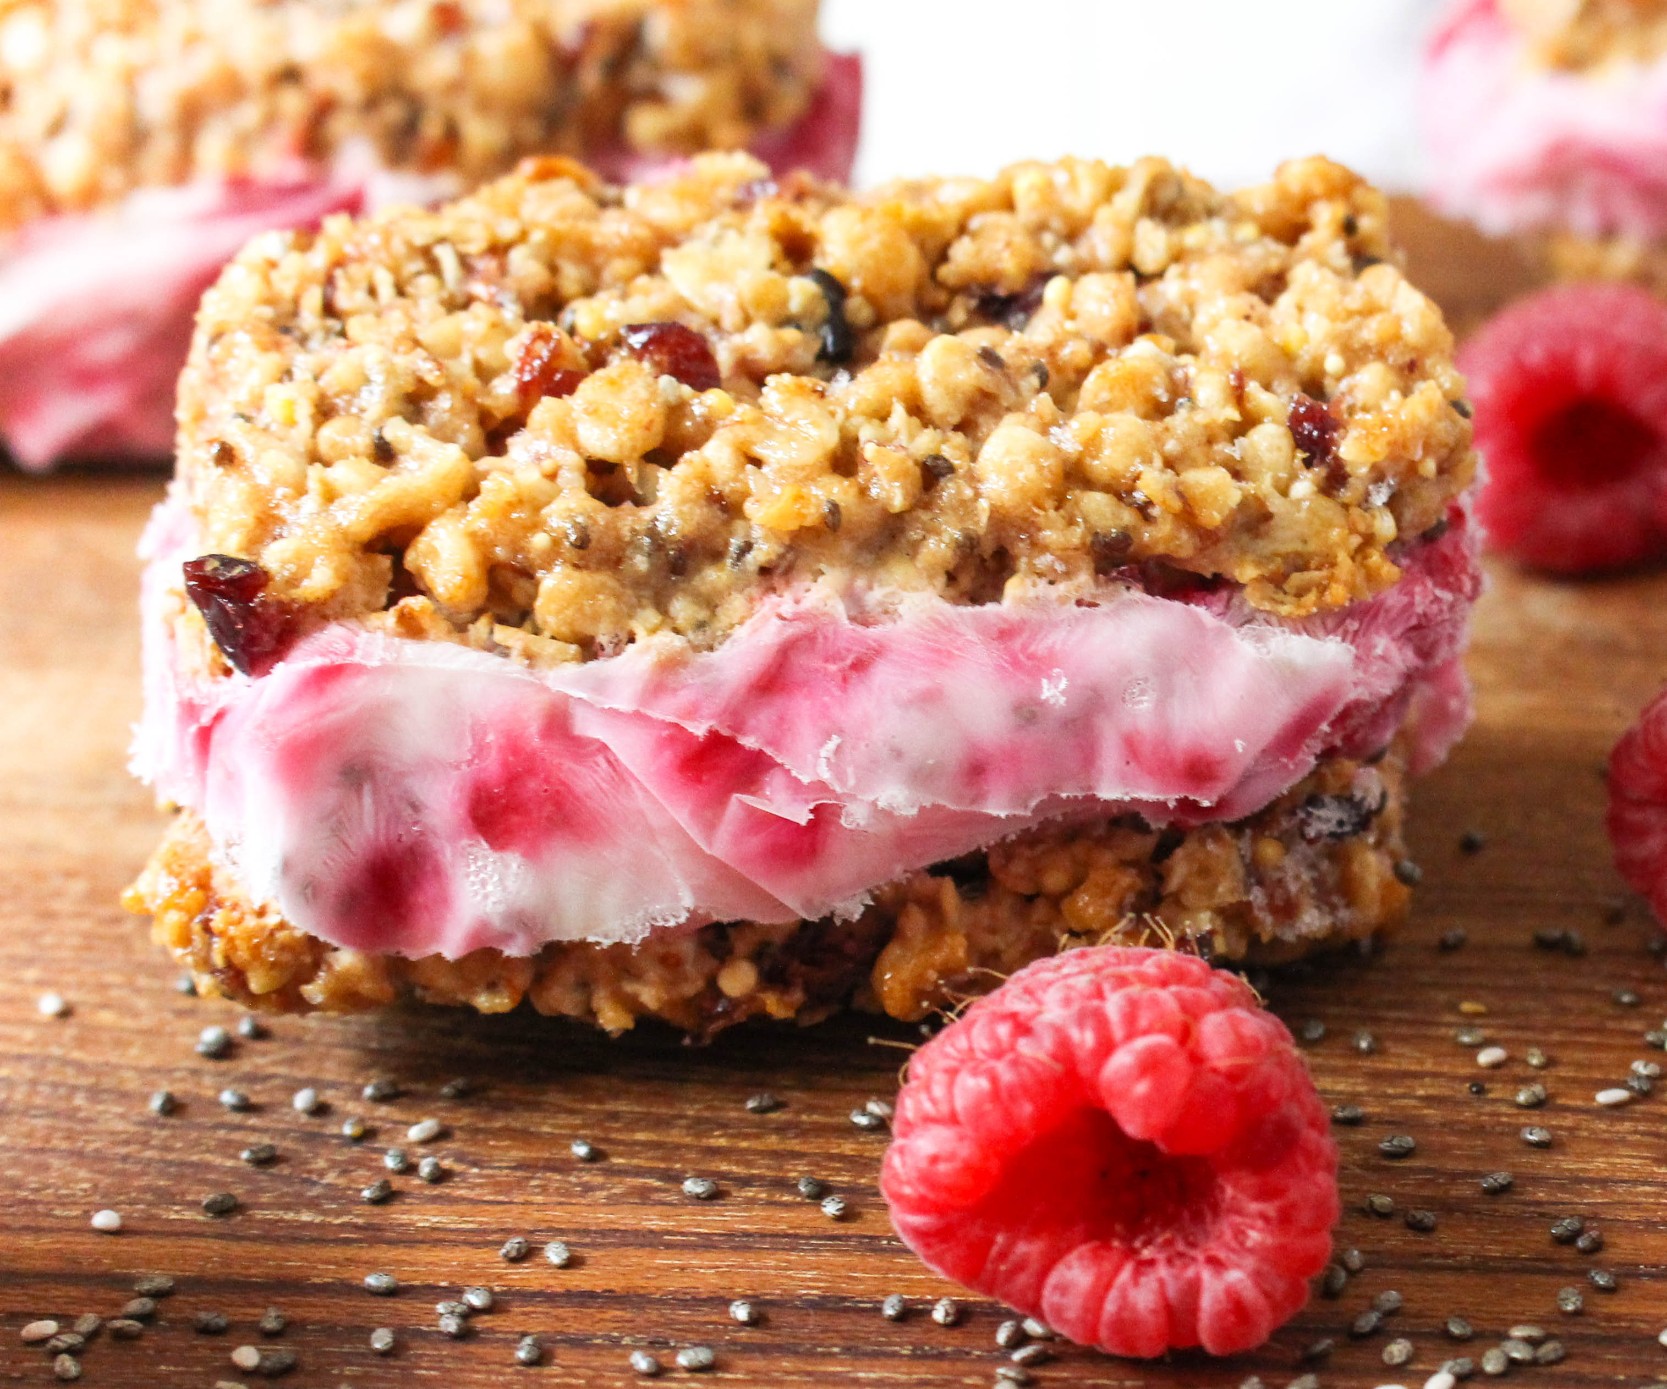
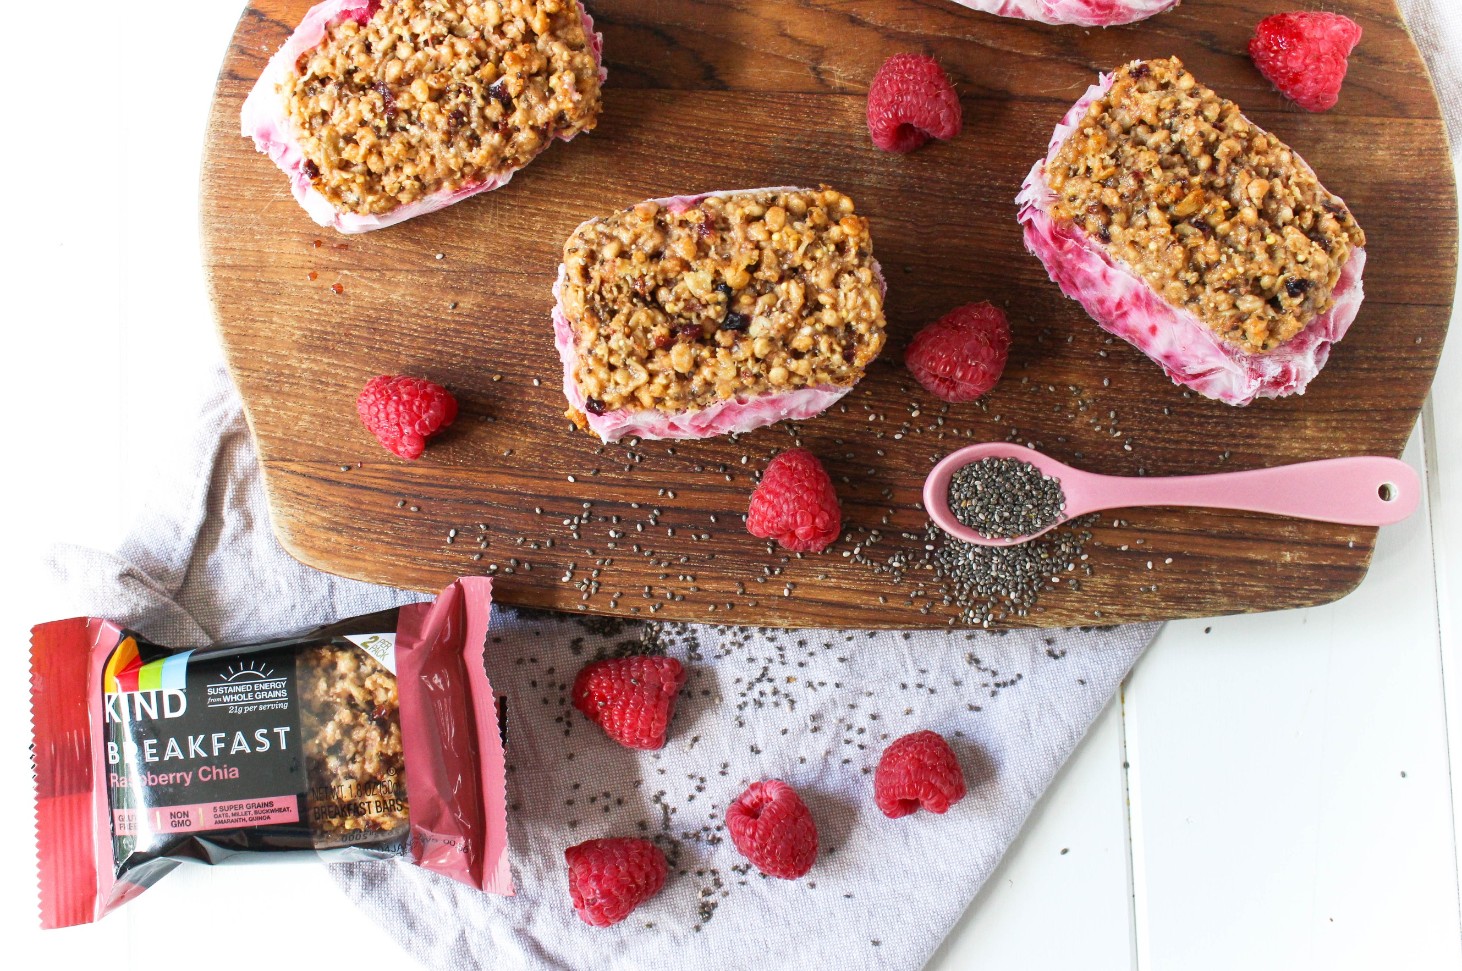
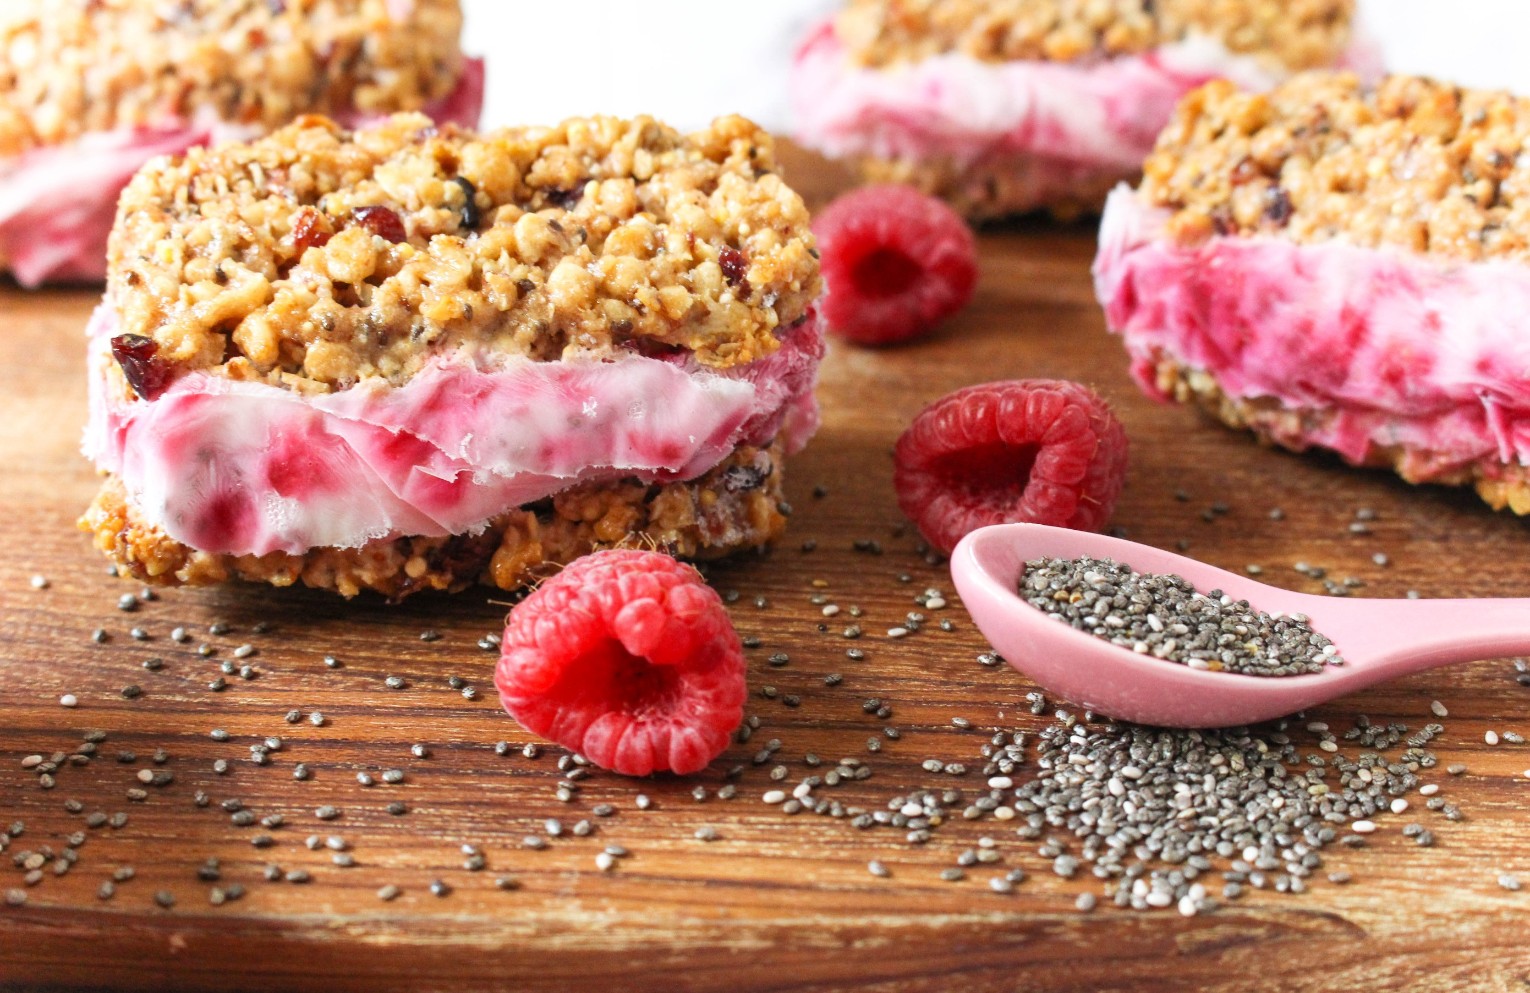
On a hot summer morning, cool down with a this fun new breakfast twist. These raspberry chia Breakfast “Ice Cream” Sandwiches tastes like dessert and will nourish you through the morning!
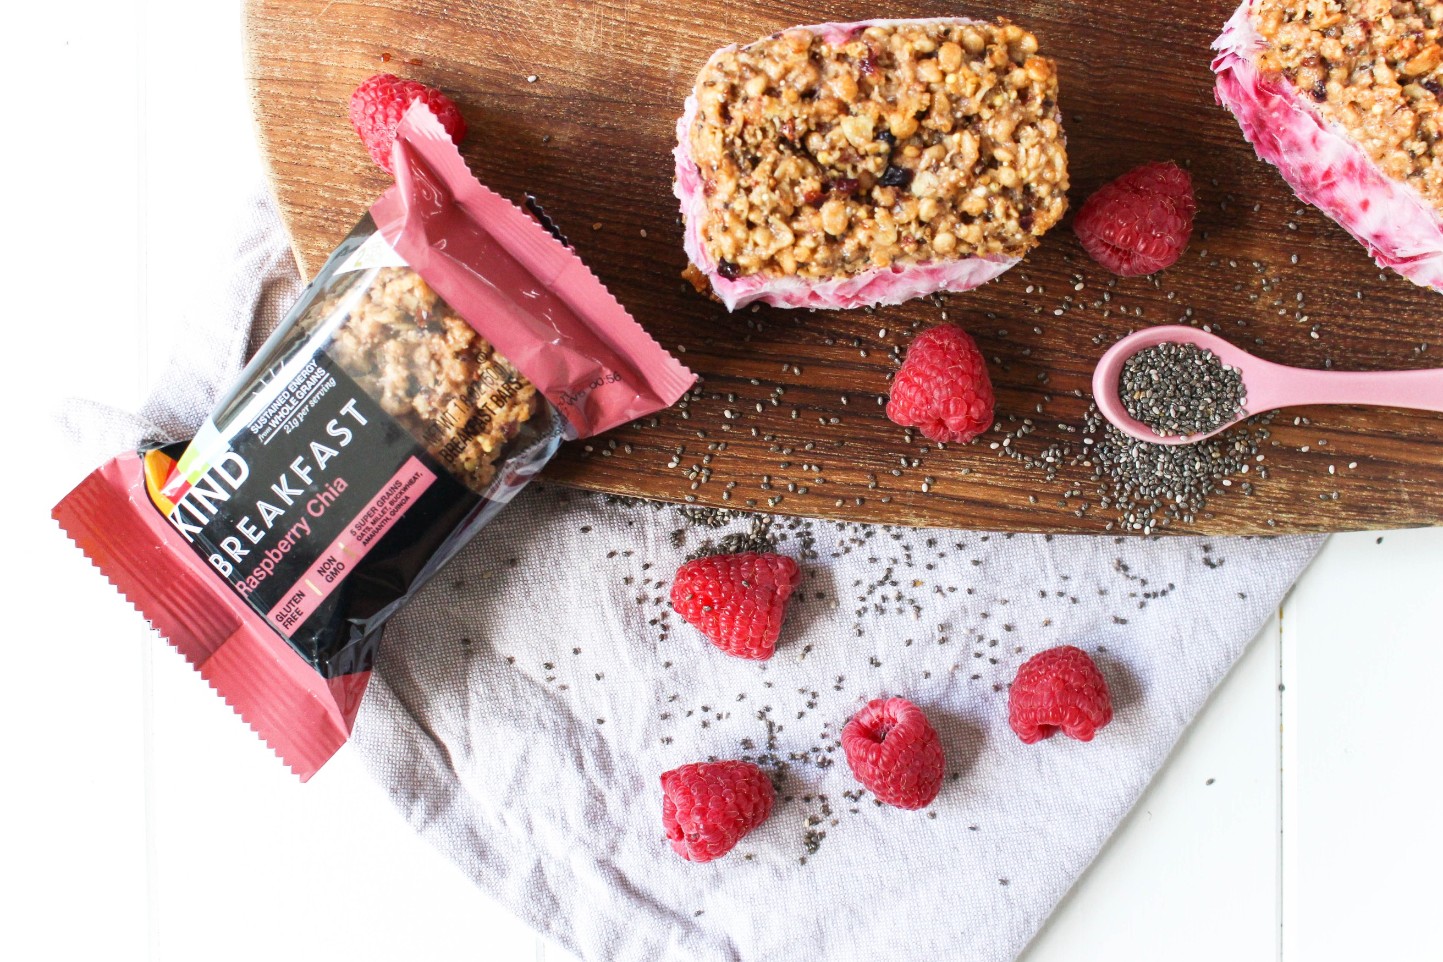
Breakfast "Ice Cream" Sandwiches via RDelicious Kitchen @rdkitchenI was super excited when KIND featured my recipe on their newsletter including my classic green smoothie to pair with their Raspberry Chia Breakfast Bars.

If you haven’t noticed, KIND came out with these new breakfast bars. These new bars (the raspberry chia flavor in particular) contain 5 whole grains including: oats, millet, buckwheat, amaranth, and quinoa along with a filling 6 grams of fiber.
Breakfast "Ice Cream" Sandwiches via RDelicious Kitchen @rdkitchenIt is always important to eat balanced meals. My go-to tip for anyone (myself included) is to enjoy at least 3 food groups per meal (with at least one of them being a fruit or vegetable).
Breakfast "Ice Cream" Sandwiches via RDelicious Kitchen @rdkitchenThat little tip can go a long way. It will help with portion control because portion sizes will naturally start to shrink in order to include various other food groups on your plate. Plus, it will help reach the minimum recommendation of aiming to consume at least 5 fruits and vegetables a day. More matter!
Breakfast "Ice Cream" Sandwiches via RDelicious Kitchen @rdkitchenWhen I first tried these breakfast bars I usually paired them by dunking them in a yogurt with a side of fruit, so I was inspired by my combo to turn it more into a fun breakfast!
It feels like eating dessert for breakfast!
Breakfast "Ice Cream" Sandwiches via RDelicious Kitchen @rdkitchen

Print
clock clock iconcutlery cutlery iconflag flag iconfolder folder iconinstagram instagram iconpinterest pinterest iconfacebook facebook iconprint print iconsquares squares iconheart heart iconheart solid heart solid icon
Breakfast “Ice Cream” Sandwiches on a cutting board

Breakfast “Ice Cream” Sandwiches

  • Author: Julie @ RDelicious Kitchen
  • Prep Time: 5 mins
  • Total Time: 5 mins
  • Yield: 4

Ingredients

Scale
  • 4 packages KIND raspberry chia breakfast bars (contains 2 bars per package)
  • 2 (5.3 oz.) containers plain (or vanilla) yogurt (I used Siggi’s)
  • 1 tablespoon chia seeds
  • 1/4 cup raspberries

Instructions

  1. In a small bowl, gently mash raspberries. Stir in chia seeds. Add yogurt and gently fold in raspberries and chia to make a raspberry swirl.
  2. Open up KIND breakfast bars packages. Scoop about 1/3 cup onto one side of the breakfast bar and spread evenly. Top with the other breakfast bar (not too tight, so filling doesn’t spill out!)
  3. Wrap each breakfast “ice cream” sandwich with plastic wrap and add to a sealed tight container. Place in the freezer for at least 2 hours or overnight.
  4. Unwrap and enjoy a treat in the morning!

Recipe Card powered byTasty Recipes

Signature

Breakfast "Ice Cream" Sandwiches via RDelicious Kitchen @rdkitchen

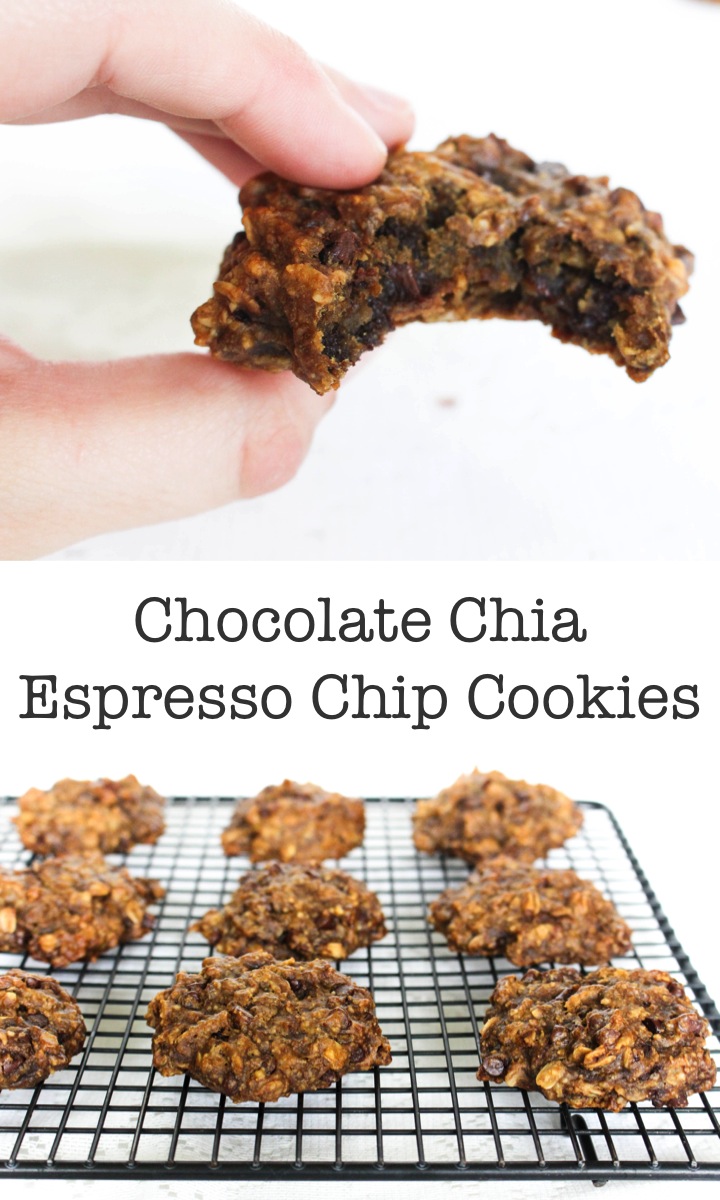
Chocolate Chia Espresso Chip Cookies

Do you find baking relaxing? There is a reason why! Unwind and bake these Chocolate Chia Espresso Chip Cookies.
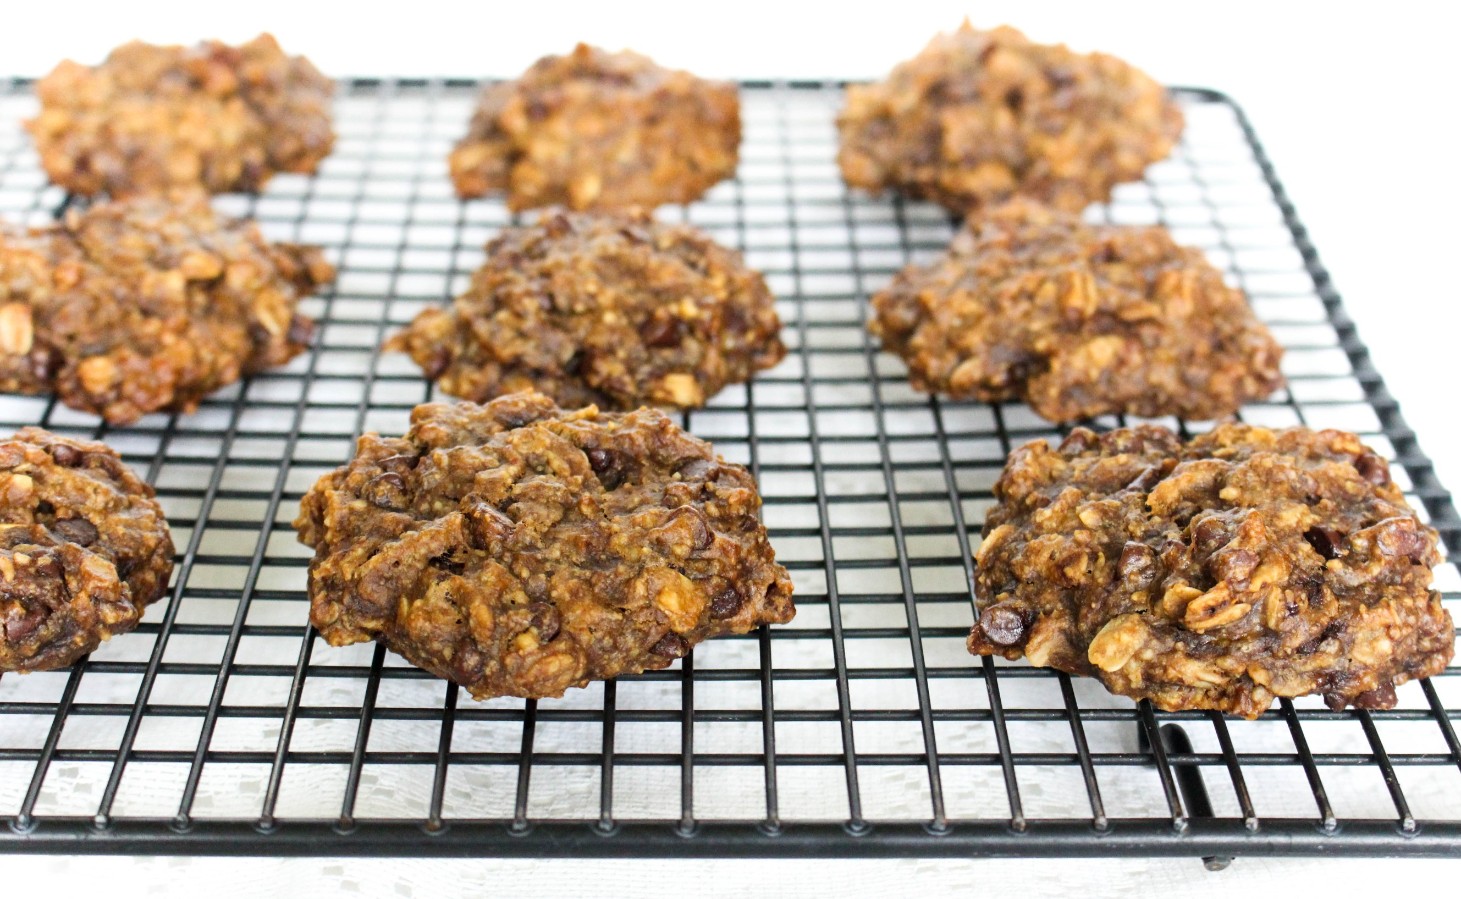
Chocolate Chia Espresso Chip Cookies via RDelicious Kitchen @rdkitchen
After a super long day, I came home and wanted to bake. Baking is so relaxing to me. Is it because “stressed is desserts backwards” or is there a reason why there was a connection between baking and relieving stress?

According to the Massachusetts Public Health Blog, baking is a way to nurture our creative side – something we don’t do enough of. When feeling stressed or anxious, there’s something relaxing about losing yourself in the process of stirring, mixing, and kneading and at the end, treating yourself and others to something made from the soul. Doing something with your hands can be relaxing, similar to squeezing a stress ball or knitting. It helps take your mind off of your troubles, and releases negative energy that’s stored – channeling it into something creative. For some people, the repetitive motion of chopping is calming. Baking is a creative outlet that allows for experimentation. For some, baking is a coping skill to deal with life’s challenges, and a positive one at that – another one to add to your toolbox.
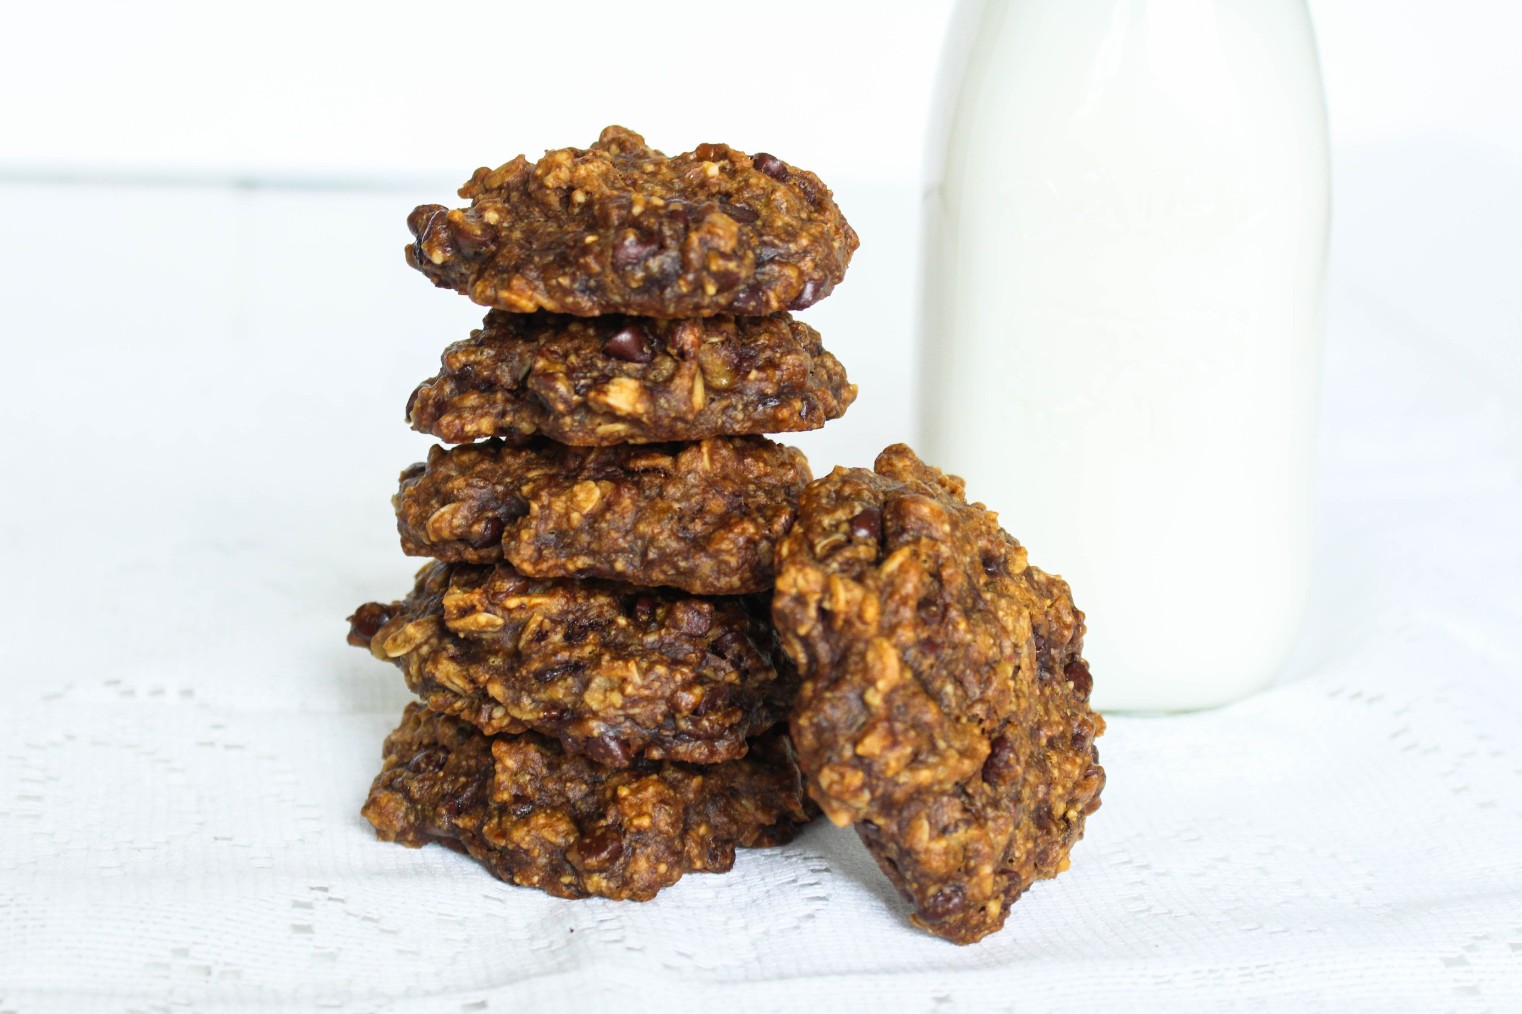
Chocolate Chia Espresso Chip Cookies via RDelicious Kitchen @rdkitchen
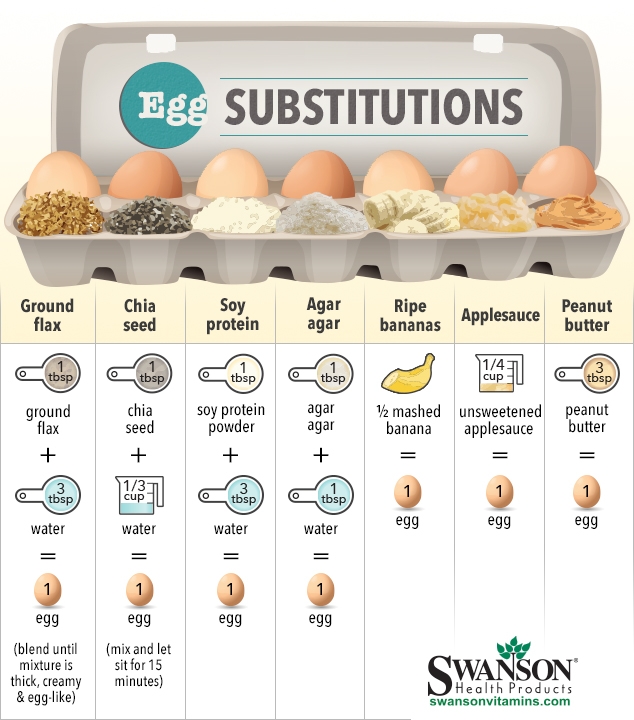
As I was getting creative in the kitchen, I noticed I had used the last of my eggs when I made my favorite Swiss Chard and Mushroom Quiche the day before. Now worries, there are plenty of egg substitutions to use. I love the guide below as some really great egg free alternatives.
In a typical recipe for baked goods, eggs play the role of a binder or a leavening agent. A binder helps hold the recipe together, while a leavening agent helps your baked goodies to rise.

Chocolate Chia Espresso Chip Cookies via RDelicious Kitchen @rdkitchen(source)

I went with the “chia egg”. I notice this method works best with cookies and brownies. The chia egg keeps the cookies soft and gooey, plus add a boost of fiber and omega-3’s.

Chocolate Chia Espresso Chip Cookies via RDelicious Kitchen @rdkitchenWhat egg free alternative have you tried in a baking recipe?

Print
clock clock iconcutlery cutlery iconflag flag iconfolder folder iconinstagram instagram iconpinterest pinterest iconfacebook facebook iconprint print iconsquares squares iconheart heart iconheart solid heart solid icon
hand holding a Chocolate Chia Espresso Chip Cookie

Chocolate Chia Espresso Chip Cookies

  • Author: Julie @ RDelicious Kitchen
  • Yield: 15 cookies 1x

Ingredients

Scale
  • 1 tablespoon chia seeds
  • 1/3 cup hot water
  • 1 medium ripe banana
  • 1/4 cup natural peanut butter
  • 1/2 tablespoon melted coconut oil
  • 1/2 teaspoon vanilla extract
  • 2 tablespoons maple syrup
  • 3/4 cup rolled oats
  • 1/4 cup oat flour
  • 1/4 cup garbanzo bean flour
  • 1/2 tsp baking powder
  • 1/2 tsp baking soda
  • 1/8 teaspoon salt
  • 1 tablespoon espresso powder
  • 1/3 cup mini chocolate chips

Instructions

  1. Preheat the oven to 350 degrees F. In a small bowl, combine the chia seeds and hot water. Let sit for 15 minutes, stirring occasionally. Mixture will gel up and thicken.
  2. In a large bowl, mash the banana with a fork. Mix in the peanut butter, coconut oil, vanilla extract, maple syrup, and chia seeds, until combined.
  3. Add the rolled oats, oat flour, garbanzo bean flour, baking powder, baking soda, salt, and espresso powder. Mix until just combined.
  4. Gently fold in the chocolate chips.
  5. Scoop cookie dough by the tablespoonful onto a prepared baking sheet, sprayed with non stick spray, or lined with parchment or a silicone mat.
  6. Bake for 15-20 minutes until golden brown.

Recipe Card powered byTasty Recipes

Signature
Chocolate Chia Espresso Chip Cookies via RDelicious Kitchen @rdkitchen