Roasted Maple-Mustard Glazed Brussels Sprouts

Roasted Maple Mustard Brussels Sprouts have just enough tang and the right amount of sweetness! The perfect side dish that pairs well with just about any meal! 

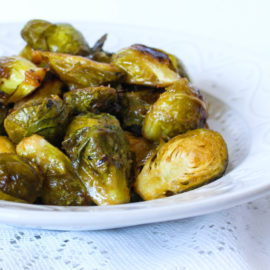
close up of maple mustard glazed brussels sprouts in a white bowl

Some people may turn their nose up at the thought of Brussels sprouts, but honestly, they just need to try cooking them a different way! The maple mustard glaze brings in so much flavor, adding a twist to just regular roasted sprouts. 

With the holiday season just around the corner, these become a staple around our house. Once you try them I promise you will be eating this delicious side dish all year long! 

Because this is a sheet pan recipe, it’s easy to make and almost hands off! So while these are great during the week, you can easily double or triple the recipe to feed a larger crowd without much more prep work.

Why I Love Brussels Sprouts

For starters, brussels sprouts are packed full of nutrients and rich in Vitamin K and Vitamin C. They also contain an antioxidant called kaempferol, that may help to reduce inflammation and promote a healthy heart. 

If you aren’t a seafood lover, double up on your Brussels because they are one of the best plant-based sources of omega-3s! 

So besides all of the amazing health benefits, Brussels sprouts can be cooked in so many ways which makes them really versatile in the kitchen.  Simply changing out the sauce, glaze, or seasoning offers a whole new side dish. Let’s not forget they are great in salads when they are shredded too! 

top shot of roasted maple mustard brussels sprouts in a white bowl

Ingredients for Maple Mustard Brussels Sprouts 

lemon juice

Dijon mustard

maple syrup

olive oil

salt and pepper

Brussels sprouts

How to Make Roasted Maple Mustard Brussels Sprouts 

Prep your baking sheet by spraying it with non-stick spray or using parchment paper and preheat your oven to 400 degrees. 

Whisk together the lemon juice, mustard, maple syrup, oil, salt, and pepper in a large bowl. 

Once you have halved and trimmed the Brussels sprouts, mix those in and stir until they are fully coated. 

brussels sprouts roasted with a maple mustard glaze in a white bowl

Pour the mixture in an even layer onto the baking sheets. You can drizzle the remaining glaze over if there’s any left in the bowl. 

Roast for about 30 minutes or until the brussels are tender and caramelized. Stir them occasionally or flip with a spatula half way through. 

Can You Use Frozen Brussels Sprouts? 

You can if that’s all you have. Allow them to thaw completely before roasting.

Print
clock clock iconcutlery cutlery iconflag flag iconfolder folder iconinstagram instagram iconpinterest pinterest iconfacebook facebook iconprint print iconsquares squares iconheart heart iconheart solid heart solid icon
roasted brussels sprouts in a white dish

Roasted Maple-Mustard Glazed Brussels Sprouts

  • Author: Chef Julie Harrington, RD
  • Prep Time: 5 mins
  • Cook Time: 30 mins
  • Total Time: 35 mins
  • Yield: 4
  • Category: side dish
  • Method: roasting

Ingredients

Scale
  • 1 1/2 tablespoons lemon juice
  • 2 1/2 tablespoons Dijon mustard
  • 1 1/2 tablespoons maple syrup
  • 3 tablespoons olive oil
  • salt and pepper, to taste
  • 2 lbs. Brussels sprouts, halved and trimmed

Instructions

  1. Preheat oven to 400 degrees F. Prepare a large baking sheet with cooking spray and set aside.
  2. In a large bowl, whisk together the lemon juice, Dijon mustard, maple syrup, olive oil, and salt and pepper.
  3. Mix in the Brussels sprouts until they are fully coated. Pour the Brussels sprouts on an even layer on the baking sheet, drizzling any remaining glaze on top.
  4. Roast for 25-30 minutes, stirring occasionally. Brussels sprouts should be tender and caramelized to your desired doneness.

Keywords: Brussels sprouts, roasting, vegetable side dish

Recipe Card powered byTasty Recipes
Chef Julie Harrington, RD - Culinary Nutrition Consultant of chefjulierd.com
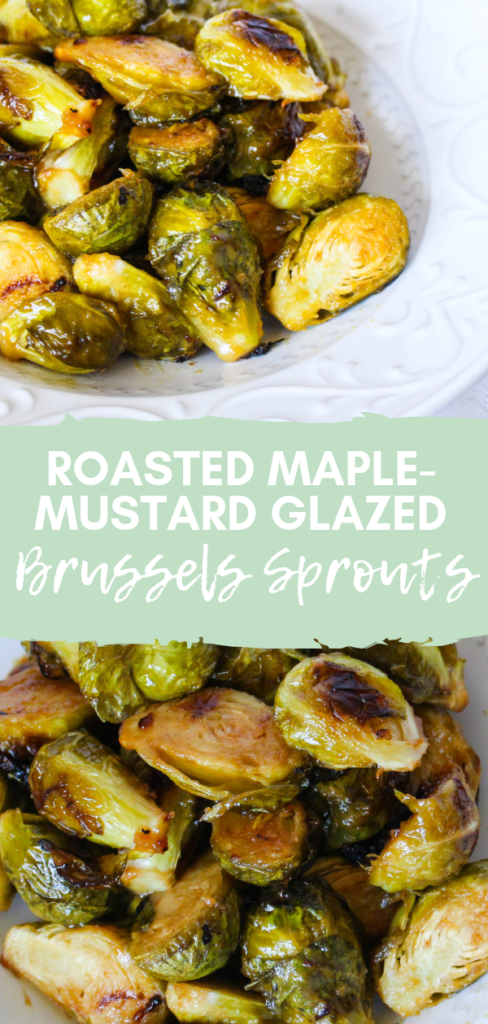
close up of roasted brussels sprouts with a maple mustard glaze with text overlay

Butternut & Acorn Squash Soup

Butternut and Acorn Squash soup is a healthy, creamy, one-pot meal or can be served as an easy appetizer, so cozy up because dinner is almost ready!

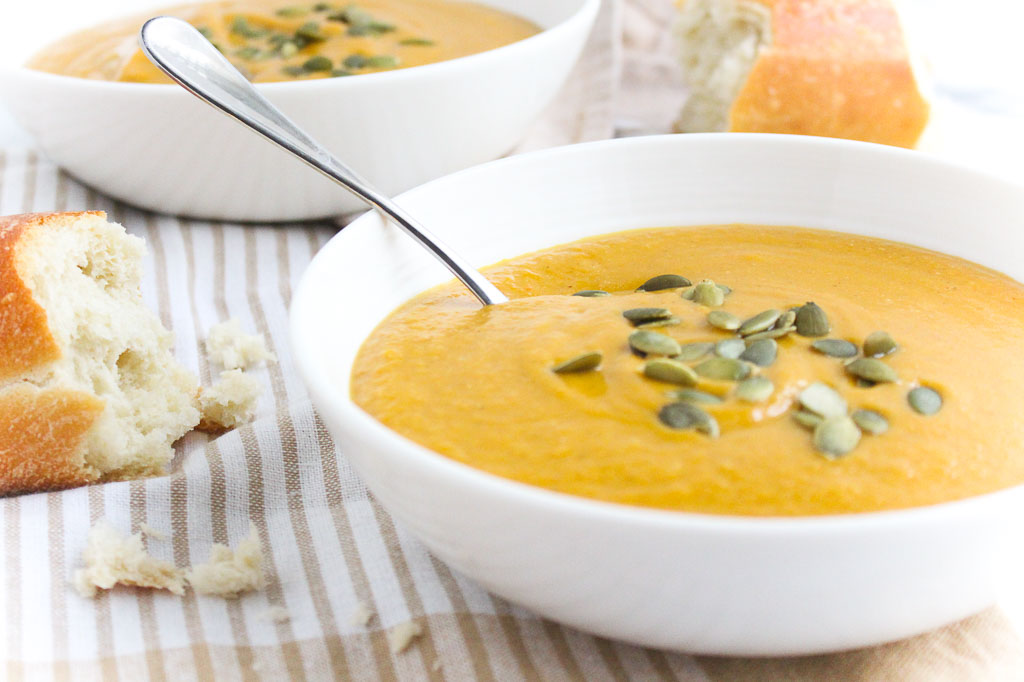
butternut squash soup topped with pepitas next to a piece of bread


Ever wonder how food bloggers come up with their recipes?


I pretty much think or talk about food all day. At work, I’m educating clients about nutrition through food or teaching cooking classes. Then, for the blog, my recipe creations are inspired by conversations I have, discussions in cooking classes or demonstrations, or simply from a particular ingredient. Travel definitely plays a big role in recipe development too. I love dining out when I travel, experiencing the local fare. I like to try and recreate recipes I’ve tried with my own little twist.

Ever wonder what kind of squash to use for different recipes? I break it down here!

Next time before you start dialing for takeout, really take a look at what is in your kitchen. You never know – you might whip up something delicious!

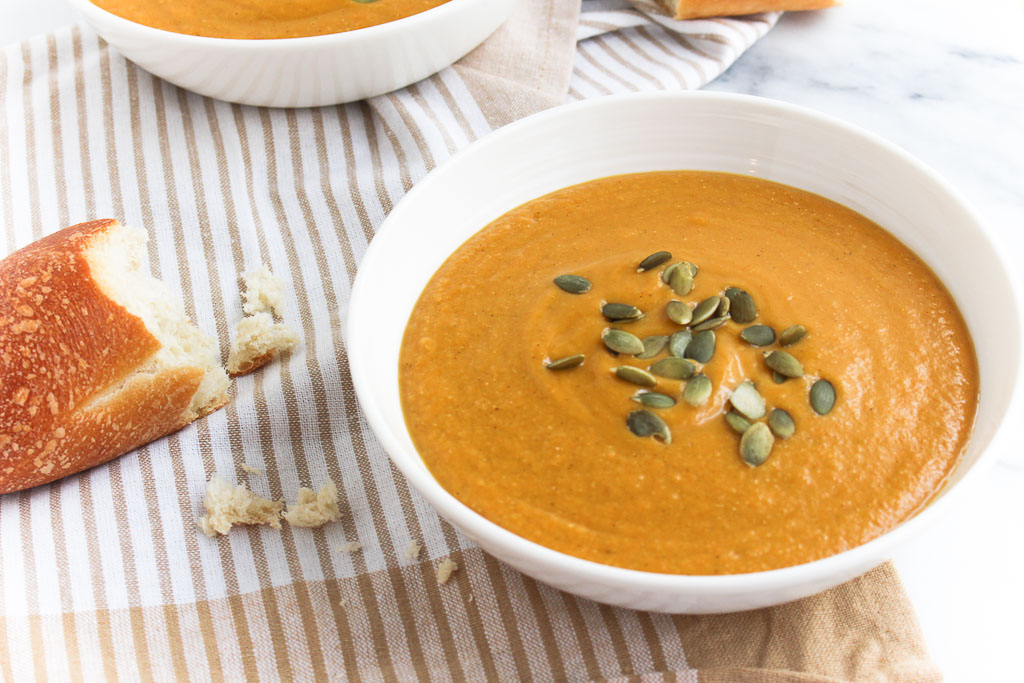
top shot of two bowls of acorn and butternut squash soup next to baguettes

Ingredients Needed for Butternut and Acorn Squash Soup

Veggies: butternut squash, acorn squash, onion, carrots

Spices: garlic, nutmeg, salt and pepper, garam masala

Oil

Miso – I prefer chickpea miso or white miso

Cashews

Apple – try to get a sweeter variety such as Honeycrisp, Gala, or Pink Lady

Veggie broth – low sodium of course!

Water

butternut squash soup in a white bowl topped with pepitas next to bread

How to Make Butternut Acorn Squash Soup

Line a baking sheet with parchment paper or a silicon baking mat and preheat the oven to 400 degrees.

Using a paring knife, pierce the squash, place them on the baking sheet, and bake for 20 minutes. Once they are done cooking, let them cool slightly before dicing into cubes.

Heat the olive oil over medium high heat in a large pot. Add the garlic, carrots, and onions.

Saute for about 3 minutes or until the onions start becoming translucent.

Add the nutmeg and garam masala and stir to coat the veggies.

Stir in the miso, cashew, cubed squash, and apple. Once combined, add the veggie broth and water. Make sure everything is covered and use more water if needed.

Simmer for 30 minutes, until the squash is tender and season with salt and pepper.

Add the soup to a blender in batches and blend until smooth. You could also use an immersion blender directly in the pot if you are using stainless steel.

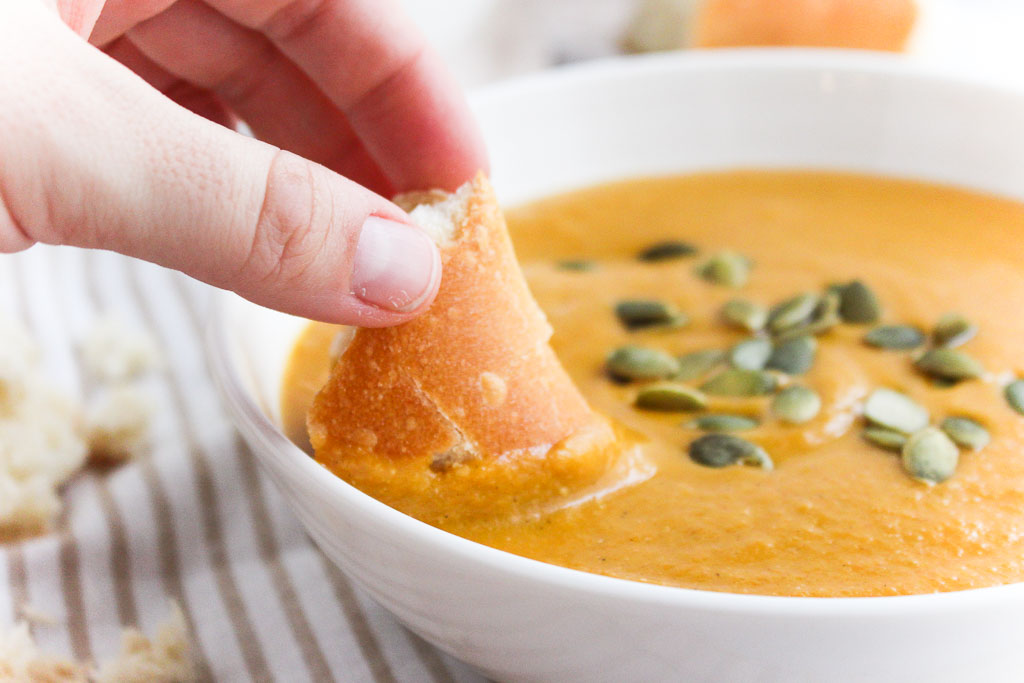
dipping a piece of bread into a bowl of butternut and acorn squash soup

Do You Have to Roast the Squash First?

Roasting the squash ahead of time makes them softer and much easier to peel and dice.

My Soup is Too Thick, What Should I Do?

Once you blend all of the ingredients together and you find that it’s thicker than you would like, simply stir in water a little at a time until it’s your desired consistency.

Is this Butternut Acorn Squash Soup Healthy?

You betcha! These winter squash varieties are full of antioxidants and vitamins! Not to mention the healthy fats and fiber from the cashews, and the nourishment of the broth base.

FREE Cooking Class

This recipe was featured as part of Virtual Teaching Kitchen’s FREE virtual cooking classes. Click here to learn more about the Virtual Teaching kitchen.

Print
clock clock iconcutlery cutlery iconflag flag iconfolder folder iconinstagram instagram iconpinterest pinterest iconfacebook facebook iconprint print iconsquares squares iconheart heart iconheart solid heart solid icon
squash soup in a bowl with pumpkin seeds

Butternut & Acorn Squash Soup

  • Author: Chef Julie Harrington, RD
  • Prep Time: 30
  • Cook Time: 40
  • Total Time: 1 hour 10 minutes
  • Yield: 8
  • Category: soup

Description

Cozy up to a bowl of this creamy Butternut & Acorn Squash Soup.


Ingredients

Scale
  • 1 butternut squash, (about 4 cups), chopped
  • 1 acorn squash, (about 2 cups), chopped
  • 2 tablespoons olive oil
  • 1 onion, chopped
  • 3 cloves garlic, minced
  • 3 carrots, (about 1 cup) peeled and diced
  • 1 1/2 tablespoons garam masala
  • 1/8 teaspoon nutmeg (a small pinch)
  • 2 tablespoons chickpea miso (or white miso)
  • 3/4 cup raw cashews
  • 1 apple, peeled and diced (preferably a sweet variety like Honeycrisp, gala, pink lady)
  • 4 cups low-sodium vegetable broth
  • 2 cups water
  • 1/4 teaspoon black pepper
  • salt, to taste

Instructions

  1. Preheat oven to 400 degrees F. Line a baking sheet with parchment paper. To easily cut the squashes, pierce butternut squash and acorn squash with a paring knife. Place on a baking sheet and bake for 20 minutes to soften, so it will be easier to chop. Let cool until able to handle. Peel and dice squash into cubes.
  2. In a large pot, heat olive oil over medium-high heat. Add onions, garlic, and carrots. Saute for about 3 minutes, until onions start to become translucent.
  3. Add the garam masala and nutmeg and coat the vegetables.
  4. Stir in the chickpea miso, cashews, butternut squash, acorn squash, and apple. Stir to combine. Add the vegetable broth and water, covering the vegetables. (Use more water, if needed).
  5. Simmer soup for 30 minutes, until squash is tender. Season with salt and pepper.
  6. In batches, add soup to a blender. Blend until smooth. If soup is too thick, add more water.
  7. Serve warm. (Optional: sprinkle pepitas on top to garnish)

Keywords: soup, squash

Recipe Card powered byTasty Recipes


Other recipes you may enjoy

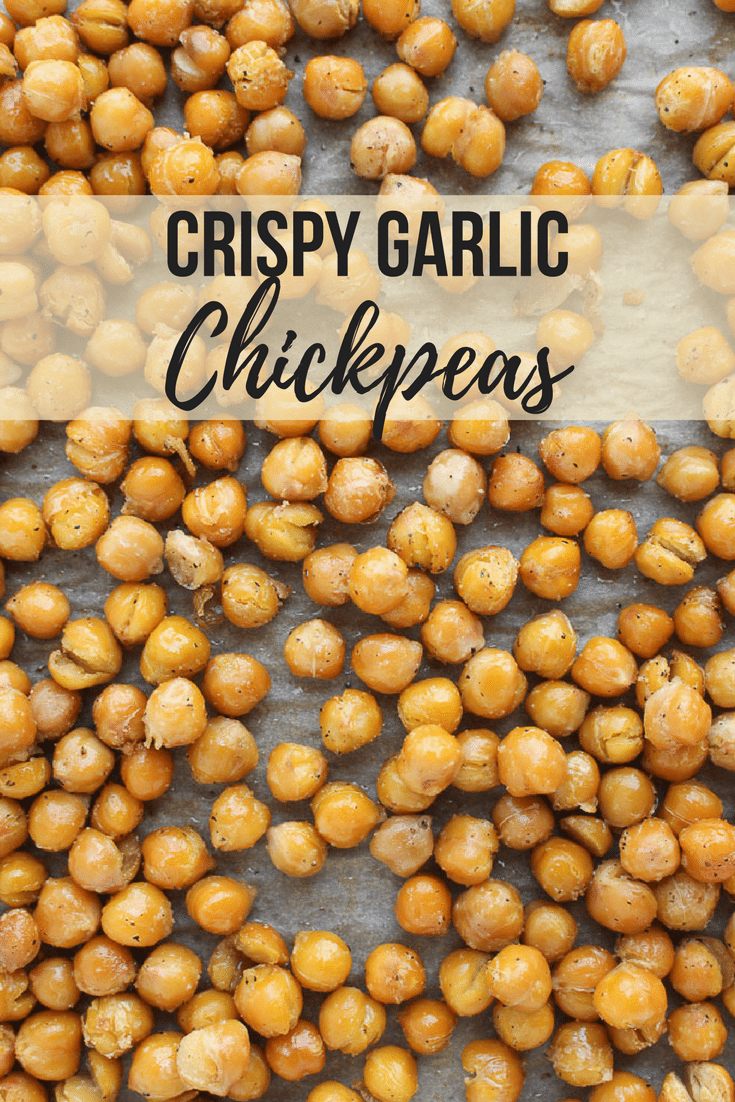
Crispy Garlic Chickpeas

Craving a crunchy snack? Try these homemade Crispy Garlic Chickpeas.

Crispy Garlic Chickpeas - plant-based protein snack via Chef Julie Harrington, RD @ChefJulie_RD #legumes #chickpeas #beans #snack #plantbased #plantbasedprotein #protein

Chickpeas are always a staple in my pantry. If you’ve been reading my blog for some time now, I use chickpeas in a lot of my recipes, like my Chickpea Walnut Sandwich or my Balsamic Kale and Vegetable Saute. I’ve even put them into desserts, like my Peanut Butter Chocolate Chip Cookies and Cookie Dough Bites.

Crispy Garlic Chickpeas - plant-based protein snack via Chef Julie Harrington, RD @ChefJulie_RD #legumes #chickpeas #beans #snack #plantbased #plantbasedprotein #protein

Chickpeas, also known as garbanzo beans, is a popular legume across many cuisines. These versatile legumes are also packed with high-quality plant protein, soluble and insoluble fiber, and beneficial polyunsaturated fatty acids.

Crispy Garlic Chickpeas - plant-based protein snack via Chef Julie Harrington, RD @ChefJulie_RD #legumes #chickpeas #beans #snack #plantbased #plantbasedprotein #protein

Grab these for a protein-packed snack or top on a salad. I always tell clients to make these to top their salads when they are looking for a crunch factor in place of croutons.

The best part, you can customize these with any flavor you like! Craving sweet? Try roasting the chickpeas with a little cinnamon and sugar. Looking to add a little heat? Add a little chili powder to the mix.

Crispy Garlic Chickpeas - plant-based protein snack via Chef Julie Harrington, RD @ChefJulie_RD #legumes #chickpeas #beans #snack #plantbased #plantbasedprotein #protein

Crispy Garlic Chickpeas - plant-based protein snack via Chef Julie Harrington, RD @ChefJulie_RD #legumes #chickpeas #beans #snack #plantbased #plantbasedprotein #protein

What flavor combination would you try for crispy chickpeas first?

Print
clock clock iconcutlery cutlery iconflag flag iconfolder folder iconinstagram instagram iconpinterest pinterest iconfacebook facebook iconprint print iconsquares squares iconheart heart iconheart solid heart solid icon
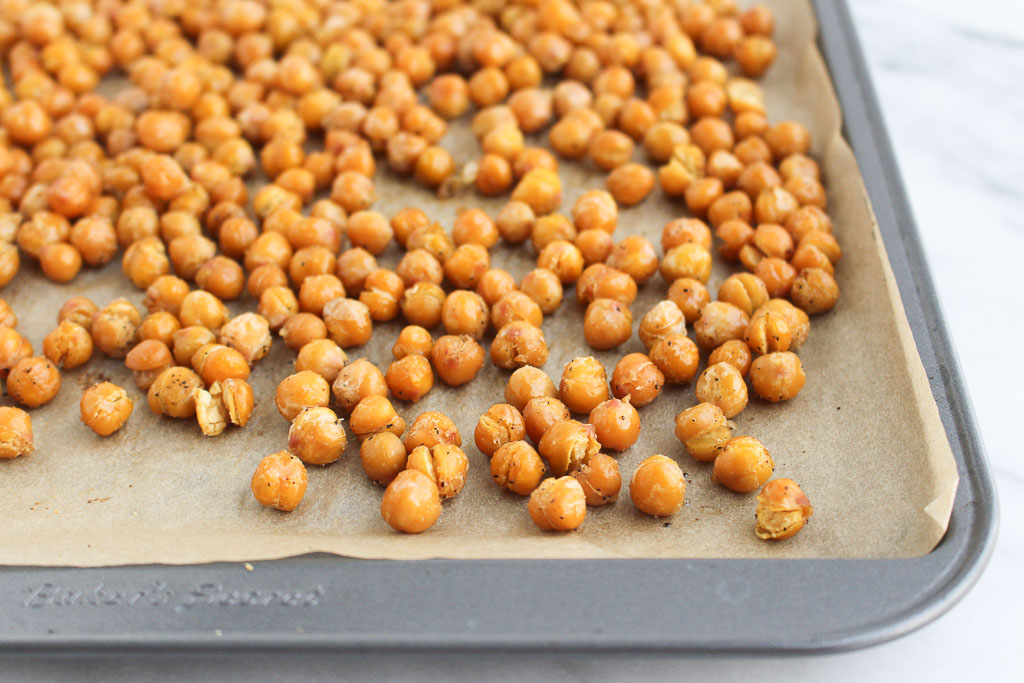
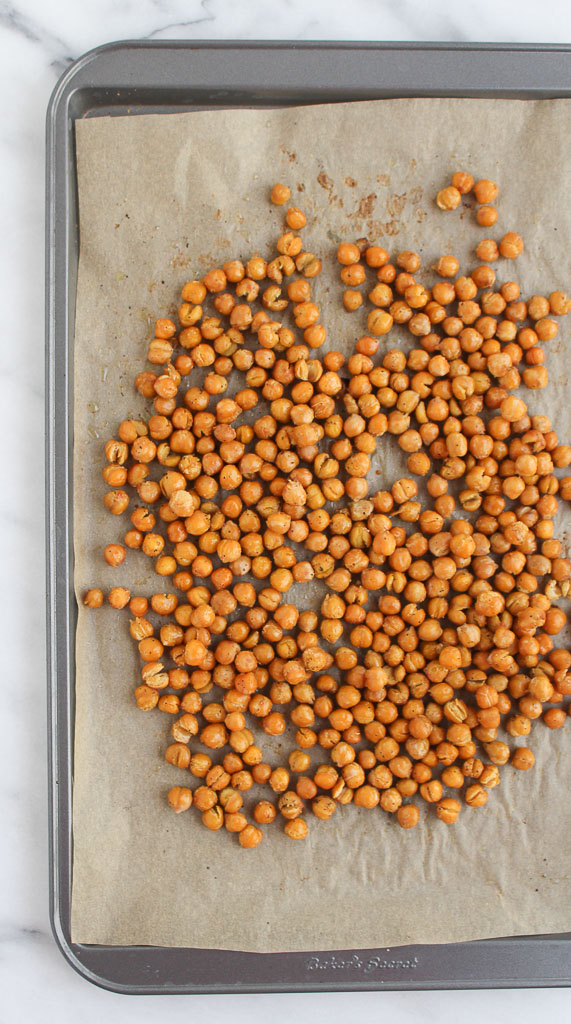
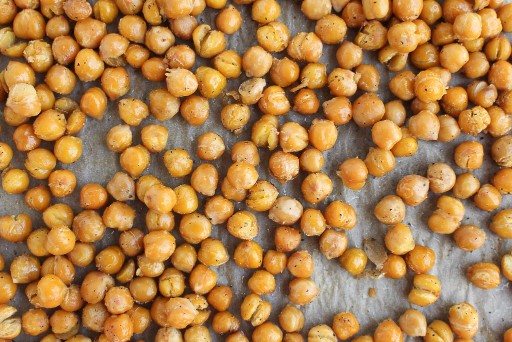
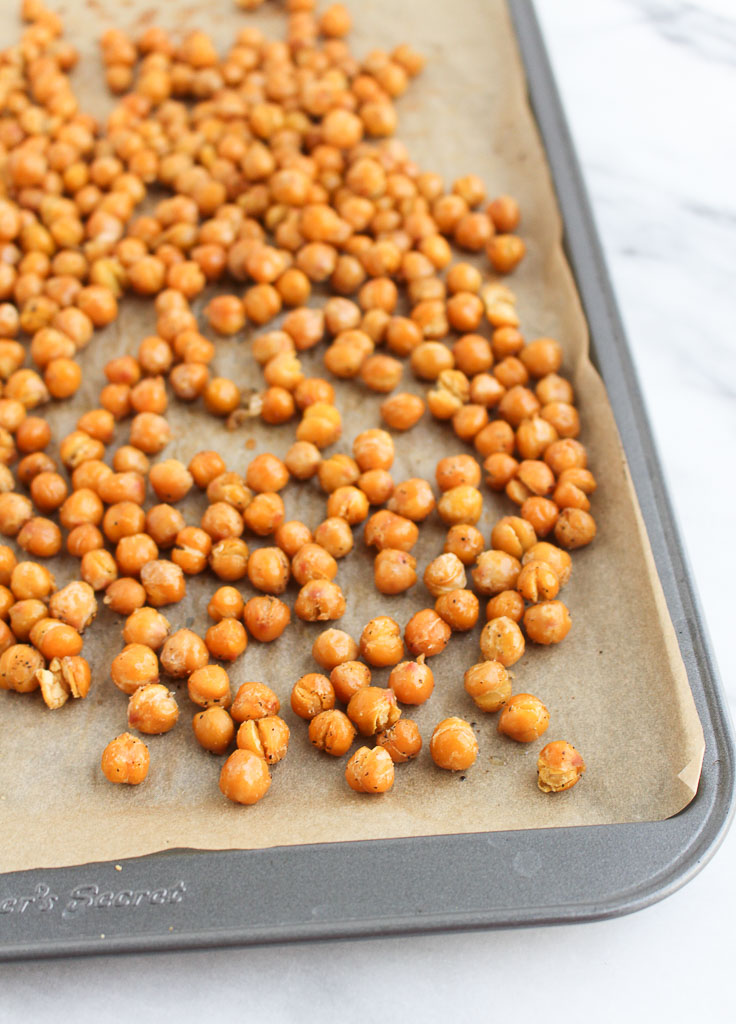
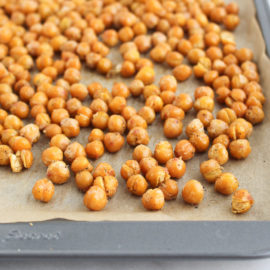
crispy roasted chickpeas on a sheet pan

Crispy Garlic Chickpeas

  • Author: Chef Julie Harrington, RD
  • Yield: 6-8 1x
  • Category: snack

Description

Craving a crunchy snack? Try these homemade Crispy Garlic Chickpeas.


Ingredients

Scale
  • 2 (15-ounce) cans chickpeas, drained and rinsed
  • 1 tablespoon olive oil
  • 1 teaspoon lemon juice
  • 1 teaspoon garlic powder
  • 1/2 teaspoon salt

Instructions

  1. Preheat oven to 350 degrees F. Line a large baking sheet with parchment paper or spray with cooking spray.
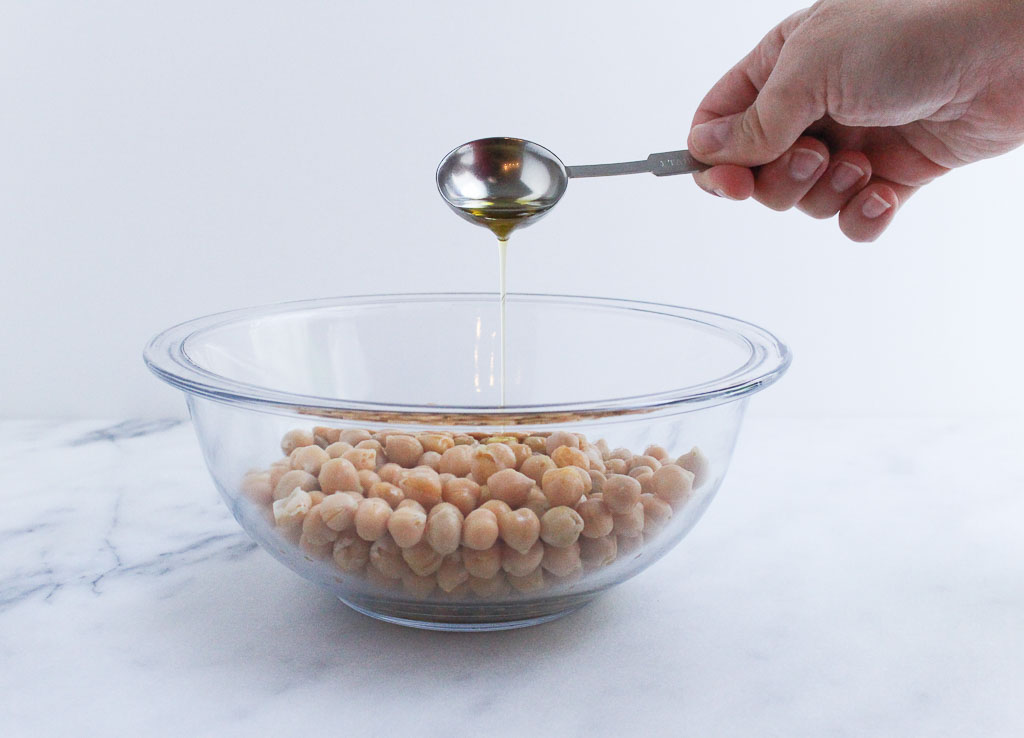
  2. Dry chickpeas thoroughly. In a bowl, toss the chickpeas with olive oil and lemon to coat. Sprinkle with garlic powder and salt. Toss again.
  3. Transfer chickpeas in an even layer to the prepared baking sheet.
  4. Bake for 50 minutes to 1 hour, stirring occasionally, until crispy. Let cool for at least 1 hour, which will make the chickpeas crunchier as they cool.

Keywords: snack, plant-based, chickpeas

Recipe Card powered byTasty Recipes
Chef Julie Harrington, RD - Culinary Nutrition Consultant of chefjulierd.com

Pin for later!

Crispy Garlic Chickpeas - plant-based protein snack via Chef Julie Harrington, RD @ChefJulie_RD #legumes #chickpeas #beans #snack #plantbased #plantbasedprotein #protein

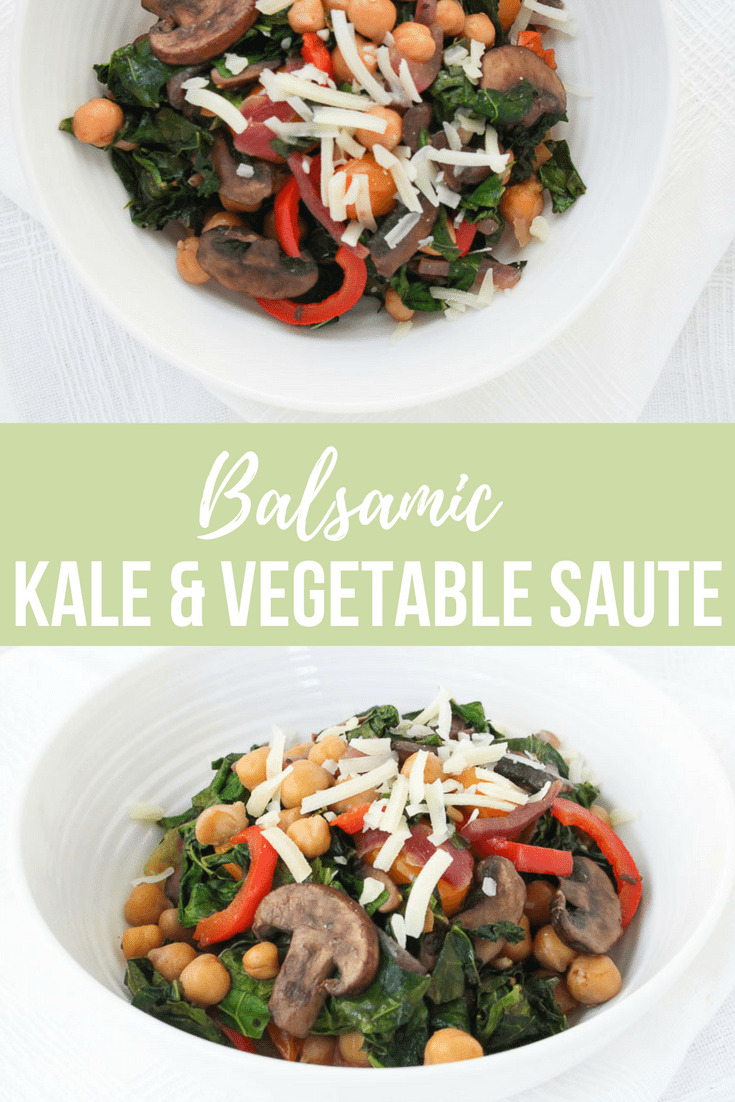
Balsamic Kale and Vegetable Saute

This one pan Balsamic Kale and Vegetable Saute recipe can help get a side dish or dinner on the table in minutes.
Balsamic Kale and Vegetable Saute via RDelicious Kitchen @RD_Kitchen

This creation accidentally happened when I opened my refrigerator for dinner one night not knowing what I was going to have for dinner and just pulled out everything that I had.
I really liked how it turned out and now I purposely buy all these ingredients to make this recipe over and over again. Since my accidental recipe creation, I’ve made this recipe at least 3 more times already.
Balsamic Kale and Vegetable Saute via RDelicious Kitchen @RD_Kitchen
I mean, how easy is it? Just simply throw everything into one pan. With minimal prep and clean up, this is the perfect solution for a quick and easy weeknight meal.
Balsamic Kale and Vegetable Saute via RDelicious Kitchen @RD_Kitchen
Of course, you don’t have to create this exact combination. Use this recipe as a template and work with what vegetables you have. Any bean or other protein can be included as well.
Balsamic Kale and Vegetable Saute via RDelicious Kitchen @RD_Kitchen
What vegetable combination would you create this dish with?
Print

clock clock iconcutlery cutlery iconflag flag iconfolder folder iconinstagram instagram iconpinterest pinterest iconfacebook facebook iconprint print iconsquares squares iconheart heart iconheart solid heart solid icon
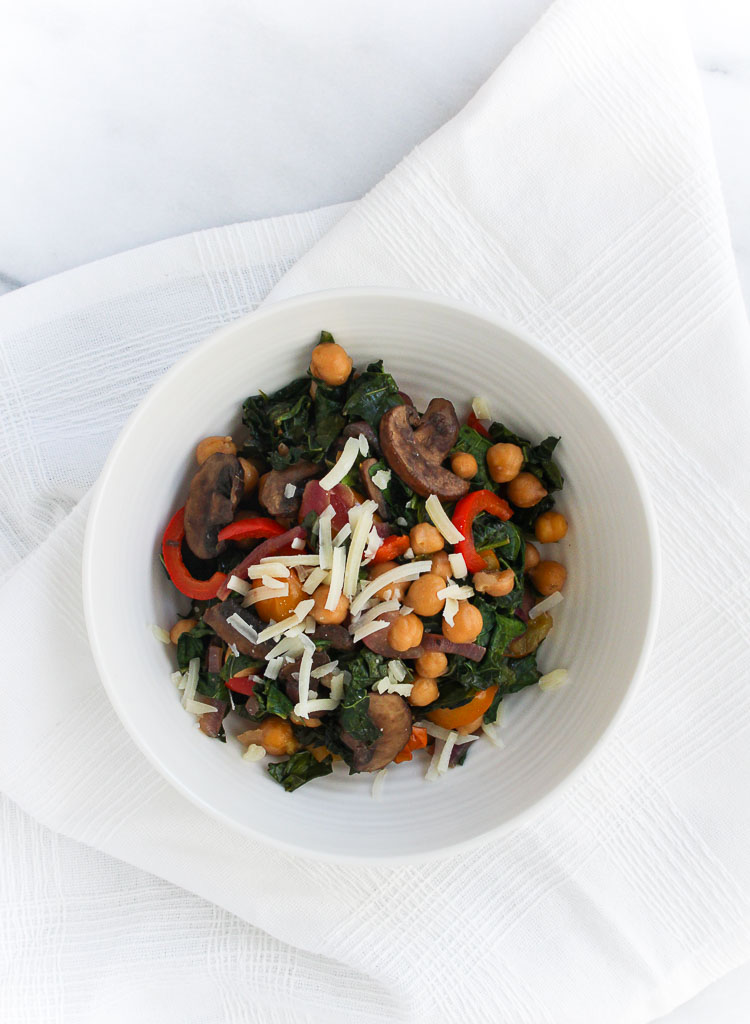
Balsamic Kale and Vegetable Saute in a white bowl

Balsamic Kale and Vegetable Saute

  • Author: Julie @ RDelicious Kitchen
  • Yield: 4

Ingredients

Scale
  • 1 tablespoon olive oil
  • 1 red onion, sliced
  • 1 red pepper, sliced
  • 2 cloves garlic, minced
  • 1 cup mushrooms, sliced
  • 1 (15 oz.) can chickpeas, drained and rinsed
  • 1-pint grape tomatoes, halved
  • 1 large bunch kale (~ 6 cups), chopped
  • 2 tablespoons balsamic vinegar
  • salt and pepper, to taste
  • (optional) parmesan cheese, to garnish
Instructions

  1. Add olive oil in a large skillet over medium heat. Saute the onions and peppers for about 1 minutes. Add garlic and cook for an additional minute, until garlic is fragrant.
  2. Add mushrooms and chickpeas. Cook until mushrooms are tender. (Use a lid to generate steam if the pan starts to become dry)
  3. Add kale, tomatoes, and balsamic vinegar. Toss vegetables to combine. Place a lid on top to allow kale to wilt. Remove lid and cook for an additional 2 minutes, removing excess liquid.
  4. Season with salt and pepper, as needed.
  5. Remove vegetable saute from the pan and garnish with parmesan cheese (if using).
Recipe Card powered byTasty Recipes

Did you make this recipe? Tag @rdeliciouskitchen on Instagram or send me a picture, I’d love to see! RDelicious Kitchen @RD_Kitchen

Pin it for later!

Balsamic Kale and Vegetable Saute via RDelicious Kitchen @RD_Kitchen

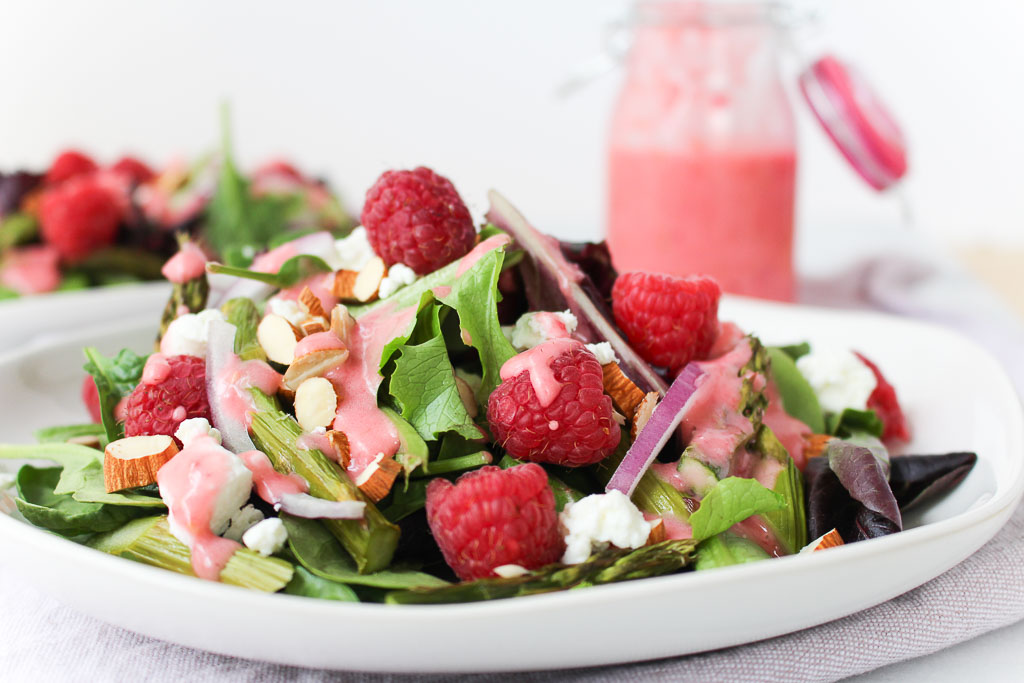
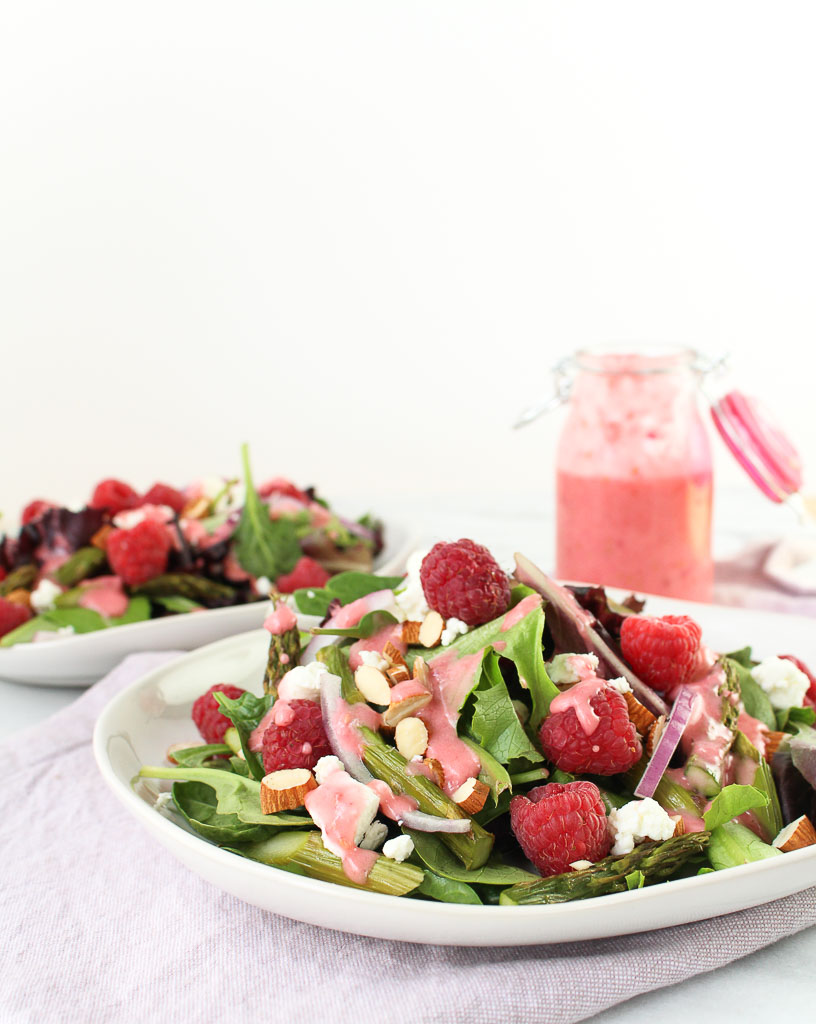
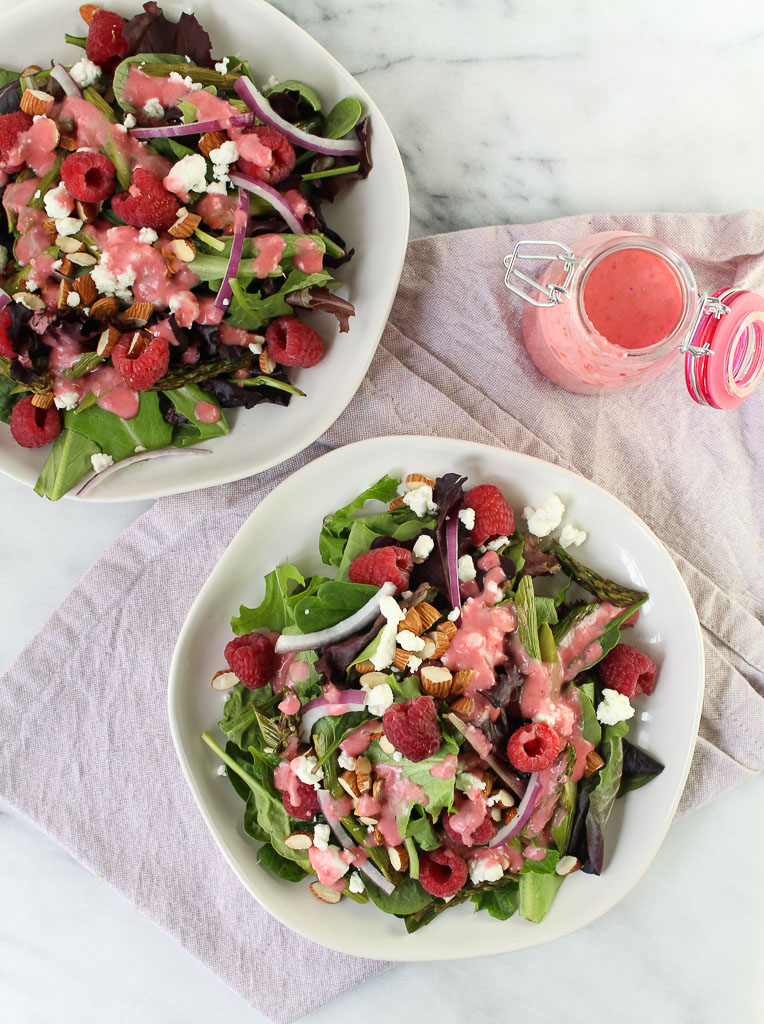
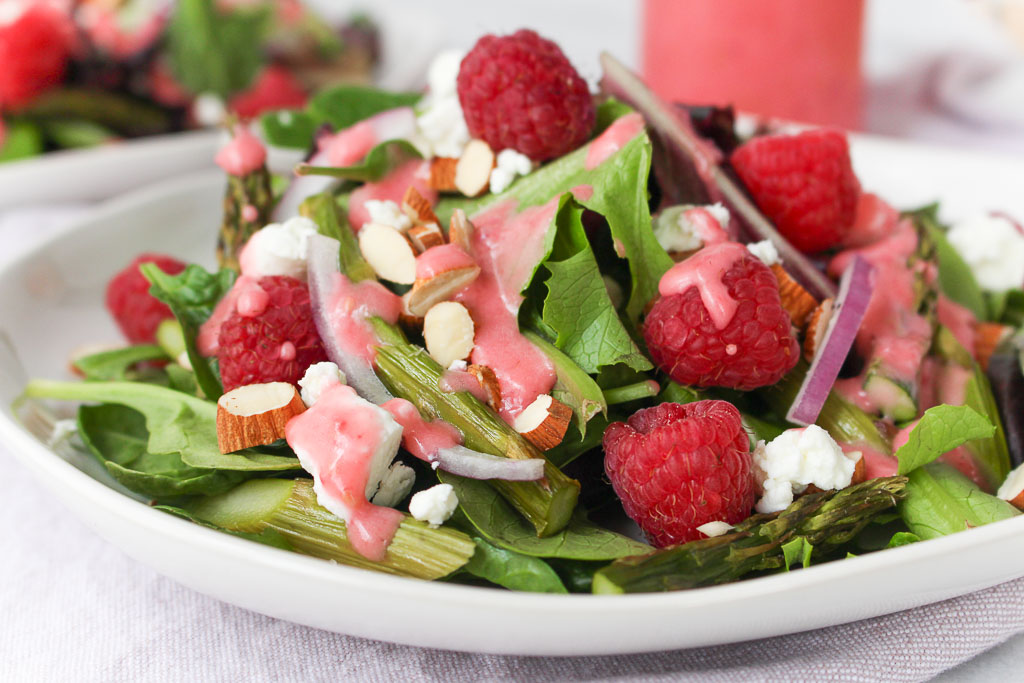
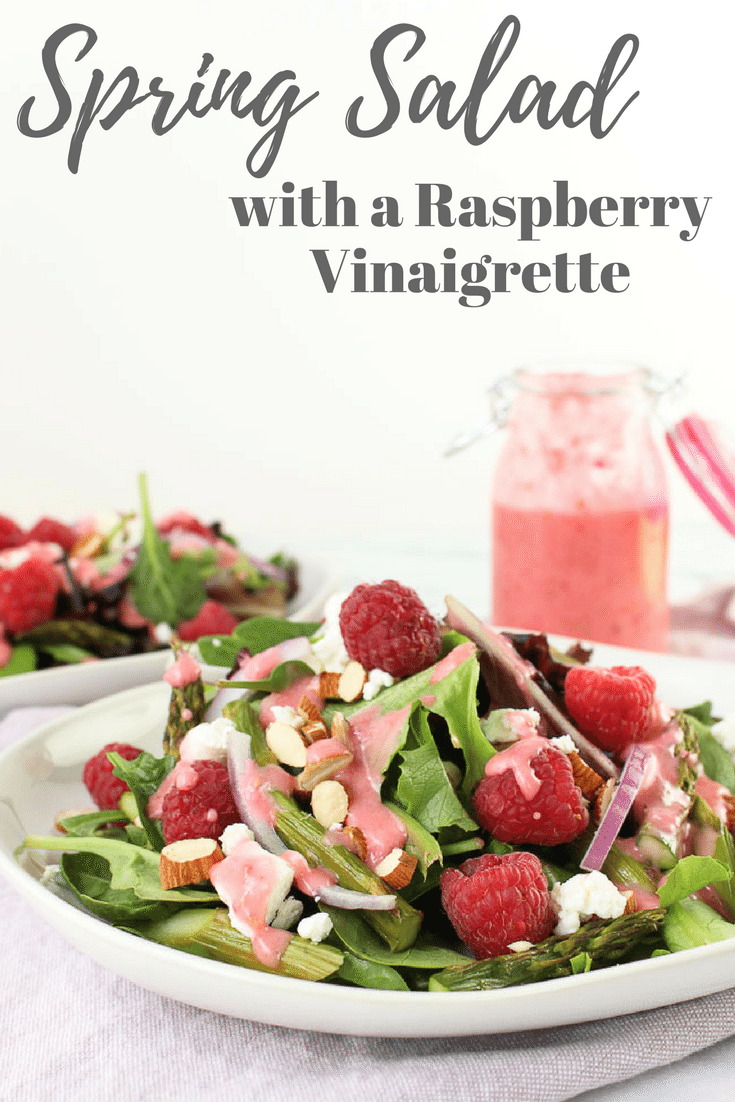
Spring Salad with Raspberry Vinaigrette

Serve up this fresh Spring Salad with Raspberry Vinaigrette. Spring Salad with Raspberry Vinaigrette via RDelicious Kitchen @RD_KitchenThe big debate: Are you for fruit on a salad or against it? I am ALL about adding fruit to salad. I love that little sweet bite. While I know some others who are completely against it, arguing otherwise.
Spring Salad with Raspberry Vinaigrette via RDelicious Kitchen @RD_Kitchen
Why not get fruits and vegetables in all in one shot? Salads don’t have to be boring. Someone recently said to me, “Since you are a Registered Dietitian, you’re probably going to tell me to eat more salads right”? As a Registered Dietitian, I’ll encourage you to eat more fruits and vegetables, that may be in the form of salad, but in other ways as well. The problem is “salad” sounds so boring. Unfortunately, most often the first thought of salad is the boring romaine lettuce, tomatoes, and maybe a few slices of cucumber.
Spring Salad with Raspberry Vinaigrette via RDelicious Kitchen @RD_Kitchen
The key to building a delicious salad is variety. Don’t get stuck with the same combination. Try adding different textures. I like to add roasted vegetables on top of a bed of greens to add an extra pop of flavor. Every week I roast a large tray of vegetables. Throughout the week they get tossed on salads, mixed into a stir fry or scrambled with eggs. That one meal prep solution has been a weekly staple for me.
Spring Salad with Raspberry Vinaigrette via RDelicious Kitchen @RD_Kitchen
I had the most delicious raspberry vinaigrette at a restaurant and I recreated my version for this salad. The sweetness naturally comes from fresh raspberries and balanced with white wine vinegar. Salad dressings are surprisingly very easy to make. This dressing can last for about a week in the refrigerator. Just give it a gentle shake before using.

Spring Salad with Raspberry Vinaigrette via RDelicious Kitchen @RD_Kitchen

Print

clock clock iconcutlery cutlery iconflag flag iconfolder folder iconinstagram instagram iconpinterest pinterest iconfacebook facebook iconprint print iconsquares squares iconheart heart iconheart solid heart solid icon
Spring Salad with Raspberry Vinaigrette on a white plate

Spring Salad with Raspberry Vinaigrette

  • Author: Julie @ RDelicious Kitchen
  • Yield: 2

Ingredients

Scale
  • 4 cups arugula
  • 1/2 cup roasted asparagus, chopped
  • 1/2 cup raspberries
  • 1/4 cup red onion, thinly sliced
  • 2 ounces almonds, chopped
  • 2 ounces goat (or feta cheese), crumbled
  • For the dressing: (makes about 3/4 cup)
  • 1/4 cup fresh raspberries
  • 1/4 cup white wine vinegar
  • 1 small shallot, finely chopped
  • 1/2 cup olive oil
  • Salt and ground pepper, to taste

Instructions

  1. On two plates, layer the arugula, asparagus, raspberries, red onion, almonds, and goat cheese.
  2. For the dressing: Combine all ingredients in a blender or food processor and blend until smooth. Season to taste with salt and pepper. Store extra dressing the in the refrigerator for up to a week.
  3. Drizzle salads with dressing.

Recipe Card powered byTasty Recipes

Did you make this recipe? Tag @rdeliciouskitchen on Instagram or send me a pic, I’d love to see!
RDelicious Kitchen @RD_Kitchen

Pin this recipe for later!Spring Salad with Raspberry Vinaigrette via RDelicious Kitchen @RD_Kitchen


Butternut Squash Noodles topped with Tofu Ricotta

Vegetable noodles galore! Vegetable pasta has become all the rage. As a Registered Dietitian, I am ALL about it. More fun ways to enjoy vegetables, count me in. The trend started strong with the “zoodle” aka. zucchini noodle, but now you can pretty much spiralize anything.
Butternut Squash Noodles
Head on over to the Healthy Aperture to check out my Butternut Squash Noodles topped with Tofu Ricotta. I am discussing the various spiralizers on the market.
RDelicious Kitchen @RD_Kitchen

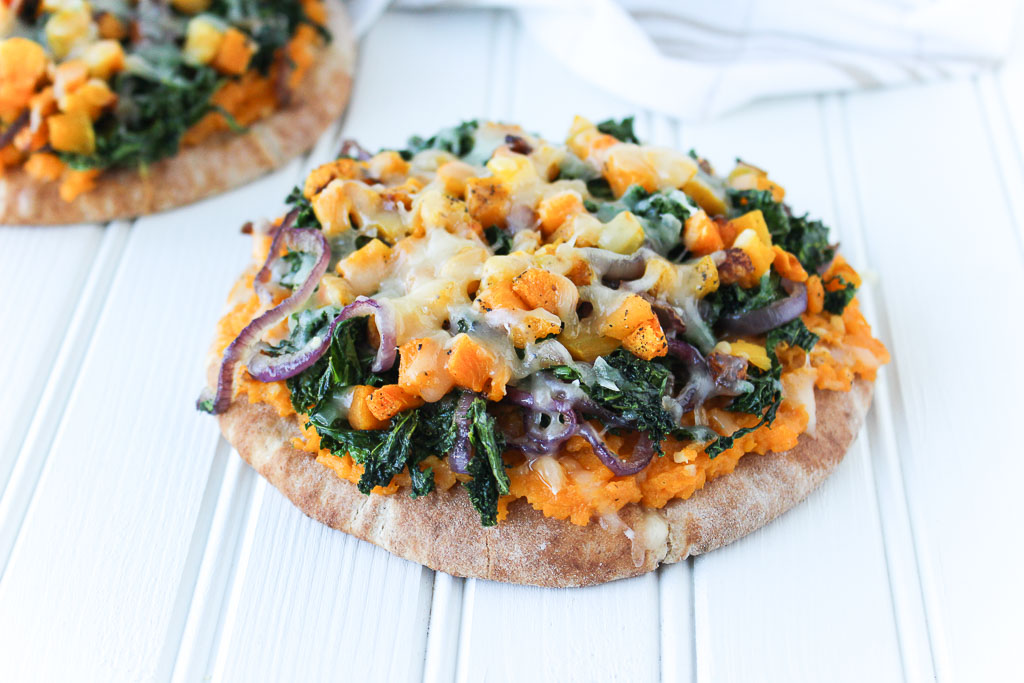
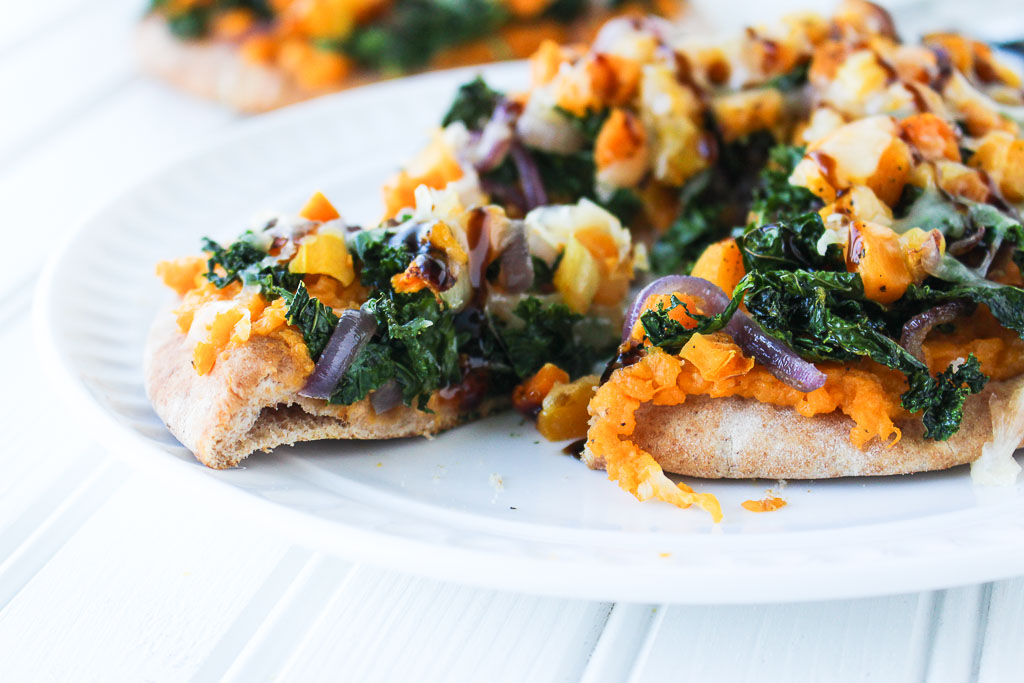
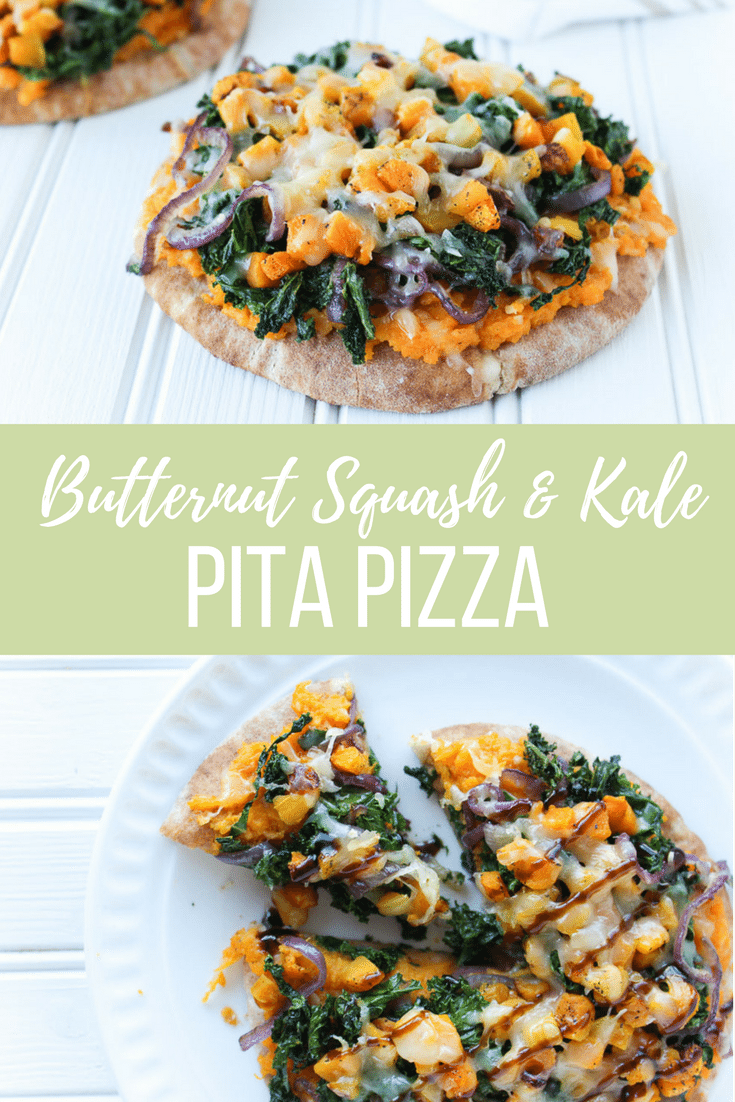
Butternut Squash and Kale Pita Pizza

Turn leftovers into something brand new like this Butternut Squash and Kale Pita Pizza.
Butternut Squash & Kale Pita Pizza via RDelicious Kitchen @RD_KitchenDisclosure: By posting this recipe I am entering a recipe contest sponsored by Toufyan Bakeries and am eligible to win prizes associated with the contest. I was not compensated for my time.
This recipe was inspired by leftovers and of course Toufyan Bakeries. Adrian and I like to watch Chopped and anytime I have a refrigerator full of leftovers, I pretend I am on an episode. In this mystery basket, the items that I had to work with was leftover roasted butternut squash, an already baked sweet potato, and kale that was on its last legs.
Butternut Squash & Kale Pita Pizza via RDelicious Kitchen @RD_Kitchen

Butternut Squash & Kale Pita Pizza via RDelicious Kitchen @RD_KitchenI utilize pitas for pizzas often as they are the perfect size for a personal pie. Toufayan Bakeries uses old-world recipes with only top quality, wholesome ingredients. Toufayan Pita is naturally cholesterol free and trans fat-free, so it’s the perfect vessel to load with your favorite toppings!
Butternut Squash & Kale Pita Pizza via RDelicious Kitchen @RD_KitchenI was pleasantly surprised how thick, creamy, and delicious the base of the sweet potato came out, which helped the pita not get soggy when baked. The edges crisped up perfectly in the oven.
I wanted to try something different than mozzarella cheese on top, so I went for fontina. It paired perfectly with this flavor combination since this semi-soft cow’s cheese has a gentle buttery and nutty flavor.
Butternut Squash & Kale Pita Pizza via RDelicious Kitchen @RD_KitchenThe recipe notes that the balsamic glaze drizzled top is optional, but I might change that to mandatory!

Print

clock clock iconcutlery cutlery iconflag flag iconfolder folder iconinstagram instagram iconpinterest pinterest iconfacebook facebook iconprint print iconsquares squares iconheart heart iconheart solid heart solid icon
slice of Butternut Squash and Kale Pita Pizza on a white plate

Butternut Squash and Kale Pita Pizza

  • Author: Julie @ RDelicious Kitchen
  • Yield: 2

Ingredients

Scale
  • 2 whole wheat Toufayan Pita Bread pitas
  • 1 sweet potato, baked skin removed
  • 2 cloves garlic, minced
  • 2 tablespoons low-sodium chicken stock
  • 1 teaspoon black pepper
  • 1 cup butternut squash, cubed and roasted
  • 2 teaspoons olive oil
  • 1 small red onion, sliced
  • 2 cups kale, stems removed, roughly chopped
  • 1/2 cup fontina cheese, shredded
  • (optional) 1 tablespoon balsamic glaze

Instructions

  1. Preheat the oven to 400 degrees F.
  2. Remove the skin from the sweet potato. In a small food processor, puree the sweet potato, garlic, chicken stock, and black pepper. Spread evenly on both of the pitas.
  3. In a large saute pan over low-medium heat, saute onions until caramelized. Just as the onions are about done, add the kale and saute until kale has wilted. Season with salt and pepper.
  4. Assemble your pizzas by spreading the sweet potato mixture at the bottom, adding the caramelized onions and kale, then butternut squash.
  5. Sprinkle with cheese and place in the oven for 2-3 minutes, until cheese has melted and pizza is warmed through.
  6. Let slightly cool and drizzle with balsamic glaze, if using.

Recipe Card powered byTasty Recipes

What have you recreated with your leftovers?
RDelicious Kitchen @RD_Kitchen
Butternut Squash & Kale Pita Pizza via RDelicious Kitchen @RD_Kitchen
To find out more about Toufayan Bakeries, follow them on Facebook and Instagram. Their products are available nationwide.

Southwest Stuffed Peppers

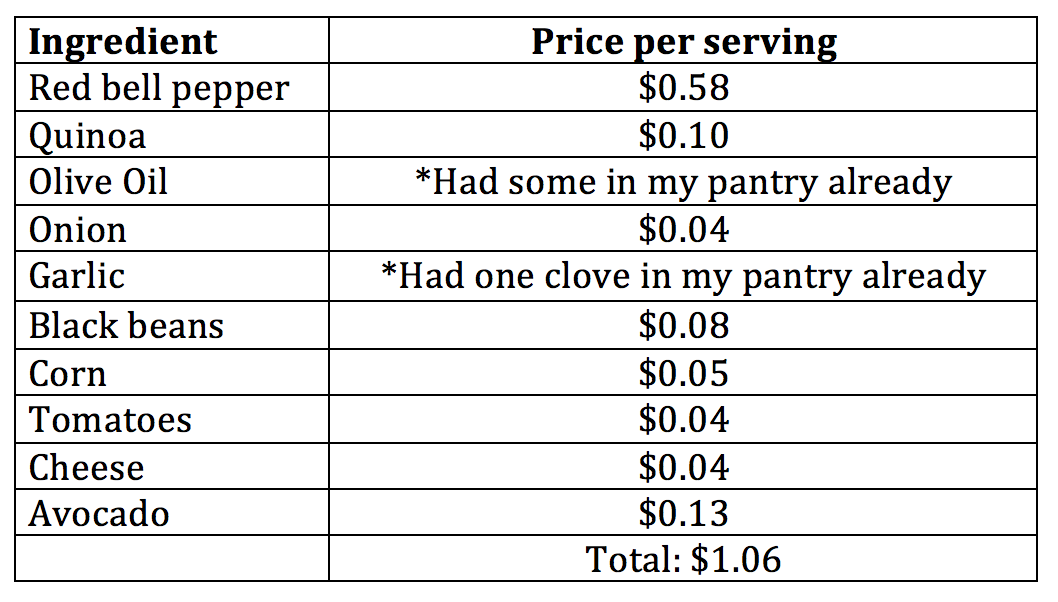
Looking for a budget friendly recipe? You’ve come to the right place. These Southwest Stuffed Peppers will keep your stomach and wallet full coming in at only $1.06 per serving.
Southwest Stuffed Peppers via RDelicious Kitchen @rd_kitchenThe Recipe ReDux challenged members to see how low they can go and make a meal for less than $3 per serving.
Did you know that within the top 3 New Year’s resolutions #3 involved finances?
1. Lose Weight/Eat Healthier
2. Life/Self Improvements
3. Better Financial Decisions
Many are looking to make better financial decisions this year, myself included. I was curious to see how much I was actually spending on groceries per month, so I tracked it for the month to see my typical cost on groceries. Being a food blogger and one who weirdly enjoys grocery shopping, when I see new items they tend to creep into my cart. That being said, my monthly grocery spending was a little higher than I thought it would be.
Southwest Stuffed Peppers via RDelicious Kitchen @rd_kitchenEver since then I’ve been more conscious of my spending when at the grocery store. I loved that this Recipe ReDux theme was this month because I had fun shopping to see how low I can go with the cost per serving. This definitely busts the myth that “healthy eating is expensive”, considering this recipe totals to $1.06 per serving made with healthy and wholesome ingredients.

Southwest Stuffed Peppers via RDelicious Kitchen @rd_kitchenHere’s the breakdown:
Southwest Stuffed Peppers via RDelicious Kitchen @RD_kitchen
Wondering what I will be doing with those half cans of ingredients? I love being creative with extra ingredients that I have in the fridge. I think this will turn into a burrito bowl.

Print

clock clock iconcutlery cutlery iconflag flag iconfolder folder iconinstagram instagram iconpinterest pinterest iconfacebook facebook iconprint print iconsquares squares iconheart heart iconheart solid heart solid icon
Southwest Stuffed Peppers topped with avocado on a white plate

Southwest Stuffed Peppers

  • Author: Julie @ RDelicious Kitchen
  • Yield: 6

Ingredients

Scale
  • 3 red bell peppers
  • 1/4 cup quinoa
  • 1 tablespoon olive oil
  • 1 small onion
  • 1 clove garlic, minced
  • 1/2 (14.5 oz) can black beans, drained and rinsed
  • 1/2 (14.5 oz) can corn, drained and rinsed
  • 1/2 (14.5 oz) can no-salt-added diced tomatoes, drained
  • 1/2 cup cheddar cheese, shredded
  • 1/2 avocado, sliced
  • salt and pepper, to taste

Instructions

  1. Preheat oven to 350 degrees F. Spray a baking sheet with nonstick cooking spray. Slice pepper in half lengthwise, place on baking sheet. Bake for 10 minutes.
  2. Cook quinoa according to package directions.
  3. In a saute pan, heat olive oil over medium-high heat. Add onions, saute until translucent. Add the beans, corn, tomatoes, and cooked quinoa and cook until heated through. Stir in cheese.
  4. Remove peppers from oven and stuff with bean mixture. Bake for an additional 5 minutes.
  5. Remove from oven and top with avocado slices.

Recipe Card powered byTasty Recipes

RDelicious Kitchen @RD_Kitchen
Southwest Stuffed Peppers via RDelicious Kitchen @rd_kitchen
Don’t forget to check out other Recipe ReDux members money-saving recipes!

Creamy Tomato Soup

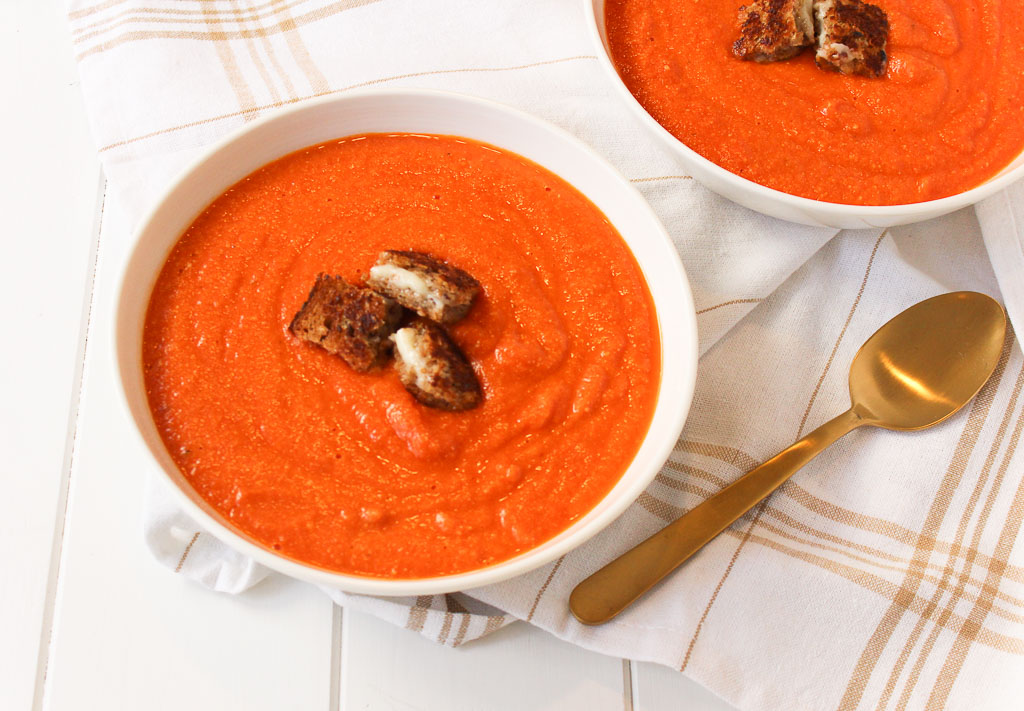
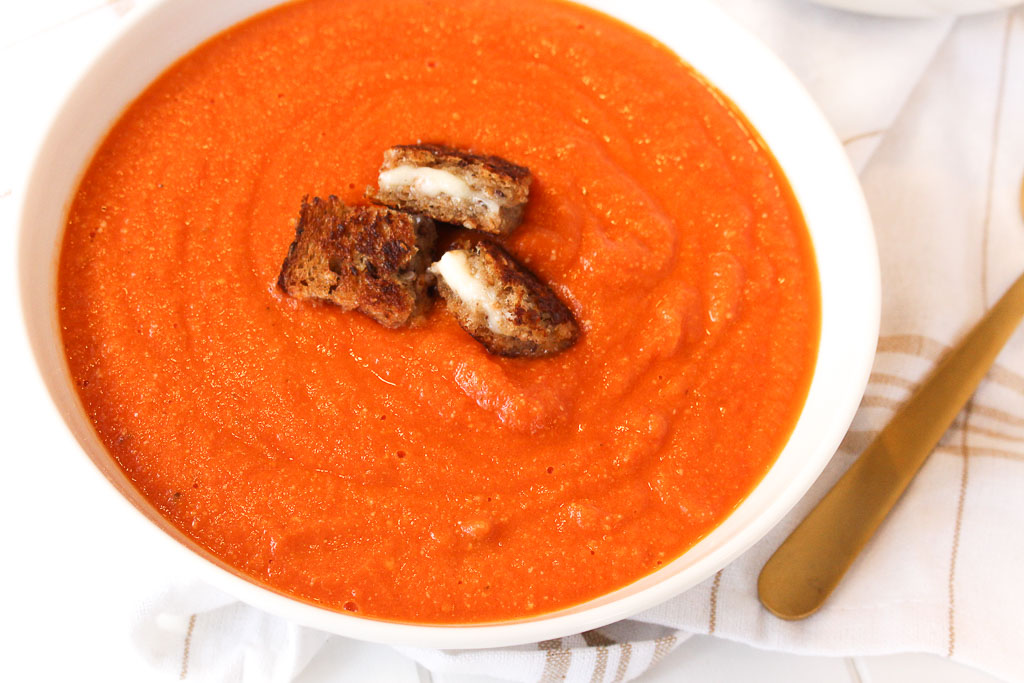
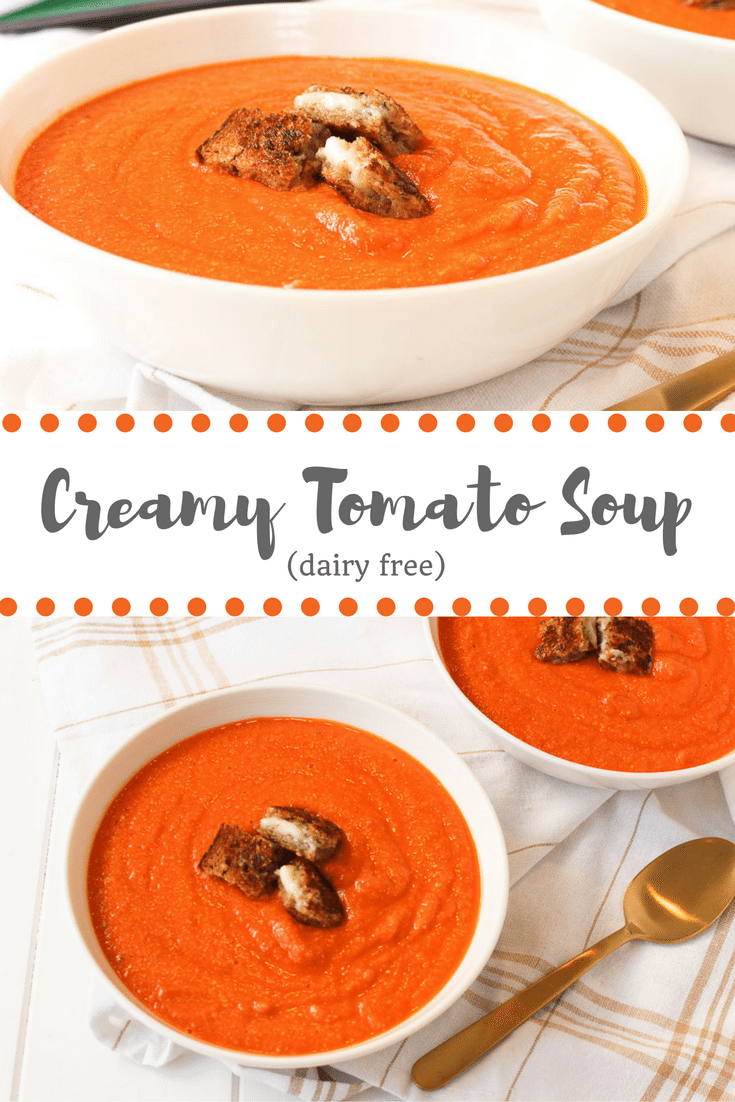
A creamy soup without the cream? Check out the secret ingredient that makes this dairy free Creamy Tomato Soup thick and creamy. Creamy Tomato Soup via RDelicious Kitchen @RD_kitchenCan you believe it’s almost 2017!? Where did the year go? The Recipe ReDux club is playing a little party game at the end of 2016: Grabbing your nearest cookbook and ReDux the recipe on page 201, 16, 216 – or any combination of the number ‘2016.’

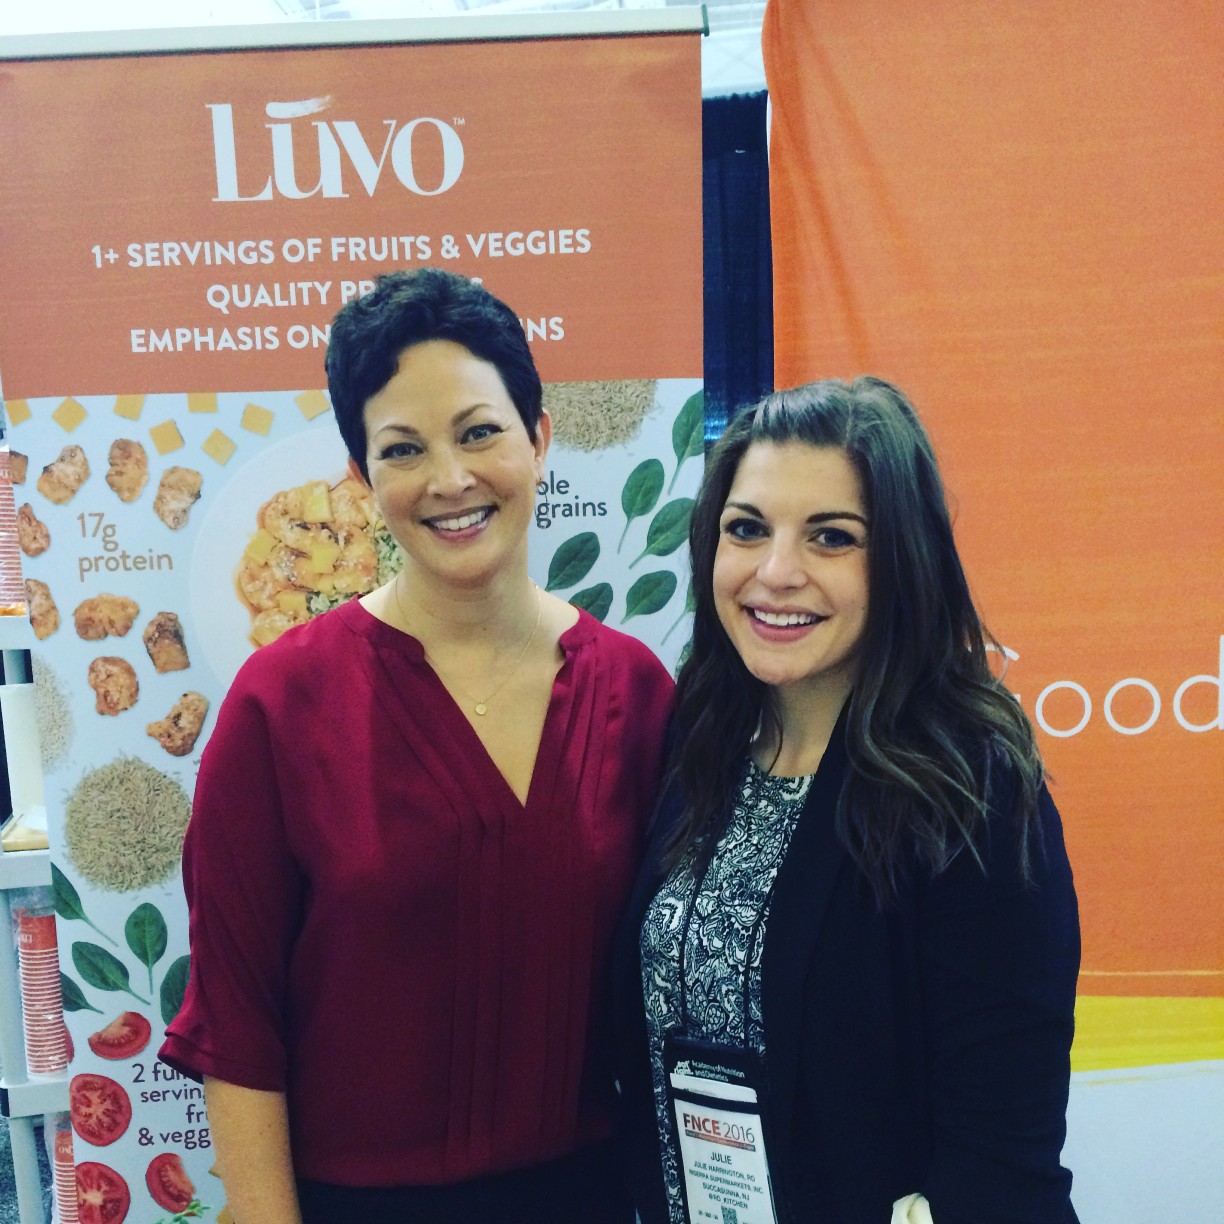
I opened You Have It Made cookbook by Ellie Krieger to page 126 – creamy tomato soup. I actually won this cookbook at FNCE at the Luvo booth and was able to meet one of favorite chef/RD’s Ellie Krieger. Julie with Ellie Krieger via RDelicious Kitchen via @RD_kitchenThis soup is so simple and packed with flavor. It’s called a “Creamy” Tomato Soup, but guess what? There’s no cream! That’s the magic of Registered Dietitian chefs – we know how to alter recipes with alternative ingredients to pack in more nutritional value while still getting delicious results.
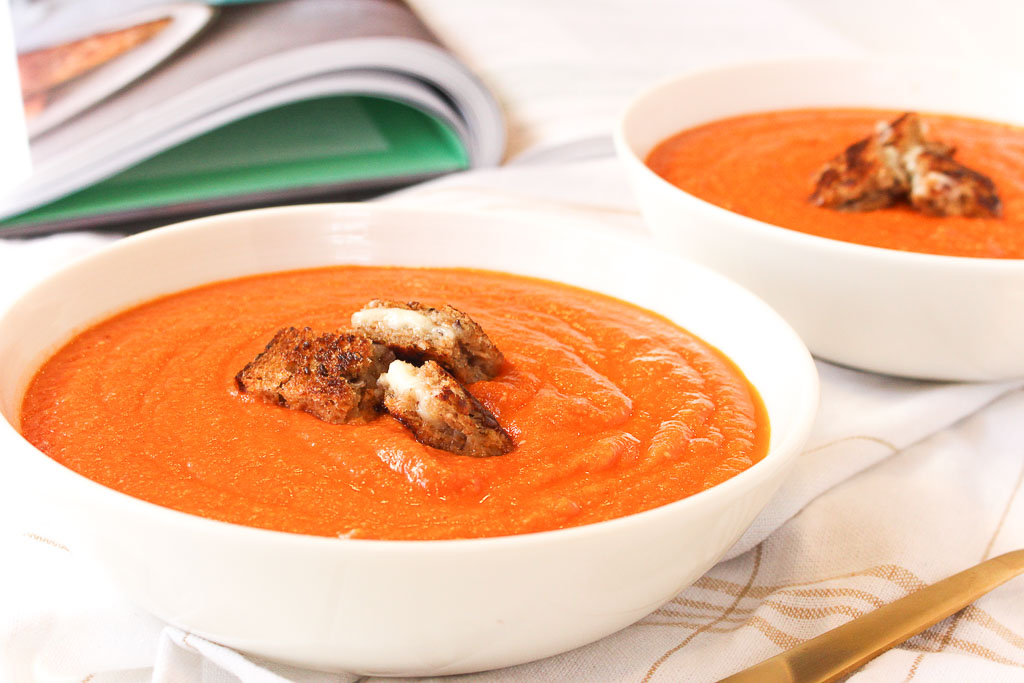
Creamy Tomato Soup via RDelicious Kitchen @RD_kitchenThe magic behind this creamless creamy soup – cashews! Cashews provide the ultimate creaminess when blended into soups. They make this creamy tomato soup so thick and smooth you would never know there isn’t dairy in there.

Creamy Tomato Soup via RDelicious Kitchen @RD_kitchenYou can’t have tomato soup without grilled cheese, am I right? Instead of adding a grilled cheese on the side, I made mini grilled cheese “croutons” with my favorite whole grain bread + Cabot cheddar cheese.
Creamy Tomato Soup via RDelicious Kitchen @RD_kitchen

Print

clock clock iconcutlery cutlery iconflag flag iconfolder folder iconinstagram instagram iconpinterest pinterest iconfacebook facebook iconprint print iconsquares squares iconheart heart iconheart solid heart solid icon
creamy tomato soup with grilled cheese croutons on a white bowl

Creamy Tomato Soup

  • Author: Julie @ RDelicious Kitchen
  • Yield: 6

Ingredients

Scale
  • 2 tablespoons olive oil
  • 2 onions, chopped
  • 2 celery stalks, chopped
  • 1 tablespoon thyme
  • 2 cloves garlic, chopped
  • 1 teaspoon salt
  • 1/2 teaspoon black pepper
  • 2 (28-ounce) cans no-salt-added diced tomatoes
  • 3/4 cup raw cashews
  • 2 tablespoons tomato paste
  • 2 slices whole wheat bread
  • 2 ounces cheddar cheese, thinly sliced
  • 1 teaspoon butter

Instructions

  1. Heat the oil in a large pot over medium heat. Add the onions, celery, thyme, garlic, salt and pepper and cook, stirring occasionally, until softened, about 5 minutes. Stir in the tomatoes with their juice, 1 1/2 cups of water, the cashews, and tomato paste. Bring to a boil, then lower the heat to medium-low and simmer, stirring occasionally, until the soup begins to thicken, about 20 minutes. Allow to cool slightly, for about 15 minutes, then puree in 3 batches until smooth, transferring the puree to a pot or storage container as it is pureed.
  2. To continue, reheat the soup in a pot over medium heat until it comes to a simmer.
  3. As the soup is cooking, spread butter on each slice of bread. Place butter side of bread down in a small pan, layer with cheese, then place the other slice of bread on top (butter side facing up). Cook until golden brown on each side and cheese has melted. Cut into small squares.
  4. Pour soup into bowl and top with mini grilled cheese “croutons”.

Notes

Creamy Tomato Soup recipe by Ellie Krieger’s You Have It Made cookbook.

Recipe Card powered byTasty Recipes

RDelicious Kitchen @RD_Kitchen
Creamy Tomato Soup via RDelicious Kitchen @RD_kitchen

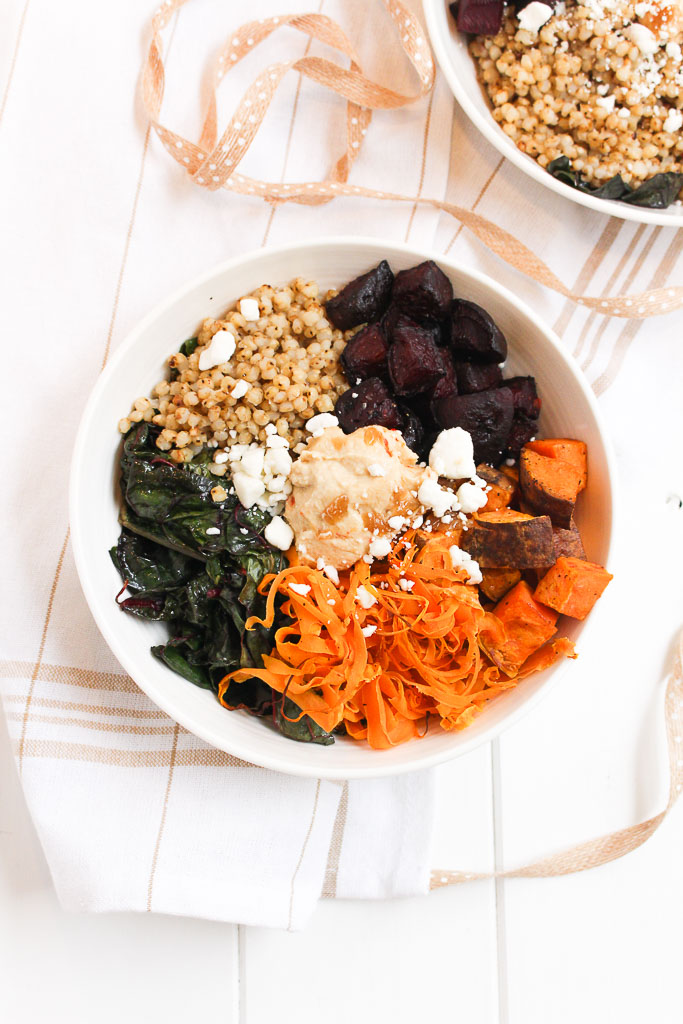
Roasted Root Vegetable Power Bowl

A comforting, satisfying plant-based bowl, this Roasted Root Vegetable Power Bowl is the perfect colorful fall dinner to cozy up to on a chilly night. 
Fall is my favorite season! I just love the cool, crisp weather, the beautiful fall foliage, and of course the food!
Roasted Root Vegetable Power Bowl via RDelicious Kitchen @RD_Kitchen
This time of year, I find myself roasting vegetables daily. Roasting is one of my favorite cooking methods for veggies, but there’s something about cracking the windows on a cool fall evening and cozying up with fluffy blankets with a warm comforting meal.
Recipe ReDux members were challenged to create a plant protein power bowl, packed with protein, fiber and color, plant power bowls are trendy and delicious.
Roasted Root Vegetable Power Bowl via RDelicious Kitchen @RD_Kitchen

I decided to use sorghum as my whole grain in this recipe because I was inspired when I met Katie Cavuto, RD at the sorghum booth at FNCE this past weekend. She just released a new cookbook “Whole Cooking and Nutrition” and I was able to sample her sorghum recipe.
Roasted Root Vegetable Power Bowl via RDelicious Kitchen @RD_KitchenHave you ever used sorghum before? When I counsel clients, I encourage them to expand their variety of whole grains in their diet. I often see that their first swap is switching white bread to whole wheat bread or white rice to brown rice, which is great, but I don’t want them to just stop there.
Ancient grains, like sorghum, have more nutrition bang for your buck. Sorghum, which doesn’t have an inedible hull like some other grains, is commonly eaten with all its outer layers, thereby retaining the majority of its nutrients. One serving of sorghum contains 5 grams of fiber and is a good source of iron!
Roasted Root Vegetable Power Bowl via RDelicious Kitchen @RD_Kitchen
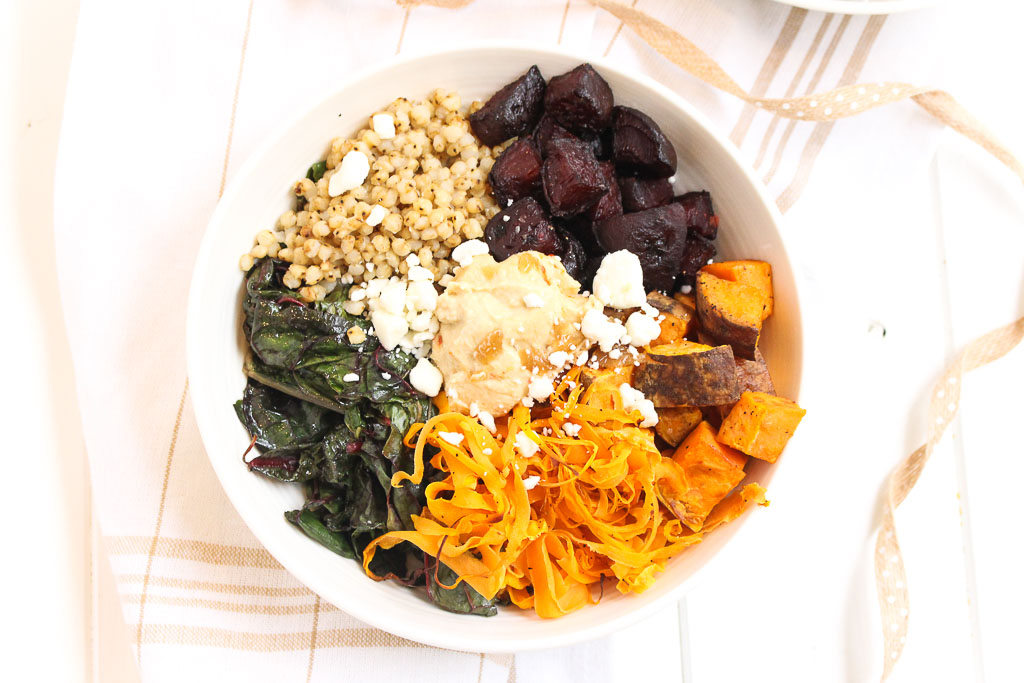
I absolutely love how colorful this recipe is. More colors = more nutrients. Another plus is it’s so simple to make. Simply place your veggies on a pan to roast as you prep the remaining ingredients.
If you want a shortcut, you can use Love Beets instead of the mess of peeling beets at home. Love Beets come peeled, steamed and vacuum packed.

Print

clock clock iconcutlery cutlery iconflag flag iconfolder folder iconinstagram instagram iconpinterest pinterest iconfacebook facebook iconprint print iconsquares squares iconheart heart iconheart solid heart solid icon
Roasted Root Vegetable Power Bowl

Roasted Root Vegetable Power Bowl

  • Author: Julie @ RDelicious Kitchen
  • Yield: 4

Ingredients

Scale
  • 2 sweet potatoes, chopped
  • 4 beets, peeled and chopped
  • 4 carrots, peeled
  • 2 tablespoons olive oil, divided
  • 1 bunch Swiss chard, roughly chopped
  • 1 tablespoon garlic powder
  • 1 tablespoon apple cider vinegar
  • 1 cup sorghum
  • 4 cups water
  • 1/4 cup hummus (your favorite flavor!)
  • 1/4 cup goat cheese, crumbled
  • salt and pepper, to taste

Instructions

  1. Preheat the oven to 400 degrees F. Coat a large baking sheet with cooking spray. Toss sweet potatoes and beets with 1 tablespoon olive oil and sprinkle with salt and pepper. Bake for 15 minutes.
  2. Using a peeler, create long strands of carrots. Remove vegetables from oven, add carrots and toss. Bake for an additional 10-15 minutes until vegetables are fork tender. Remove from oven.
  3. In a large bowl, massage Swiss chard leaves with olive oil and apple cider vinegar. Add garlic powder, salt and pepper. Add Swiss chard on a large baking sheet. Roast for 10 minutes until Swiss chard is tender (not crispy).
  4. As vegetables are roasting, cook the sorghum. Add sorghum and water to a pot. Bring to a boil; cook 5 minutes. Turn heat down to low; cover and cook for about 45 minutes or until tender-firm. (for an extra boost of flavor, add a splash of vegetable stock with the water) Season with salt and pepper.
  5. Assemble your bowls, by adding sections of sweet potatoes, beets, carrots, Swiss chard, and sorghum. Add a dollop of hummus and sprinkle with goat cheese. Serve warm.

Recipe Card powered byTasty Recipes

RDelicious Kitchen @RD_Kitchen
Roasted Root Vegetable Power Bowl via RDelicious Kitchen @RD_Kitchen