This post may contain affiliate links. Read my privacy policy.
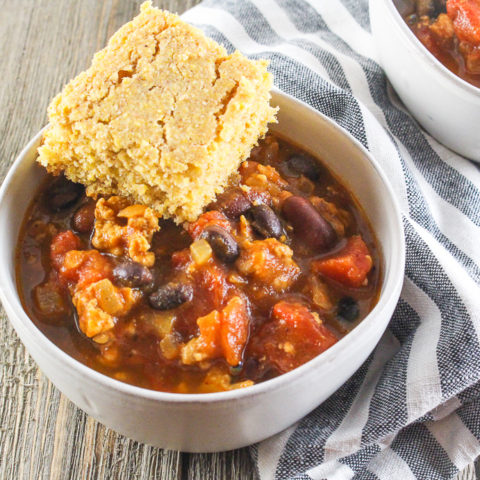
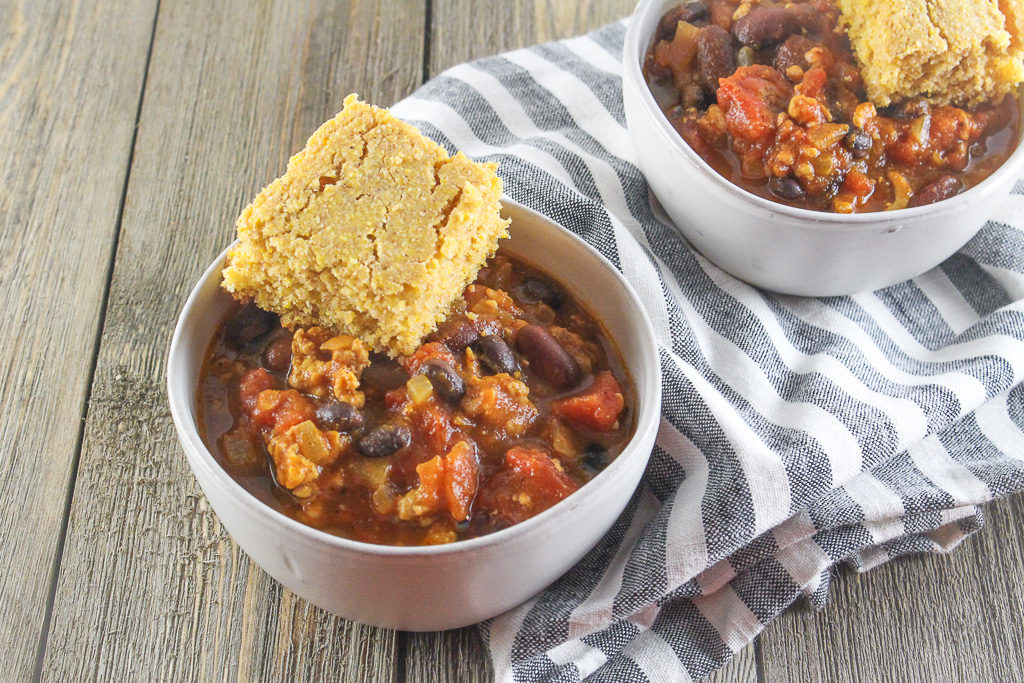
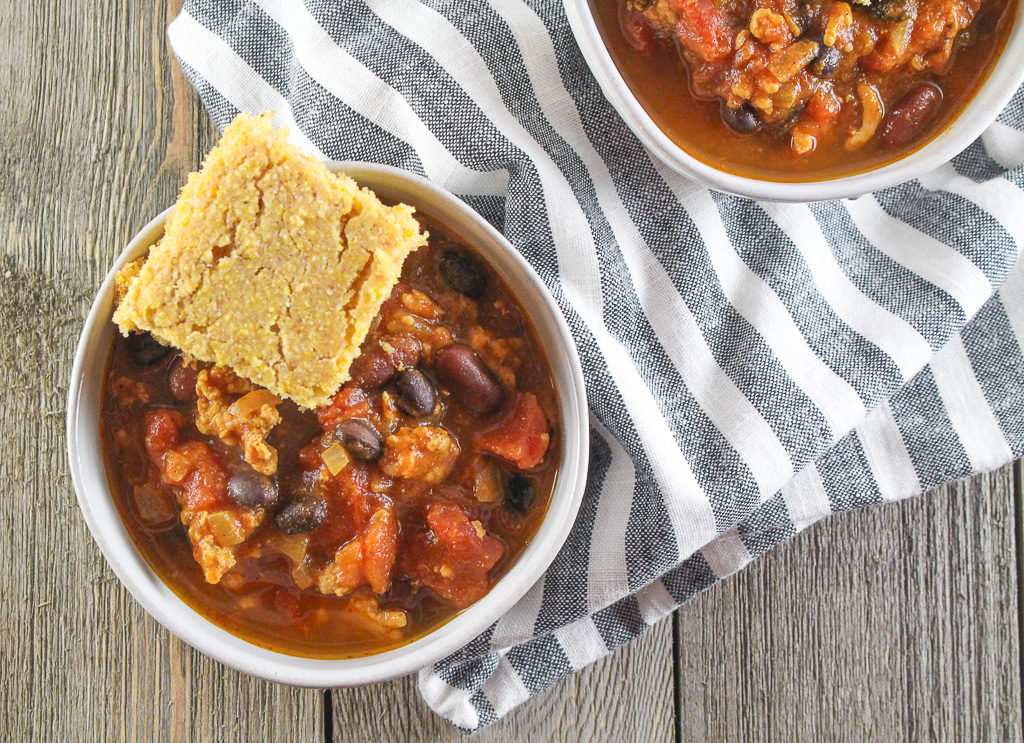
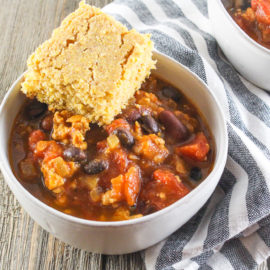
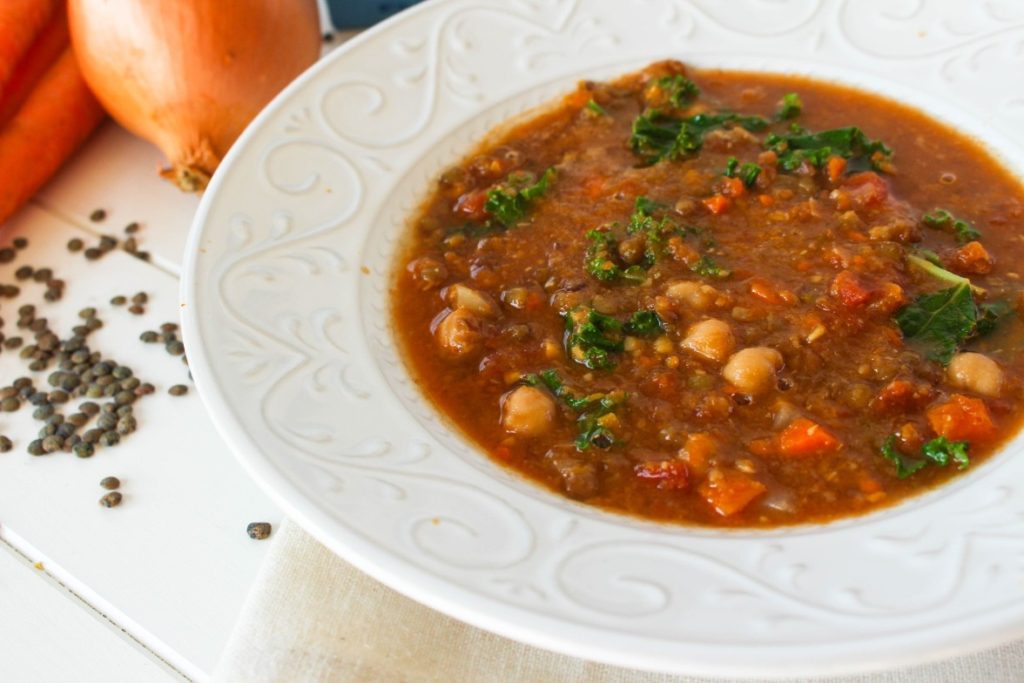
Are you ready to enjoy the best classic beef chili you have ever tasted? Made with hearty ingredients like ground beef and beans, and full of flavor from our chili seasonings.

This recipe was originally created for the Beef Throwdown with New York Beef Council
I love a good bowl of chili, but depending on where you live, chili can look a little different. So I decided to take it back to the good ole’ days and create a classic beef chili that has those traditional flavors, heartiness, and simple ingredients.
In case you are wondering, this is actually a healthy beef chili recipe and is packed full of protein. Obviously ground beef plays a big part, but the black beans and pinto beans are a good source of plant-based protein too.
Beef is a great source of iron and helps with muscle maintenance, growth, keeps you fuller because of the protein content, and is full of vitamins and minerals, including creatine.
One of my favorite things about this homemade chili is that it requires pantry staples. This means you probably already have most of the ingredients on hand so you may not even have to make a trip to the store!
Classic Beef Chili Ingredients
Protein: ground beef, black beans, pinto beans
Spices: salt, garlic (minced and powder), chili powder, cumin, oregano, salt
Veggies: carrots, onion, fire roasted crushed tomatoes, tomato paste, jalapeno
Liquids: olive oil, beef, or chicken broth
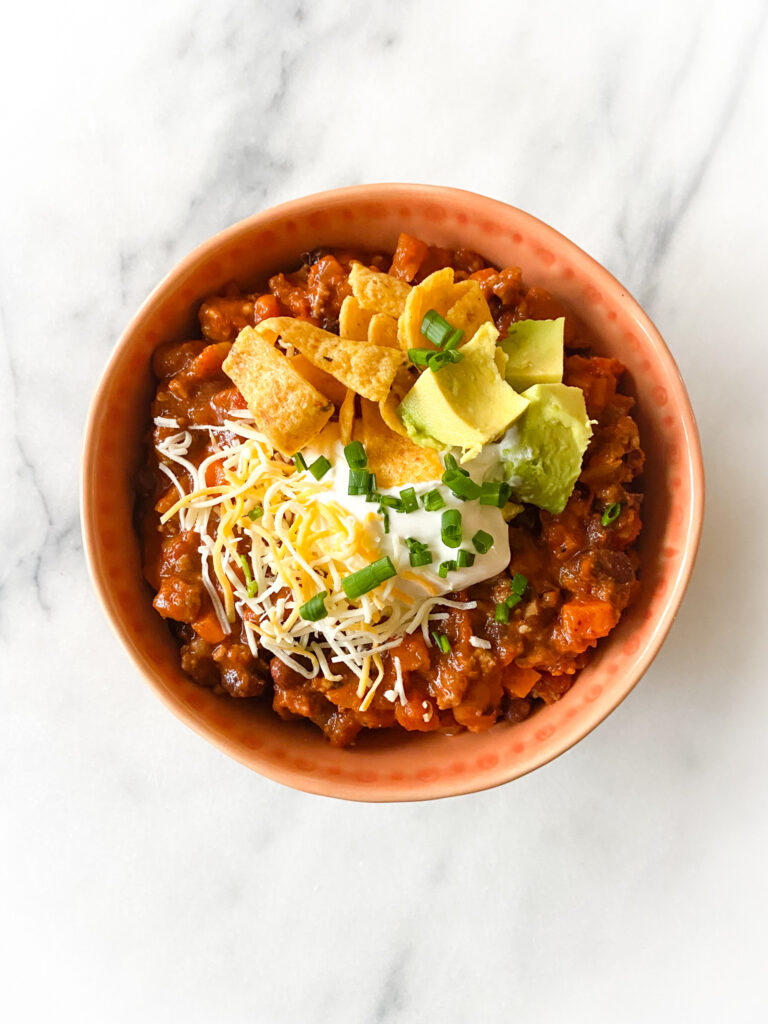
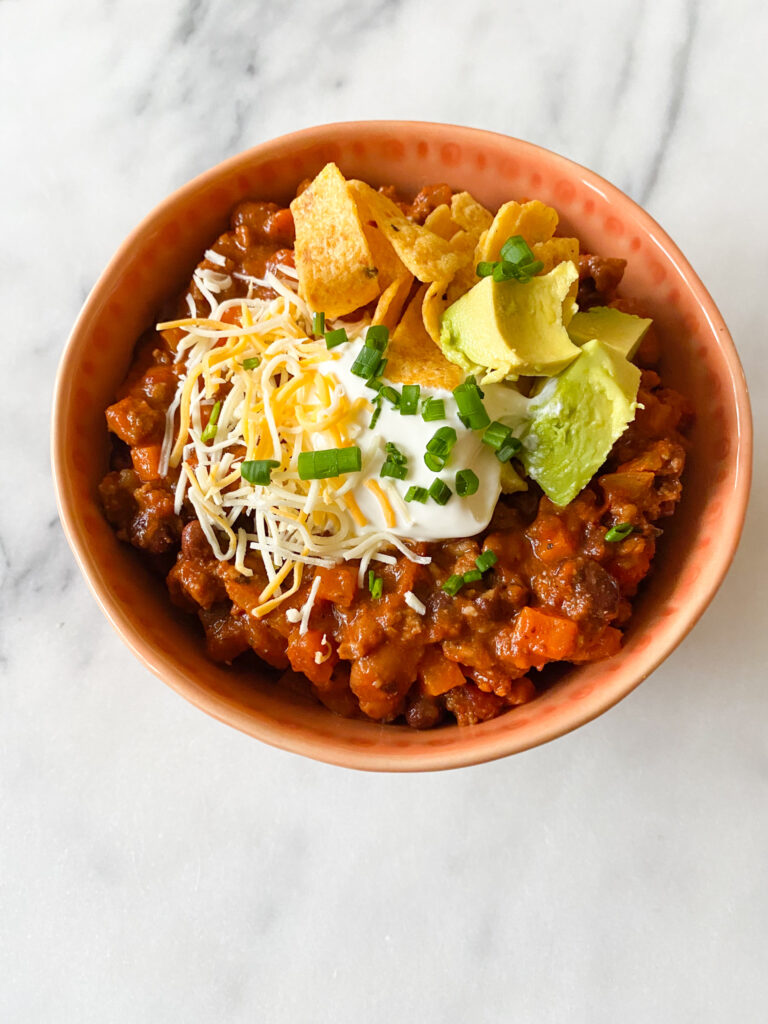
Toppings: sour cream, cheese, avocado, chives, tortilla chips
How to Make this Ground Beef Chili Recipe with Beans
Heat a large stock pot or Dutch oven over medium-high heat, then add the oil. Once the oil is hot, add the ground beef and salt. Brown the beef until it’s no longer pink.
Drain off the grease, but keep 1 to 2 tablespoons in the pot. Set the cooked ground beef to the side for now.
Add the diced onions and carrots, allow them to cook just until softened.
Place the jalapeno and garlic in, continuing cooking for another 2 minutes.
Sprinkle in the remaining spices, and stir to combine. Then add the tomato paste and stir until the veggies are coated and saute for 2 more minutes.
Pour in the roasted tomatoes and broth. Be sure to scrap the bottom when stirring to remove any bits that are stuck.
Stir in the beans and cooked beef, then bring the chili to a low simmer.
Cover and let it cook on low heat for at least 45 minutes. Chili is really great and flavorful when it cooks for at least 2 hours, so if you have the time, let it go longer.
Stir occasionally. If you find that it is becoming too thick, you can add a little water or broth.
Serve with your favorite toppings!
What Beef Can Be Used in Chili?
Because I was going for a classic recipe I chose ground beef, but there are tons of varieties of beef chilis. Here are a few cuts that are more popular:
- Brisket – if you like corned beef or pastrami you would like brisket chili
- Beef Chuck – because this cut is a little tougher, this is best for slow cooker chili
- Meat from boneless short ribs – these are cheaper than bone in ribs
How to Store Healthy Beef Chili
Allow the chili to cool completely before transferring it to an airtight container and refrigerate. It will stay fresh for up to 4 days.
To freeze, place the chili in a freezer-friendly container and store for up to 2 months. You can also freeze in single-serving portions to make meal prep easier. If you want to reheat the full batch, store the chili flat in a plastic bag to save space in the freezer.
Hosting a Chili Bar Party
If you want to let your guests do the work or allow them to customize their chili to their liking try a chili bar.
Simply make the chili then set it out, along with all of the toppings. You could also transfer the chili to a slow cooker and place it on warm if you wanted to set up a table with all of the ingredients.
Chili bars are great for parties and game days, plus you hardly have to worry about entertaining full time!
Chili Bar Topping Ideas
- Sour cream
- Greek yogurt
- Cheddar cheese
- Sliced jalapenos
- Pico de gallo
- Tortilla crunchies
- Oyster crackers
- Chives
- Hot sauce
- Diced onions

Classic Chili with Ground Beef
- Yield: 6–8 servings 1x
Description
Are you ready to enjoy the best classic beef chili you have ever tasted? Made with hearty ingredients like ground beef and beans, and full of flavor from our chili seasonings.
Ingredients
1 teaspoon olive oil
1 ½ pounds ground beef
2 teaspoons salt
1 medium onion, diced
4 carrots, peeled and finely diced
1 jalapeno, finely minced (optional)
4 cloves garlic, minced
2 tablespoons chili powder
2 tablespoons cumin
1 tablespoon oregano
1 teaspoon garlic powder
4 tablespoons tomato paste
1 (28-ounce) can fire roasted crushed tomatoes
2 cups beef or chicken broth
1 (14-ounce) can black beans, drained and rinsed
1 (14-ounce) can pinto beans, drained and rinsed
Toppings: sour cream, cheese, avocado, chives, tortilla chips, etc.
Instructions
- Heat a large Dutch oven or pot over medium high heat. Add oil and let heat to medium high heat. Add the ground beef, breaking into small crumbles with a wooden spoon. Add salt and continue to cook until beef have browned and fully cooked.
- Drain beef draining off most of the fat, but reserve 1-2 tablespoons in the pot. Add the onions and carrots. Sauté until soft. Add the jalapeno and garlic. Continue to sauté for another 1-2 minutes or until fragrant.
- Add the chili powder, cumin, oregano, and garlic powder. Stir to combine. Add the tomato paste and stir to coat the vegetables. Sauté for about 2 minutes.
- Pour in the fire roasted tomatoes and broth, scraping the bottom of the pan to lift anything that started to stick.
- Stir in the beef, black beans, and pinto beans.
- Bring chili to a low simmer. Cover the pot and allow to simmer on low heat for at least 45 minutes (ideally up to 2 hours to really develop the flavors!) Keep checking and stirring the chili every so often. If the chili becomes too thick, thin with additional broth or water.
- Top with your favorite topping and enjoy!