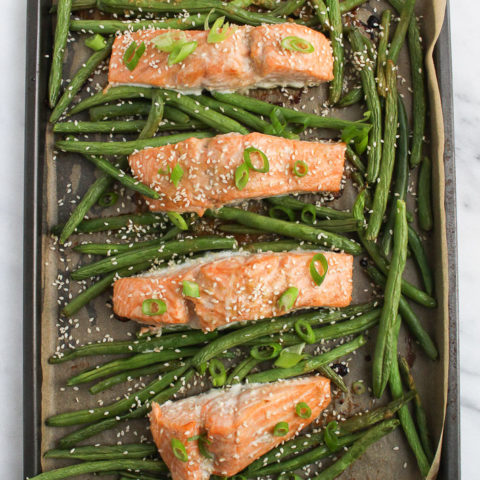
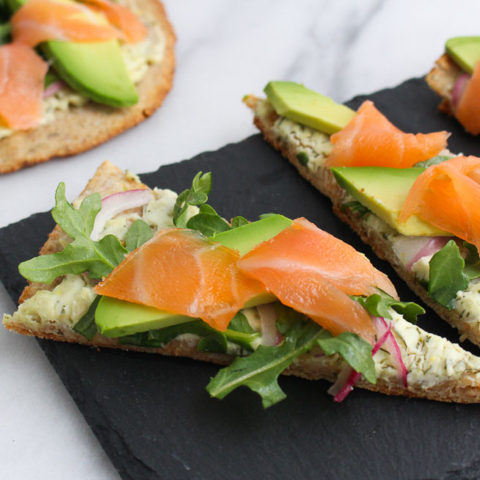
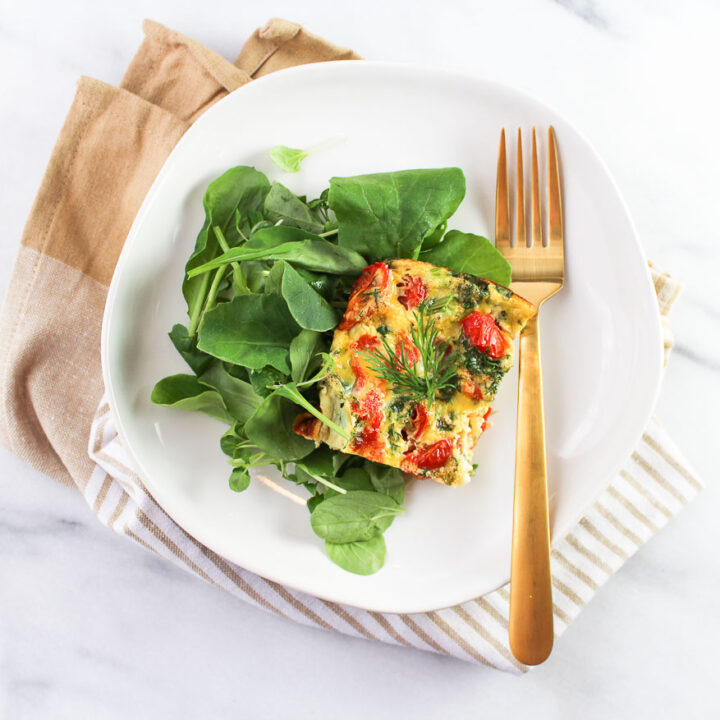
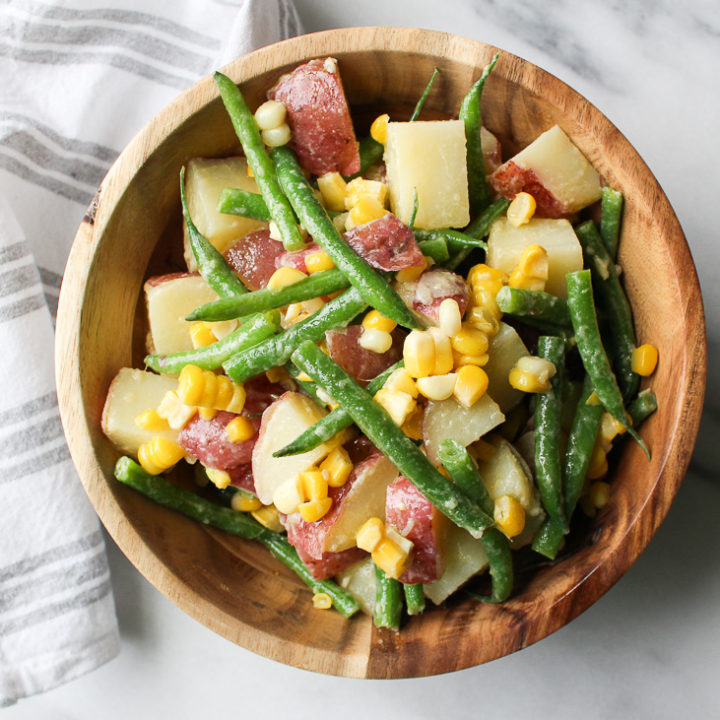
A big thank you to Sara for being the guest chef of this class sharing all her pizza tips for the home chef! Be sure to grab a copy of her newest cookbook: PIZZA! PIZZA! PIZZA!
This post may contain affiliate links. Read my privacy policy.
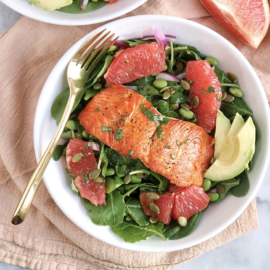
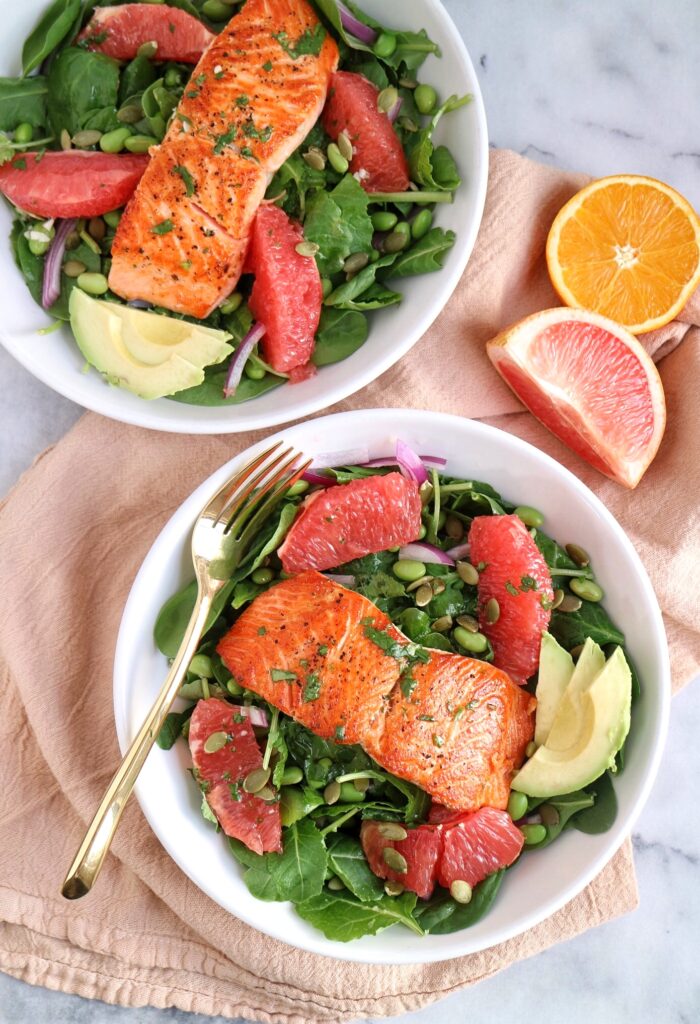
Brighten up your salad routine with this refreshing, nutrient-rich salad.
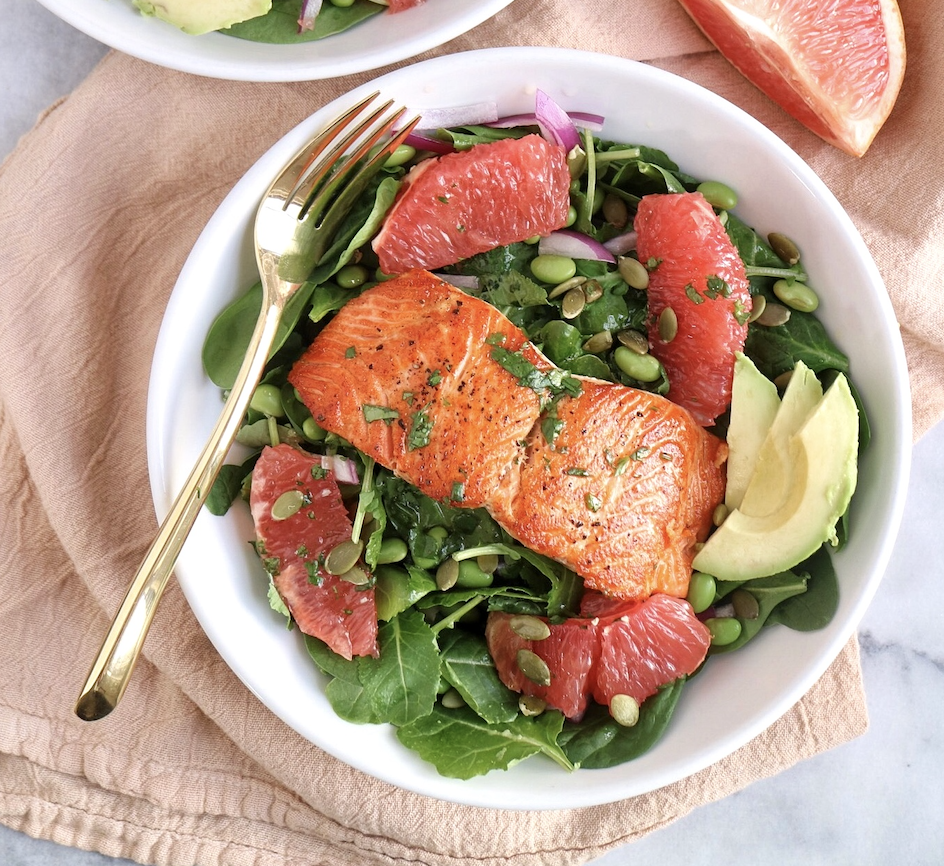
The grapefruit, salmon, and creamy avocado go so well together, and it’s all topped off with a homemade citrus vinaigrette. The salmon and citrus vinaigrette can be prepared in advance of the salad.
Salads don’t have to be boring! You may have already tried my favorite roasted sweet potato kale salad or Greek pasta salad. Salads are all about building layers of flavor and various textures to always get an exciting bite.
FREE Cooking Class
This recipe was featured as part of Virtual Teaching Kitchen’s FREE virtual cooking classes. Click here to learn more about the Virtual Teaching kitchen.
Ingredients needed:
For the citrus vinaigrette:
fresh orange juice – squeezed from an orange or all natural juice (no sugar added)
fresh grapefruit juice – save drippings when segmenting the grapefruit
olive oil
fresh cilantro
white wine vinegar
lime juice
garlic – use a microplane to help mince it very fine.
For the salad:
salmon – I prefer with the skin on!
salt
black pepper
olive oil
baby kale and spinach – or any greens you like!
grapefruit – watch video above how to segment
avocado
frozen shelled edamame
red onion
pumpkin seeds
Health benefits of salmon:
Salmon is one of the best sources of omega-3 fatty acids, which may lower the risk of heart disease and lower inflammation levels in the body. Your body cannot make these acids, so it’s important to regularly include foods like salmon in your diet.
What if I don’t have access to fresh salmon?
No worries! Canned salmon is a good swap to top your salad with! Not a fan of salmon? Swap with tuna, chicken, steak, shrimp, beans, etc.
Brighten up your salad routine with this refreshing, nutrient-rich salad. The grapefruit, salmon, and creamy avocado go so well together, and it’s all topped off with a homemade citrus vinaigrette. The salmon and citrus vinaigrette can be prepared in advance of the salad.
1/2 medium avocado, peeled, pitted, and sliced thin
1/2 cup frozen edamame, thawed
1/4 cup red onion, thinly sliced
2 tablespoons unsalted shelled pumpkin seeds
Instructions
For the citrus vinaigrette: Combine all the ingredients in a small bowl or a liquid measuring cup. Whisk together and set aside.
For the salmon salad: Place salmon skin side down on a plate. Pat with a paper towel to dry. Season with salt and pepper.
Heat a 10″ skillet over medium high heat, then add oil. Carefully place salmon fillets skin side down in the skillet and reduce heat to medium. Cook 4-5 minutes on one side until golden brown and salmon easily releases from the pan before turning fillets over with tongs. Continue to cook 3-5 minutes. Once cooked through, place the fillets on a clean plate.
Prepare salads in two large bowls. starting with the baby kale and spinach mix. Top with grapefruit, avocado, edamame, onion, and pumpkin seeds.
Store salmon, dressing, and salad in separate airtight containers in the refrigerator up to 3 days, 5 days for the dressing. Salmon does not have to be reheated to eat with the salad. If you choose to reheat it, place it in a microwave safe dish covered with a lid and microwave 2-3 minutes or until internal temperature reaches 165 degrees F.
This post may contain affiliate links. Read my privacy policy.
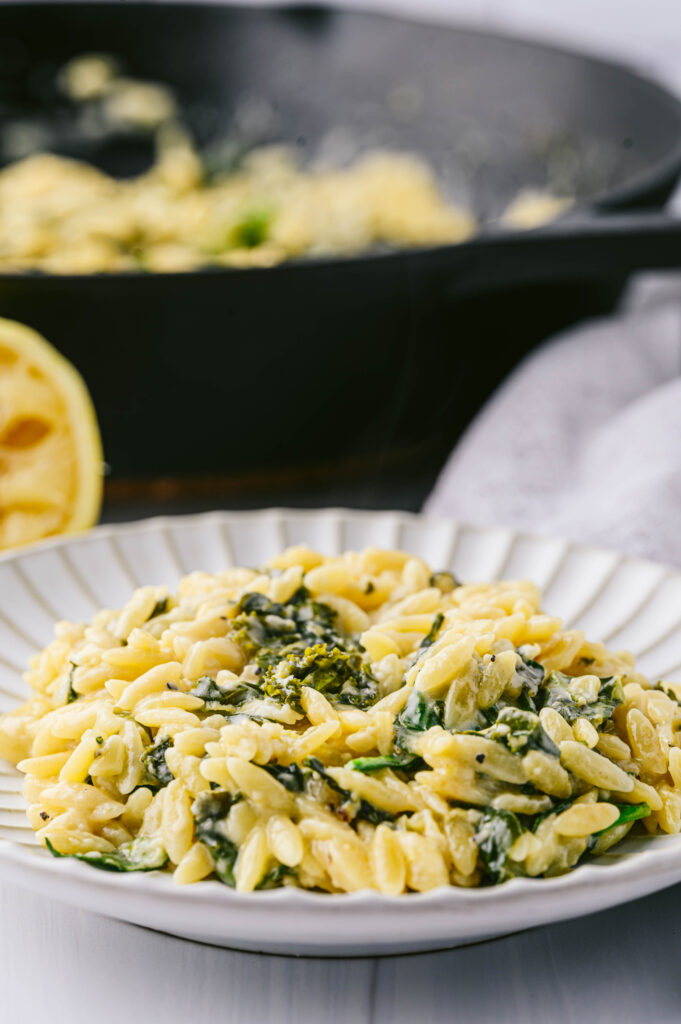
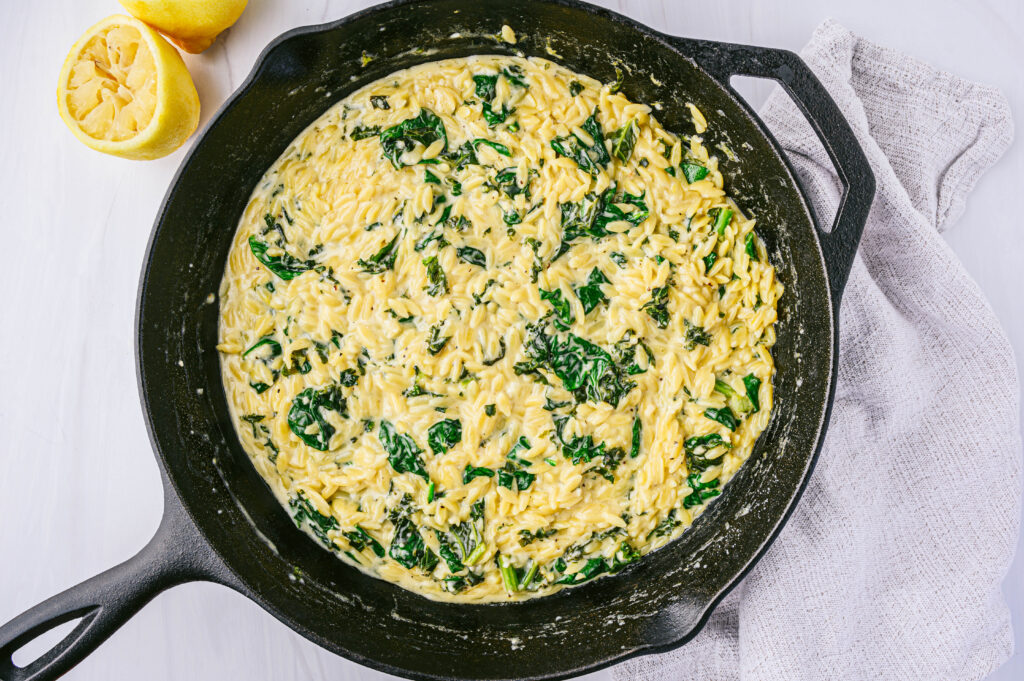
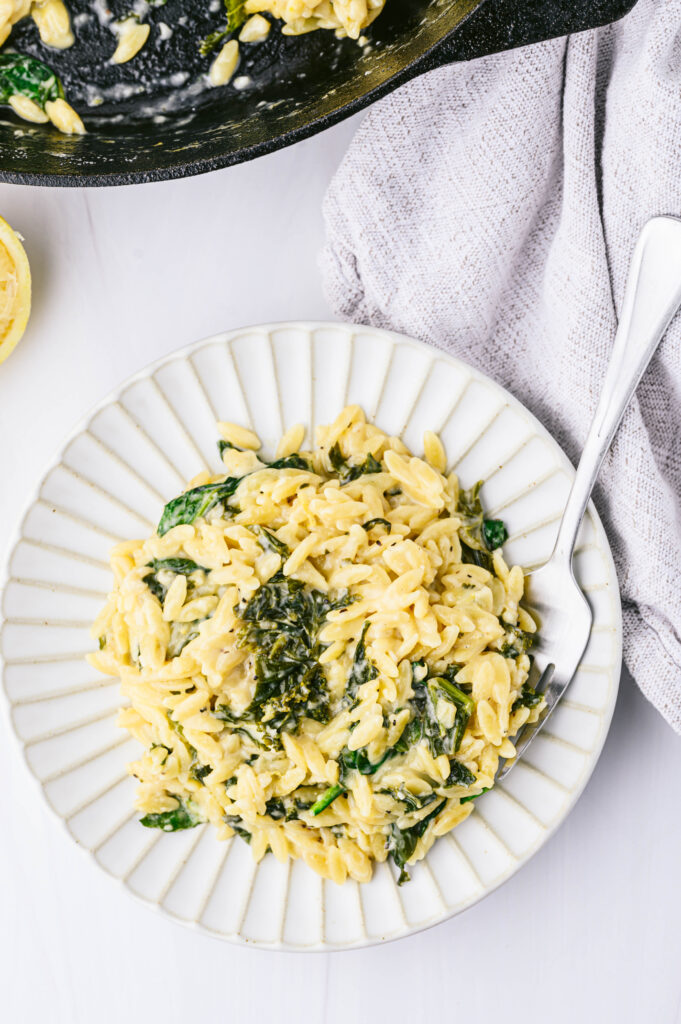
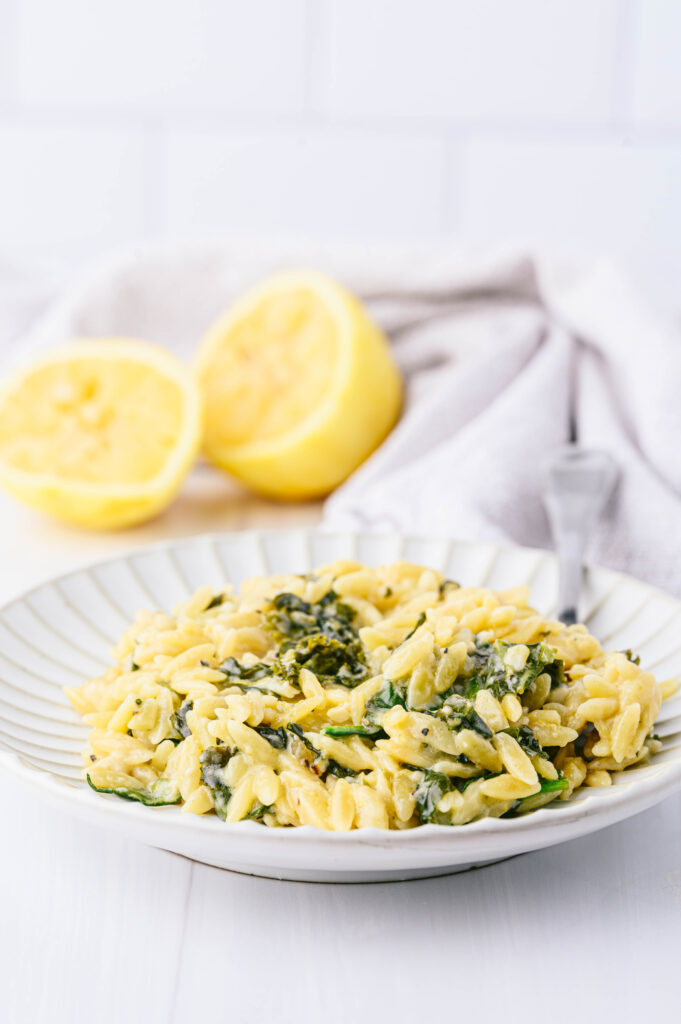
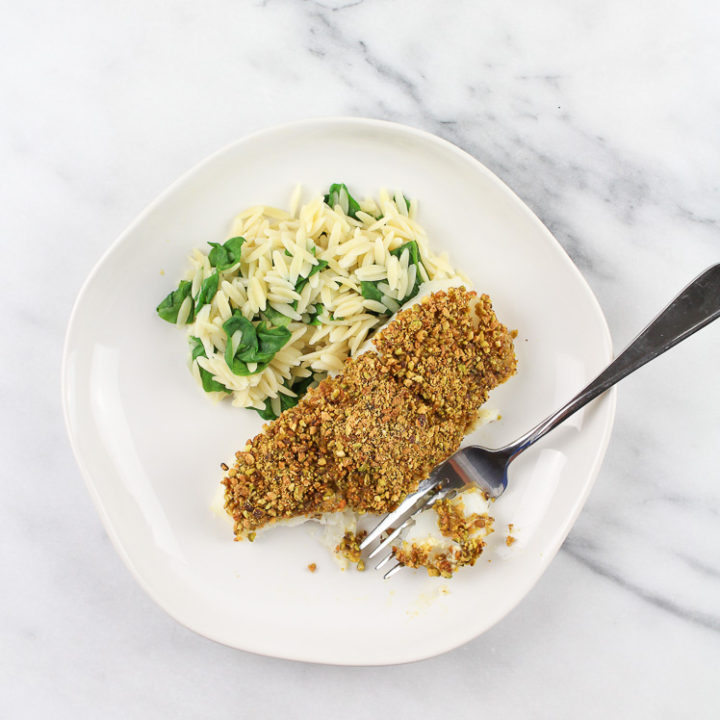
Lemon orzo with spinach is creamy, cheesy, and bursting with flavor! It’s an easy, but delicious meal that is ready in less than 30 minutes with minimal cleanup!
Whether you are searching for a tasty side dish or meatless main course, lemon orzo is on the must make list! It’s almost a sin at how quick and easy it is to make.
You can even serve your favorite protein on the side for a full balanced meal! Grilled salmon or chicken would taste delicious.
Why We Love Spinach Lemon Orzo
The entire meal is cooked in one pan.
It’s simple and quick.
Can be served alongside a main course or by itself.
An easy way to sneak some extra greens in.
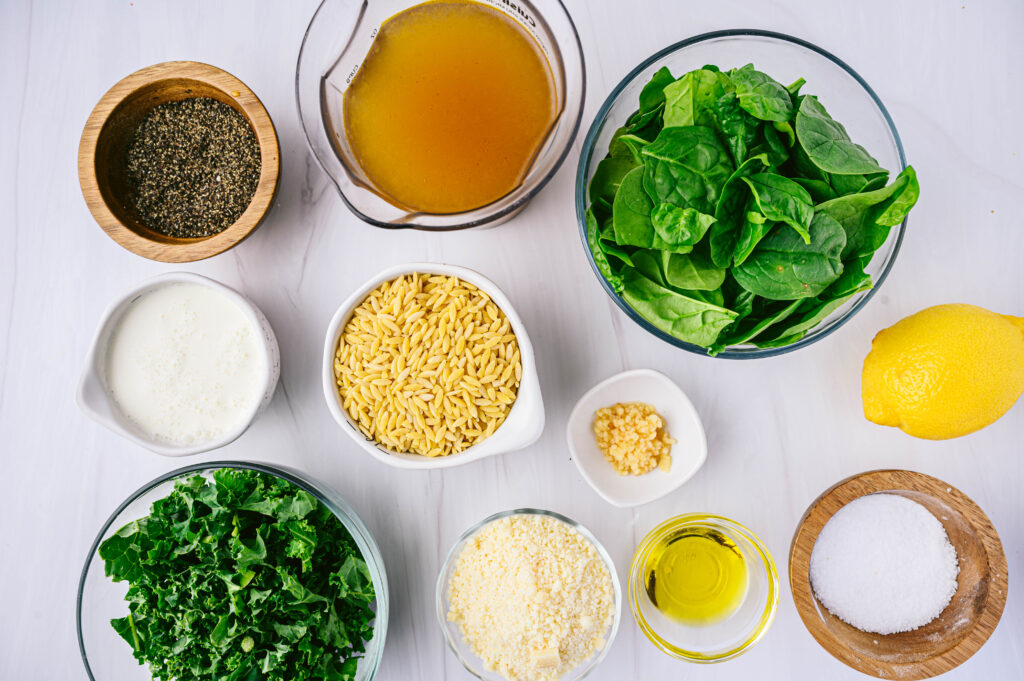
Ingredients Needed
olive oil
Garlic cloves
kale
low-sodium vegetable broth
heavy cream
orzo
baby spinach
grated Parmesan cheese
lemon
Salt and pepper
How to Make Creamy Lemon Orzo with Spinach
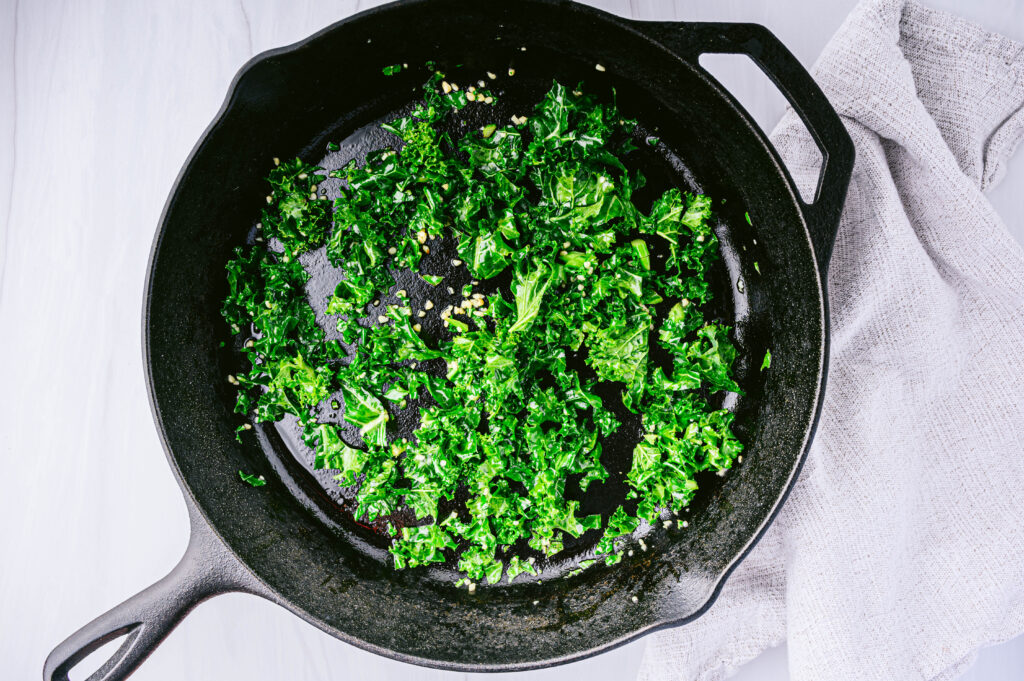
Heat the olive oil in a large skillet over medium high heat. Add the garlic and saute until fragrant.
Stir in the kale and cook until it starts to wilt.
Then stir in the heavy cream and veggie broth, bring to a simmer.
Stir in the orzo and cook until al dente (or for about 9 minutes).
Stir in the spinach and turn off the heat.
Add the parmesan cheese, lemon zest, and lemon juice.
Season with salt and pepper, then serve!
Tips for Making Lemon Orzo
Although it’s not always available, whole wheat orzo can be used.
Any hearty dark leafy green (such as Swiss chard, collard greens, or mustard greens) can be substituted for the kale.
Do not let the garlic burn! If it gets over cooked it will have a bitter taste.
To add more lemon flavor with the acid use zest instead.
We love using orzo, but you can also use other small pastas if needed.
For those who like using herbs, basil and thyme go great with these flavor combos.
Peas and mushrooms are other veggie options that could be added if desired.
Storing and Reheating
Orzo recipes are best eaten the same day, but when kept in an airtight container in the fridge they can be eaten up to 3 days later.
When it cools, the orzo soaks up the sauce. When reheating you may want to add a little more broth, cream, or water to thin it out. It’s also best reheated over low heat on the stovetop.
Is Orzo and Rice the Same Thing?
No. Orzo is actually considered pasta. Normally you would cook it in boiling water and drain just like any other noodles. Rice is a grain that soaks up the moisture while cooking.
Remember, for this recipe the orzo cooks in the creamy sauce! So there’s no reason to make it in another pot.
Lemon orzo with spinach is creamy, cheesy, and bursting with flavor! It’s an easy, but delicious meal that is ready in less than 30 minutes with minimal cleanup!
Ingredients
Scale
1 tablespoonolive oil 2 cloves garlic, sliced 2 cups kale, chopped 2 cups low-sodium vegetable broth ½ cup heavy cream 1 cup orzo 3 cups baby spinach, stems removed ¾ cup grated Parmesan cheese 1 lemon, juiced and zested Salt and pepper, to taste
Instructions
1. In a large skillet heat olive oil over medium-high heat. Add garlic and cook until just fragrant, about 1 minute. (Do not overcook or garlic will burn, and garlic will be bitter) Add the kale and sauté for a minute until it starts to wilt. 2. Stir in vegetable broth and heavy cream; bring to a simmer. 3. Stir in orzo and cook for 9 minutes or until al dente. 4. Stir in spinach. 5. Turn off the heat and stir in parmesan, lemon juice, and lemon zest. 6. Season with salt and pepper, to taste.
Notes
Can substitute with whole wheat orzo (although it is not always available in grocery stores) Substitute any hearty dark leafy green for the kale like collard greens, Swiss chard, mustard greens, etc.
This post may contain affiliate links. Read my privacy policy.
Do you have an Instant Pot and don’t know where to start? I am still getting the hang of it, but I’ve mastered how to make PERFECT hard-boiled and soft-boiled eggs in the Instant Pot.
Disclosure: This post was sponsored by the American Egg Board and the Egg Nutrition Center. Thank you for supporting the brands that make this blog possible!
What Can the Instant Pot Do?
215,000+ Amazon customers purchased the Instant Pot on Prime Day alone. Now that it’s in everyone’s kitchen they are looking for new recipes to try.
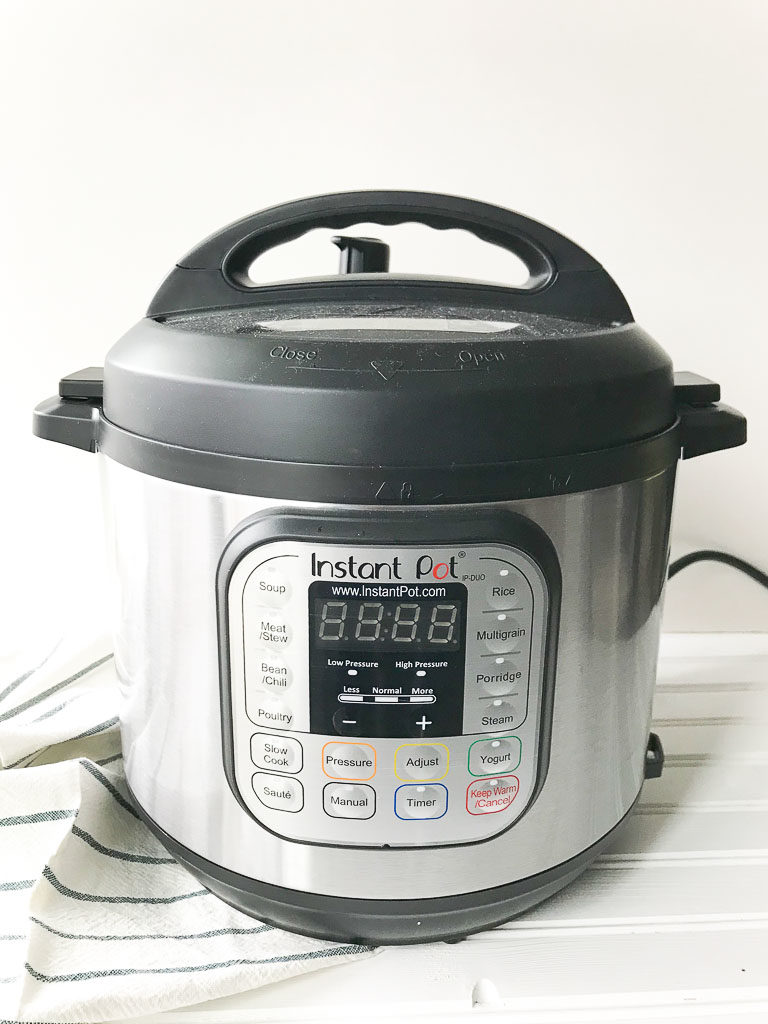
The Instant Pot is a single appliance that does the job of seven (yes, seven!) different kitchen appliances. It can handle the tasks of a slow cooker, electric pressure cooker, rice cooker, steamer, yogurt maker, sauté/browning pan, and a warming pot. Think of all those appliances taking up space in your kitchen that can be replaced by one.
New to using the Instant Pot? Learn about these seven tips for efficiently using your Instant Pot.
While I am still learning all the functions of the Instant Pot, the first technique I mastered was preparing hard and soft-boiled eggs.
How Are Eggs Healthy?
One large egg has 6 grams of high-quality protein and all 9 essential amino acids. Nearly half the protein is in the yolk so don’t ditch the yolk!
Eggs were once avoided and criticized for their cholesterol content. However, the totality of scientific research has shown no or little effect between dietary cholesterol and cardiac outcomes or markers of heart disease risk in healthy individuals.
Government and health organizations have revised their dietary cholesterol recommendations. The 2015-2020 Dietary Guidelines for Americans place no daily limit on dietary cholesterol intake. Foods like egg yolks and some shellfish are higher in dietary cholesterol but not saturated fats making them a healthful choice along with healthy eating patterns.
Hard-boiled eggs are something I pretty much meal prep every week for myself. One large egg has varying amounts of 13 essential vitamins and minerals, including choline plus the antioxidants lutein and zeaxanthin, all just for 70 calories.
Why the Instant Pot method works:
Now, I know making hard-boiled eggs on the stovetop is not too challenging, but this Instant Pot method makes it even simpler and in just 5 minutes, they are ready. Plus, there is a science behind why cooking eggs in the Instant Pot make them easier to peel. The reason according to Alton Brown is:
“Eggs that are quickly heated are easier to peel than eggs that are slowly heated, say in cold water brought to a boil. Fast cooking prevents the white from bonding so epoxy-like to the outer membranes. Since pressure steamers can generate temperatures between 230 and 250 degrees F it is suspected that this is actually why folks think they’re magic egg machines.” Also, thorough cooling eases peeling by allowing the proteins in the albumen to fully set and harden, thus preventing tearing.
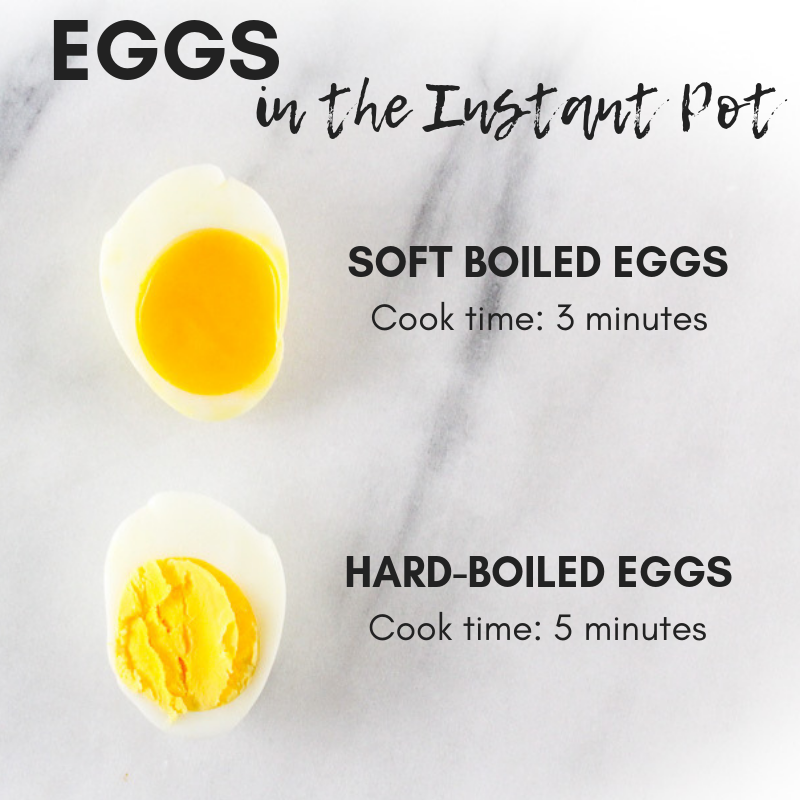
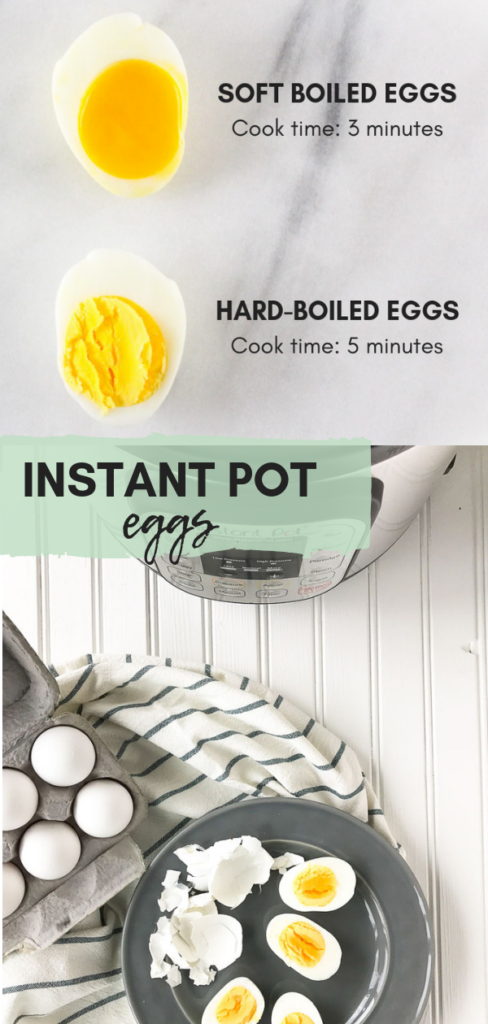
How to Make Soft Boiled Eggs in the Instant Pot
Pour the water in and place the rack (trivet) in the bottom. Then sit the eggs on the rack in the Instant Pot in a single layer.
Cook for 3 minutes on high pressure. Once the timer goes off, quickly release the pressure.
Transfer the eggs to a bowl with ice and cold water until they are cool enough to hold in your hand.
Peel right away.
The Best Pressure Cooker Hard Boiled Eggs
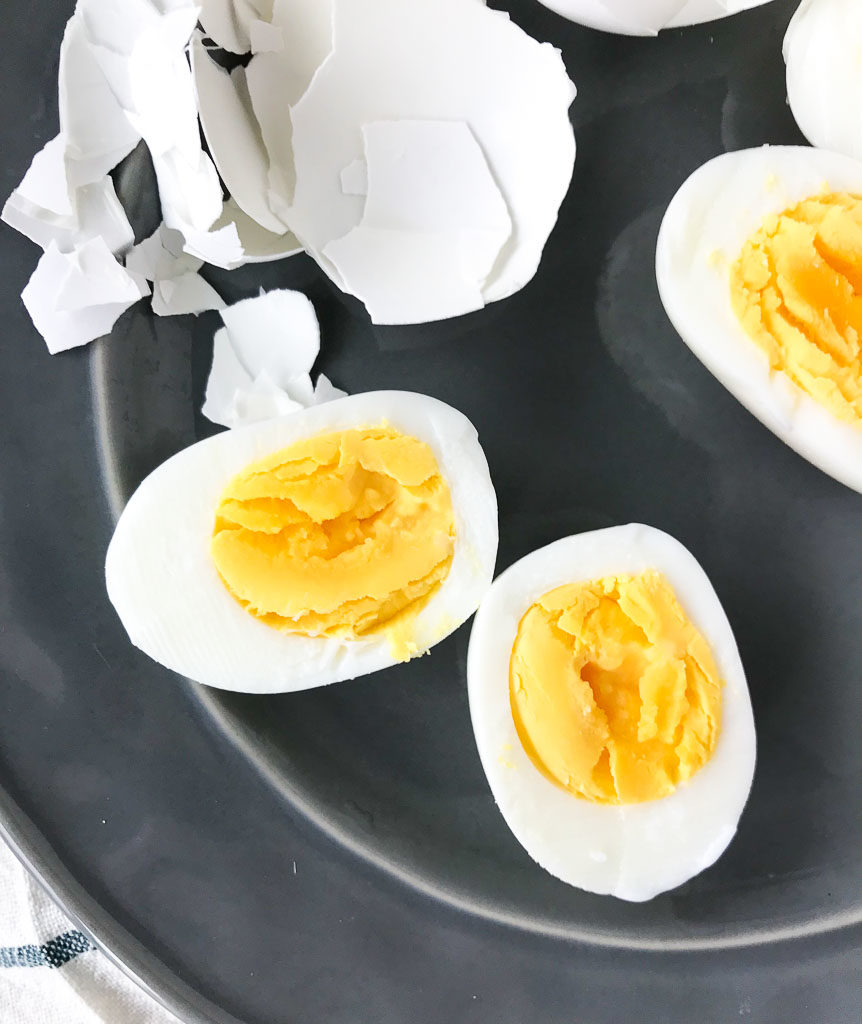
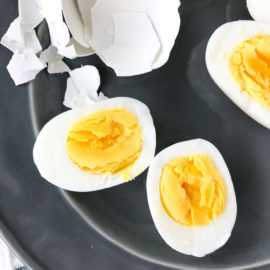
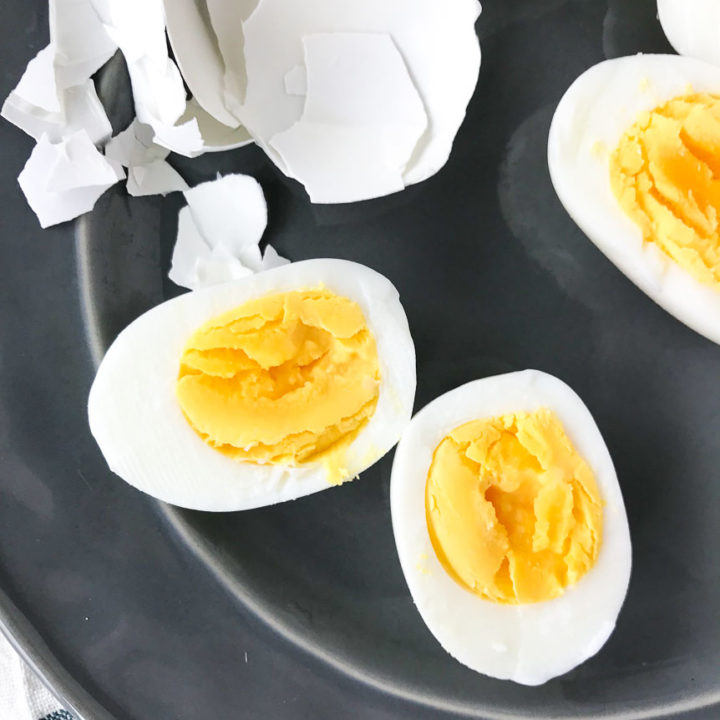
If you want to make hard boiled eggs in the Instant Pot, pour the water in. Set the rack in the bottom. Place the eggs on the rack. Cook for 5 minutes using high pressure. Let the pressure release naturally for 5 minutes, then transfer to an ice bath. Peel once they are cool enough for you to hold.
Tips for Making
Make sure the eggs are in a single layer, do not stack them.
There is an accessory you can buy that is specifically for making eggs in the Instant Pot that may allow you to cook more at a time.
When you release the pressure, place a towel over the top. Also make sure the pressure cooker is away from cabinets so the steam doesn’t ruin them.
How Long Do Cooked Eggs Last?
Hard-Boiled Eggs will keep up to a week in your refrigerator. Make a few perfect hard-boiled eggs to create delicious recipes throughout the week.
A few ways I use hard-boiled eggs are:
Pair hard-boiled eggs with avocado and tomato. I usually just add a little salt and pepper, but when I’m looking to add an extra pop of flavor, I add everything but the bagel, sesame seasoning blend.
For a filling snack, try my version of a “quick deviled egg”. Scoop out the yolk, mix with hummus and fill back in the egg white.
Ways to Use Instant Pot Eggs
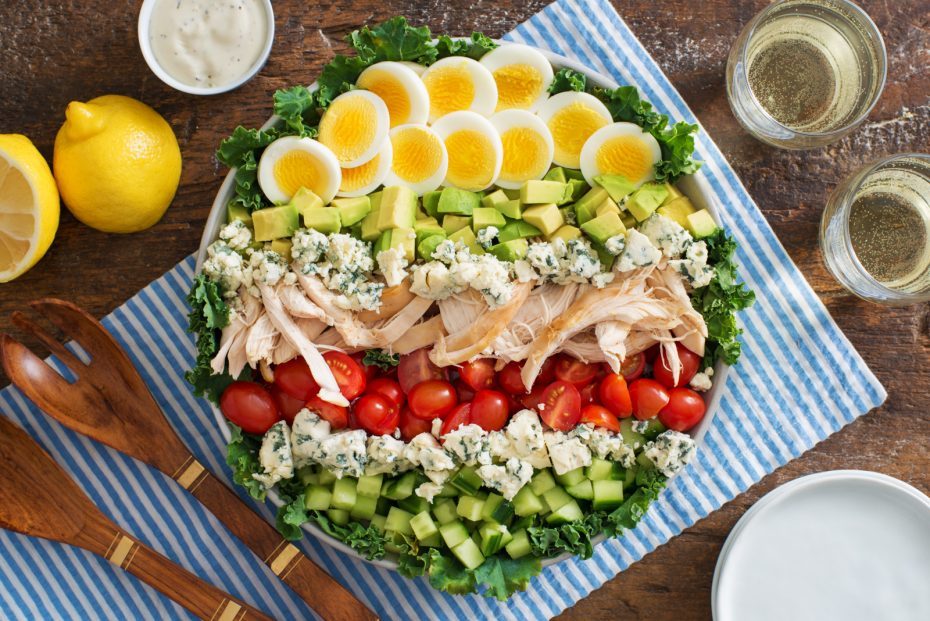
Go for a traditional cobb salad but switch up your greens with a Kale Cobb Salad
Place the rack in the bottom of the pot. Pour the water in the pot. Place the eggs on the rack.
For soft-boiled: Set Instant pot on high pressure on manual 3 minutes. Quick release placing a towel over the valve. Quickly add eggs to a bowl with cold water and ice until cool enough to hold. Peel right away.
For hard-boiled: Set Instant Pot on high pressure on manual 5 minutes. Natural release 5 minutes then use quick release placing a towel over the valve. Quickly add eggs to a bowl with cold water and ice until cool enough to hold. Peel right away.
This post may contain affiliate links. Read my privacy policy.
Instant Pot Lemon Ginger Salmon is a quick and easy 20 minute meal that’s also healthy and can be served with just about any side dish.
A lot of Instant Pot recipes are used for tough cuts of meat. The function of the Instant Pot creates steam under extreme pressure and forces its way to the tough fibers of the meat breaking them down to become tender.
But what if you have an already delicate protein like salmon?
You can still utilize the Instant Pot for more delicate proteins like salmon, but the Instant Pot is utilized a little differently.
Instead of searing and submerging in liquid, utilize the steaming rack of the Instant Pot. Add a little liquid on the bottom which will steam the salmon and infuse flavors into the final product. For this recipe, I used vegetable broth and a few sprigs of parsley. Utilize different herbs to infuse flavors.
Why I Love Instant Pot Salmon
Tender and never dry or overcooked
Juicy, flavorful, and ready in less than 30 minutes
A great meal prep recipe
Minimal ingredients needed
Salmon Nutrition
Research shows eating seafood two to three times per week reduces the risk of death from any health-related cause. Seafood provides unique health benefits as a lean protein and is the best source for omega-3 fatty acids, which are healthy fats essential to human health and development.
Use this simple and flavorful Instant Pot Lemon Ginger Salmon to help you meet the mark for enjoying seafood 2-3 times each week!
Embrace the unsaturated fats found in foods such as walnuts, seeds, plant oils, avocados, and fatty fish such as salmon, tuna, trout, sardines, mackerel, and herring.
Fats play an essential role in human health from head (brain) to toe (joints). Replacing just 5 percent of your caloric intake from so-called bad fats (like trans and saturated fat found in red meat) with unsaturated fat from seafood and plant-based foods can reduce your risk of death by 27 percent. (source)
Choosing the Best Salmon
There is no right or wrong choice when it comes to picking out salmon, but there are quite a few differences.
Wild, Farm-Raised, or Frozen?
It’s important to know that just because salmon can be frozen, doesn’t mean it loses its nutritional value. Frozen salmon is a great budget option and good seafood to have on hand in the freezer.
Farm raised salmon typically contains more fat because of the diet and environment the fish are in. Compared to wild salmon, which feed on other natural food sources. Wild caught salmon usually contains more minerals as well.
While both breeds have contaminants, they are higher in the farmed salmon, but stricter rules have been put in place.
Lemon Ginger Salmon Ingredients
vegetable broth
fresh parsley
salmon fillet
salt and pepper to taste
fresh ginger
lemon
How to Make Lemon Ginger Salmon in the Instant Pot
Pour the veggie broth into the Instant Pot and add the trivet in. Spray the trivet with cooking spray.
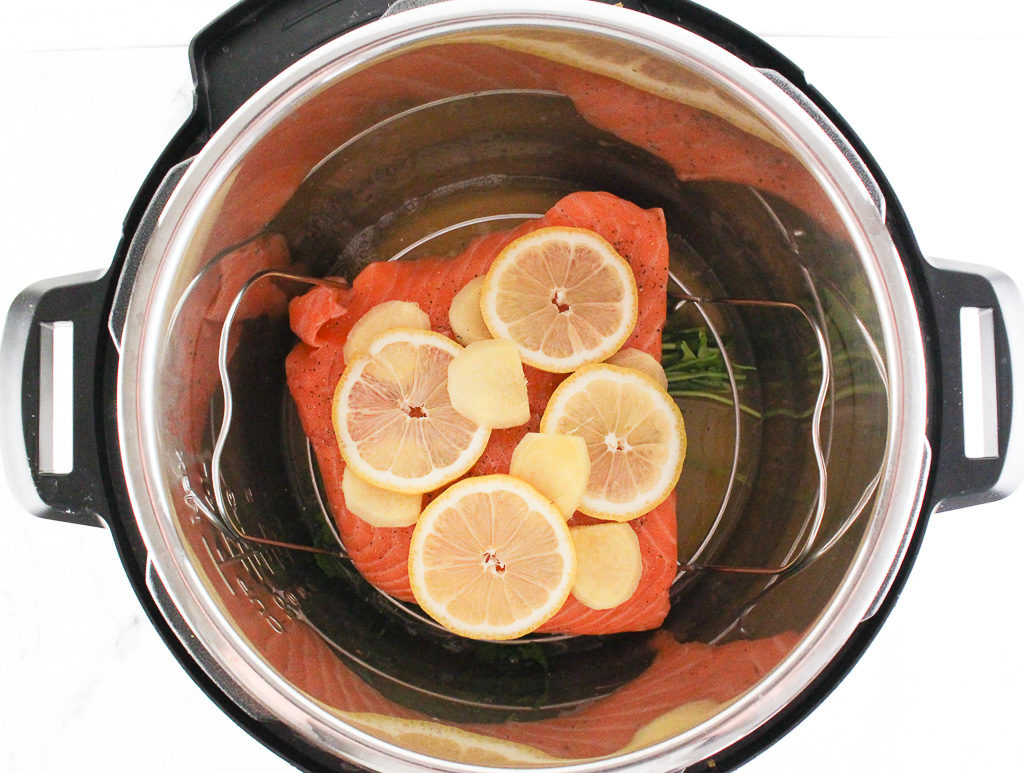
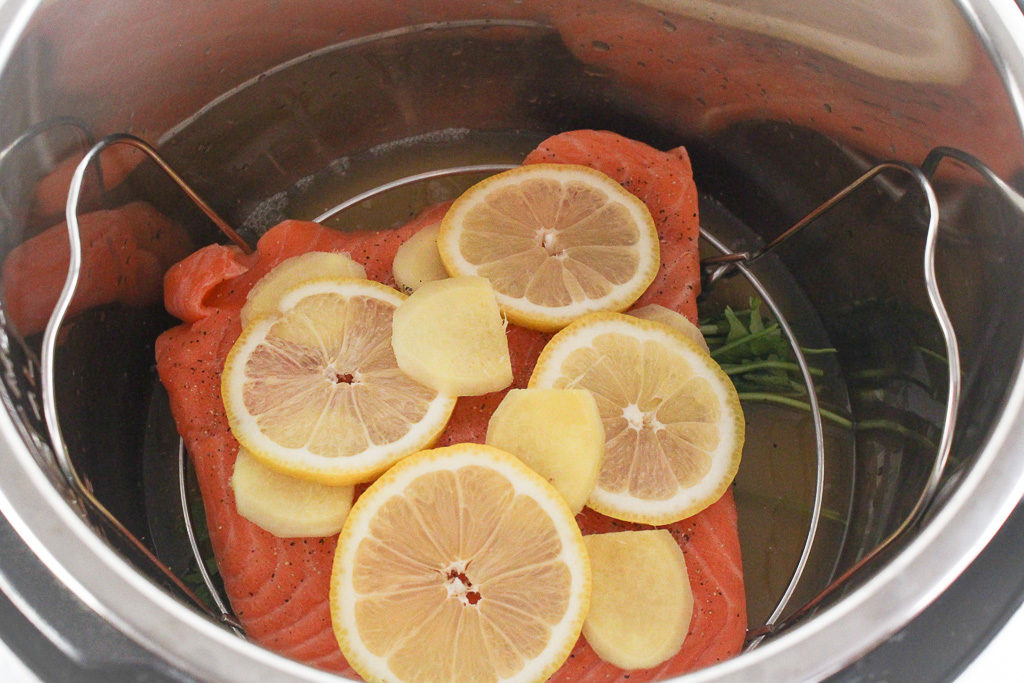
Skin side down, place the salmon on the rack, and season with salt and pepper. Lay the pieces of ginger and lemon on top. By simply laying the lemon and ginger on top of the salmon fillet, the flavors penetrate into the salmon fillet creating fresh and vibrant flavors.
Place the lid on and turn the valve to the sealing position. Cook on high pressure for 3 minutes.
Once it’s ready, turn the valve back to quickly release the pressure. Be careful and stand back, the steam is extremely hot.
Take the trivet out by grabbing the handles then transfer the salmon to serve.
Can You Use Frozen Salmon?
You can, just allow it time to thaw before adding it to the pressure cooker.
You’ll be soon adding this easy Instant Pot Lemon Ginger Salmon to your weekly dinner menu rotation.
Ingredients
Scale
1/2 cup vegetable broth 1 small bunch of fresh parsley 1 pound salmon fillet (about 1-inch thick) salt and pepper, to taste 1 small knob (about 2 tablespoons) fresh ginger, sliced 1 lemon, sliced
Instructions
Pour broth and parsley in the Instant Pot and then put in the steamer rack (coated with cooking spray) at the bottom, making sure the handles are extended up.
Place salmon, skin side down, on the steamer rack. Sprinkle with salt and pepper. Layer on pieces of ginger and lemon.
Close the Instant Pot and make sure vent is turned to “Sealing”. Plug it in, press “Steam” and press the + or – buttons to set it to 3 minutes. When the Instant Pot beeps that it’s done, quick release the pressure, being careful to stay out of the way of the steam that will shoot up. Press the “Warm/Cancel” button. Remove lid, and using hot pads, carefully remove rack with salmon and set on a plate.
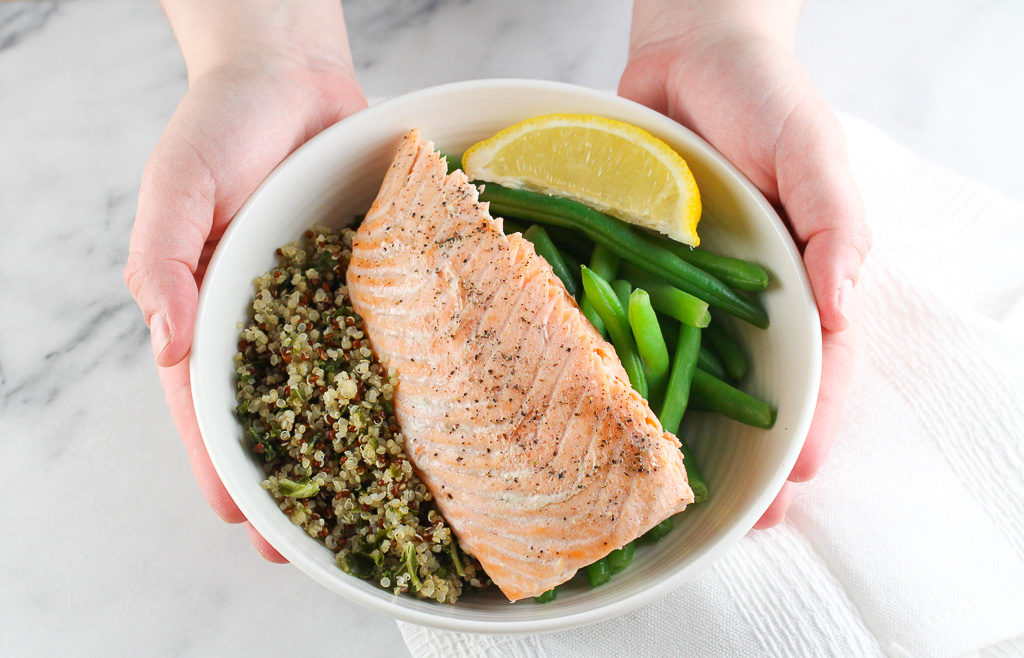
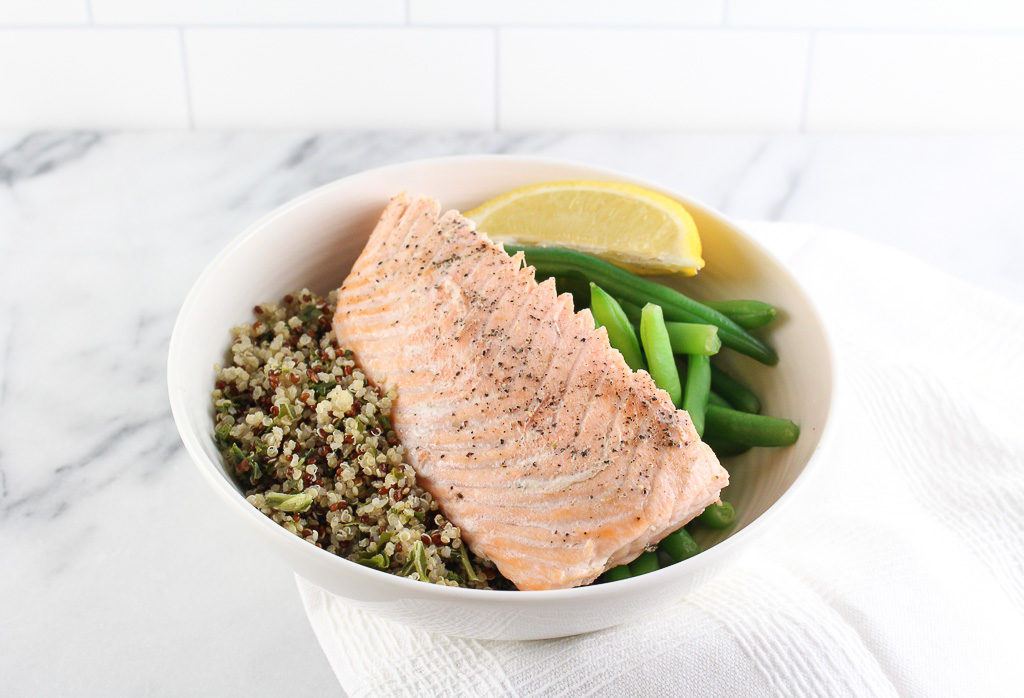
Serve alongside a whole grain and vegetable for a complete meal.
Notes
Cooking time may vary. Depending on the thickness of your salmon, 3 minutes is perfect for a fillet that’s about 1 inch at its thickest part.
This post may contain affiliate links. Read my privacy policy.
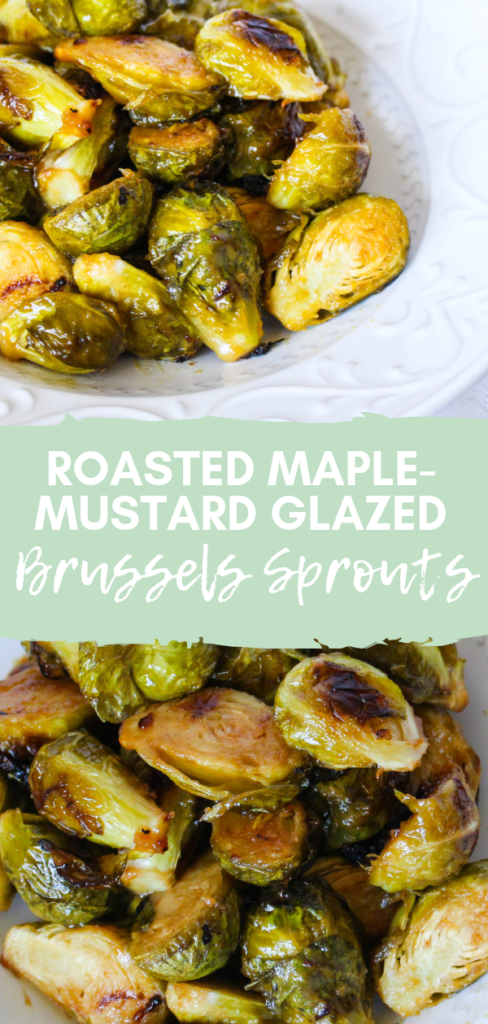
Roasted Maple Mustard Brussels Sprouts have just enough tang and the right amount of sweetness! The perfect side dish that pairs well with just about any meal!
Some people may turn their nose up at the thought of Brussels sprouts, but honestly, they just need to try cooking them a different way! The maple mustard glaze brings in so much flavor, adding a twist to just regular roasted sprouts.
With the holiday season just around the corner, these become a staple around our house. Once you try them I promise you will be eating this delicious side dish all year long!
Because this is a sheet pan recipe, it’s easy to make and almost hands off! So while these are great during the week, you can easily double or triple the recipe to feed a larger crowd without much more prep work.
Why I Love Brussels Sprouts
For starters, brussels sprouts are packed full of nutrients and rich in Vitamin K and Vitamin C. They also contain an antioxidant called kaempferol, that may help to reduce inflammation and promote a healthy heart.
If you aren’t a seafood lover, double up on your Brussels because they are one of the best plant-based sources of omega-3s!
So besides all of the amazing health benefits, Brussels sprouts can be cooked in so many ways which makes them really versatile in the kitchen. Simply changing out the sauce, glaze, or seasoning offers a whole new side dish. Let’s not forget they are great in salads when they are shredded too!
Ingredients for Maple Mustard Brussels Sprouts
lemon juice
Dijon mustard
maple syrup
olive oil
salt and pepper
Brussels sprouts
How to Make Roasted Maple Mustard Brussels Sprouts
Prep your baking sheet by spraying it with non-stick spray or using parchment paper and preheat your oven to 400 degrees.
Whisk together the lemon juice, mustard, maple syrup, oil, salt, and pepper in a large bowl.
Once you have halved and trimmed the Brussels sprouts, mix those in and stir until they are fully coated.
Pour the mixture in an even layer onto the baking sheets. You can drizzle the remaining glaze over if there’s any left in the bowl.
Roast for about 30 minutes or until the brussels are tender and caramelized. Stir them occasionally or flip with a spatula half way through.
Can You Use Frozen Brussels Sprouts?
You can if that’s all you have. Allow them to thaw completely before roasting.
Preheat oven to 400 degrees F. Prepare a large baking sheet with cooking spray and set aside.
In a large bowl, whisk together the lemon juice, Dijon mustard, maple syrup, olive oil, and salt and pepper.
Mix in the Brussels sprouts until they are fully coated. Pour the Brussels sprouts on an even layer on the baking sheet, drizzling any remaining glaze on top.
Roast for 25-30 minutes, stirring occasionally. Brussels sprouts should be tender and caramelized to your desired doneness.
Keywords: Brussels sprouts, roasting, vegetable side dish
This post may contain affiliate links. Read my privacy policy.
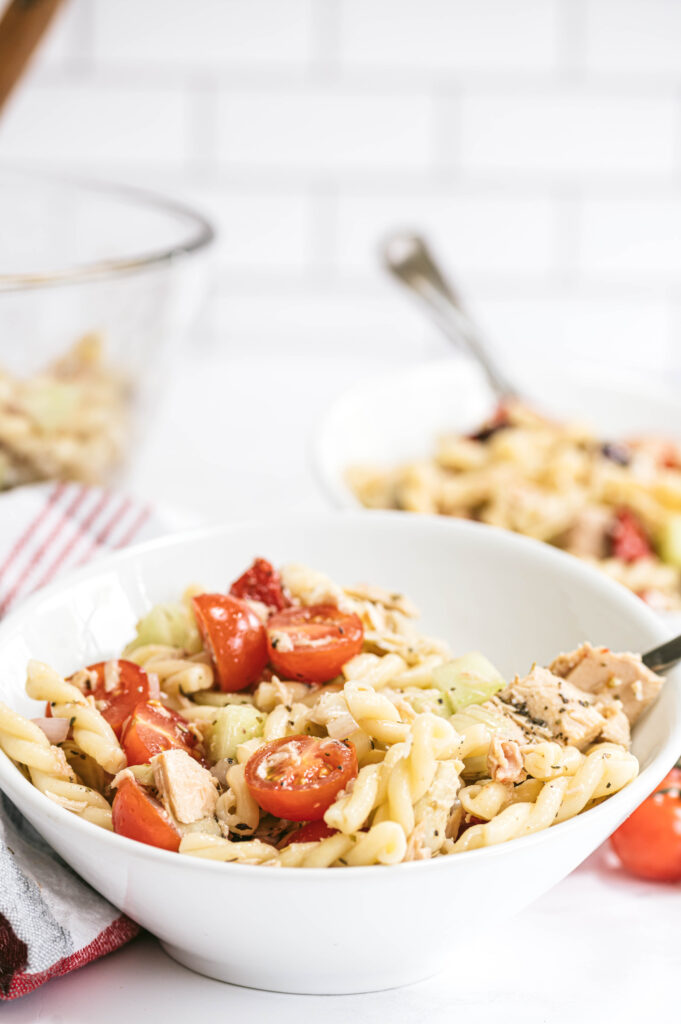
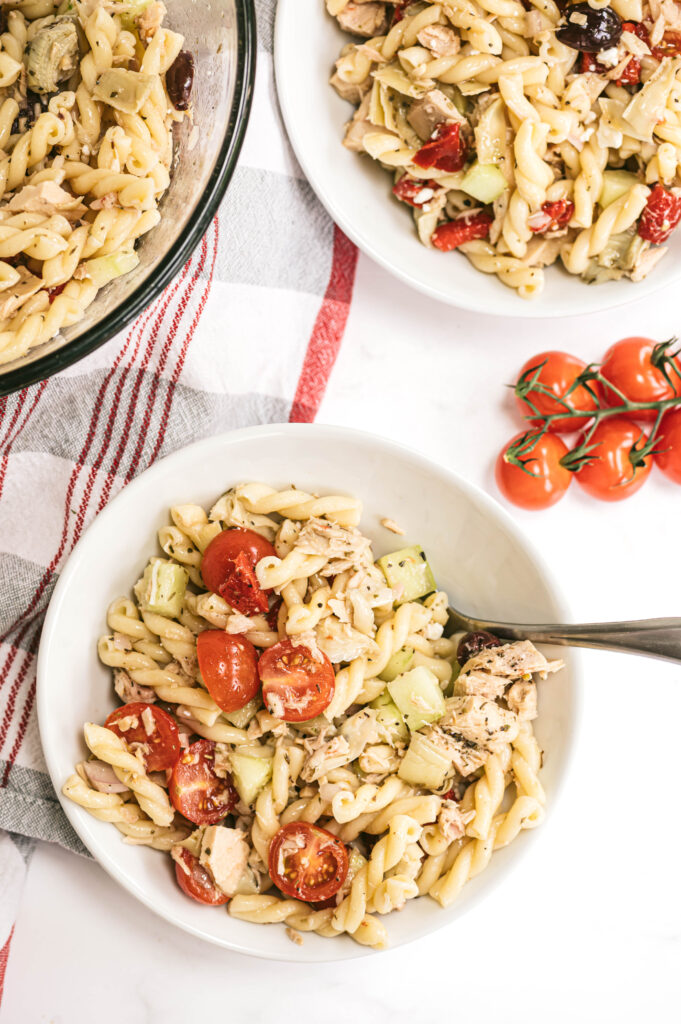
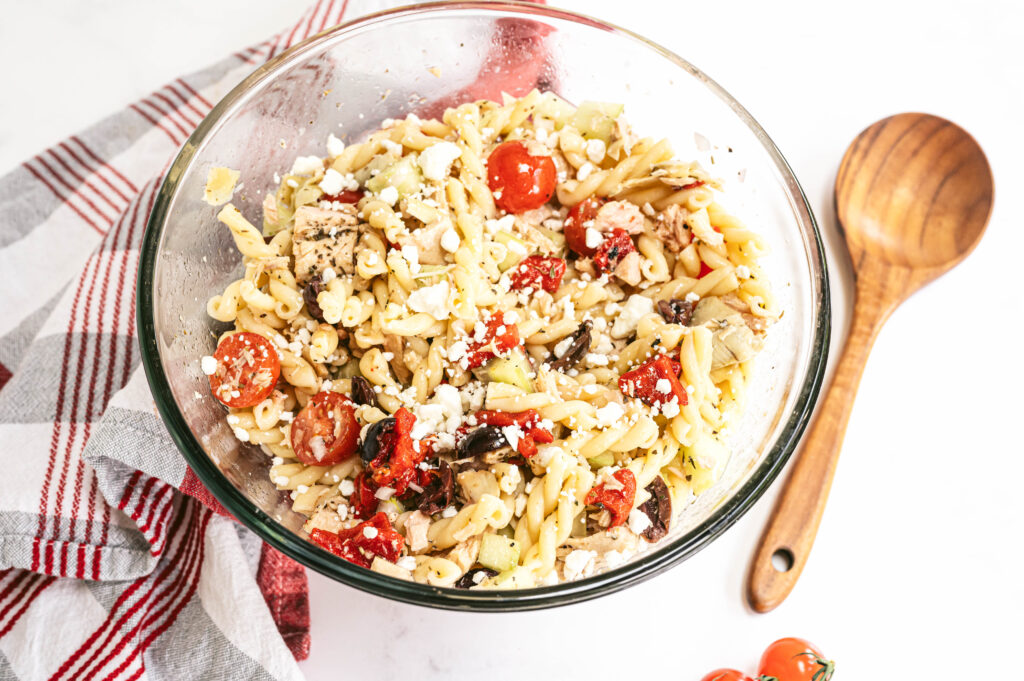
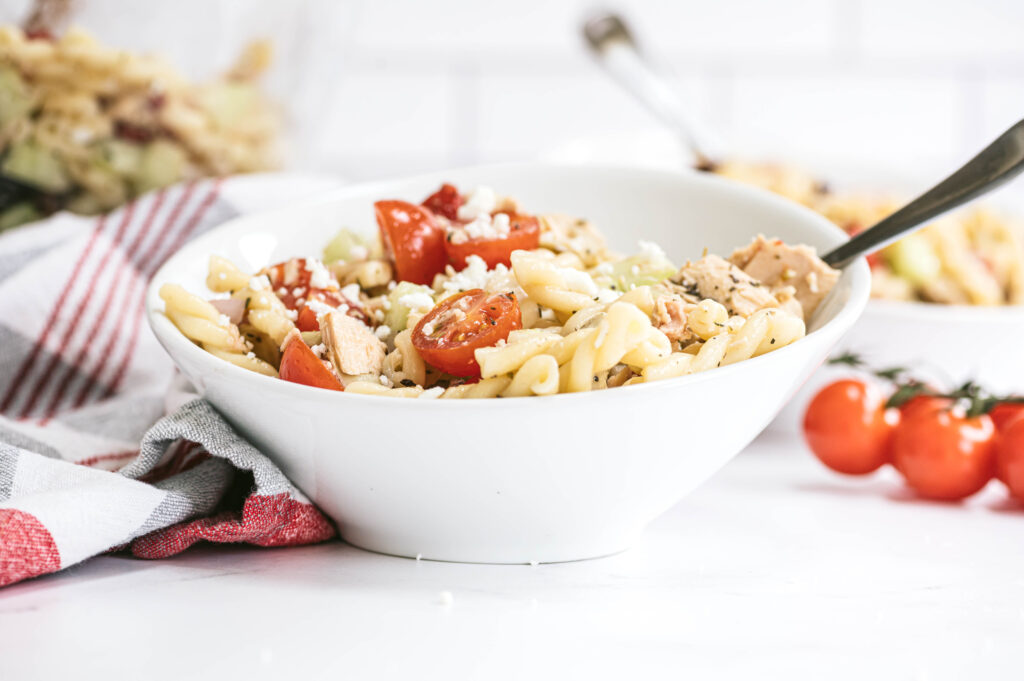
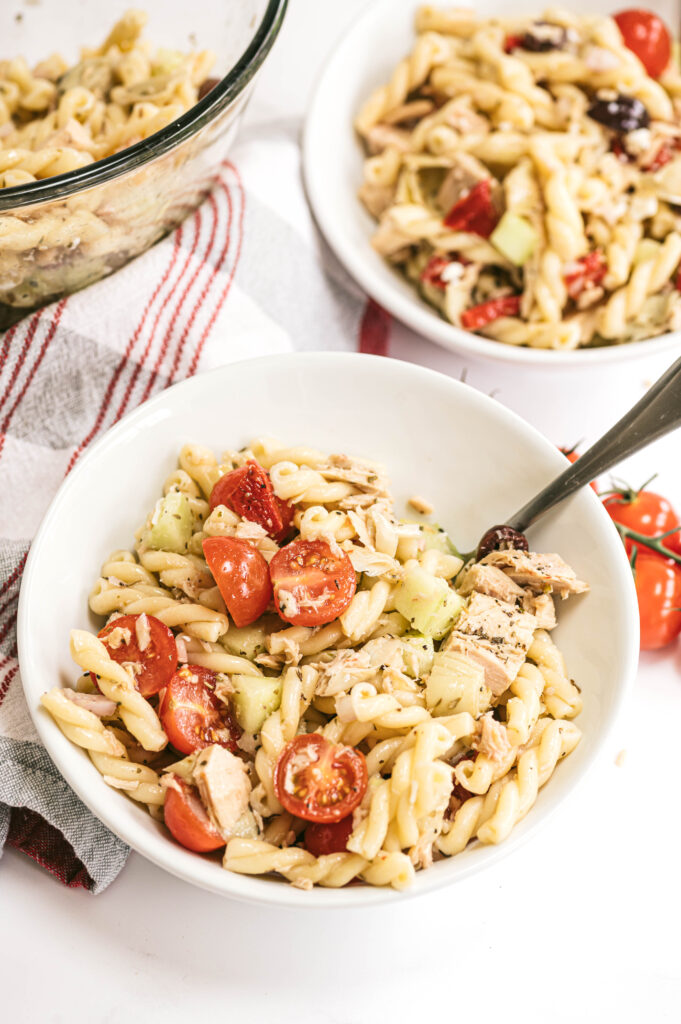
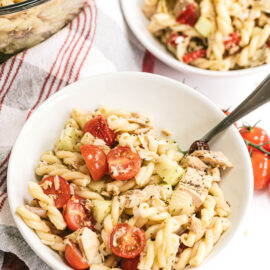
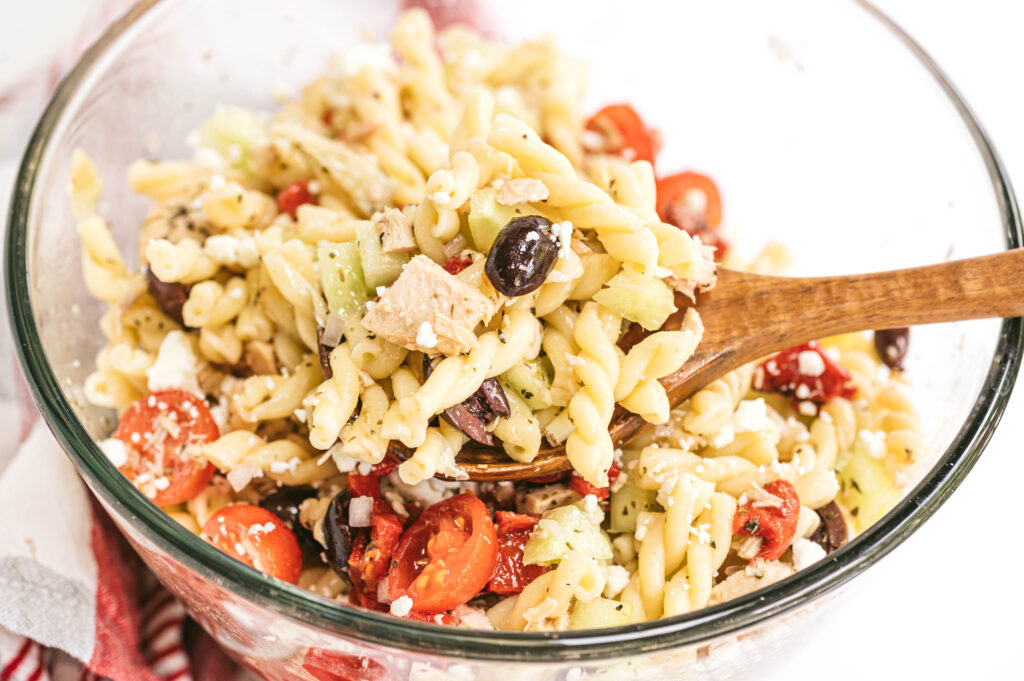
Mediterranean Tuna Pasta Salad is a great party dish and is even better when it comes to meal prepping lunches!
When it comes to using tuna in recipes, sometimes the easy ones can be boring, especially when it comes to making lunches. The Mediterranean flavors and pasta add a whole new dimension to tuna salad!
Not only is tuna an excellent source of vitamin D and omega 3s but it’s also a lean meat that is packed full of protein. Adding in more protein keeps you fuller longer, leads to less snacking, and supports overall health. Because it is a lean meat, that means it’s lower in calories but has a high nutritional value.
In addition to all of these other nutrition benefits, a serving of tuna is a good source of selenium, iodine, B6, iron, and potassium.
Did you know that eating seafood twice a week could help to improve your omega-3 levels and reduce your risk for cardiovascular disease? Just a simple shift in your eating pattern can put you on a positive path to improve your heart health.
Another reason I love this recipe is that canned tuna is affordable and budget-friendly so you don’t have to break the bank to eat healthier in this case! Not to mention most of the ingredients you need are pantry staples, which means you probably already have them at home, win, win!
Wait! Isn’t Tuna Full of Mercury?
Tuna fish does have a higher mercury content than others, but when you are using canned tuna, it’s less because they use smaller fish. Also, light tuna tends to contain less mercury than white tuna.
What’s the Difference Between White Tuna and Light Tuna?
White tuna is also known as albacore, whereas the term light tuna includes a variety of different species.
Light tuna typically has more flavor, is flakier, and is pinker in color. Albacore is usually consumed in bigger chunks or steaks, compared to light tuna which is much smaller pieces and is normally what is found in canned tuna.
Ingredients Needed For Mediterranean Tuna Pasta Salad
Pasta – I like using penne, fusilli, or bow ties
Canned tuna – try to find the kind that is packed in olive oil
Cucumber
Cherry tomatoes
Kalamata olives
Roasted red peppers
Marinated artichokes
Shallot
Feta cheese – you could also use another white cheese
Red wine vinegar
Oregano – Italian seasoning works well too!
Why You Shouldn’t Drain the Canned Tuna
In most canned tuna recipes, they call for the tuna to be drained first. In this case, you DO NOT want to drain the tuna! Not only is the olive oil used for the dressing, but it also mixes with some of the tuna’s natural fat, so some of its omega-3 fatty acids (along with the nutrition) also go down the sink when you drain oil-packed tuna.
How to Make Tuna Salad with Pasta
Before we make the salad, start by cooking the pasta according to the instructions on the package. When it’s al dente, drain it and set aside. Be sure it has cooled completely before adding it to the other ingredients.
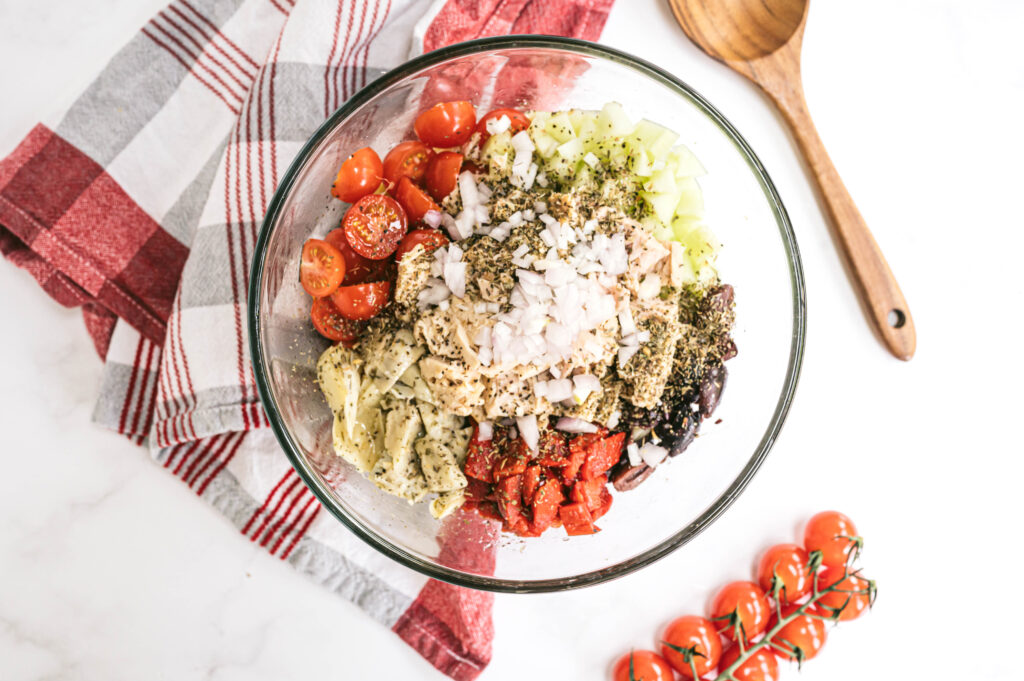
In a large bowl combine the tuna, diced cucumbers and tomatoes, pitted olives, shallots, roasted red peppers, artichokes, cheese, red wine vinegar, cooled pasta, and oregano.
Stir to combine, making sure the tuna is broken up and all of the ingredients are coated well.
Add some salt and pepper to taste, then you are ready to serve!
What Kind of Pasta is the Best for Tuna Salad
As I mentioned before I like to use penne, fusilli, or bow ties. You can also use brands like Banza for added protein and as a gluten free option. If you prefer whole wheat, that’s fine too!
How To Store
Tuna pasta salad is the best when it is eaten within the first 2 days of cooking. However, as long as it is refrigerated in an airtight container it will last up to 5 days.
Mediterranean Tuna Pasta Salad is a great party dish and is even better when it comes to meal prepping lunches!
Ingredients
Scale
1/2 pound pasta (like penne, fusilli, bow ties) 2 (4.5 oz) cans tuna, packed in olive oil 1 cup English cucumber, peeled and diced 1 cup cherry tomatoes, halved 1/2 cup kalamata olives, pitted, halved 1/2 cup roasted red peppers, diced 1/2 cup marinated artichokes, quartered 1 tablespoon shallot, finely minced 1/4 cup feta cheese, crumbled 2 tablespoons red wine vinegar 2 teaspoons dried oregano (or Italian seasoning) salt and pepper, to taste
Instructions
Cook pasta according to package directions. Let cool.
In a large bowl, combine the pasta, tuna, cucumber, tomatoes, olives, roasted red peppers, artichokes, shallot, feta cheese, red wine vinegar, and oregano. Toss to combine making sure the tuna is broken up and all ingredients are distributed throughout the mixture.
Season with salt and pepper, to taste.
Notes
Can use alternative pasta choices like a bean-based pasta, whole grain pasta, or any pasta of choice.
Keywords: pasta salad, pasta, tuna, tuna salad, mediterranean
This post may contain affiliate links. Read my privacy policy.
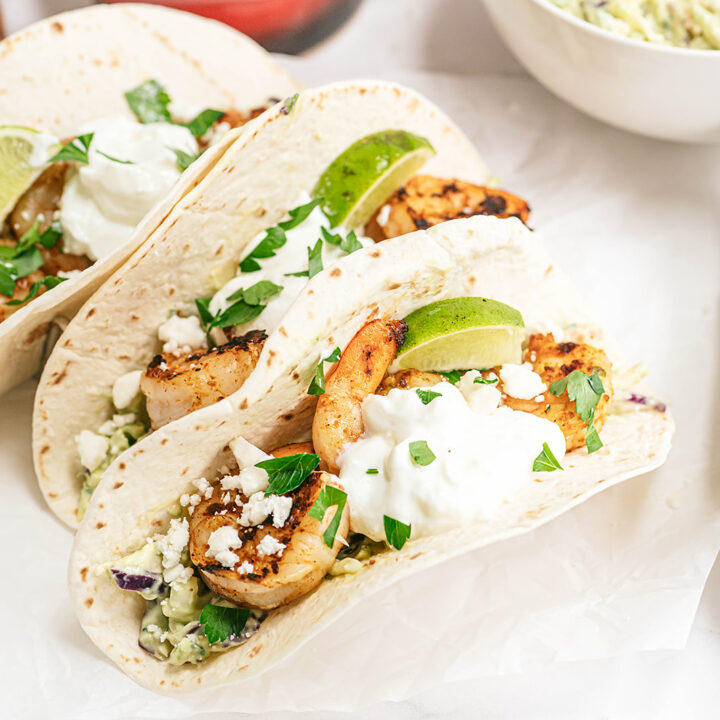
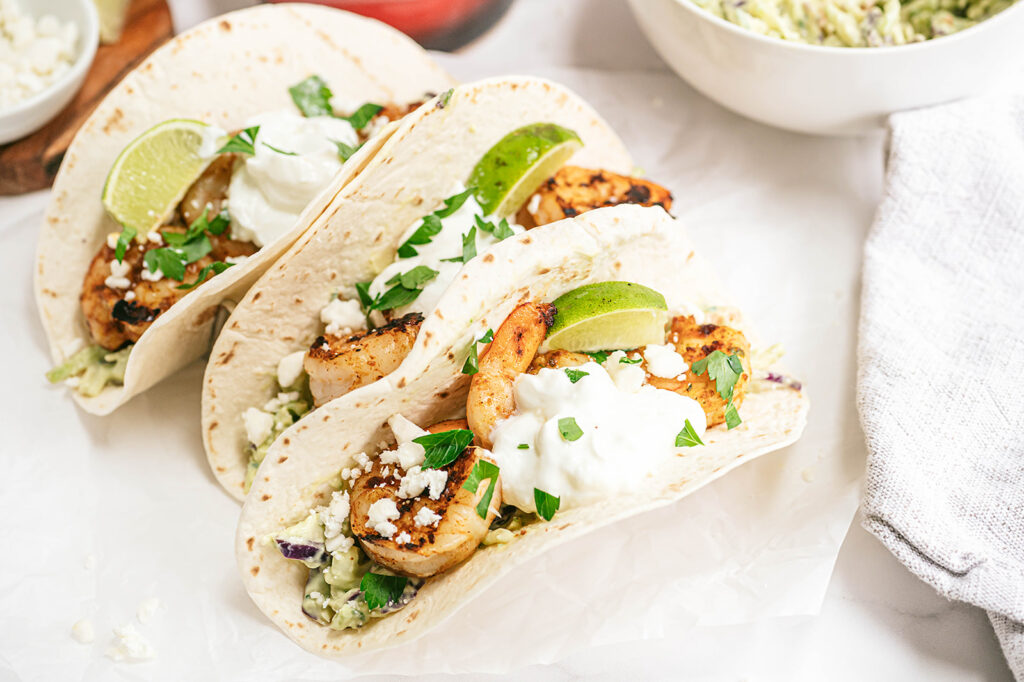
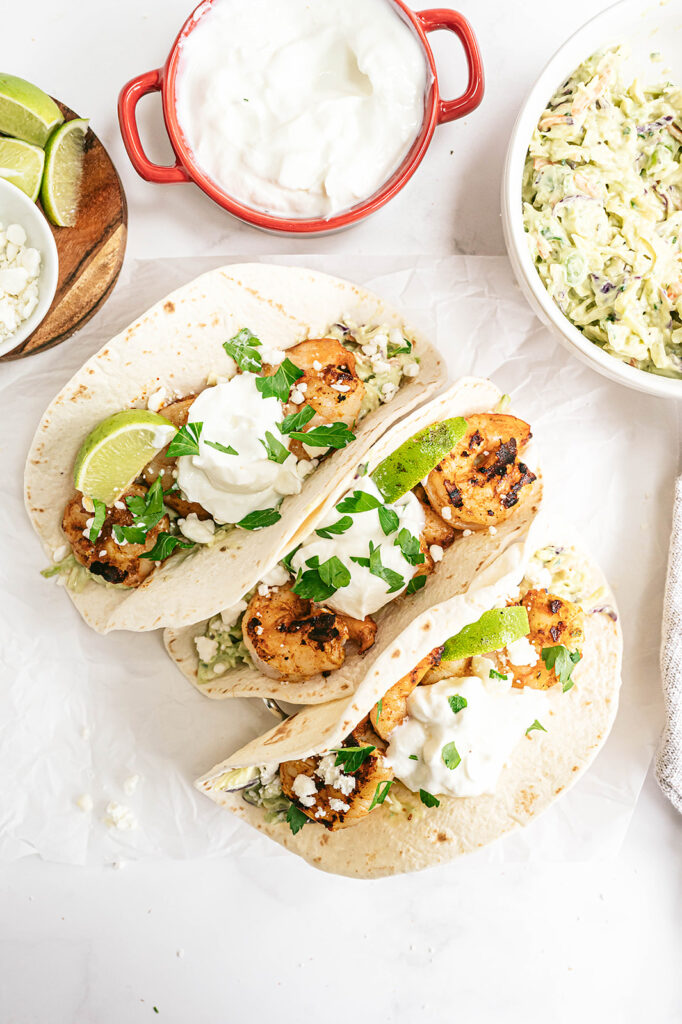
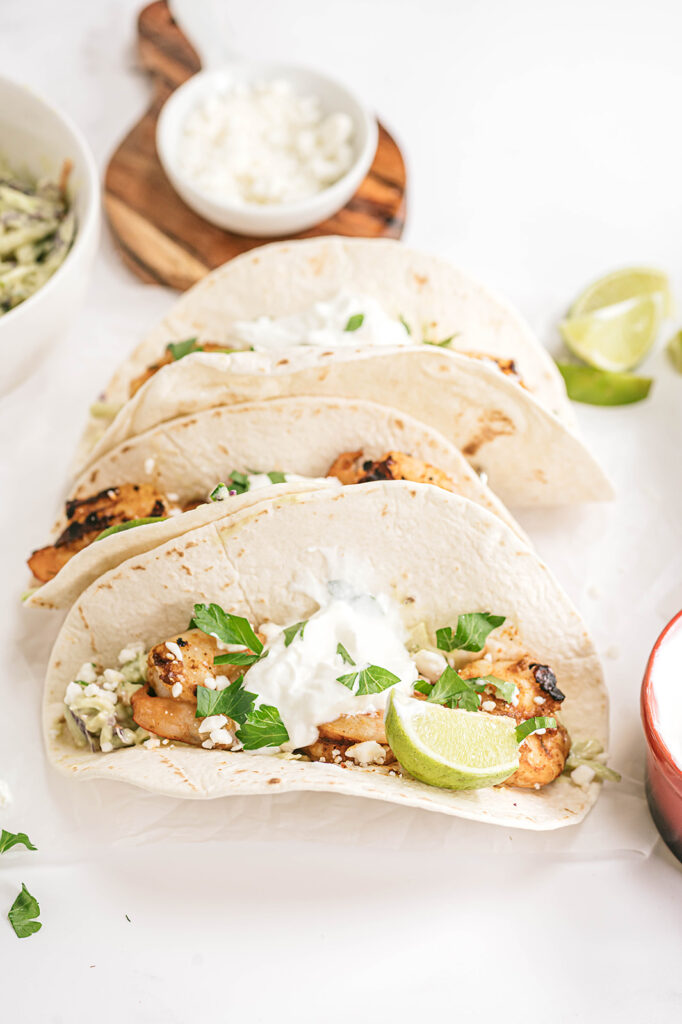
Get dinner on the table under 30 minutes! These Chipotle Lime Shrimp Tacos with a Creamy Avocado Broccoli Slaw is simple to make and you might already have all the ingredients already on hand!
The beauty of tacos is that they are easily customizable. Kick it up a notch and add more spices to the shrimp. Swap shrimp for cod. What I love about taco recipes is that they act more as a guide. You don’t need to follow them exactly. That is what’s fun about cooking, you get to be creative in the kitchen!
How to make Chipotle Lime Shrimp Tacos with Creamy Avocado Broccoli Slaw
Ingredients
Shrimp. I prefer using large or jumbo shrimp. Cut down on prep time by purchasing already peeled and deveined shrimp.
Olive oil. Olive oil or any neutral oil works.
Lime. The title of the recipe is lime tacos .. so ya know .. lime is needed here.
Chipotle seasoning blend. Take out the guess work and use a blend. The blend I used was a combo of: Sweet Chili Pepper, Chipotle Chili Pepper, Cayenne Pepper, Oregano, Cumin, Parsley, Mustard, Garlic, Onion, Carrot, Sugar, Citric Acid, Orange Peel, Lemon Peel, Oil Of Lemon & Lime.
Ground cumin. To add a warm, earthy flavor and aroma with a bit of both sweetness and bitterness.
Salt. To enhance the flavors!
Broccoli slaw mix. Cut down on prep time and use a slaw mix which is typically a mixture of shredded broccoli stalks with julienned carrots and a bit of purple cabbage. It can be purchased at almost any grocery store along with the bagged salads.
Scallions.
Plain yogurt. I used this in place of sour cream. Yogurt will add the same tanginess and creaminess needed for the slaw.
Avocado. Your avocado still hard as a rock? Place it in a brown paper bag with a banana overnight. The banana will ripen faster giving off ethylene gas in a closed space to help ripen the avocado faster.
Cilantro. Don’t go crazy picking off each individual leaf. The stems pack in a ton of flavor too!
Tortillas. Use flour or corn tortilla – whatever you like best!
Equipment
Large mixing bowls for both marinating the shrimp and mixing the broccoli slaw.
A microplane is needed to zest the lime.
A food processor or blender helps make the avocado yogurt mixture creamy, but it’s not needed. Use a potato masher to mash to desired consistency.
A grill or grill pan to cook the shrimp and give it a smokier flavor.
Wooden skewers will help to easily flip the shrimp as it cooks.
Step-by-Step Instructions
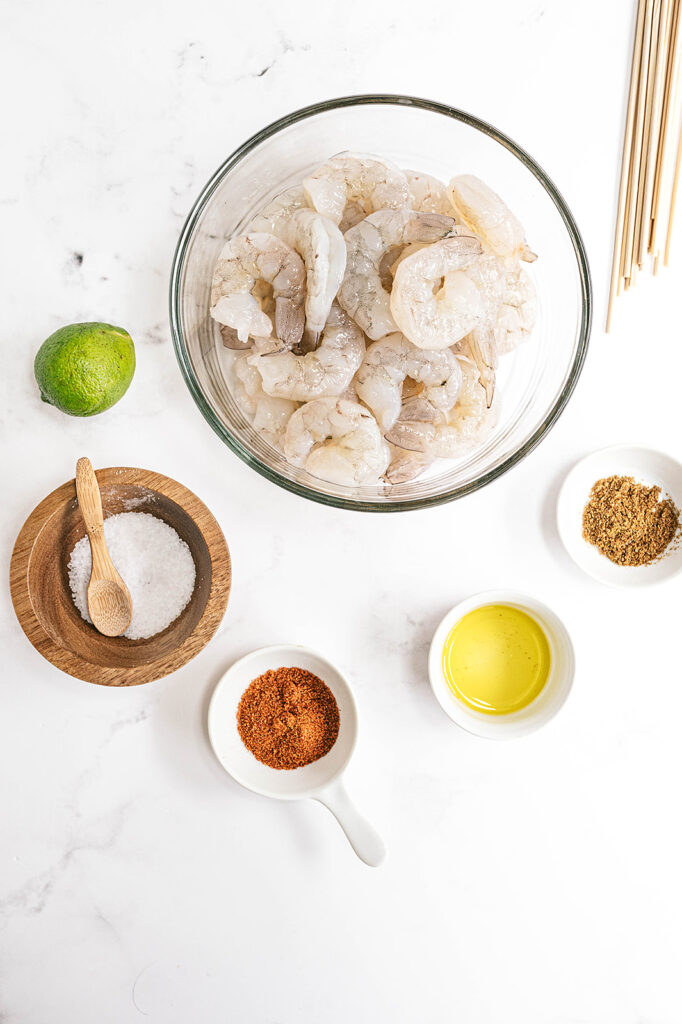
Rinse and pat the shrimp dry. Transfer to a large mixing bowl. Drizzle with olive oil and lime juice. Sprinkle with the lime zest, chipotle seasoning, cumin, and salt. Toss to coat evenly. Cover in place in the refrigerator to marinate for at least 20 minutes. Soak skewers in water as the shrimp marinades.
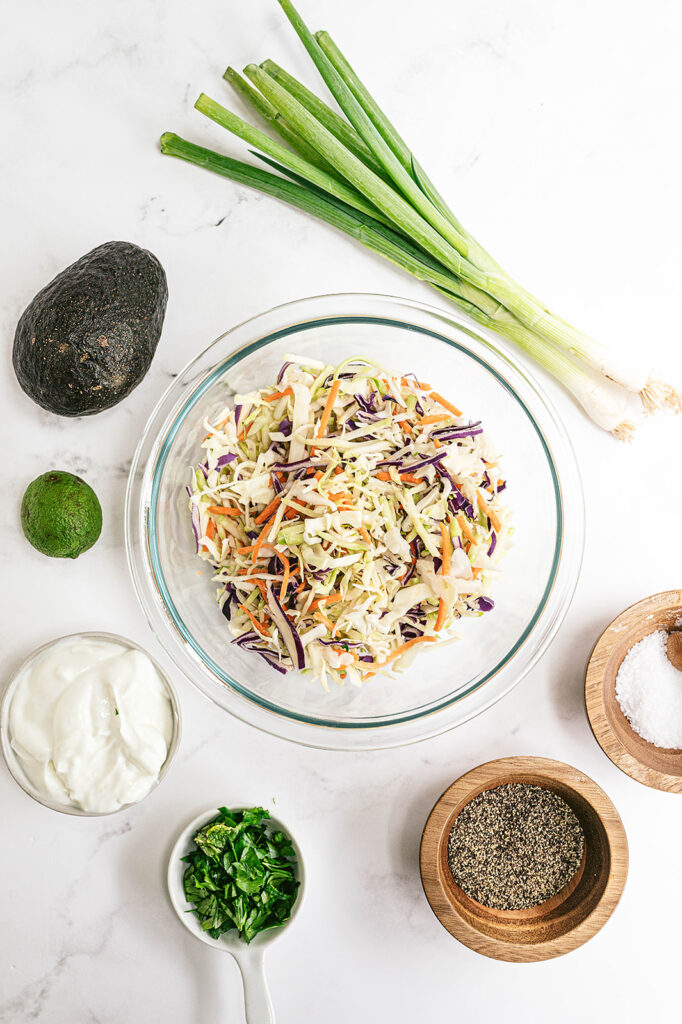
In a bowl, combine the broccoli slaw and scallions. In a food processor, combine the yogurt, avocado, cilantro, lime juice, and zest. Pour over the slaw and toss to combine. Season with salt and pepper, to taste.
Heat a grill (or grill pan) to medium-high heat. Place the shrimp on the skewers and grill until shrimp turn pink, about 1-2 minutes per side. (Alternatively, heat a large skillet over medium high heat. Add the shrimp to the hot pan and sauté, flipping occasionally, until the shrimp are cooked through.)
Assemble tacos by layering the broccoli slaw, shrimp, then toppings in the tortilla.
Cooking Tips
A general rule of thumb for marinades is needing approximately 1/4 to 1/2 cup of marinade for every pound of protein. Always marinate in the refrigerator, not at room temperature Before cooking, remove the protein from marinade and pat dry with a paper towel to promote even browning and prevent steaming
For the shrimp: 1 pound large or jumbo shrimp, peeled, deveined, and tails removed (fresh or frozen and thawed) 1 teaspoonolive oil 1 lime, juiced and zested 1 teaspoon chipotle seasoning blend ½ teaspoon ground cumin ½ teaspoon salt
Wooden skewers
For the broccoli slaw: 2 cups broccoli slaw mix 2 tablespoons scallions, thinly sliced ½ cup plain yogurt 1 avocado 1/4 cup fresh cilantro, chopped 1 lime, juiced and zested
Salt and pepper, to taste
For the tacos: 8 small flour or corn tortillas
Optional toppings: Cotija cheese, sour cream, cilantro, sliced avocado, lime wedges
Instructions
Rinse and pat the shrimp dry. Transfer to a large mixing bowl. Drizzle with olive oil and lime juice. Sprinkle with the lime zest, chipotle seasoning, cumin, and salt. Toss to coat evenly. Cover in place in the refrigerator to marinate for at least 20 minutes. Soak skewers in water as the shrimp marinades.
In a bowl, combine the broccoli slaw and scallions. In a food processor, combine the yogurt, avocado, cilantro, lime juice, and zest. Pour over the slaw and toss to combine. Season with salt and pepper, to taste.
Heat a grill (or grill pan) to medium-high heat. Place the shrimp on the skewers and grill until shrimp turn pink, about 1-2 minutes per side. (Alternatively, heat a large skillet over medium high heat. Add the shrimp to the hot pan and sauté, flipping occasionally, until the shrimp are cooked through.)
Assemble tacos by layering the broccoli slaw, shrimp, then toppings in the tortilla.
What if I don’t have a grill pan? Alternatively, heat a large skillet over medium high heat. Add the shrimp to the hot pan and sauté, flipping occasionally, until the shrimp are cooked through.
What can I use in place of shrimp? Any mild white flakey fish will do – cod, tilapia, halibut, grouper, etc.
Can I make the broccoli slaw from scratch? Of course! Create a mixture of shredded broccoli stalks with julienned carrots and thinly sliced purple cabbage.
This post may contain affiliate links. Read my privacy policy.
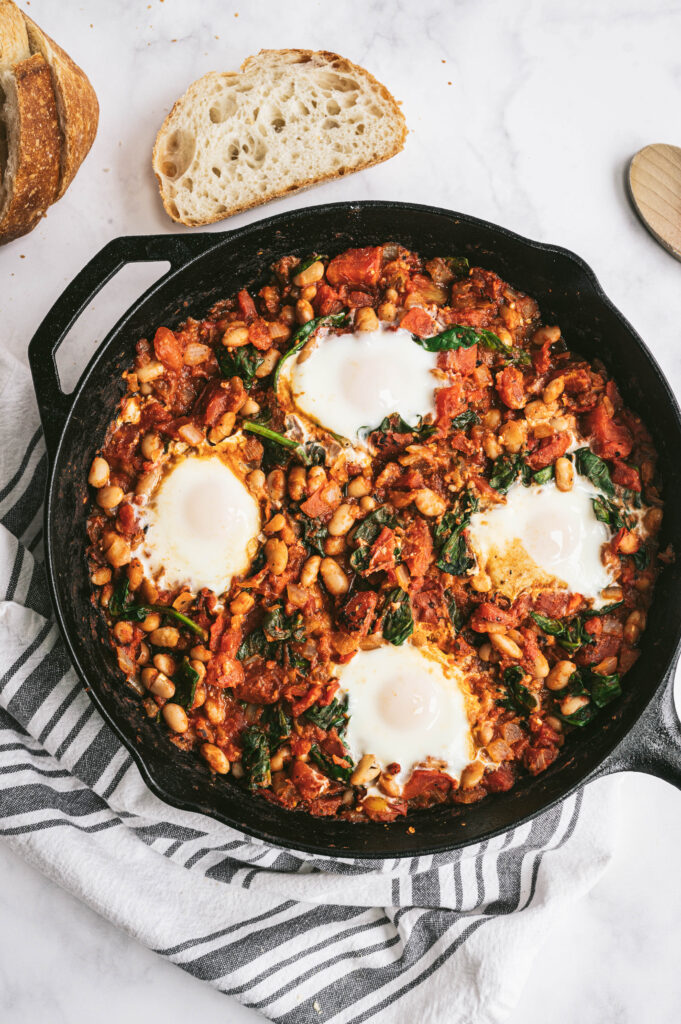
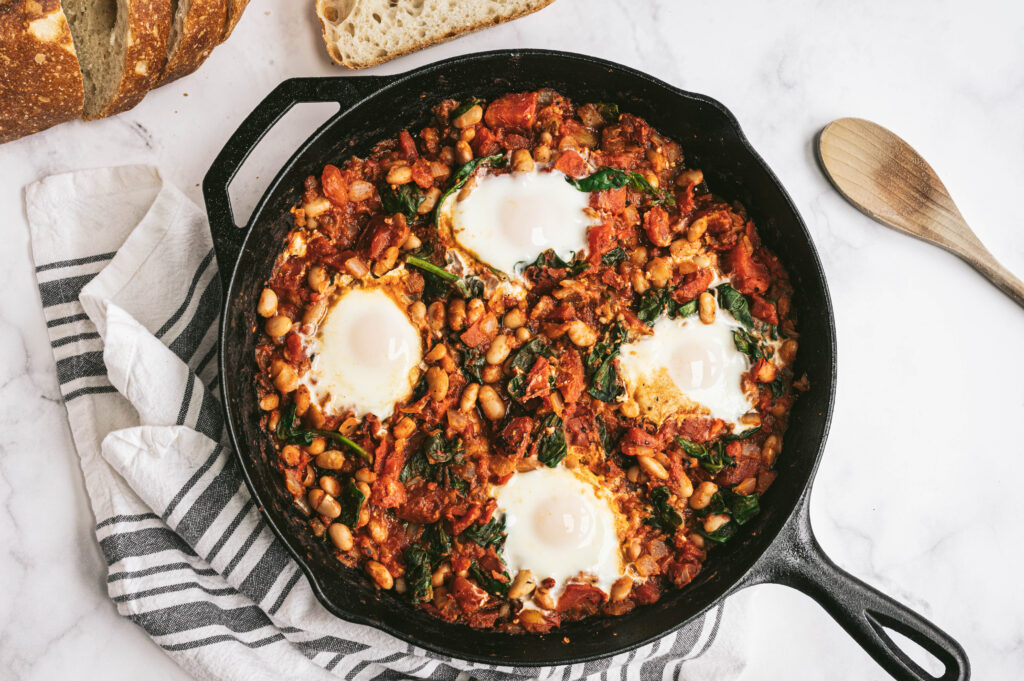
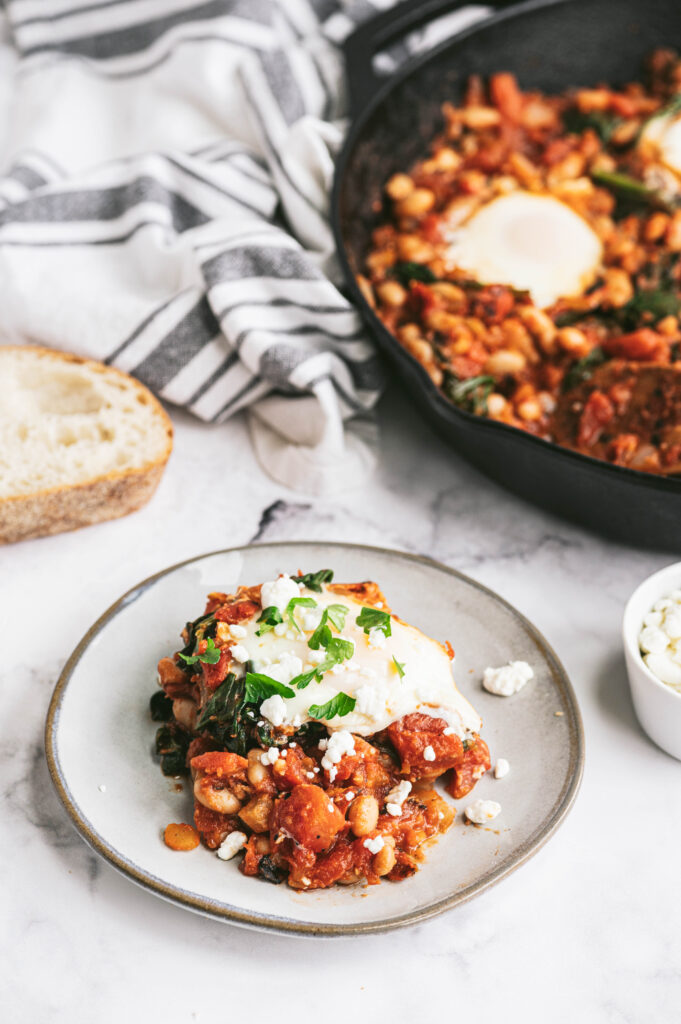
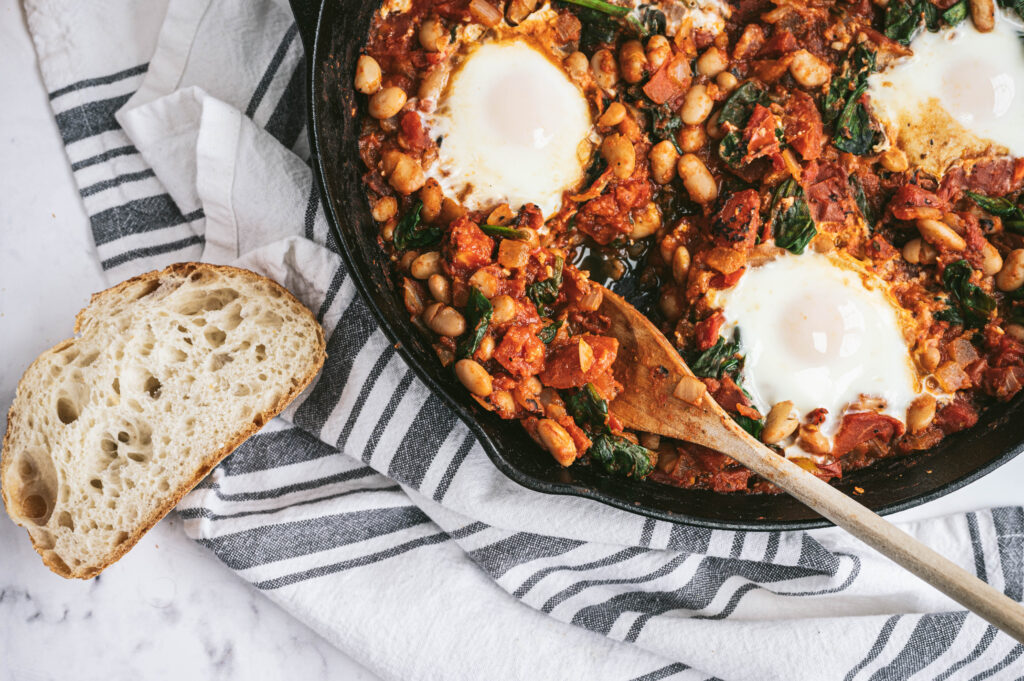
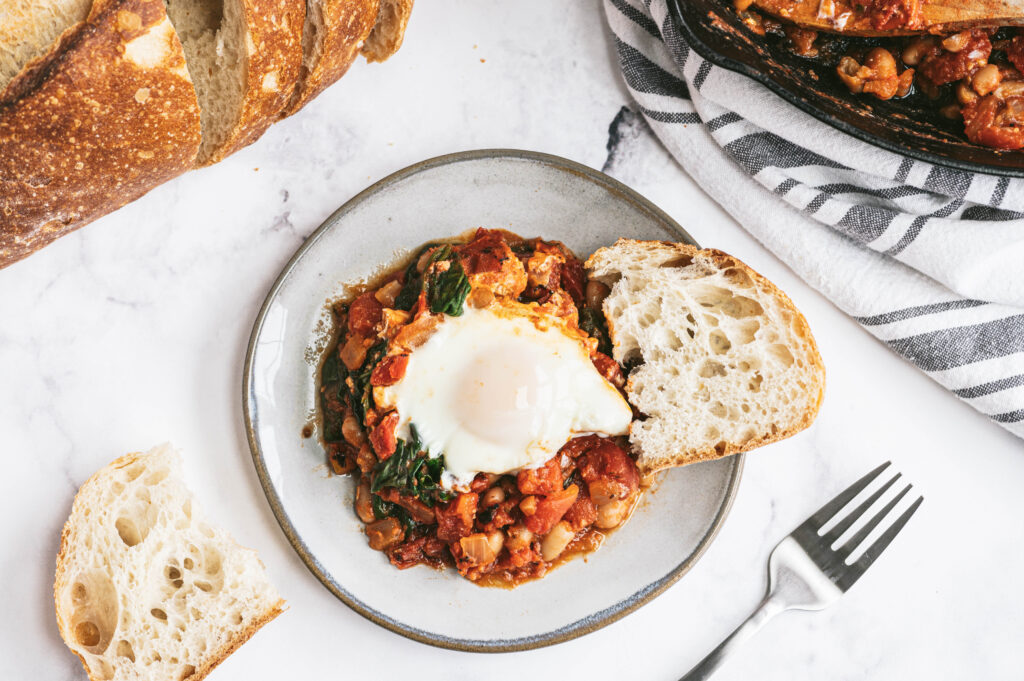
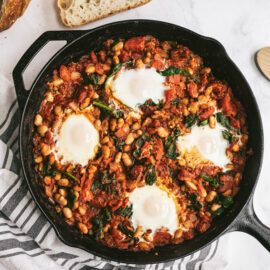
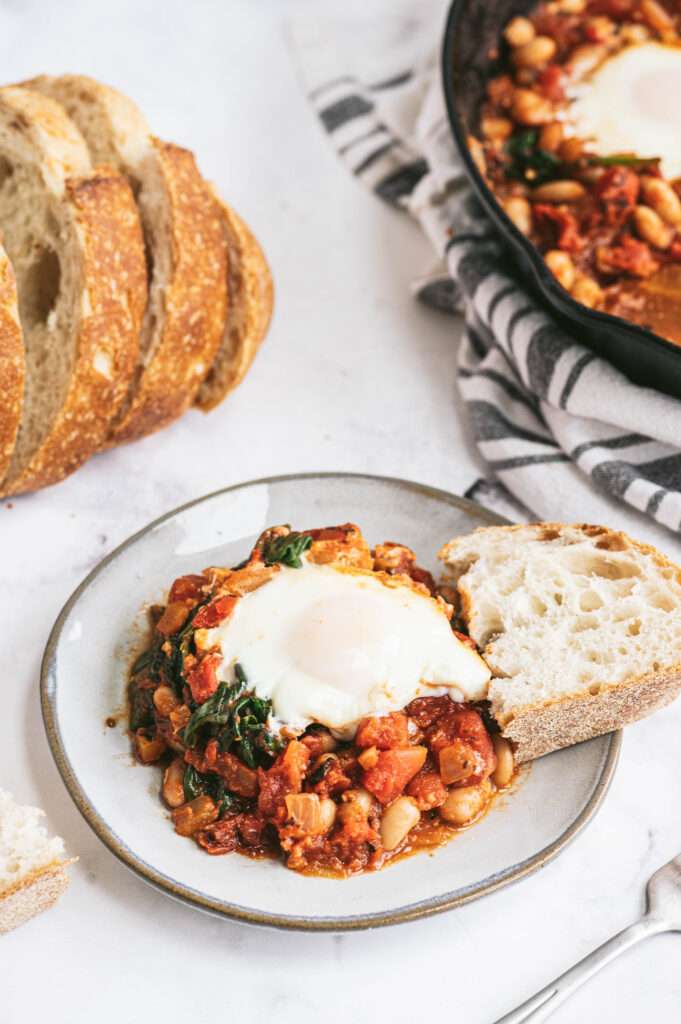
Whip up this one-pan smoky White Bean Shakshuka for a weekend brunch, but it is just as good for breakfast, lunch, and dinner!
What is Shakshuka?
Shakshuka is a Mediterranean meal of poached eggs in a simmering tomato sauce with spices.
The beauty of this dish is that you can play around with the ingredients to customize it for your preference. I’ve even made a green shakshuka before!
Why you should always keep a well-stocked pantry.
Writing this blog post now, we are in the midst of COVID-19. We are taking fewer trips to the grocery store and may need to rely on pantry staples to create nutritious meals around. Mealtime inspiration is just a can opener away.
Is canned food healthy?
Canned foods are an easy, cost-effective way to eat healthy year-round. They are a simple, realistic way people can incorporate nutrients into meals.
Nutritionally speaking, canned food is comparable to its cooked fresh and frozen counterparts. Canned fruits and vegetables are packed at their peak of harvest, which means they are packed at their peak nutrient value. Crops that go directly from the field to the processor often retain vitamins better than those that travel hundreds of miles across the country and sit for days in produce bins. (resource)
What ingredients give this shakshuka a smoky flavor?
The smoky flavor mainly comes from two ingredients in this recipe – the fire-roasted tomatoes and smoked paprika.
Fire-Roasted Tomatoes Fire-roasted tomatoes are made by charring the tomatoes over a flame before they’re diced and canned. You may even see little black flecks within your can. That is from the tomato making direct heat with the flame creating that smoky flavor.
Smoked Paprika Smoked paprika is made from pimiento peppers that have been dried and smoked over an oak fire, then ground into a fine powder, creating that earthy and smoky taste.
What equipment you need to make shakshuka:
Cast iron skillet or oven-safe pan* (see FAQ below if you don’t have one!)
Cutting board
Knife
Wooden spoon
Measuring spoons
Can opener
Colander
FREE Cooking Class:
This recipe was featured as part of Virtual Teaching Kitchen’s FREE virtual cooking classes. Click here to learn more about the Virtual Teaching kitchen.
Whip up this one-pan smoky White Bean Shakshuka for a weekend brunch, but it is just as good for breakfast, lunch, and dinner!
Ingredients
Scale
2 teaspoonsolive oil 1 medium sweet onion, diced 4 cloves garlic, minced 1 teaspoon smoked paprika 1/2 teaspoon oregano 1 tablespoon tomato paste 1 (28 oz) can fire-roasted crushed tomatoes 1 (15oz) can cannellini beans, drained and rinsed 2 cups packed baby spinach 4 large eggs Salt, to taste Pepper, to taste 1/4 cup feta crumbles 2 tablespoons fresh parsley, chopped Red pepper flakes, if desired Crusty bread or pita, for serving
Instructions
Preheat the oven to 375 degrees Fahrenheit. Heat olive oil in a large oven-safe skillet, preferably cast-iron over medium-high heat. Add onions and cook 2-3 minutes until tender and translucent. Add garlic and cook an additional 30 seconds.
Add the smoked paprika, oregano, and tomato paste, consistently stirring for 1-2 minutes or until fragrant.
Pour in the crushed tomatoes with their juices, beans, and spinach. Reduce the heat to maintain a gentle simmer, and cook for 5 minutes to give the flavors time to come together and spinach has wilted.
Turn off the heat. Use the back of a spoon to make a well in the tomato/bean mixture and crack the egg directly into it. Gently spoon a bit of the tomato mixture over the whites to help contain the egg. Repeat with the remaining eggs. Sprinkle with salt and pepper, to taste.
Transfer the skillet to the oven and bake for 8 to 12 minutes. They’re done when the egg whites are an opaque white and the yolks have risen a bit but are still soft. They should still jiggle in the centers. (Keep in mind that they’ll continue cooking after you pull the dish out of the oven.) Cook to preferred doneness.
Transfer the hot skillet to a heat-safe surface like the stove. Top with crumbled feta, fresh parsley, and red pepper flakes, if desired. Serve in bowls with crusty bread or pita on the side.
Notes
Don’t have an oven-safe pan or cast-iron pan? No problem! Once you have cracked the eggs into the skillet, lower the heat and place a lid on top and cook until the desired doneness.
Recipe Card powered by
FAQ:
What if I don’t have a cast-iron pan?
Not a problem! Once you have cracked the eggs into the skillet, lower the heat and place a lid on top and cook until the desired doneness.
What if I can’t find fire-roasted tomatoes?
You can use regular crushed tomatoes for this recipe! If you are looking for an extra smoky flavor, then add a little extra smoked paprika.
What if I don’t prefer the smoky flavor?
Use plain crushed tomatoes and paprika (not smoked).
This post is sponsored
by The Beef Checkoff. Thanks for supporting brands that make this blog
possible!
For the novice chef, cooking beef can sometimes be
intimidating. What cut to choose? What cooking technique would work best? Is
beef healthy to serve my family?
I’m here to help answer many of these questions for you, but
you can also utilize the resource Chuck
Knows Beef. Powered by Google Artificial Intelligence, Chuck is the new
virtual go-to expert on all things beef. Chuck can be easily accessed at ChuckKnowsBeef.com
or by simply enabling Chuck Knows Beef with Amazon Alexa or Google Home
Assistant devices. You will have a beef expert on hand whenever you need it!
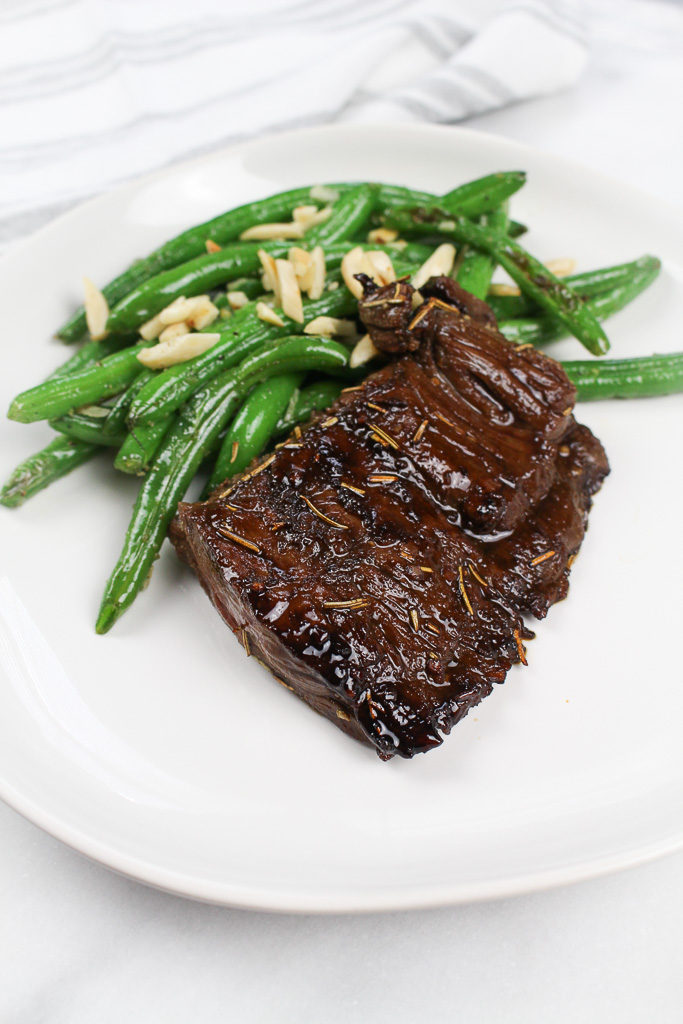
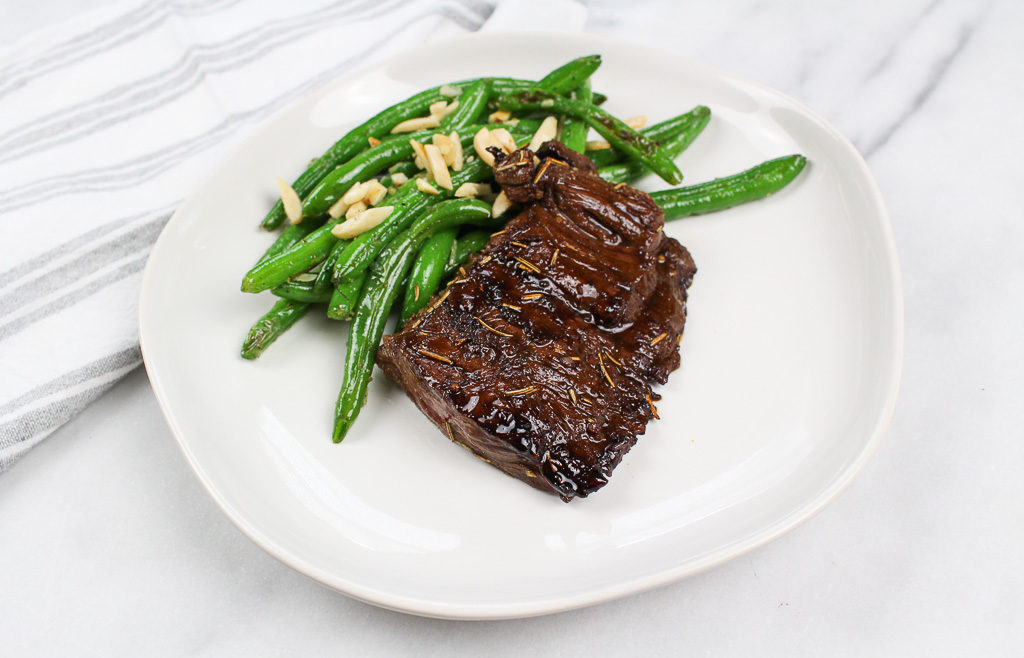
For busy families everywhere, there is nothing more challenging than getting a balanced meal on the table each night. A simple marinated skirt steak is a flavorful and quick dish that can be whipped up any night. Pair with a side of your favorite veggie and grain for a complete meal.
The purpose of a marinade
First, what is your marinade for? There are two purposes for a marinade – to infuse flavor and/or to tenderize the cut of meat which all comes down to the time the cut of meat is being marinated.
Just looking to add flavor? Marinate for 15 minutes to 2 hours. Looking to tenderize cuts? Marinate for 6 to 24 hours.
What is the most affordable cut of beef? How do I cook it?
Aside from ground beef, the cuts that are typically most
affordable come from the end meats – chuck and round. These are also typically
less tender cuts and benefit from slow cooking with moist heat. Roasting,
stewing, braising, etc.
Besides ground beef, which cut of beef is the easiest to work with that is “forgiving” for a novice chef?
Slow roasting end cuts from the chuck or round can be a simple starting point for those just starting to cook beef. If grilling a steak, be sure to choose a cut at least ½ inch thick to avoid overcooking with high heat. Sirloin steak and strip steaks are both forgiving and economical cuts, to begin with.
What are the temperatures for rare, medium-rare, and medium for my steak? Should I pull it from the grill before that since it still cooks after it is removed?
The USDA cooking guidelines are as follows: For medium rare the temperature should read 145°F, the temperature for medium steaks should read 160°F, and well done is 170°F. Ground beef should always be cooked to an internal temperature of 160°F. Steaks and roasts will continue to cook and rise 5ºF to 15ºF after removing from the cooking source.
Usually, the reason for dry beef is overcooking. Thinner cuts of beef tend to cook more quickly so consider reducing the heat and the time over the heat for thinner cuts. Overcooking roasts in a crockpot or oven, even when adding liquid, can also cause the meat to be dry. Another good tip is to match the cut of beef with the appropriate cooking method. End cuts from the chuck and round will usually benefit from moist cooking methods while well-marbled middle meat cuts from the rib and loin can be cooked with dry heat.
What’s the difference between grass-fed and organic beef?
Organic beef means the cattle meet the strict guidelines set forth by the USDA for the type of feed they consume and the supplements/medications they are given (or not given). The feed must be certified organic but that could include both grasses and grains. Organic beef is never given antibiotics or administered hormone implants.
Grass-fed beef is harder to define as the USDA no longer recognizes an official certification for grass-fed/finished cattle. Therefore, the definition can vary depending on the adopted standards of the beef producer. In general, grass-fed (technically grass-finished) beef is raised solely on grass feed stuffs without the addition of grain. Grass-fed is not necessarily organic but often is.
How do I reheat leftovers without causing the beef to become tough and chewy?
Reheating beef can be challenging – especially if it was prepared to medium-well or well done, to begin with. Microwaving beef is typically not recommended. Steaks and roasts can be reheated in the oven at a lower temperature of 200 – 250 degrees. An alternative to reheating a roast or steak is to consider slicing it thin and enjoying over a salad or as a sandwich.
I have high cholesterol. Is it still okay to eat beef?
Research shows that a heart-healthy diet and lifestyle that includes lean beef, even daily, improved cholesterol levels. About half the fatty acids found in beef are called monounsaturated fatty acids, the same kind found in olive oil, and, as part of a heart-healthy diet, can reduce cholesterol levels.
I’m unsure to feed my family beef because of the hormones. What is the truth?
All
hormones used in beef production must be approved by the U.S. Food and Drug
Administration (FDA). It starts with a comprehensive, multi-step
scientific review process. If a product fails even one test or step in the
process, it will not be approved.
The
FDA and the United States Department of Agriculture (USDA) oversee the safety
of food products. The FDA sets a tolerance on hormone residue levels that can
be found in food. The USDA conducts random sampling of beef to check for
residues.
Extensive research shows that supplemental hormones are
metabolized quickly and clear an animal’s system before entering the food
supply. Furthermore, decades of research have looked at the effect of
using hormones in livestock production, but none have found any human health
impact.
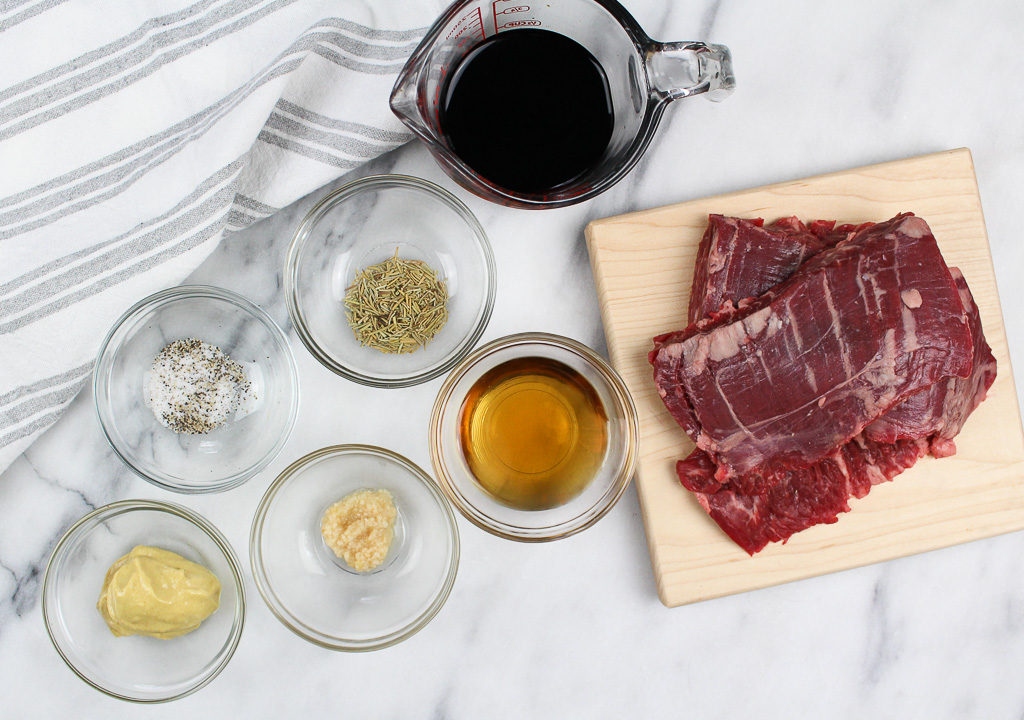
In a resealable plastic bag, combine vinegar, sugar, garlic, rosemary, 1 teaspoon salt, and 1/4 teaspoon pepper. Add meat to marinade, and turn to coat. Let marinate at room temperature at least 15 minutes, or cover and refrigerate up to 1 day.
In a grill pan over medium-high heat, add oil. Remove steaks from marinade, allowing excess to drip off. Grill steaks 2 to 3 minutes then flip and cook another 2-4 minutes for medium-rare. Transfer to a plate; cover loosely with aluminum foil, and let rest 5 minutes.
This website uses cookies to improve your experience. We'll assume you're ok with this, but you can opt-out if you wish.AcceptRejectRead More
Privacy & Cookies Policy
Privacy Overview
This website uses cookies to improve your experience while you navigate through the website. Out of these, the cookies that are categorized as necessary are stored on your browser as they are essential for the working of basic functionalities of the website. We also use third-party cookies that help us analyze and understand how you use this website. These cookies will be stored in your browser only with your consent. You also have the option to opt-out of these cookies. But opting out of some of these cookies may affect your browsing experience.
Necessary cookies are absolutely essential for the website to function properly. This category only includes cookies that ensures basic functionalities and security features of the website. These cookies do not store any personal information.
Any cookies that may not be particularly necessary for the website to function and is used specifically to collect user personal data via analytics, ads, other embedded contents are termed as non-necessary cookies. It is mandatory to procure user consent prior to running these cookies on your website.