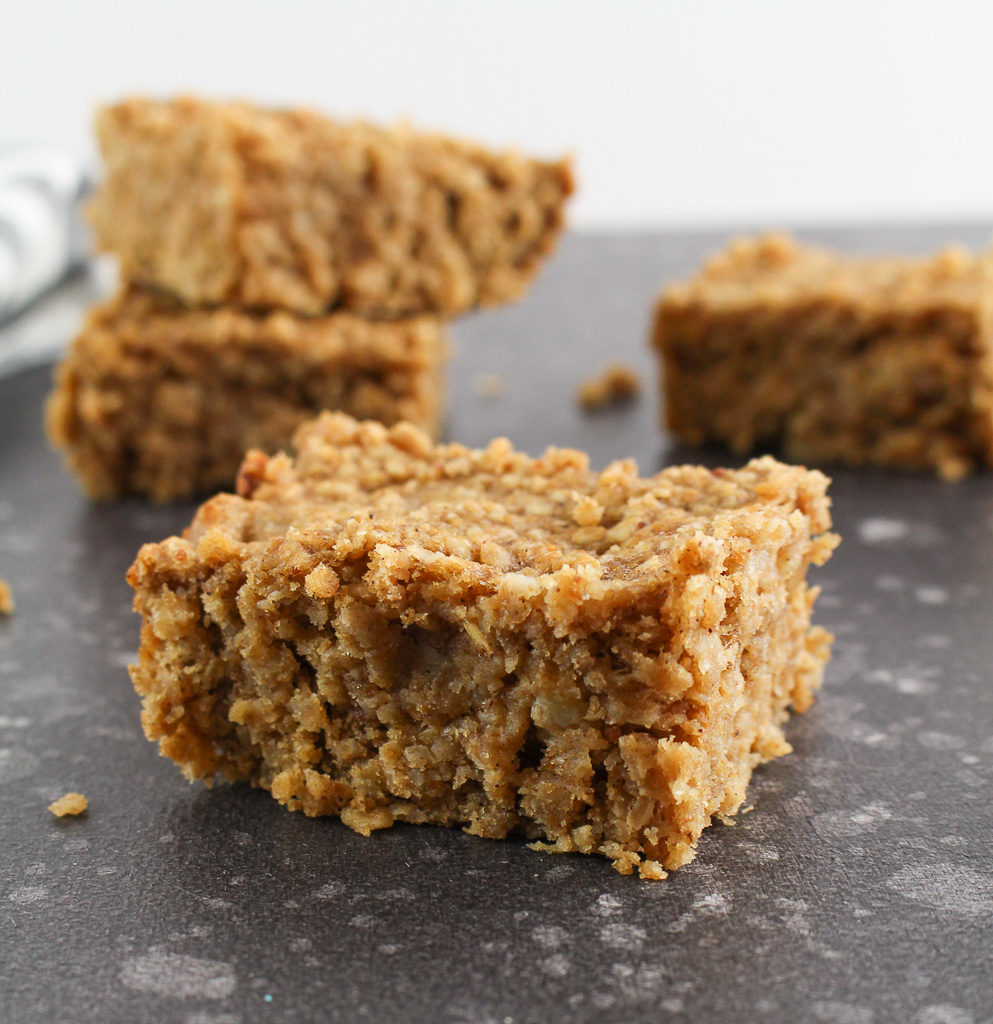
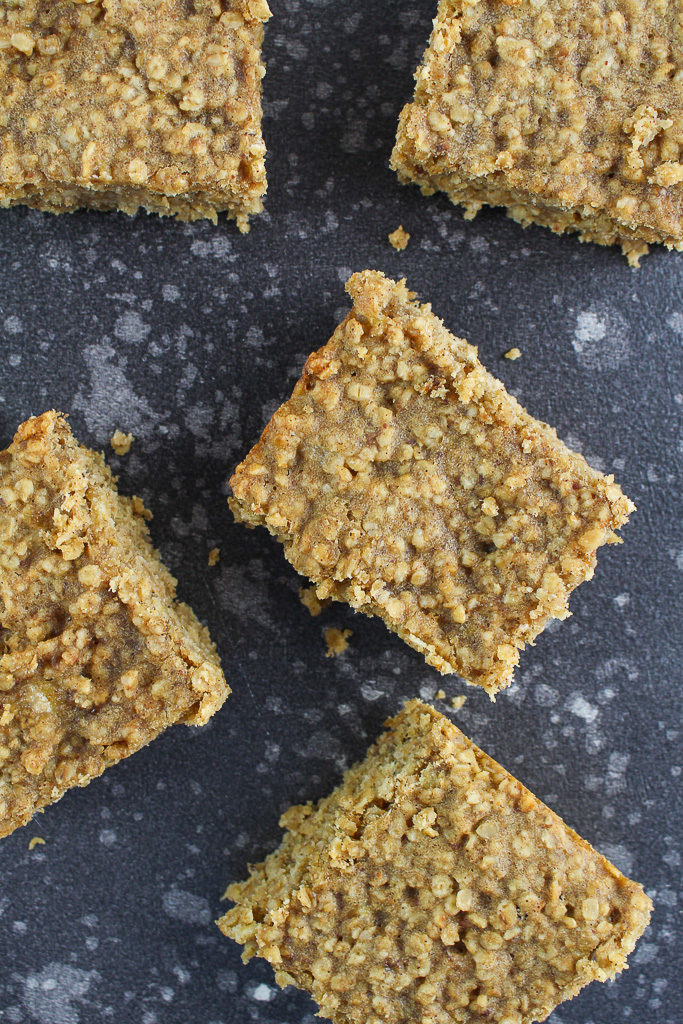
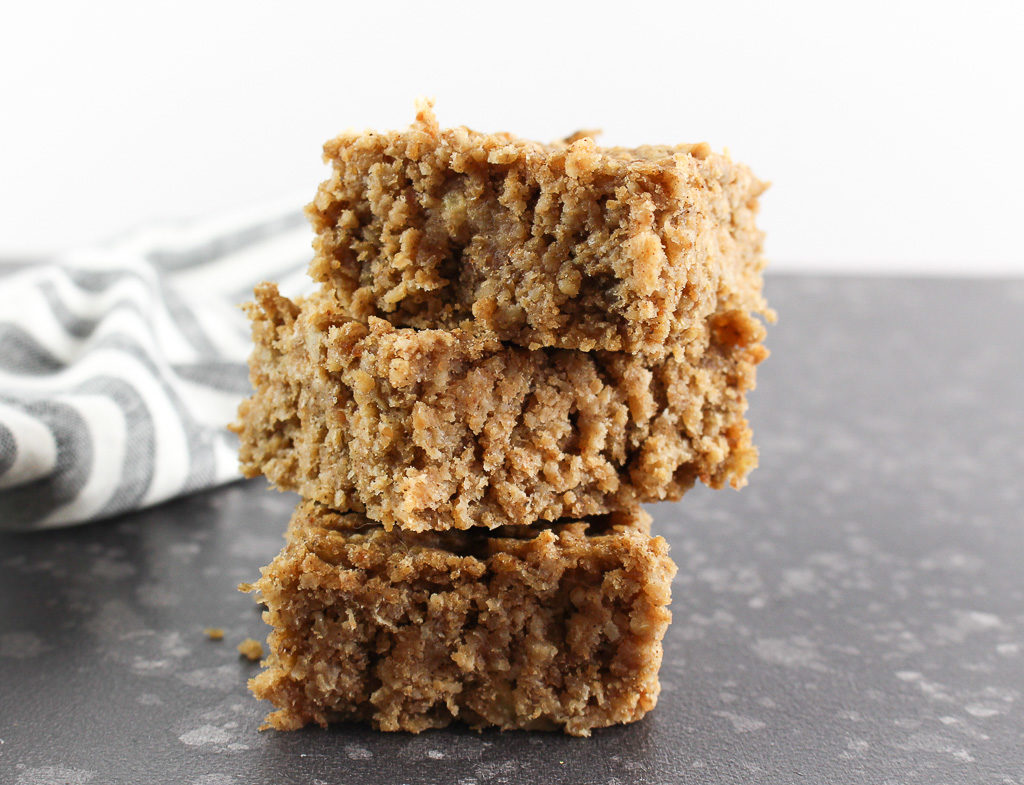
Make PERFECT Hard Boiled and Soft Boiled Eggs in the Instant Pot

Do you have an Instant Pot and don’t know where to start? I am still getting the hang of it, but I’ve mastered how to make PERFECT hard-boiled and soft-boiled eggs in the Instant Pot.

Disclosure: This post was sponsored by the American Egg Board and the Egg Nutrition Center. Thank you for supporting the brands that make this blog possible!

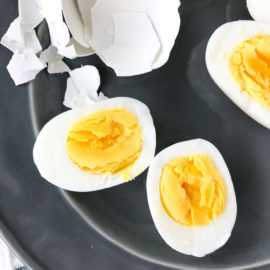
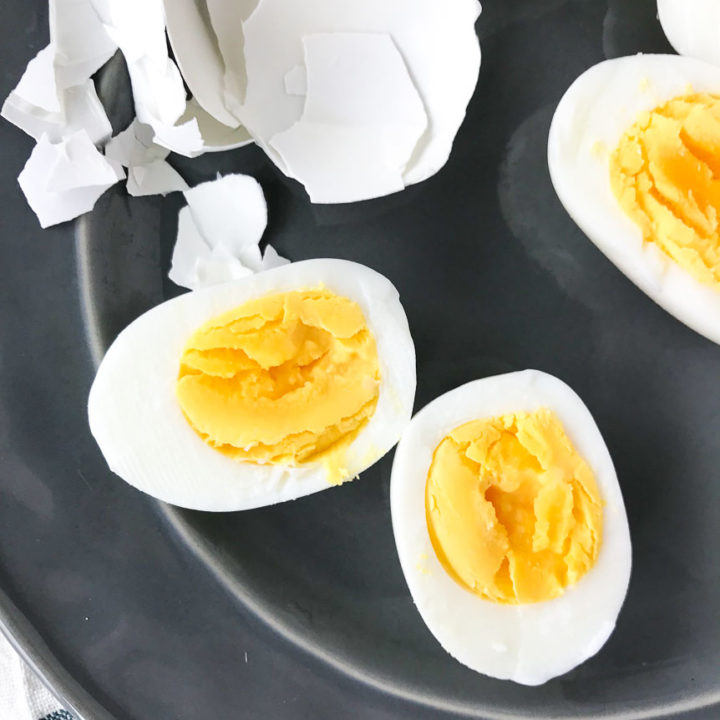
instant pot hard boiled eggs on a gray plate next to egg carton and shells

What Can the Instant Pot Do?

215,000+ Amazon customers purchased the Instant Pot on Prime Day alone. Now that it’s in everyone’s kitchen they are looking for new recipes to try.

The Instant Pot is a single appliance that does the job of seven (yes, seven!) different kitchen appliances. It can handle the tasks of a slow cooker, electric pressure cooker, rice cooker, steamer, yogurt maker, sauté/browning pan, and a warming pot. Think of all those appliances taking up space in your kitchen that can be replaced by one.

New to using the Instant Pot? Learn about these seven tips for efficiently using your Instant Pot.

While I am still learning all the functions of the Instant Pot, the first technique I mastered was preparing hard and soft-boiled eggs.
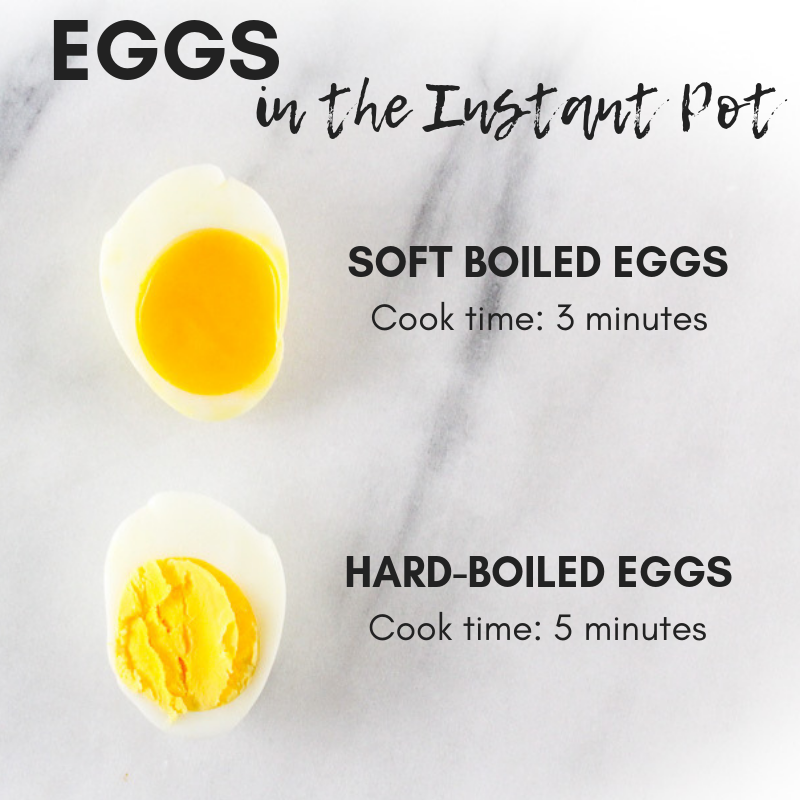
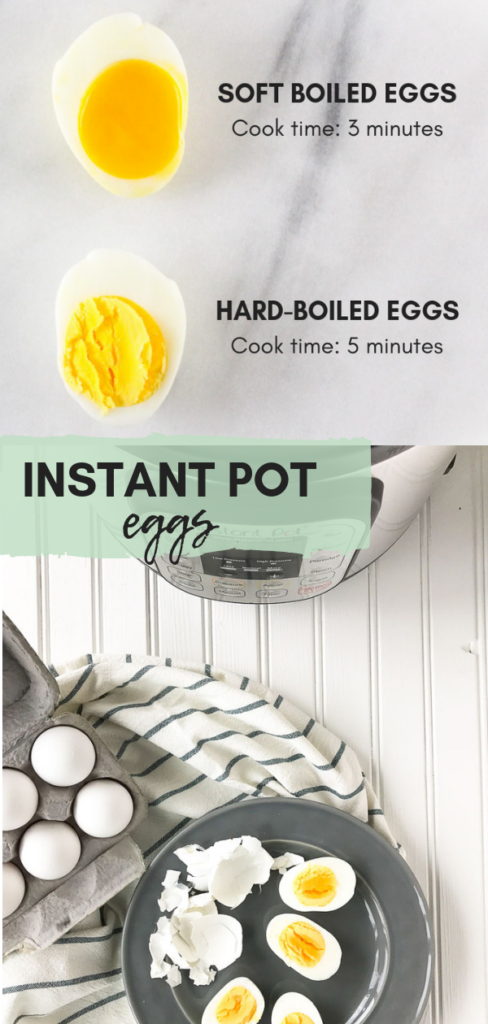
infographic for cooking eggs in the instant pot

How Are Eggs Healthy?

One large egg has 6 grams of high-quality protein and all 9 essential amino acids. Nearly half the protein is in the yolk so don’t ditch the yolk!

Eggs were once avoided and criticized for their cholesterol content. However, the totality of scientific research has shown no or little effect between dietary cholesterol and cardiac outcomes or markers of heart disease risk in healthy individuals.

Government and health organizations have revised their dietary cholesterol recommendations. The 2015-2020 Dietary Guidelines for Americans place no daily limit on dietary cholesterol intake. Foods like egg yolks and some shellfish are higher in dietary cholesterol but not saturated fats making them a healthful choice along with healthy eating patterns.

Hard-boiled eggs are something I pretty much meal prep every week for myself. One large egg has varying amounts of 13 essential vitamins and minerals, including choline plus the antioxidants lutein and zeaxanthin, all just for 70 calories.
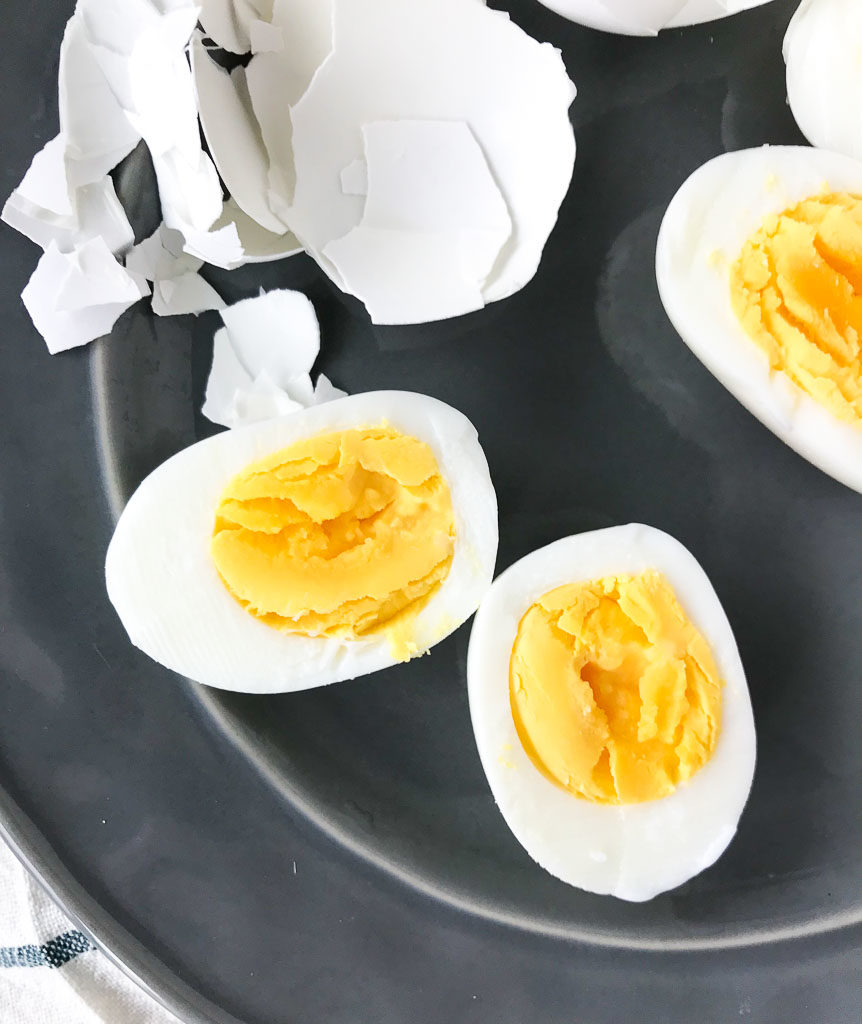
three hard boiled instant pot eggs on a gray plate next to the shells

Why the Instant Pot method works:

Now, I know making hard-boiled eggs on the stovetop is not too challenging, but this Instant Pot method makes it even simpler and in just 5 minutes, they are ready. Plus, there is a science behind why cooking eggs in the Instant Pot make them easier to peel. The reason according to Alton Brown is:

“Eggs that are quickly heated are easier to peel than eggs that are slowly heated, say in cold water brought to a boil. Fast cooking prevents the white from bonding so epoxy-like to the outer membranes. Since pressure steamers can generate temperatures between 230 and 250 degrees F it is suspected that this is actually why folks think they’re magic egg machines.” Also, thorough cooling eases peeling by allowing the proteins in the albumen to fully set and harden, thus preventing tearing.
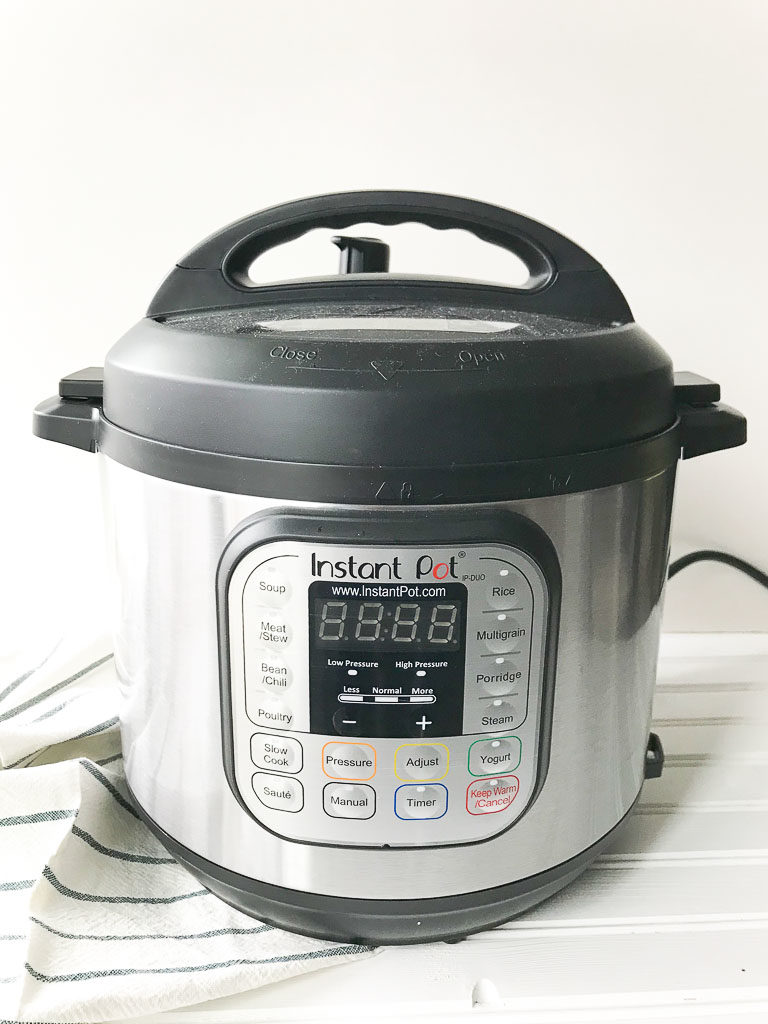
instant pot sitting next to gray striped towel

How to Make Soft Boiled Eggs in the Instant Pot

Pour the water in and place the rack (trivet) in the bottom. Then sit the eggs on the rack in the Instant Pot in a single layer.

Cook for 3 minutes on high pressure. Once the timer goes off, quickly release the pressure.

Transfer the eggs to a bowl with ice and cold water until they are cool enough to hold in your hand.

Peel right away.

The Best Pressure Cooker Hard Boiled Eggs

If you want to make hard boiled eggs in the Instant Pot, pour the water in. Set the rack in the bottom. Place the eggs on the rack. Cook for 5 minutes using high pressure. Let the pressure release naturally for 5 minutes, then transfer to an ice bath. Peel once they are cool enough for you to hold.

Tips for Making

  • Make sure the eggs are in a single layer, do not stack them.
  • There is an accessory you can buy that is specifically for making eggs in the Instant Pot that may allow you to cook more at a time.
  • When you release the pressure, place a towel over the top. Also make sure the pressure cooker is away from cabinets so the steam doesn’t ruin them.

How Long Do Cooked Eggs Last?

Hard-Boiled Eggs will keep up to a week in your refrigerator. Make a few perfect hard-boiled eggs to create delicious recipes throughout the week.
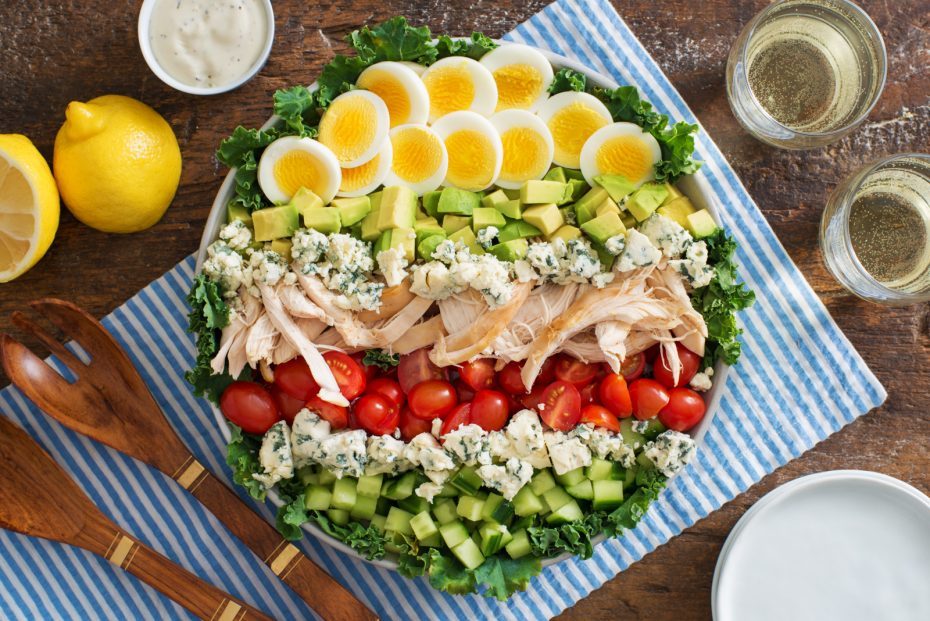
cobb salad topped with hard boiled eggs made in the pressure cooker

A few ways I use hard-boiled eggs are:

  • Pair hard-boiled eggs with avocado and tomato. I usually just add a little salt and pepper, but when I’m looking to add an extra pop of flavor, I add everything but the bagel, sesame seasoning blend.
  • For a filling snack, try my version of a “quick deviled egg”. Scoop out the yolk, mix with hummus and fill back in the egg white.

Ways to Use Instant Pot Eggs

(source)

Print
clock clock iconcutlery cutlery iconflag flag iconfolder folder iconinstagram instagram iconpinterest pinterest iconfacebook facebook iconprint print iconsquares squares iconheart heart iconheart solid heart solid icon
hard boiled eggs on a gray plate

Make PERFECT Hard Boiled and Soft Boiled Eggs in the Instant Pot

  • Author: Chef Julie Harrington, RD
  • Prep Time: 3
  • Cook Time: 5
  • Total Time: 8 minutes
  • Yield: 5
  • Method: Instant Pot

Description

Make PERFECT Hard Boiled and Soft Boiled Eggs in the Instant Pot EVERY. SINGLE. TIME.


Ingredients

Scale

Ingredients:
Eggs (up to as many that can fit in an even layer in your Instant Pot – do not stack)
1 cup water

Equipment:
Instant Pot with the rack


Instructions

Place the rack in the bottom of the pot. Pour the water in the pot. Place the eggs on the rack.

For soft-boiled:
Set Instant pot on high pressure on manual 3 minutes. Quick release placing a towel over the valve. Quickly add eggs to a bowl with cold water and ice until cool enough to hold. Peel right away.

For hard-boiled:
Set Instant Pot on high pressure on manual 5 minutes. Natural release 5 minutes then use quick release placing a towel over the valve. Quickly add eggs to a bowl with cold water and ice until cool enough to hold. Peel right away.


Keywords: eggs, instant pot, meal prep

Recipe Card powered byTasty Recipes

Make PERFECT Hard Boiled and Soft Boiled Eggs in the Instant Pot #instantpot #protein #cookingtip #healthy #breakfast #snack #eggs

White Bean Shakshuka

Whip up this one-pan smoky White Bean Shakshuka for a weekend brunch, but it is just as good for breakfast, lunch, and dinner!

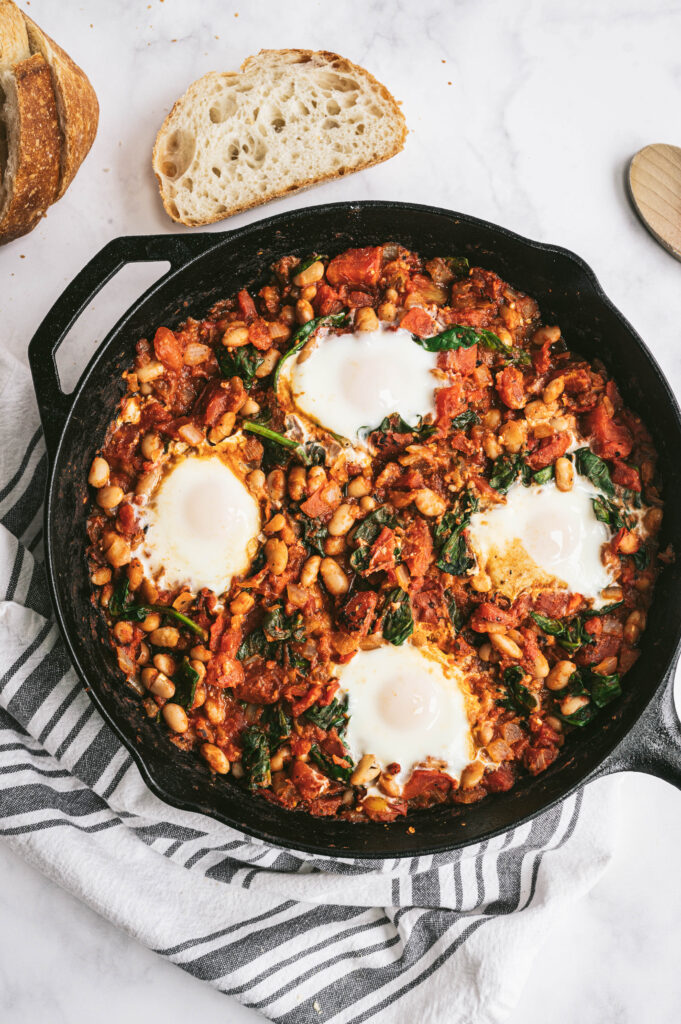
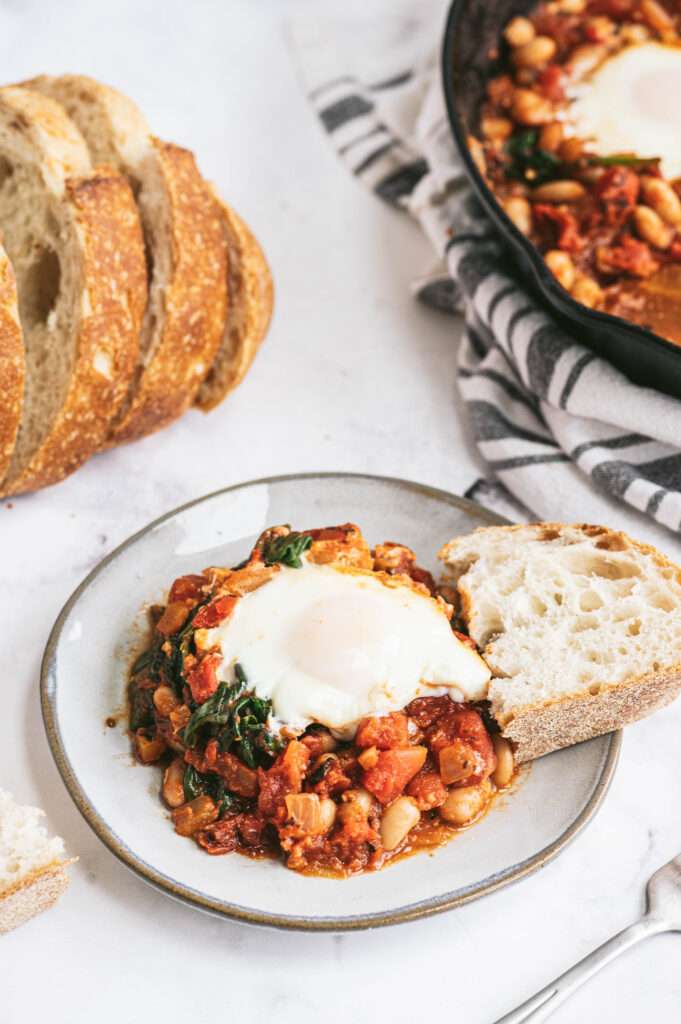
cast iron skillet with white bean shakshuka with a piece of bread

What is Shakshuka?

Shakshuka is a Mediterranean meal of poached eggs in a simmering tomato sauce with spices.

The beauty of this dish is that you can play around with the ingredients to customize it for your preference. I’ve even made a green shakshuka before!

Why you should always keep a well-stocked pantry.

Writing this blog post now, we are in the midst of COVID-19. We are taking fewer trips to the grocery store and may need to rely on pantry staples to create nutritious meals around. Mealtime inspiration is just a can opener away.

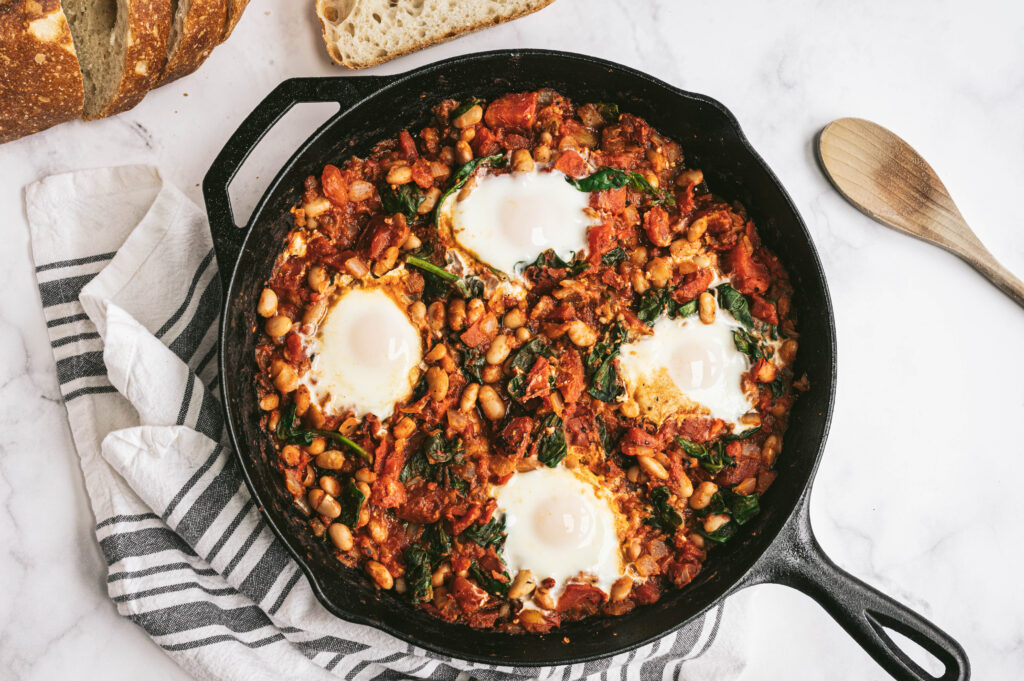
cast iron skillet with shakshuka

Is canned food healthy?

Canned foods are an easy, cost-effective way to eat healthy year-round. They are a simple, realistic way people can incorporate nutrients into meals.

Nutritionally speaking, canned food is comparable to its cooked fresh and frozen counterparts. Canned fruits and vegetables are packed at their peak of harvest, which means they are packed at their peak nutrient value. Crops that go directly from the field to the processor often retain vitamins better than those that travel hundreds of miles across the country and sit for days in produce bins. (resource)

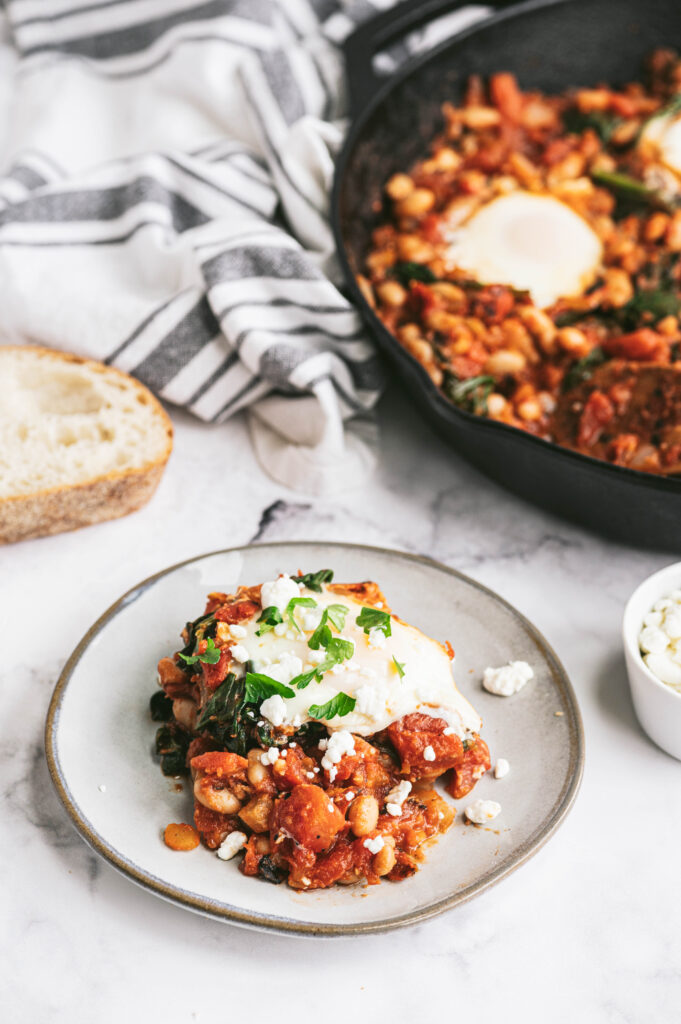
portion of white bean shakshuka on a ceramic plate

What ingredients give this shakshuka a smoky flavor?

The smoky flavor mainly comes from two ingredients in this recipe – the fire-roasted tomatoes and smoked paprika.

  • Fire-Roasted Tomatoes
    Fire-roasted tomatoes are made by charring the tomatoes over a flame before they’re diced and canned. You may even see little black flecks within your can. That is from the tomato making direct heat with the flame creating that smoky flavor.
  • Smoked Paprika
    Smoked paprika is made from pimiento peppers that have been dried and smoked over an oak fire, then ground into a fine powder, creating that earthy and smoky taste.
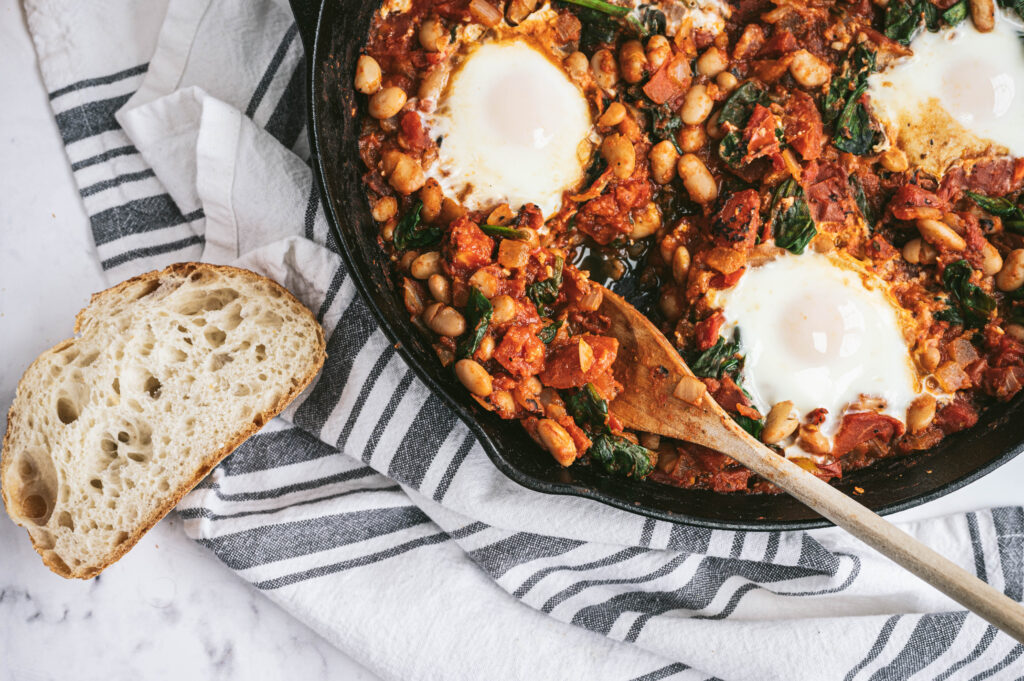
Cast iron skillet with a brunch recipe scooped with a wooden spoon

What equipment you need to make shakshuka:

  • Cast iron skillet or oven-safe pan* (see FAQ below if you don’t have one!)
  • Cutting board
  • Knife
  • Wooden spoon
  • Measuring spoons
  • Can opener
  • Colander
plate of tomato sauce mixture with an egg and bread
Print
clock clock iconcutlery cutlery iconflag flag iconfolder folder iconinstagram instagram iconpinterest pinterest iconfacebook facebook iconprint print iconsquares squares iconheart heart iconheart solid heart solid icon

White Bean Shakshuka

  • Author: Chef Julie Harrington, RD
  • Prep Time: 10
  • Cook Time: 15
  • Total Time: 25 minutes
  • Yield: 4

Description

Whip up this one-pan smoky White Bean Shakshuka for a weekend brunch, but it is just as good for breakfast, lunch, and dinner!


Ingredients

Scale

2 teaspoons olive oil
1 medium sweet onion, diced
4 cloves garlic, minced
1 teaspoon smoked paprika
1/2 teaspoon oregano
1 tablespoon tomato paste
1 (28 oz) can fire-roasted crushed tomatoes
1 (15oz) can cannellini beans, drained and rinsed
2 cups packed baby spinach
4 large eggs
Salt, to taste Pepper, to taste
1/4 cup feta crumbles
2 tablespoons fresh parsley, chopped
Red pepper flakes, if desired
Crusty bread or pita, for serving


Instructions

  1. Preheat the oven to 375 degrees Fahrenheit. Heat olive oil in a large oven-safe skillet, preferably cast-iron over medium-high heat. Add onions and cook 2-3 minutes until tender and translucent. Add garlic and cook an additional 30 seconds.
  2. Add the smoked paprika, oregano, and tomato paste, consistently stirring for 1-2 minutes or until fragrant. 
  3. Pour in the crushed tomatoes with their juices, beans, and spinach. Reduce the heat to maintain a gentle simmer, and cook for 5 minutes to give the flavors time to come together and spinach has wilted.
  4. Turn off the heat. Use the back of a spoon to make a well in the tomato/bean mixture and crack the egg directly into it. Gently spoon a bit of the tomato mixture over the whites to help contain the egg. Repeat with the remaining eggs. Sprinkle with salt and pepper, to taste. 
  5. Transfer the skillet to the oven and bake for 8 to 12 minutes. They’re done when the egg whites are an opaque white and the yolks have risen a bit but are still soft. They should still jiggle in the centers. (Keep in mind that they’ll continue cooking after you pull the dish out of the oven.) Cook to preferred doneness.
  6. Transfer the hot skillet to a heat-safe surface like the stove. Top with crumbled feta, fresh parsley, and red pepper flakes, if desired. Serve in bowls with crusty bread or pita on the side.

Notes

Don’t have an oven-safe pan or cast-iron pan? No problem! Once you have cracked the eggs into the skillet, lower the heat and place a lid on top and cook until the desired doneness.

Recipe Card powered byTasty Recipes
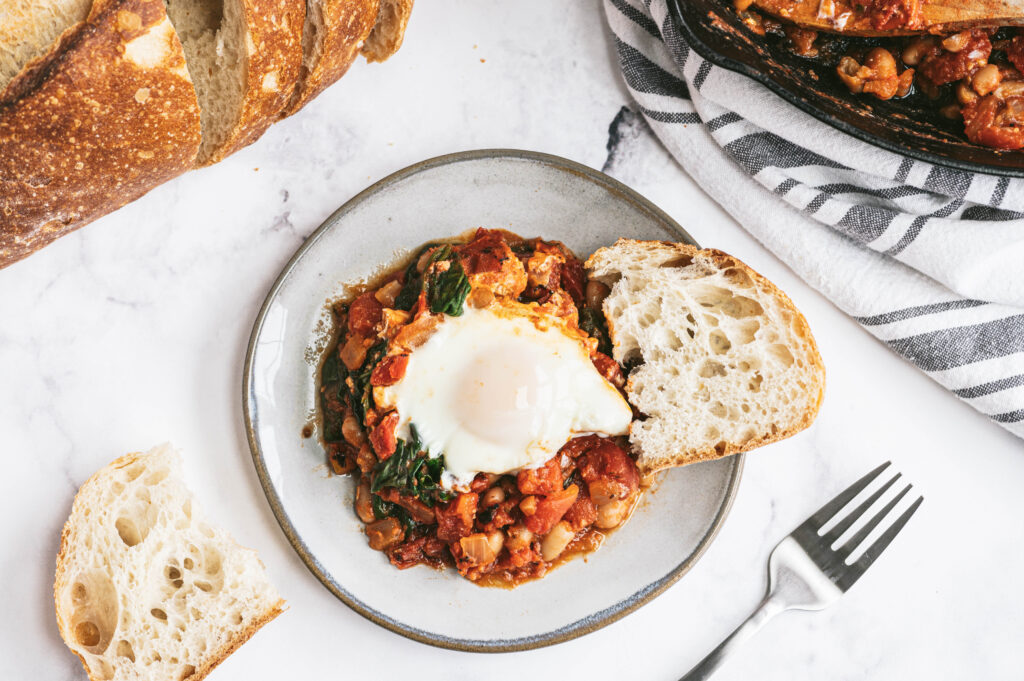
plate of white bean shakshuka with poached egg and a slice of bread

FAQ:

What if I don’t have a cast-iron pan?

Not a problem! Once you have cracked the eggs into the skillet, lower the heat and place a lid on top and cook until the desired doneness.

What if I can’t find fire-roasted tomatoes?

You can use regular crushed tomatoes for this recipe! If you are looking for an extra smoky flavor, then add a little extra smoked paprika.

What if I don’t prefer the smoky flavor?

Use plain crushed tomatoes and paprika (not smoked).

Pear Walnut Muffins

Enjoy as part of breakfast or alone as a snack. These Pear Walnut Muffins are simple to make with big flavor.

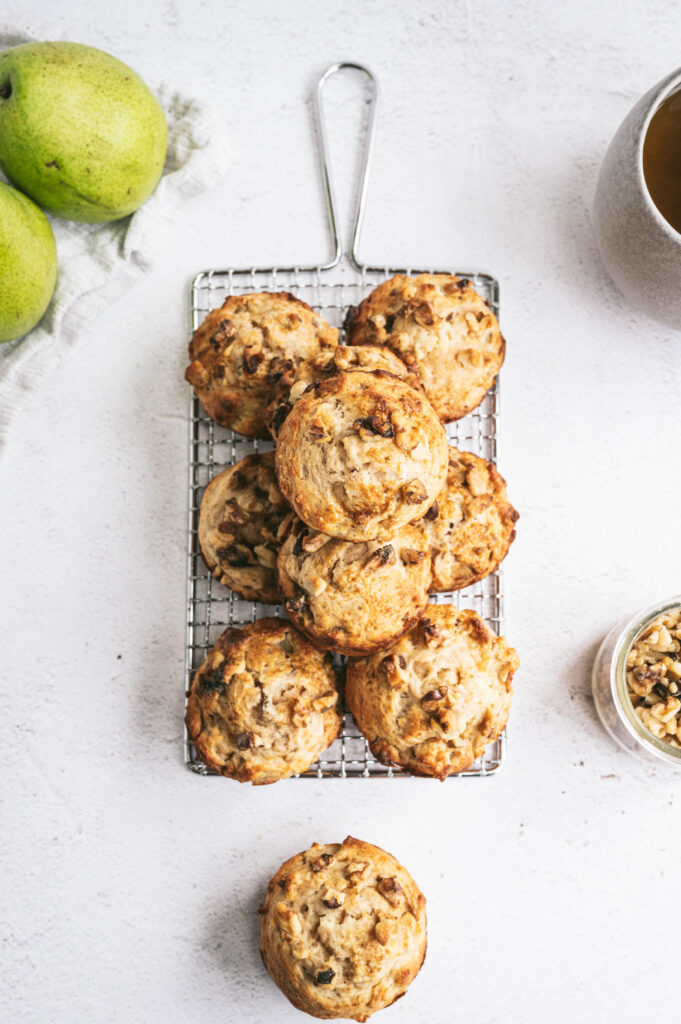
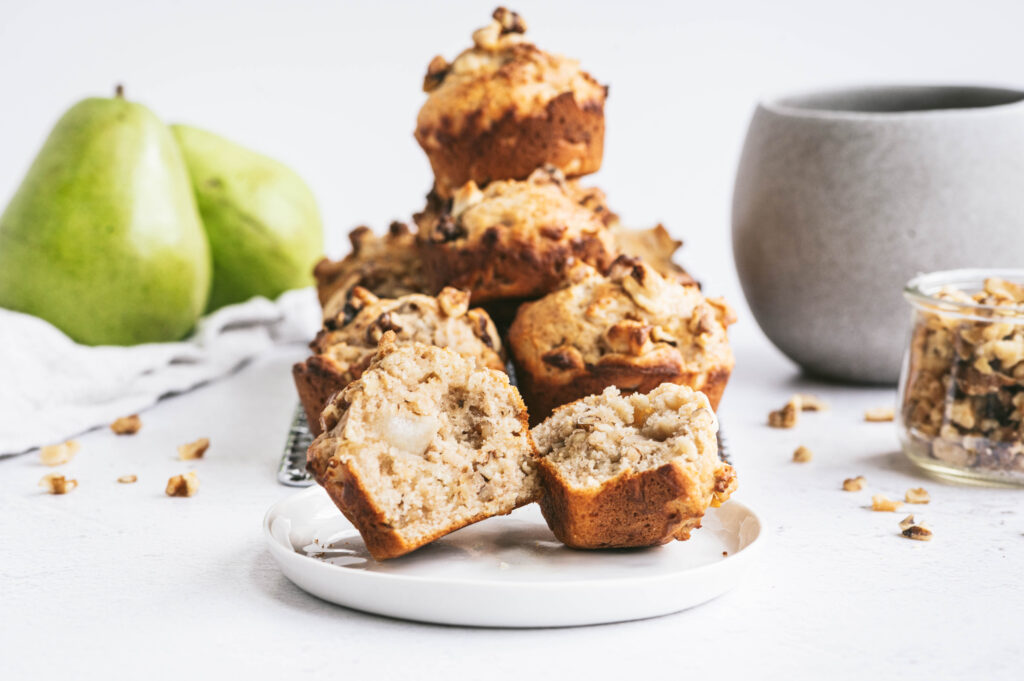
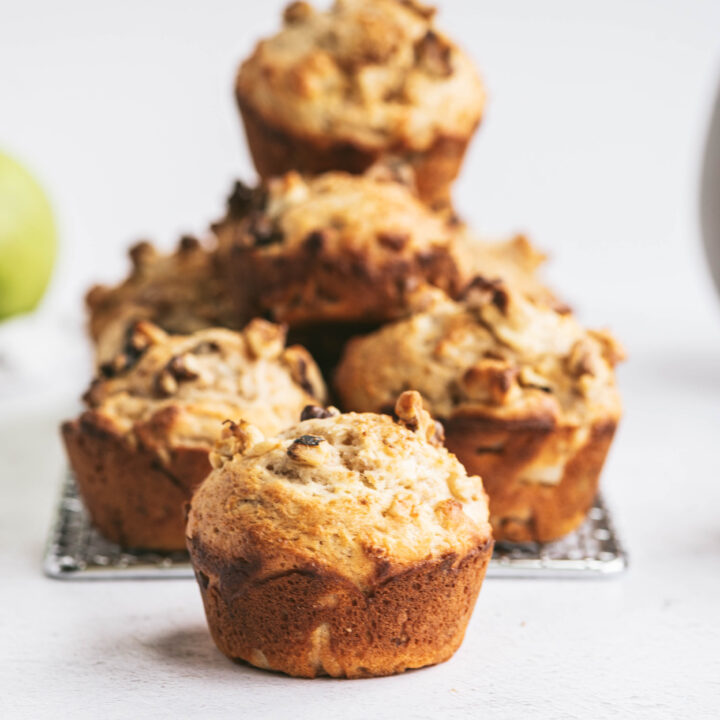
Pear walnut muffins stacked on top of each other
pear walnut muffins stacked on top of each other on a cooling rack

How to know if a pear is ripe

Remember to “check the neck”. Pears are one of the few fruits that don’t ripen on the tree. Pears are harvested when they reach maturity, and when left at room temperature pears slowly ripen from the inside out.

Apply gentle pressure to the neck of the pear with your thumb. If it yields to pressure, it’s ripe.

What’s different about green anjou pears?

Anjou pears have a more egg shape appearance. Their dense flesh holds up well in heated applications like baking, poaching, roasting, or grilling and they are delicious when sliced fresh in salads or eaten as an out-of-hand snack.

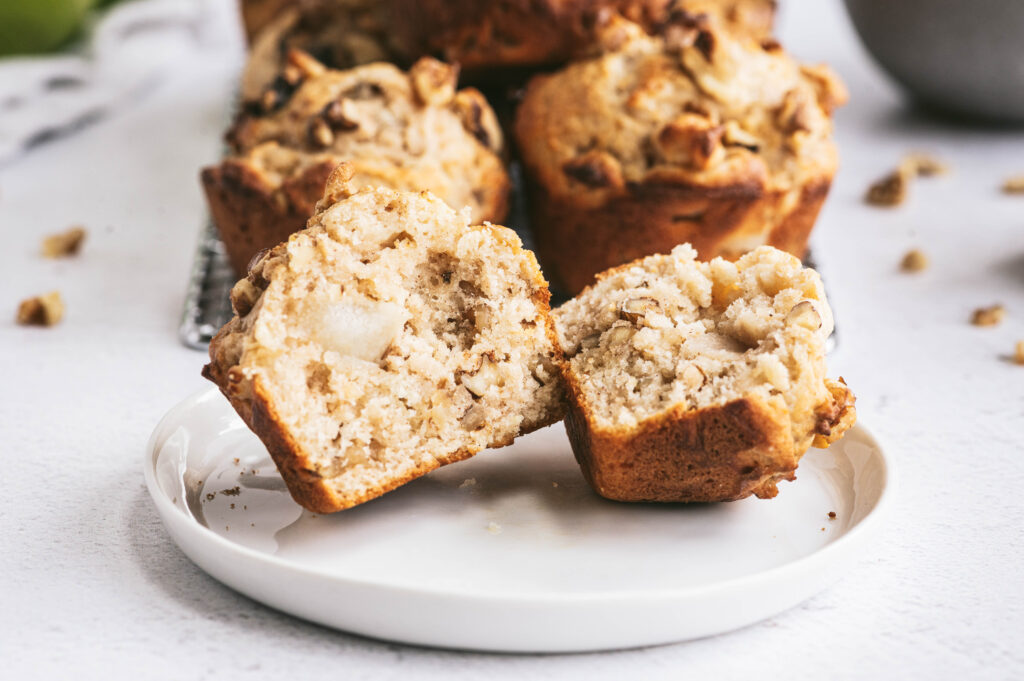
pear walnut muffin cut in half on a white plate

How to make Pear Walnut Muffins

The recipe for these pear walnut muffins is pretty much a straight forward muffin recipe.

  1. Pour wet ingredients into dry ingredients.
  2. Fold in mix-ins.
  3. Bake!

Recipe Notes:

Why sift flour?

Sifted flour is much lighter than unsifted flour and easier to mix into other ingredients when forming a cake or muffin batter. When flour is sifted with other dry ingredients, it helps combine them evenly before they are mixed with other ingredients.

Be mindful of the size.

When chopping ingredients to mix into the batter, be mindful of the size. Chop ingredients in an even size. For the pears in this recipe, think about each bite of the muffin – big enough to note the taste and texture but not too big that it takes over.

Print
clock clock iconcutlery cutlery iconflag flag iconfolder folder iconinstagram instagram iconpinterest pinterest iconfacebook facebook iconprint print iconsquares squares iconheart heart iconheart solid heart solid icon
Pear walnut muffins stacked on top of each other

Pear Walnut Muffins

  • Author: Chef Julie Harrington, RD
  • Prep Time: 15
  • Cook Time: 20
  • Total Time: 35 minutes
  • Yield: 10
  • Category: muffin
  • Method: baking

Description

These pear walnut muffins are the perfect addition to a breakfast or enjoy alone as a snack. Learn baking tips to create perfect muffins every time!


Ingredients

1 large ripe pear peeled, cored and diced (preferably d’Anjou)
1 teaspoon cinnamon
1 tablespoon packed brown sugar
1 1/4 cups all-purpose flour
1/4 teaspoon salt
1 1/4 teaspoons baking powder
1/8 teaspoon baking soda
1/3 cup granulated sugar
1 large egg
1/2 cup full-fat Greek yogurt
1/4 cup apple cider
1/4 cup unsalted butter melted and cooled slightly
1/2 teaspoon vanilla extract
¾ cup chopped walnuts

Optional topping:
coconut sugar or coarse sugar
chopped walnuts


Instructions

  1. Preheat oven to 400 degrees F.  Grease a muffin tin with cooking spray. Set aside.
  2. In a small bowl, mix together diced pears, cinnamon, and brown sugar. Set aside.
  3. In a large mixing bowl sift together flour, salt, baking powder, baking soda, and granulated sugar. Make a well in the center of the dry ingredients. 
  4. In a medium mixing bowl whisk together the egg, Greek yogurt, apple cider, butter, and vanilla, until smooth. 
  5. Pour the wet ingredients into the dry ingredients. Gently fold together until the dry ingredients are just moistened.
  6. Add the walnuts and pear mixture and any accumulated juice to the batter. Gently fold with a spatula until the pecans and pears are incorporated.
  7. Divide the batter between the muffin wells. Sprinkle the tops of the muffins generously with coconut sugar and chopped walnuts. Allow the muffins to rest for 10 to 15 minutes before baking.
  8. Bake for 15 to 20 minutes or until a toothpick inserted in the center comes out with no wet batter.
  9. Cool the muffins in the pan for 10 minutes, then remove to a wire rack to cool completely.

Notes

Why sift flour? Sifted flour is much lighter than unsifted flour and easier to mix into other ingredients when forming a cake or muffin batter. When flour is sifted with other dry ingredients, it helps combine them evenly before they are mixed with other ingredients.

Keywords: pear, walnut, muffins, baked goods, baking

Recipe Card powered byTasty Recipes

How to freeze muffins and prevent freezer burn

Cool muffins completely before wrapping and freezing. To freeze, wrap securely in foil or freezer wrap, or place in freezer bags. Be sure to remove as much excess air within the bag as possible. Muffins can be stored frozen for up to 3 months.

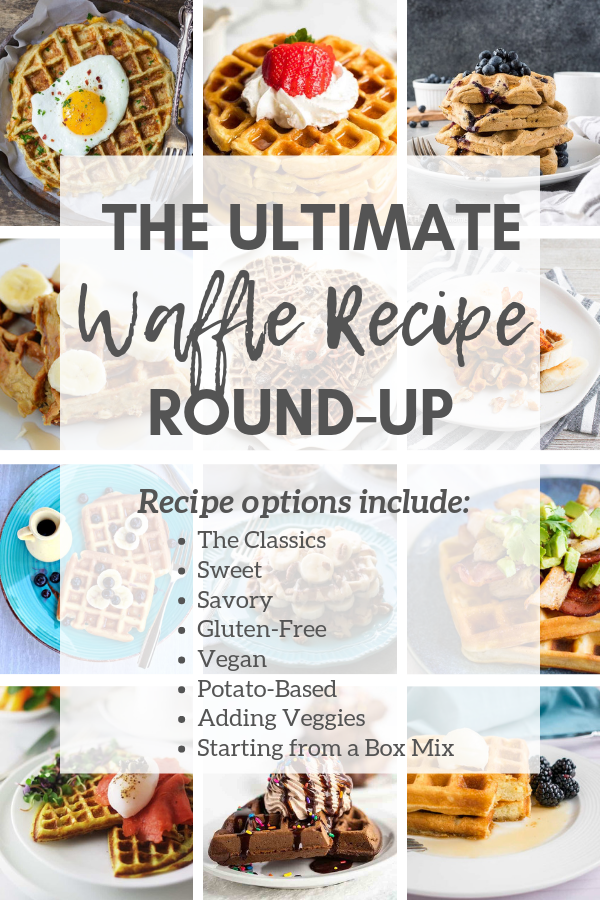
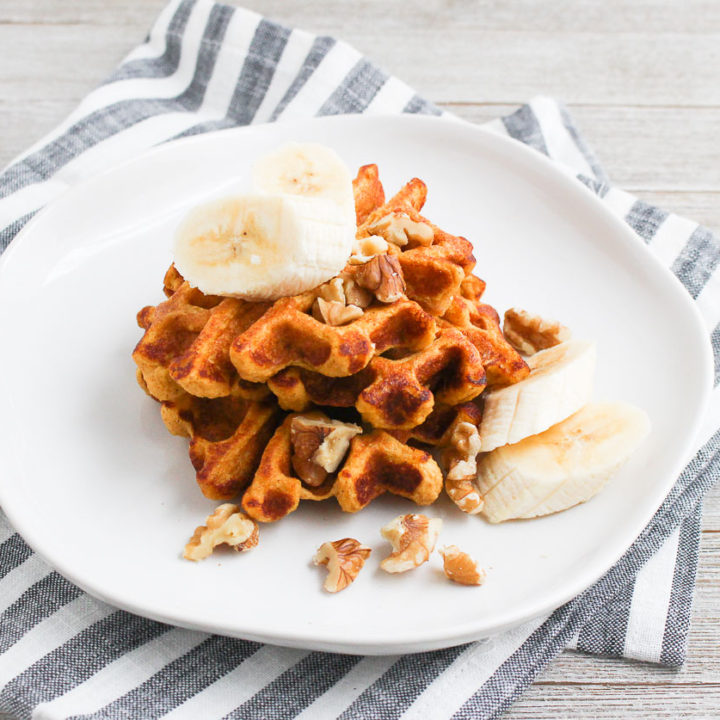
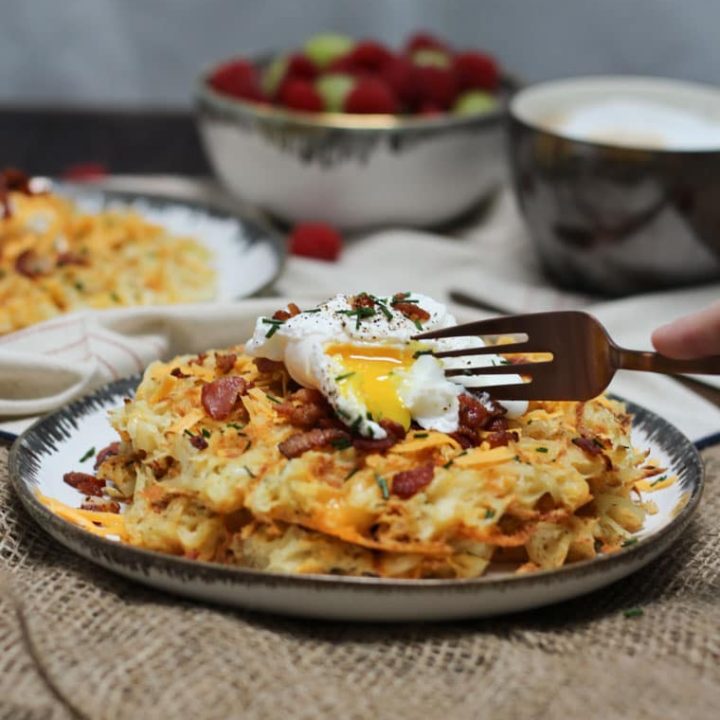
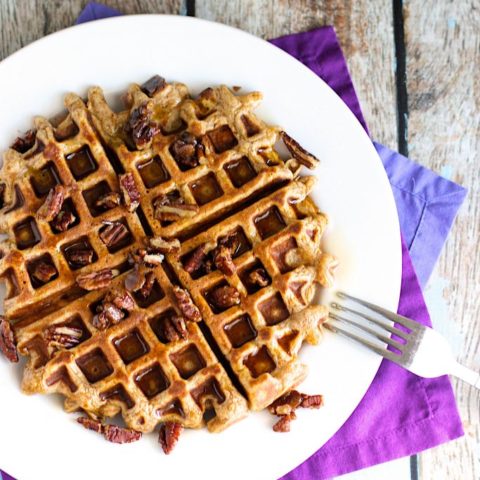
The Ultimate Waffle Recipe Round-Up

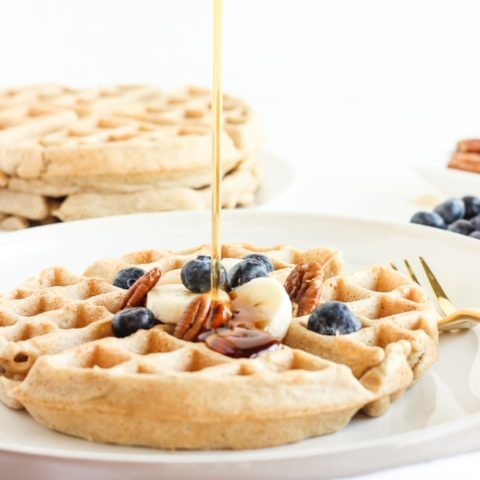
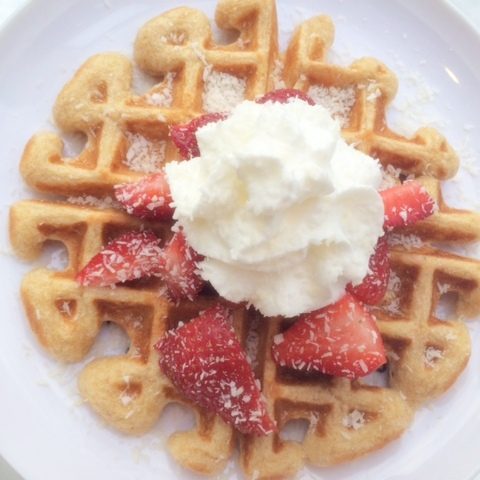
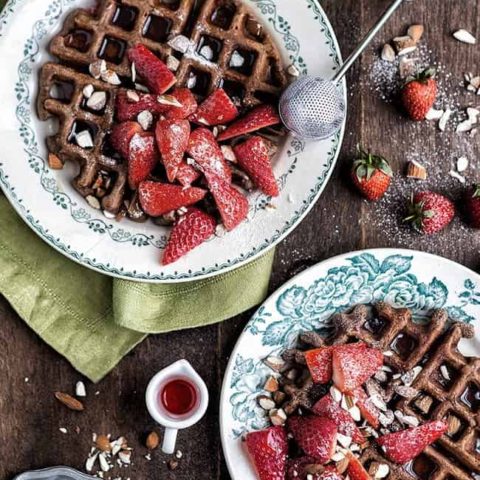
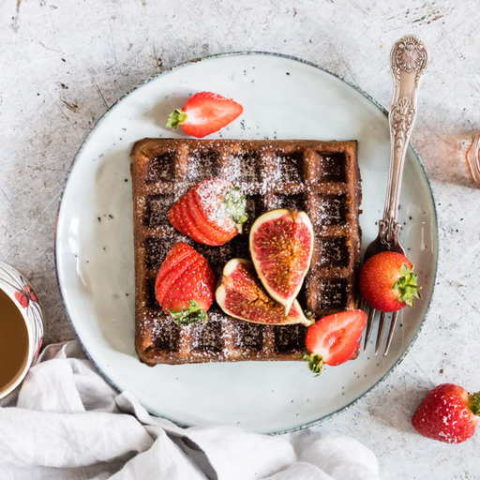
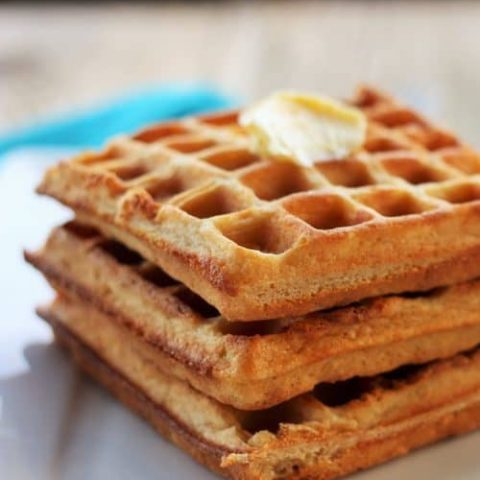
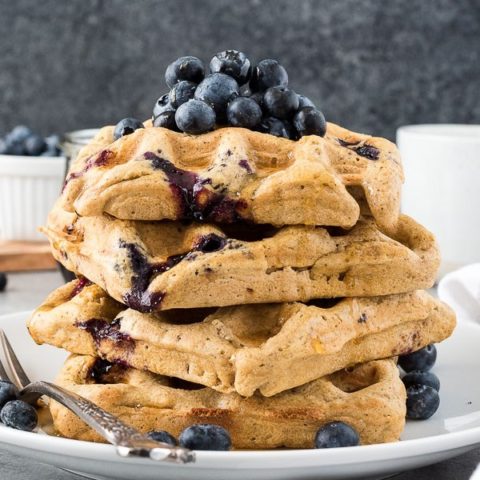
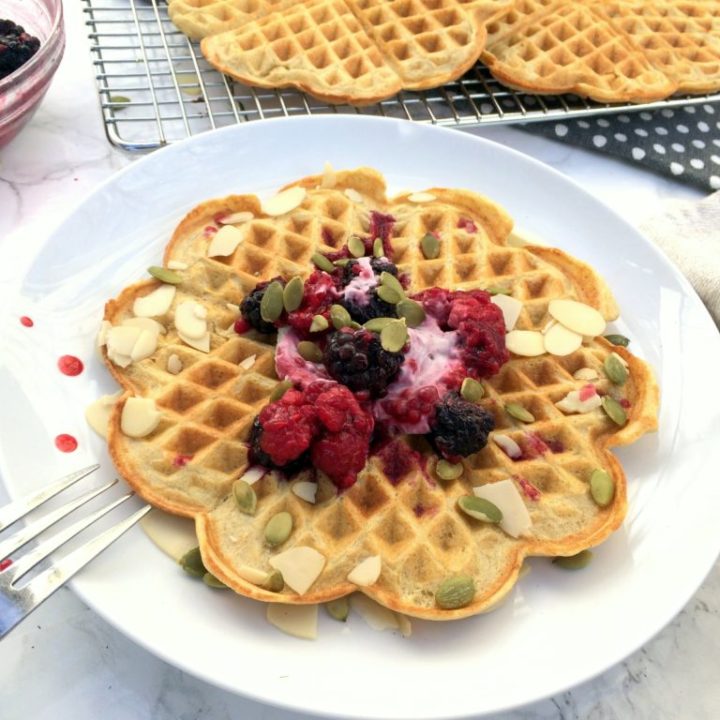
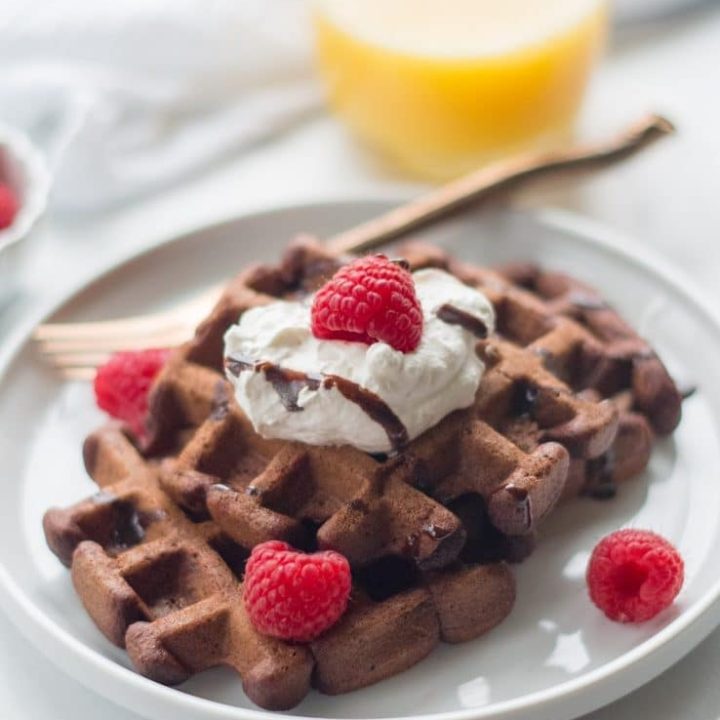
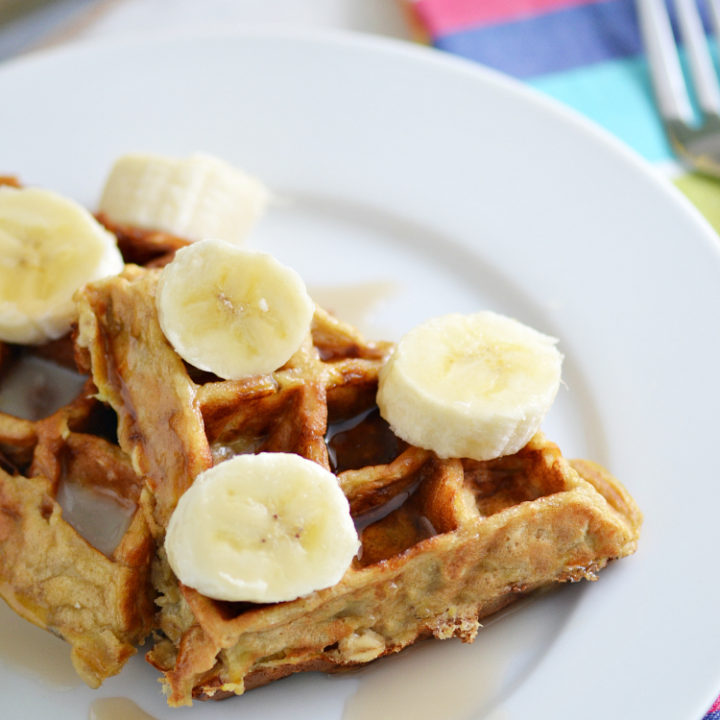
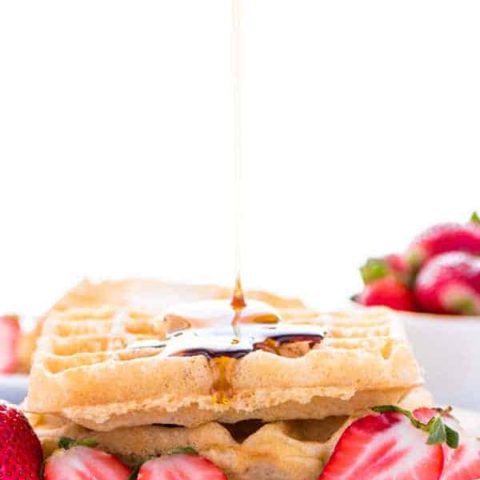
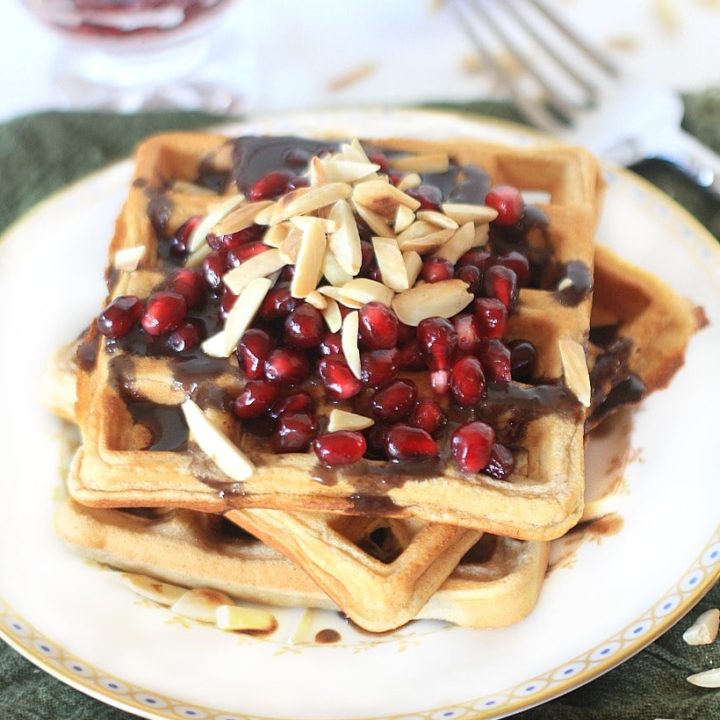
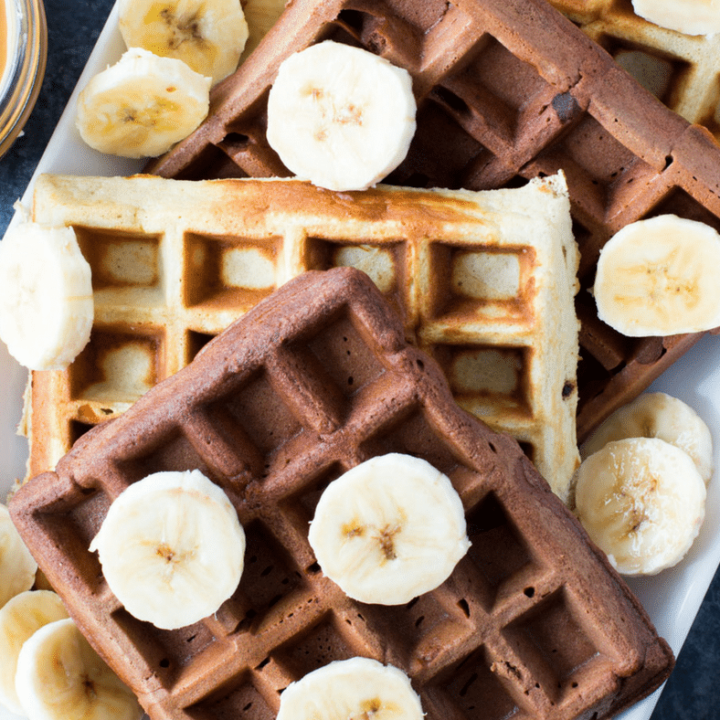
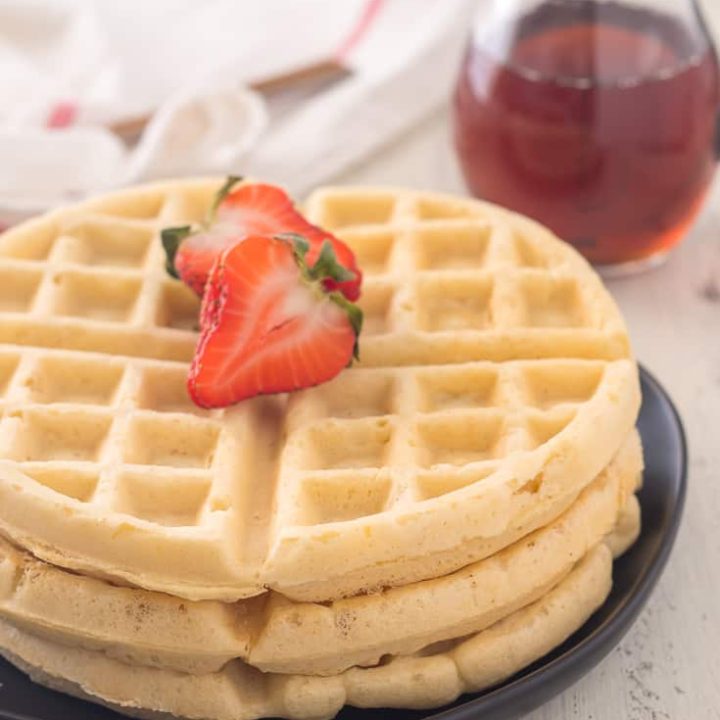
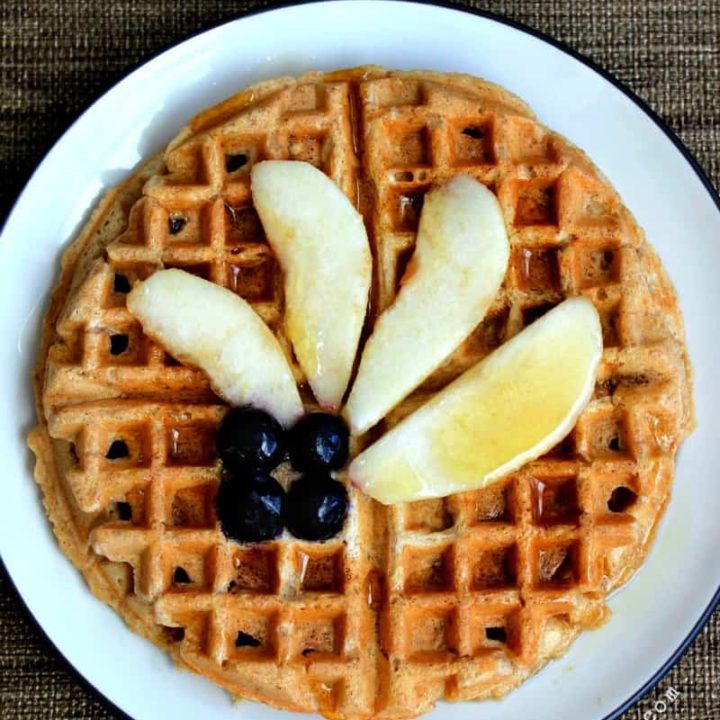
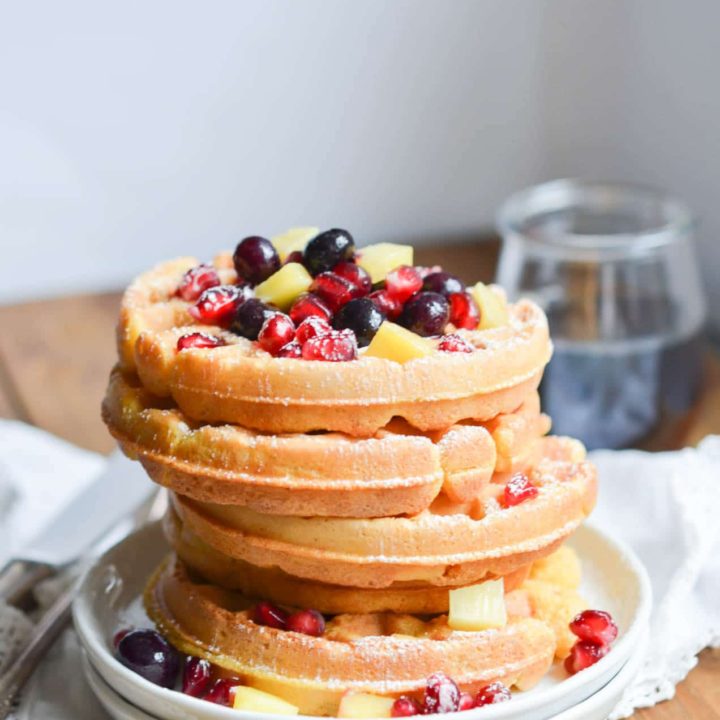
Step up your brunch game with this Ultimate Waffle Recipe Round-Up.

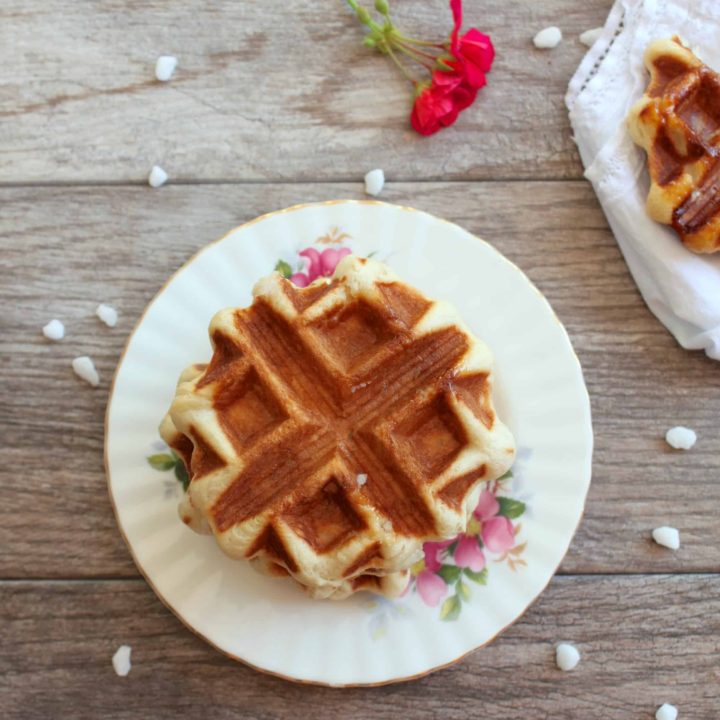
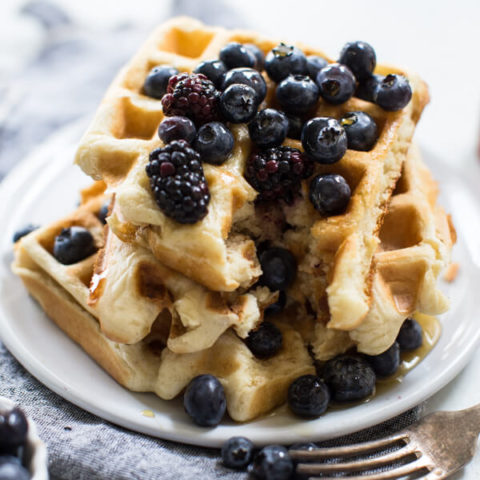
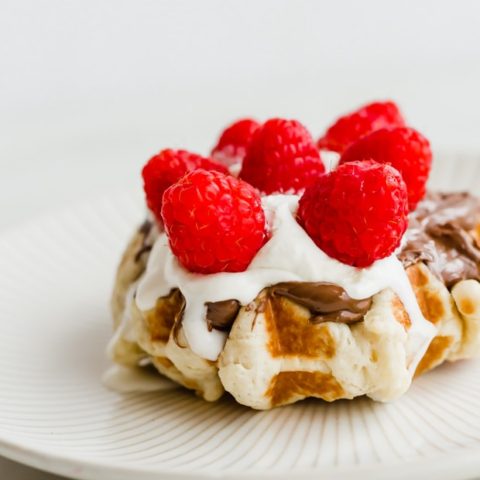
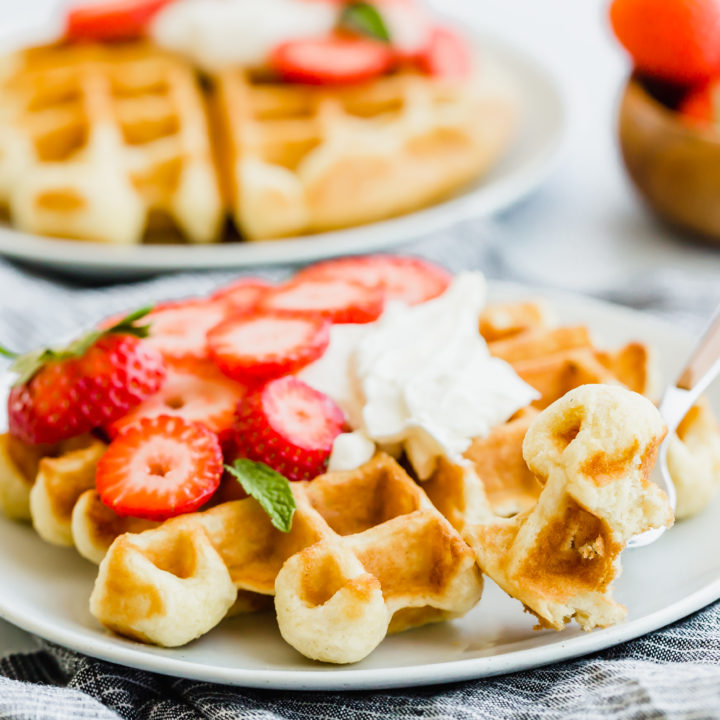
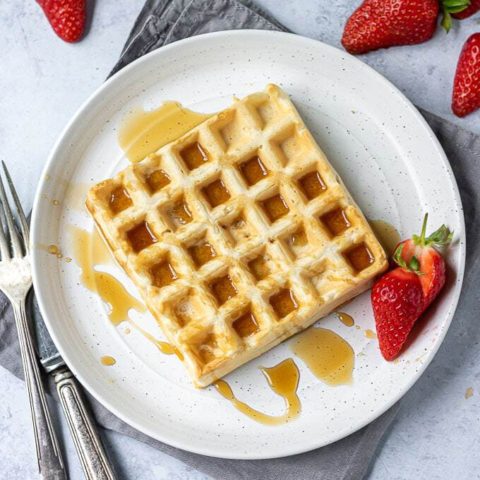
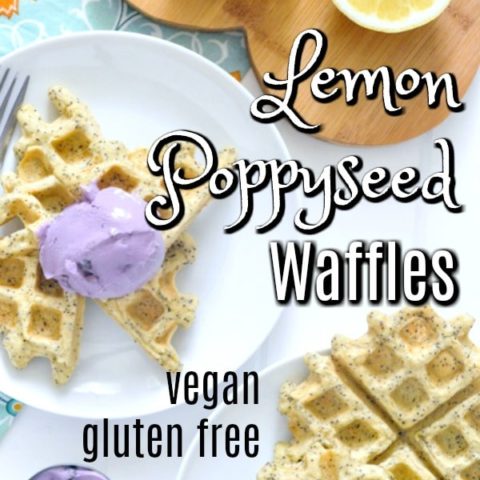
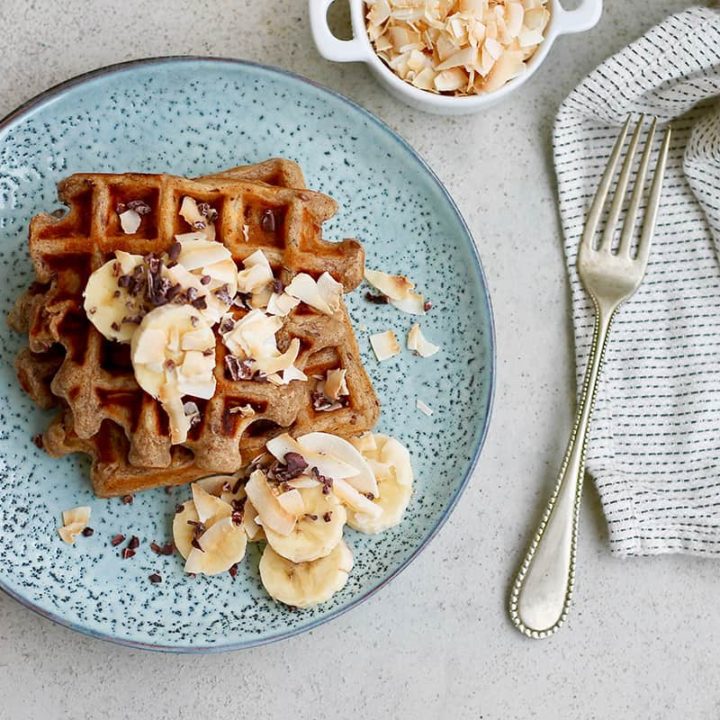
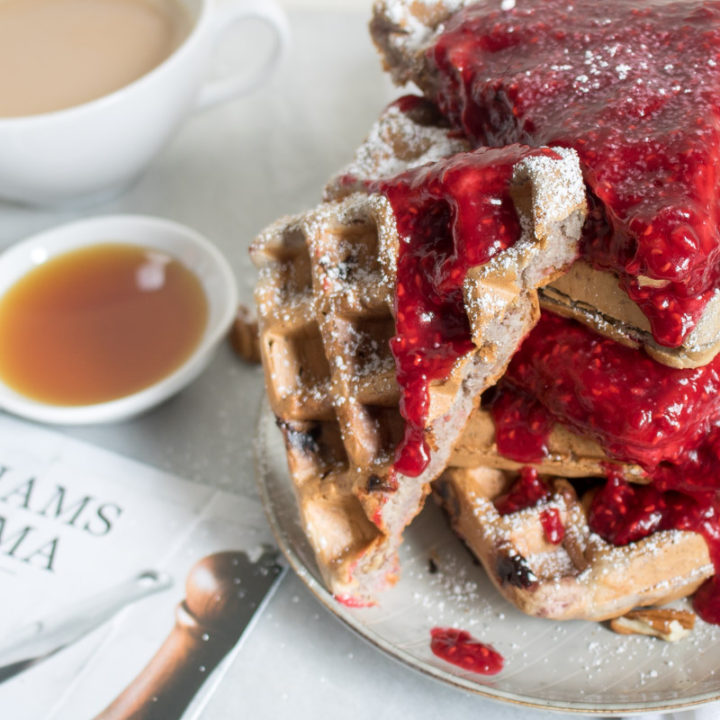
Happy National Waffle Day! I know that every day is some sort of food holiday, but I couldn’t pass up waffle day. They are so versatile and can be part of breakfast, lunch, or dinner, and sweet or savory. The possibilities are endless!

I have the ultimate waffle recipe round-up for you. From classic recipes to sweet, savory, and some with a twist, I’m sure there will be a recipe you will enjoy!

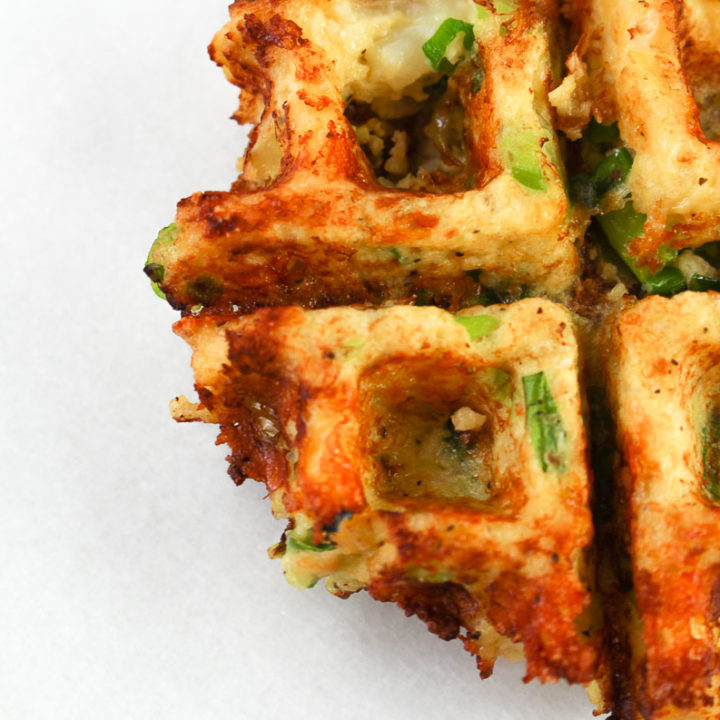
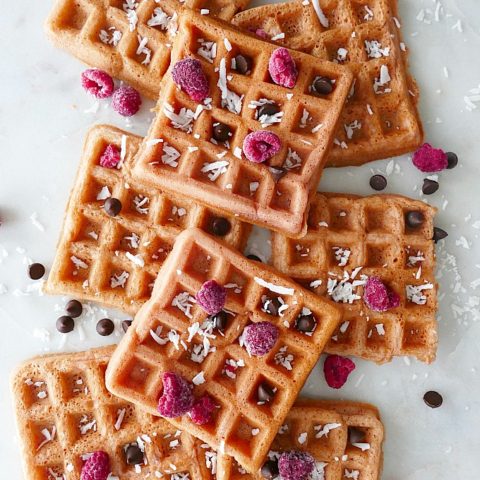
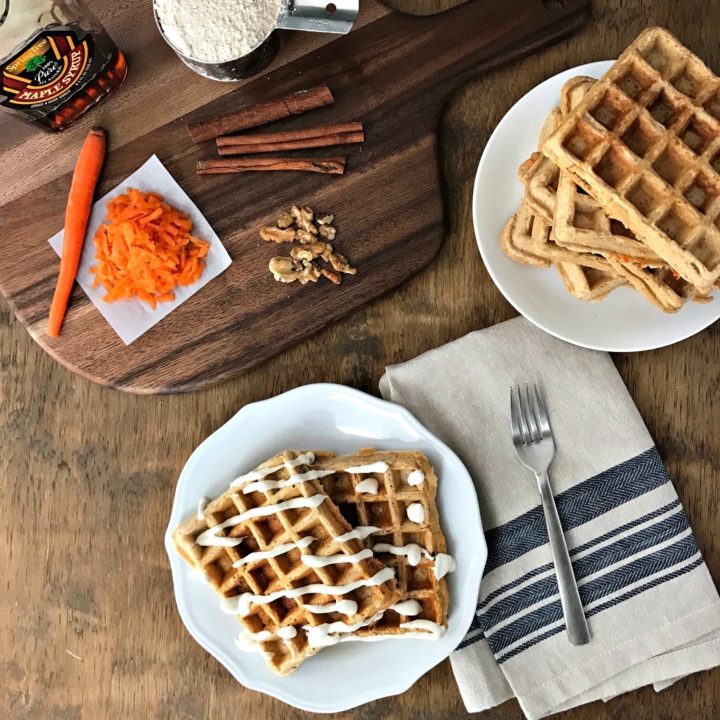
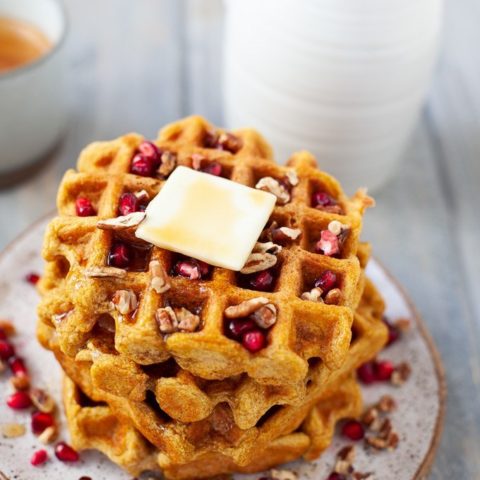
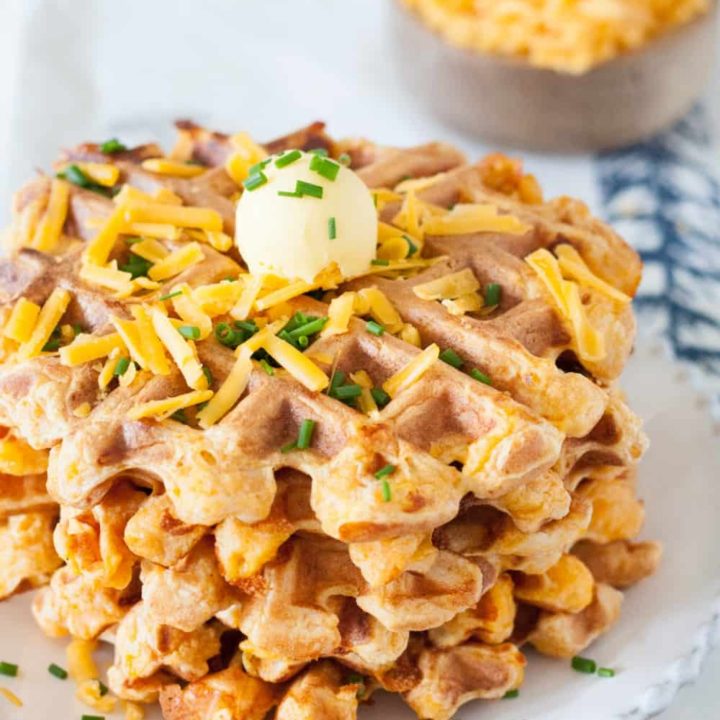
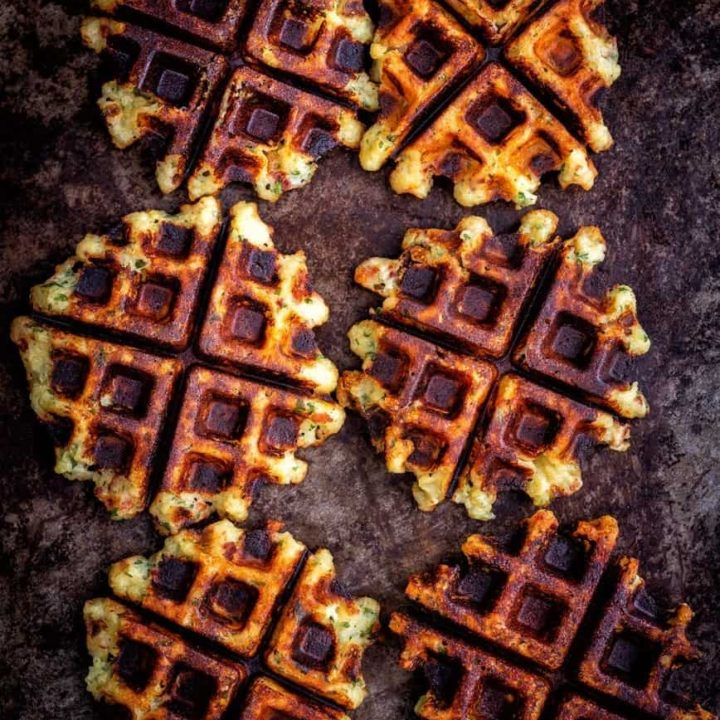
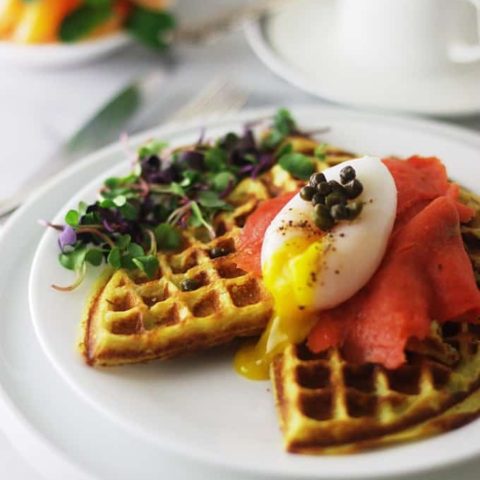
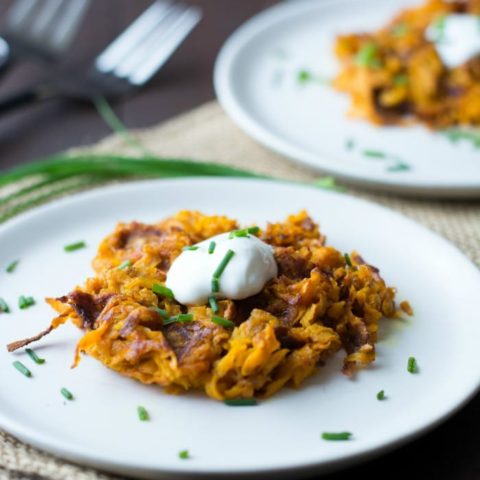
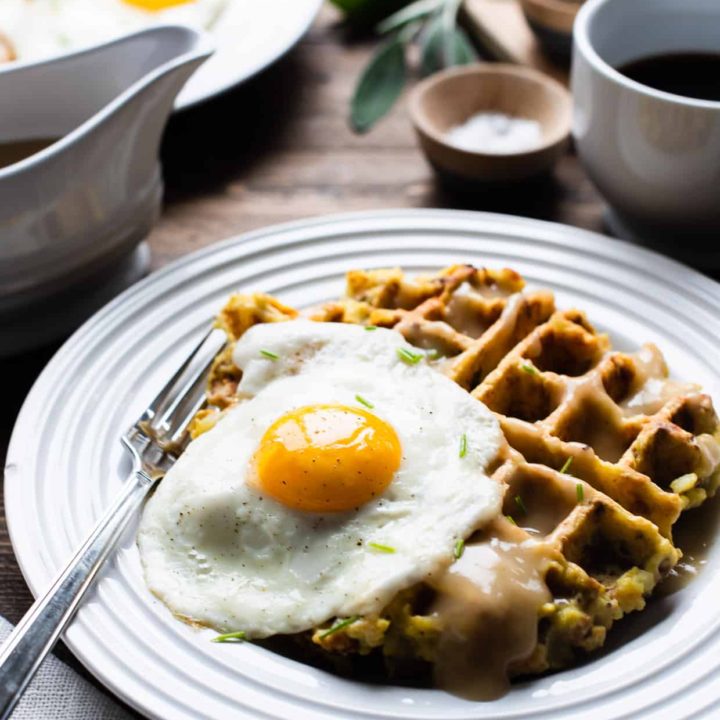
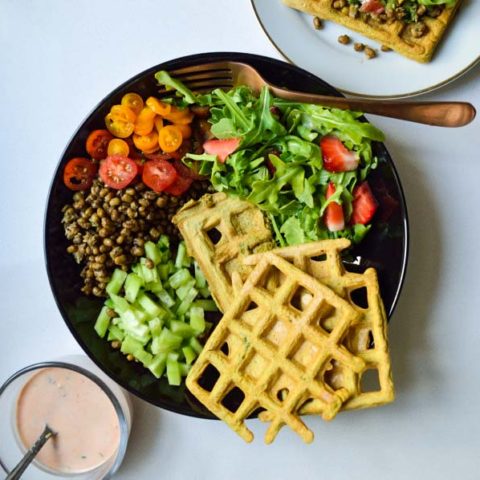
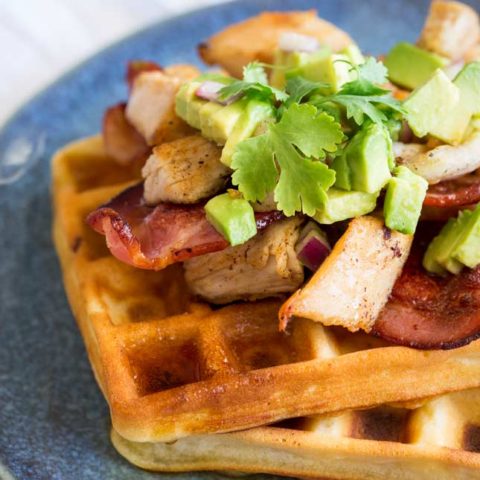
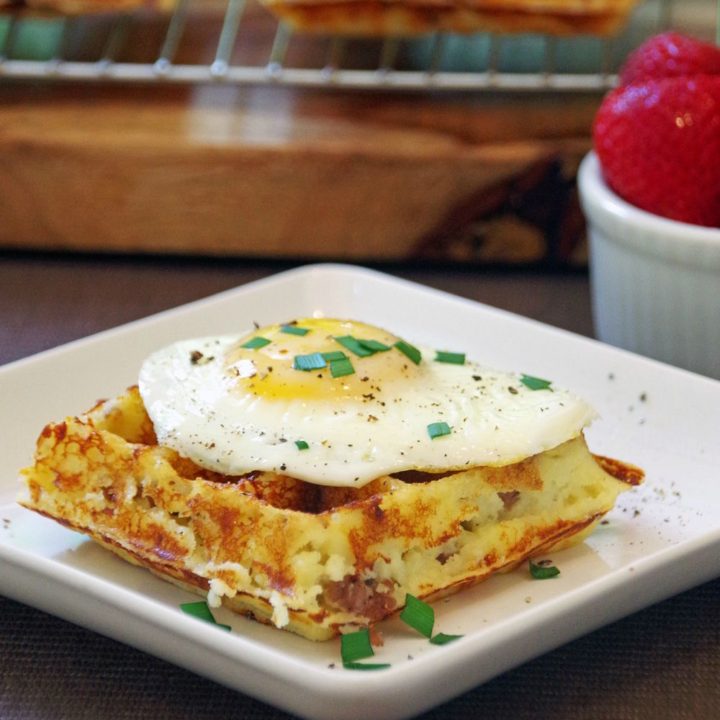
The Ultimate Waffle Recipe Round-Up with text overlay

CLASSIC WAFFLE RECIPES

Go back to the basics with these classic waffle recipes.

WHOLE GRAIN WAFFLES

Not just whole wheat flour, this round-up includes a variety of whole-grain waffle recipes.

WAFFLES WITH VEGGIES

Both sweet and savory waffle recipe with adding a serving of vegetables.

GLUTEN-FREE WAFFLES

No gluten, no problem. Delicious gluten-free waffles.

VEGAN WAFFLES

No dairy, no eggs, check out these delicious vegan waffle recipes.

POTATO-BASED WAFFLE RECIPES

Utilizing both white potatoes and sweet potatoes as the base, these potato-based waffles hold up well in the waffle iron.

WAFFLE RECIPES STARTING FROM A BOX MIX

Get a jump start on your waffle recipe and start with a box mix as the base.

SWEET WAFFLE RECIPES

If you have a sweet tooth, these waffle recipes are for you!

SAVORY WAFFLE RECIPES

Skip the sweet, opt for savory waffles to enjoy for breakfast, lunch, or dinner!


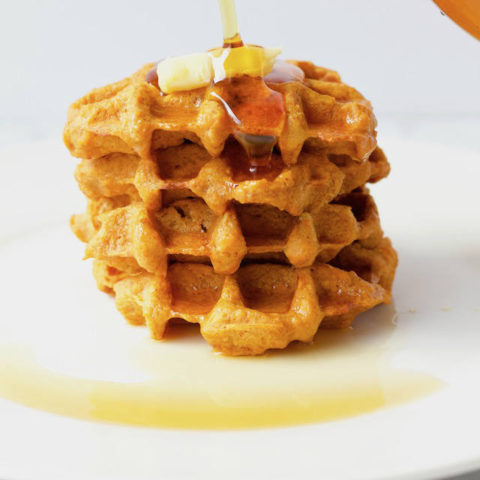
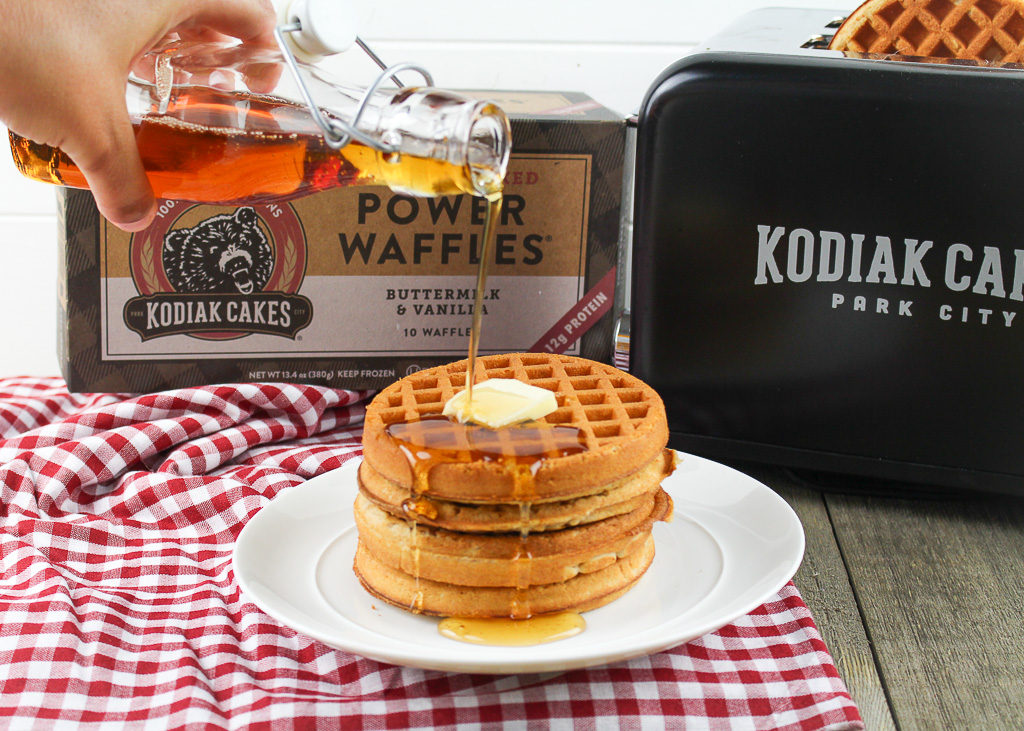
Don’t feel like taking out your waffle iron? Keep Kodiak Cakes toaster waffles stocked in your freezer! Two waffles contain a filling 12 grams of protein.

stack of kodiak cake power waffles with syrup poured on top

Chocolate Chip Zucchini Bread

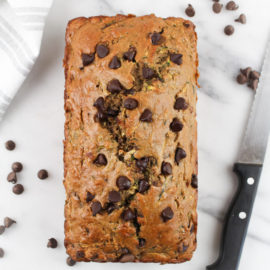
Do you have an overabundance of zucchini from your garden or the farmer’s market? Turn it into this delicious Chocolate Chip Zucchini Bread. With only a hint of sweetness, this can be enjoyed with any meal or snack.

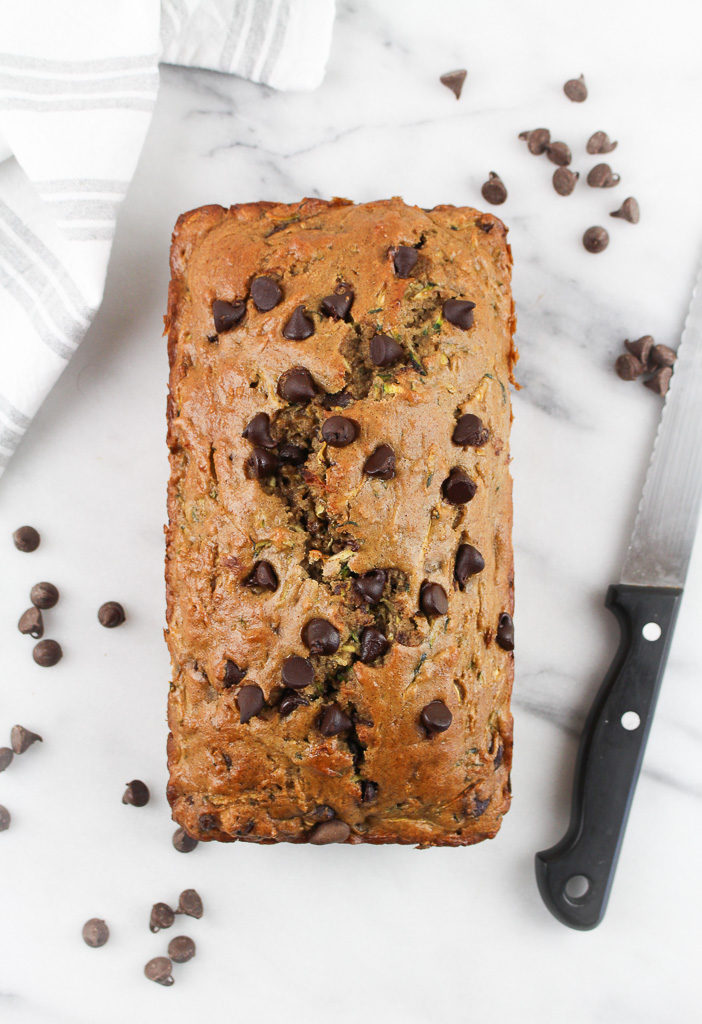
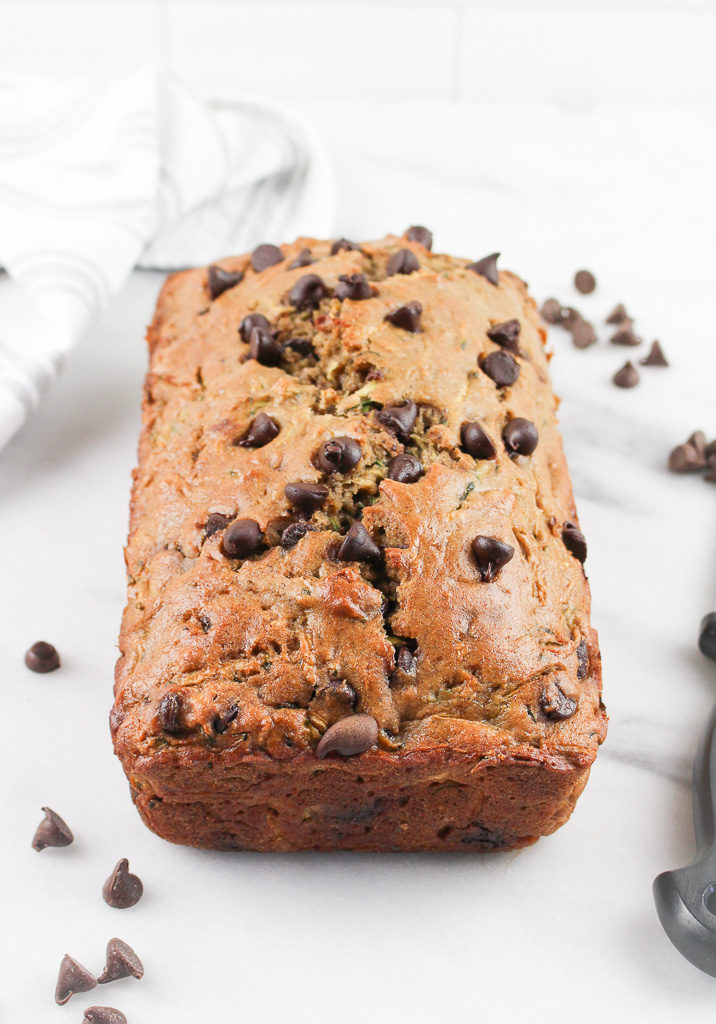
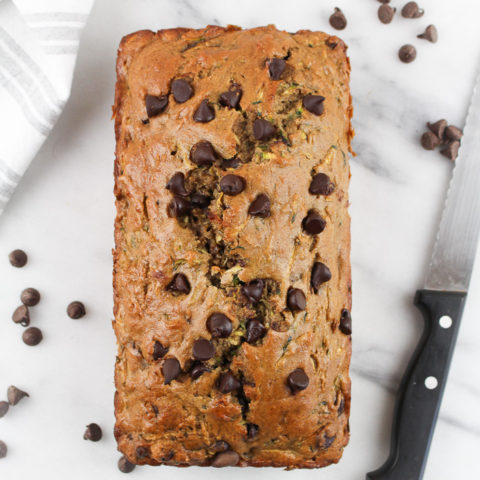
Chocolate Chip Zucchini Bread on a marble slab

I tend to enjoy cooking more as you can adjust the taste as you go and have more control throughout the process of a dish during the cooking process. For me, baking (especially when developing a new recipe), is much more intimidating. Why? Because you measure, mix, pour into a pan… and then hope for the best! Once that timer goes off you find out if it’s a win or a flop.

This quickbread is a little denser than regular quick bread, as I used half whole wheat flour. When I bake I try to squeeze in whole grains where I can. My favorite whole grain flours to bake with are whole wheat flour and oat flour. I’ve also been experimenting with almond flour and coconut flour too, which totally throw you for a curveball because they have very different baking properties.

Why We Love Zucchini 

Just like most green vegetables, zucchini is a great source of vitamins and minerals including Vitamin C. 

It can be cooked in so many ways, including baking. You can eat it raw or cooked. 

If you have little ones, because of its mild taste you can sneak these veggies into baking recipes and they won’t even know it’s there but still get added nutrition!

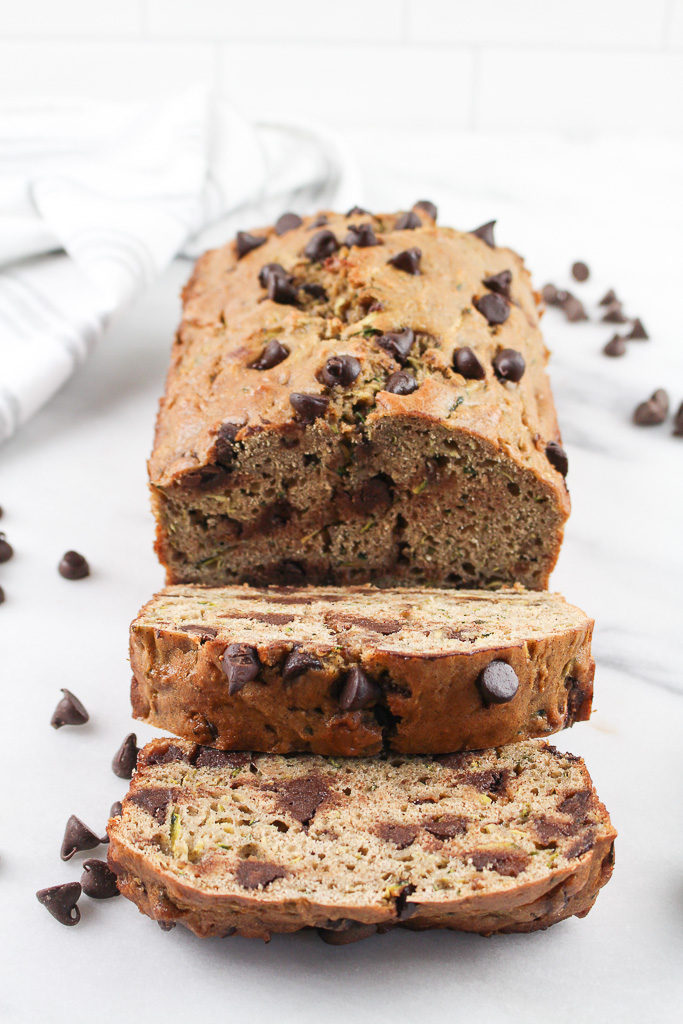
Chocolate Chip Zucchini Bread sliced on a marble slab

When is Zucchini in Season and the Freshest?

Zucchini is primarily considered a summer veggie with its peak season being June through late August. However, most local markets and stores have zucchini available year-round, which is great because zucchini bread is popular around the fall, winter, and other holidays. 

What You Need For Chocolate Chip Zucchini Bread

eggs

unsweetened applesauce

brown sugar

vanilla extract

whole wheat flour

all-purpose flour

salt

baking soda

baking powder

cinnamon

shredded zucchini

chocolate chips

How to Make Zucchini Bread with Chocolate Chips 

Prep your loaf pan by spraying some non-stick spray. You can also use parchment paper if you choose. 

Preheat the oven to 350 degrees. 

Start by shredding the zucchini. Once you are finished try to get rid of as much moisture as possible by pressing firmly with paper towels. 

Whisk together the eggs, sugar, applesauce, and vanilla in a large bowl until the mixture is smooth. 

Grab another mixing bowl and sift together your flours, baking soda, baking powder, salt, and cinnamon. 

Gently fold in the zucchini, being careful not to overmix. By folding the zucchini in you don’t have to worry about clumps, instead you will get a little bit in every bite.

Pour the dry ingredients into the bowl with the egg mixture slowly while constantly stirring. Add just a little at a time. 

Toss in the chocolate chips and fold just until they are distributed evenly. 

Pour the zucchini bread batter in the 9×5 loaf pan. 

Bake for about 50 minutes. Check it with a toothpick to be sure that it is done. If it is, the toothpick will come out clean. 

Take the bread from the oven and let it rest for at least 15 minutes before transferring it out of the loaf pan. 

Cool completely before slicing so it doesn’t fall apart.

Chocolate Chip Zucchini Bread on a marble slab with chocolate chips sprinkled on top and around the loaf

Variations of Zucchini Bread 

  • Want to make banana zucchini bread? Simply swap the applesauce for mashed bananas!
  • Feel free to use any variety of chocolate (white, semi-sweet, dark, or milk). 
  • Add in some nuts for a nice crunch! Walnuts are my favorite to add to quick bread recipes.

Tips for Baking with Zucchini 

  • Do you have to peel zucchini before using it? Nope! Generally speaking, zucchini is not a veggie that needs peeling before eating. 
  • Zucchini contains a lot of moisture, so always follow the recipe when it comes to knowing whether or not to leave it or to remove as much as possible. 
  • To shred zucchini, you can use one of the sides of your cheese grater so no fancy equipment needed! 

How to Store Zucchini Bread with Chocolate Chips 

Wrap the zucchini loaf in plastic wrap and you can store it at room temperature for at least 4 days. You can also refrigerate it if you would rather do that. 

To freeze, secure the cooled loaf in plastic wrap and place it in a freezer bag. Some also prefer to wrap it in another layer using aluminum foil. Freezing for later is a great idea when making multiple batches or if you want to make it ahead of time for special occasions.

Print
clock clock iconcutlery cutlery iconflag flag iconfolder folder iconinstagram instagram iconpinterest pinterest iconfacebook facebook iconprint print iconsquares squares iconheart heart iconheart solid heart solid icon
Chocolate Chip Zucchini Bread on a marble slab with a knife and napkin

Chocolate Chip Zucchini Bread

  • Author: Chef Julie Harrington, RD
  • Prep Time: 15 minutes
  • Cook Time: 55 minutes
  • Total Time: 1 hour 10 minutes
  • Yield: 12 1x
  • Category: baked goods
  • Method: oven
  • Cuisine: American

Ingredients

Scale

3 eggs
1/2 cup unsweetened applesauce
1/2 cup brown sugar
1 teaspoon vanilla extract
1 1/2 cups whole wheat flour

1 1/2 cups all-purpose flour
1/2 teaspoon salt
1/2 teaspoon baking soda
1 teaspoon baking powder
1 tablespoon cinnamon
3 cups shredded zucchini (about 2 zucchinis)
1 cup chocolate chips


Instructions

  1. Preheat the oven to 350 degrees F. Grease a 9×5 inch loaf pan with cooking spray.
  2. Shred zucchini. Using paper towels press as much moisture you can from the zucchini.
  3. In a large bowl, whisk together the eggs, applesauce, brown sugar, and vanilla until smooth.
  4. In a separate bowl, sift together whole wheat flour, all-purpose flour, salt, baking soda, baking powder, and cinnamon. Fold zucchini into flour. This will help zucchini being dispersed throughout the bread vs. clumping together.
  5. Add the dry ingredients to the wet ingredients, a little at a time, mixing until well combined.
  6. Fold in the chocolate chips until they are evenly distributed throughout the batter.
  7. Pour the batter into the prepared loaf pan. Bake for 50-55 minutes, until a toothpick inserted in the middle and comes out clean.
  8. Remove the bread from the oven, and let it cool for 10-15 minutes before taking it out of the loaf pan. Cool completely before slicing.

Keywords: zucchini bread, zucchini, chocolate chips, baking, whole grain,

Recipe Card powered byTasty Recipes

This recipe was originally posted in 2013. The recipes, images, and content have been updated.

Other recipes you may enjoy

Peanut Butter Oat Bars

These Peanut Butter Oat Bars are soft, chewy, and subtly sweet to add to a balanced breakfast or enjoyed as a snack.

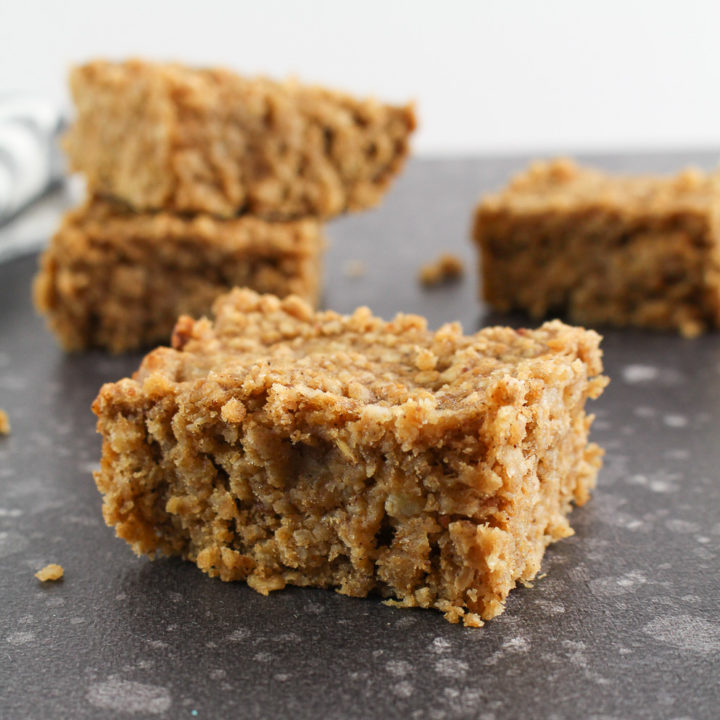
homemade oat bars on a black slate

Dear future children, please do not have a peanut allergy. Your future peanut butter addict’s mom will be very sad. Peanut butter is a staple food in my diet. I can confidently say I enjoy peanut butter pretty much every day.

Did you know?

It takes about 540 peanuts to make a 12-ounce jar of peanut butter. (source)

Health benefits of peanut butter

Replacing saturated fat with similar amounts of unsaturated fats may reduce the risk of heart disease. One serving of dry-roasted peanuts (30 grams) contains 12 grams of unsaturated fat, only two grams of saturated fat, and no trans fat. 

Peanuts are an excellent source of (20% of the Daily Value):

  • Niacin: Niacin is an important B vitamin that helps to convert food to energy, aids with the digestive and nervous system, and helps the skin.
  • Manganese: Manganese is important for processing cholesterol, and nutrients like carbohydrates and protein.
    (source)
homemade snack bars on a black marble slab

Just one bowl, these bars are easy to whip up. Pair with a piece of fruit and/or yogurt for breakfast, or enjoy alone as a snack. If you are peanut butter obsessed like me, I even added a smear of peanut butter on top.

Peanut Butter Oat Bars stacked on top of each other

I kept this Peanut Butter Oat Bars recipe simple, but of course, you can add your own twist. Stir in chocolate chips, some nuts or seeds. I’m even curious to try tahini in place of the peanut butter.

Print
clock clock iconcutlery cutlery iconflag flag iconfolder folder iconinstagram instagram iconpinterest pinterest iconfacebook facebook iconprint print iconsquares squares iconheart heart iconheart solid heart solid icon
close up image of peanut butter oat bars

Peanut Butter Oat Bars

  • Author: Chef Julie Harrington, RD
  • Prep Time: 15
  • Cook Time: 30
  • Total Time: 45 minutes
  • Yield: 8
  • Category: Baked Good
  • Method: Baking

Description

These Peanut Butter Oat Bars are soft, chewy, and subtly sweet to add to a balanced breakfast or enjoyed as a snack.


Ingredients

Scale

1/2 cup natural peanut butter, melted
1/2 cup coconut oil, melted
1 small ripe banana, mashed
1/4 cup maple syrup
2 eggs
1 teaspoon vanilla extract
1 teaspoon ground cinnamon
1 1/2 cups rolled oats
1/2 cup finely ground flaxseed (see notes)


Instructions

  1. Preheat the oven to 350°F. Coat an 8×8 baking pan with cooking spray and set aside.
  2. In a large bowl, whisk together peanut butter, coconut oil, banana, maple syrup, eggs, and vanilla extract until well combined.
  3. Stir in cinnamon, rolled oats, and flaxseed, until well combined.
  4. Pour into the prepared baking dish and spread in an even layer. Bake for 25-30 minutes until edges are lightly browned and a toothpick inserted in the middle comes out clean.
  5. Cool for 15 minutes before slicing into squares. 

Notes

I used Manitoba Milling Co. Smooth Whole-Milled Flaxseed, which is more of a powdery/flour texture. 

Add chocolate chips or nuts, sprinkled on top or folded into the batter, as desired.

Keywords: peanut butter, oats, bars, breakfast, snack, whole grain,

Recipe Card powered byTasty Recipes

Other recipes you may enjoy

Instant Pot Steel Cut Oats (+ Freezer-Friendly Tip)

Make mornings easier by meal prepping a batch of Instant Pot Steel Cut Oats for the week and follow a simple freezer-friendly tip to enjoy steel cut oats in just minutes.

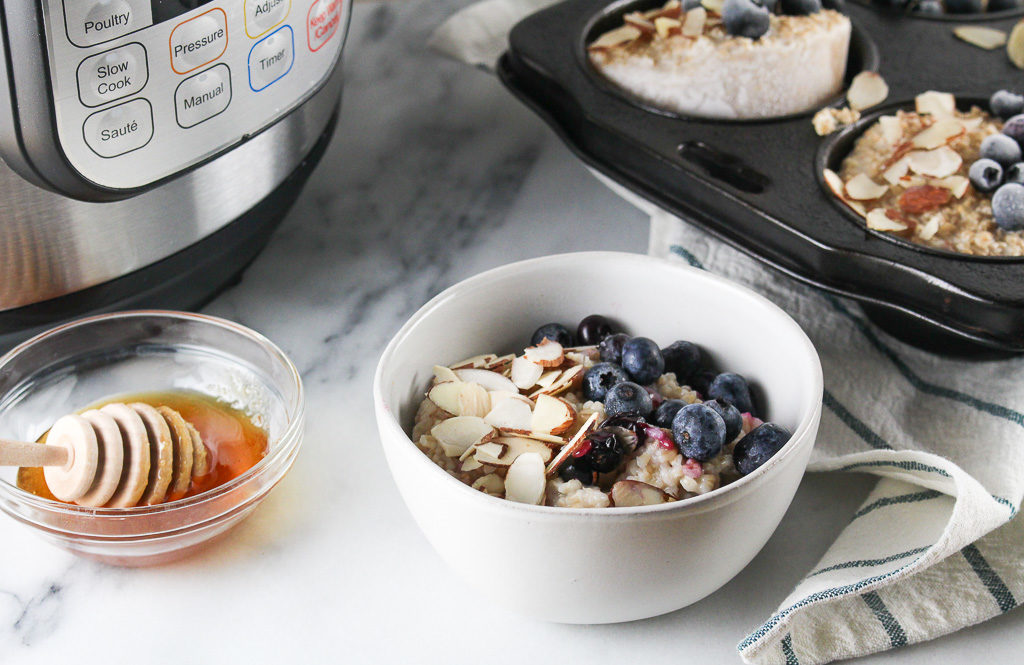
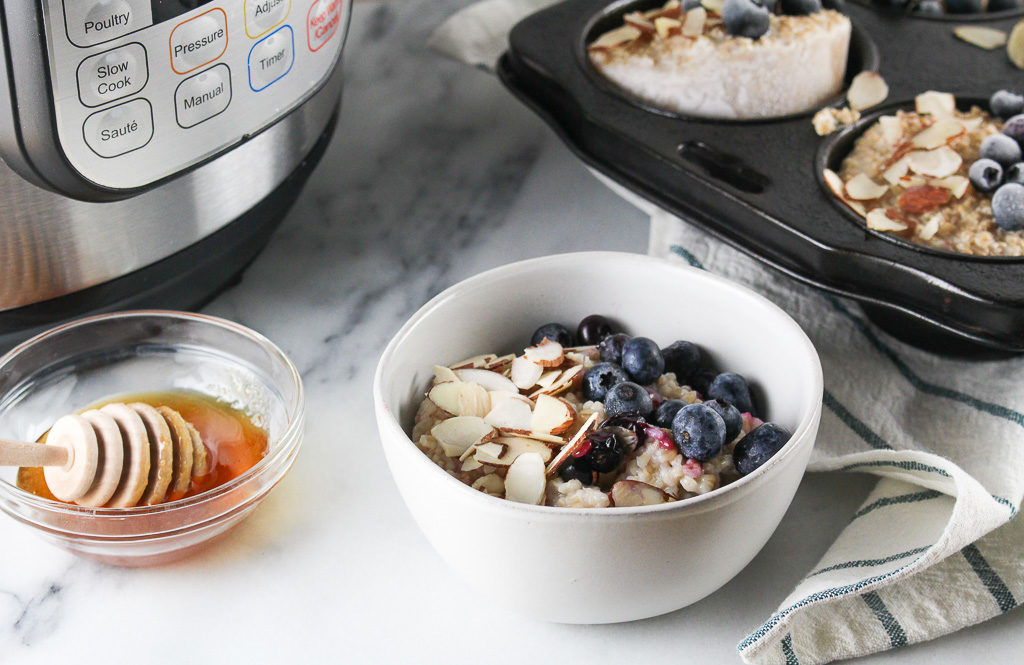
steel cut oats in a small white bowl with blueberries and sliced almonds

Who has time to make a fresh batch of steel-cut oats in the morning? If you do, more power to you, but like many, I prefer extra sleep vs. waking up earlier to make breakfast from scratch.

What Are Steel Cut Oats?

Steel cut oats are the least processed variety of oats, take the longest to cook, and maintain their texture better than others when it comes to a good bowl of oatmeal. It’s literally the whole oat, including the bran (the outermost layer). I previously talked about the differences between steel-cut, rolled, and quick oats.

Are Steel Cut Oats Healthy?

Yes! They are naturally gluten free for anyone with sensitivities and packed full of fiber. Most don’t know this, but one serving (without added toppings) has 7 grams of protein! Steel cut oats also have a lower glycemic index than others. Even if you don’t take the GI into consideration, know that this is a good concept for everyone, which means your body will digest it slower than other varieties and you will have less of a sugar spike.

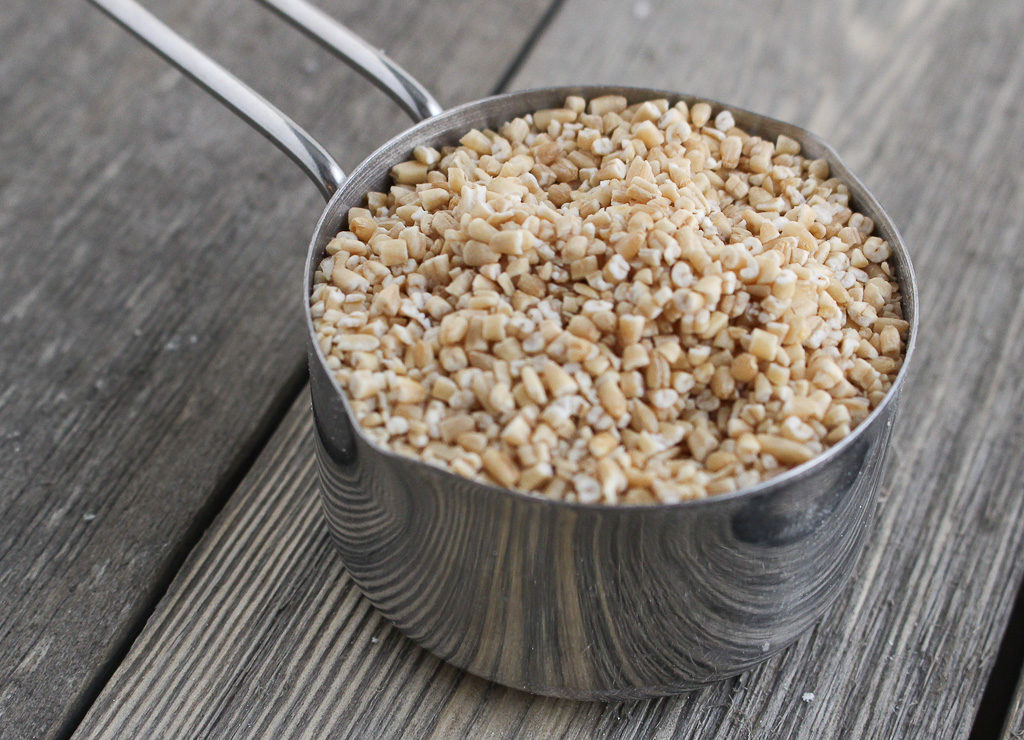
steel cut oats in a metal measuring cup

Does Using the Instant Pot Save Time? 

By the time the Instant Pot comes to pressure, the cooking time, and the pressure release time it’s about the same. BUT the greatest thing is that it’s hands-free cooking. So no stirring constantly, wondering if they are ready, and you can do other stuff while you wait on your breakfast!

Instead of spending time each morning making a serving of steel-cut oats meal prep a large batch for the week. Steel-cut oats can easily be made over the stovetop, but I love using the Instant Pot to make steel-cut oats because just add your ingredients, press a few buttons, and done!
steel cut oats in a white bowl with toppings on a marble slab next to the Instant Pot

Ingredients for Instant Pot Steel Cut Oats 

steel cut oats
water
cinnamon sticks – if you don’t have these you can use ground cinnamon instead

How to Cook Steel Cut Oats in a Pressure Cooker

Pour the steel cut oats and water into the Instant Pot and stir. Add in the cinnamon sticks or ground cinnamon and stir once more. 

Place the lid on the Instant Pot and turn the valve to the sealing position. 

Cook for 6 minutes using manual pressure. 

When the timer goes off, allow the pressure cooker to release naturally for 20 minutes, then turn the valve to the venting position. 

Toss out the cinnamon sticks and give it a good stir. 

Serve with your favorite toppings!

Steel Cut Oatmeal Topping Ideas

I prefer to make the batch of steel-cut oats pretty plain because then there is the flexibility to add different toppings to create different flavor combinations. I do enjoy adding a cinnamon stick to the pot and the cinnamon flavor infuses into the oats. (This can easily be done with a few shakes of ground cinnamon too.) Here are some more ideas.

Bananas & Blueberries – a favorite combination! Add these on top just before serving

Syrup & Honey – Need just a touch of sweetness? Drizzle some maple syrup or honey over the oats once they come out of the Instant Pot 

Pumpkin – you could add a couple of spoonfuls of pureed pumpkin before cooking, great for the fall! 

Apples – because that just makes sense with cinnamon! Dice them into small pieces (as even as possible) and stir before you cook or after as a topping. 

  • Other fresh fruit and berries
  • Nuts (almond, walnuts, pecans) 
  • Splash of milk to thin it out if needed.
  • Nut or seed butter
  • Chia seeds or ground flax meal

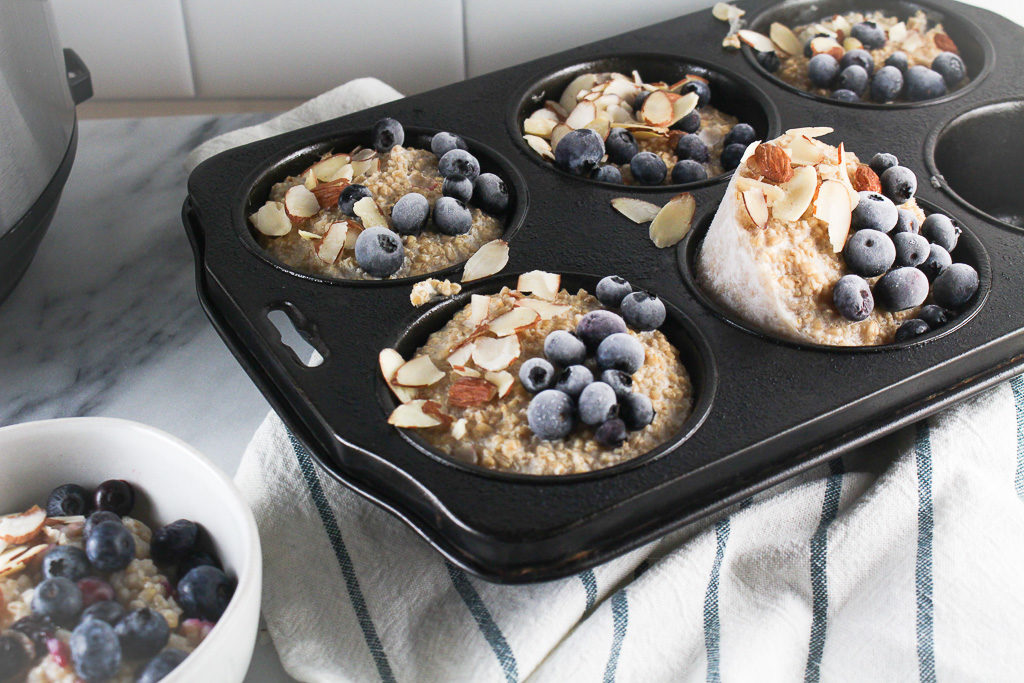
frozen steel cut oatmeal in a jumbo muffin tin

How Long Do Steel Cut Oats Last After Being Cooked? 

Once you have pressure cooked them, they stay fresh when kept in the refrigerator for up to a week. 

If you want to batch, I recommend freezing them. 

After making a batch of these Instant Pot Steel Cut Oats, spray a jumbo muffin tin with cooking spray and scoop about a cup of oats into each muffin tin well. Then add your favorite topping combinations.

Once hardened, dip the bottom of the muffin tin in warm water to help remove the single-serving steel cut oat portions and freeze in a container or bag for later use.

Then, simply add a single-serving portion of oats to a microwave-safe bowl with a few drops of water, and reheat in the microwave.

Print
clock clock iconcutlery cutlery iconflag flag iconfolder folder iconinstagram instagram iconpinterest pinterest iconfacebook facebook iconprint print iconsquares squares iconheart heart iconheart solid heart solid icon
Instant Pot Steel Cut Oats in a white bowl topped with blueberries and almonds

Instant Pot Steel Cut Oats

  • Author: Chef Julie Harrington, RD
  • Prep Time: 5
  • Cook Time: 6
  • Total Time: 11 minutes
  • Yield: 6
  • Category: Breakfast
  • Method: Instant Pot

Ingredients

Scale

2 1/2 cups steel cut oats
7 cups water
2 cinnamon sticks (or 1 teaspoon ground cinnamon)


Instructions

  1. Add steel cut oats, water, and cinnamon sticks to the Instant Pot and stir to combine.
  2. Secure Instant Pot lid and close the vent. Set Instant Pot on the manual setting for 6 minutes.
  3. When Instant Pot beeps, allow the pressure to naturally release for 20 minutes.
  4. Remove lid, discard cinnamon sticks, and stir oats to incorporate any water that has risen to the top.
  5. Serve with your favorite toppings. (Combination recommendation: blueberries, sliced almonds, and honey)

Notes

Leftover oats can be stored in the fridge for up to a week or utilize the freezer-friendly method.

Freezer-Friendly Method:
Spray a jumbo muffin tin with cooking spray and scoop about a cup of oats into each muffin tin well. Then add your favorite topping combinations. Once hardened, dip the bottom of the muffin tin in warm water to help remove the single-serving steel cut oat portions and freeze in a container or bag for later use.

Keywords: oatmeal, Instant Pot, steel cut oats, breakfast, cooking tip, oats

Recipe Card powered byTasty Recipes

Other recipes you may enjoy

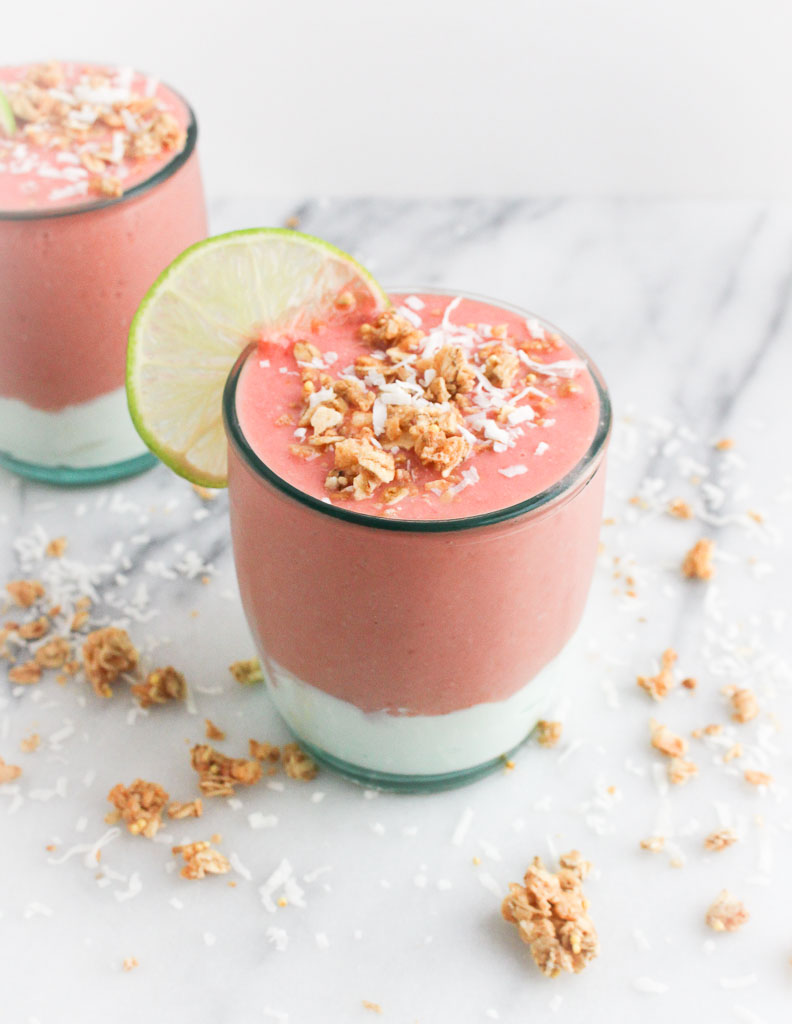
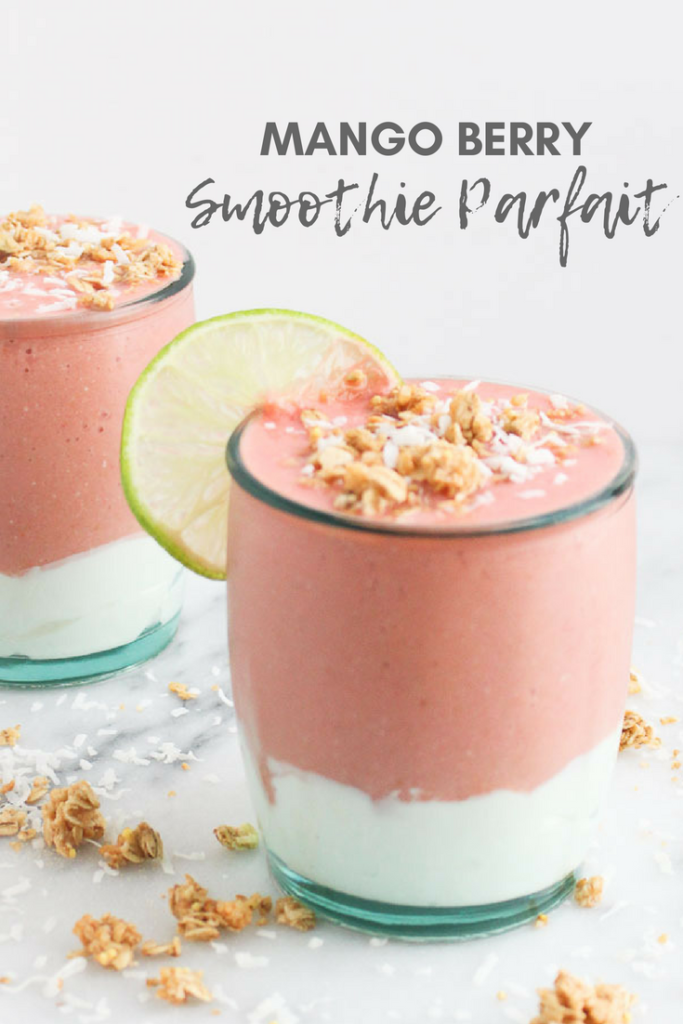
Mango Berry Smoothie Parfait

Smoothie or parfait – which do you prefer? Can’t decide? Neither can I! Get these best of both with this Mango Berry Smoothie Parfait.

Mango Berry Smoothie Parfait via Chef Julie Harrington, RD @chefjulie_RD #smoothie #smoothieparfait #tropical #parfait

Disclosure: This post was sponsored by KIND Snacks for a recipe contest with Ahold Foods. This recipe was featured in Stop & Shop and Giants circular week of 9/20/18. Thanks for supporting the brands that make this blog possible!

Do you prefer smoothie bowls or parfaits?

Smoothie Bowls vs. Parfaits

Smoothie Bowls:

Making a smoothie bowl instead of an on-the-go drink can help practice mindful eating and encourage slower eating. It’s easy to suck down a smoothie in a few big gulps. By enjoying a smoothie bowl with a spoon it can help you slow down, be more aware of what you’re eating and pay attention to whether or not you are actually hungry. Plus you can add more toppings!

Parfaits:

A yogurt parfait is typically served in a tall glass with layers of several different ingredients. Yogurt is the star of the recipe, but many add-ins, such as fruit or granola, also make an appearance. I always prefer to make my own yogurt parfaits with ingredients and products I love. Be mindful when ordering a yogurt parfait out, as they are often loaded with added sugars. Also, sometimes if the glass is too narrow I am usually eating layer by layer until there is enough room to mix it all to get every flavor in one bite.

What about getting the best of both worlds create a smoothie parfait!

Mango Berry Smoothie Parfait via Chef Julie Harrington, RD @chefjulie_RD #smoothie #smoothieparfait #tropical #parfait

Most smoothies have bananas as the base. But what if you don’t like bananas? (Hi, Steph – this recipe is for you!) I love bananas, but I often get requests from clients for smoothies without banana based on their preferences.

Banana is often used as the base because it helps create a creamy and smooth consistency of a smoothie. Using the frozen berries with yogurt help mimic that same creamy consistency, but I felt like it was still missing something. By adding a handful of KIND oats & honey clusters gave it a thicker consistency what I was looking for.

Mango Berry Smoothie Parfait via Chef Julie Harrington, RD @chefjulie_RD #smoothie #smoothieparfait #tropical #parfait

This recipe is for anyone who can’t make up their mind what they want to eat. This happens often for me. I can never decide and tend to merge things together, which gave me the inspiration for this recipe.

Print

clock clock iconcutlery cutlery iconflag flag iconfolder folder iconinstagram instagram iconpinterest pinterest iconfacebook facebook iconprint print iconsquares squares iconheart heart iconheart solid heart solid icon
clear glass layered with yogurt and smoothie topped with granola

Mango Berry Smoothie Parfait

  • Author: Chef Julie Harrington, RD
  • Prep Time: 10
  • Total Time: 10 minutes
  • Yield: 2
  • Category: smoothie, snack

Description

Can’t decide between a yogurt parfait or a smoothie? You don’t have to with this Mango Berry Smoothie Parfait.


Ingredients

Scale
  • 2 cups vanilla Greek yogurt
  • ½ cup frozen raspberries
  • ½ cup frozen strawberries
  • ½ cup fresh mango, cubed (can use frozen)
  • 1 teaspoon ground ginger
  • 1 tablespoon lime juice
  • 1/4 cup mango orange juice (can sub orange juice)
  • ½ cup milk
  • 1 tablespoon unsweetened coconut flakes
  • ¼ cup KIND oats & honey clusters with toasted coconut

(optional) toppings: unsweetened coconut flakes, KIND oats & honey clusters with toasted coconut


Instructions

  1. In a short glass, divide yogurt evenly in the bottom of two glasses.
  2. In a blender, combine raspberries, strawberries, mango, ginger, lime juice, mango orange juice, milk, unsweetened coconut, and KIND oats & honey clusters with toasted coconut. Blend until smooth.
  3. Pour over yogurt and top with unsweetened coconut flakes and KIND oats & honey clusters with toasted coconut, if using.

Keywords: smoothie, drink, snack, yogurt parfait

Recipe Card powered byTasty Recipes


Chef Julie Harrington, RD - Where food and love meet in the kitchen @ChefJulie_RD

Mango Berry Smoothie Parfait via Chef Julie Harrington, RD @chefjulie_RD #smoothie #smoothieparfait #tropical #parfait


Sweet Potato Flax Waffles

Make these Sweet Potato Flax Waffles for a delicious weekend breakfast, and freeze for later to enjoy during a busy week.  

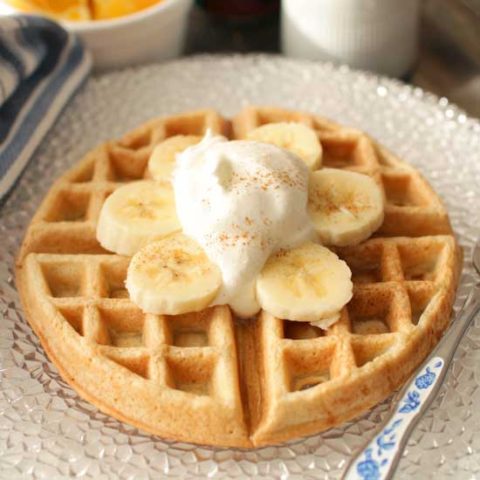
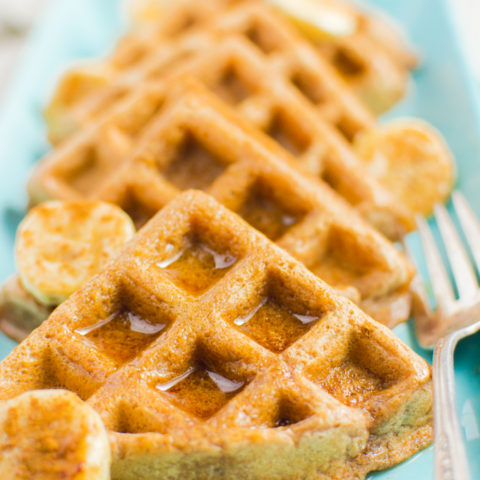
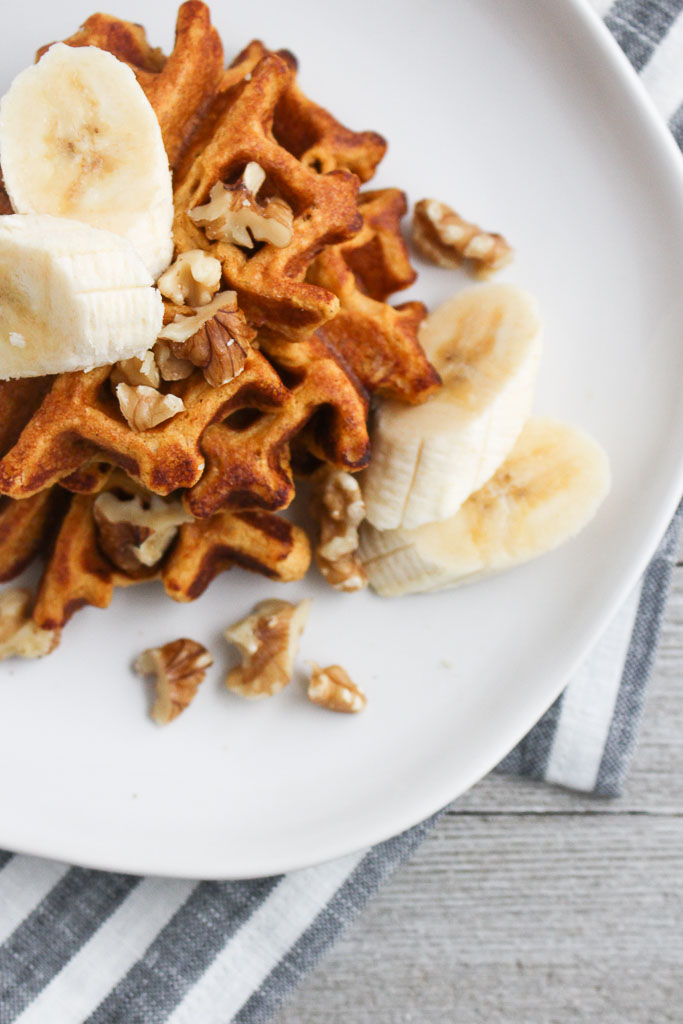
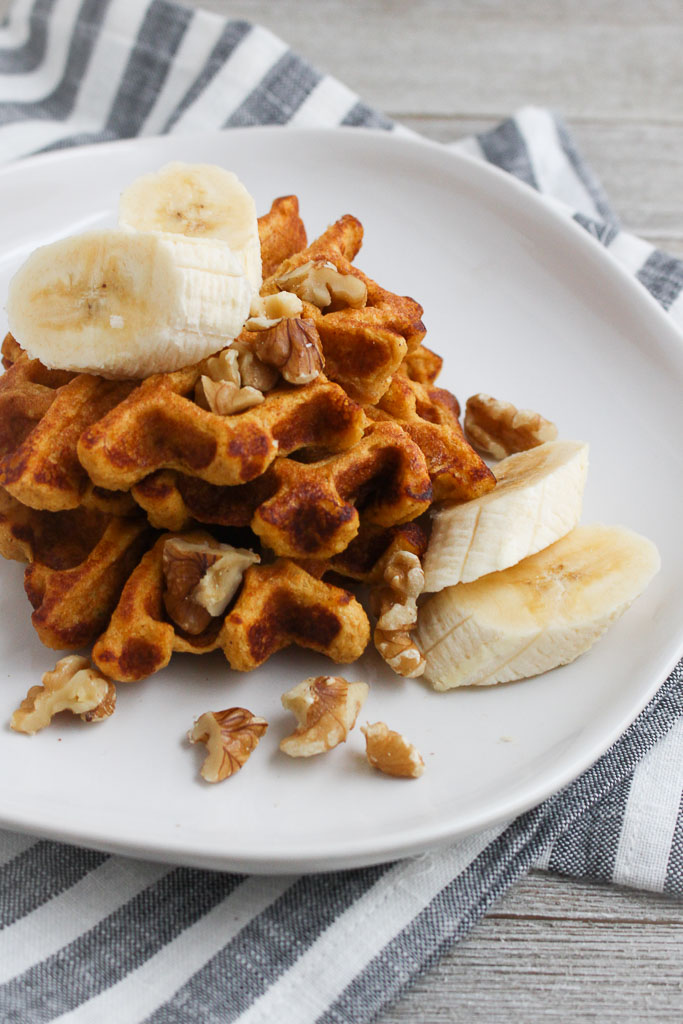
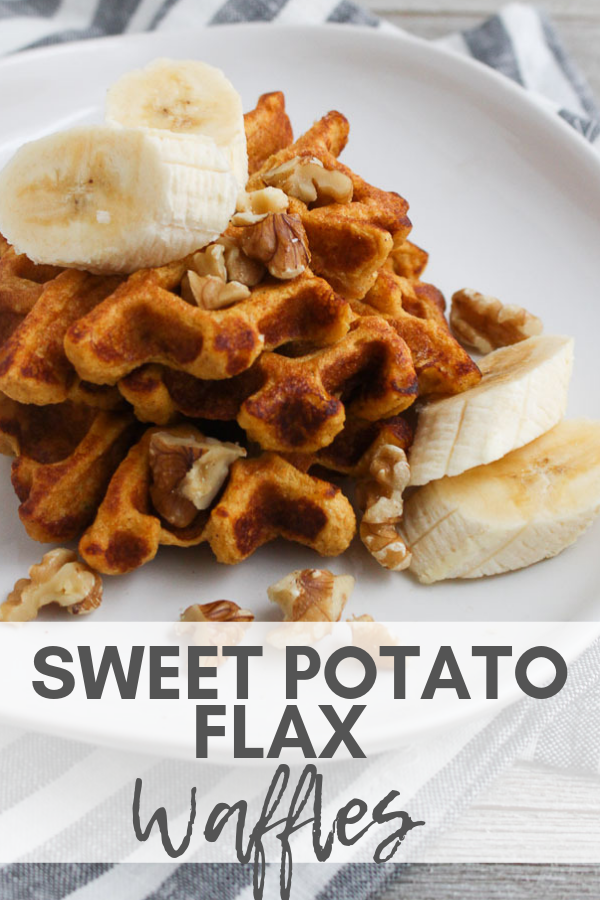
several sweet potato waffles on a plate with sliced bananas

I go through phases where my waffle iron is always being used daily but then sits there collecting dust. I think it’s because sometimes I get sick of cleaning it. You have to get into all the nooks and crannies to make sure you don’t miss anything.

I used to get SO excited when we would stay at a hotel that had a continental breakfast and we could make Belgium waffles for breakfast. It was always an extra little treat!

two sweet potato flax waffles with sliced bananas and walnuts on a small white plate

Are Potato Waffles Healthy?

Yes! These waffles are packed with nutrition. These sweet potatoes are filled with vitamins, minerals, and antioxidants. Using the ground flax takes place of having to add flour. Flax seeds are a great source of fiber and are high in omega 3 fatty acids. Oats are another good source of fiber and have some protein as well.

This waffle recipe is balanced to help with blood sugar spikes and will keep you fuller for longer, especially when compared to other conventional breakfast foods.

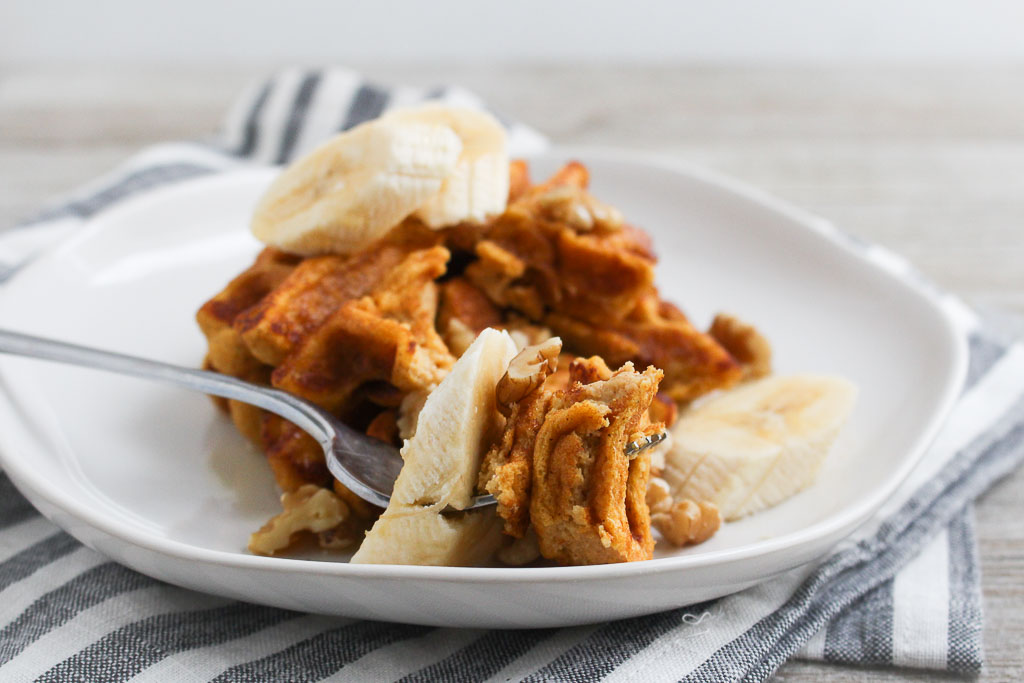
sweet potato waffles on a fork resting on a plate

Sweet Potato Waffle Ingredients

  • sweet potato puree
  • old-fashioned oats
  • ground flax (I used Manitoba Milling Co.)
  • milk
  • eggs
  • cinnamon
  • baking powder
  • salt
  • cooking spray
  • toppings: sliced banana, walnuts, maple syrup (optional)

How to Make Waffles Using Sweet Potatoes

To make the sweet potato waffle base, you need to bake the sweet potatoes first. Once they are done, scoop out the flesh and add it to a blender or food processor.

Add the remaining ingredients to the blender and pulse until it’s smooth. Allow the waffle batter to sit for about 10 minutes.

Spray your waffle iron with cooking spray and heat to medium-high.

Pour 1/3 of the batter at a time to make each sweet potato waffle. Cook 3-4 minutes or until the desired consistency is reached.

Serve with your favorite toppings for a healthy and nutritious breakfast.

three sweet potato waffles on a plate with bananas and walnuts

Waffle Topping Ideas

  • Fresh fruit – bananas, apples, berries, melon
  • Greek yogurt
  • Nut Butter – peanut butter, almond butter
  • Seeds
  • Honey or maple syrup

Can You Make Sweet Potato Waffles Vegan?

I haven’t tested this version, but if you experiment you could swap the poultry eggs for flax eggs. Then cut down on the amount of additional flax. You would also want to use a plant-based milk as well.

Are These Waffles Gluten Free?

They are as long as you choose a gluten free brand of oats, like Quaker or Bob’s Red Mill.

Tips for Making

  • I used Manitoba Milling Co. finely milled flaxseed, which is almost like the consistency of flour. If using coarse ground flax, more liquid may be needed. 
  • To store you can reheat them in a toaster. They also freeze really well too which is great for meal prepping.
  • Make sure you cook the sweet potatoes until they are tender before adding them to the blender.
  • Preheating the waffle iron first helps to give a crispy outside.
  • This batter can easily be used for pancakes as well.

Team Waffle or Team Pancake?

I’ve mentioned before that I used to be a waffle person over pancake person, only because I used to be terrible at flipping them. I think my skills have improved though.
Waffle pros: They freeze and reheat better than pancakes (in my opinion).
Waffle cons: You only can really make one at a time, whereas with a large enough pan, you can easily make a few pancakes at a time.

Print
clock clock iconcutlery cutlery iconflag flag iconfolder folder iconinstagram instagram iconpinterest pinterest iconfacebook facebook iconprint print iconsquares squares iconheart heart iconheart solid heart solid icon
sweet potato waffles on a white plate with bananas and walnuts

Sweet Potato Flax Waffles

  • Author: Julie Harrington, RD
  • Prep Time: 15
  • Cook Time: 20
  • Total Time: 35 minutes
  • Yield: makes 8 waffles 1x
  • Category: breakfast, waffles

Description

Make these Sweet Potato Flax Waffles for a delicious weekend breakfast, and freeze for later to enjoy during a busy week.


Ingredients

Scale
  • 3/4 cup sweet potato puree (about 1 medium sweet potato – baked and flesh scooped out)
  • 1/2 cup old-fashioned oats
  • 1/2 cup ground flax (I used Manitoba Milling Co.)
  • 1 cup milk
  • 2 eggs
  • 1 tablespoon cinnamon
  • 1/4 teaspoon baking powder
  • pinch of salt
  • cooking spray
  • toppings: sliced banana, walnuts, maple syrup (optional)

Instructions

  1. Add all ingredients to a blender and blend until smooth. Let batter sit for 10 minutes.
  2. Preheat waffle iron to medium-high heat. Spray with cooking spray.
  3. Pour 1/3 cup of batter into waffle iron. Cook until desired consistency (about 3-4 minutes per side).
  4. Top waffles with sliced bananas, walnuts, and syrup, if desired.

Notes

To make sweet potato puree: Score a sweet potato with a paring knife. Wrap in tin foil and bake until soft. When cool enough to handle, scoop out the flesh and puree.

Meal Prep: Make a batch of these waffles ahead of time. They freeze well. Just pop them in the toaster to warm up.

I used Manitoba Milling Co. finely milled flax seed, which is almost like the consistency of flour. If using coarse ground flax, more liquid may be needed. 

Keywords: waffles, breakfast, sweet potato, grain free, gluten free

Recipe Card powered byTasty Recipes

Breakfast Recipes

Disclosure: This recipe was submitted to for a recipe contest and eligible to win prizes. I was not compensated for my time.  

Chef Julie Harrington, RD - Culinary Nutrition Consultant of chefjulierd.com

Pin for later!

Sweet Potato Flax Waffles via Chef Julie Harrington, RD @ChefJulie_RD Make these Sweet Potato Flax Waffles for a delicious weekend breakfast, and freeze for later to enjoy during a busy week.  #sweetpotato #waffles #breakfast #brunch #flax #flaxseed #freezerfriendly

Oat Flour Pancakes

These pancakes are whole grain and gluten-free, making them a perfect fit for any pancake enthusiast!

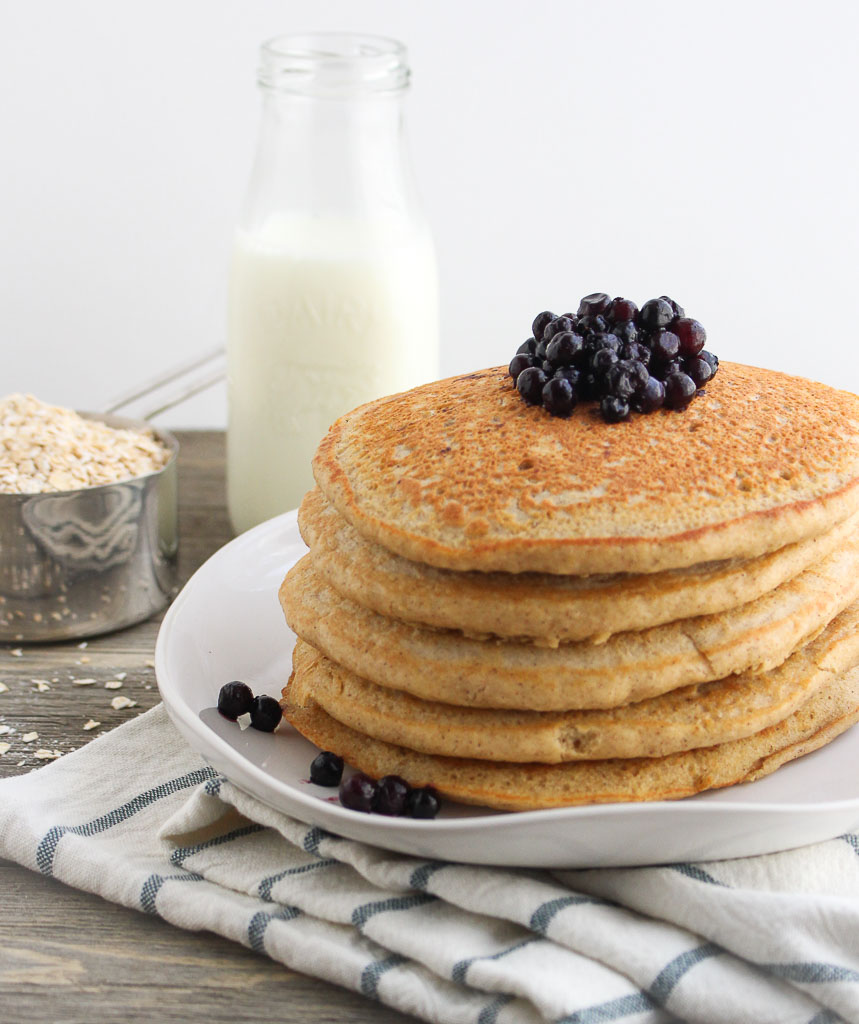
oat flour pancakes stacked on a white plate

Why I love Oat Flour Pancakes

I used to be “anti pancake” because I am the worst at flipping them. Really, it was that I was impatient and tried to flip them too early before they set.

When my sisters and I were little, my dad was the only one who was allowed to cut our pancakes. He would keep them perfectly stacked and cut them into perfect triangles. I was more of a syrup dunker than a drizzler. I would take each triangle and dunk it into the “good syrup”. My aunt lives in Vermont and she would send us delicious locally made maple syrup.
gluten free pancakes on a white plate topped with wild blueberries

Using whole grains for pancakes

The problem with pancakes is that I never felt satisfied after eating them. Adding whole grains as the base of pancakes can help solve that solution.

I used oat flour as the base. You could just buy oat flour, but it’s pretty easy to make. Just take rolled oats or instant oats and pulse them in a food processor until they resemble a light fluffy flour. Oat flour still contains all part of the whole grain, but not as dense as whole wheat flour, yielding a fluffier pancake.

oat flour pancakes with blueberries

The secret to creating fluffy pancakes

Vinegar in pancakes? Yes! It’s the secret to help activate the baking powder and helps the pancakes puff and become fluffy.

I’ve tried some other methods like adding seltzer to the batter or whipping the egg whites separately from the egg yolks before combining them. Both methods do work, but I don’t always have seltzer on hand, and mixing egg whites separately makes more messy bowls. I don’t know about you, but the fewer dishes to clean, the better!

Oat flour pancakes cut with wild blueberries

Syrup dunker or drizzler?

Are you a syrup dunker or drizzler? Most of the time I ditch the syrup and use frozen fruit like wild blueberries. When frozen berries defrost they become all gooey and syrupy. Other times, I’ll spread peanut butter or yogurt between the layers. I really just go with what I’m craving at the time.
How do you top your pancakes?

Print
clock clock iconcutlery cutlery iconflag flag iconfolder folder iconinstagram instagram iconpinterest pinterest iconfacebook facebook iconprint print iconsquares squares iconheart heart iconheart solid heart solid icon
stack of oat flour pancakes on a white plate with blueberries

Oat Flour Pancakes

  • Author: Chef Julie Harrington, RD
  • Prep Time: 10
  • Cook Time: 10
  • Total Time: 20 minutes
  • Yield: 2-3 1x
  • Category: pancakes, breakfast

Description

These oat flour pancakes are whole grain and gluten-free, making them a perfect fit for any pancake enthusiast!


Ingredients

Scale
  • 1 3/4 cup oat flour (see notes)
  • 1 tablespoon sugar
  • 2 teaspoons baking powder
  • 2 teaspoons cinnamon
  • ¼ teaspoon salt
  • 1 cup milk (or non-dairy milk of choice)
  • 1 teaspoon vanilla extract
  • 2 teaspoons apple cider vinegar (or white vinegar)
  • 1 tbsp canola oil
  • 2 eggs

Instructions

  1. In a large mixing bowl, combine oat flour, sugar, baking powder, cinnamon, and salt. Stir to combine.
  2. In a medium mixing bowl, add milk, vanilla, apple cider vinegar, canola oil, and eggs; whisk together.
  3. Slowly add wet ingredients into dry ingredients and mix until it just comes together. (do not overmix)
  4. Let batter sit for 5-7 minutes. It will thicken.
  5. Lightly spray a hot griddle with cooking spray.
  6. Use a 1/2 measuring cup to scoop the pancake batter onto the griddle.
  7. Let the pancakes bubble before flipping. Cook until golden brown on both sides.

Notes

Make your own oat flour:
Place either rolled oats or instant oats in a food processor at high speed. Process until it turns into fine oat flour.

Batter makes 6 medium-sized pancakes.

Keywords: pancakes, breakfast, whole grain, brunch

Recipe Card powered byTasty Recipes

*This recipe was originally posted in 2014. A new picture has been updated in 2018.