Make PERFECT Hard Boiled and Soft Boiled Eggs in the Instant Pot

Do you have an Instant Pot and don’t know where to start? I am still getting the hang of it, but I’ve mastered how to make PERFECT hard-boiled and soft-boiled eggs in the Instant Pot.

Disclosure: This post was sponsored by the American Egg Board and the Egg Nutrition Center. Thank you for supporting the brands that make this blog possible!

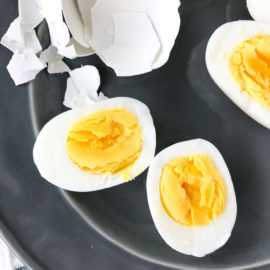
instant pot hard boiled eggs on a gray plate next to egg carton and shells

What Can the Instant Pot Do?

215,000+ Amazon customers purchased the Instant Pot on Prime Day alone. Now that it’s in everyone’s kitchen they are looking for new recipes to try.

The Instant Pot is a single appliance that does the job of seven (yes, seven!) different kitchen appliances. It can handle the tasks of a slow cooker, electric pressure cooker, rice cooker, steamer, yogurt maker, sauté/browning pan, and a warming pot. Think of all those appliances taking up space in your kitchen that can be replaced by one.

New to using the Instant Pot? Learn about these seven tips for efficiently using your Instant Pot.

While I am still learning all the functions of the Instant Pot, the first technique I mastered was preparing hard and soft-boiled eggs.
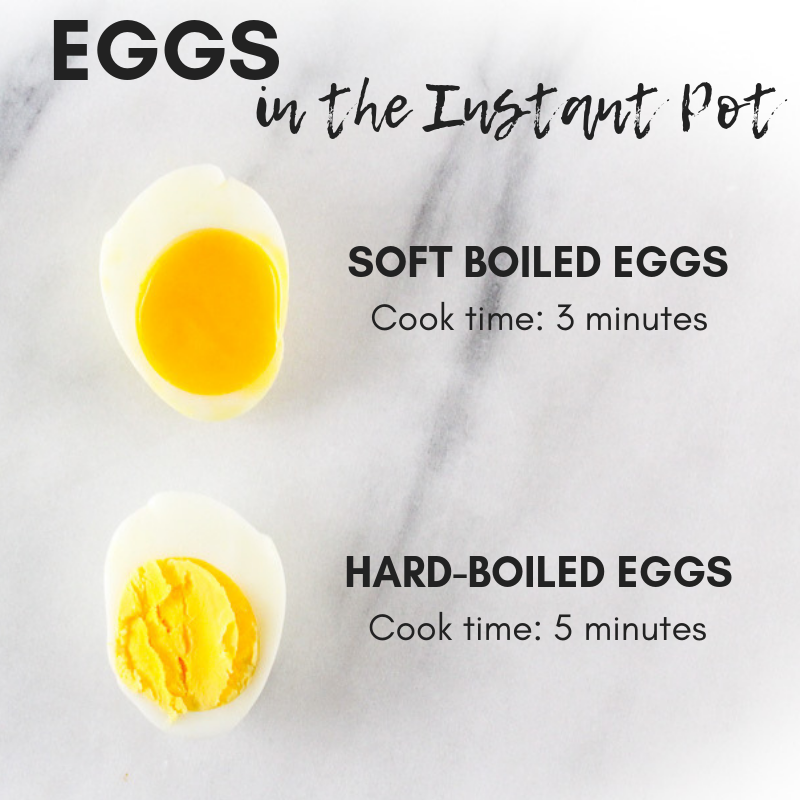
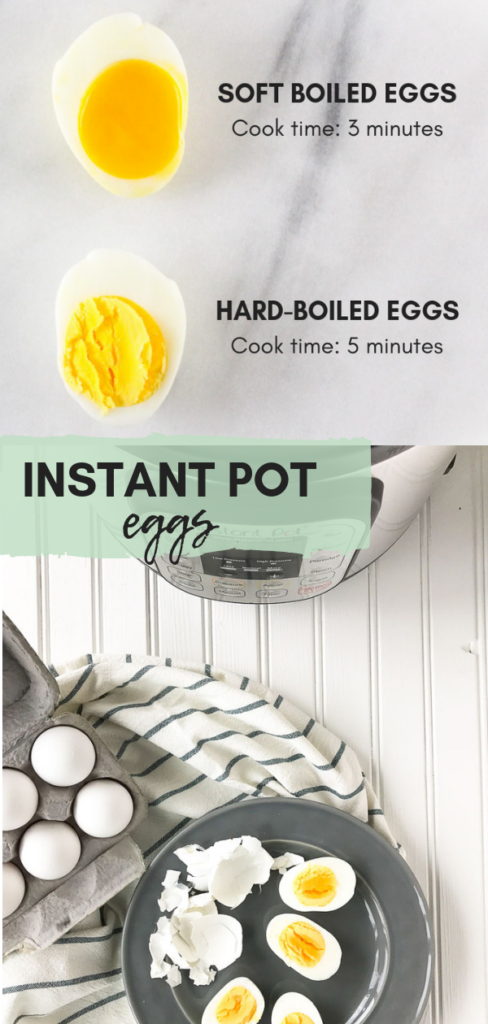
infographic for cooking eggs in the instant pot

How Are Eggs Healthy?

One large egg has 6 grams of high-quality protein and all 9 essential amino acids. Nearly half the protein is in the yolk so don’t ditch the yolk!

Eggs were once avoided and criticized for their cholesterol content. However, the totality of scientific research has shown no or little effect between dietary cholesterol and cardiac outcomes or markers of heart disease risk in healthy individuals.

Government and health organizations have revised their dietary cholesterol recommendations. The 2015-2020 Dietary Guidelines for Americans place no daily limit on dietary cholesterol intake. Foods like egg yolks and some shellfish are higher in dietary cholesterol but not saturated fats making them a healthful choice along with healthy eating patterns.

Hard-boiled eggs are something I pretty much meal prep every week for myself. One large egg has varying amounts of 13 essential vitamins and minerals, including choline plus the antioxidants lutein and zeaxanthin, all just for 70 calories.
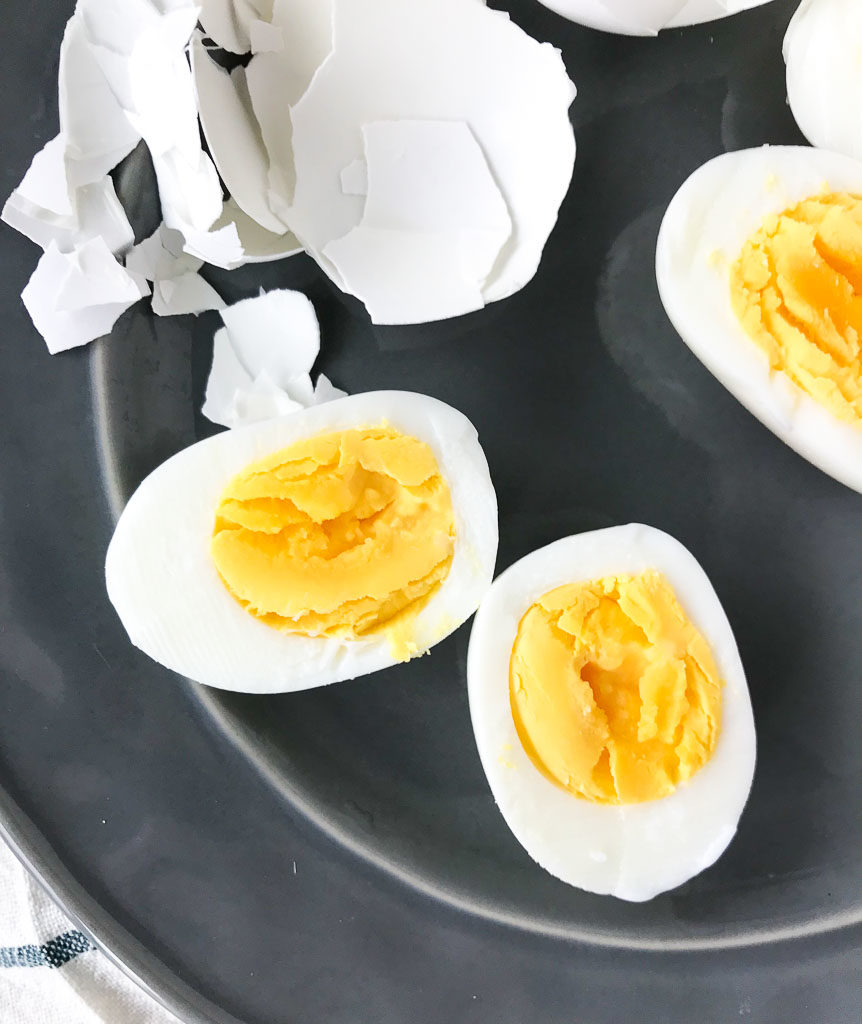
three hard boiled instant pot eggs on a gray plate next to the shells

Why the Instant Pot method works:

Now, I know making hard-boiled eggs on the stovetop is not too challenging, but this Instant Pot method makes it even simpler and in just 5 minutes, they are ready. Plus, there is a science behind why cooking eggs in the Instant Pot make them easier to peel. The reason according to Alton Brown is:

“Eggs that are quickly heated are easier to peel than eggs that are slowly heated, say in cold water brought to a boil. Fast cooking prevents the white from bonding so epoxy-like to the outer membranes. Since pressure steamers can generate temperatures between 230 and 250 degrees F it is suspected that this is actually why folks think they’re magic egg machines.” Also, thorough cooling eases peeling by allowing the proteins in the albumen to fully set and harden, thus preventing tearing.
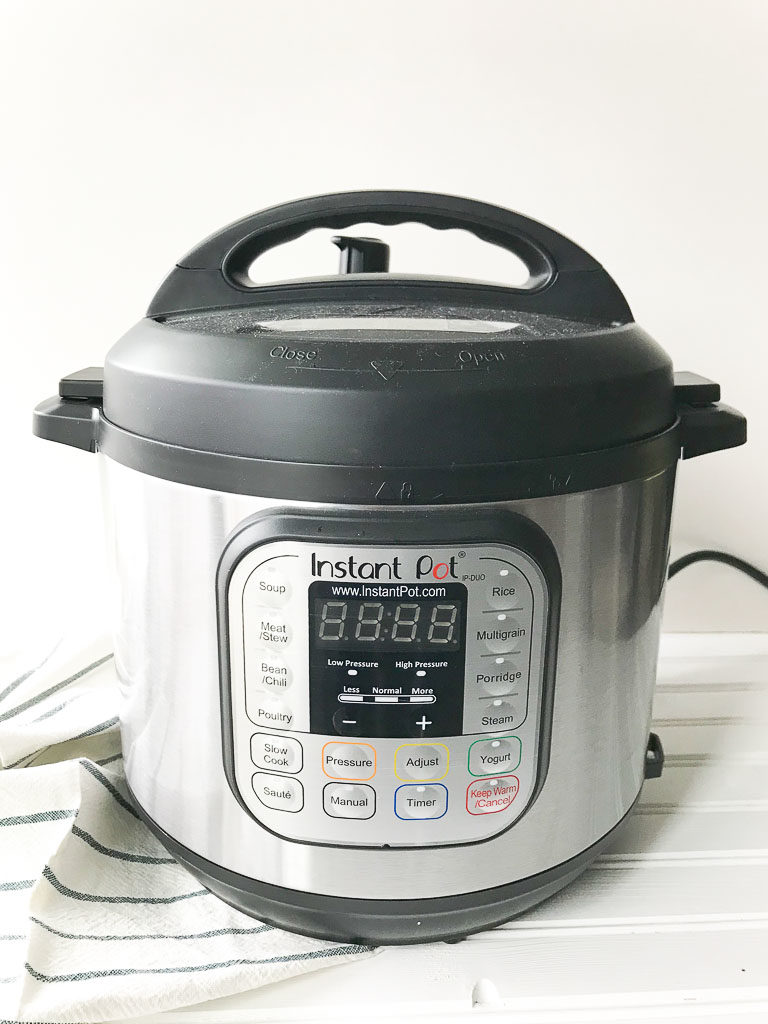
instant pot sitting next to gray striped towel

How to Make Soft Boiled Eggs in the Instant Pot

Pour the water in and place the rack (trivet) in the bottom. Then sit the eggs on the rack in the Instant Pot in a single layer.

Cook for 3 minutes on high pressure. Once the timer goes off, quickly release the pressure.

Transfer the eggs to a bowl with ice and cold water until they are cool enough to hold in your hand.

Peel right away.

The Best Pressure Cooker Hard Boiled Eggs

If you want to make hard boiled eggs in the Instant Pot, pour the water in. Set the rack in the bottom. Place the eggs on the rack. Cook for 5 minutes using high pressure. Let the pressure release naturally for 5 minutes, then transfer to an ice bath. Peel once they are cool enough for you to hold.

Tips for Making

  • Make sure the eggs are in a single layer, do not stack them.
  • There is an accessory you can buy that is specifically for making eggs in the Instant Pot that may allow you to cook more at a time.
  • When you release the pressure, place a towel over the top. Also make sure the pressure cooker is away from cabinets so the steam doesn’t ruin them.

How Long Do Cooked Eggs Last?

Hard-Boiled Eggs will keep up to a week in your refrigerator. Make a few perfect hard-boiled eggs to create delicious recipes throughout the week.
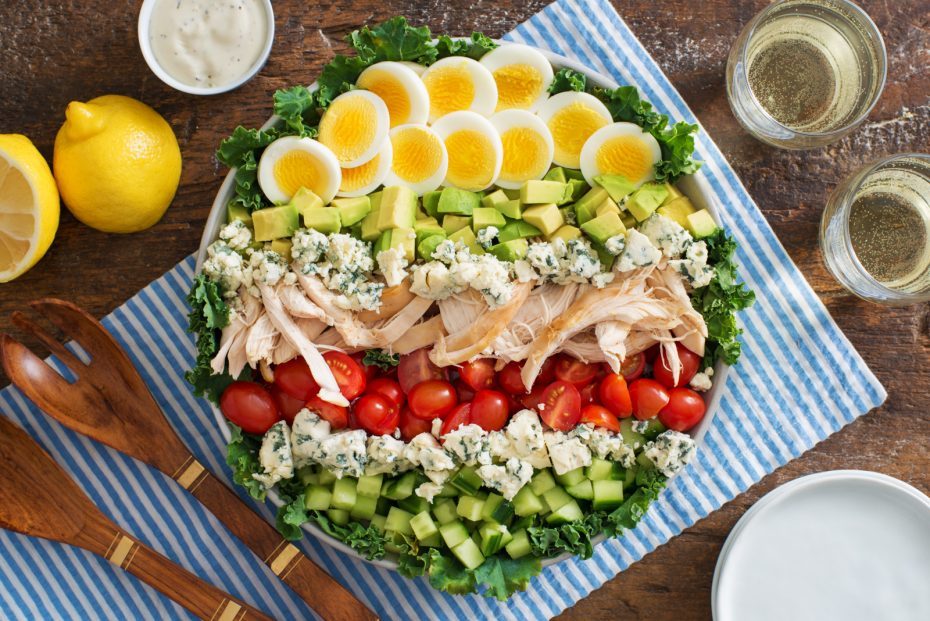
cobb salad topped with hard boiled eggs made in the pressure cooker

A few ways I use hard-boiled eggs are:

  • Pair hard-boiled eggs with avocado and tomato. I usually just add a little salt and pepper, but when I’m looking to add an extra pop of flavor, I add everything but the bagel, sesame seasoning blend.
  • For a filling snack, try my version of a “quick deviled egg”. Scoop out the yolk, mix with hummus and fill back in the egg white.

Ways to Use Instant Pot Eggs

(source)

Print
clock clock iconcutlery cutlery iconflag flag iconfolder folder iconinstagram instagram iconpinterest pinterest iconfacebook facebook iconprint print iconsquares squares iconheart heart iconheart solid heart solid icon
hard boiled eggs on a gray plate

Make PERFECT Hard Boiled and Soft Boiled Eggs in the Instant Pot

  • Author: Chef Julie Harrington, RD
  • Prep Time: 3
  • Cook Time: 5
  • Total Time: 8 minutes
  • Yield: 5
  • Method: Instant Pot

Description

Make PERFECT Hard Boiled and Soft Boiled Eggs in the Instant Pot EVERY. SINGLE. TIME.


Ingredients

Scale

Ingredients:
Eggs (up to as many that can fit in an even layer in your Instant Pot – do not stack)
1 cup water

Equipment:
Instant Pot with the rack


Instructions

Place the rack in the bottom of the pot. Pour the water in the pot. Place the eggs on the rack.

For soft-boiled:
Set Instant pot on high pressure on manual 3 minutes. Quick release placing a towel over the valve. Quickly add eggs to a bowl with cold water and ice until cool enough to hold. Peel right away.

For hard-boiled:
Set Instant Pot on high pressure on manual 5 minutes. Natural release 5 minutes then use quick release placing a towel over the valve. Quickly add eggs to a bowl with cold water and ice until cool enough to hold. Peel right away.


Keywords: eggs, instant pot, meal prep

Recipe Card powered byTasty Recipes

Make PERFECT Hard Boiled and Soft Boiled Eggs in the Instant Pot #instantpot #protein #cookingtip #healthy #breakfast #snack #eggs

Zucchini Bread Smoothie

This Zucchini Smoothie tastes exactly like your favorite veggie bread! Only 8 ingredients needed for a full on powerhouse in a glass!

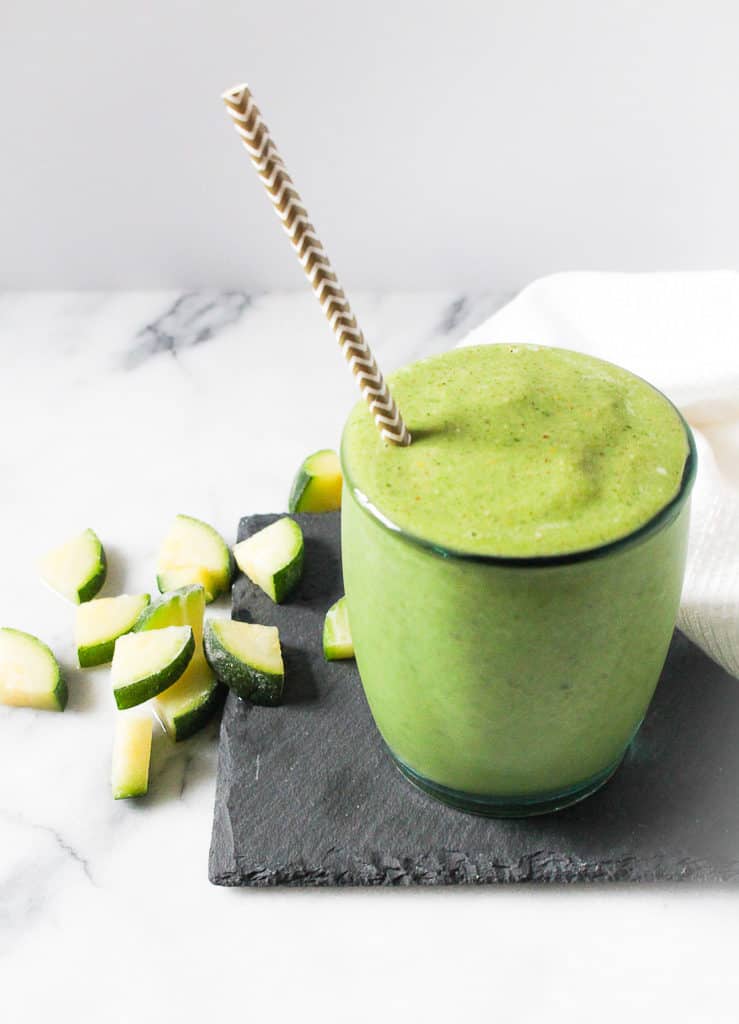
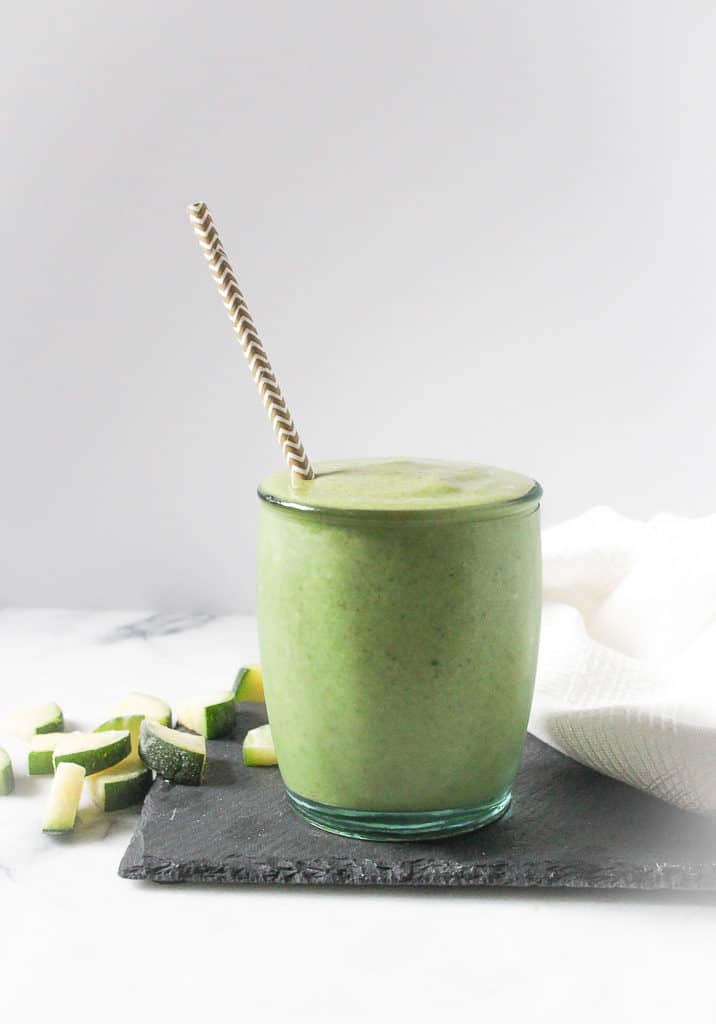
zucchini smoothie in a small glass with straw next to diced zucchini

This smoothie literally does taste like zucchini bread. When I took the first sip of this smoothie, my tastebuds could identify every single flavor that was blended together.

We pretty much have all heard of adding leafy greens to smoothies but have you considered veggies like zucchini. I recently started adding this vegetable to my smoothie with the plethora I’ve been picking up from the farmer’s market.

The other recipe that I run to when I have too many zucchini on hand is my chocolate chip zucchini bread, which I’m sure everyone has tried at some point (there’s also a gluten free version). One thing I really love about this smoothie is that it’s healthy, but its taste is absolutely delicious!

Don’t let the green color be a turn-off. Actually, most green smoothies are the ones with the best nutrition profiles!

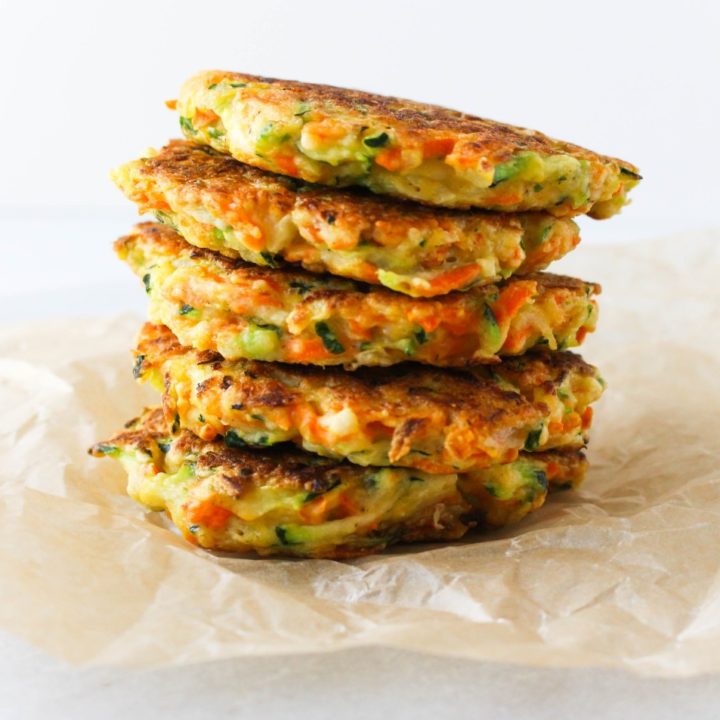
For the future when you need a savory zucchini side dish try these Zucchini Carrot Fritters.

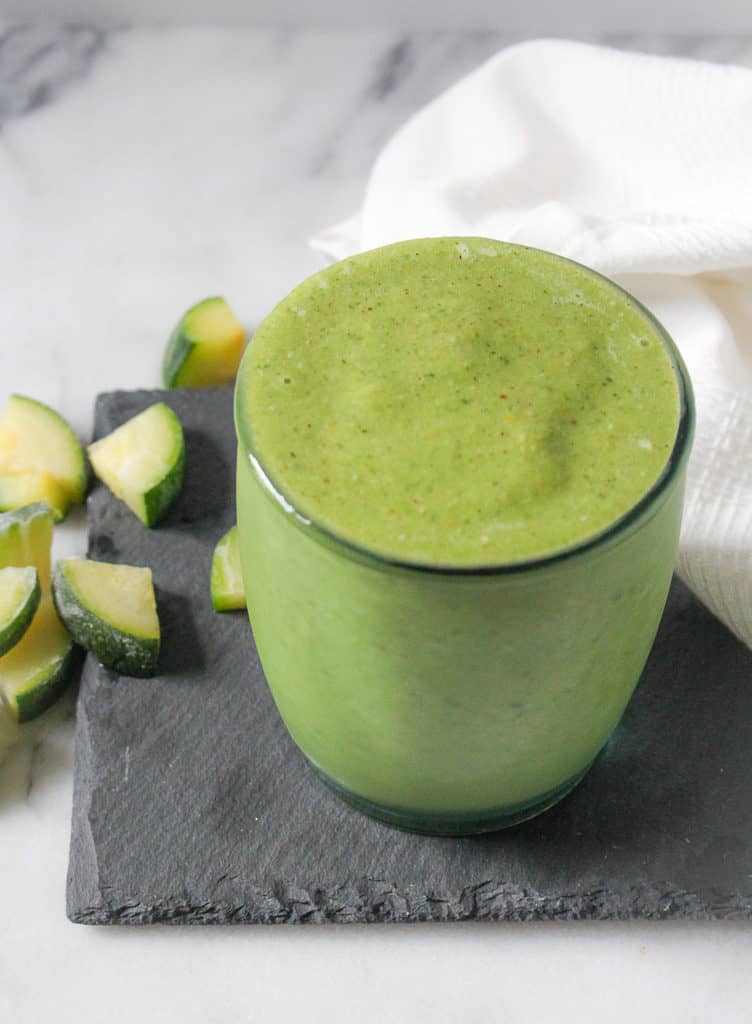
green zucchini smoothie on a board next to white towel and diced zucchini pieces

Healthy Zucchini Smoothie Ingredients

Check out all of the vitamins, minerals, and antioxidants that are packed in every glass you make!

Banana: rich in potassium and fiber
Zucchini: vitamins C and A, potassium, folate, and fiber
Spinach: potassium, magnesium, and vitamins B6, B9, and E, high amounts of carotenoids, vitamin C, vitamin K, folic acid, iron, and calcium
Walnuts: rich in omega-3 fats, protein, copper, manganese
Cinnamon: polyphenol antioxidants
Ginger: anti-inflammatory and antioxidant properties
Orange Zest: fiber, vitamins, and polyphenols

Smoothie Meal Prep Tips
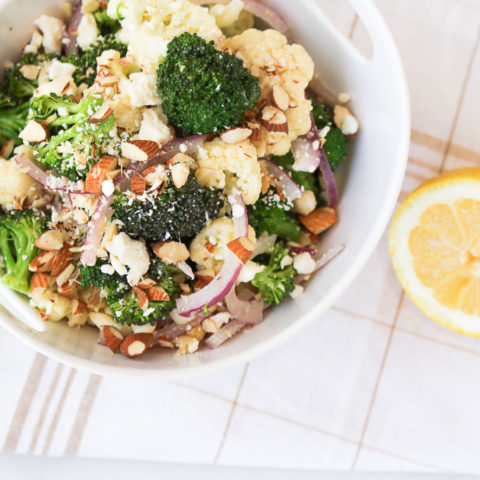
If you are a beginner at making smoothies, I recommend starting with baby spinach. It’s a neutral veggie that blends well. Honestly, if you are using nut butters, protein powder, and/or berries; all of those ingredients overpower the taste of the spinach. You can’t even tell it’s in there!

PRO TIP: After you open your spinach (the kind in the plastic containers from the store) place a paper towel on top. This keeps the condensation from the lid off the greens and makes it stay fresher a little longer.

Chop and steam your zucchini before adding it to your smoothie. Not only does it blend better this way, but your body can absorb more nutrition. When you steam the zucchini, it breaks down the cell wall and opens up the micronutrients, which makes it easier for your body to absorb and digest.

Transfer the steamed zucchini to a parchment-lined baking sheet and place it in the freezer (this is also a good tip for berries too). Once they are frozen, place them in small plastic bags so you can easily toss them in the blender the next time you go to make a smoothie.

You can watch the video for all of the smoothie tips if you want!

healthy zucchini smoothie in a small glass with paper straw next to diced zucchini pieces
Print
clock clock iconcutlery cutlery iconflag flag iconfolder folder iconinstagram instagram iconpinterest pinterest iconfacebook facebook iconprint print iconsquares squares iconheart heart iconheart solid heart solid icon
Zucchini Bread Smoothie via Chef Julie Harrington, RD @ChefJulie_RD #zucchini #zucchinibread #smoothie

Zucchini Bread Smoothie

  • Author: Chef Julie Harrington, RD
  • Prep Time: 10 minutes
  • Total Time: 10 minutes
  • Yield: 1 serving 1x
  • Category: Drinks
  • Cuisine: American

Description

Zucchini bread in smoothie form, while adding in extra veggies!


Ingredients

Scale
  • 1 small banana (frozen)
  • 1/2 cup zucchini (chopped, steamed, and frozen)
  • 1 cup baby spinach
  • 1 tablespoon walnuts, chopped (or 1 tablespoon Pamela’s Nut Flour Blend)
  • 1/4 teaspoon cinnamon
  • 1/4 teaspoon ground ginger
  • 1/2 teaspoon orange zest
  • 1 cup unsweetened vanilla almond milk (or milk of choice)

Instructions

  1. In a blender, combine all ingredients. Blend until smooth and creamy.
  2. For a thicker consistency, add ice. For a thinner consistency, add water.

Keywords: smoothie, drink

Recipe Card powered byTasty Recipes

This post contains affiliate links. Read full disclosure here.

Other recipes you may enjoy

Strawberry Rhubarb Crisp with Streusel Topping

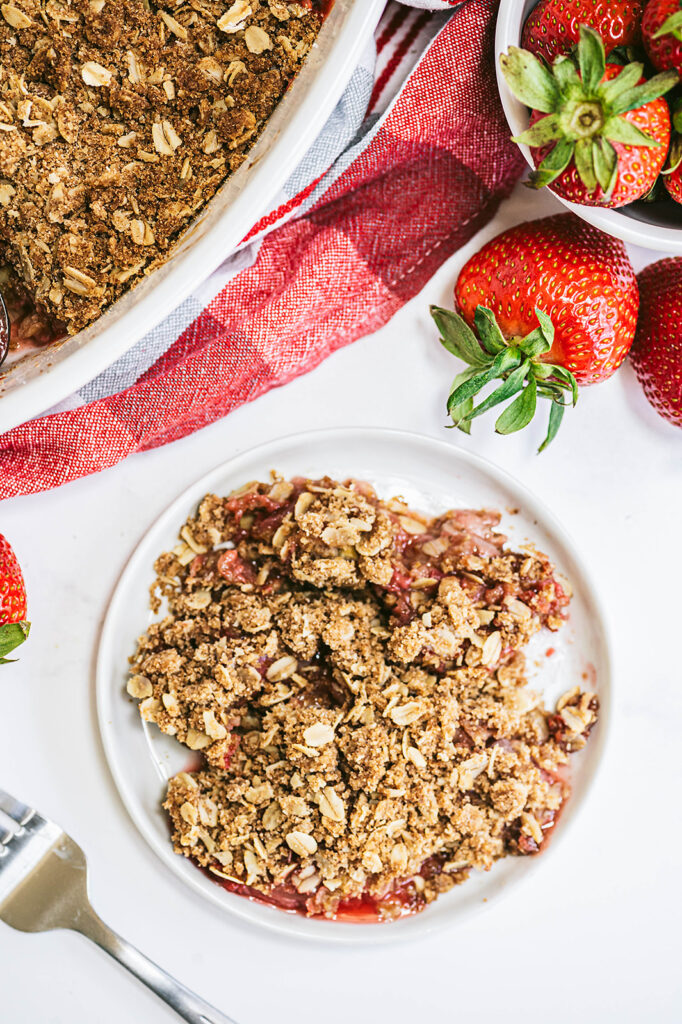
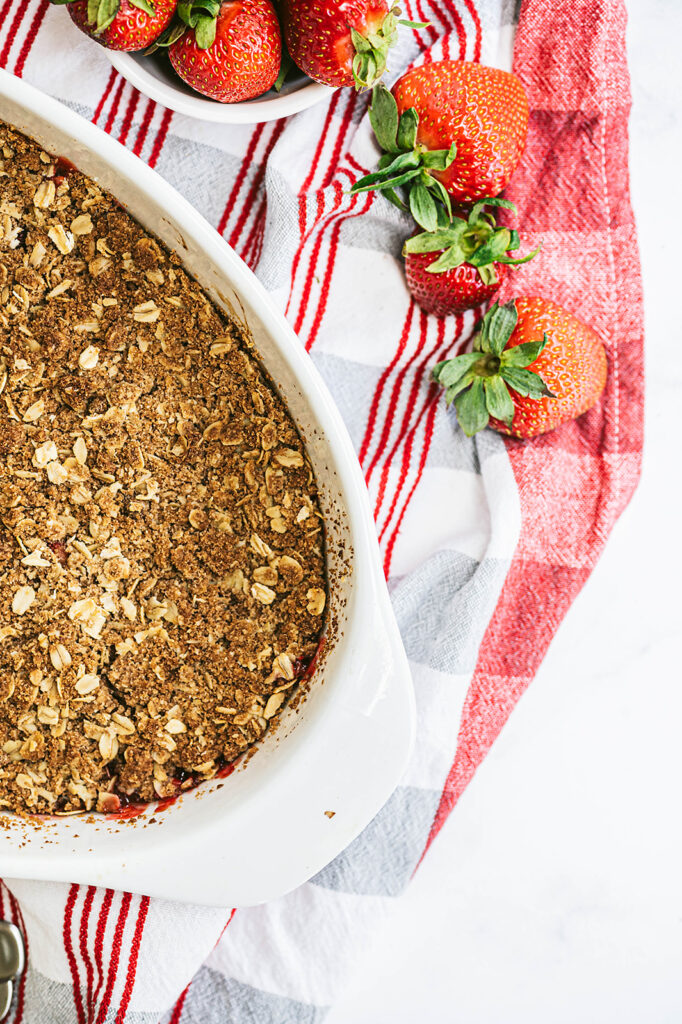
This ​​Strawberry Rhubarb Crisp is an easy fruit dessert that can be made year-round and what makes it even better is the oat streusel topping! 

strawberry rhubarb crisp on small white plate next to baking dish and whole strawberries

Normally we see fruit desserts throughout the spring and summer seasons, but Strawberry Rhubarb crisp can truly be made any time of the year! 

Both of these fruits are filled with antioxidants and packed full of vitamins and nutrients that have anti-inflammatory properties and have been shown to decrease risks of certain diseases. 

Did you know that frozen fruit is just as healthy as fresh? Fruits are picked and frozen at peak ripeness, and studies show that they retain a comparable vitamin, mineral, and phytochemical content to their fresh counterparts.

If you love recipes that have a crisp topping, don’t leave before you check out my Almond Pear Crisp for Two!

Crisp, Cobbler, Crumble: What’s the Difference?

Sometimes these terms are used interchangeably but there is actually a difference! All of these types of recipes usually contain fruit, but it’s the topping that makes the difference! 

A cobbler typically has a doughy, biscuit-like topping. When you think of cobblers you are probably thinking about your grandma’s traditional recipe that has been passed down for ages! 

Crumbles are more like a streusel topping, but they don’t contain any oats. 

If it’s a true crisp, it will definitely have oats in the topping! 

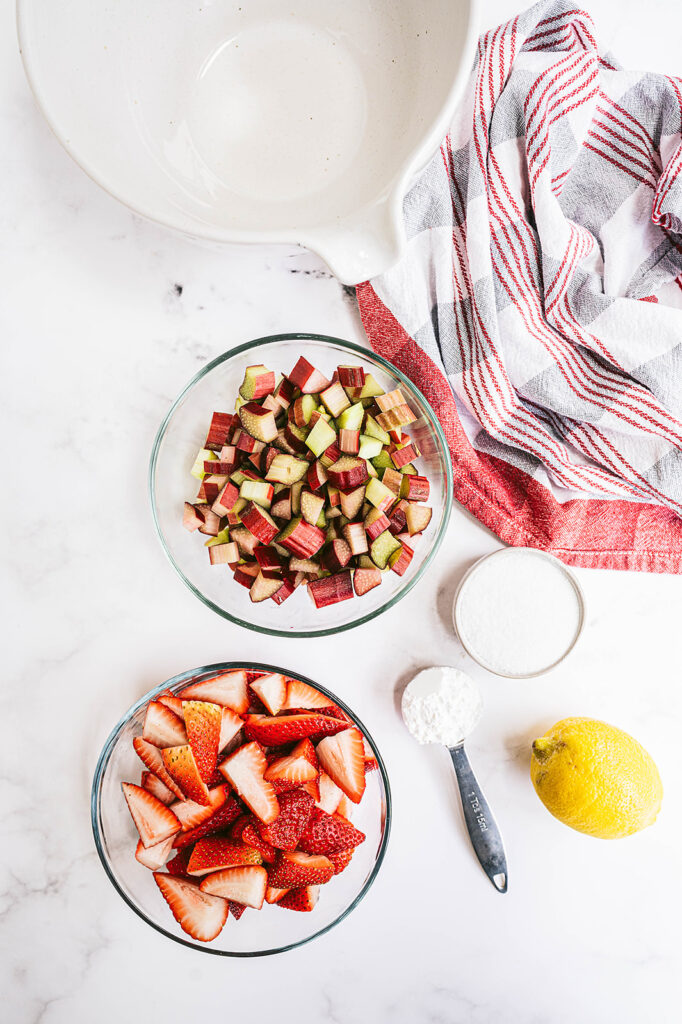
ingredients for strawberry rhubarb crisp

What You Need to Make Strawberry Rhubarb Crisp with Streusel Topping


For the filling:

fresh strawberries

rhubarb 

granulated sugar – you can also swap this for coconut or maple sugar

cornstarch

lemon juice

salt

For the topping:

light brown sugar

old-fashioned rolled oats – Bob’s Red Mill is a great option! 

whole-wheat pastry flour

unsalted butter – be sure to set it out in time so it can soften up

How to Make a Crisp with Strawberries and Rhubarb 

Go ahead and preheat your oven to 350 degrees and spray your baking dish with non-stick cooking spray. 

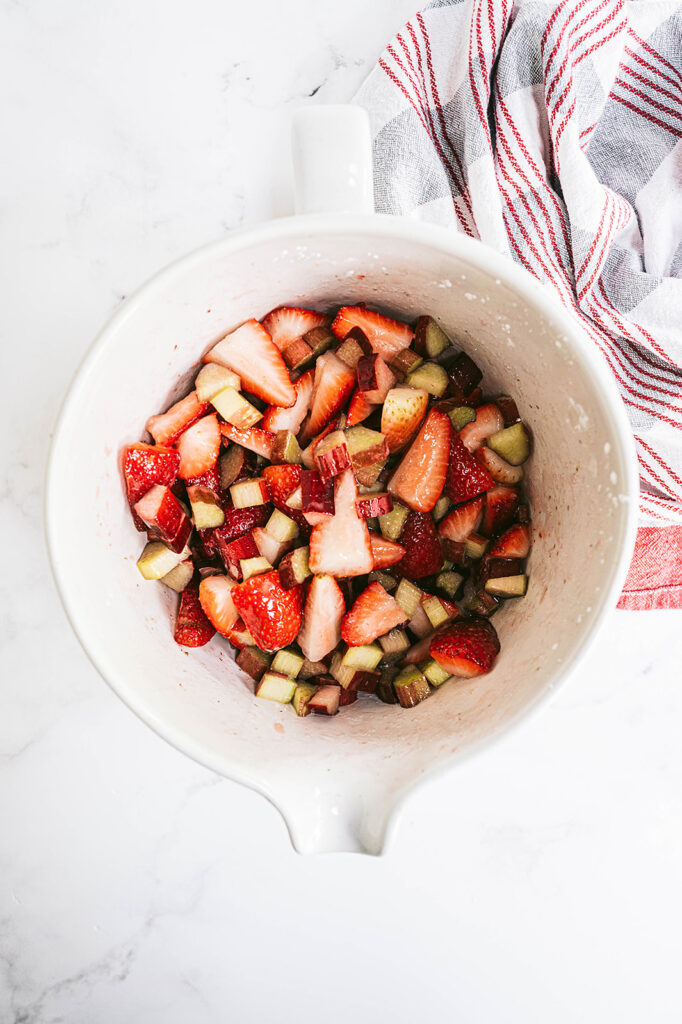
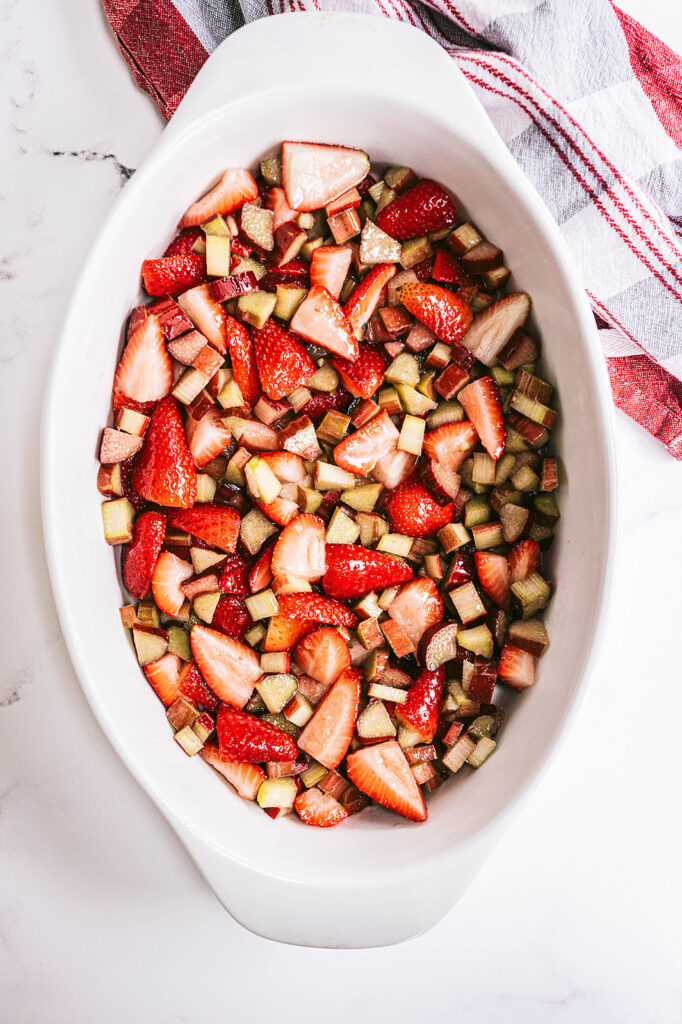
diced strawberries and rhubarb in a white mixing bowl

In a large mixing bowl, combine granulated sugar, lemon juice, cornstarch, strawberries, rhubarb, and salt. Stir together then transfer the mixture to your baking dish. 

strawberry rhubarb mixture in baking dish before topping has been added

Now let’s make the streusel topping! 

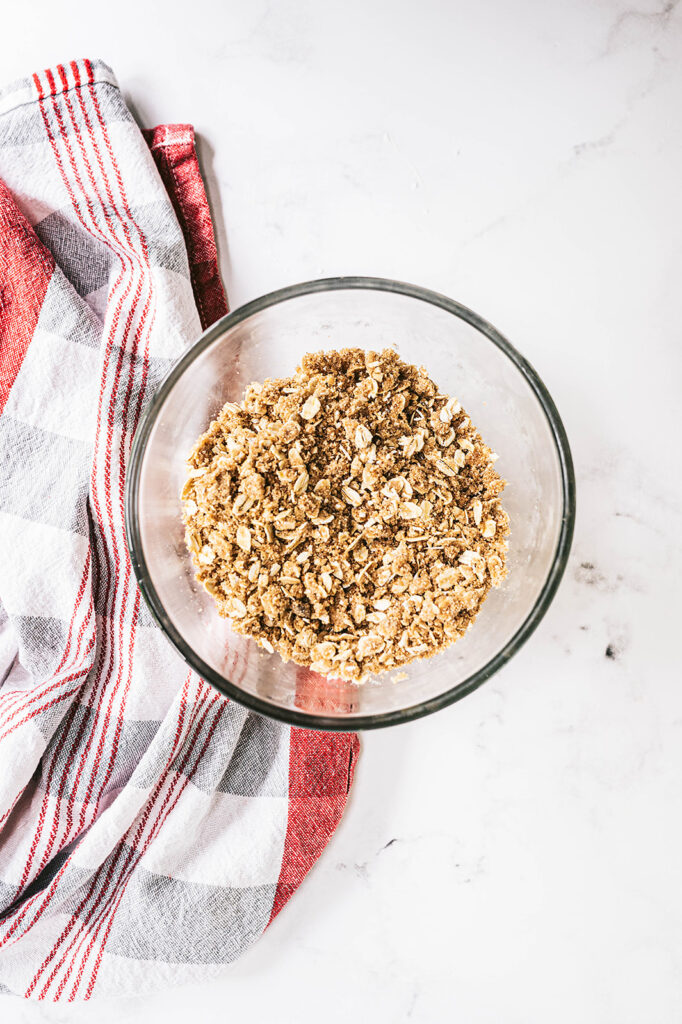
In a medium bowl, add the oats, flour, brown sugar, and 4 tablespoons of butter. Stir it all together until it’s combined well. Add additional butter ( one to two tablespoons) if it seems too dry. 

top shot of streusel top in glass mixing bowl

Crumble the topping over the mixture into a baking dish. 

Bake until the top of the crisp is golden, which will take about 35 to 50 minutes. 

Once it has finished baking, let it cool on a wire rack before serving. 

You can serve it warm or at room temperature! 

close up of strawberry rhubarb crisp in white baking dish next to bowl of strawberries

What If I Don’t Have Whole Wheat Pastry Flour?

A nice substitute when you don’t have whole wheat pastry flour is a 1:1 ratio of all purpose flour and whole wheat flour. 

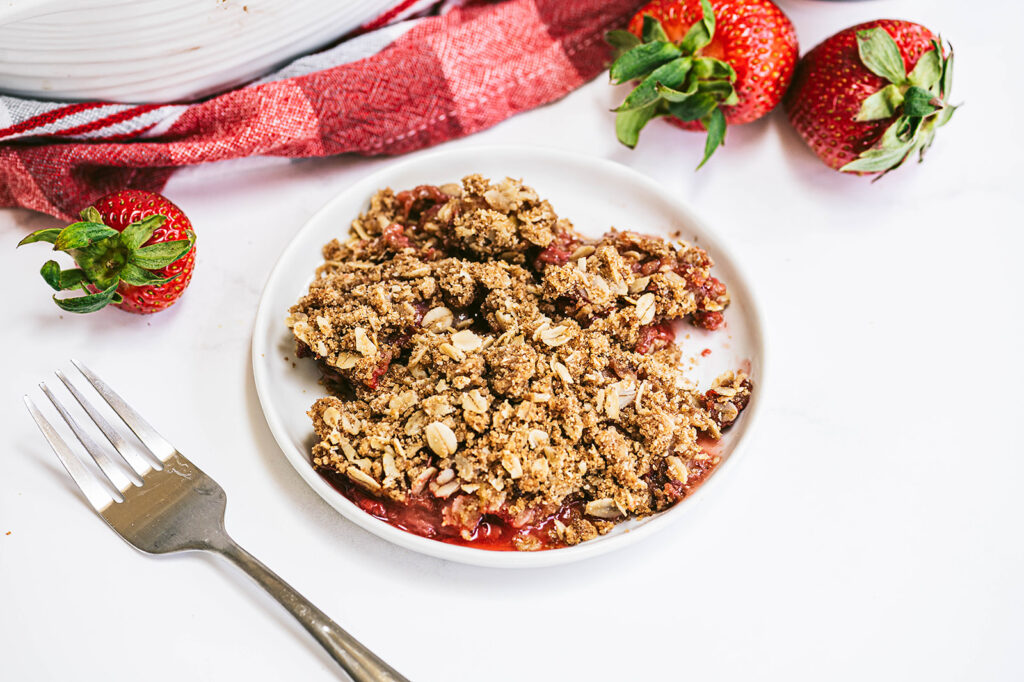
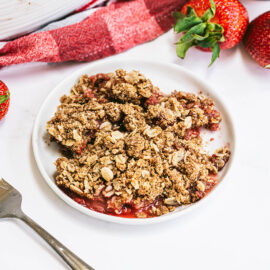
strawberry rhubarb crisp on small white plate next to fork and strawberries

Crisp Topping and Serving Suggestions

This strawberry rhubarb crisp is perfect just the way it is, but here are some great ideas for serving and other variations

  • Serve with a scoop of your favorite vanilla ice cream 
  • Add a dollop of my Homemade Coconut Whipped Cream
  • Sprinkle some nuts into the streusel topping for a nice crunch

Can This Recipe Be Made Vegan Friendly? 

Sure! To make this crisp vegan, simply use a plant based butter!

Need a Gluten Free Option?

If you want to make the topping using gluten free ingredients, make sure the oats are gluten free and swap the pastry flour or almond flour instead! 

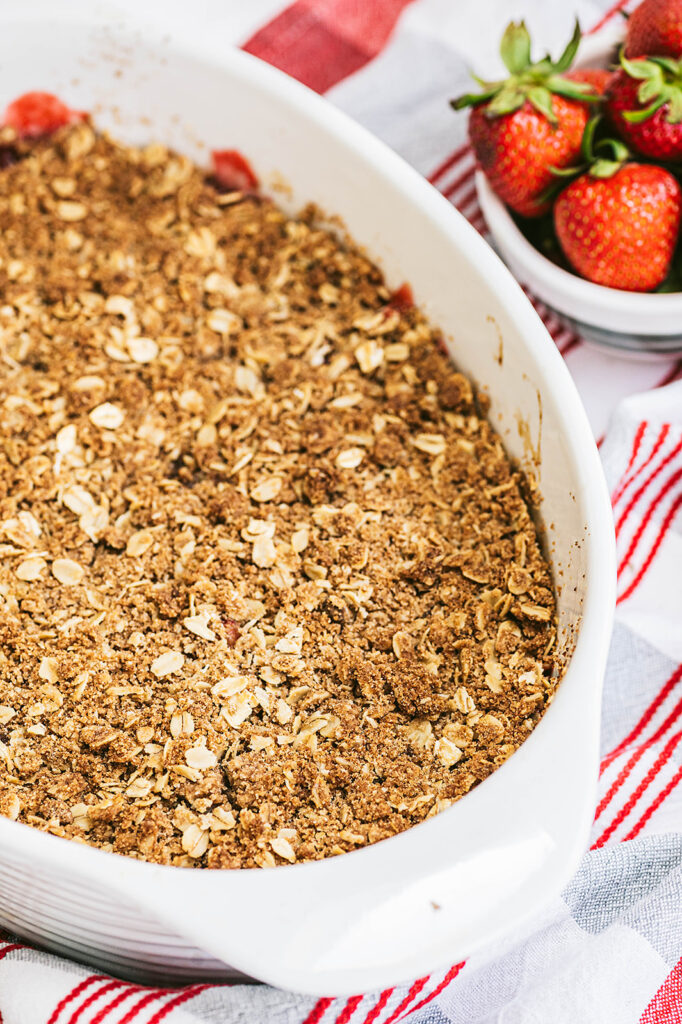
strawberry rhubarb crisp after baking next to whole strawberries

Can You Use Frozen Strawberries and Rhubarb? 

If you want to make this fruit crisp and you don’t have a chance to grab fresh strawberries and rhubarb, or maybe they are out of season you can use frozen instead. 

Be sure that the fruit is thawed completely and drained so that the crisp does not come out soggy from the excess liquid.

Print
clock clock iconcutlery cutlery iconflag flag iconfolder folder iconinstagram instagram iconpinterest pinterest iconfacebook facebook iconprint print iconsquares squares iconheart heart iconheart solid heart solid icon
strawberry rhubarb crisp on small white plate next to fork and strawberries

Strawberry Rhubarb Crisp with Streusel Topping

  • Author: Chef Julie Harrington, RD
  • Prep Time: 15
  • Cook Time: 40
  • Total Time: 55 minutes
  • Yield: 6
  • Category: dessert
  • Method: bake

Description

This ​​Strawberry Rhubarb Crisp is an easy fruit dessert that can be made year round and what makes it even better is the oat streusel topping! 


Ingredients

For the filling:
3 cups quartered fresh strawberries
3 cups sliced fresh rhubarb or thawed frozen rhubarb*
¼ cup granulated sugar
1 tablespoon cornstarch
1 tablespoon lemon juice
¼ teaspoon salt

For the topping:
½ cup lightly packed light brown sugar
½ cup old-fashioned rolled oats
⅓ cup whole-wheat pastry flour
4–6 tablespoons unsalted butter, softened


Instructions

  1. Preheat the oven to 350 degrees F. Coat an 11-by-7-inch baking dish with cooking spray.
  2. In a large bowl, combine strawberries, rhubarb, granulated sugar, cornstarch, lemon juice, and salt, transfer to the prepared baking dish.
  3. To prepare topping: Combine brown sugar, oats, flour, and butter (starting with 4 tablespoons of butter) in a medium bowl; stir until thoroughly combined. If mixture seems to dry, add additional 1-2 tablespoons of butter. Crumble the topping evenly over the strawberry-rhubarb mixture.
  4. Bake the crisp until the topping is golden, 35 to 40 minutes. Cool on a wire rack for 5 minutes; serve warm or at room temperature.

Notes

  • If using frozen rhubarb or strawberries, thaw then be sure to drain any excess liquid.

Keywords: crisp, strawberry, rhubarb, summer dessert, dessert

Recipe Card powered byTasty Recipes

Ultimate Greek Burger

Serve these Ultimate Greek Burgers at your next barbecue. Highlighting fresh Greek-inspired flavors, this recipe will kick your burger game up a notch.

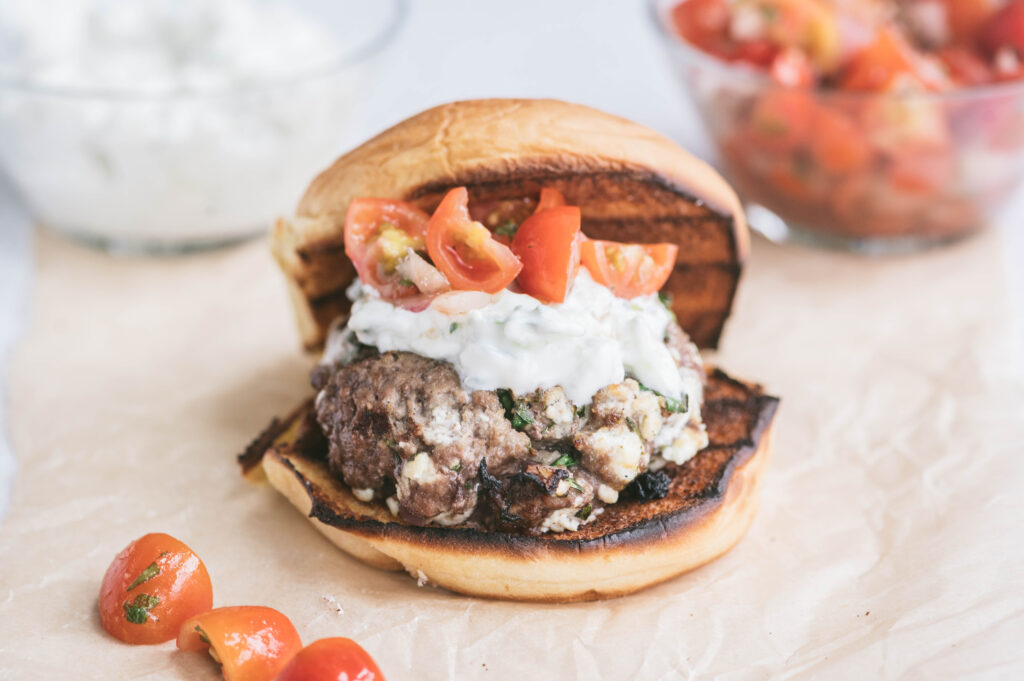
Greek Burger on a toasted bun with tzatziki sauce and tomato salad

This post is sponsored by the Northeast Beef Promotion Initiative a subcontractor to the Beef Checkoff. Thank you for supporting brands that make this blog possible!

How these Ultimate Greek Burgers will step your burger game up a notch

There is nothing better than a juicy burger right off the grill. A beef patty is a classic, but after hosting and attending so many barbecues, it’s time to switch things up! Don’t worry, we are keeping the beef patty, but enhancing it with Greek-inspired flavors. As a chef, I love Mediterranean flavors and as a dietitian, I love the health benefits that come along with following a Mediterranean style diet.

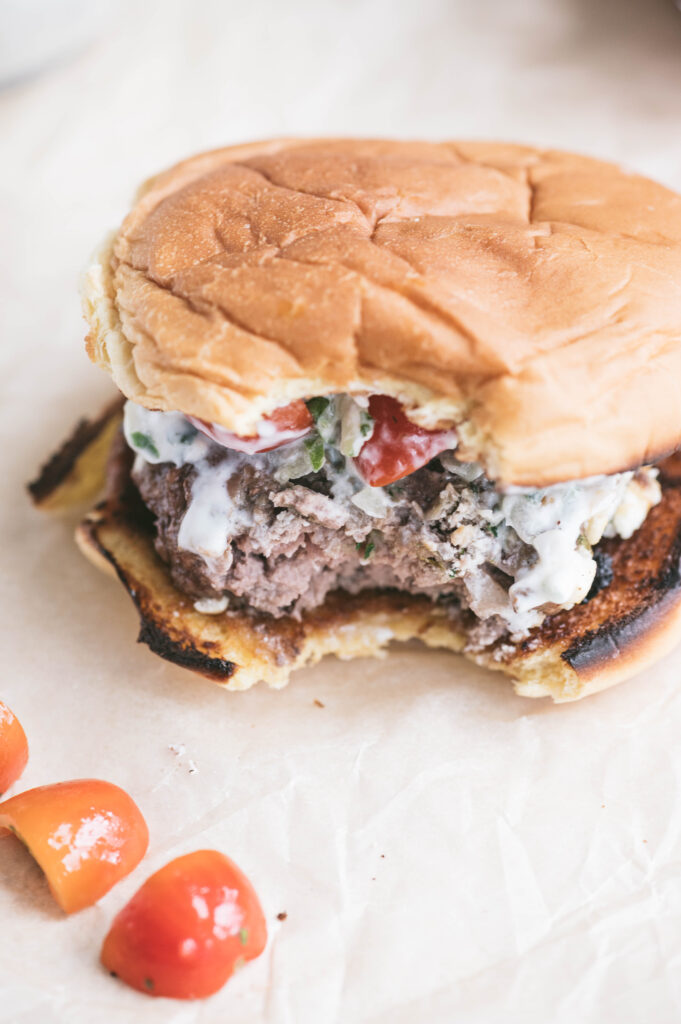
bite taken out of a Greek burger

What is the Mediterranean Diet?

The Mediterranean-style eating pattern encompasses a wide variety of foods and flavors from the countries that surround the Mediterranean Sea. While the cuisines of each country differ slightly, they all have a few things in common. To build a healthy Mediterranean plate, start with fresh vegetables and fruits, add lean protein and whole grains, and enhance with dairy and healthy fats.

Why lean beef is included in the Mediterranean Diet

The eating pattern allows a wide variety of proteins (including fresh lean beef, pork, poultry, and fish) that support heart health. Lean beef contains important nutrients, like protein, iron, zinc, and B-vitamins that your body needs.

What does “lean beef” mean?

Beef can only be claimed as “lean” if the cut of beef is less than 10g total fat, 4.5g or less saturated fat and less than 95 mg of cholesterol per 100-gram serving.

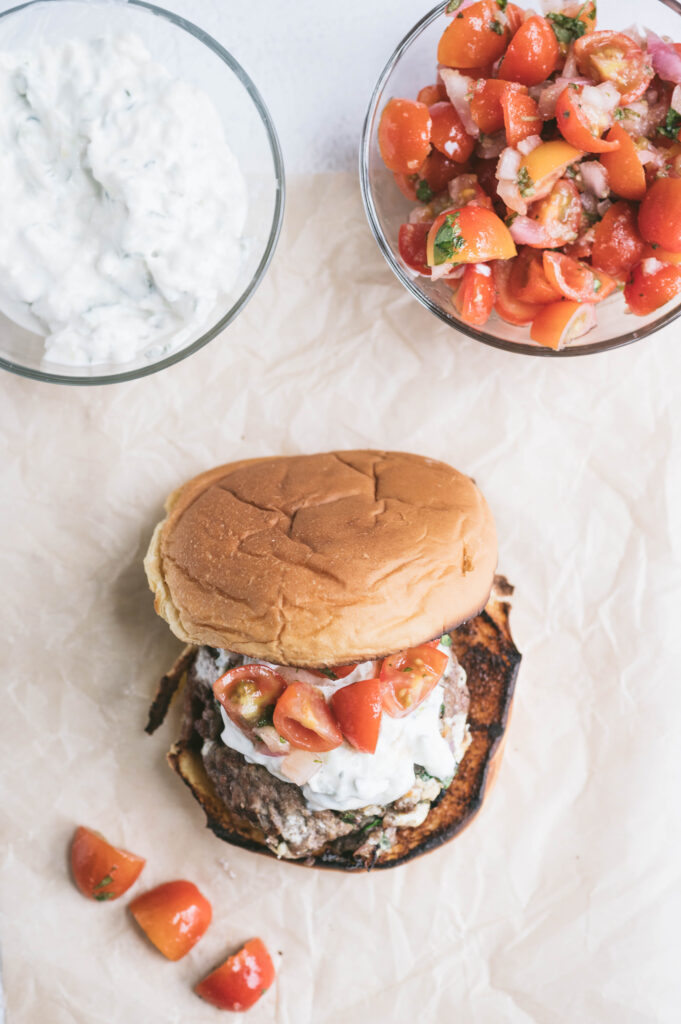
overhead image of greek burger topped with tzatziki sauce and tomatoes

What’s different about this Greek Burger?

Ripe summer produce like tomatoes, cucumbers, and fresh herbs are essential to Greek cooking. Flavors are incorporated within the lean beef as well as adding layers of additional flavors and textures as you build the burger.

Why I love this recipe

Can’t go wrong with a delicious burger, am I right? I love the fact the burger is stuffed with spinach and onion, along with plenty of seasonings. I’m not a fan of raw onion on top of my burger (caramelized onions – that’s a different story!), so the addition of them minced within the burger adds a subtle flavor vs. overpowering. The addition of the added veggies helps keep the lean burger moist and juice.

I kind of kept traditional burger toppings on here. The tomato salad adds a tanginess while the tzatziki adds a cooling creamy effect. I never said this wasn’t going to be a messy eating kind of burger!

Chef’s Tips

  • Invest in a digital thermometer. DO NOT cut open the burgers to check their doneness. This will release all their juices leaving you with a dry burger.
  • Take the time to squeeze out the excess liquid from the cucumbers. This will prevent your tzatziki sauce from being watery.
  • Oil your grill grates. Dip a bunched-up paper towel into a high-heat cooking oil (such as canola oil or olive oil). Be careful not to saturate the paper towel. You want enough oil on it to coat the grill grate, but you don’t want it dripping everywhere. Using an oven mitt and tongs, carefully wipe the paper down on the grill grate.

Print
clock clock iconcutlery cutlery iconflag flag iconfolder folder iconinstagram instagram iconpinterest pinterest iconfacebook facebook iconprint print iconsquares squares iconheart heart iconheart solid heart solid icon
Greek Burger on a toasted bun with tzatziki sauce and tomato salad

Ultimate Greek Burger

  • Author: Chef Julie Harrington, RD
  • Prep Time: 15
  • Cook Time: 12
  • Total Time: 27 minutes
  • Yield: 4
  • Category: Dinner
  • Method: Grill
  • Cuisine: Greek

Description

Serve these Ultimate Greek Burgers at your next barbecue. Highlighting fresh Greek-inspired flavors, this recipe will kick your burger game up a notch.


Ingredients

For the tomato salad:
1 cup cherry tomatoes, quartered
2 tablespoons red onion, finely minced
1 tablespoon fresh parsley, minced
2 teaspoons red wine vinegar
1 teaspoon olive oil
Salt and pepper, to taste

For the tzatziki sauce:
1 English cucumber
½ cup plain Greek yogurt
½ tablespoon lemon juice
½ teaspoon garlic powder
¼ teaspoon salt

For the burgers:
1 lb. 93% lean ground beef
1 cup spinach, finely chopped
½ small red onion, minced
4 cloves garlic, finely minced
2 tablespoons fresh dill, minced
¼ cup feta cheese, crumbled
1 teaspoon dried oregano
½ teaspoon salt
¼ teaspoon black pepper
4 hamburger buns


Instructions

For the tomato salad:

  1. In a bowl, combine tomatoes, onion, parsley, vinegar, and olive oil. Season with salt and pepper, to taste. Cover and refrigerate until ready to serve.

For the tzatziki sauce:

  1. Using a cheese grater, grate the English cucumber. Using a thin dish towel or paper towels, press out any excess liquid. 
  2. In a bowl, mix together yogurt, lemon juice, garlic powder, and salt. Fold in the cucumber.

For the burgers:

  1. Preheat grill to medium-high heat. Grease grill grates.
  2. In a large bowl, combine beef, spinach, onion, garlic, dill, feta, oregano, salt, and pepper. Mix until all ingredients are well combined. Do not overwork the meat mixture. Form into 4 beef patties.
  3. Grill the burgers for approximately 4-6 minutes then flip over and grill another 4-6 minutes or until an instant-read thermometer inserted horizontally into center registers 160°F.
  4. Add burgers to a bun and top with tzatziki sauce and tomato salad.

Notes

  • Invest in a digital thermometer. DO NOT cut open the burgers to check their doneness. This will release all their juices leaving you with a dry burger.
  • Take the time to squeeze out the excess liquid from the cucumbers. This will prevent your tzatziki sauce from being watery.
  • Oil your grill grates. Dip a bunched up paper towel into a high-heat cooking oil (such as canola oil or olive oil). Be careful not to saturate the paper towel. You want enough oil on it to coat the grill grate, but you don’t want it dripping everywhere. Using an oven mitt and tongs, carefully wipe the paper down on the grill grate.

Keywords: burger, Greek recipe, Greek burger, beef

Recipe Card powered byTasty Recipes

This post contains affiliate links. Read full disclosure here.

FAQ

How do I know when the burgers are done?

See the chef tip above. Invest in a digital thermometer. Cook until an instant-read thermometer inserted horizontally into center registers 160°F.

What can I serve these burgers with?

You can’t go wrong with serving fries with these Ultimate Greek Burgers! If at a BBQ other ideas can be veggie sticks, seasonal fruit, like watermelon or grilled pineapple, potato salad, or a simple mixed green salad.

How else can I use lean ground beef?

Ways to repurpose this Greek burger

  • Greek burger salad. Add the tomato salad and other veggies you have on hand, a heated patty, quinoa (or a different whole grain), and add the tzatziki as a salad dressing.
  • Greek pita. Ran out of burger buns? No problem. Crumble up a burger and stuff it in a pita with the tomato salad and tzatziki sauce.

Other recipes you may enjoy

Resources:

O’Connor LE, et al. A Mediterranean-style eating pattern with lean, unprocessed red meat has cardiometabolic benefits for adults who are overweight or obese in a randomized, crossover, controlled feeding trial. Am J Clin Nutr 2018, nqy075.
https://academic.oup.com/ajcn/advance-article/doi/10.1093/ajcn/nqy075/5036105

Leidy HJ,et al. The role of protein in weight loss and maintenance. Am J Clin Nutr 2015;101:1320S-9S

U.S. Department of Agriculture, Agricultural Research Service, Nutrient Data Laboratory. USDA National Nutrient Database for
Standard Reference Legacy Release, April 2018. Available at: http://www.ars.usda.gov/ba/bhnrc/ndl

Green Bean Potato Salad

Gearing up for picnics and barbecues this summer? Add this Green Bean Potato Salad to the menu.

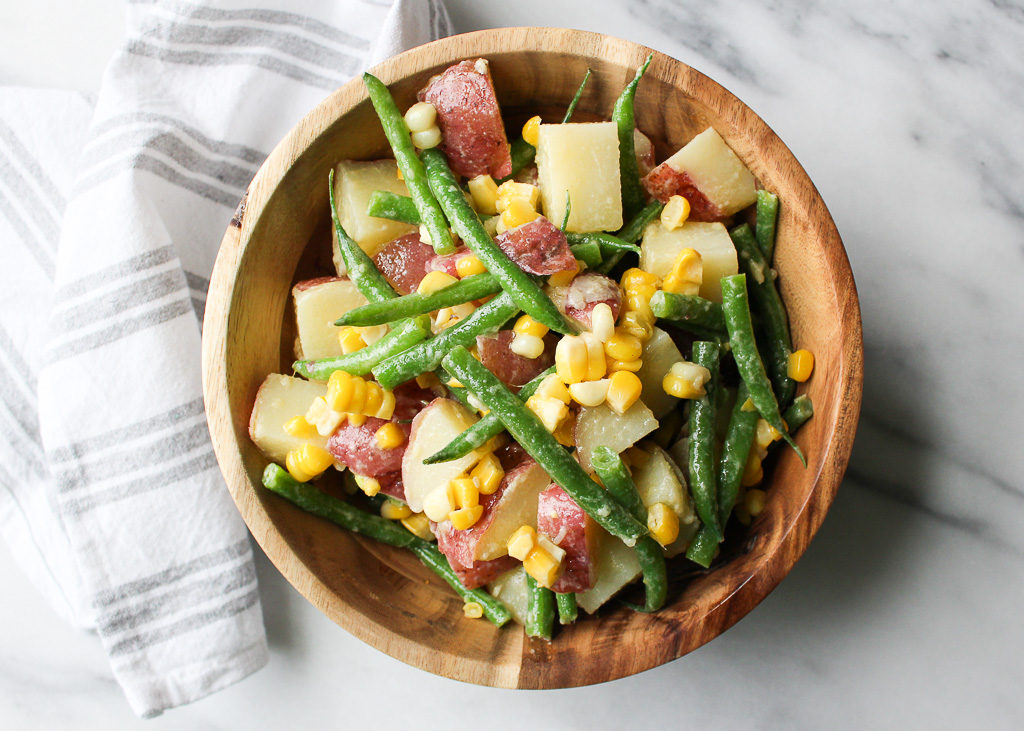
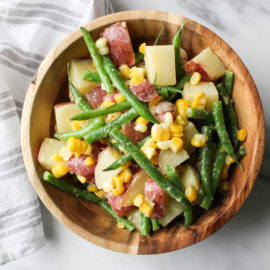
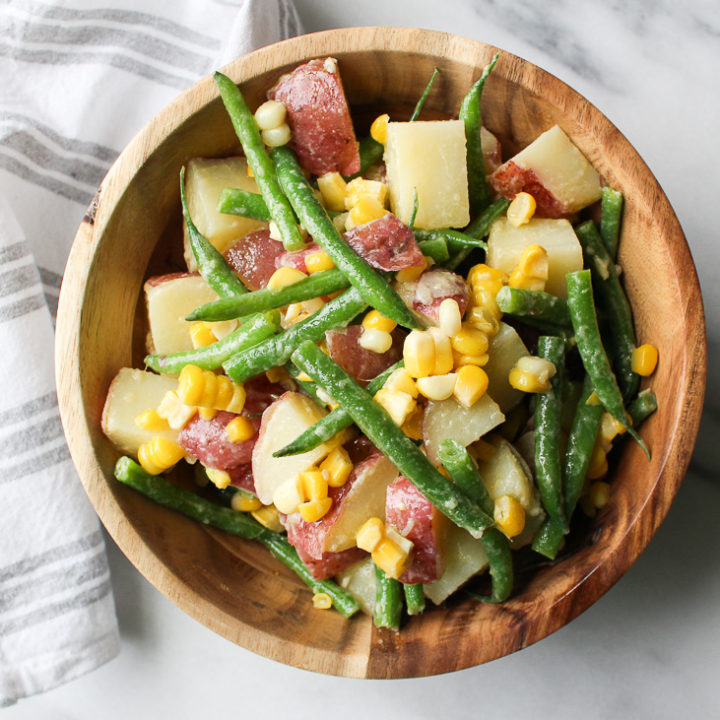
Green Bean Potato Salad in a wooden bowl

One of my jobs during summers at college, I was working at this outdoor catering company, where we prepared food on-site at graduation parties, barbecues, picnics, etc. When working in catering, you have to prepare recipes in large quantities to feed the masses. One of my least favorite things to prepare is the potato salad.

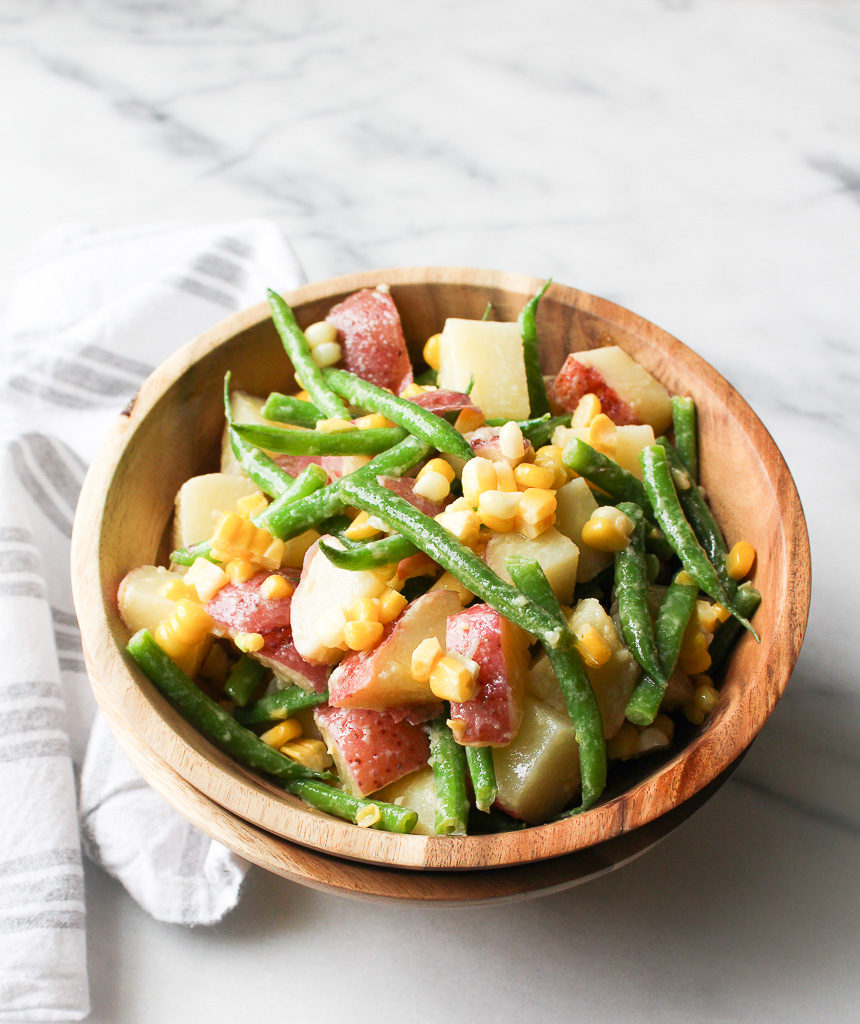
Green Bean Potato Salad in a wooden bowl

Traditional potato salad is dressed with mayonnaise. That is one condiment that I just never enjoyed. Now, just imagine preparing potato salad for 100+ people at one time. The amount of mayo I had to scoop daily was unreal.

Since I don’t personally enjoy mayonnaise, I wanted to create a non-mayo based dressing for potato salad with an added twist by adding green beans and corn. Don’t be afraid to switch up a classic and bring something new to the table, like this Green Bean Potato Salad.

Why use red bliss potatoes for this Green Bean Potato Salad

Red potatoes have smooth thin skin. Its skin is edible, so it’s not necessary to peel or remove it after cooking. Like many waxy varieties, red potatoes are low in starch and won’t produce a light, fluffy texture. They are best used for boiling and roasting and work well in dishes that would benefit from a potato that holds its shape, even when sliced and diced, like for this Green Bean Potato Salad.

Health benefits of potatoes

Poor potatoes have a bad reputation in some people’s eyes. “Oh, I can’t eat potatoes because they are too starchy” Yes, potatoes are starchy because they are carbohydrates and carbohydrates give us energy. Also, there are many nutritional benefits that potatoes provide our bodies. They are high in potassium, vitamin B6, and vitamin C. When enjoyed in moderation and prepared in a healthy way, potatoes can be a nutritious addition to your diet.

Culinary term: blanching & shocking

The word blanch refers to a cooking technique in which food is briefly immersed in steam or boiling water, usually followed by shocking, which is rapidly cooling the food in an ice bath or with cold air.

When you blanch food for the right amount of time it helps maintain flavor, color, texture, and nutritional value. No one wants limp and soggy green beans.

Print
clock clock iconcutlery cutlery iconflag flag iconfolder folder iconinstagram instagram iconpinterest pinterest iconfacebook facebook iconprint print iconsquares squares iconheart heart iconheart solid heart solid icon
green bean potato salad in a wooden bowl

Green Bean Potato Salad

  • Author: Chef Julie Harrington, RD
  • Prep Time: 5
  • Cook Time: 40
  • Total Time: 45 minutes
  • Yield: 10 1x
  • Category: side dish
  • Method: stove top
  • Cuisine: American

Ingredients

Scale

1 pound red bliss potatoes
2 ears of corn, shucked
1 pound French green beans, cut in half
1 lemon, juiced (or 2 tablespoons lemon juice)
2 tablespoons Dijon mustard
1/4 cup olive oil
salt and pepper, to taste


Instructions

  1. In a large pot add potatoes. Fill with water and bring to a boil and season with salt. Cook potatoes until fork tender, about 20 minutes (depending on the size of your potatoes).
  2. Using tongs, carefully remove the potatoes and let cool. Add corn to the boiling water. Cook for 10 minutes, or until corn is tender.
  3. Using tongs, carefully remove the corn and let cool. Add the string beans to the boiling water. Cook for about 3-5 minutes, or until green beans are tender. Drain green beans and immediately put them in an ice bath to stop the cooking process. When cooled drain green beans and let dry. 
  4. When potatoes are cooled, dice into cubes. Cut corn off the cob. (see notes below for a tip to do this easily)
  5. In a large bowl, whisk together lemon juice, Dijon mustard, and olive oil. Add potatoes, corn, and green beans. Toss to coat.
  6. Season with salt and pepper, to taste.
  7. Let the potato salad sit in the refrigerator for at least 30 minutes to let all the flavors marinate.

Notes

Tip to cut corn off the cob.

Substitution tip: Don’t have corn on the cob? Swap for sweet canned corn or frozen corn kernels. 

Keywords: potato salad, green beans, corn, potatoes, side dish, recipe

Recipe Card powered byTasty Recipes

This recipe was originally posted in July 2013. The photos and content of the post have been updated.

Other recipes you may enjoy

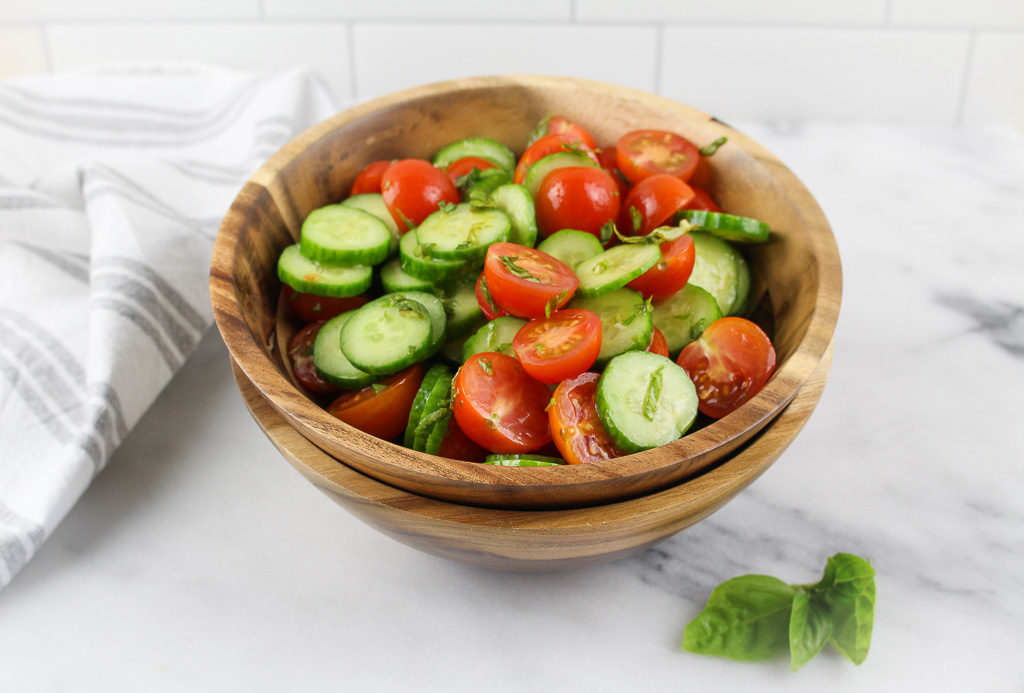
Tomato Cucumber Salad

With just five simple ingredients, this Tomato Cucumber Salad will become a regular side dish to serve up with any spring or summer recipe.

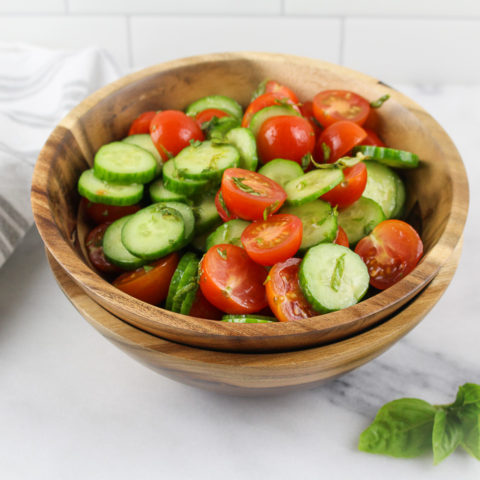
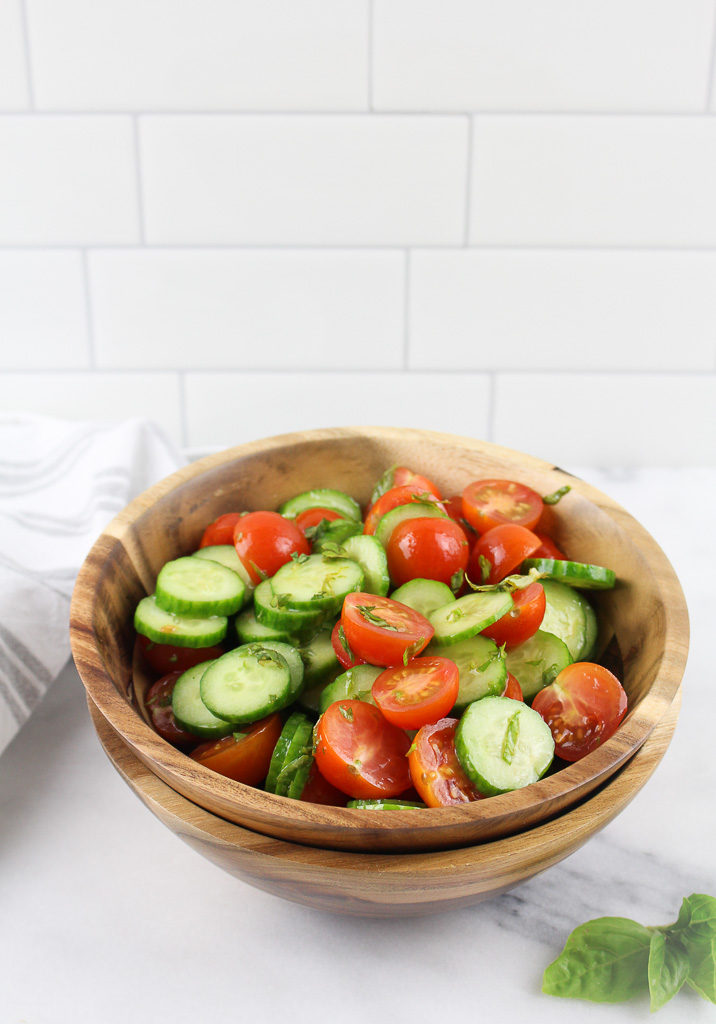
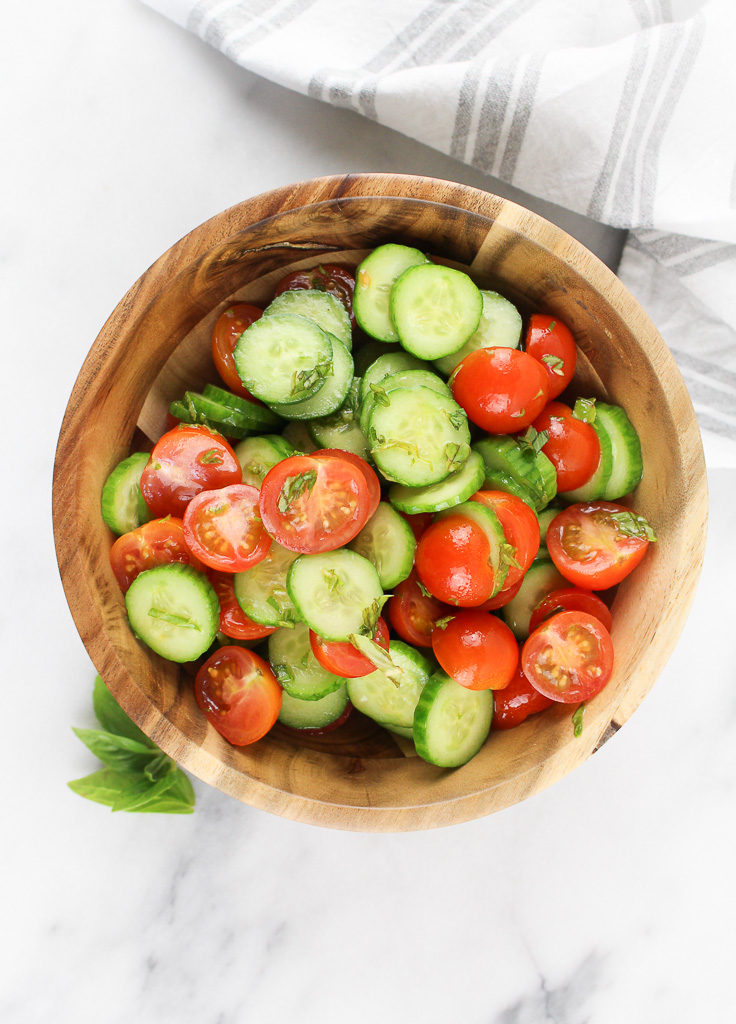
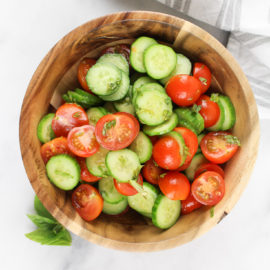
Tomato Cucumber Salad in a wooden bowl

Why I love this Tomato Cucumber Salad recipe

Who says salads have to start with a bed of lettuce? We’ve chatted before about how salads don’t have to be boring! What I love the most about this recipe is simple its ingredients, taking less than 10 minutes to put together, and can turn into so many new variations. (see below)

Using mini cucumbers is key

While any kind of cucumber can work in this recipe, I urge you to seek our mini cucumbers, because I think it really makes the recipe. No need to peel the skin. The skin of mini cucumbers is tender and delicate. Just simply slice into coins and they are ready to go.

When I develop a recipe, I always think about the perfect bite. When slicing mini cucumbers into a coin, it takes the same shape and size of the cherry tomatoes so you are able to get everything all in one bite. Plus, it’s more time consuming to peel, seed, and quarter a regular cucumber.

Recipe Tip

If you are using a conventional cucumber, I recommend removing the seeds. Why? Because they are bitter and don’t want any bitterness added to the dish. For a conventional cucumber, peel, scoop out the seeds, slice and cut in quarters for this recipe.
For other cooking tips, go here.

Tomato Cucumber Salad in a wooden bowl

How to make this Tomato Cucumber Salad

  1. Chop vegetables.
  2. Whisk together dressing.
  3. Toss together.
  4. Season with salt and pepper.
    It doesn’t get much easier than that!

Storage Tip

Keep this Tomato Cucumber Salad in an airtight container in the fridge for up to 5 days.

Tomato Cucumber Salad in a wooden bowl

Variations

Additions

Chickpeas: Drain and rinse a can or two of chickpeas and add to the mixture. This will add different textures, plus a good source of plant-based proteins

Feta cheese: I love feta cheese. Hold off on seasoning with salt and pepper at the end after tasting with the feta cheese. Feta cheese will add salt to the dish, so maybe a little sprinkle of pepper will be fine. Also, if making this dish in advance, add feta just before serving.

Red onions: The key is to thinly slice red onions, so they don’t overpower the whole dish. If you are looking for something a little sweeter or more tang, try adding my Quick Pickled Onions.

Print
clock clock iconcutlery cutlery iconflag flag iconfolder folder iconinstagram instagram iconpinterest pinterest iconfacebook facebook iconprint print iconsquares squares iconheart heart iconheart solid heart solid icon
baby cucumbers with cherry tomatoes in a wooden bowl

Tomato Cucumber Salad

  • Author: Chef Julie Harrington, RD
  • Prep Time: 10
  • Total Time: 10 minutes
  • Yield: 6
  • Category: salad
  • Method: no cook
  • Cuisine: American

Description

Light and refreshing salad to compliment any spring or summer dish. 


Ingredients

Scale

3 cups cherry tomatoes, halved
8 mini cucumbers, sliced into coins
2 tablespoons olive oil
1 tablespoon red wine vinegar
1/4 cup fresh basil leaves, chopped
salt and ground black pepper, to taste


Instructions

  1. Add cherry tomatoes and cucumbers to a large bowl.
  2. In a small bowl, whisk together the olive oil and red wine vinegar. Drizzle over cucumber and tomatoes. Add basil.
  3. Toss everything to coat. Season with salt and pepper, to taste.

Notes

Variations:
– Add chickpeas
– Add feta cheese

Keywords: cucumber, tomato, salad, no cook, vegetables, low carb, recipe

Recipe Card powered byTasty Recipes

Other recipes you may enjoy

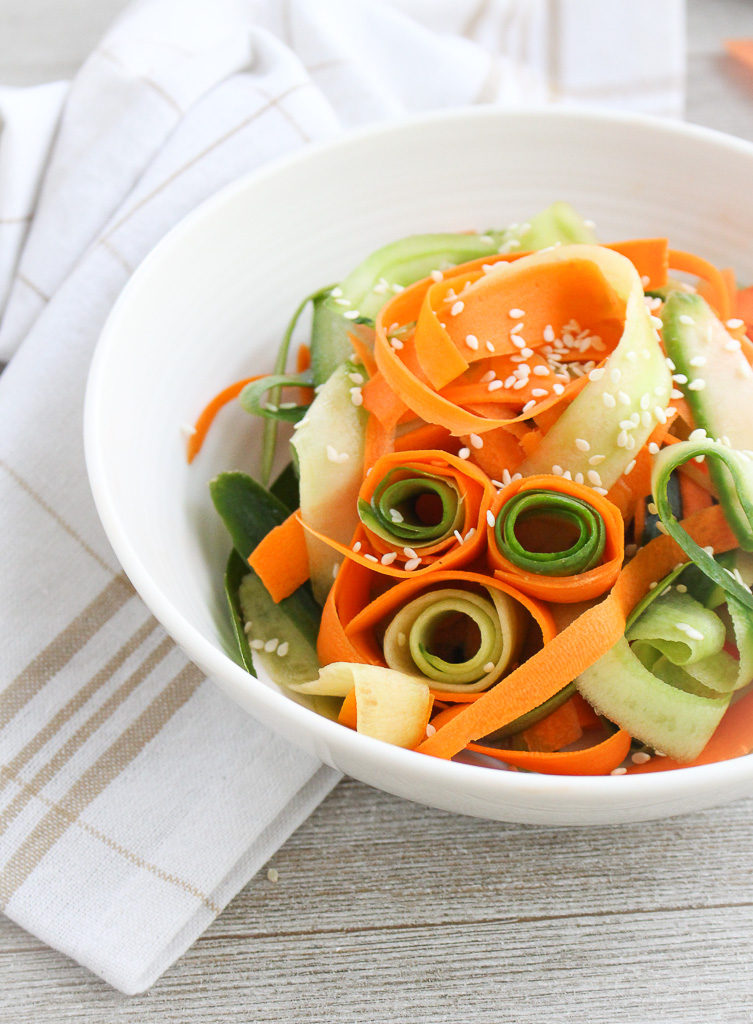
Sesame, Carrot, & Cucumber Salad

Ribbon sliced vegetables in an Asian dressing is light and refreshing. This Sesame, Carrot, & Cucumber Salad is perfect for warmer weather and also a delicious change from a traditional salad.

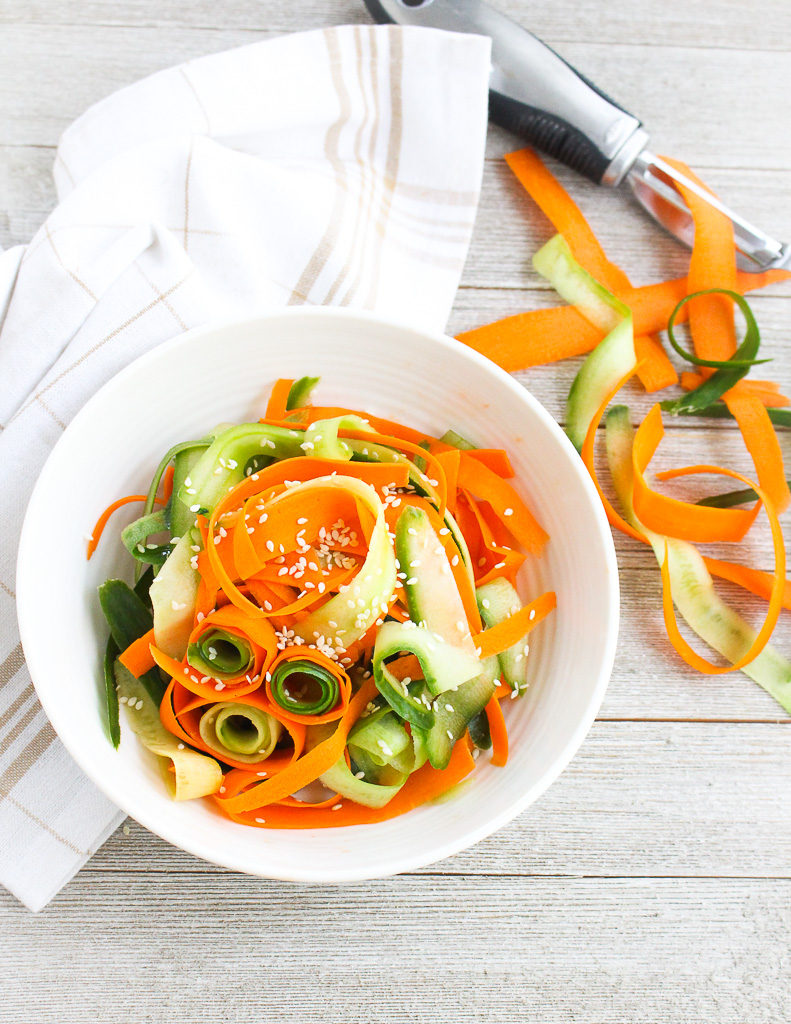
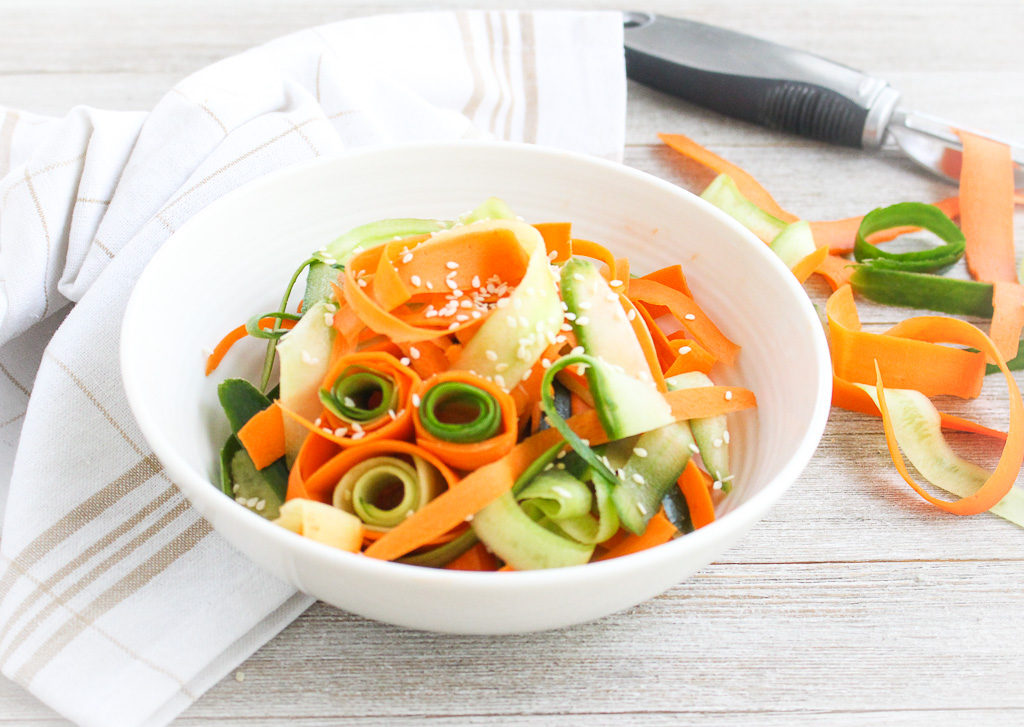
Sesame, Carrot, & Cucumber Salad via Chef Julie Harrington, RD @ChefJulieRD - refreshing and light Asian inspired salad. #saladsthatdontsuck #carrot #cucumber #salad #Asiandressing #lowcarb #healthy #recipe

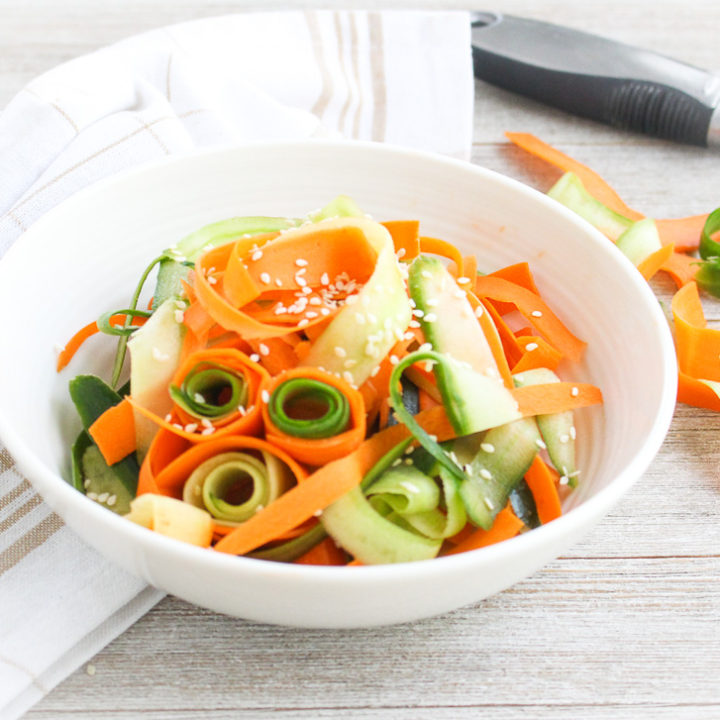
Utilize your vegetable peeler a little more than just removing the skin. No need for a fancy spiralizer. Simply continue to peel using your vegetable peeler to create delicate vegetable ribbons.

What are English Cucumbers?

I specifically used English cucumbers in this recipe. Why? Because English cucumbers (also known as burp-less, seedless, or hothouse cucumbers) taste is less bitter than conventional cucumbers, are milder and almost have a hint of sweetness. You can find them in the produce aisle wrapped in plastic. Conventional cucumbers are waxed protecting their skin, whereas English cucumbers are not and have a thinner more delicate skin that is protected by the wrapping.

Switch it up from your traditional lettuce-based salads and try something new! This quick and easy Sesame, Carrot, & Cucumber Salad is perfect to switch up your salad game in the warmer months.

Want to turn it more into a meal? Try adding shrimp on top.

Print
clock clock iconcutlery cutlery iconflag flag iconfolder folder iconinstagram instagram iconpinterest pinterest iconfacebook facebook iconprint print iconsquares squares iconheart heart iconheart solid heart solid icon
Sesame, Carrot, & Cucumber Salad in a white bowl with a vegetable peeler

Sesame, Carrot, & Cucumber Salad

  • Author: Chef Julie Harrington, RD
  • Prep Time: 15
  • Total Time: 15 minutes
  • Yield: 4-6 1x
  • Category: side dish
  • Method: no cook
  • Cuisine: Asian

Ingredients

Scale
  • 2 English cucumbers
  • 2 large carrots, peeled 
  • 1 tablespoon sesame oil
  • 2 tablespoons rice vinegar
  • 1 teaspoon sugar
  • 2 teaspoons low-sodium soy sauce
  • salt and pepper, to taste
  • 1 tablespoon toasted sesame seeds

Instructions

  1. Using a vegetable peeler, peel carrots and cucumbers into ribbons. Combine the cucumbers and carrots in a bowl. Set aside.
  2. In a small bowl, whisk together the sesame oil, rice vinegar, sugar, and soy sauce. Season with salt and pepper, to taste.
  3. Toss the cucumbers and carrots with the dressing. Sprinkle with sesame seeds. Chill for 20 minutes before serving.

Keywords: sesame, cucumber, carrot, salad, no cook, side dish, healthy, low carb

Recipe Card powered byTasty Recipes

other recipes you may enjoy

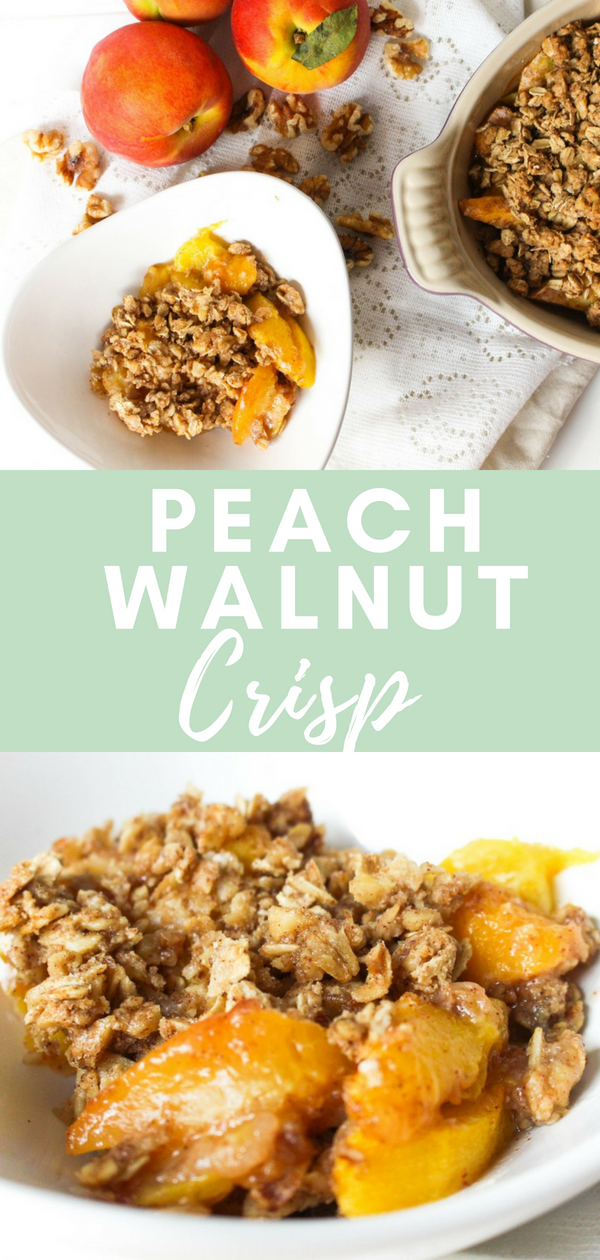
Peach Walnut Crisp

Peach Walnut Crisp is a simple summer dessert recipe, full of juicy peaches and a thick walnut crumb topping that everyone will love. Peach Walnut Crisp via RDelicious Kitchen @rdkitchenDuring the summer months, I love desserts that incorporate fresh produce. Pie is one of my favorite desserts, but my favorite parts are the middle and the crumble on top. Making a fruit crisp is the answer for me!

What’s the Difference Between a Cobbler, Crumble, and Crisp?

Crumbles and crisps are very similar, with the name crumble originating from England. They both contain fresh fruit with a streusel-like topping that gets baked until the fruit is cooked. The original difference between the two lay in the streusel topping: crisps would contain oats and crumbles would not. (source)


Peaches are starting to take over the produce department and as I was eating the juiciest peach on my way home from work and dripping peach juice down my arms and all over my car (not the smartest snack choice for the car) when I came up with this recipe idea.
Peach Walnut Crisp via RDelicious Kitchen @rdkitchen

Peaches may be the seasonal featured ingredient of this recipe, but paired with this amazing thick walnut crisp topping, walnuts are the true star. Walnuts are a delicious and versatile ingredient that is the perfect complement to other whole foods for nutritious, tasty recipes.

Did you know?
Unique among nuts, walnuts contain the highest amount of ALA.


What is ALA?
Alpha-linolenic acid (ALA), is the plant-based omega-3 essential fatty acid, required by the human body. As one of the best plant food sources of omega-3s, a one-ounce serving of walnuts provides 2.5 grams of ALA. A growing body of scientific evidence is beginning to uncover a variety of benefits that ALA/omega-3s may provide to our bodies. While most nuts contain monounsaturated fats, only walnuts are comprised primarily of polyunsaturated fat (13 grams out of 18 grams total fat). Dietary guidelines recommend that people keep total fat intake between 20 to 35 percent of calories, with most fats coming from sources of polyunsaturated and monounsaturated fatty acids. Walnuts provide important components of a healthy diet – an ounce of walnuts has 2.5 grams of the essential plant-based omega-3 alpha-linolenic acid (ALA), and 4 grams of protein and 2 grams of fiber to keep you feeling full.
Peach Walnut Crisp via RDelicious Kitchen @rdkitchen
I get a lot of questions of how to store nuts in your home kitchen. I turned to the California Walnut Commission to get the most accurate answers from walnut experts!

You can maintain the fresh taste of California walnuts by keeping them cold. Walnuts go rancid when exposed to warm temperatures for long periods of time. Heat causes the fat in walnuts to change the structure, which creates off odors and flavors. Fresh walnuts smell mildly nutty and taste sweet. If your walnuts smell like paint thinner, you know they’re rancid. And if they’re rancid, you should throw them away!

When you bring walnuts home from the store, the best place to store them is in your refrigerator or freezer, depending on when you’re going to use them. If you’re going to use the walnuts right away, place them in your refrigerator. If you’ll be storing them for a month or longer, store them in your freezer. If you buy walnuts in sealed packaging, you can store the walnuts in their original packaging. Once you open the bag, transfer the walnuts to an airtight container to maintain freshness. If you buy bulk walnuts, either in-shell or shelled, place the walnuts in an airtight container for long-term cold storage.
Peach Walnut Crisp via RDelicious Kitchen @rdkitchenHappy baking!

Print

clock clock iconcutlery cutlery iconflag flag iconfolder folder iconinstagram instagram iconpinterest pinterest iconfacebook facebook iconprint print iconsquares squares iconheart heart iconheart solid heart solid icon
Peach walnut crisp in a baking dish and white bowl

Peach Walnut Crisp

  • Author: Julie @ RDelicious Kitchen
  • Prep Time: 15 mins
  • Cook Time: 30 mins
  • Total Time: 45 mins
  • Yield: 4
  • Category: Dessert

Description

Enjoy this Peach Walnut Crisp for a sweet (and healthy) treat!


Ingredients

Scale
  • 4 large peaches, peeled, pitted, and sliced
  • 1 1/2 tablespoons arrowroot starch (or cornstarch)
  • 2 teaspoons cinnamon, divided
  • 1/3 cup rolled oats
  • 1 cup walnuts, chopped
  • 2 tablespoons oat flour
  • 2 tablespoons coconut sugar
  • 1/8 teaspoon salt
  • 2 tablespoons maple syrup
  • 2 tablespoons coconut oil (not melted)

Instructions

  1. Preheat oven to 350 degrees F. Coat an 8-inch baking dish with cooking spray. Set aside.
  2. In a large bowl, gently toss peach slices with arrowroot and 1/2 teaspoon cinnamon until evenly coated. Pour in an even layer at the bottom of the baking dish.
  3. In another bowl, combine the rolled oats, walnuts, oat flour, coconut sugar, and salt. Stir to combine. Mix in the maple syrup and coconut oil. Knead with the back of a fork or finger to create a crumb-like texture. Evenly layer on top of the peach slices in the baking dish.
  4. Bake in the oven for 30 minutes, until crumble is golden brown.
  5. Remove from oven and let cool for at least 30 minutes on a cooling rack. This will allow the peach mixture set.

Recipe Card powered byTasty Recipes

Chef Julie Harrington, RD - Where food and love meet in the kitchen @ChefJulie_RD

Peach Walnut Crisp by Chef Julie Harrington, RD @ChefJulie_RD #peach #crisp #dessert #crumble #fruitcrumble

This recipe was originally posted in June 2018. The recipe was too good, so nothing changed there. I just spruced up the post with my new website. 

Recipe ReDux

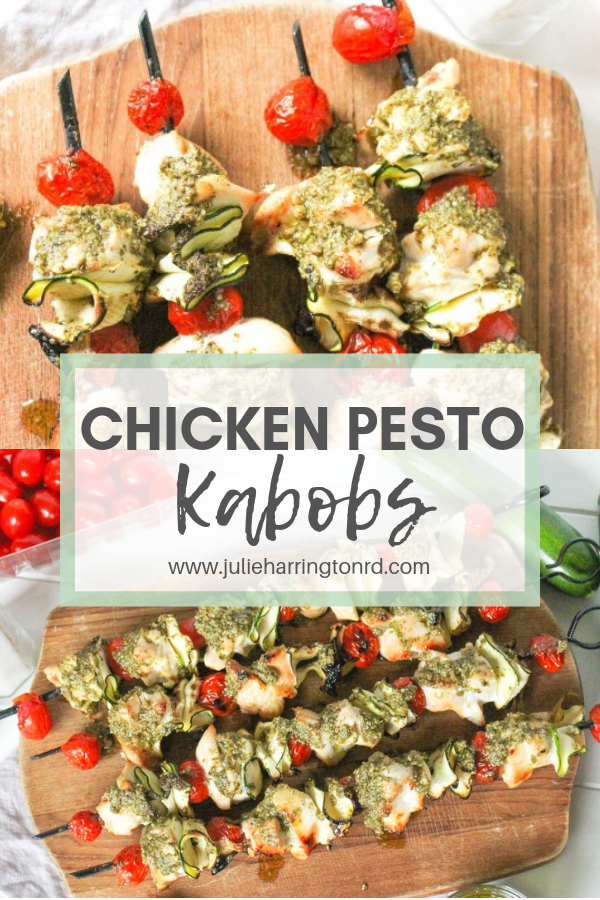
Chicken Pesto Kabobs

Need some new grilling inspiration? Try these simple and flavorful Chicken Pesto Kabobs!

Chicken Pesto Kabobs + learn the difference between charcoal and gas #grills via Chef Julie Harrington, RD @ChefJulie_RD #kabobs #grill #grilling #chicken #pesto #simplerecipe

Fire up the grill! Any grill will do, but there are advantages and disadvantages of using both charcoal or gas grills.

Charcoal vs. Gas Grills – What’s the difference?

Charcoal Grills:

Charcoal grills provide a more distinct smoky flavor along with that amazing backyard aroma. It’s such a tease when I’m running through the neighborhood and all I smell are my neighbors grilling. Scented wood chips or charcoal will add additional flavor. However, charcoal can be a little messy and sometimes tricky to regulate the temperature.

Gas Grills:

Just turn on a switch and your gas grill is fired up and ready to go. You are able to easily regulate the temperature and often gas grills have different settings that you can easily regulate areas of the grill at different temperatures. You won’t really get that smoky flavor, but you are able to cook various items on the grill at the same time.

Chicken Pesto Kabobs + learn the difference between charcoal and gas #grills via Chef Julie Harrington, RD @ChefJulie_RD #kabobs #grill #grilling #chicken #pesto #simplerecipe

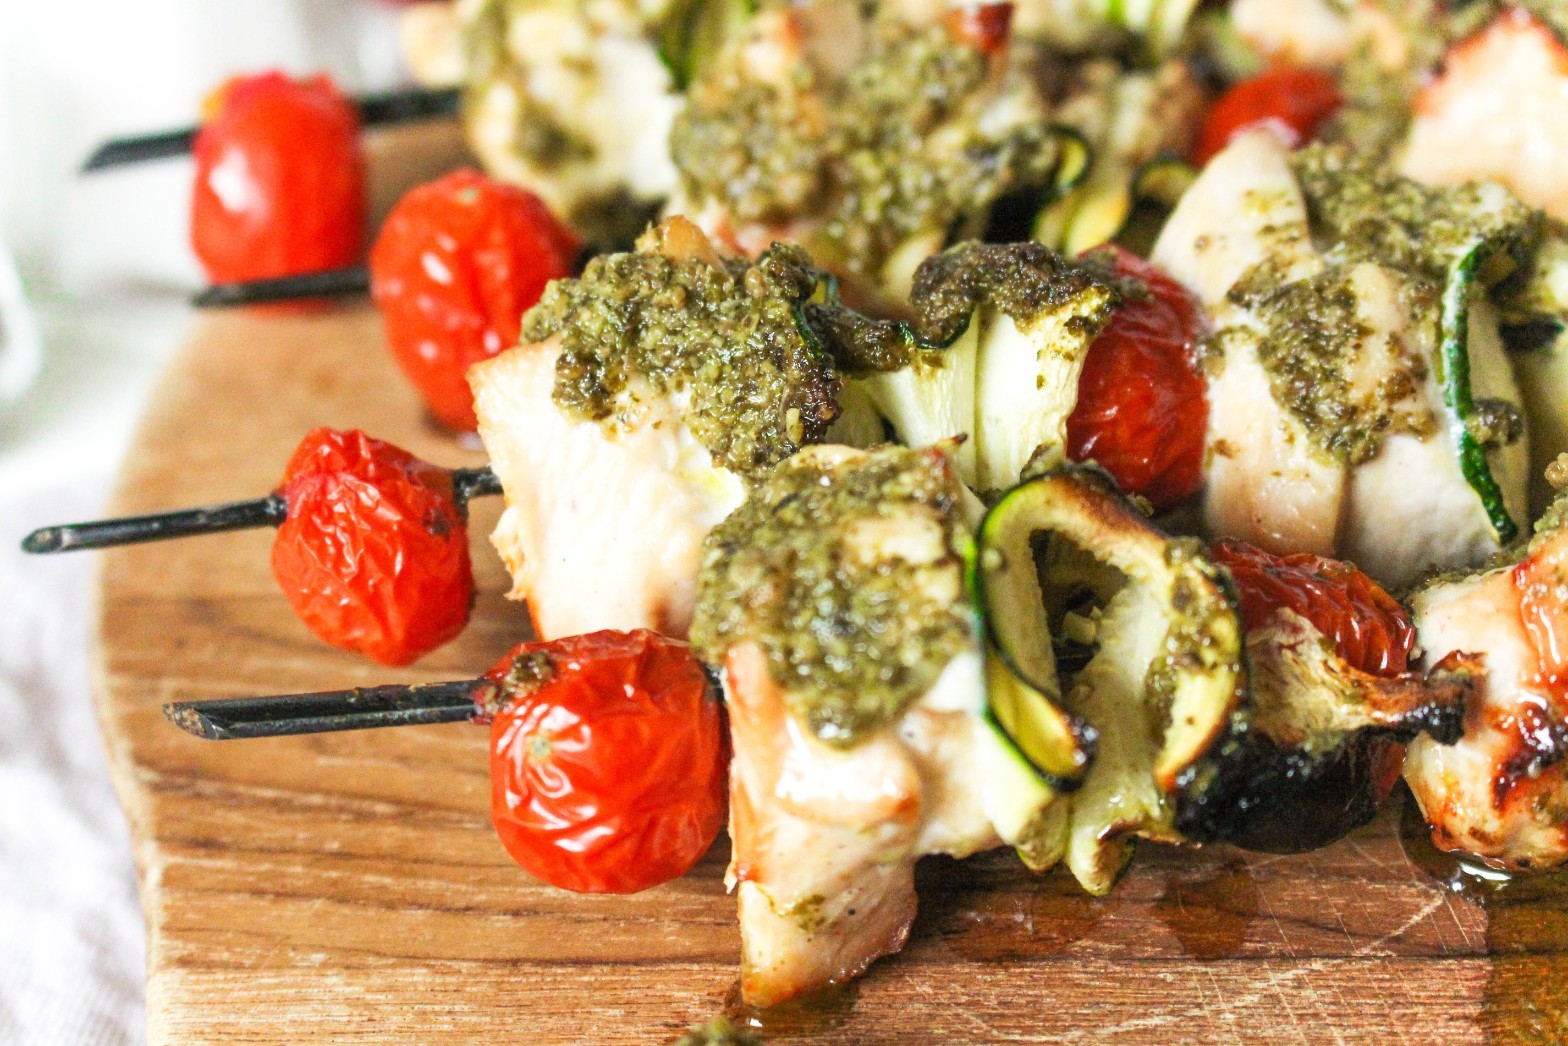
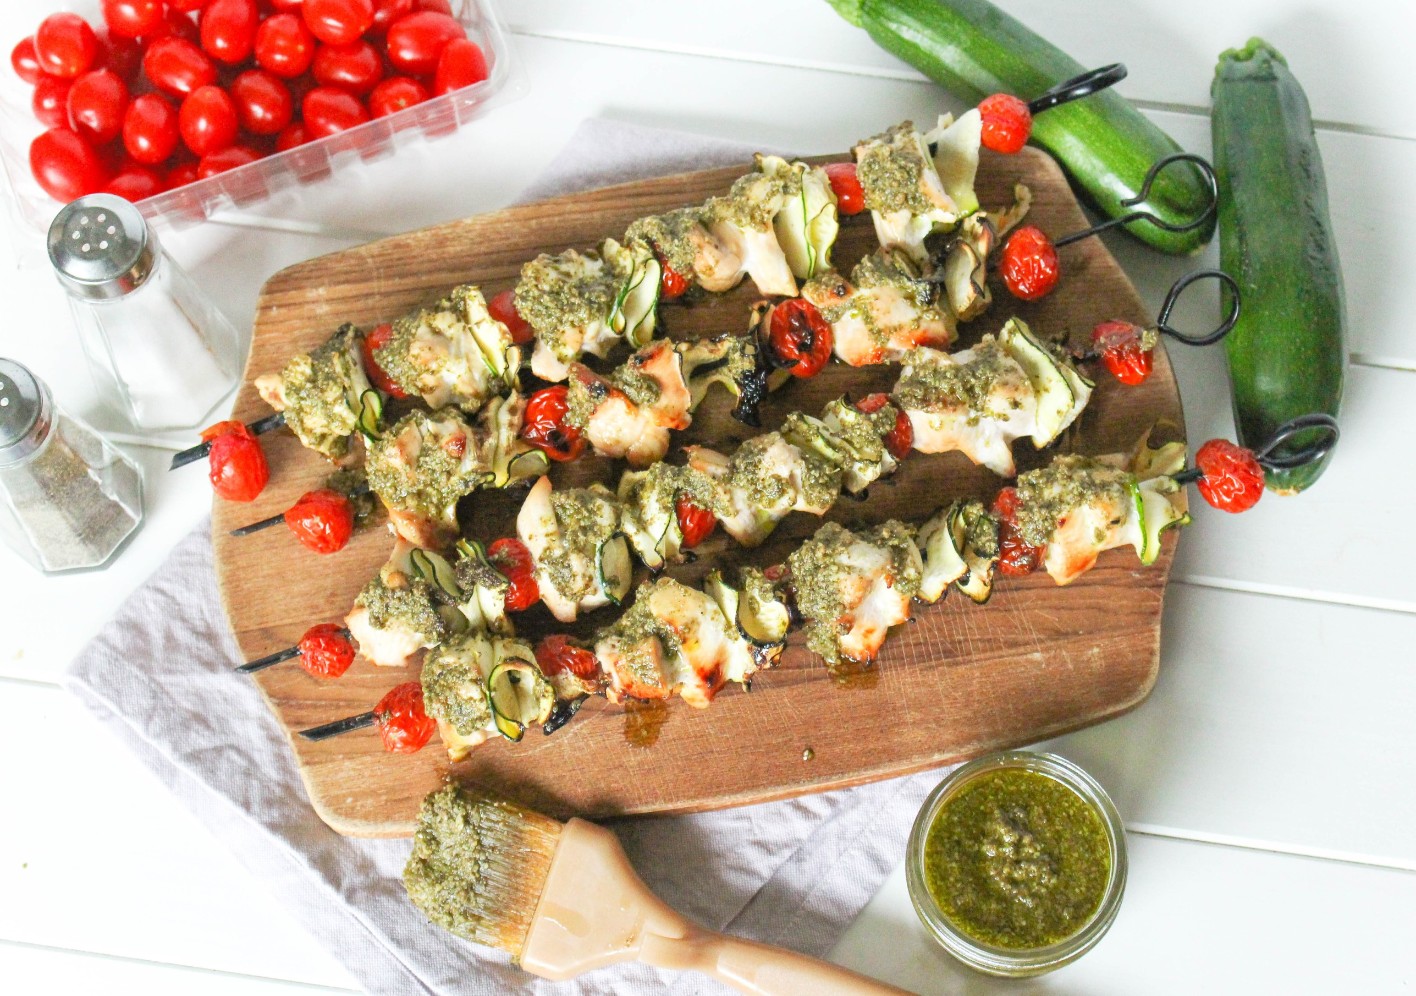
I like to create little ribbons for the zucchini to thread on the skewers. Chopped (quartered or in half moons) zucchini works just as fine! I just enjoy the crispy edges of the zucchini ribbons that crisp up from the grilling process.

If you are making zucchini ribbons, just be careful using the mandolin. They can be a tad dangerous. I got into a fight with mine once.

Chicken Pesto Kabobs + learn the difference between charcoal and gas #grills via Chef Julie Harrington, RD @ChefJulie_RD #kabobs #grill #grilling #chicken #pesto #simplerecipe

Grilling is a healthy cooking method

Grilling is a healthy cooking method to prepare your food. It requires minimal added fats and imparts a smoky flavor while keeping meats and veggies juicy and tender.

Recipe shortcut

There is nothing wrong with cooking with convenience. If using prepared pesto this recipe only has 4 ingredients and can be whipped up for a delicious dinner in no time!

Print
clock clock iconcutlery cutlery iconflag flag iconfolder folder iconinstagram instagram iconpinterest pinterest iconfacebook facebook iconprint print iconsquares squares iconheart heart iconheart solid heart solid icon
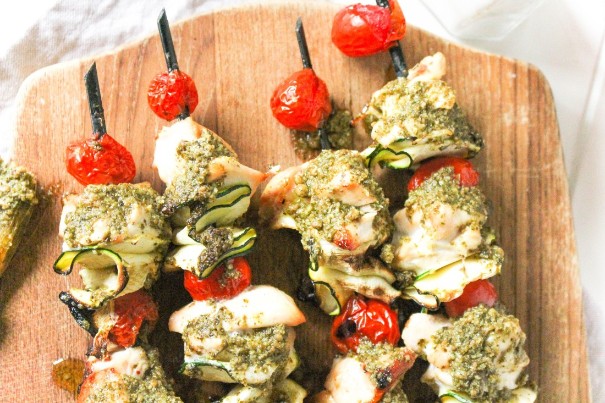
chicken pesto kabobs on a wooden board

Chicken Pesto Kabobs

  • Author: Chef Julie Harrington, RD
  • Prep Time: 1 hour
  • Cook Time: 12 mins
  • Total Time: 1 hour 12 mins
  • Yield: 4
  • Category: Dinner
  • Method: Grilling

Ingredients

Scale
  • 1 cup cherry tomatoes
  • 2 zucchini
  • 1 pound boneless, skinless chicken breasts, cut into 1 inch cubes
  • 1 cup pre-made pesto, divided
  • salt and pepper, to taste

Instructions

  1. In a large resealable bag, combine chicken and ¾ cup pesto; marinate for 1 hour.
  2. Using a mandolin (or carefully cut with a knife), slice zucchini lengthwise.
  3. Remove chicken from the marinade. Thread the cherry tomatoes, zucchini in a ribbon-like pattern, then chicken. Repeat until skewer is filled.
  4. Preheat grill to medium-high heat. Add kebobs to grill, cook gently turning halfway through for about 10-12 minutes or until internal temperature of the chicken reaches 165 degrees F. Season with salt and pepper, to taste.
  5. Brust on additional pesto, if desired. Serve immediately.

Keywords: grilling, grill, kabob, chicken, pesto, simple

Recipe Card powered byTasty Recipes
Chef Julie Harrington, RD - Culinary Nutrition Consultant of chefjulierd.com

Pin for later!

Chicken Pesto Kabobs + learn the difference between charcoal and gas #grills via Chef Julie Harrington, RD @ChefJulie_RD #kabobs #grill #grilling #chicken #pesto #simplerecipe

This recipe was originally posted in July 2016. Content and recipe have been updated.

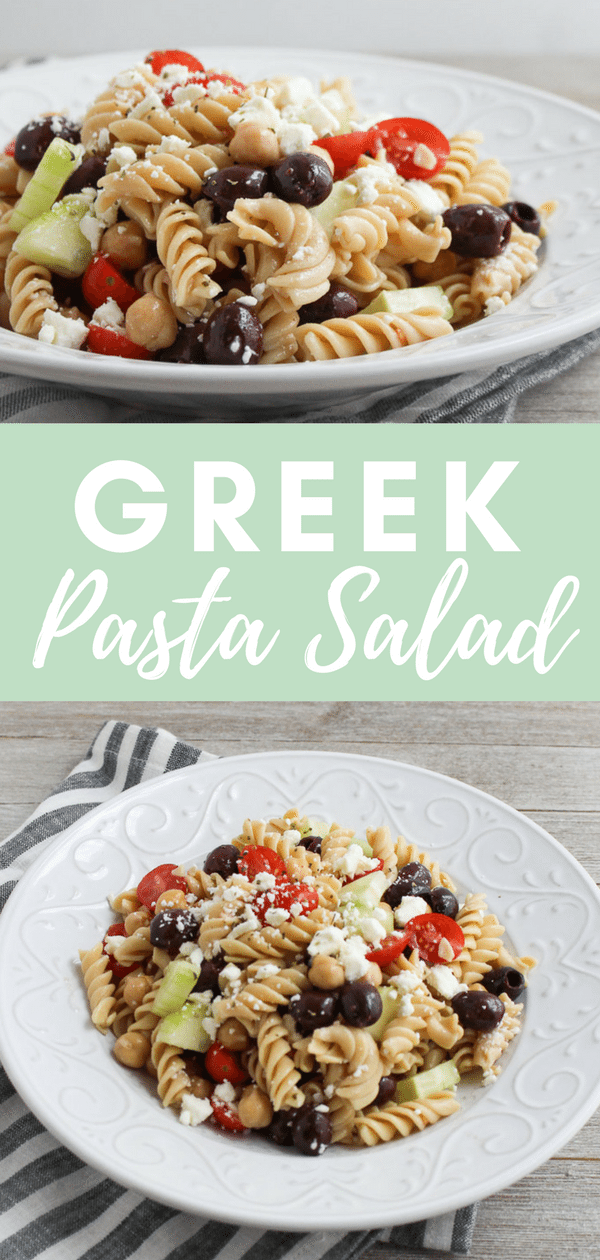
Greek Pasta Salad

Did you know April 23rd is picnic day? What are your favorite picnic recipes? Add this Greek Pasta Salad to your next picnic spread.
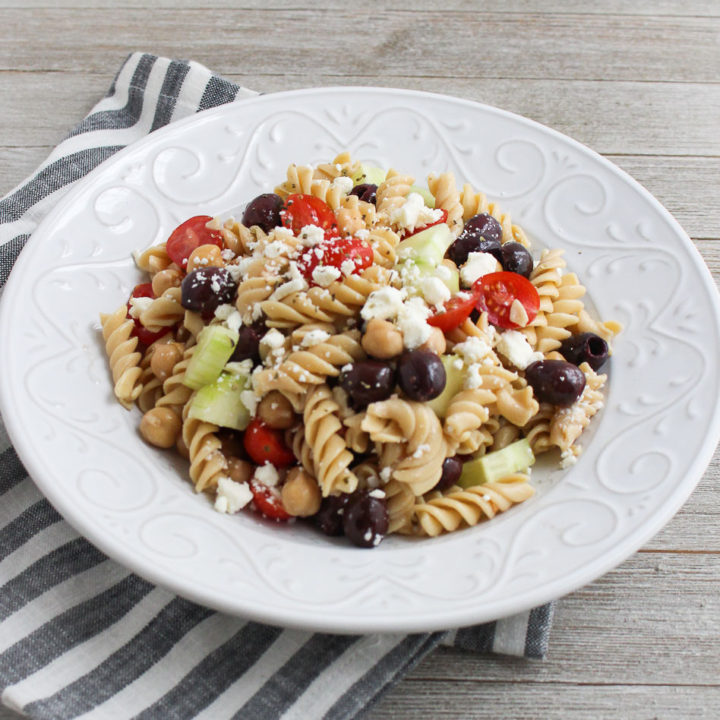
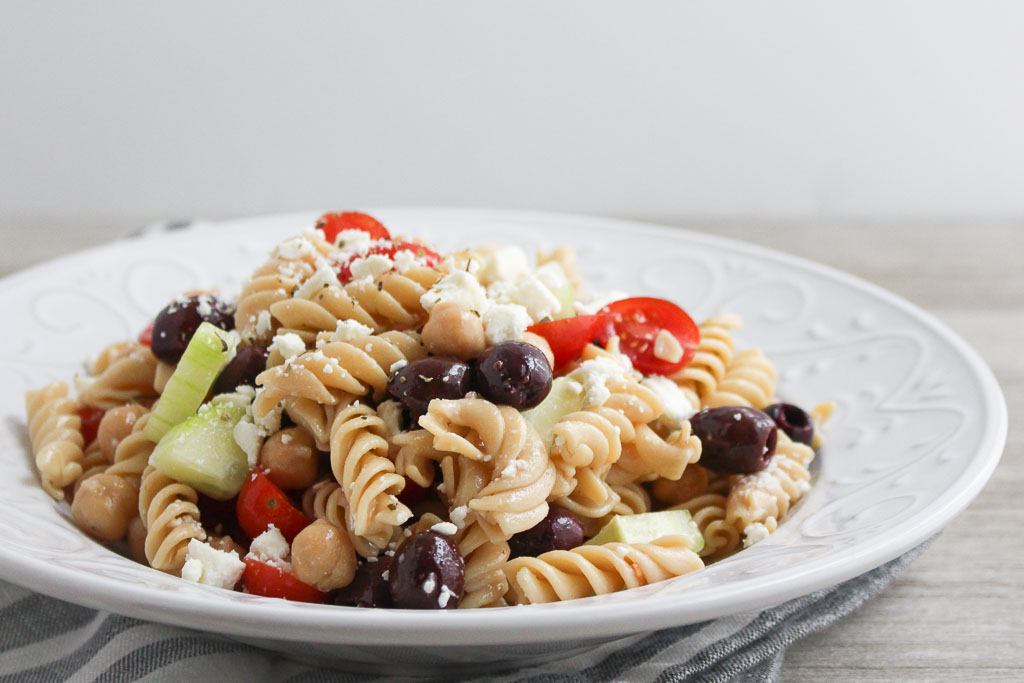
Greek pasta salad - Banza (chickpea) pasta salad with cherry tomatoes, cucumbers, olives, chickpeas, feta cheese, in a white dish
I had many summer jobs during high school and in between college semesters. One of them was at an outdoor catering business. We did a lot of BBQ’s and graduation parties, which served the classic outdoor fair, including burgers, hot dogs, barbeque chicken, and ribs. Plus, the typical sides like, potato salad, pasta, salad, and coleslaw.

Making the sides was one of the tasks I simply dreaded. With catering, every recipe is made in mass quantities to serve a crowd.
Do you have a certain food or ingredient that just skeeves you out? For me it’s mayonnaise. For a large party, I would have to make potato salad in these large buckets and wear these giant gloves to toss the mayonnaise in.
Greek pasta salad - Banza (chickpea) pasta salad with cherry tomatoes, cucumbers, olives, chickpeas, feta cheese, in a white dish
I used Banza pasta for this recipe. I feel like there are never enough plant-based protein options available at barbeques. This is a great way to have a protein-packed option for those who don’t eat meat and want to enjoy this as more of a meal than a side dish.

Print

clock clock iconcutlery cutlery iconflag flag iconfolder folder iconinstagram instagram iconpinterest pinterest iconfacebook facebook iconprint print iconsquares squares iconheart heart iconheart solid heart solid icon
chickpea pasta with vegetables in a white bowl

Greek Pasta Salad

  • Author: Chef Julie Harrington, RD
  • Prep Time: 10
  • Cook Time: 8
  • Total Time: 18 minutes
  • Yield: 6
  • Category: pasta, side dish

Description

Everyone will love it when you bring this Greek Pasta Salad to your next BBQ!


Ingredients

Scale
  • 8 ounces box rotini Banza pasta (or pasta of your choice)
  • 1-pint cherry tomatoes halved
  • 1 seedless cucumber, peeled and quartered
  • 1 (15 oz.) can chickpeas, drained and rinsed
  • 1/2 cup pitted Kalamata olives
  • 3 tablespoons olive oil
  • 2 tablespoons red wine vinegar
  • 2 cloves garlic, minced
  • 2 teaspoons dried oregano
  • salt, to taste
  • 1/2 cup feta cheese

Instructions

  1. Cook pasta according to package directions. Rinse with cold water to stop the cooking process.
  2. In a large bowl combine, pasta, tomatoes, cucumbers, chickpeas, and olives.
  3. In a small bowl, whisk together olive oil, red wine vinegar, garlic, and oregano. Season with salt to taste.
  4. Drizzle dressing over pasta salad and toss to combine. Gently fold in feta cheese just before serving.

Keywords: pasta salad, side dish, vegetarian

Recipe Card powered byTasty Recipes

Check out some more picnic inspired recipes. Click on the link below.

Chef Julie Harrington, RD - Culinary Nutrition Consultant of chefjulierd.com

Pin for later!

Greek pasta salad - Banza (chickpea) pasta salad with cherry tomatoes, cucumbers, olives, chickpeas, feta cheese, in a white dish