This post may contain affiliate links. Read my privacy policy.
Craving something sweet, but don’t want to make a whole batch of a dessert recipe? Enter
I received free samples from Kip’s for the development of this recipe and am eligible for prizes for their recipe contest.
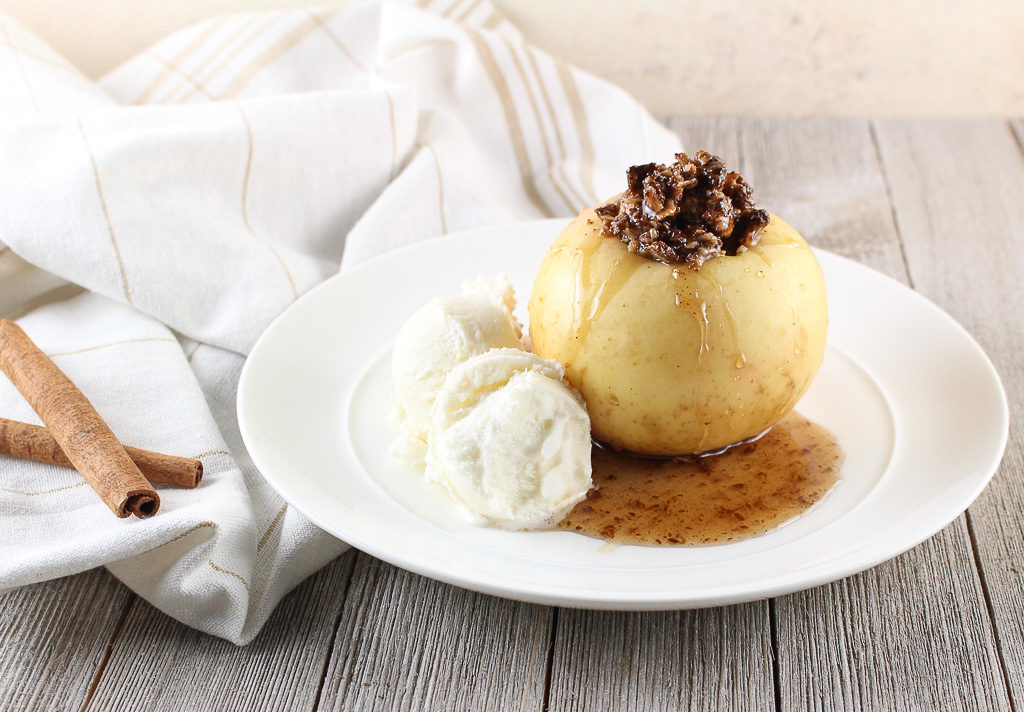
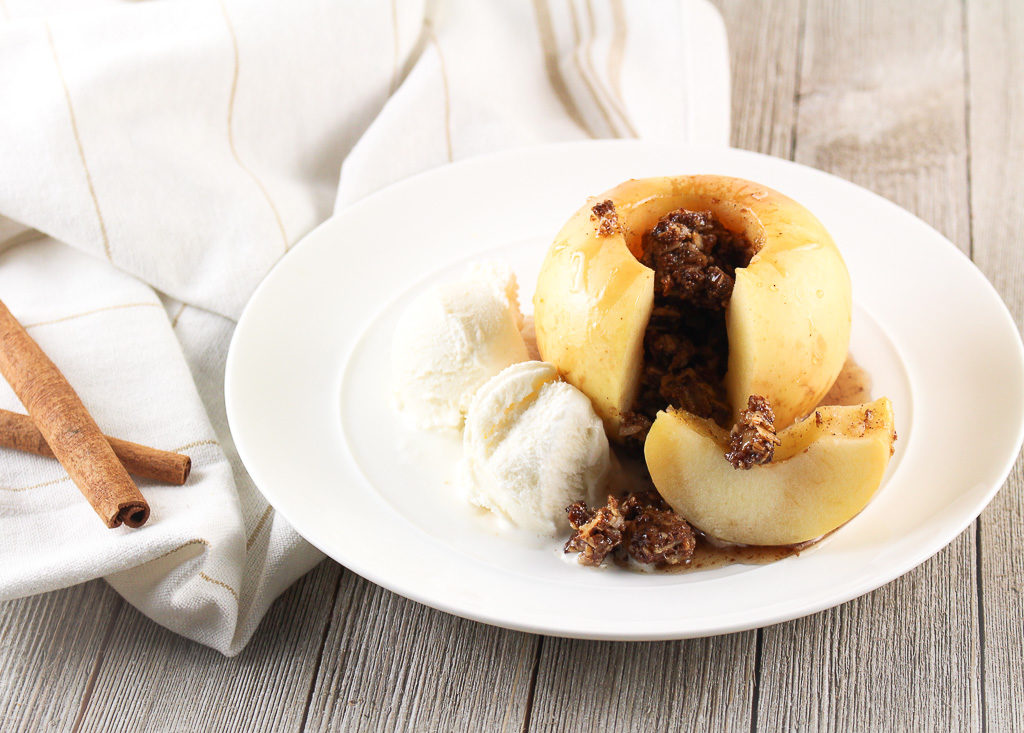
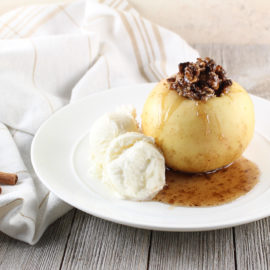
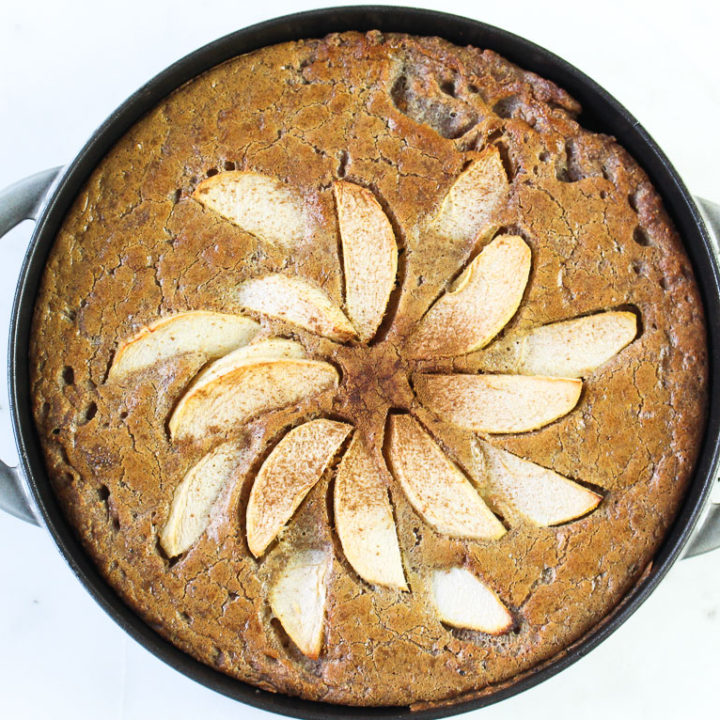
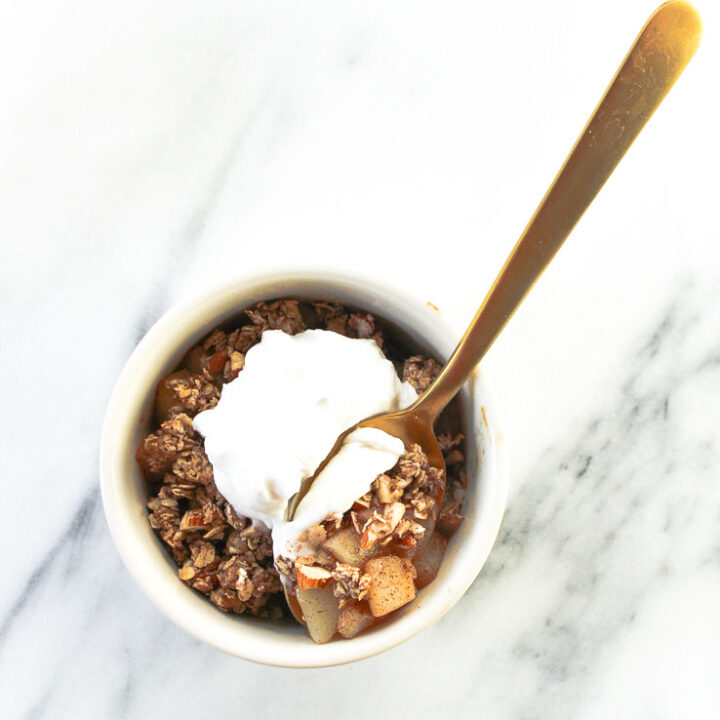
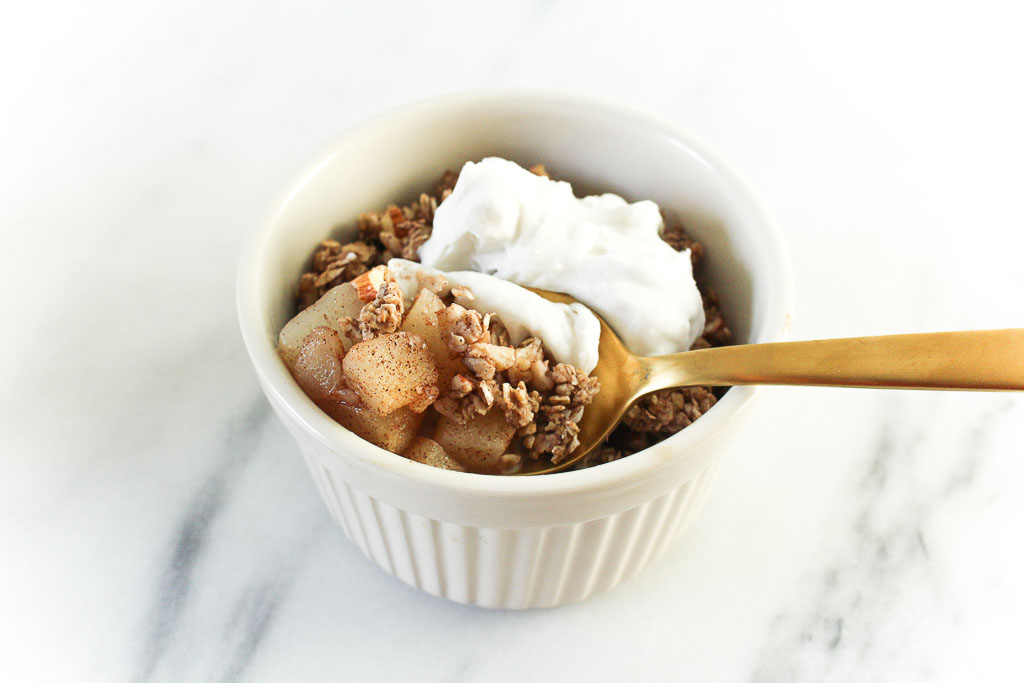
Baked fruit is often overlooked for dessert. Fruit is sweet as is, but when baked the natural sweetness intensifies. Baked apples are a delicious dessert. Simply remove the core, stuff with your favorite filling, and bake!
Using a dry-cook method, like baking, will break down the cell walls of the fruit and result in water loss from being exposed to heat. Be mindful of the cooking time. Too long, the fruit will become too mushy and mealy.
When creating a recipe for a single serving, there is no need to complicate the cooking technique with too many ingredients. If cooking for one, keep it simple!
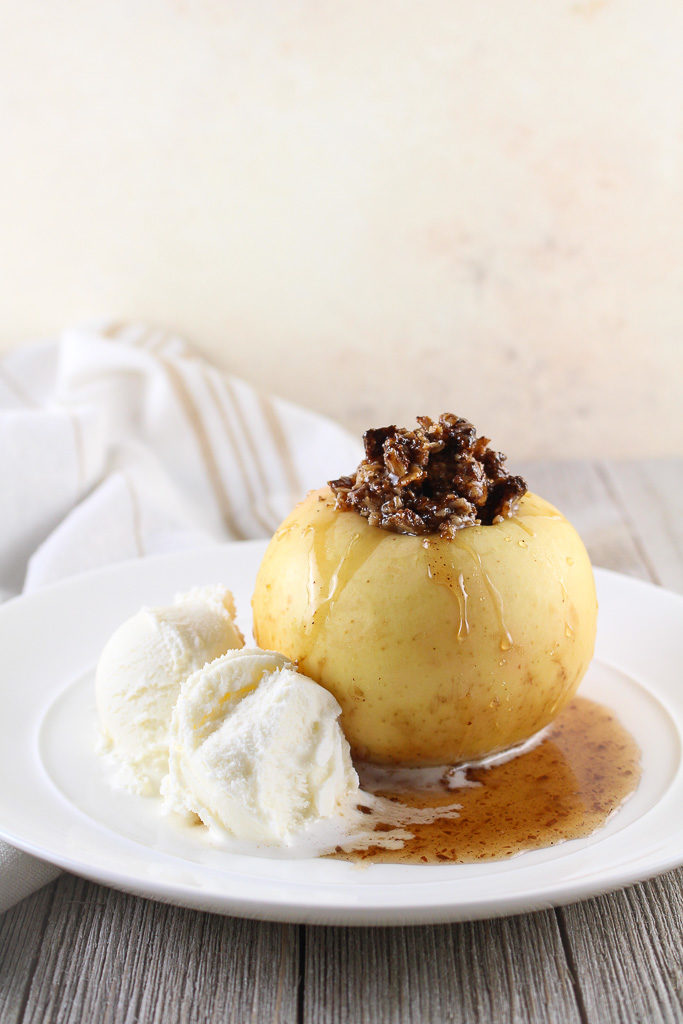
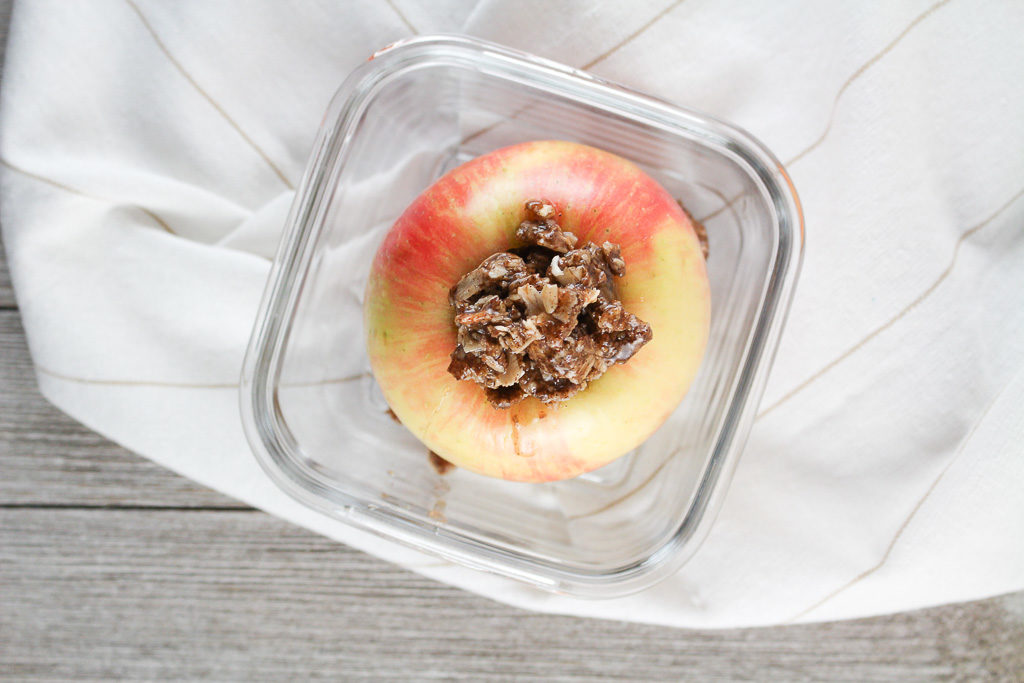
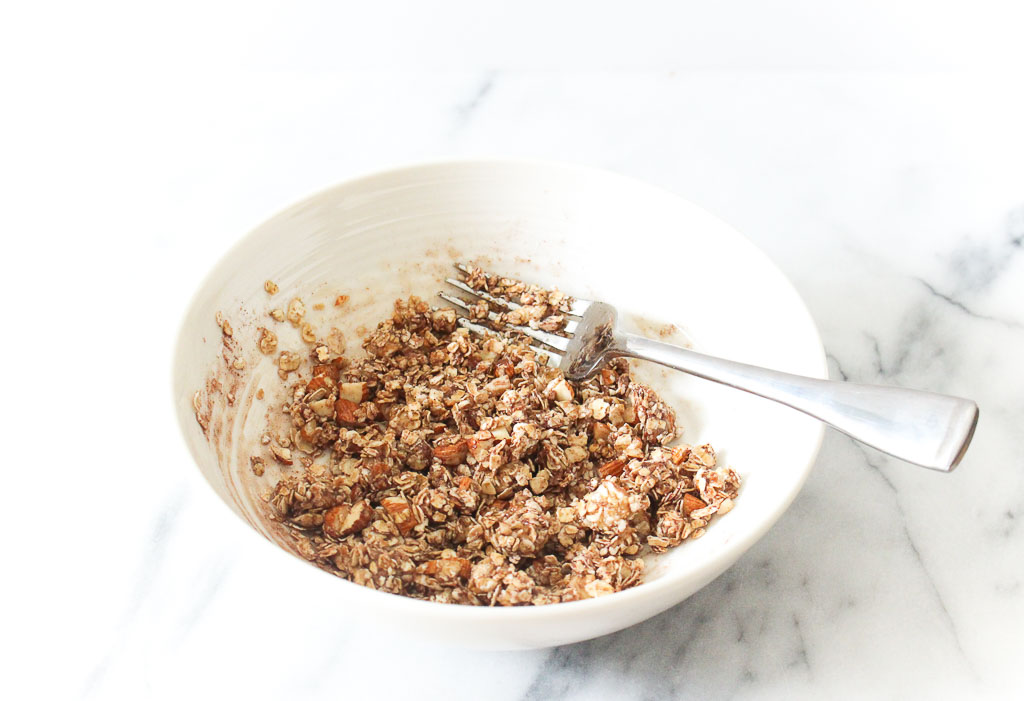
These baked apples are stuffed with Kip’s Granola Bark. Kip’s is an allergy-friendly, gluten-free, and vegan granola bark is free from the eight main food allergens, including peanuts, tree nuts, wheat, dairy, eggs, and soy, and additionally free of sesame and sunflower seeds.
For those navigating food allergies, Kip’s Granola Bark is a wholesome snack that can be enjoyed as is or incorporated into a recipe.
Baked Apple for One
- Prep Time: 5
- Cook Time: 30
- Total Time: 35 minutes
- Yield: 1
- Category: dessert
- Method: baking
Description
Craving something sweet, but don’t want to make a whole batch of a dessert recipe? Enter these delicious (and allergy friendly) Baked Apple for One.
Ingredients
1 honeycrisp apple (or another variety like gala or granny smith)
2 tablespoons crumbled Kip’s Cinnamon Crunch Granola Bark
1/2 teaspoon butter, melted (or dairy-free, soy-free margarine)
1/2 teaspoon maple syrup
1/4 teaspoon ground cinnamon
1 tablespoon water
Instructions
Preheat the oven to 350ºF. Use a melon baller, carefully remove the stem and seeds from the apples, making a deep hole where the filling will go.
In a small bowl, combine the crumbled Kip’s Cinnamon Crunch Granola Bark, butter, maple syrup, and ground cinnamon. Fill into the cavity of the apple.
Add water to a small oven-safe baking dish and place the stuffed apple on top.
Bake for 30 minutes, until apple, is fork tender. Remove from oven and allow to cool for a few minutes.
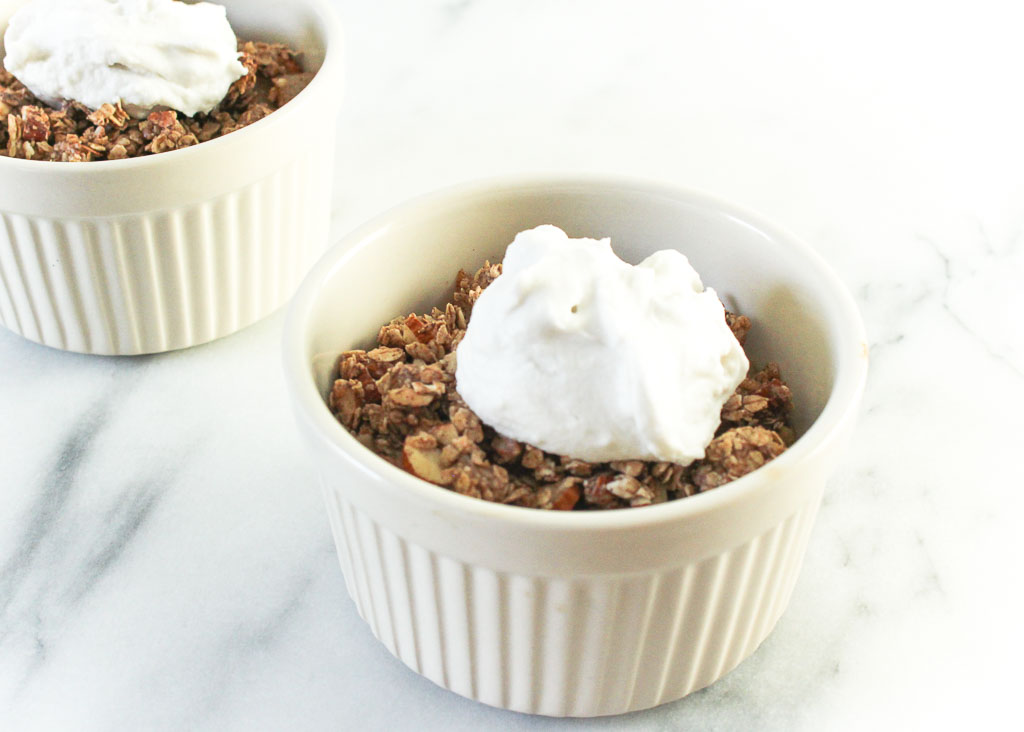
Spoon the sauce drippings from the pan over the apples. Serve with ice cream, if desired.
Keywords: apple, baked apple, allergy-friendly, gluten-free, dessert


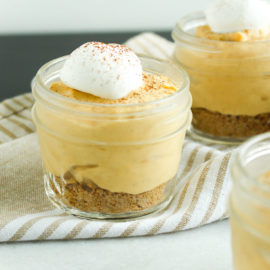
![[No Bake] Pumpkin Cheesecake Mousse via RDelicious Kitchen @RD_Kitchen](https://chefjulierd.com/wp-content/uploads/2016/10/pumpkin-cheesecake-shooters-037.jpg)
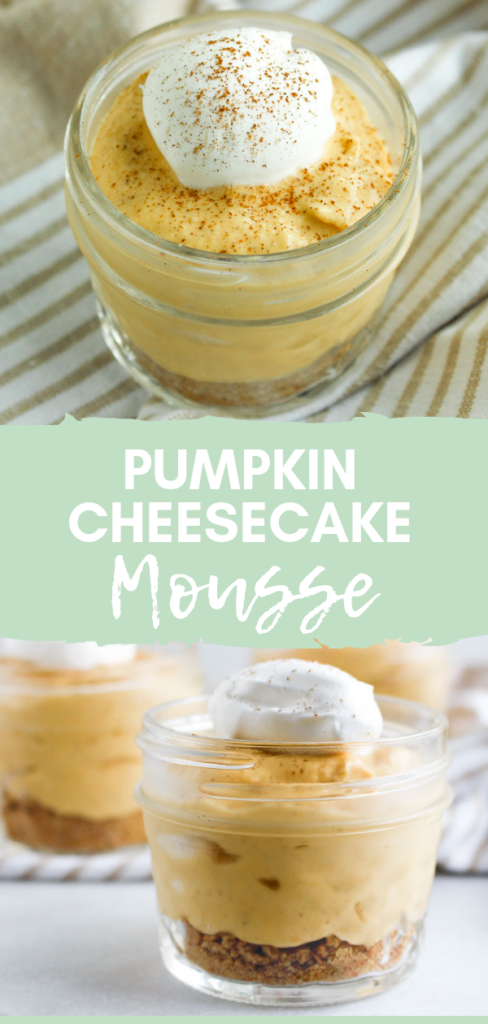
![[No Bake] Pumpkin Cheesecake Mousse via RDelicious Kitchen @RD_Kitchen](https://chefjulierd.com/wp-content/uploads/2016/10/pumpkin-cheesecake-shooters-061.jpg)
![[No Bake] Pumpkin Cheesecake Mousse via RDelicious Kitchen @RD_Kitchen](https://chefjulierd.com/wp-content/uploads/2016/10/pumpkin-cheesecake-shooters-043.jpg)
![[No Bake] Pumpkin Cheesecake Mousse via RDelicious Kitchen @RD_Kitchen](https://chefjulierd.com/wp-content/uploads/2016/10/pumpkin-cheesecake-shooters-049.jpg)