This post may contain affiliate links. Read my privacy policy.
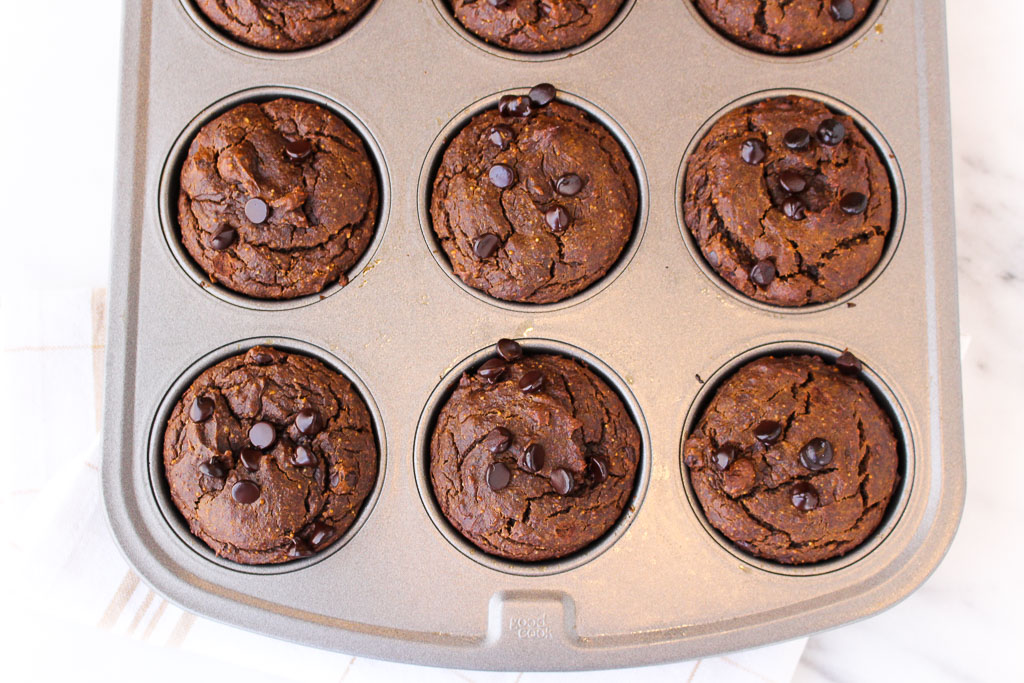
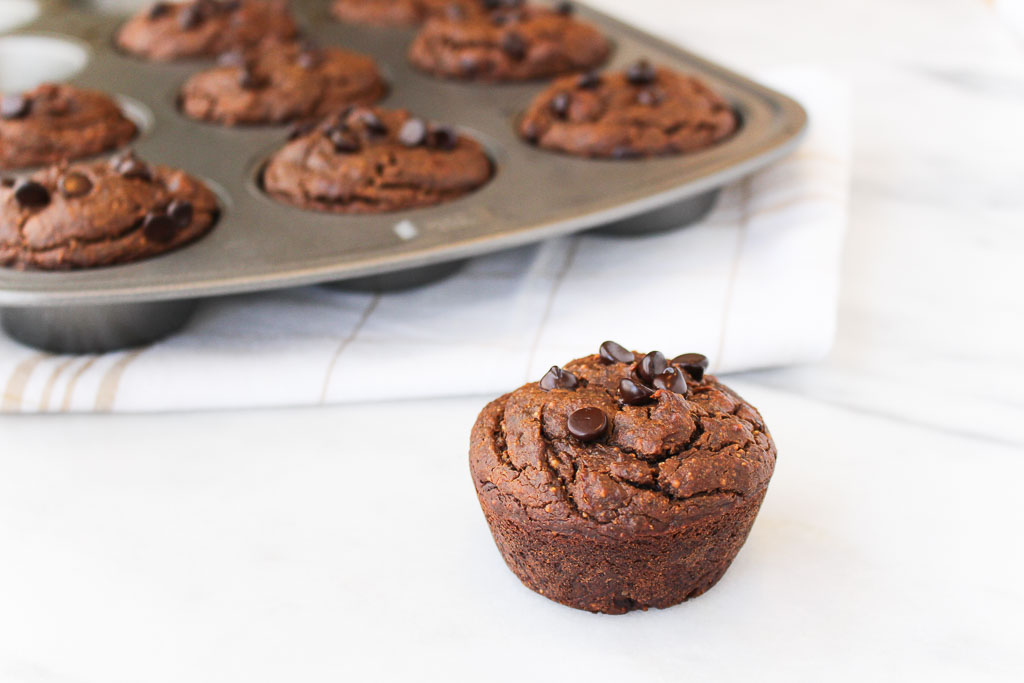
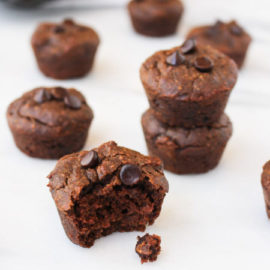
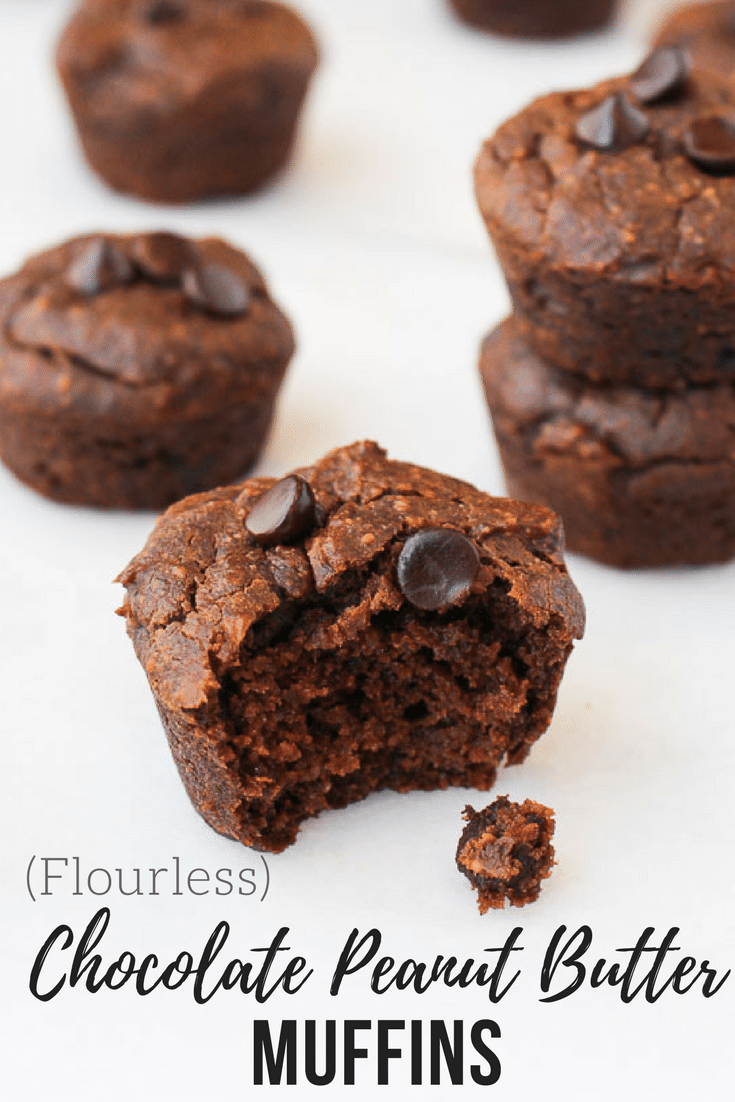
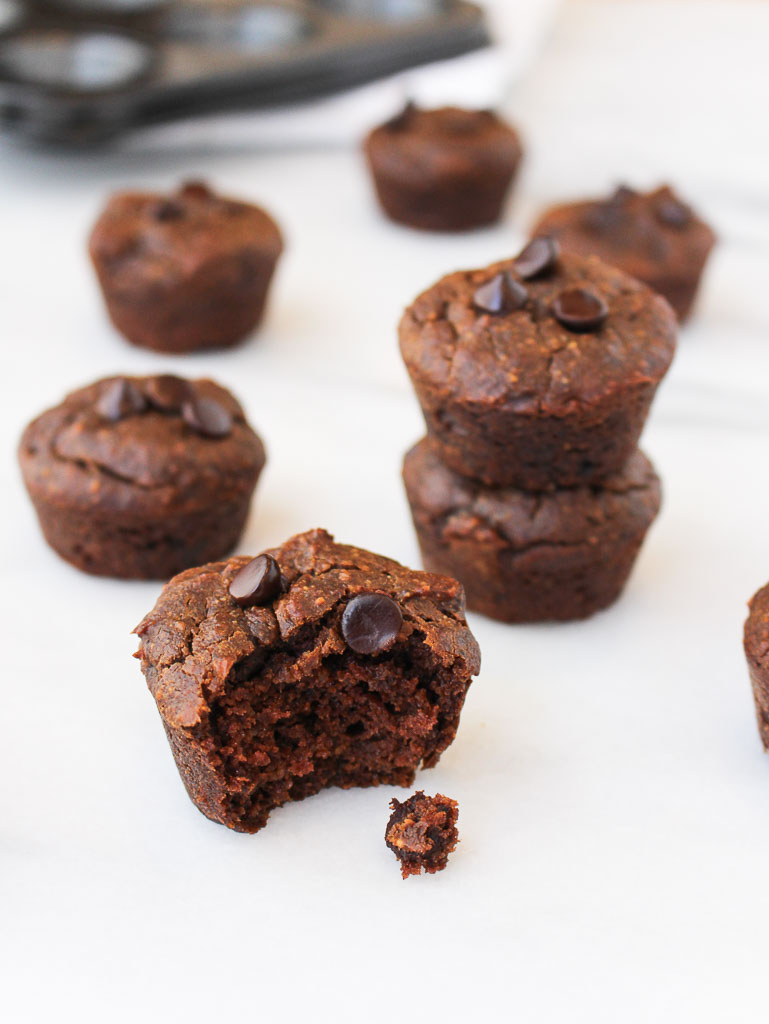
You won’t believe that these Chocolate Peanut Butter Muffins are flourless! Made with wholesome ingredients these muffins can be part of a healthy breakfast or enjoyed as a decadent dessert. Disclaimer: I am warning you, if you make these, they may not last a week in your house. They didn’t in mine! I found ways to enjoy these muffins with almost any meal. Crumble on top of smoothie bowls for breakfast, pair with a yogurt parfait for lunch, top with peanut butter for the ultimate dessert.
Whenever I offer baked goods to my family and friends, they tend to be a little skeptical thinking that there is no way there is a “healthier” option that STILL tastes good. My dad’s famous words are “what’s in this” before he tries anything I make. My response is the typical eye roll with “JUST TRY IT!”. Even though my dad may question everything I make, he still always tries it. Making a flourless muffin that tastes as indulgent as dessert, this is one recipe no one will pass on.
Preheat oven to 350 degrees F. Spray a muffin tray with cooking spray or line with parchment liners.
In a large bowl, combine eggs, peanut butter, maple syrup, pumpkin puree, cacao powder, baking soda, and vanilla extract. Whisk together until smooth and creamy.
Fold in the chocolate chips.
Fill muffin tins 3/4 full.
Bake for 30-35 minutes, until a toothpick, comes out clean.
This post may contain affiliate links. Read my privacy policy.
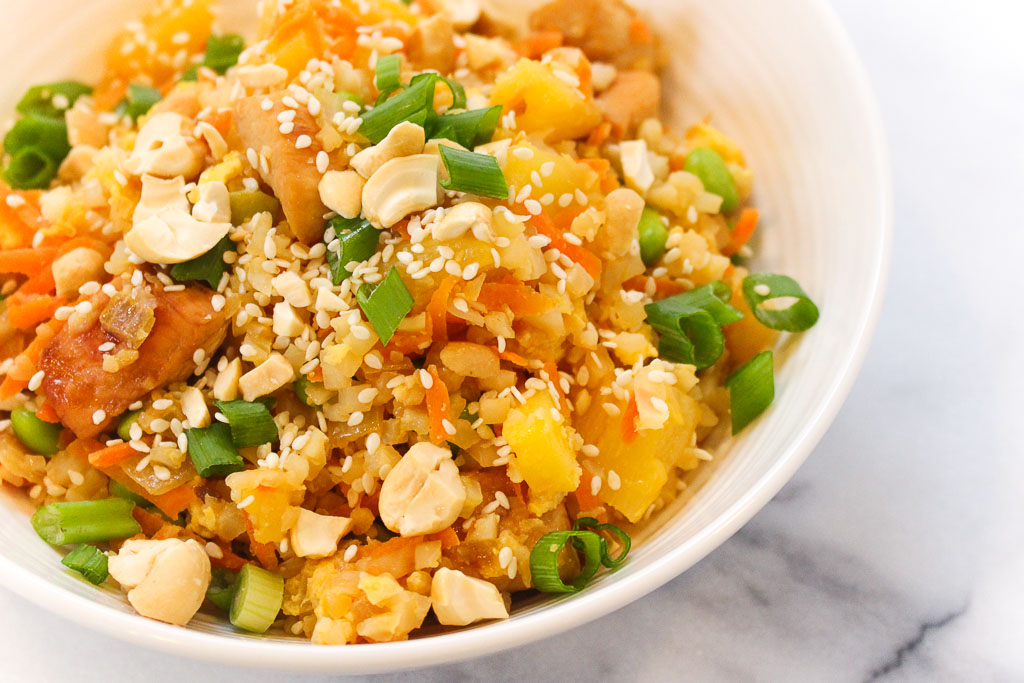
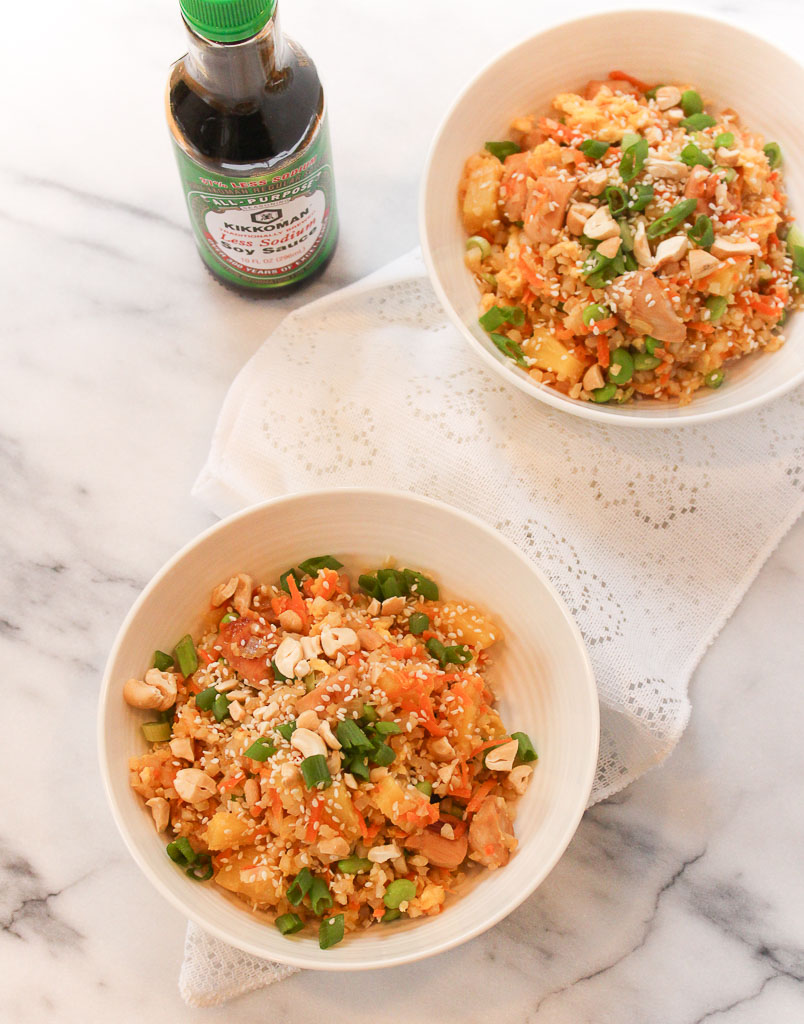
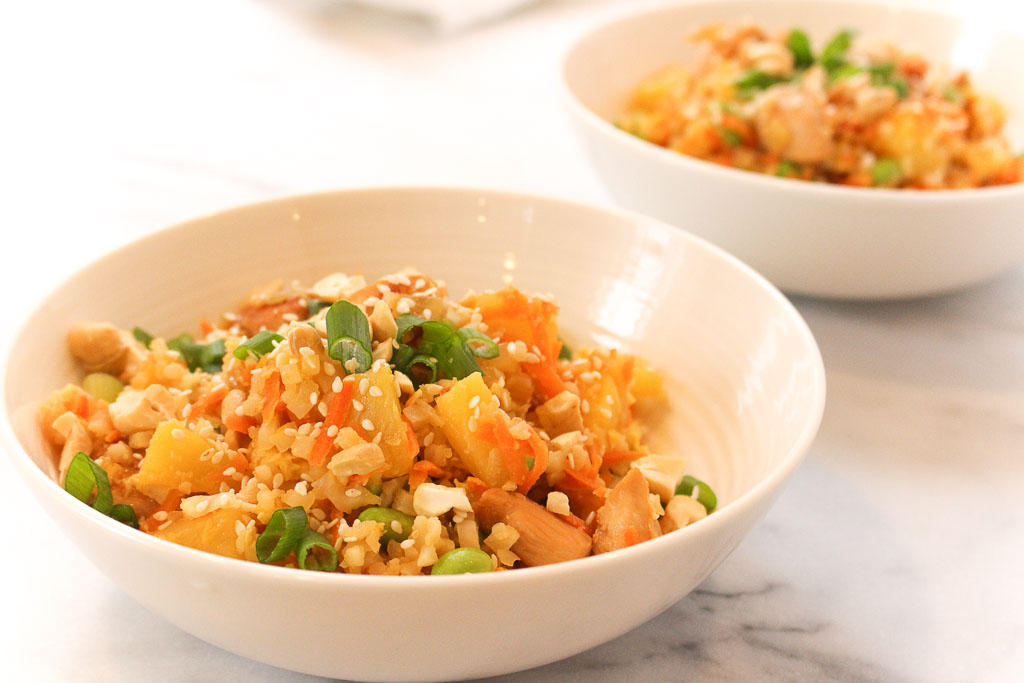
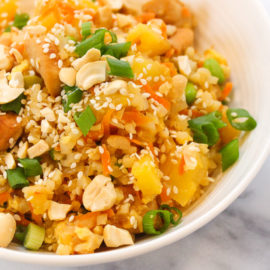
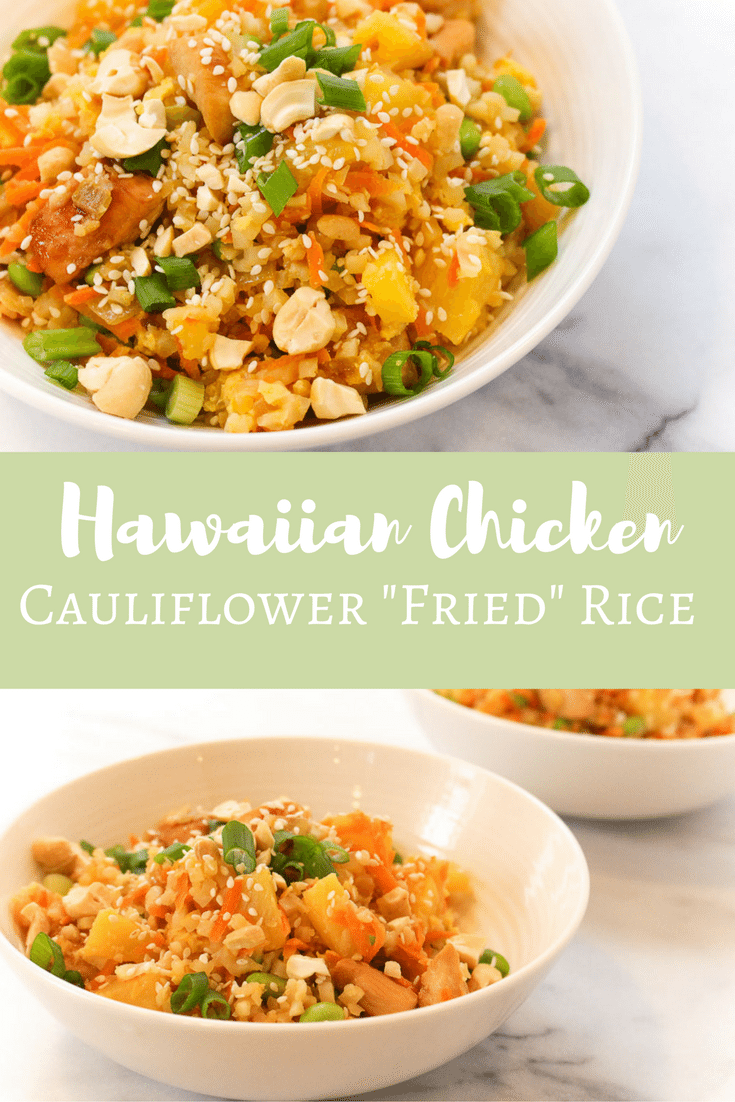
Skip take-out and make your own delicious fried rice, with this healthy twist. Try swapping out rice for cauliflower rice and creating this flavor packed Hawaiian Chicken Cauliflower “Fried” Rice. I received a free sample of Kikkoman soy sauce mentioned in this post. By posting this recipe I am entering a recipe contest sponsored by Kikkoman and am eligible to win prizes associated with the contest. I was not compensated for my time.
Have you jumped on board the cauliflower rice trend? This is one trend that I love because it adds more veggies to your meal! Many also opt into this ingredient swap idea because it is a lower carb option.
Your typical fried rice take-out may be packed with excess sodium, but by adding Kikkoman’s Traditionally Brewed Less Sodium Soy Sauce in this recipe can actually help reduce the amount of sodium in this dish. Soy sauce is often associated with being high in sodium, but culinary research indicates it’s an ingredient that can actually help reduce sodium in recipes. How? Soy sauce is rich in umami, a savory taste that helps round out the overall flavor of a dish and enhances the palatability of a wide variety of foods. In fact, a study published in the Journal of Food Science revealed that swapping soy sauce for salt reduces the sodium by up to 50% without decreasing consumer acceptance.
As you’ll see there is no additional source of sodium from any other ingredients in this recipe. By using 1/2 tsp. Kikkoman Soy Sauce in place of 1/2 tsp. table salt, the sodium content of the recipe is cut by 1000 mg. This isn’t just any cauliflower rice. I added a little tropical twist. As I am typing this recipe, I am dreaming of being on a tropical island away from the NJ snow. The addition of pineapple, not only adds that tropical flavor, but also the enzyme found in pineapple, bromelain, digests protein, softening the tissues in meat before cooking it, creating tender pieces of chicken. Looking to add more umami flavor to your recipes? Kikkoman offers a variety of less sodium products: Less Sodium Soy Sauce, 50% Less Sodium Gluten-Free Tamari Soy Sauce, Less Sodium Teriyaki Marinade & Sauce, and 50% Less Sodium Gluten-Free Teriyaki Marinade & Sauce.
1/4 cup + 3 tablespoons Kikkoman Traditionally Brewed Less Sodium Soy Sauce, divided
3 tablespoons honey, divided
1 (12 oz.) bag riced cauliflower (or 1 medium-sized head of cauliflower riced)
2 carrots, peeled and shredded
2 tablespoons + 1 teaspoon sesame oil, divided
1/2 medium onion, diced
1 cup frozen and shelled edamame, thawed
2 eggs, beaten
6 scallions, sliced
2 tablespoons, cashews, crushed
1 teaspoon sesame seeds
Instructions
In a bowl, combine 3 garlic cloves (minced), 1/4 cup pineapple juice, 1/4 cup soy sauce, and honey. Add the cubed chicken; stir to combine. Let marinade in the refrigerator for at least 1 hour.
Remove chicken from marinade. Discard marinade. Heat 1 tablespoon sesame oil in a large skillet over medium-high heat. Add chicken and cook for about 5 minutes, until internal temperature reaches 165 degrees F. Remove chicken from pan and set aside.
In a small bowl combine remaining pineapple juice, 3 tablespoons soy sauce, 1 tablespoon honey and 1 teaspoon sesame oil; set aside.
Heat 1 tablespoon of sesame oil in the same pan over medium-high heat. Add the onions and carrots. Saute for about 2 minutes; then add garlic; saute for another minute. Add the cauliflower and edamame. Saute until cauliflower is soft (but not mushy).
Turn pan down to low-medium heat. Make a well in the center of the pan and add the eggs. Stir gently in the center until starting to cook, then incorporate into the rest of the veggies. Stir in soy sauce mixture, scallions, pineapple chunks and chicken.
Top with cashews and sesame seeds before serving.
Recipe Card powered by
Don’t forget to check out all the other recipes that are slashing sodium with soy sauce!
This post may contain affiliate links. Read my privacy policy.
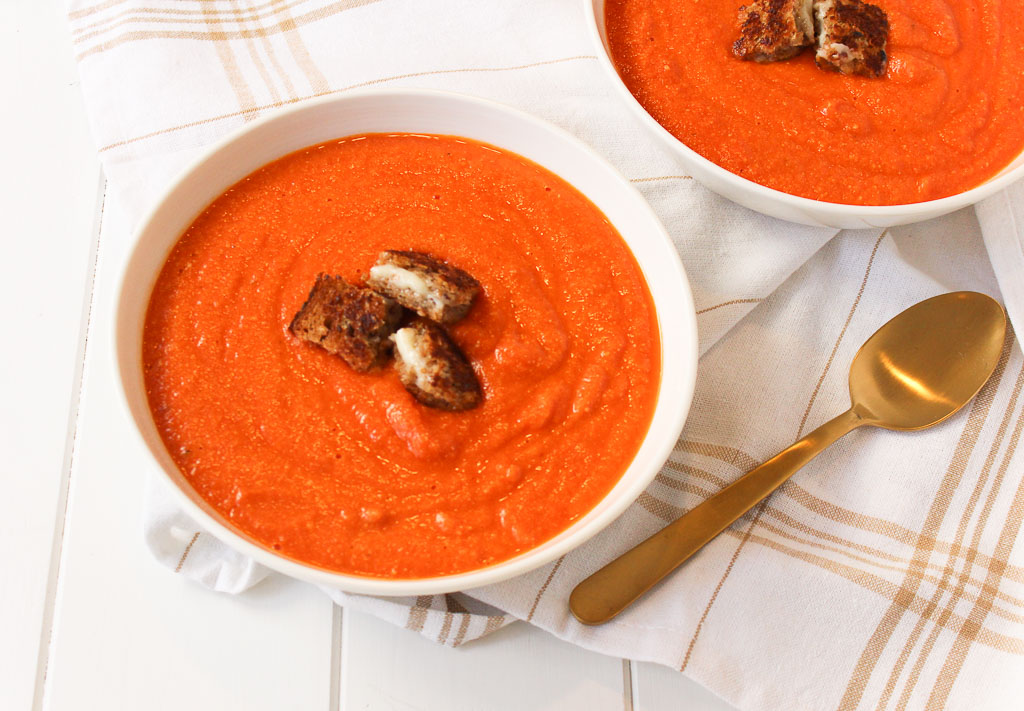
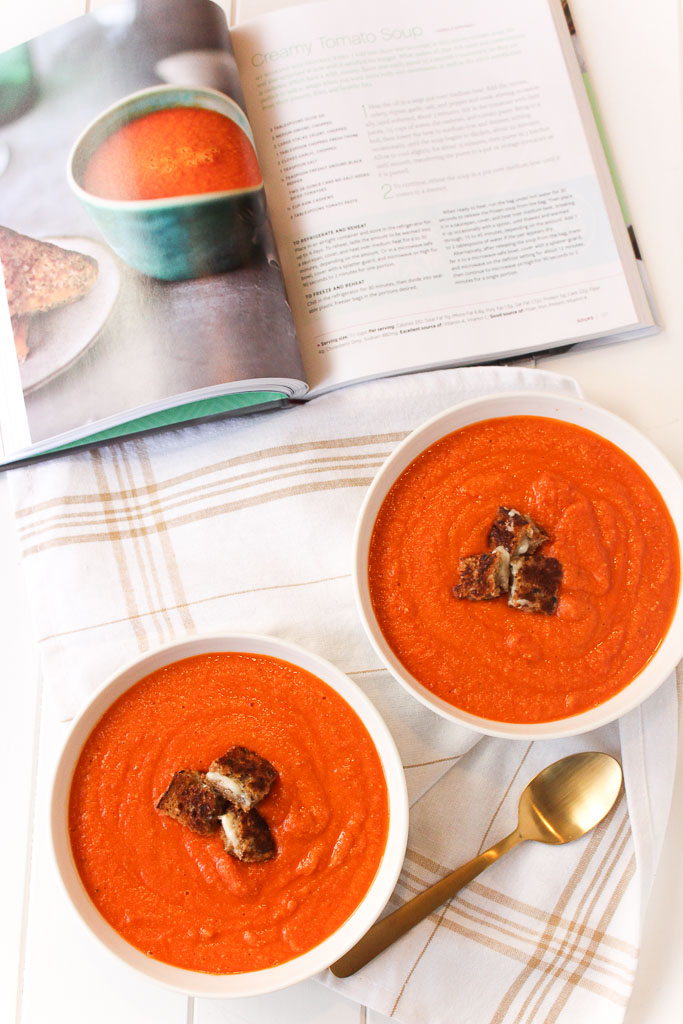
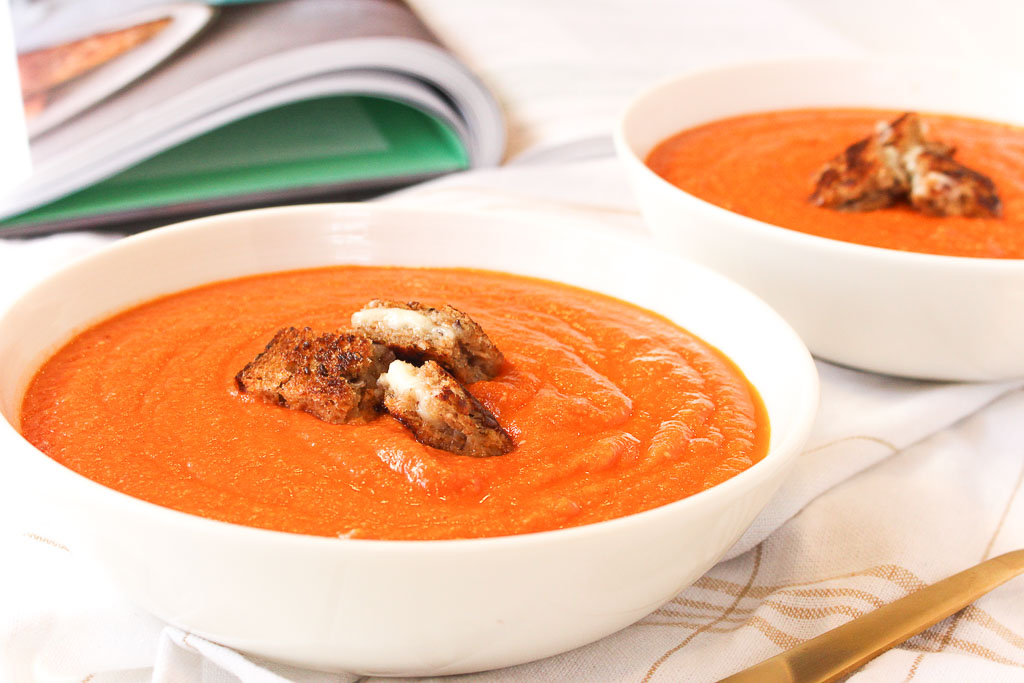
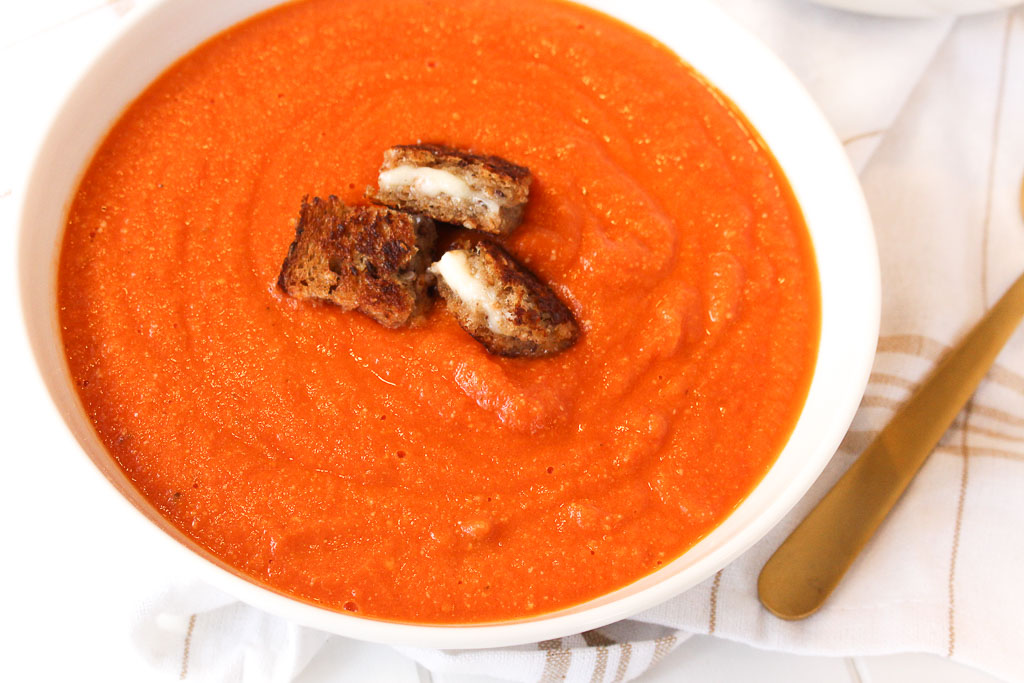
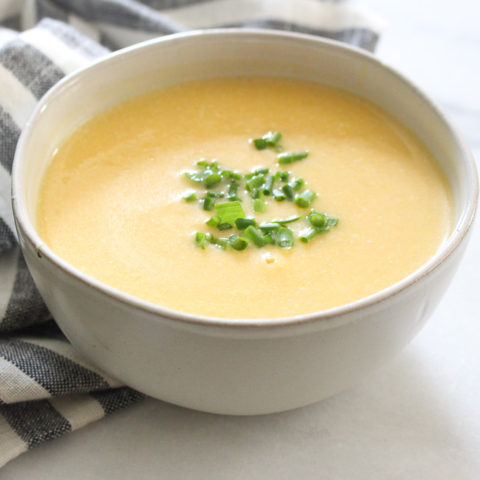
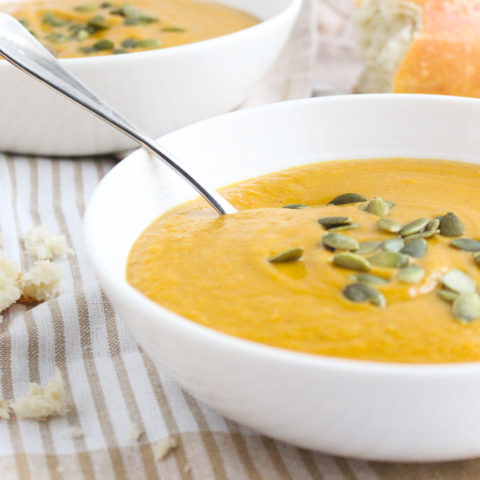
A creamy soup without the cream? Check out the secret ingredient that makes this dairy free Creamy Tomato Soup thick and creamy. Can you believe it’s almost 2017!? Where did the year go? The Recipe ReDux club is playing a little party game at the end of 2016: Grabbing your nearest cookbook and ReDux the recipe on page 201, 16, 216 – or any combination of the number ‘2016.’
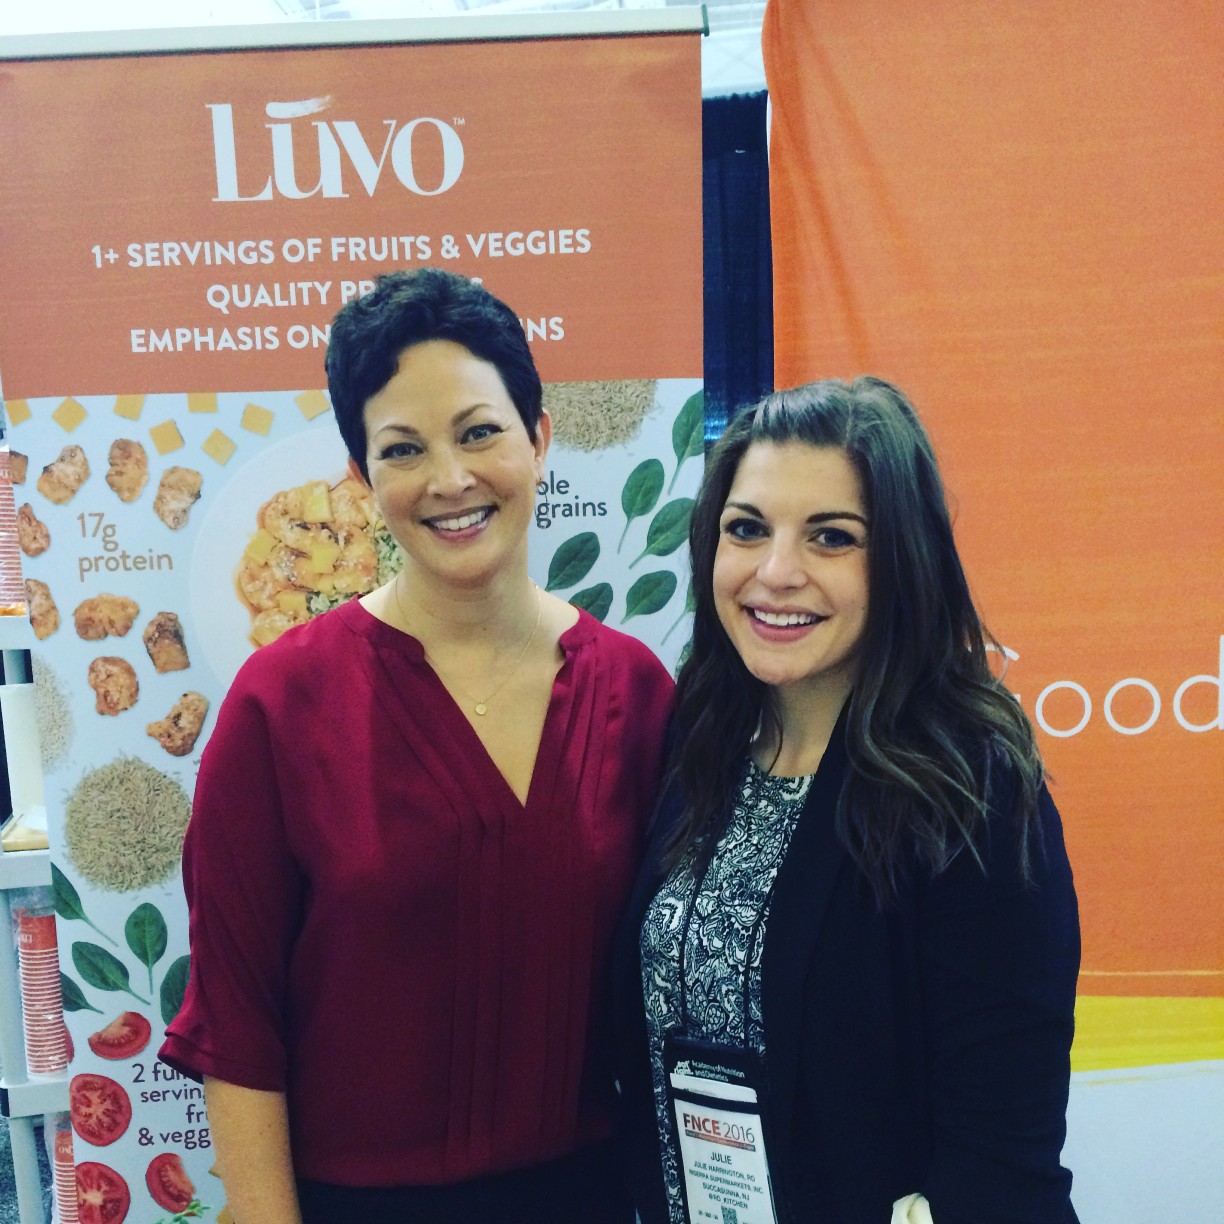
I opened You Have It Made cookbook by Ellie Krieger to page 126 – creamy tomato soup. I actually won this cookbook at FNCE at the Luvo booth and was able to meet one of favorite chef/RD’s Ellie Krieger. This soup is so simple and packed with flavor. It’s called a “Creamy” Tomato Soup, but guess what? There’s no cream! That’s the magic of Registered Dietitian chefs – we know how to alter recipes with alternative ingredients to pack in more nutritional value while still getting delicious results. The magic behind this creamless creamy soup – cashews! Cashews provide the ultimate creaminess when blended into soups. They make this creamy tomato soup so thick and smooth you would never know there isn’t dairy in there.
You can’t have tomato soup without grilled cheese, am I right? Instead of adding a grilled cheese on the side, I made mini grilled cheese “croutons” with my favorite whole grain bread + Cabot cheddar cheese.
Heat the oil in a large pot over medium heat. Add the onions, celery, thyme, garlic, salt and pepper and cook, stirring occasionally, until softened, about 5 minutes. Stir in the tomatoes with their juice, 1 1/2 cups of water, the cashews, and tomato paste. Bring to a boil, then lower the heat to medium-low and simmer, stirring occasionally, until the soup begins to thicken, about 20 minutes. Allow to cool slightly, for about 15 minutes, then puree in 3 batches until smooth, transferring the puree to a pot or storage container as it is pureed.
To continue, reheat the soup in a pot over medium heat until it comes to a simmer.
As the soup is cooking, spread butter on each slice of bread. Place butter side of bread down in a small pan, layer with cheese, then place the other slice of bread on top (butter side facing up). Cook until golden brown on each side and cheese has melted. Cut into small squares.
Pour soup into bowl and top with mini grilled cheese “croutons”.
Notes
Creamy Tomato Soup recipe by Ellie Krieger’s You Have It Made cookbook.
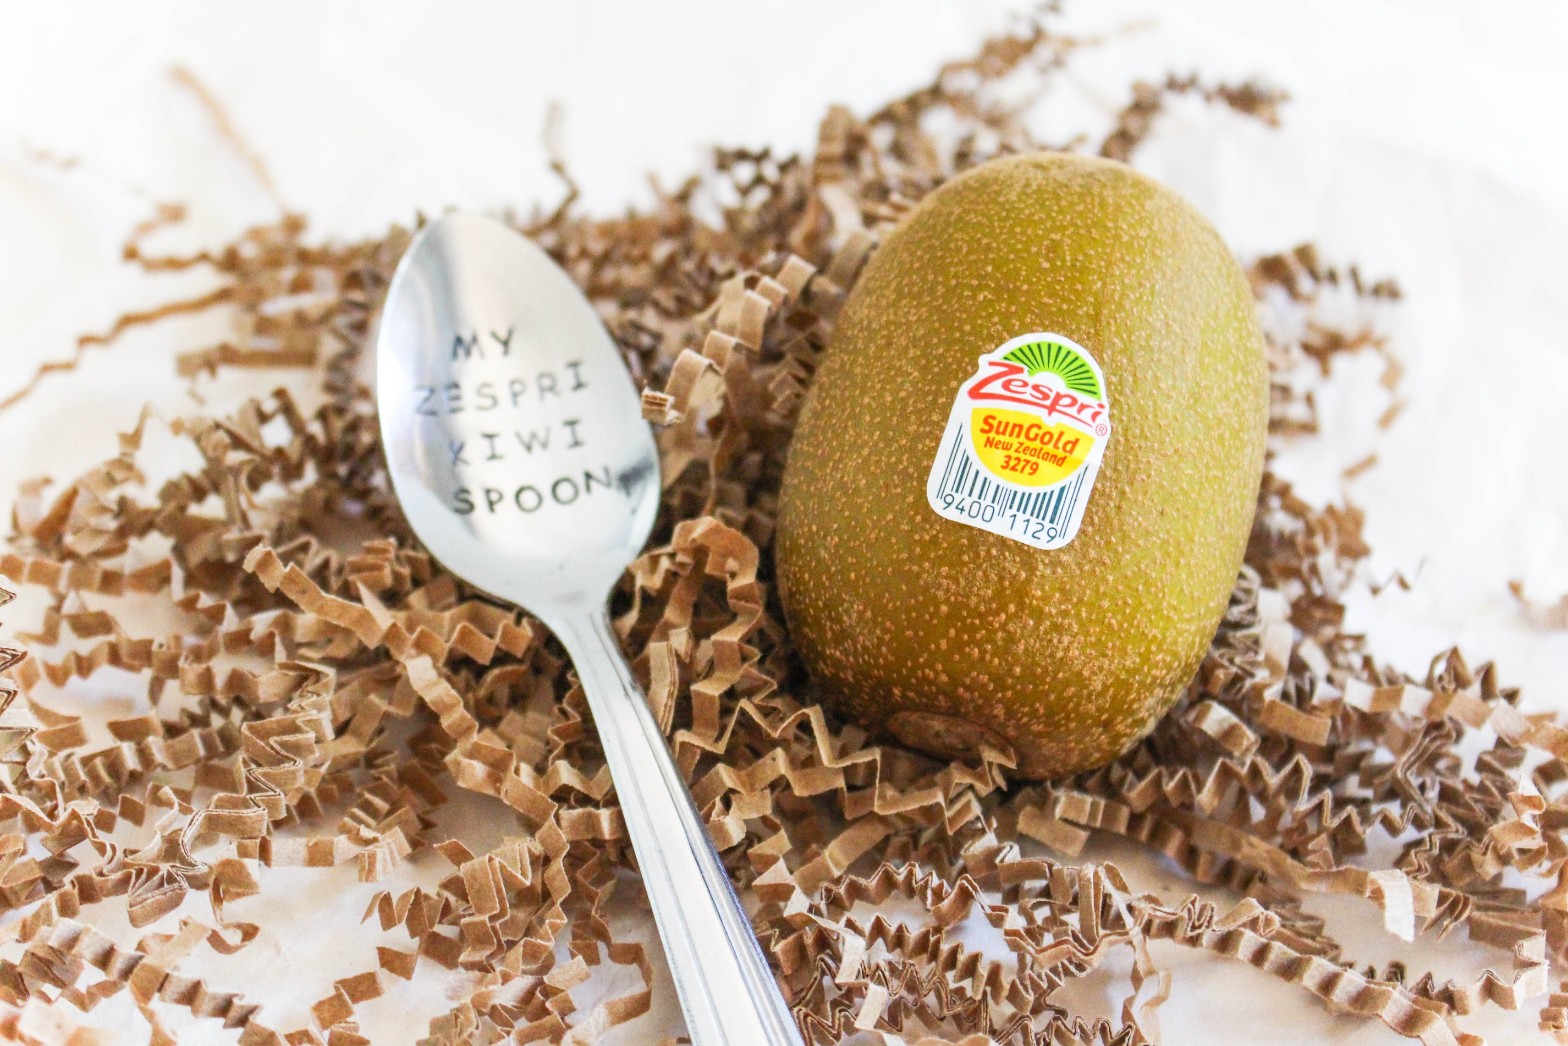
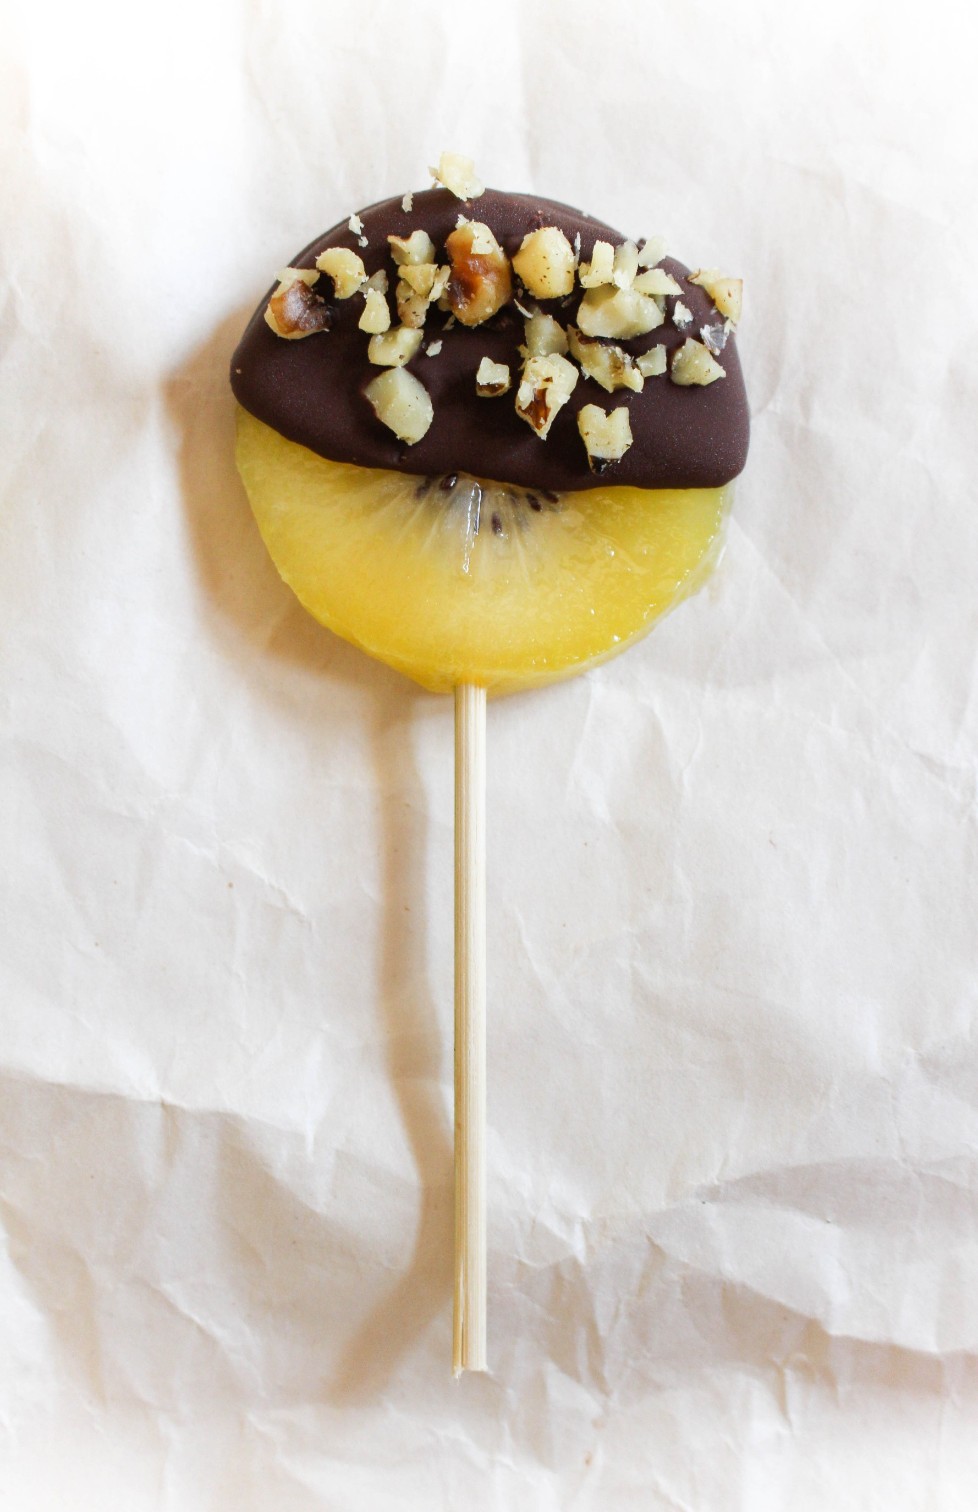
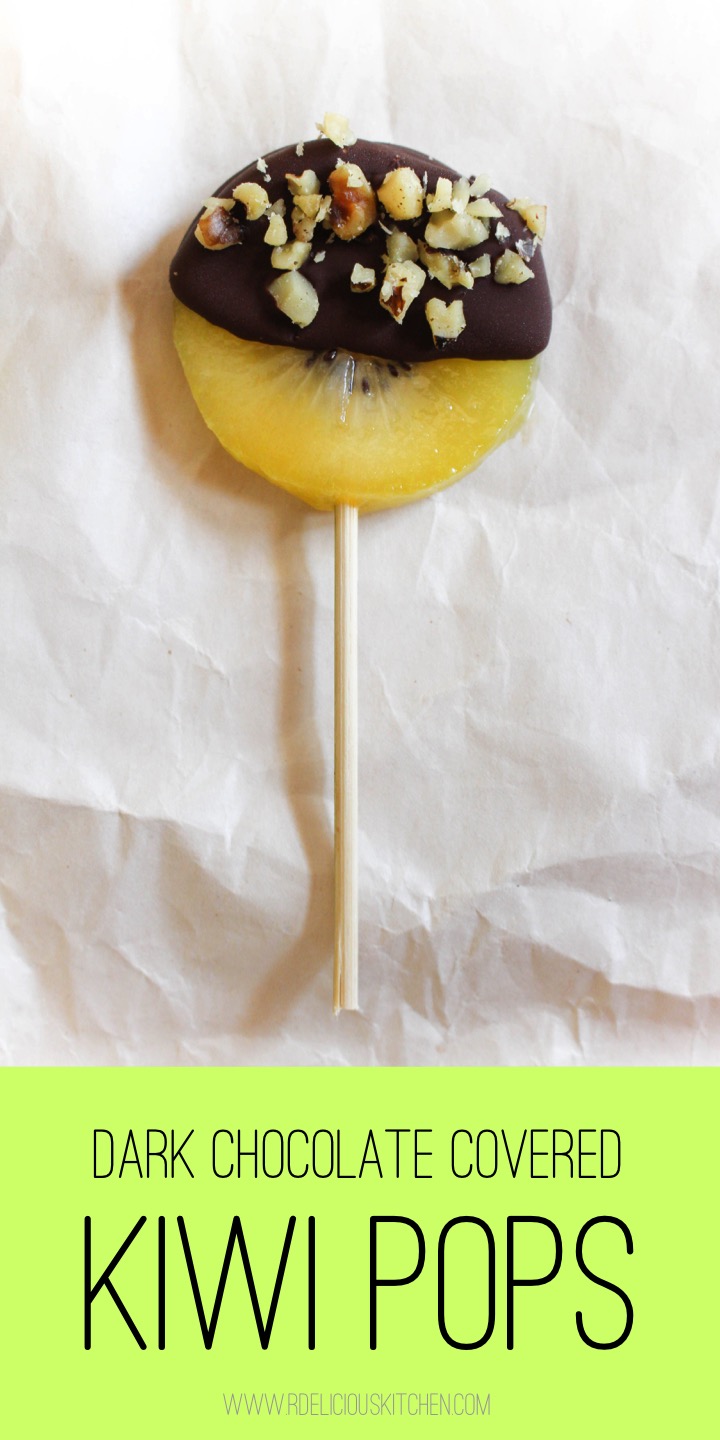
Have you heard of SunGold kiwifruit? It’s not like your typical kiwi, with its smooth skin and bright yellow flesh. Learn some more about these vitamin C packed fruit and try a delicious Dark Chocolate Covered Kiwi Pop treats. I received free samples of Zespri SunGold Kiwifruit mentioned in this post. By posting this recipe, I am entering a recipe contest sponsored by Zespri Kiwifruit and am eligible to win prizes associated with the contest. I was not compensated for my time.
SunGold kiwifruit is popping up throughout grocery stores (June-October), since being one of the new fastest growing fruits globally.
So, I never really knew that kiwifruit was one word until recently… oops. I was typing it a text and it kept autocorrecting it to one word. Don’t worry, you won’t even have to type it anymore now that a fun kiwifruit emoji is coming!
Anytime I am teaching a cooking class or doing a cooking demo I always like to throw out fun facts about the food I’m cooking with. I would sweep a food category in jeopardy. Five surprising facts about SunGold Kiwifruit:
1. Not all kiwifruit is “fuzzy” on the outside.
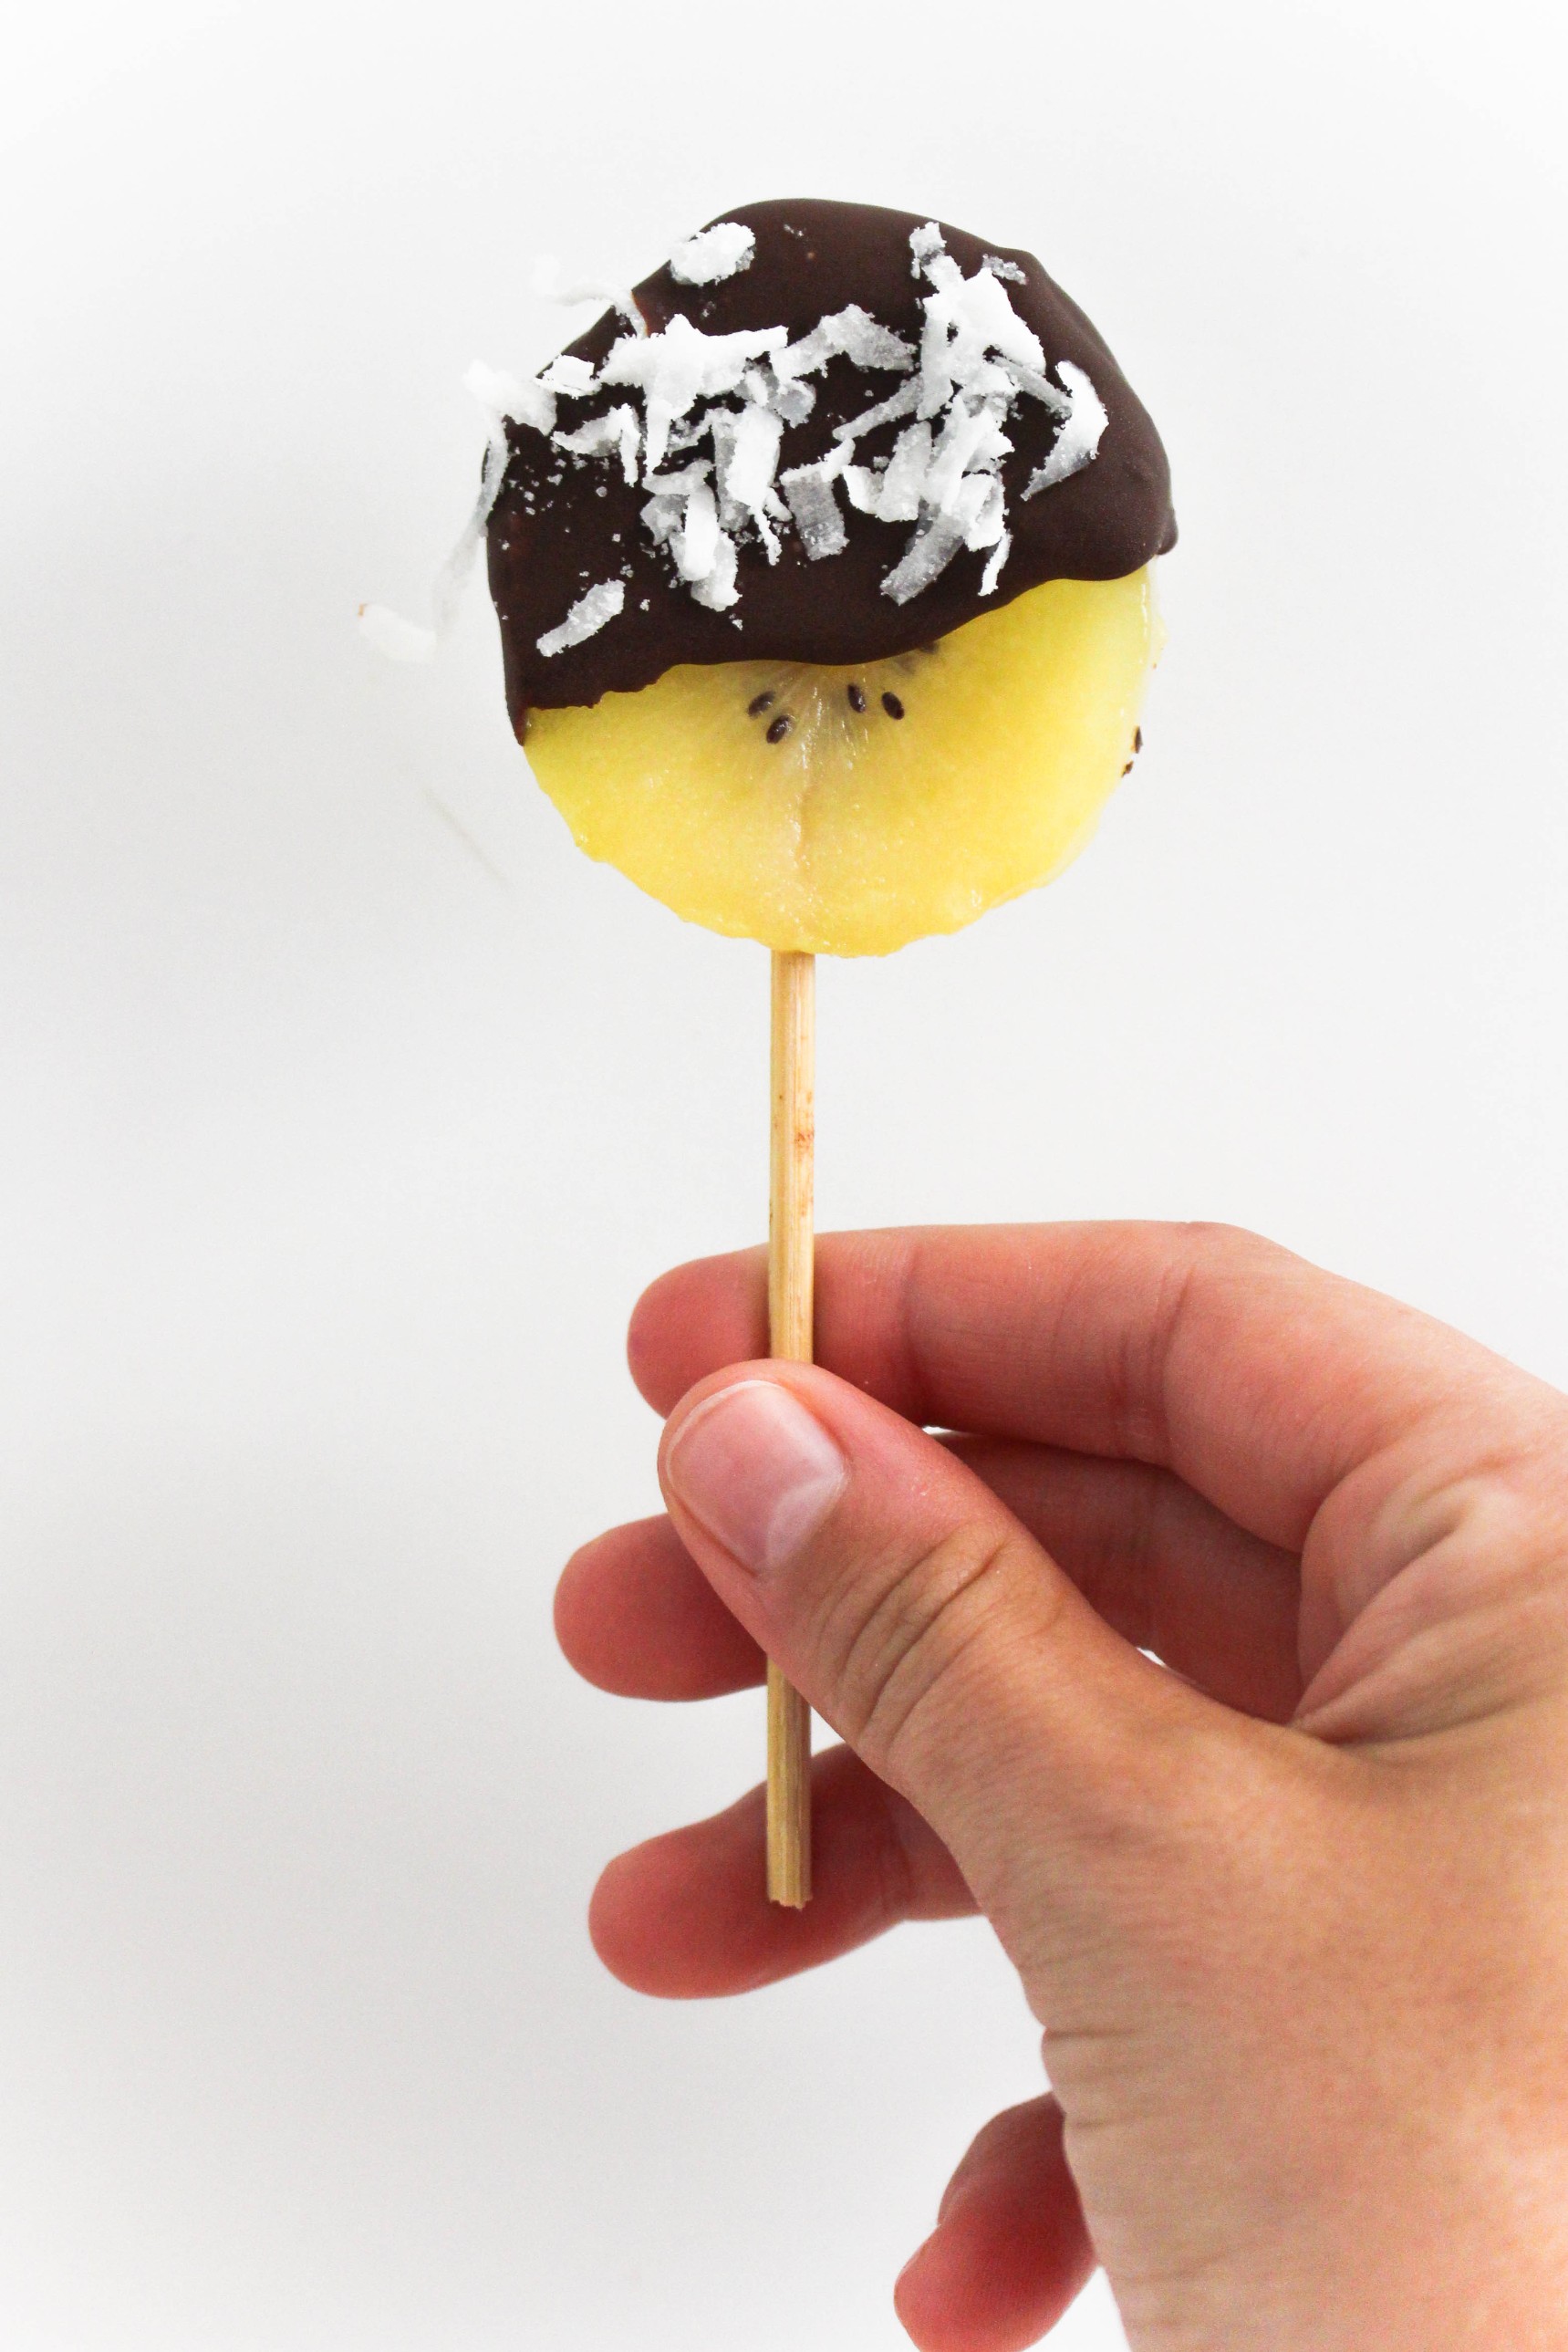
Zespri SunGold kiwifruit have a smooth, hairless skin. SunGold is also yellow on the inside, which is a surprise in and of itself because Americans are more familiar with the green kiwifruit variety with the fuzzy skin. Zespri SunGold kiwis have, a juicy, yellow flesh, and a tropical-sweet taste.
2. You don’t peel kiwifruit.
Kiwifruit is the perfect portable snack because it is easy to eat! Just cut in half with a knife and scoop with a spoon. That’s it – just cut, scoop, and enjoy!
3. Kiwifruit is a good meat tenderizer.
Both green and SunGold kiwifruit contain an enzyme called actinidin that helps break down protein. Actinidin occurs only in kiwifruit and improves digestive comfort by increasing the breakdown of proteins and facilitating digestion and emptying of the stomach. The actinidin can serve as a meat tenderizer: just peel and mash a kiwifruit and spread over meat or make a kiwifruit marinade. Actinidin will also break down protein in dairy so recipes with dairy should be consumed right away.
4. You can “measure” the taste of SunGold.
Zespri growers achieve the best-tasting kiwifruit through a measure called the brix. The higher the brix, the sweeter the fruit. The dry matter content (where all water is removed) indicates how high the brix will be once the fruit is ripe. A higher dry matter means the better quality the kiwifruit will be- it stores better and tastes better. Not all kiwifruit brands put so much focus on the brix and that’s why not all kiwifruit is created equal. With Zespri, you can really taste the difference!
Now that you know a little bit more about the Zespri SunGold kiwifruit, how do you pick the prefect one to enjoy? To tell if a SunGold kiwifruit is ripe – hold the kiwifruit in the palm of your hand and squeeze gently. It should yield to slight pressure when ripe. SunGold’s get softer and sweeter as they ripen.
This little fruit has quite the nutrition credentials to go along with is delicious taste, including
an excellent source of vitamin C, containing 2x more vitamin C than oranges
provides as much potassium as a banana
and a good source of the antioxidant vitamin E
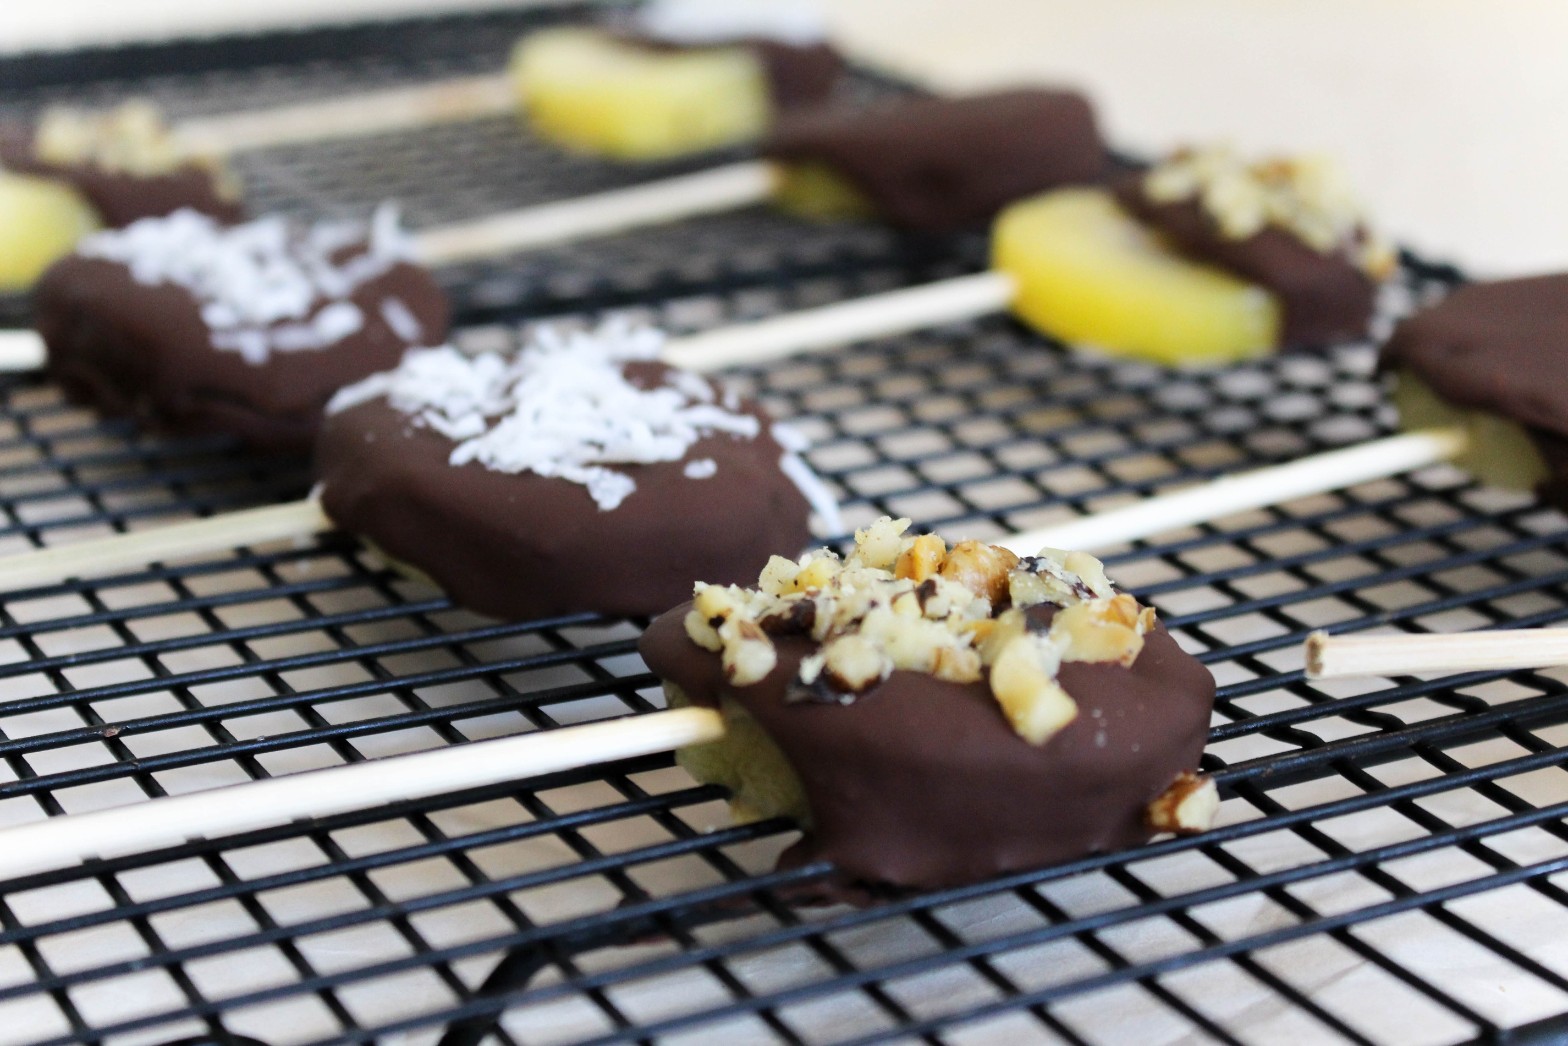
Fruit is one of my favorite desserts in the summer time. I’ve been finding myself grabbing a toothpick and poking into the frozen fruit in my freezer for a little sweet treat after dinner. I’ve never tried frozen kiwi before, so I thought it would be fun to give it a try! Plus, chocolate – how will this not be delicious?!
Verdict – love these! I found that the kiwi tasted even sweeter when it was frozen and they are easily customizable depending what extra little toppings you may want to add.
This post may contain affiliate links. Read my privacy policy.
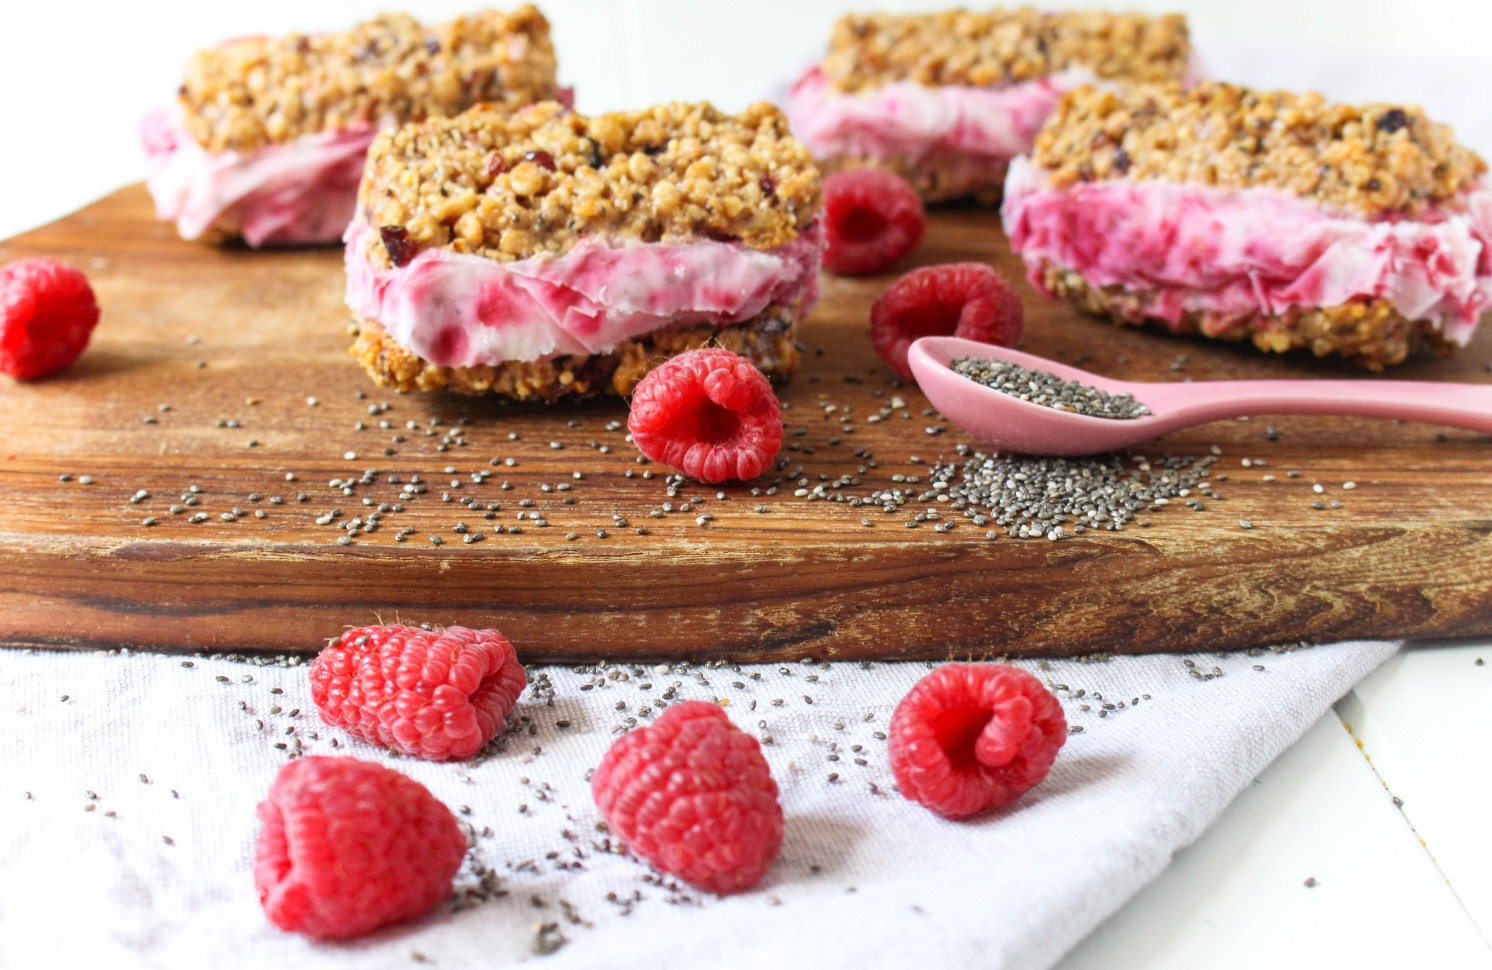
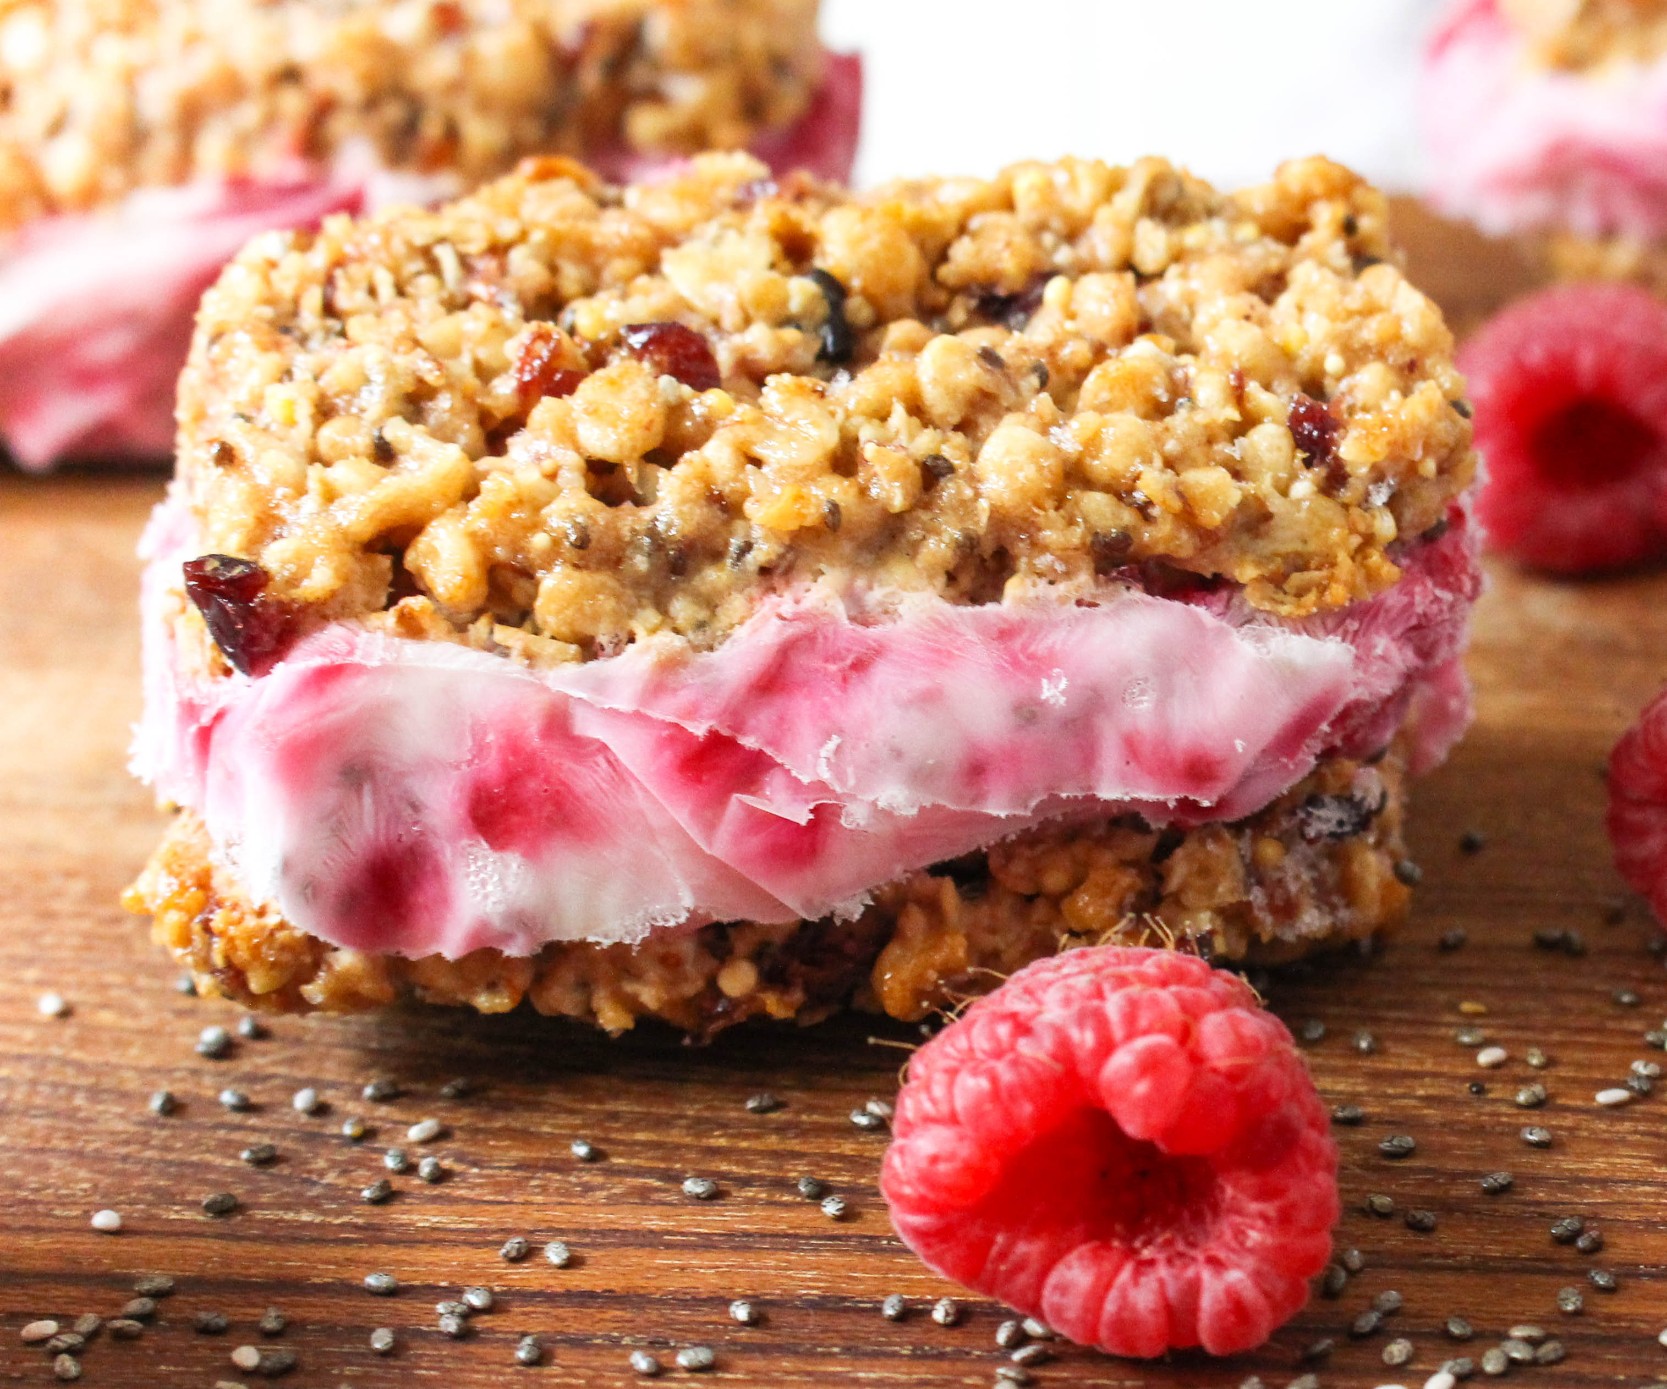
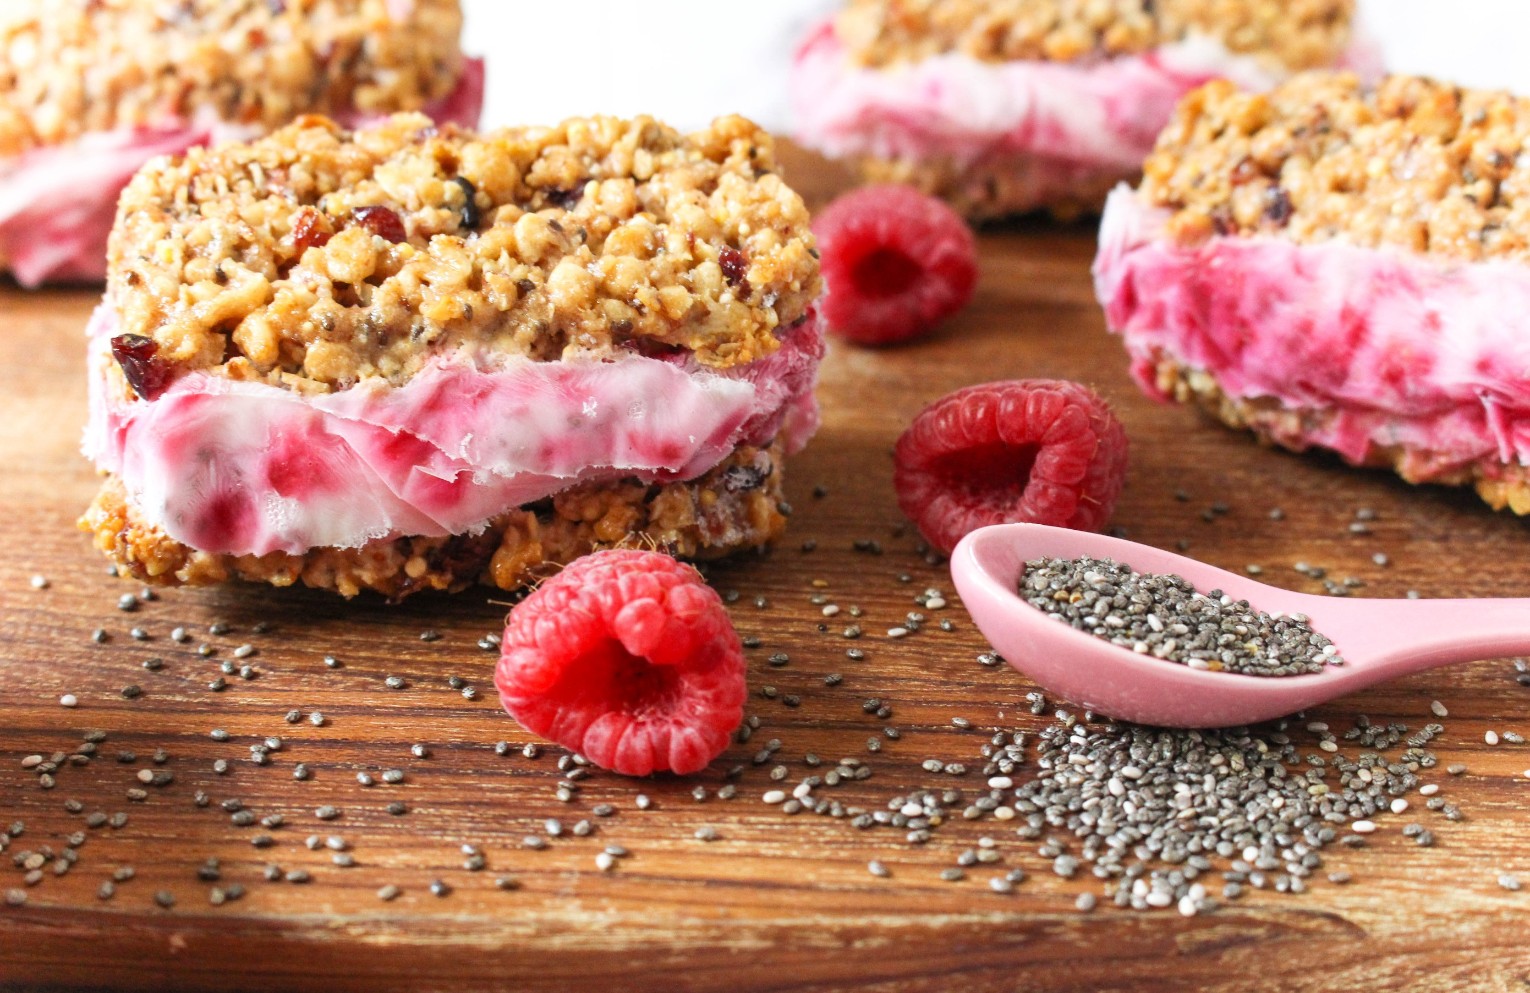
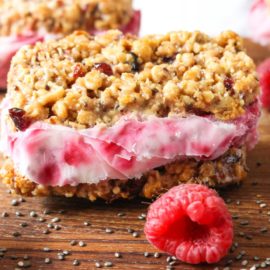
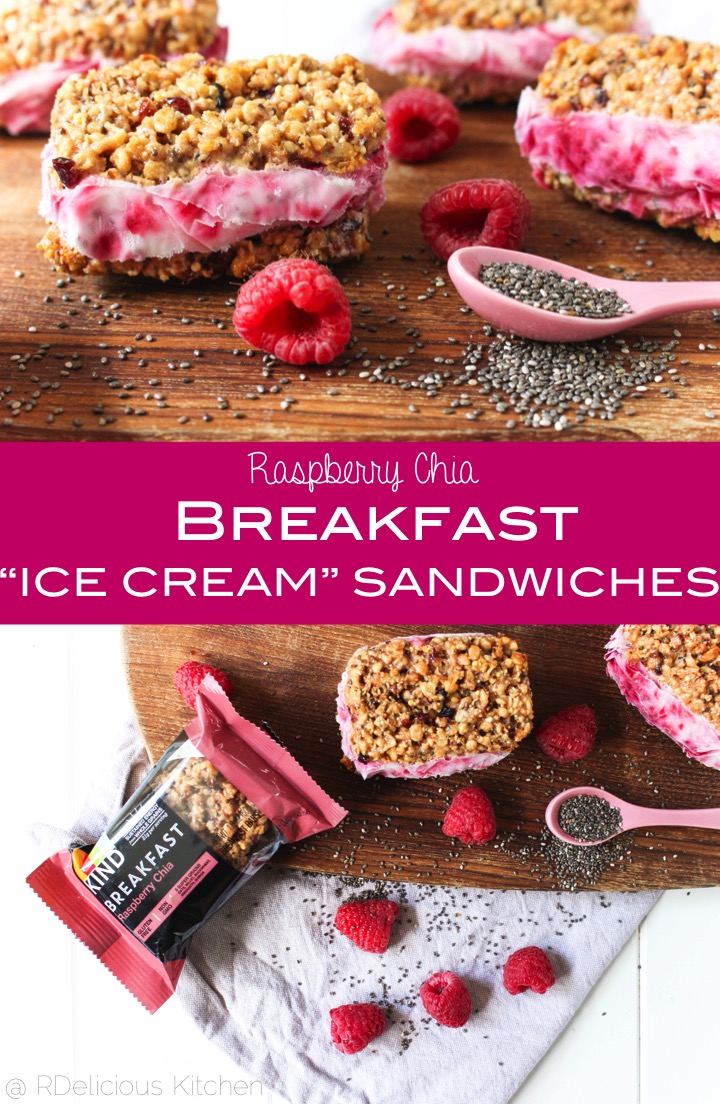
On a hot summer morning, cool down with a this fun new breakfast twist. These raspberry chia Breakfast “Ice Cream” Sandwiches tastes like dessert and will nourish you through the morning! I was super excited when KIND featured my recipe on their newsletter including my classic green smoothie to pair with their Raspberry Chia Breakfast Bars.
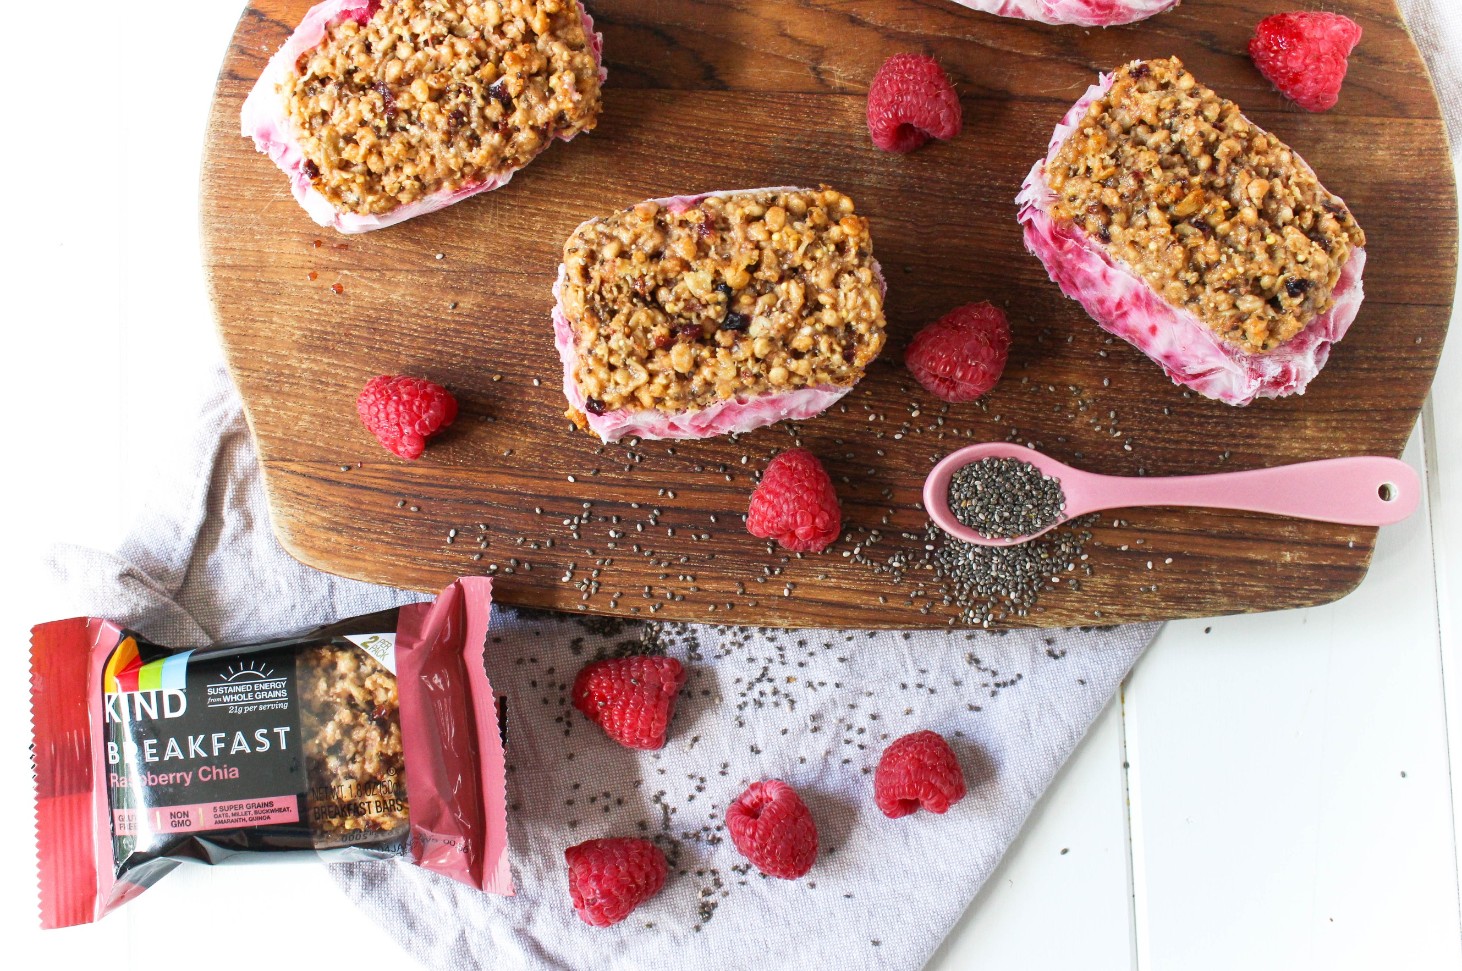
If you haven’t noticed, KIND came out with these new breakfast bars. These new bars (the raspberry chia flavor in particular) contain 5 whole grains including: oats, millet, buckwheat, amaranth, and quinoa along with a filling 6 grams of fiber. It is always important to eat balanced meals. My go-to tip for anyone (myself included) is to enjoy at least 3 food groups per meal (with at least one of them being a fruit or vegetable). That little tip can go a long way. It will help with portion control because portion sizes will naturally start to shrink in order to include various other food groups on your plate. Plus, it will help reach the minimum recommendation of aiming to consume at least 5 fruits and vegetables a day. More matter! When I first tried these breakfast bars I usually paired them by dunking them in a yogurt with a side of fruit, so I was inspired by my combo to turn it more into a fun breakfast!
It feels like eating dessert for breakfast!
2 (5.3 oz.) containers plain (or vanilla) yogurt (I used Siggi’s)
1 tablespoon chia seeds
1/4 cup raspberries
Instructions
In a small bowl, gently mash raspberries. Stir in chia seeds. Add yogurt and gently fold in raspberries and chia to make a raspberry swirl.
Open up KIND breakfast bars packages. Scoop about 1/3 cup onto one side of the breakfast bar and spread evenly. Top with the other breakfast bar (not too tight, so filling doesn’t spill out!)
Wrap each breakfast “ice cream” sandwich with plastic wrap and add to a sealed tight container. Place in the freezer for at least 2 hours or overnight.
This post may contain affiliate links. Read my privacy policy.
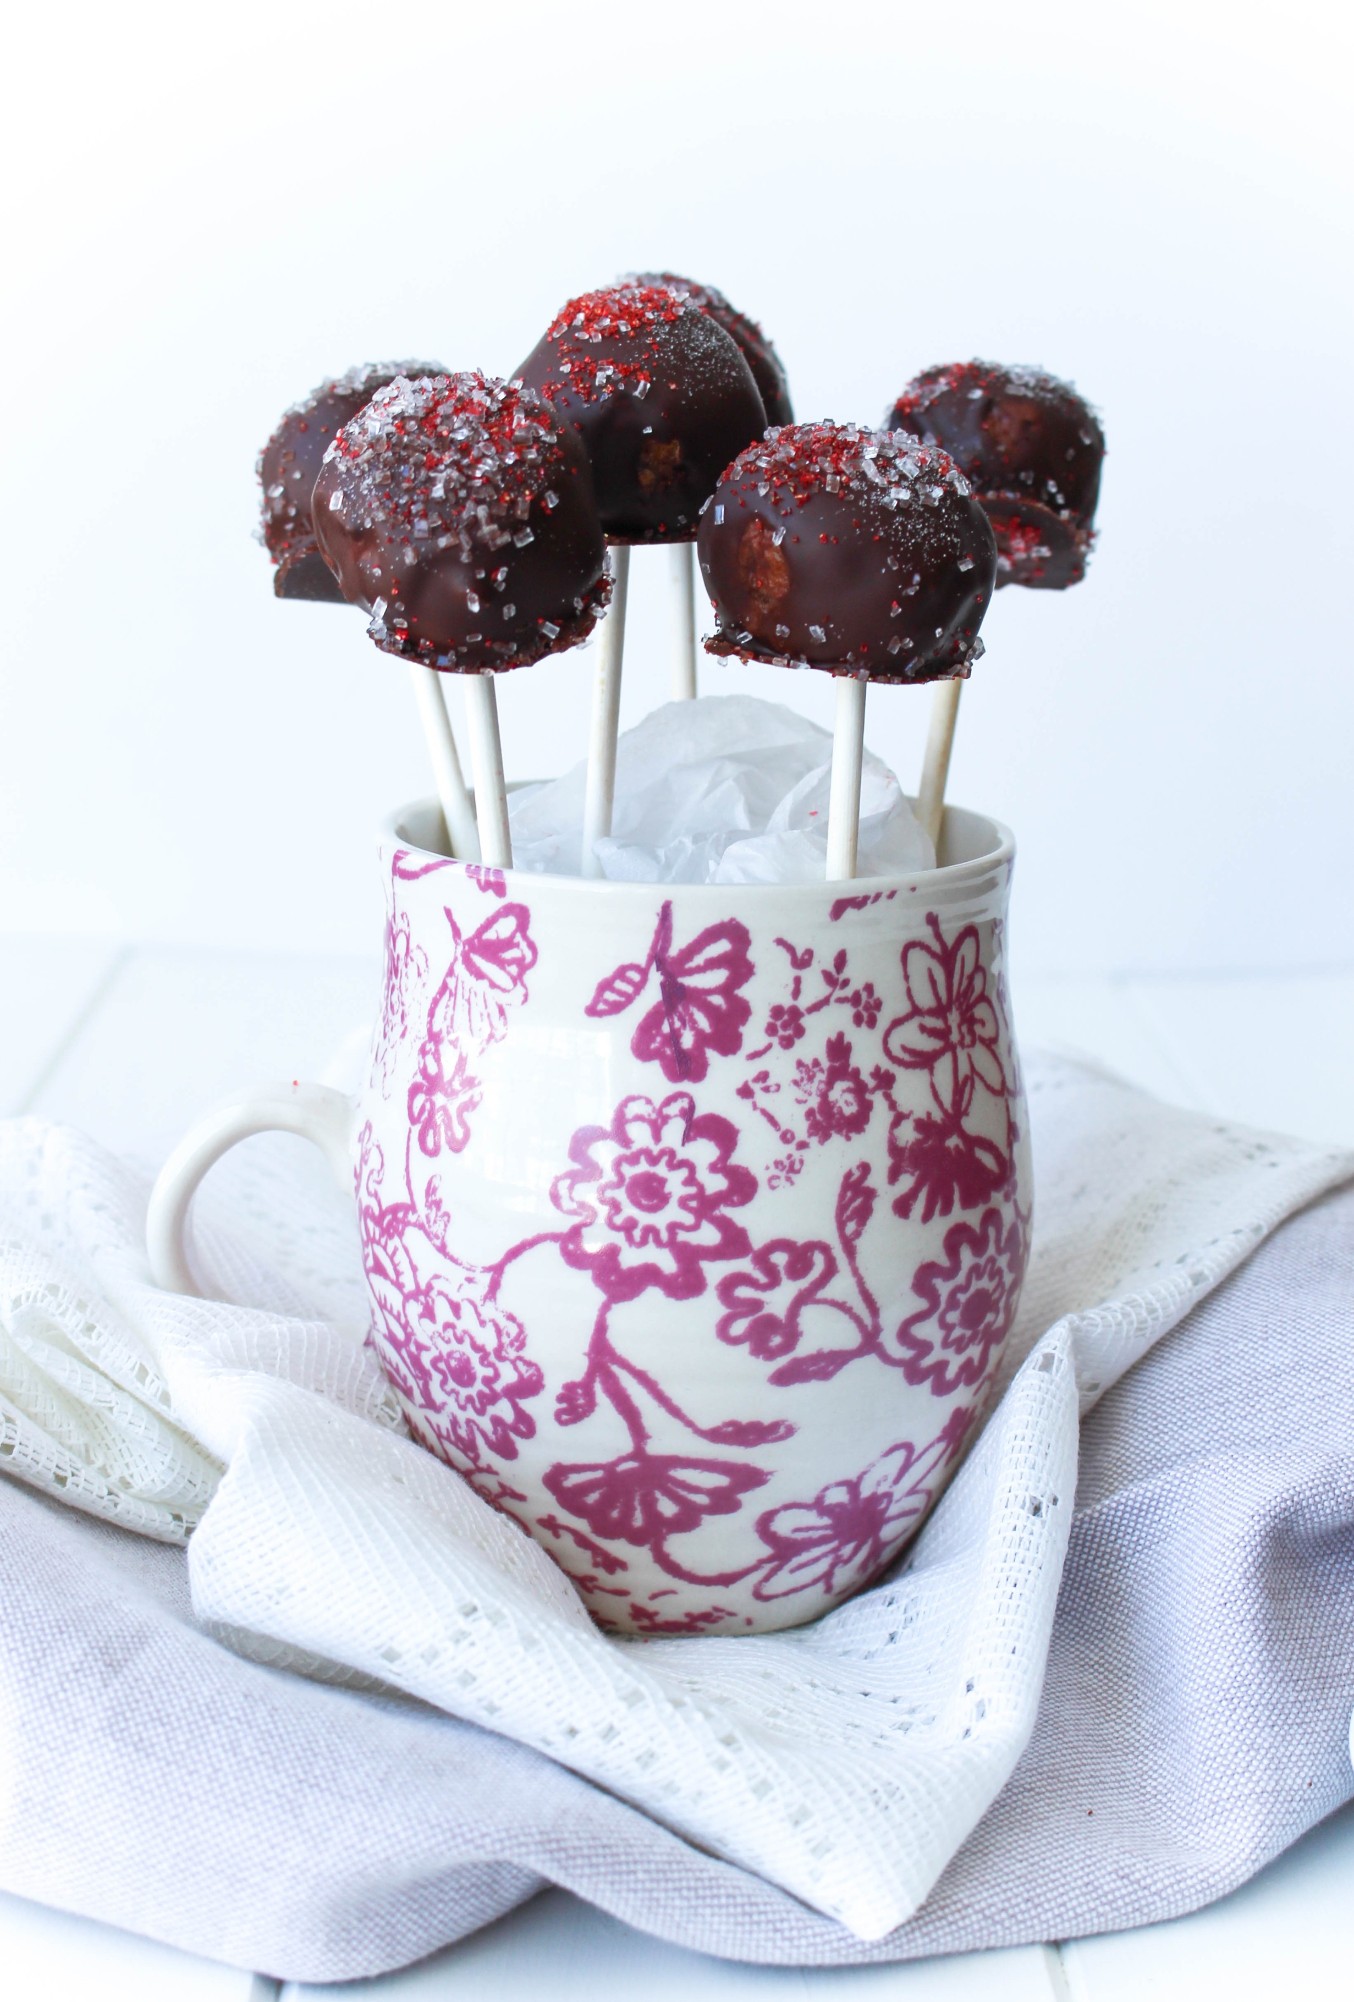
Calling all cookie dough lovers. This recipe is for you. A few months ago, on a whim, I made a cookie dough dip. This was actually a simplified version of a “dessert hummus” recipe I created that was published in a cookbook I developed recipes for in a previous job. This past weekend, being snowed in from winter storm Jonas, there was not much else to do (in between all the shoveling) but cook and bake all day! I was going to make the cookie dough dip again, but this cake pop video popped up on my facebook and inspired me to turn the dip into bite-size treats.
I followed the same recipe, but in order to have them thick enough to roll in a ball and hold it’s shape I added some flour – oat flour to be exact. I’m sure any flour would work, but I find oat flour is easy to work with and makes it a great addition to add whole grains to a recipe. In true cake pop fashion, I added a chocolate coating. You can make them like a cake pop by simply adding a popsicle or leave them as little bite-size treats. Either way, they are perfectly portioned for a little sweet treat.
In a food processor (or high powered blender) combine chickpeas, peanut butter, maple syrup, and oat flour. (if you find the batter is still too “wet” add an additional tablespoon of oat flour)
Remove the mixture from the food processor into a bowl and fold in chocolate chips. Scoop about a tablespoon size of the dough into small balls and place on a plate lined with parchment paper. Leave as is, or add popsicle sticks into the balls. Put in the freezer for about 10-15 minutes to harden.
Meanwhile, in a microwave safe bowl, add dark chocolate and coconut oil. Stir until silky smooth.
Dip each cookie dough ball into the dark chocolate and dip until fully coated. Transfer back to the plate lined with parchment paper. Top with sprinkles. Place in the refrigerator until chocolate has completely hardened.
This post may contain affiliate links. Read my privacy policy.
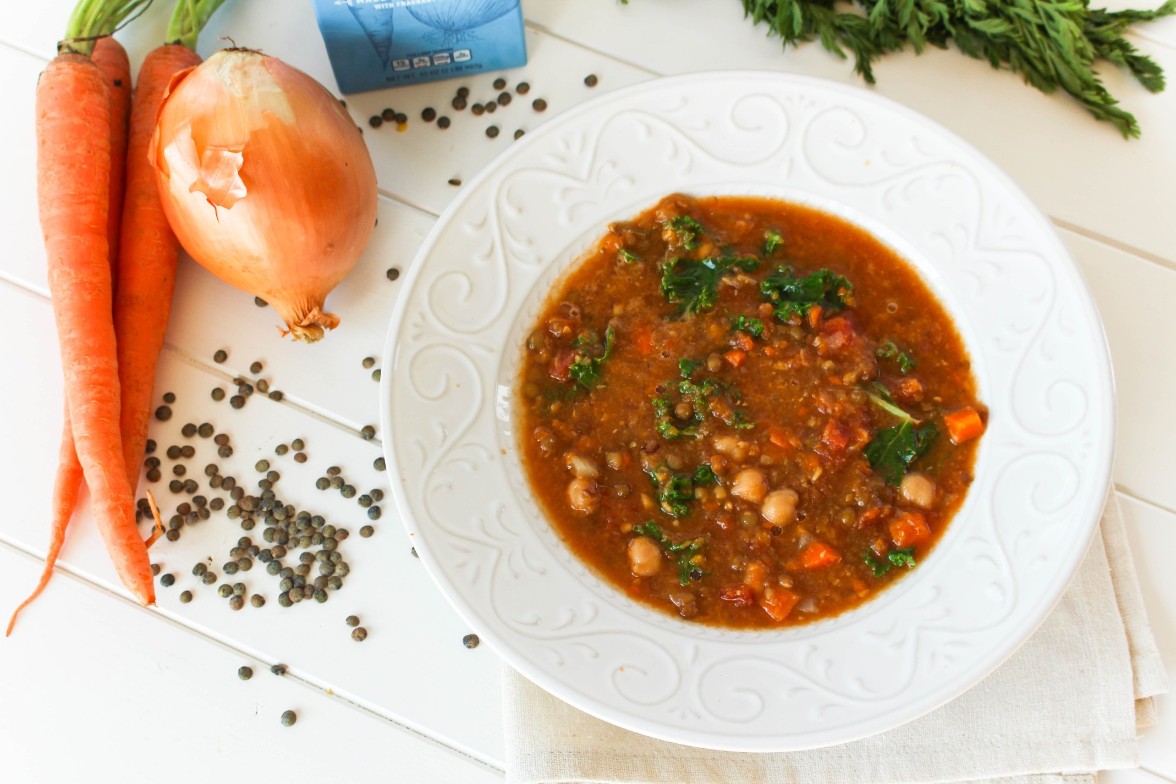
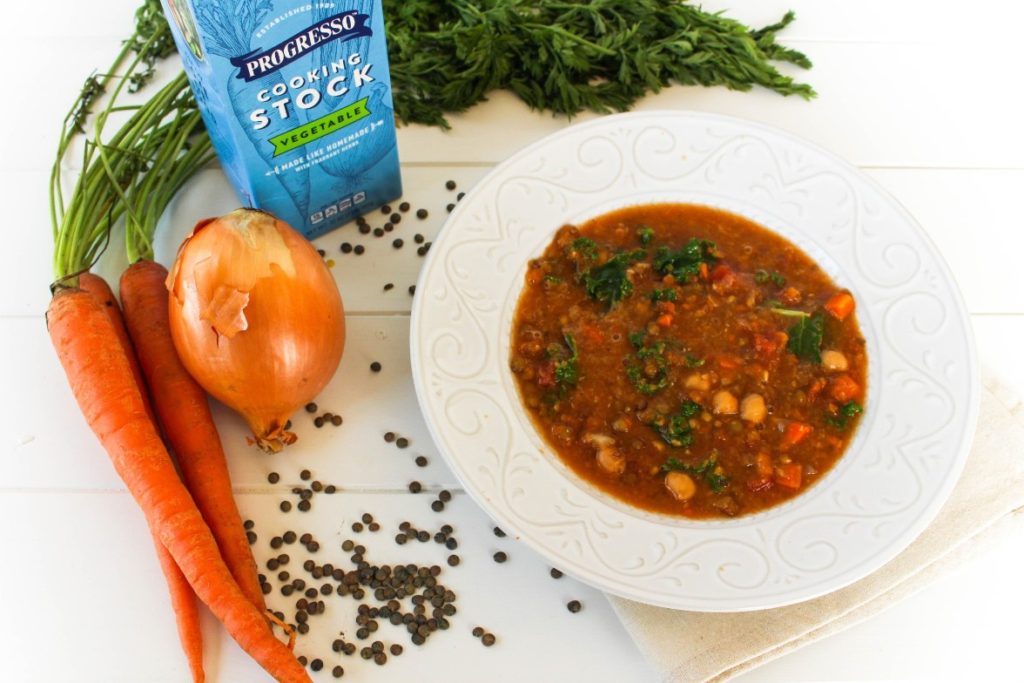
Warm-up this winter with a warm bowl of Vegetable Lentil Soup. This vegan-friendly soup will be sure to help meet your daily recommendations of veggies for the day!
Dare I say it’s actually starting to feel like winter here in New Jersey. Usually, in December I’m beginning to make my favorite soups, but this year was just so warm. I’m hoping I’m not jinxing myself and all of a sudden we are going to get a blizzard. If so, I do have this big batch of vegetable lentil soup to warm up with!
One of my favorite things at work is teaching cooking classes. A few months ago I taught a class called “Soups and Stocks”. My goal for the class was to show how making soup at home can be simple, nutritious, and delicious. The biggest complaints I heard from customers is when they tried making it at home, their soups “tasted bland, watered down, and boring”. The key to a flavorful soup is the base: stock. Due to the process, Progresso’s chefs use to simmer the real bones, Progresso Cooking Stocks have rich, meaty flavor and are full of body, making them ideal for adding deep, complex flavor to many dishes including soups, stews, sauces, and gravies.
What’s the difference between stock and broth?
The foundation of any great soup of stew is a flavorful broth or stock. Often the terms stock and broth are used interchangeably, but there are three important differences: ingredients, cook time, and seasoning.
Stock is made by simmering a combination of bones, mirepoix (carrots, celery, and onion), and aromatics in water for two to six hours. Gelatin from the bones is an essential part of the stock that is created when the connective tissue in meat breaks down, giving stock its body; the gelatin is what causes a stock to gel when chilled.
Broth is typically made by simmering meat, mirepoix, and aromatics for a shorter amount of time, typically between 1 and 2 hours. It is also often more heavily seasoned than stock.
Bone broth is a hybrid of broth and stock. It is cooked for a long period of time and the goal is not only to extract the gelatin from the bones (like in a stock), but also to release the nutritious compounds and minerals (namely collagen, but also glucosamine, amino acids, electrolytes, calcium, and more).
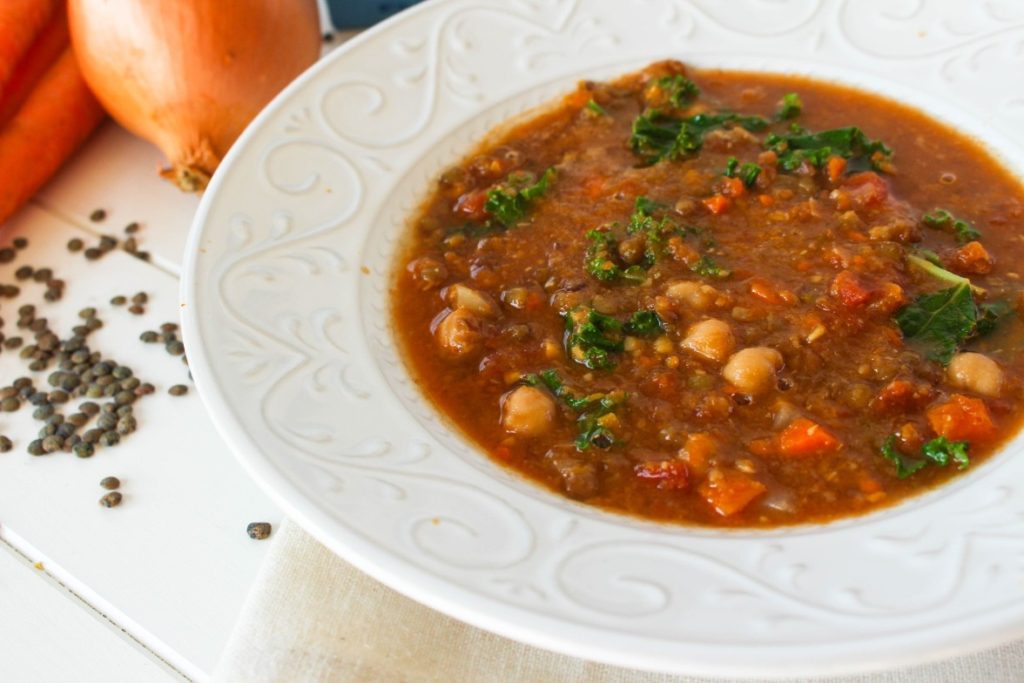
Warm up this winter with a warm bowl of Vegetable Lentil Soup. This vegan soup will be sure to help meet your daily recommendations of veggies for the day!
Heat olive oil in a large stock pot over medium heat. Add the onions and carrots, cook stirring often, until onion becomes tender and translucent.
Add the garlic, cumin, and thyme. Cook until fragrant. Add fire roasted tomatoes and chickpeas.
Add the lentils, then pour in Progresso vegetable cooking stock and water. Season with salt, pepper and red pepper flakes. Bring soup to a boil, then turn down to a gentle simmer. Cook for 30 minutes, until the lentils are tender.
Transfer 3 cups of soup into a blender or food processor (make sure to get an even mixture of veggies and broth). Puree mixture until smooth. Add pureed soup back into the pot and add kale. Cook until wilted.
Disclosure: By posting this recipe I am entering a recipe contest sponsored by Progresso and am eligible to win prizes associated with the contest. I was not compensated for my time.
This post may contain affiliate links. Read my privacy policy.
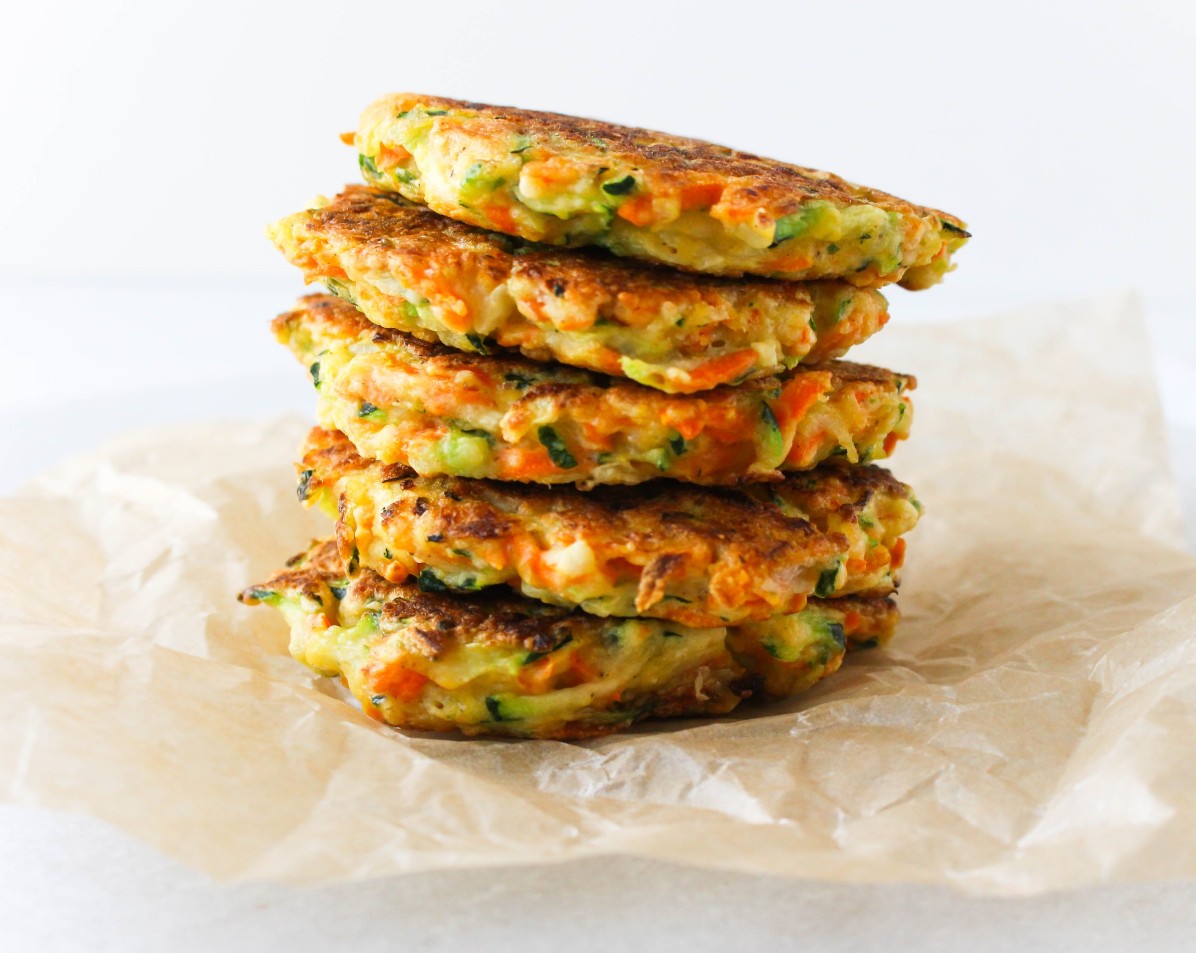
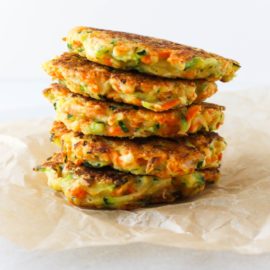
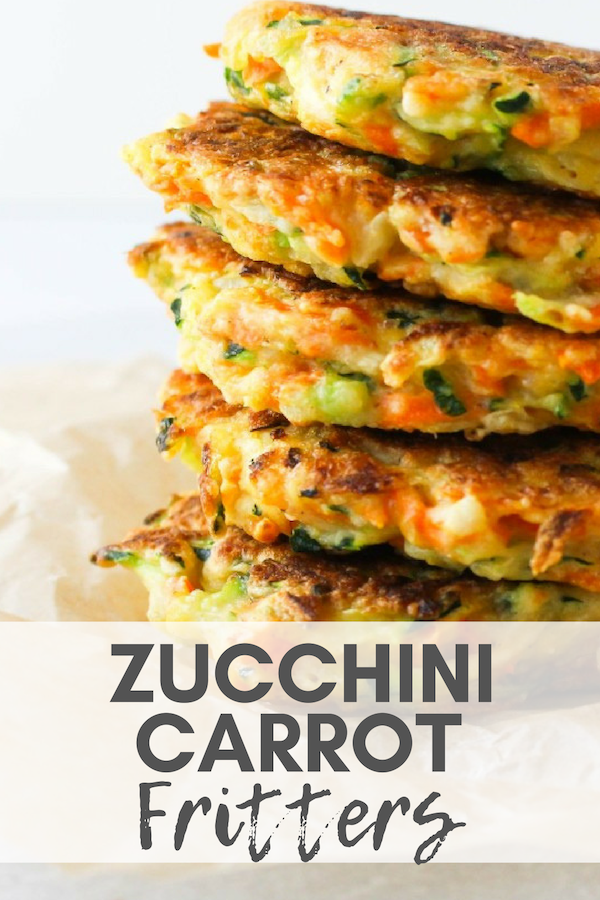
Brighten up fritters with a healthy twist. Add these Zucchini Carrot Fritters as a nutritious and delicious side dish for dinner and freeze a batch to enjoy later.
Batch cooking and freezing has been my saving grace with my crazy schedule. My schedule during the week gets pretty hectic since I don’t work regular hours and some nights when I get home super late, the last thing I want to do it cook.
How to reheat
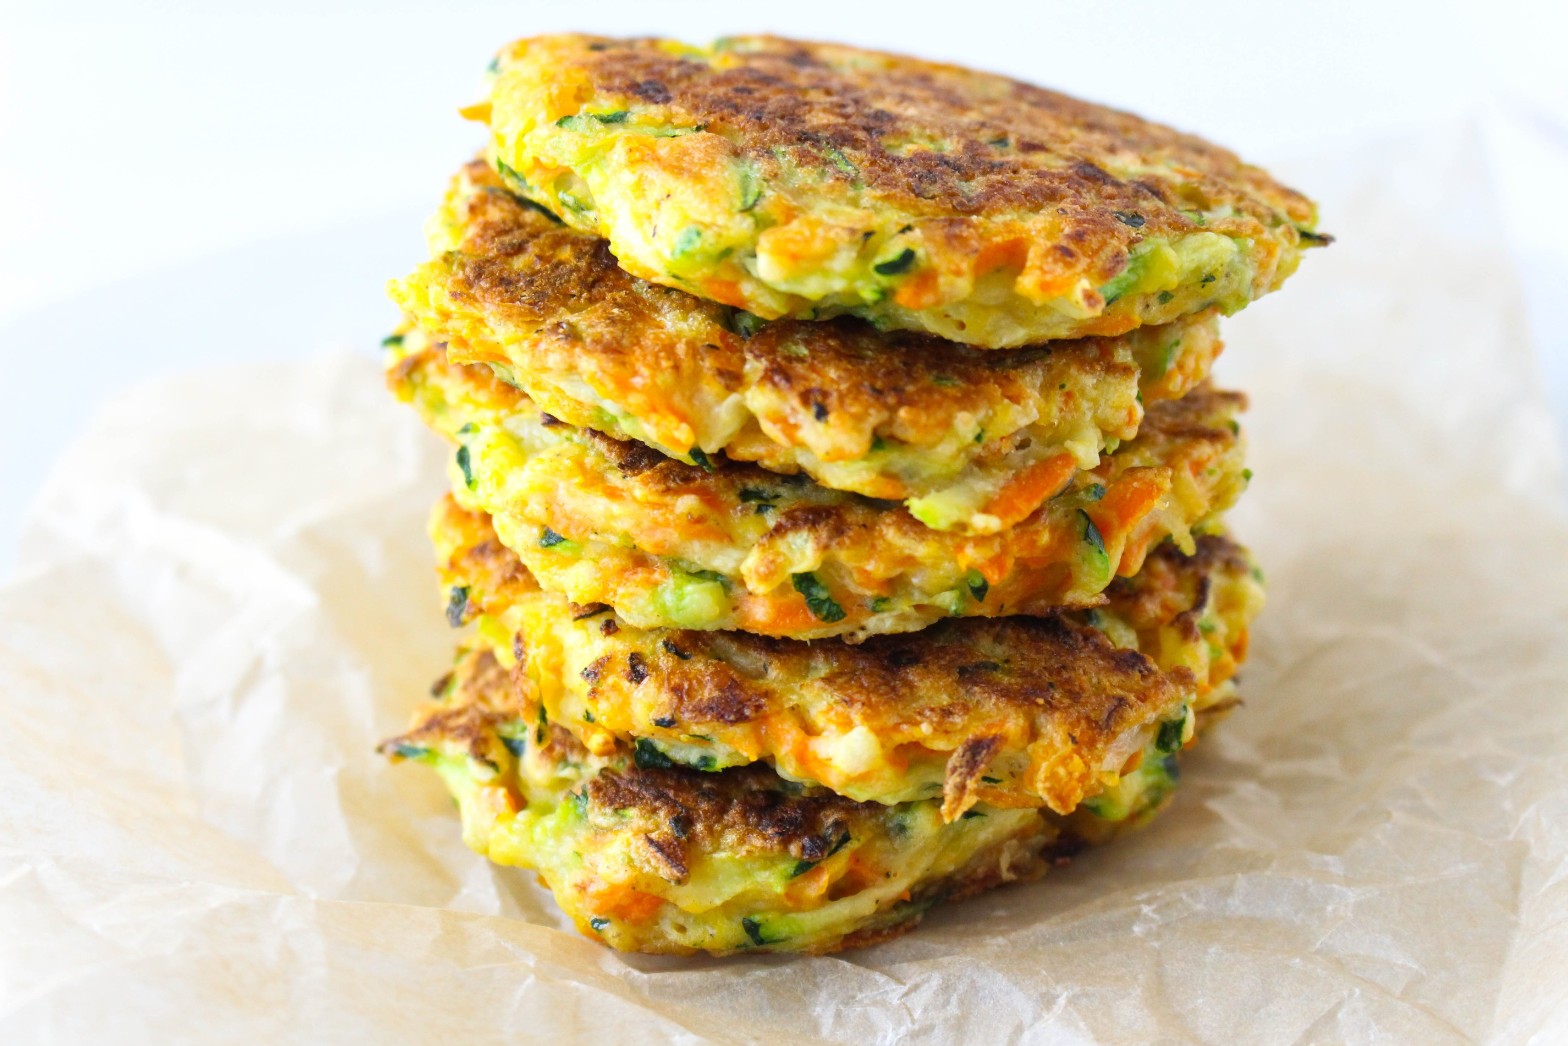
I love the crispy crunchy outside of fritters. Don’t make the mistake I did when I popped my first batch out of the freezer warmed them in the microwave. Definitely heat them up in the oven, or let them thaw and throw them right back in the pan to warm through to keep that crisp exterior.
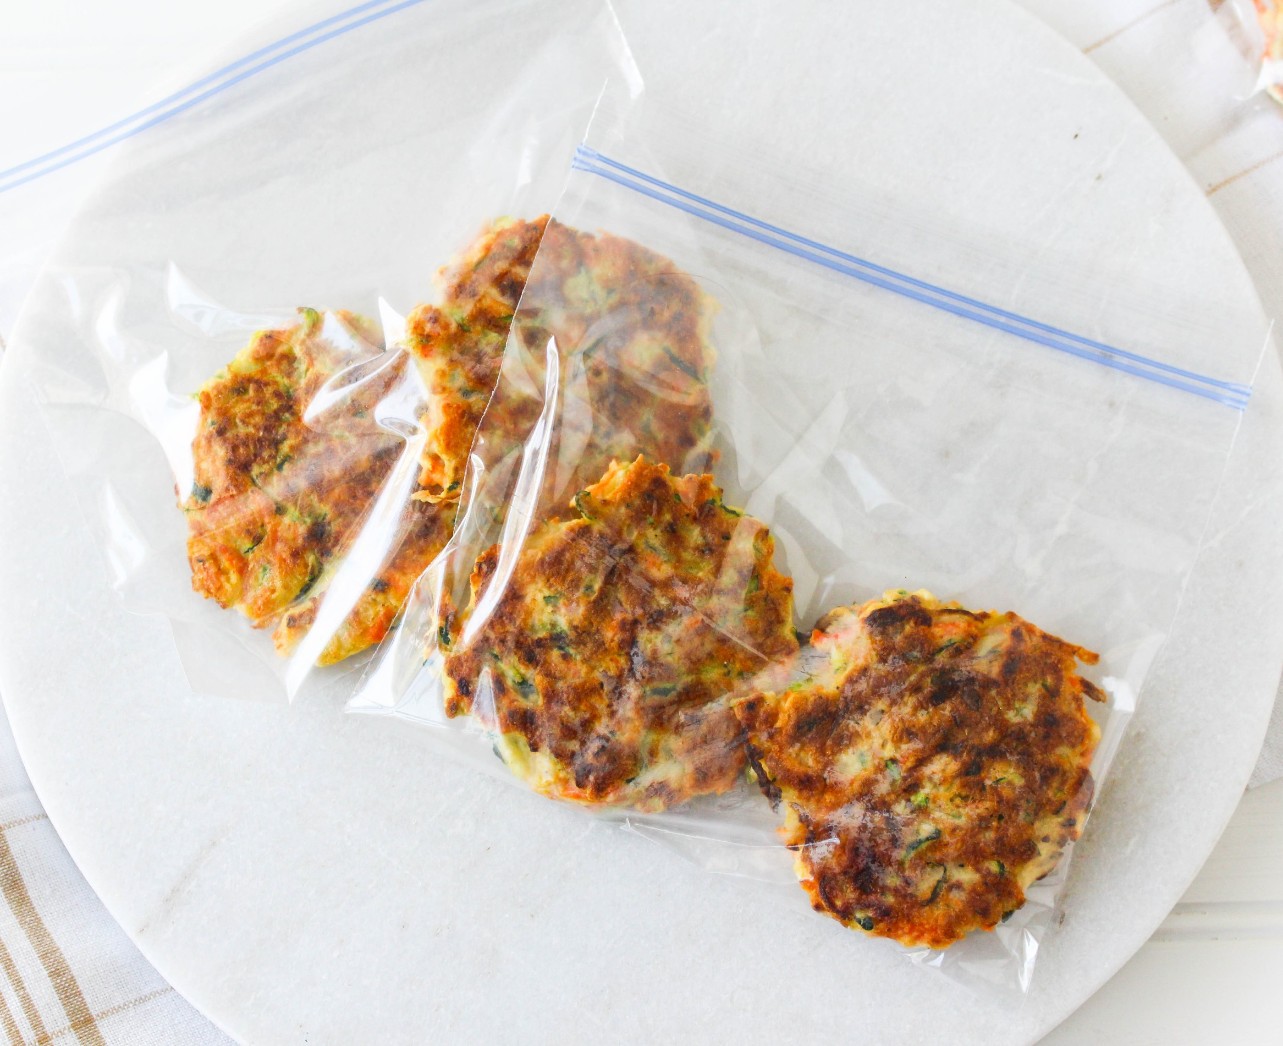
How to freeze
To freeze, simply let them cool and place into plastic ziplock bags. If you know you won’t be digging into them for a while, wrap individually in aluminum foil, then into a ziplock bag.
Alternatives to breadcrumbs as a binding agent
I used a gluten-free garbanzo bean flour with an egg to act as a binder. Garbanzo bean flour is a fun flour to work use because it has a higher protein and fiber content than other flours.
Using a box grater, shred the zucchini and carrots. In paper towels or a dish rag, ring out the zucchini and carrots to release excess moisture.
In a large bowl, combine the gluten free flour, baking powder, garlic powder, onion powder, salt, and pepper with the zucchini and carrots. Toss to coat.
In a small bowl, whisk egg, then add to the zucchini and carrot mixture. Stir to combine.
In a large skillet, add canola over and heat over high-medium heat, drop about a 1/4 cup scoop of the mixture into the pan. Slightly flatten to create a 2-inch patty. Cook until lightly brown and then flip and cook until both sides are evenly browned.
Notes
These zucchini carrot cakes freeze well. Simply let cool and place in a plastic bag in the freezer. To reheat either 1) let thaw and put in a skillet until heated through, or 2) directly from the freezer place on a baking sheet and cook at 350 until heated through.
This website uses cookies to improve your experience. We'll assume you're ok with this, but you can opt-out if you wish.AcceptRejectRead More
Privacy & Cookies Policy
Privacy Overview
This website uses cookies to improve your experience while you navigate through the website. Out of these, the cookies that are categorized as necessary are stored on your browser as they are essential for the working of basic functionalities of the website. We also use third-party cookies that help us analyze and understand how you use this website. These cookies will be stored in your browser only with your consent. You also have the option to opt-out of these cookies. But opting out of some of these cookies may affect your browsing experience.
Necessary cookies are absolutely essential for the website to function properly. This category only includes cookies that ensures basic functionalities and security features of the website. These cookies do not store any personal information.
Any cookies that may not be particularly necessary for the website to function and is used specifically to collect user personal data via analytics, ads, other embedded contents are termed as non-necessary cookies. It is mandatory to procure user consent prior to running these cookies on your website.

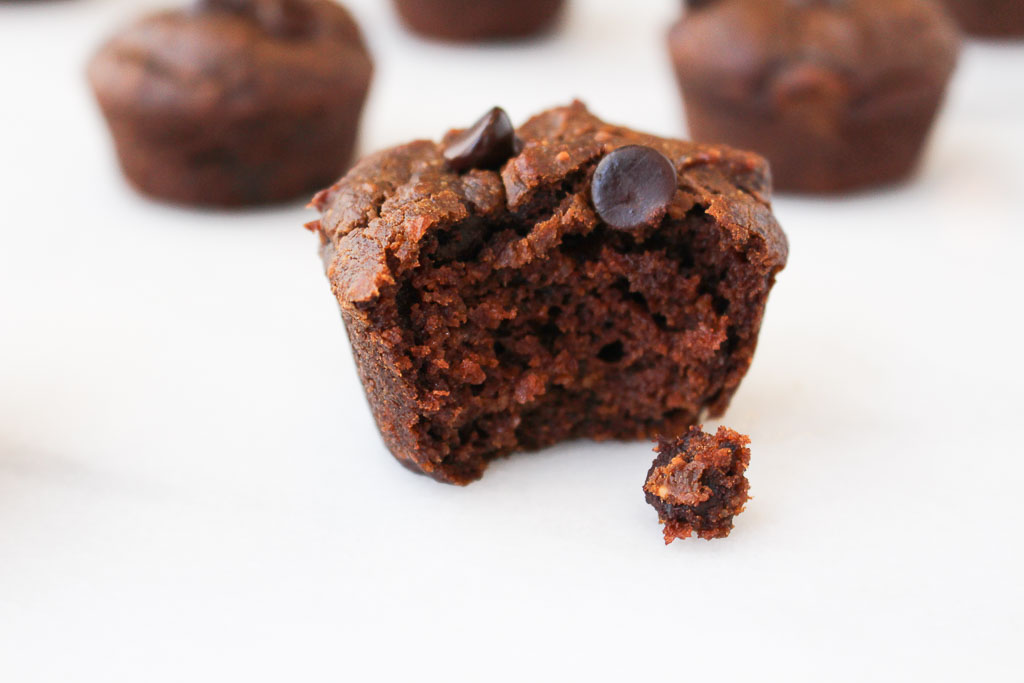 Disclaimer: I am warning you, if you make these, they may not last a week in your house. They didn’t in mine! I found ways to enjoy these muffins with almost any meal. Crumble on top of smoothie bowls for breakfast, pair with a yogurt parfait for lunch, top with peanut butter for the ultimate dessert.
 Whenever I offer baked goods to my family and friends, they tend to be a little skeptical thinking that there is no way there is a “healthier” option that STILL tastes good. My dad’s famous words are “what’s in this” before he tries anything I make. My response is the typical eye roll with “JUST TRY IT!”. Even though my dad may question everything I make, he still always tries it. Making a flourless muffin that tastes as indulgent as dessert, this is one recipe no one will pass on.