This post may contain affiliate links. Read my privacy policy.
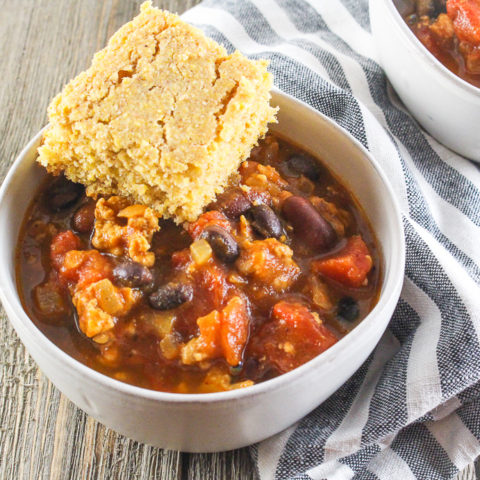
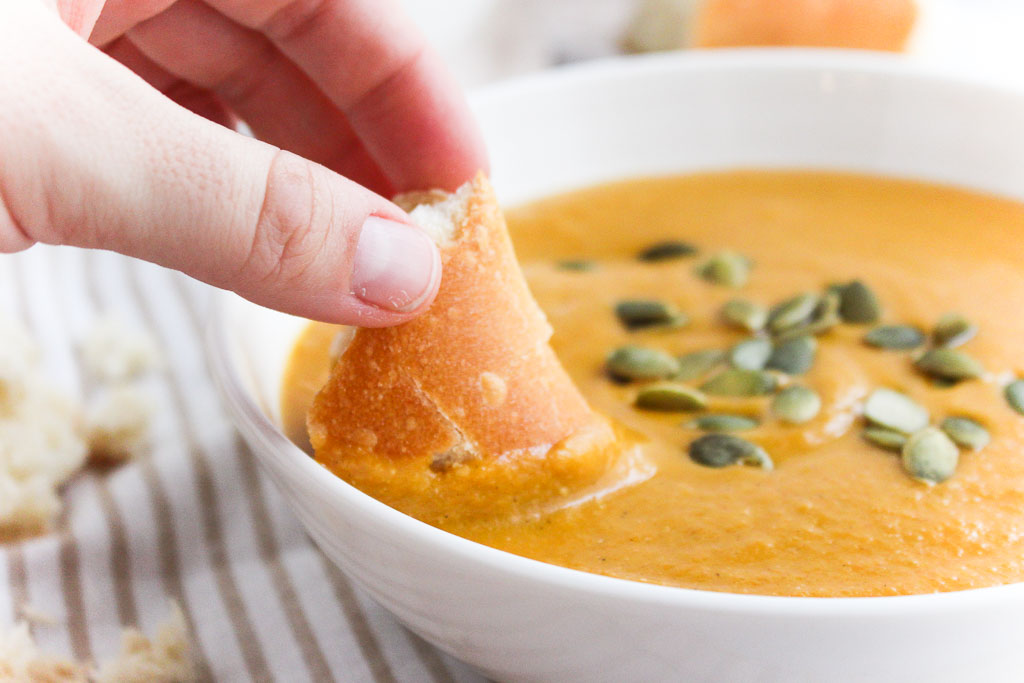
Pumpkin isn’t only for sweet recipes. Try switching things up and use pumpkin in a savory cooking application. Start with this Turkey Pumpkin Chili!
How is October already coming to an end? Fall is a busy time for me with conferences and a lot of work travel. Also during this time of year, I’m sure your Pinterest boards are being saturated with pumpkin everything! I am would say I am a self-proclaimed pumpkin lover, but my RD friend Maggie I would nominate as the president of the pumpkin lover’s club. She just came out with a pumpkin cookbook featuring 50 creative pumpkin flavored, shaped, & spiced recipes.
Did You Know?
A few years back I was at a conference and an RD from Nestle was there speaking about Libby’s canned pumpkin. That brand is a staple across supermarkets nationally. I’m sure many of you, like myself, stock up on Libby’s canned pumpkin this time of year. I was fascinated to learn they exclusively use Dickinson pumpkins, which are a special strain of pumpkins.
Why Dickinson Pumpkins?
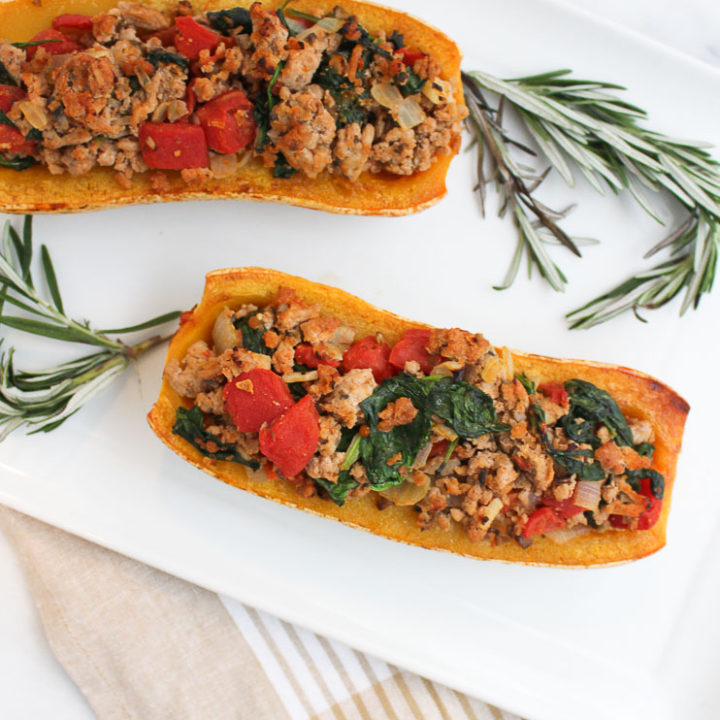
Libby’s acquired the rights to the “Libby’s Select Dickinson” pumpkin in 1929 from the Dickinson family who brought it in the early 1800s from Kentucky. If you ever Google “Dickinson pumpkin” images that appear look like a pale, slightly misshapen butternut squash, not the jack-o-lantern pumpkin you may be thinking of. When Dickinson pumpkins are grown and cultivated just right, they yield a sweet, bright orange flesh that’s amazing in dishes from pies to pasta, and a healthier ingredient to swap into some of your favorite recipes.
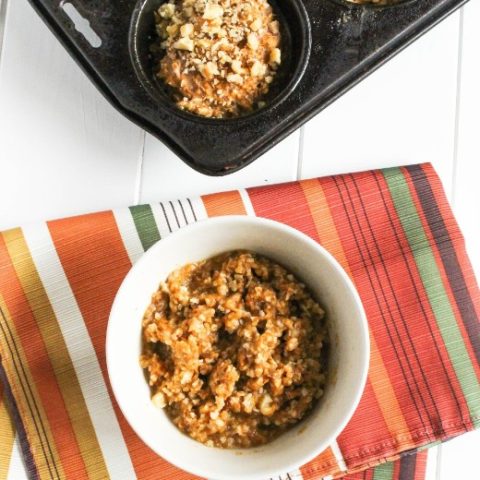
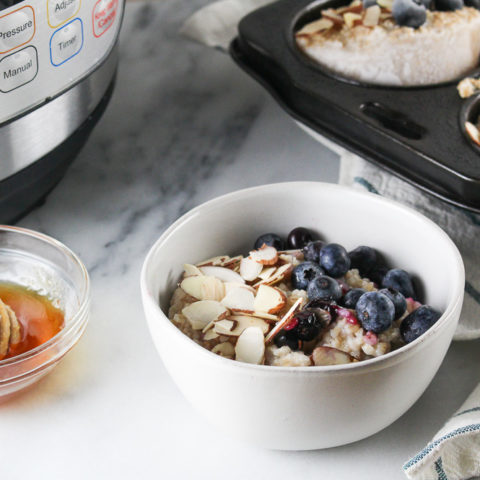
Confession: One year I was a little too pumpkin obsessed. I ate it in my oats for breakfast, stirred it in my yogurt, made smoothies, breads, soups every. single. day. I had a tad too much beta-carotene and my palms started turning orange. Lesson learned.
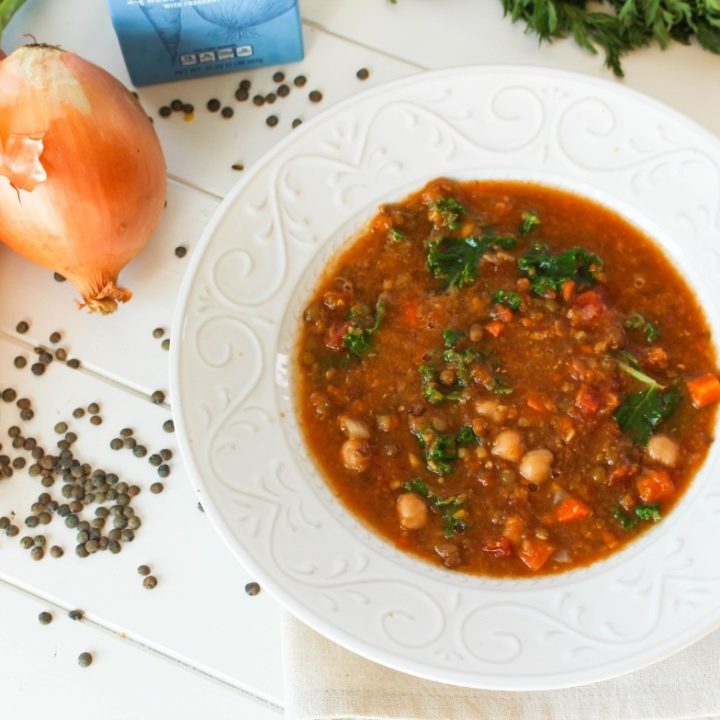
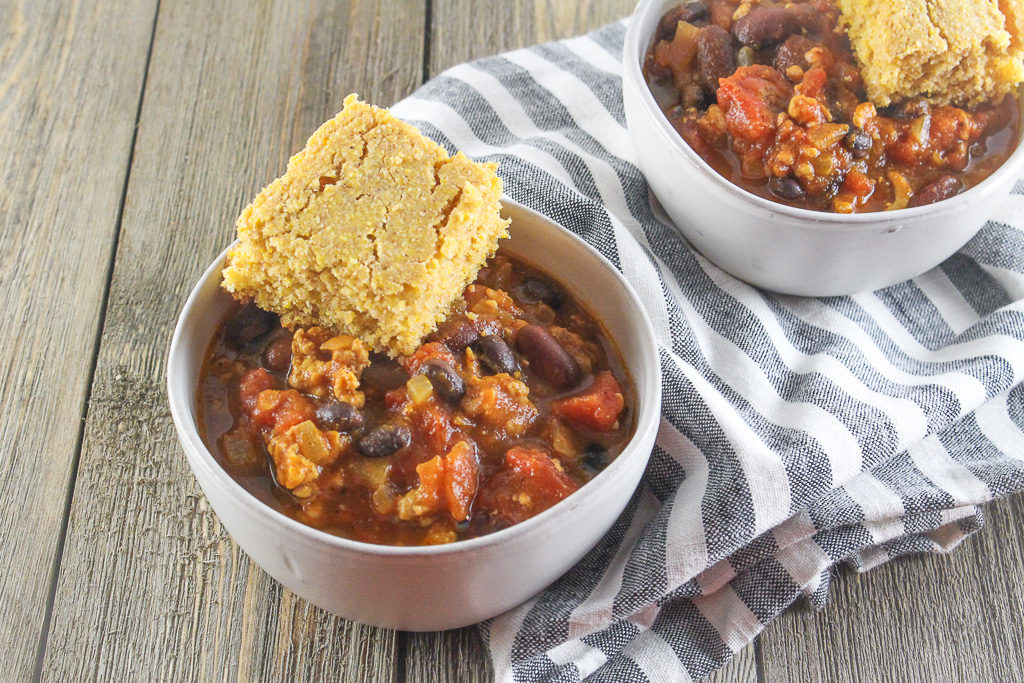
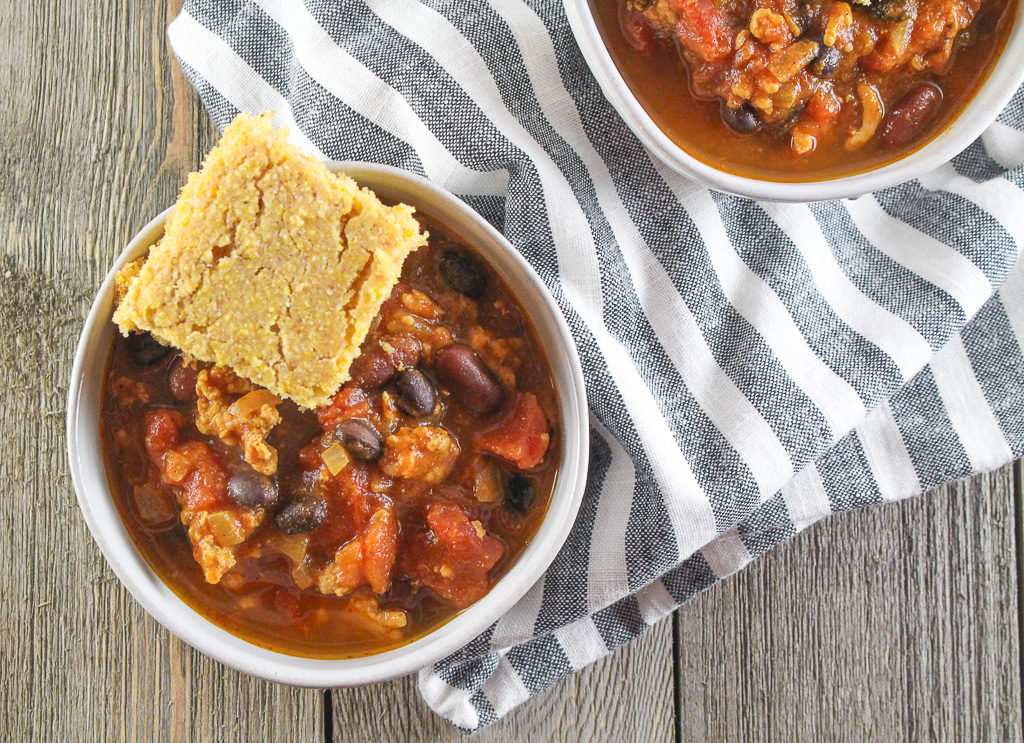
While pumpkin is used in sweet applications the majority of the time, pumpkin works well with savory applications. This chili is perfect for someone who isn’t too crazy about super spicy chili. It’s a mellow flavor with a hint of sweet. I feel like chili isn’t complete without a slice of cornbread. I always crumble up the cornbread right into the chili.
Print
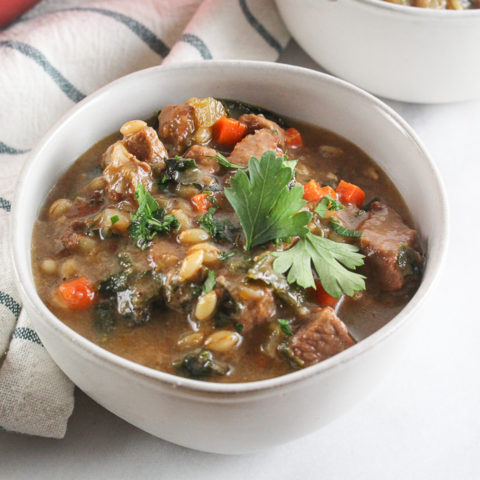
Turkey Pumpkin Chili
- Prep Time: 10
- Cook Time: 20
- Total Time: 30 minutes
- Yield: 6
- Category: chili
Ingredients
- 2 tablespoons olive oil
- 1 medium onion, diced
- 3 cloves garlic, minced
- 1 lb. ground turkey breast
- 1 1/2 tablespoons chili powder
- 1 teaspoon cumin
- 1/4 teaspoon cinnamon
- 1/4 teaspoon cayenne pepper
- 1 (28 oz) can no salt added diced tomatoes
- 1 (15 oz) can pumpkin puree (not pie filling)
- 2 cups low sodium chicken stock
- 1 (15 oz) can black beans, drained & rinsed
- 1 (15 oz) can red kidney beans, drained & rinsed
- pinch of salt and pepper
Instructions
- Heat oil in a large pot over medium heat. Add the onion and garlic. Cook until tender, about 5 minutes. Add the turkey, and cook until browned, stirring occasionally.
- Stir in the chili powder, cumin, oregano, cinnamon, and cayenne pepper, and cook for 1-2 minutes.
- Add in the diced tomatoes, pumpkin, chicken stock and beans, and stir to combine.
- Bring the chili to a boil, then reduce the heat and simmer, uncovered, for 20 minutes.
- Serve with cornbread.
Notes
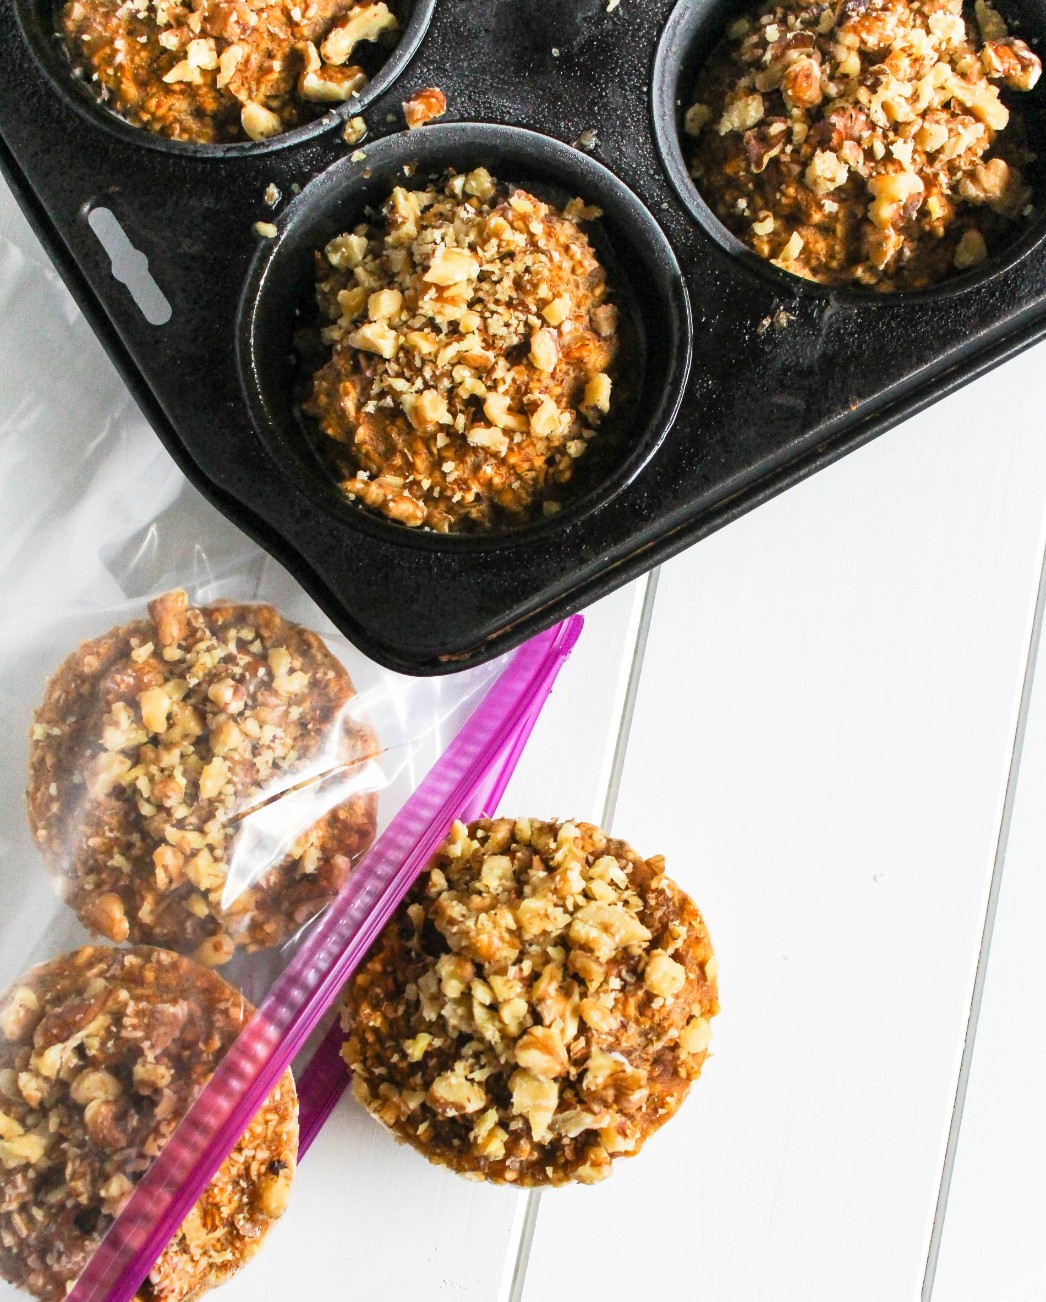
This chili freezes well. Make a large batch and freeze half for another time.
Keywords: chili, pumpkin, turkey,