Roasted Maple-Mustard Glazed Brussels Sprouts

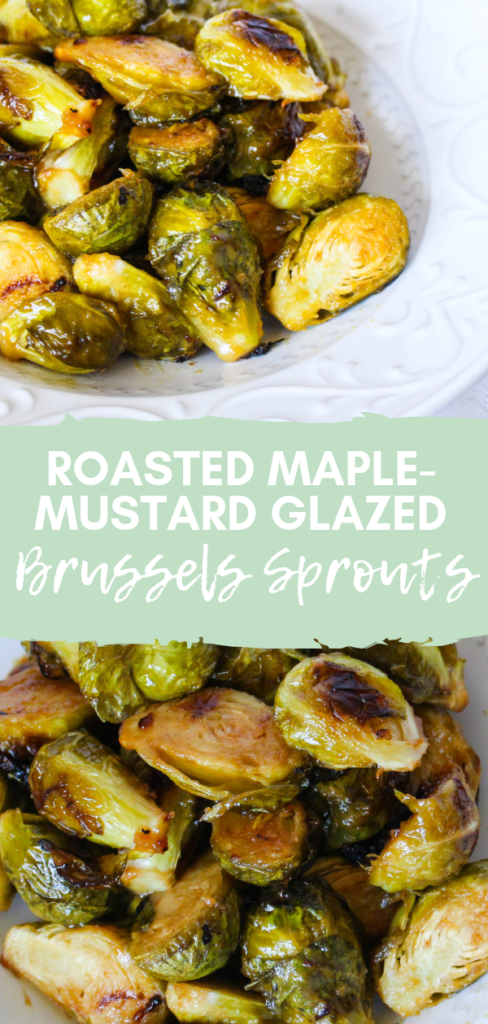
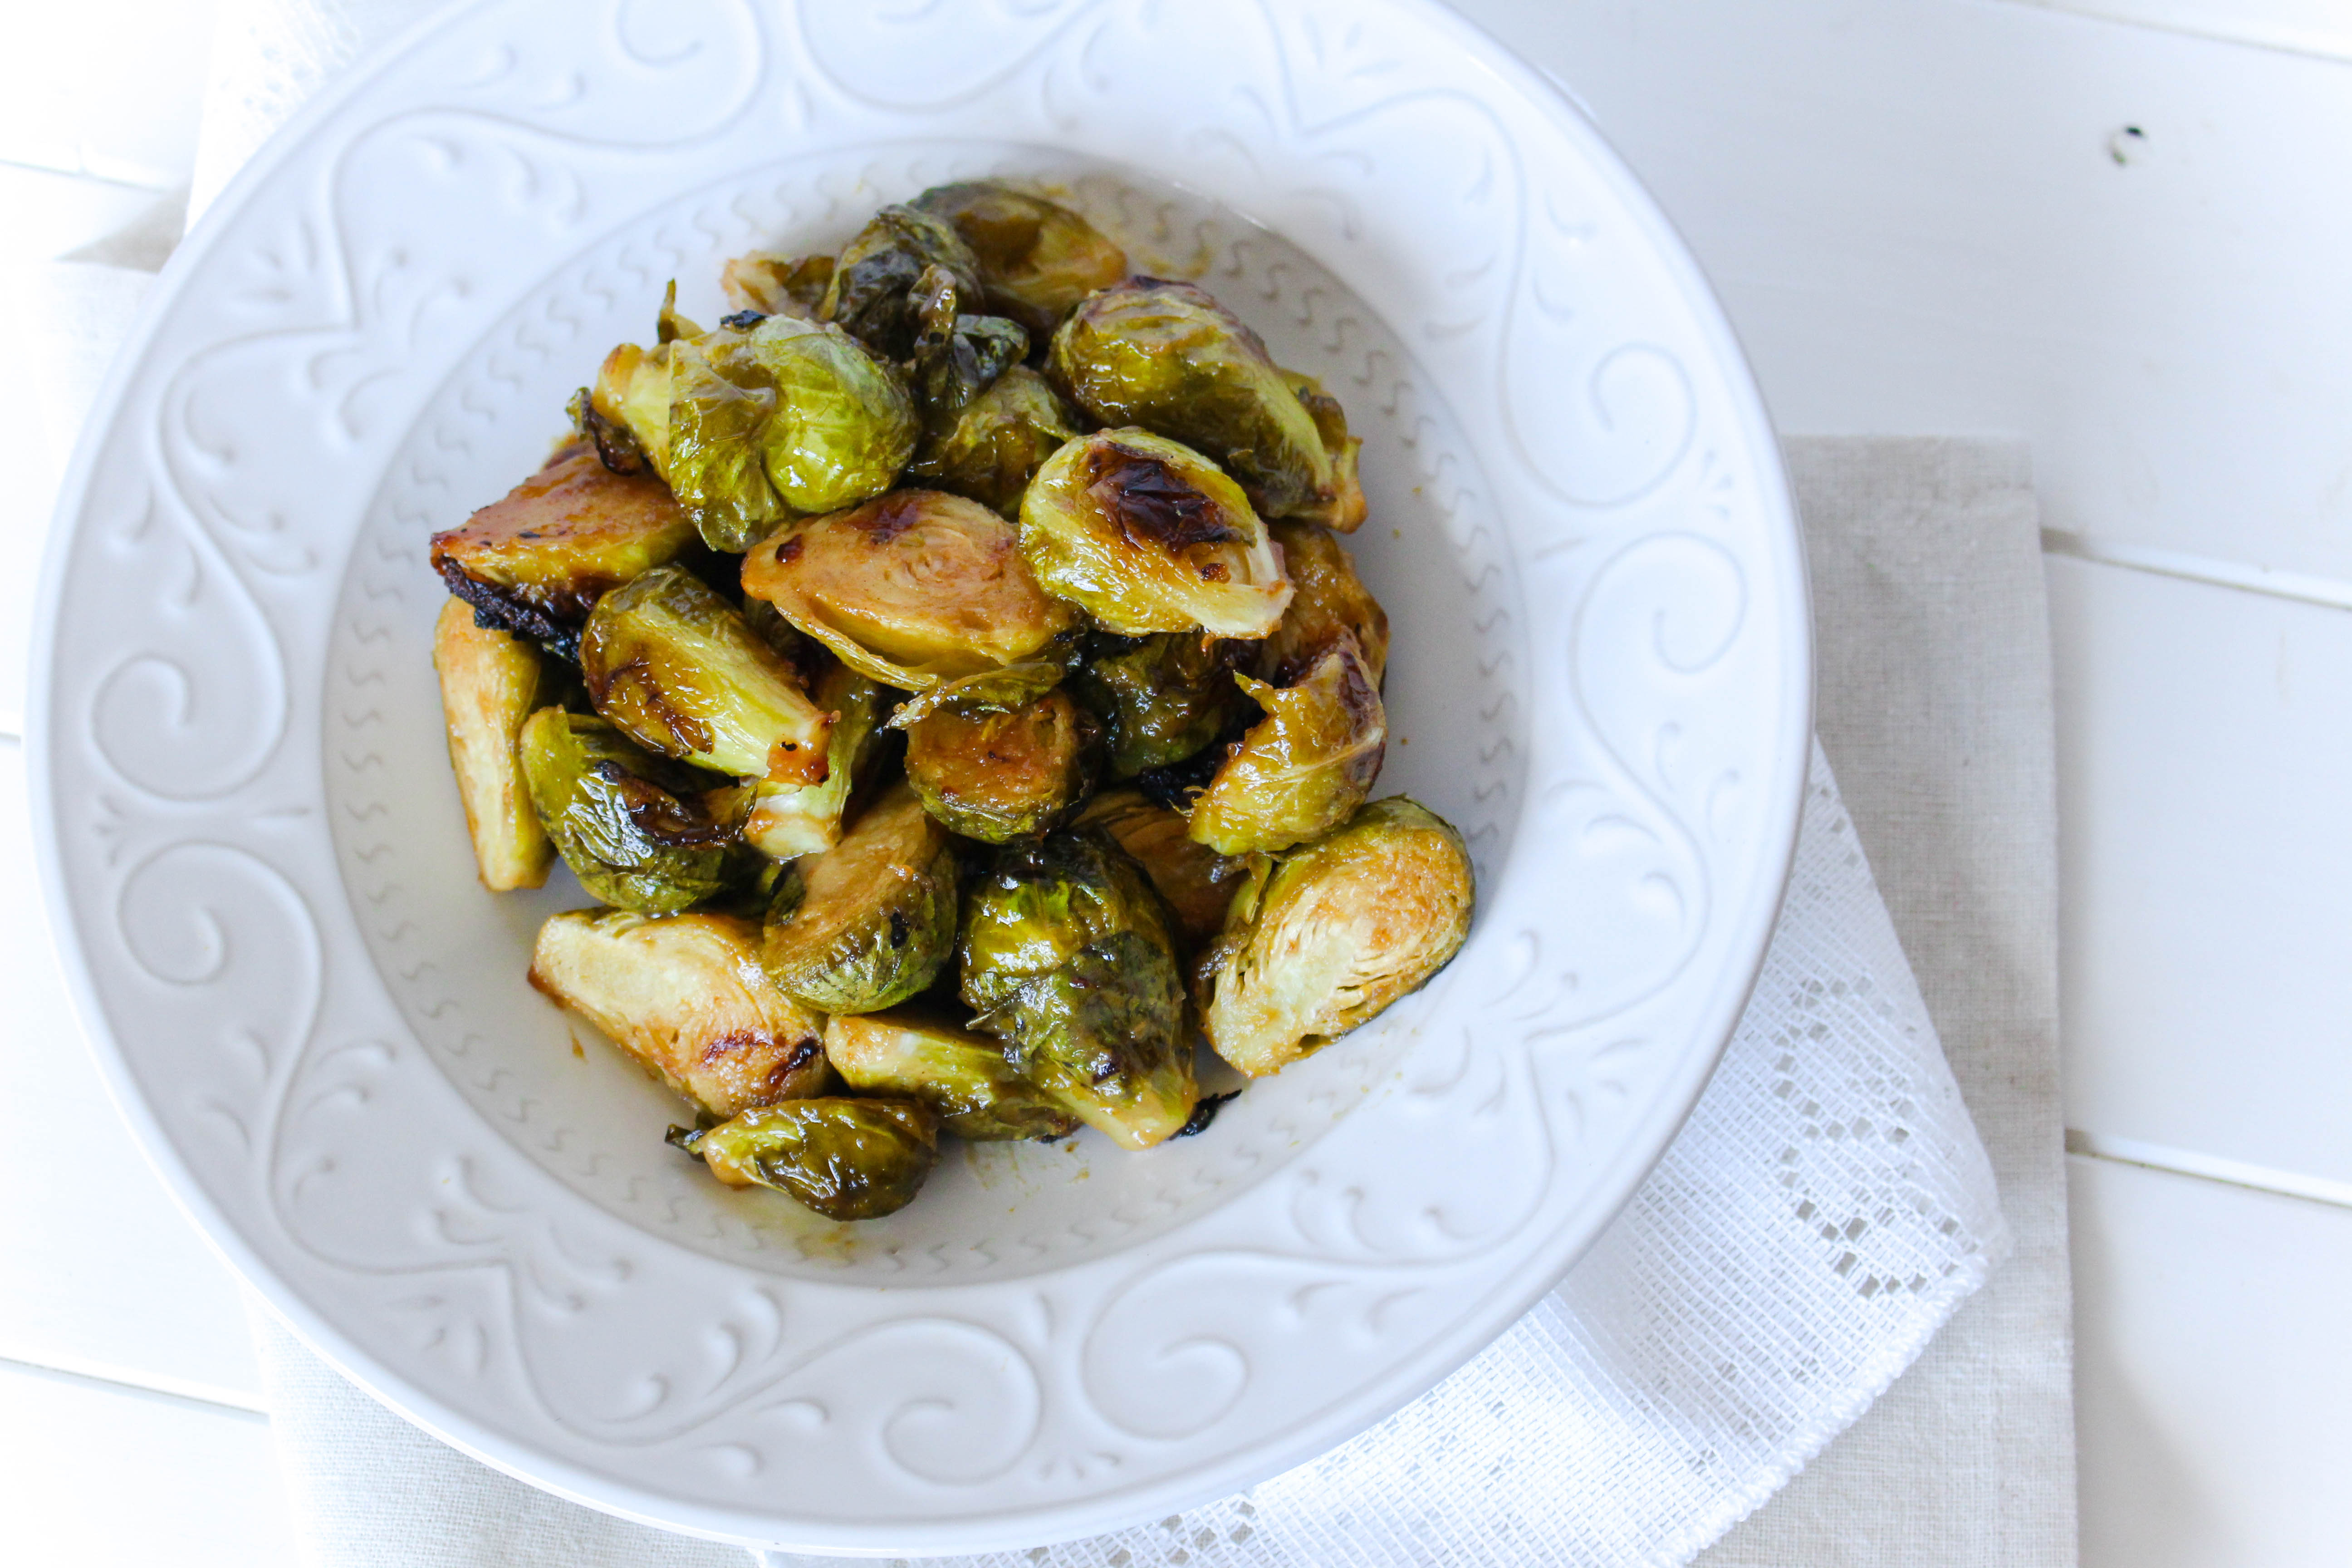
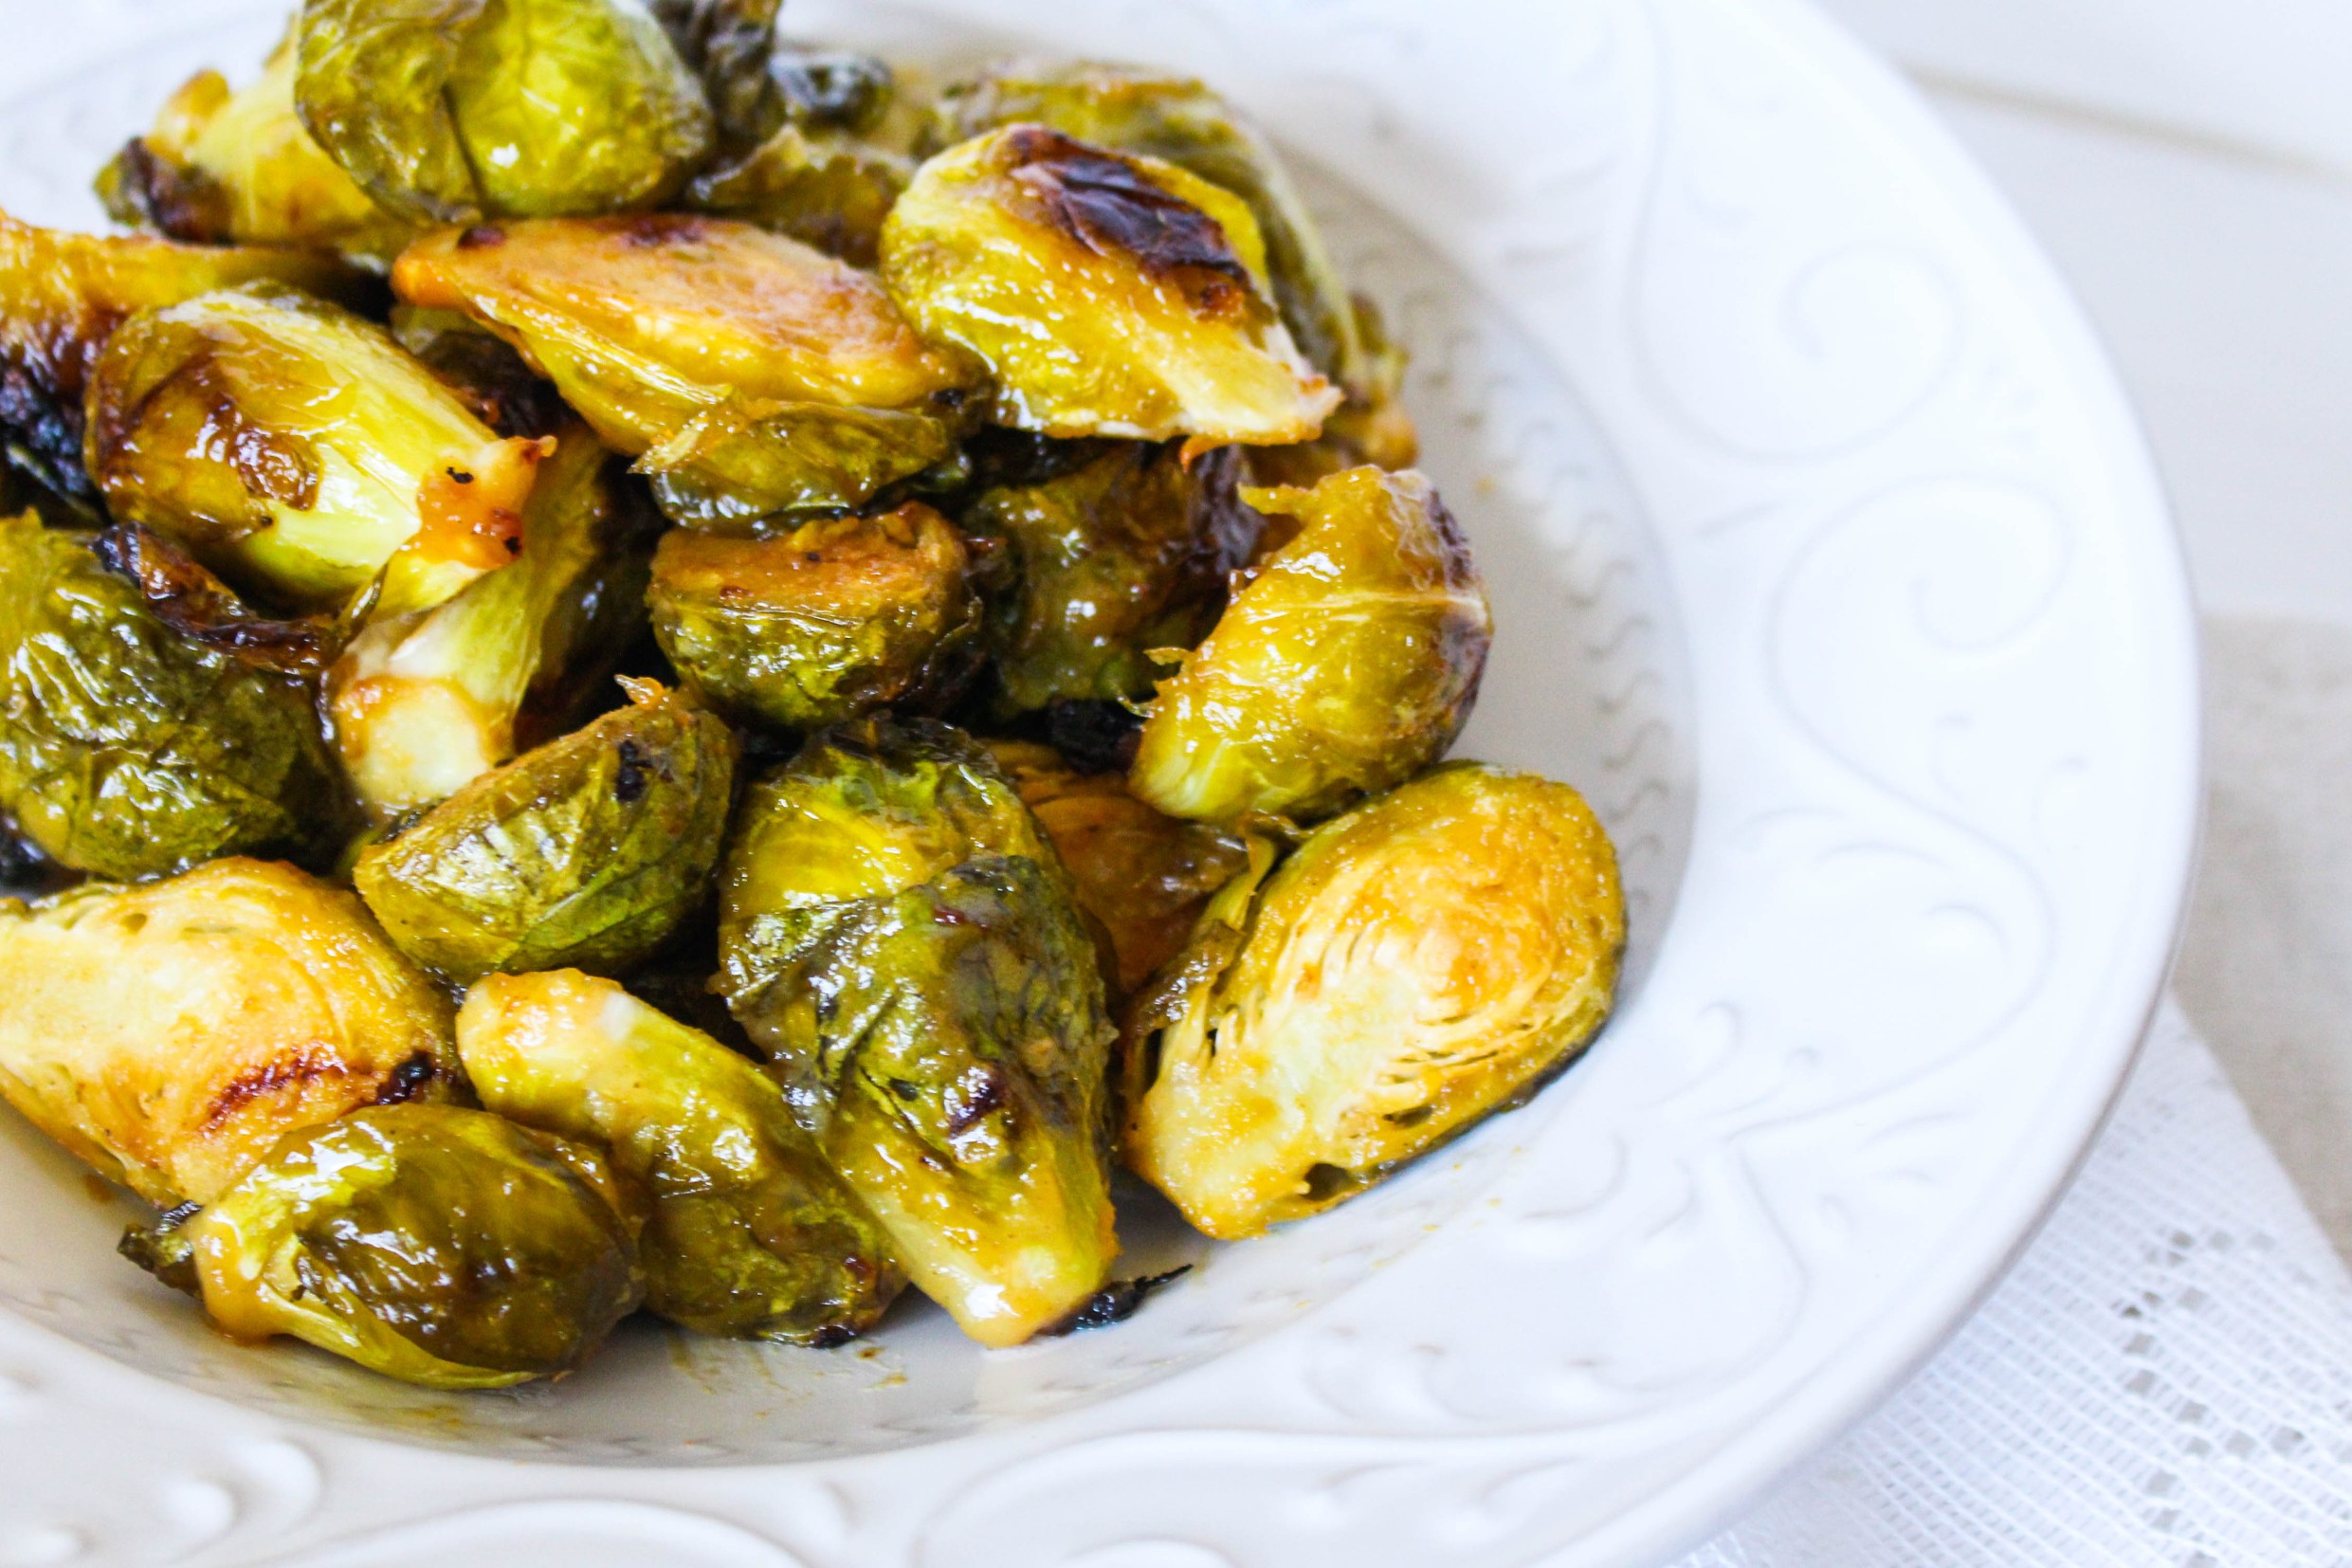
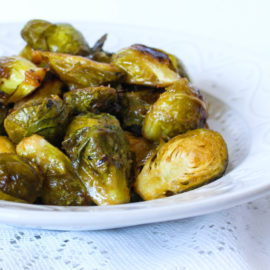
Roasted Maple Mustard Brussels Sprouts have just enough tang and the right amount of sweetness! The perfect side dish that pairs well with just about any meal! 

close up of maple mustard glazed brussels sprouts in a white bowl

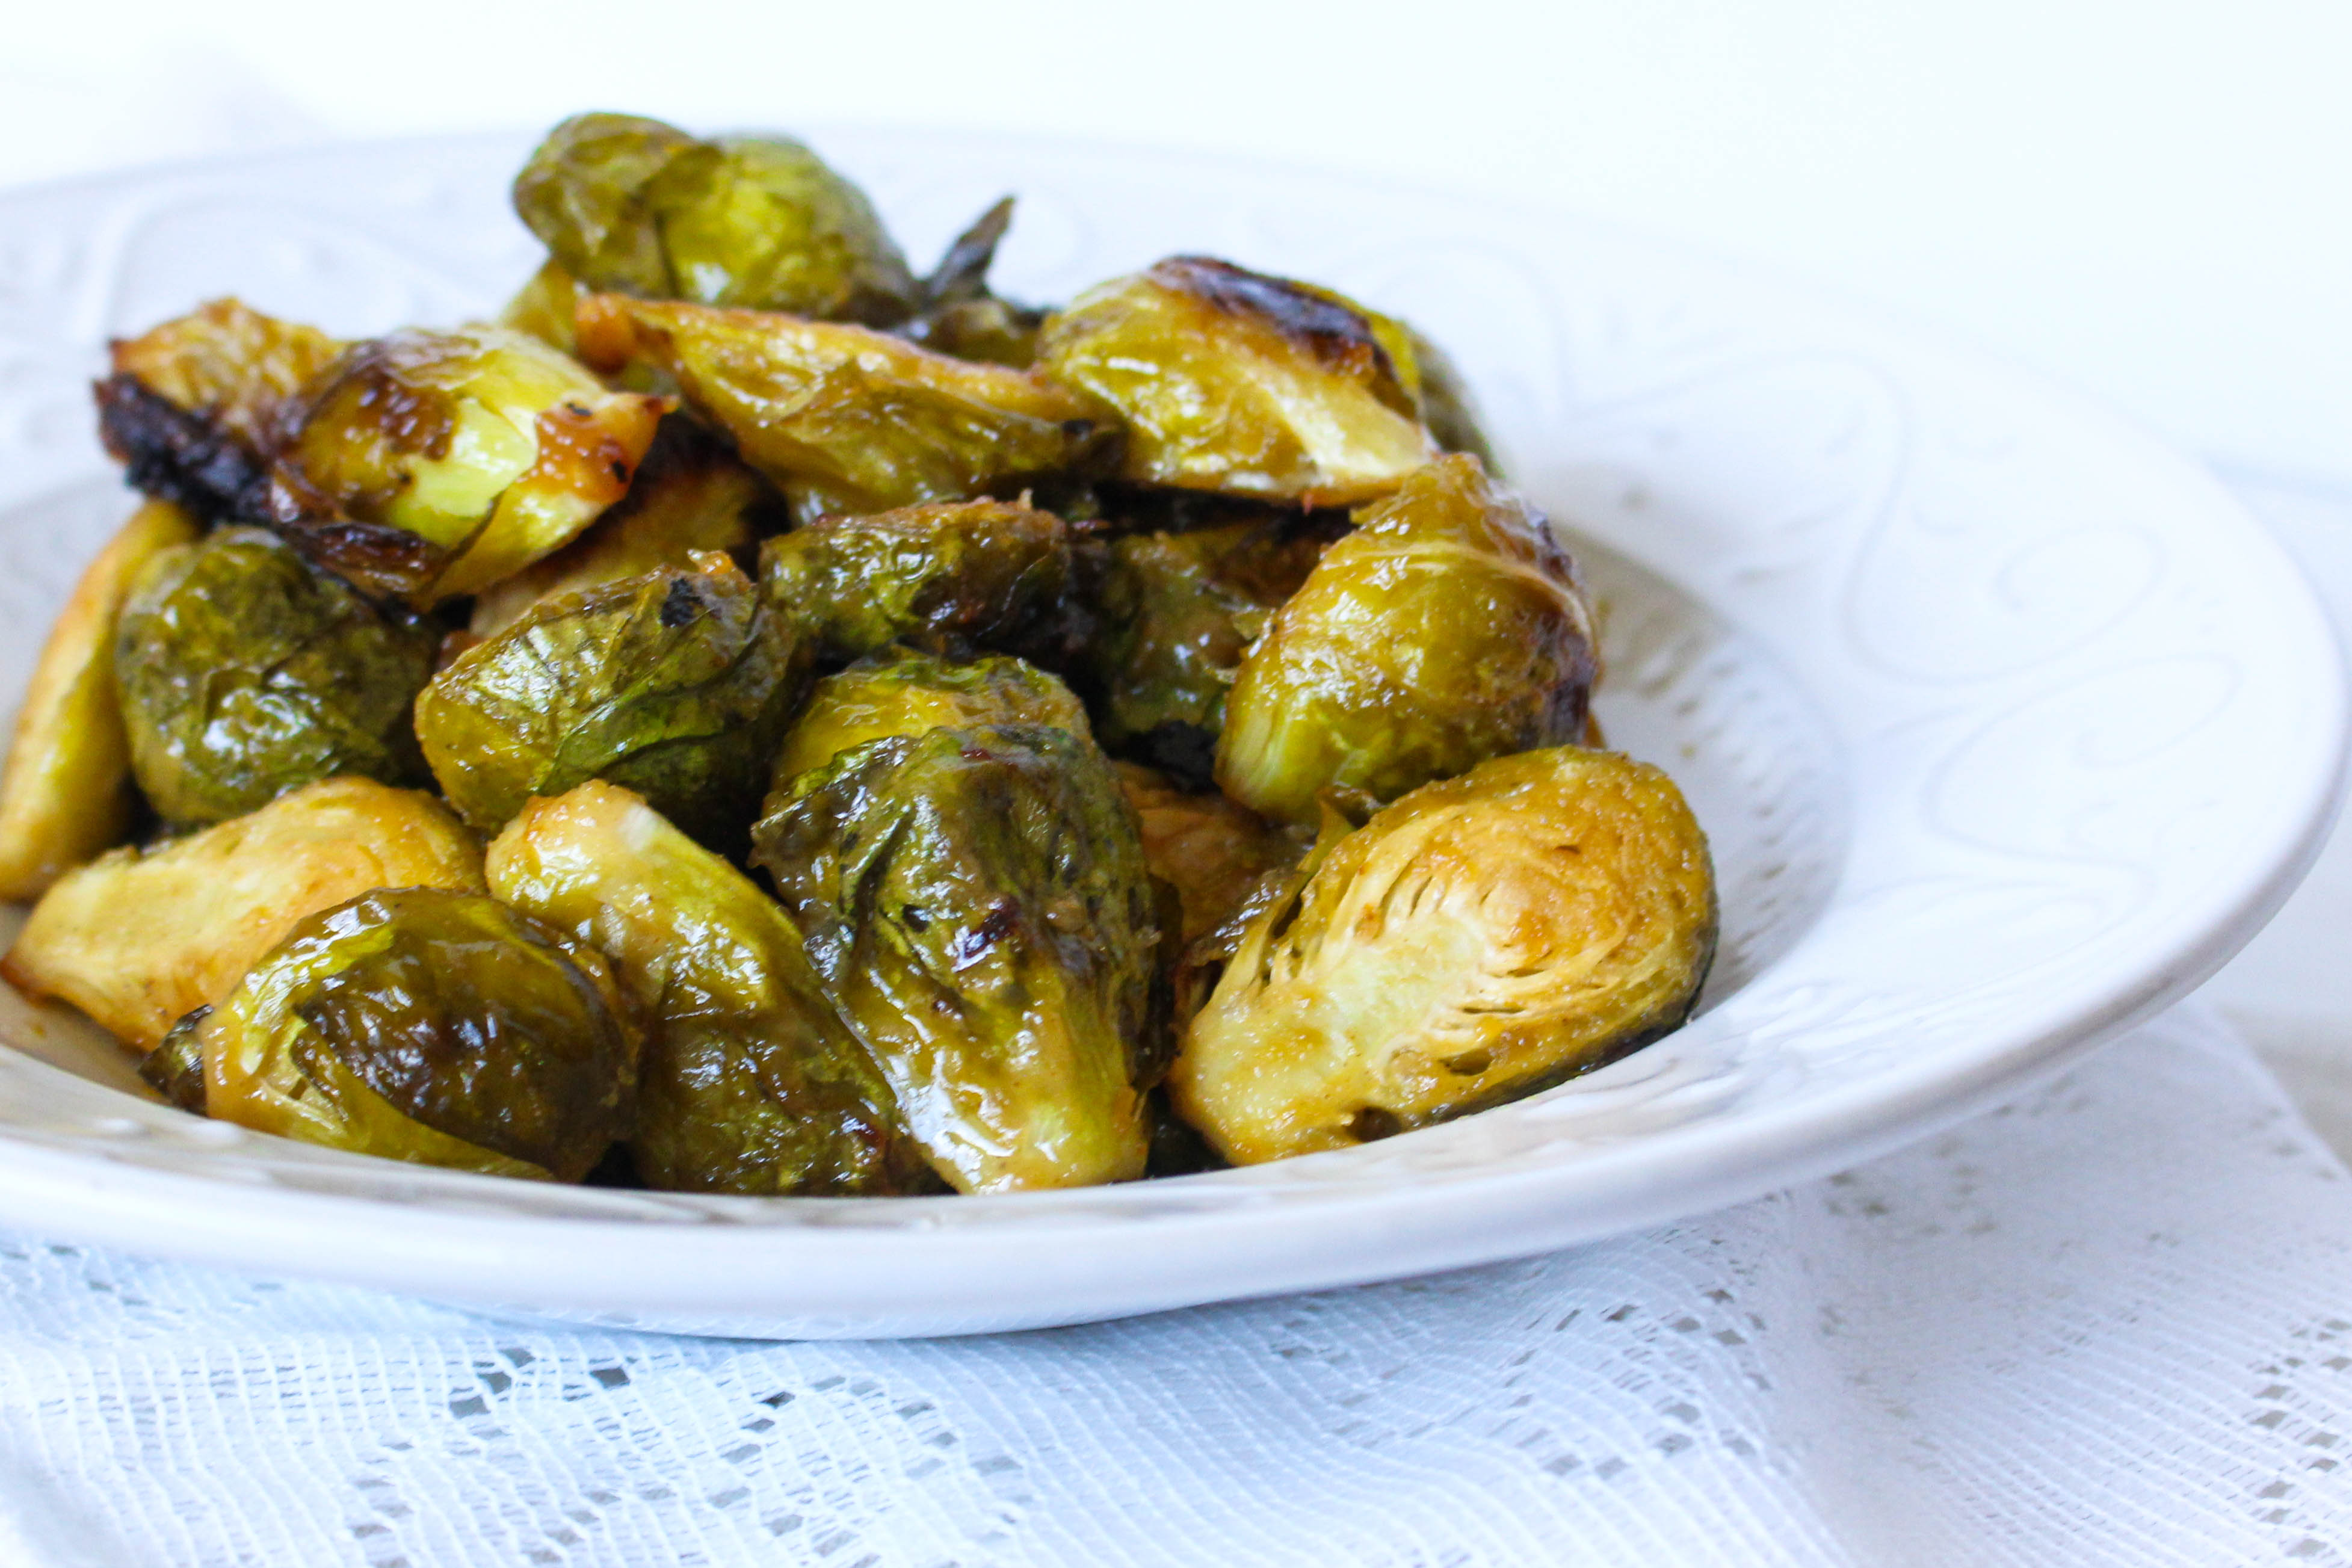
Some people may turn their nose up at the thought of Brussels sprouts, but honestly, they just need to try cooking them a different way! The maple mustard glaze brings in so much flavor, adding a twist to just regular roasted sprouts. 

With the holiday season just around the corner, these become a staple around our house. Once you try them I promise you will be eating this delicious side dish all year long! 

Because this is a sheet pan recipe, it’s easy to make and almost hands off! So while these are great during the week, you can easily double or triple the recipe to feed a larger crowd without much more prep work.

Why I Love Brussels Sprouts

For starters, brussels sprouts are packed full of nutrients and rich in Vitamin K and Vitamin C. They also contain an antioxidant called kaempferol, that may help to reduce inflammation and promote a healthy heart. 

If you aren’t a seafood lover, double up on your Brussels because they are one of the best plant-based sources of omega-3s! 

So besides all of the amazing health benefits, Brussels sprouts can be cooked in so many ways which makes them really versatile in the kitchen.  Simply changing out the sauce, glaze, or seasoning offers a whole new side dish. Let’s not forget they are great in salads when they are shredded too! 

top shot of roasted maple mustard brussels sprouts in a white bowl

Ingredients for Maple Mustard Brussels Sprouts 

lemon juice

Dijon mustard

maple syrup

olive oil

salt and pepper

Brussels sprouts

How to Make Roasted Maple Mustard Brussels Sprouts 

Prep your baking sheet by spraying it with non-stick spray or using parchment paper and preheat your oven to 400 degrees. 

Whisk together the lemon juice, mustard, maple syrup, oil, salt, and pepper in a large bowl. 

Once you have halved and trimmed the Brussels sprouts, mix those in and stir until they are fully coated. 

brussels sprouts roasted with a maple mustard glaze in a white bowl

Pour the mixture in an even layer onto the baking sheets. You can drizzle the remaining glaze over if there’s any left in the bowl. 

Roast for about 30 minutes or until the brussels are tender and caramelized. Stir them occasionally or flip with a spatula half way through. 

Can You Use Frozen Brussels Sprouts? 

You can if that’s all you have. Allow them to thaw completely before roasting.
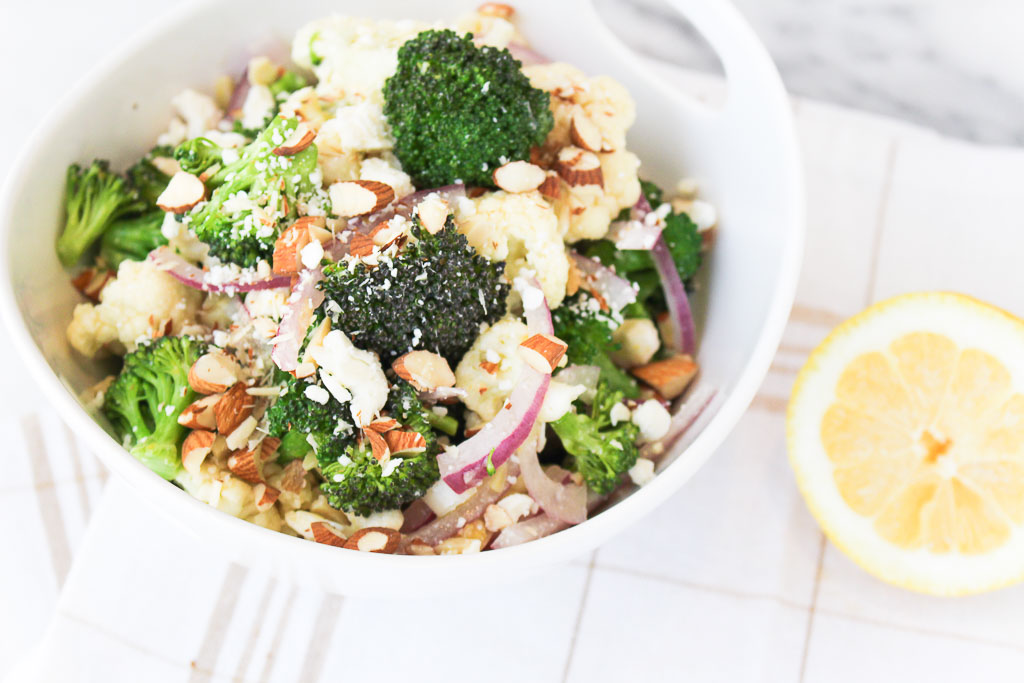
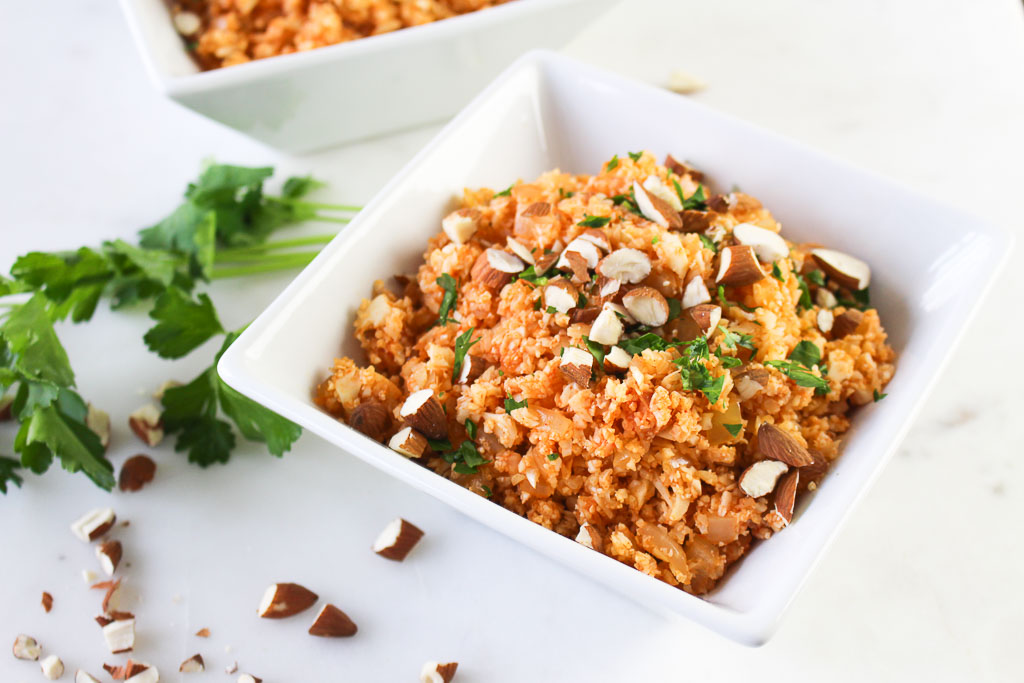
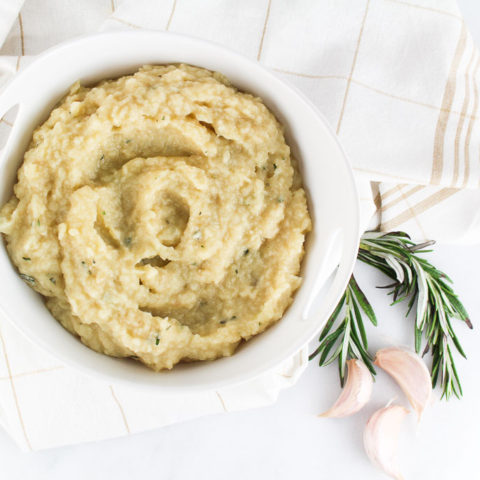
Print
clock clock iconcutlery cutlery iconflag flag iconfolder folder iconinstagram instagram iconpinterest pinterest iconfacebook facebook iconprint print iconsquares squares iconheart heart iconheart solid heart solid icon
roasted brussels sprouts in a white dish

Roasted Maple-Mustard Glazed Brussels Sprouts

  • Author: Chef Julie Harrington, RD
  • Prep Time: 5 mins
  • Cook Time: 30 mins
  • Total Time: 35 mins
  • Yield: 4
  • Category: side dish
  • Method: roasting

Ingredients

Scale
  • 1 1/2 tablespoons lemon juice
  • 2 1/2 tablespoons Dijon mustard
  • 1 1/2 tablespoons maple syrup
  • 3 tablespoons olive oil
  • salt and pepper, to taste
  • 2 lbs. Brussels sprouts, halved and trimmed

Instructions

  1. Preheat oven to 400 degrees F. Prepare a large baking sheet with cooking spray and set aside.
  2. In a large bowl, whisk together the lemon juice, Dijon mustard, maple syrup, olive oil, and salt and pepper.
  3. Mix in the Brussels sprouts until they are fully coated. Pour the Brussels sprouts on an even layer on the baking sheet, drizzling any remaining glaze on top.
  4. Roast for 25-30 minutes, stirring occasionally. Brussels sprouts should be tender and caramelized to your desired doneness.

Keywords: Brussels sprouts, roasting, vegetable side dish

Recipe Card powered byTasty Recipes
Chef Julie Harrington, RD - Culinary Nutrition Consultant of chefjulierd.com
close up of roasted brussels sprouts with a maple mustard glaze with text overlay

Green Bean Potato Salad

Gearing up for picnics and barbecues this summer? Add this Green Bean Potato Salad to the menu.

Green Bean Potato Salad in a wooden bowl

One of my jobs during summers at college, I was working at this outdoor catering company, where we prepared food on-site at graduation parties, barbecues, picnics, etc. When working in catering, you have to prepare recipes in large quantities to feed the masses. One of my least favorite things to prepare is the potato salad.

Green Bean Potato Salad in a wooden bowl

Traditional potato salad is dressed with mayonnaise. That is one condiment that I just never enjoyed. Now, just imagine preparing potato salad for 100+ people at one time. The amount of mayo I had to scoop daily was unreal.

Since I don’t personally enjoy mayonnaise, I wanted to create a non-mayo based dressing for potato salad with an added twist by adding green beans and corn. Don’t be afraid to switch up a classic and bring something new to the table, like this Green Bean Potato Salad.

Why use red bliss potatoes for this Green Bean Potato Salad

Red potatoes have smooth thin skin. Its skin is edible, so it’s not necessary to peel or remove it after cooking. Like many waxy varieties, red potatoes are low in starch and won’t produce a light, fluffy texture. They are best used for boiling and roasting and work well in dishes that would benefit from a potato that holds its shape, even when sliced and diced, like for this Green Bean Potato Salad.

Health benefits of potatoes

Poor potatoes have a bad reputation in some people’s eyes. “Oh, I can’t eat potatoes because they are too starchy” Yes, potatoes are starchy because they are carbohydrates and carbohydrates give us energy. Also, there are many nutritional benefits that potatoes provide our bodies. They are high in potassium, vitamin B6, and vitamin C. When enjoyed in moderation and prepared in a healthy way, potatoes can be a nutritious addition to your diet.

Culinary term: blanching & shocking

The word blanch refers to a cooking technique in which food is briefly immersed in steam or boiling water, usually followed by shocking, which is rapidly cooling the food in an ice bath or with cold air.

When you blanch food for the right amount of time it helps maintain flavor, color, texture, and nutritional value. No one wants limp and soggy green beans.

Print
clock clock iconcutlery cutlery iconflag flag iconfolder folder iconinstagram instagram iconpinterest pinterest iconfacebook facebook iconprint print iconsquares squares iconheart heart iconheart solid heart solid icon
green bean potato salad in a wooden bowl

Green Bean Potato Salad

  • Author: Chef Julie Harrington, RD
  • Prep Time: 5
  • Cook Time: 40
  • Total Time: 45 minutes
  • Yield: 10 1x
  • Category: side dish
  • Method: stove top
  • Cuisine: American

Ingredients

Scale

1 pound red bliss potatoes
2 ears of corn, shucked
1 pound French green beans, cut in half
1 lemon, juiced (or 2 tablespoons lemon juice)
2 tablespoons Dijon mustard
1/4 cup olive oil
salt and pepper, to taste


Instructions

  1. In a large pot add potatoes. Fill with water and bring to a boil and season with salt. Cook potatoes until fork tender, about 20 minutes (depending on the size of your potatoes).
  2. Using tongs, carefully remove the potatoes and let cool. Add corn to the boiling water. Cook for 10 minutes, or until corn is tender.
  3. Using tongs, carefully remove the corn and let cool. Add the string beans to the boiling water. Cook for about 3-5 minutes, or until green beans are tender. Drain green beans and immediately put them in an ice bath to stop the cooking process. When cooled drain green beans and let dry. 
  4. When potatoes are cooled, dice into cubes. Cut corn off the cob. (see notes below for a tip to do this easily)
  5. In a large bowl, whisk together lemon juice, Dijon mustard, and olive oil. Add potatoes, corn, and green beans. Toss to coat.
  6. Season with salt and pepper, to taste.
  7. Let the potato salad sit in the refrigerator for at least 30 minutes to let all the flavors marinate.

Notes

Tip to cut corn off the cob.

Substitution tip: Don’t have corn on the cob? Swap for sweet canned corn or frozen corn kernels. 

Keywords: potato salad, green beans, corn, potatoes, side dish, recipe

Recipe Card powered byTasty Recipes

This recipe was originally posted in July 2013. The photos and content of the post have been updated.

Other recipes you may enjoy

Banana Berry Smoothie

Looking to add more fruits and vegetables in your day? This Banana Berry Smoothie is a simple (and delicious) solution to help you meet the recommended amount of fruits and vegetable each day.
Banana Berry Smoothie - a simple way to increase fruit and vegetable consumption via RDelicious Kitchen @RD_Kitchen
The recommended amount of fruits and vegetables in the Healthy U.S.-Style Eating Pattern, of the 2015-2020  edition of the Dietary Guidelines, is 2 cup-equivalents of fruit and 2½ cup-equivalents of vegetables per day. (source)
Banana Berry Smoothie - a simple way to increase fruit and vegetable consumption via RDelicious Kitchen @RD_Kitchen
Reading those recommendations, it may not seem that hard, but on a regular basis, Americans are not meeting that target goal.

Why not start the day with a smoothie packed with fruits and vegetables? If you’re not used to adding vegetables to a smoothie, this recipe is a great one to start off with. The flavors of the berries and bananas take over and you won’t even know the spinach is even in there!

Once you start feeling a little more comfortable with adding vegetables into your smoothie, start trying new variations. Smoothie aficionados are adding vegetables like cauliflower, kale, cucumber, carrots, and even broccoli to their smoothie mix.
What vegetables do you add to your smoothie? 

Time-saving tip:

Save time in the morning and make smoothie bags. Pre-measure the fruits, veggies, and mix-ins (like chia, flax, peanut butter powder) of your choice in a ziplock bag. Now in the morning, all you have to do is drop the smoothie contents in the blender and add milk (or liquid of choice) for a smoothie ready in under a minute.

Print

clock clock iconcutlery cutlery iconflag flag iconfolder folder iconinstagram instagram iconpinterest pinterest iconfacebook facebook iconprint print iconsquares squares iconheart heart iconheart solid heart solid icon
banana berry smoothie on a purple napkin with ingredients

Banana Berry Smoothie

  • Author: Chef Julie Harrington, RD
  • Yield: 1
  • Category: Drink

Description

Looking to add more fruits and vegetables in your day? This Banana Berry Smoothie is a simple (and delicious) solution to help you meet the recommended amount of fruits and vegetable each day.


Ingredients

Scale
  • 1/2 cup milk
  • 1 banana
  • 1/4 cup raspberries
  • 1/4 cup wild blueberries
  • 1 tablespoon chia seeds
  • 1 cup baby spinach
  • water or ice, as needed, for desired consistency

Instructions

  1. In a blender, combine milk, banana, raspberries, blueberries, chia seeds, and spinach. Blend until smooth.
  2. For a thicker consistency, add ice. For a thinner consistency, add water.

Keywords: smoothie, drink, beverage

Recipe Card powered byTasty Recipes

Chef Julie Harrington, RD - Culinary Nutrition Consultant of chefjulierd.com

Pin for later!

Banana Berry Smoothie - a simple way to increase fruit and vegetable consumption via RDelicious Kitchen @RD_Kitchen

Balsamic Kale and Vegetable Saute

This one pan Balsamic Kale and Vegetable Saute recipe can help get a side dish or dinner on the table in minutes.
Balsamic Kale and Vegetable Saute via RDelicious Kitchen @RD_Kitchen

This creation accidentally happened when I opened my refrigerator for dinner one night not knowing what I was going to have for dinner and just pulled out everything that I had.
I really liked how it turned out and now I purposely buy all these ingredients to make this recipe over and over again. Since my accidental recipe creation, I’ve made this recipe at least 3 more times already.
Balsamic Kale and Vegetable Saute via RDelicious Kitchen @RD_Kitchen
I mean, how easy is it? Just simply throw everything into one pan. With minimal prep and clean up, this is the perfect solution for a quick and easy weeknight meal.
Balsamic Kale and Vegetable Saute via RDelicious Kitchen @RD_Kitchen
Of course, you don’t have to create this exact combination. Use this recipe as a template and work with what vegetables you have. Any bean or other protein can be included as well.
Balsamic Kale and Vegetable Saute via RDelicious Kitchen @RD_Kitchen
What vegetable combination would you create this dish with?

Print

clock clock iconcutlery cutlery iconflag flag iconfolder folder iconinstagram instagram iconpinterest pinterest iconfacebook facebook iconprint print iconsquares squares iconheart heart iconheart solid heart solid icon
Balsamic Kale and Vegetable Saute in a white bowl

Balsamic Kale and Vegetable Saute

  • Author: Julie @ RDelicious Kitchen
  • Yield: 4

Ingredients

Scale
  • 1 tablespoon olive oil
  • 1 red onion, sliced
  • 1 red pepper, sliced
  • 2 cloves garlic, minced
  • 1 cup mushrooms, sliced
  • 1 (15 oz.) can chickpeas, drained and rinsed
  • 1-pint grape tomatoes, halved
  • 1 large bunch kale (~ 6 cups), chopped
  • 2 tablespoons balsamic vinegar
  • salt and pepper, to taste
  • (optional) parmesan cheese, to garnish

Instructions

  1. Add olive oil in a large skillet over medium heat. Saute the onions and peppers for about 1 minutes. Add garlic and cook for an additional minute, until garlic is fragrant.
  2. Add mushrooms and chickpeas. Cook until mushrooms are tender. (Use a lid to generate steam if the pan starts to become dry)
  3. Add kale, tomatoes, and balsamic vinegar. Toss vegetables to combine. Place a lid on top to allow kale to wilt. Remove lid and cook for an additional 2 minutes, removing excess liquid.
  4. Season with salt and pepper, as needed.
  5. Remove vegetable saute from the pan and garnish with parmesan cheese (if using).

Recipe Card powered byTasty Recipes

Did you make this recipe? Tag @rdeliciouskitchen on Instagram or send me a picture, I’d love to see! RDelicious Kitchen @RD_Kitchen

Pin it for later!

Balsamic Kale and Vegetable Saute via RDelicious Kitchen @RD_Kitchen

Broccoli Cauliflower Salad

This Broccoli Cauliflower Salad is light and refreshing, being a perfect addition to your spring menu.

Broccoli cauliflower salad with red onions and almonds in a white bowl

Now that the weather is finally warming up here in NJ, my cooking methods start to shift. Roasting is one of my favorite cooking methods for vegetables, but as the weather warms I begin to not use my oven as frequently.

cold broccoli and cauliflower salad with red onions

All winter long I’ve been on a roasted broccoli kick. Broccoli was on my shopping list every week. I am surprised I didn’t get sick of it after a while. This time when I grabbed the broccoli from the fridge, I knew I wanted to do something different.

Instead of roasting this head of broccoli, this time I steamed it. Steaming was never my favorite until I figured out how to perfectly steam broccoli to my liking. Before steamed veggies would always be a little blah and mushy. I like a good crunch to them. Now I gently steam them, then shock them to keep their crisp.

broccoli cauliflower salad in a white bowl

Culinary term: Shocking

“Shocking” is a culinary term that refers to a rapid change in temperature, usually caused by plunging the food into an ice bath.  It’s most often used with veggies that are being steamed or boiled.

Oh, don’t forget about the cauliflower. I steamed and shocked that too to keep some crunchy texture to those florets too. This salad is so refreshing and a perfect addition to your spring menu.

Print
clock clock iconcutlery cutlery iconflag flag iconfolder folder iconinstagram instagram iconpinterest pinterest iconfacebook facebook iconprint print iconsquares squares iconheart heart iconheart solid heart solid icon
Broccoli Cauliflower Salad in a white bowl

Broccoli Cauliflower Salad

  • Author: Chef Julie Harrington, RD
  • Prep Time: 20 minutes
  • Total Time: 20 minutes
  • Yield: 810 1x
  • Category: side dish
  • Method: No Cook
  • Cuisine: American

Description

This Broccoli Cauliflower Salad is light and refreshing, being a perfect addition to your spring menu.


Ingredients

Scale
  • 2 cups cauliflower, cut into florets
  • 2 cups broccoli, cut into florets
  • 1 red onion (small), thinly sliced
  • 1/2 cup almonds, chopped
  • 2 tablespoons feta cheese
  • 1 lemon, zested and juiced
  • 1/4 cup olive oil
  • 1 teaspoon Dijon mustard
  • salt and pepper, to taste

Instructions

  1. In a large pot, steam cauliflower and broccoli in a steamer basket for about 3-4 minutes. Remove from pot and plunge in an ice bath or run under cold water (to stop the cooking process). Drain well and place in a large salad bowl.
  2. In a small bowl, whisk together lemon juice, lemon zest, olive oil, dijon mustard, and season with salt and pepper.
  3. Add red onion, almonds, and feta cheese to the broccoli and cauliflower. Toss together with the dressing.

Notes

Don’t love raw red onions? Try adding pickled onions instead!

Keywords: salad, broccoli, cauliflower, side dish, fresh

Recipe Card powered byTasty Recipes

Spanish-Style Cauliflower Rice

Cauliflower rice can replace rice in any recipe for a low-carb option. Try this Spanish-Style Cauliflower Rice inspired by traditional Spanish flavors. 

cauliflower rice in a white square bowl

My fiance’s family is originally from Spain and over the years of us dating, I’ve really come to learn about Spanish cuisine and now love using certain spices that are common in traditional Spanish dishes. One spice that is commonly used is smoked paprika.

cauliflower rice with almonds

What is smoked paprika?

Smoked paprika is a Spanish cousin to the more widely used sweet Hungarian paprika. It’s made from pimiento peppers that have been dried and smoked over an oak fire, then ground into a fine powder. It has a deep red color and a smoky aroma.

Spanish-Style Cauliflower Rice on a marble slab with almonds

Cauliflower rice has become one of my favorite side dishes because it cooks up so quickly, plus it adds a full serving+ of vegetables to a meal.

Cauliflower is a member of the cruciferous vegetable (or Brassicaceae) family- along with broccoli, cabbage, kale, Brussel sprouts, and some other less common varieties.

Spanish-Style Cauliflower Rice in a white square bowl
Print
clock clock iconcutlery cutlery iconflag flag iconfolder folder iconinstagram instagram iconpinterest pinterest iconfacebook facebook iconprint print iconsquares squares iconheart heart iconheart solid heart solid icon
Spanish-Style Cauliflower Rice in a white square bowl

Spanish-Style Cauliflower Rice

  • Author: Chef Julie Harrington, RD
  • Prep Time: 10
  • Cook Time: 15
  • Total Time: 25 minutes
  • Yield: 6
  • Category: side dish
  • Method: stove top
  • Cuisine: spanish

Ingredients

Scale
  • 2 medium heads cauliflower, cored and riced (see tips in the note section)
  • 1 tablespoon coconut oil
  • 1 onion, finely chopped
  • 3 cloves garlic, minced
  • ¾ teaspoon smoked paprika
  • ¾ teaspoon ground cumin
  • ½ cup low-sodium chicken broth
  • 2 tablespoons tomato paste
  • salt and pepper, to taste
  • ¼ cup raw almonds, chopped
  • ¼ cup parsley, finely chopped

Instructions

  1. Heat coconut oil in a large skillet over medium-high heat. Add the onion and garlic, until the onion begins to turn translucent and is fragrant. Add the cauliflower and cook, stirring occasionally, for about 5 minutes, until cauliflower is tender. (Be sure to not overcook, or cauliflower will become mushy) Add paprika and cumin. Sauté for an additional minute.
  2. In a small bowl, whisk together the chicken broth and tomato paste until smooth. Add to the skillet and stir to incorporate into the cauliflower rice. Cook for 2-3 minutes until liquid has absorbed and evaporated.
  3. Season with salt and pepper. Sprinkle with almonds and parsley.

Notes

recipe adapted from Paleo magazine

To rice the cauliflower:
option 1: Take a box grater and grate the cauliflower into rice in a bowl
option 2: Place cauliflower florets in a food processor pulse until reach desired rice consistency.
option 3: Buy the pre-riced cauliflower, often found fresh in the produce section or frozen at your local grocery store.

Keywords: cauliflower, cauliflower rice, spanish

Recipe Card powered byTasty Recipes

other recipes you may enjoy

Cheesy Cauliflower Tots

Sneak in more vegetables by revamping a childhood favorite and instead making Cheesy Cauliflower Tots.
Cheesy Cauliflower Tots via RDelicious Kitchen @rdkitchen
Hello… it’s me (please tell me you sang the Adele song in your head as you were reading this) I’ve been a little MIA this past week, because the bf was home on his spring break from PT school and blogging took the back burner. When you are in a long distance relationship, you want to soak in every minute when you can be together! But it’s the perfect time to jump back in to blogging because drumroll please… it’s Recipe ReDux time! This month Recipe ReDuxer’s were challenged to create recipes with 7 ingredients or less.
Cheesy Cauliflower Tots via RDelicious Kitchen @rdkitchen
At work, for National Nutrition Month, I created a fruit and veggie challenge to strive for five fruits and vegetables a day. Each day on the calendar has five little boxes in it that participants can check off as they go along day to day to help them keep up with this challenge. This past week, one of the participants came into my office with doubt that she won’t be able to finish the challenge because she can’t stand to eat steam cauliflower for one more day. I don’t blame her. Steamed cauliflower every day for a month, I would get sick of it too! That conversation inspired me to make this recipe .. and also because Napoleon Dynamite was on TV last weekend – “You gonna eat your tots?”

Cheesy Cauliflower Tots via RDelicious Kitchen @rdkitchen
Vegetables don’t have to be boring! I think this is where most people get stuck in a rut of preparing vegetables the same way over and over again. Simply changing up the cooking method can make all the difference. Have you ever compared steamed cauliflower vs. roasted cauliflower side by side? Big change in flavor, taste, and texture. Now, transform cauliflower into cheesy tots, I think cauliflower just got even more appealing! These tots freeze very well and great for simple veggie side dish.

Print

clock clock iconcutlery cutlery iconflag flag iconfolder folder iconinstagram instagram iconpinterest pinterest iconfacebook facebook iconprint print iconsquares squares iconheart heart iconheart solid heart solid icon
Cheesy Cauliflower Tots dipped in ketchup

Cheesy Cauliflower Tots

  • Author: Julie @ RDelicious Kitchen
  • Yield: 4

Ingredients

Scale
  • 4 cups finely chopped cauliflower (or cauliflower crumbles)
  • 1 egg, whisked
  • 1/4 cup grated parmesan cheese
  • 1/4 cup Cabot cheddar cheese, shredded
  • 1/3 cup whole wheat panko
  • 1 tablespoon garlic powder
  • 1 teaspoon dried parsley

Instructions

  1. Preheat oven to 375. Spray mini muffin tins with cooking spray and set aside.
  2. Place cauliflower in a large microwave safe bowl. Dampen a paper towel and place on top of cauliflower pieces. Microwave cauliflower for 2 minutes, until cauliflower is tender. Squeeze out any excess moisture with a dish cloth or paper towels.
  3. Add the egg, parmesan cheese, cheddar cheese, panko, garlic powder, and parsley. Mix well to combine.
  4. Add 1 heading tablespoon to each muffin tin. Press to pack down the cauliflower into the tin.
  5. Bake 15-20 minutes, until cauliflower tots are golden brown. Let cool for at least 5 minutes before removing from pan.

Recipe Card powered byTasty Recipes

Signature

Almond Crusted Cauliflower Bites

Upgrade your game day eats with a healthy new twist. Cauliflower just got an upgrade in “snack-ability” with these Almond Crusted Cauliflower Bites.Almond Crusted Cauliflower Bites via RDelicious Kitchen @rdkitchen“This post is sponsored by Blue Diamond Almonds. Ditch the chips and grab some Game Changing Flavors this football season! Enter for a chance to win the Ultimate Football Party Prize Pack, get great savings and ideas for delicious snack hacks at GameChangingFlavors.com.”
Almond Crusted Cauliflower Bites via RDelicious Kitchen @rdkitchenWe all know fresh cut veggies aren’t the top of everyones list when watching their favorite teams on game day. By sprucing up vegetables with a new healthy twist, game viewers are going to want to keep grabbing for more!
Almond Crusted Cauliflower Bites via RDelicious Kitchen @rdkitchen

Almond Crusted Cauliflower Bites via RDelicious Kitchen @rdkitchenBy just adding a little pizzaz, cauliflower just got an upgrade in “snack-ability”. The smokehouse flavor almonds have such great flavor that you don’t need many other ingredients. The crunchy exterior of the almonds and panko give it that “fried” texture, but they are baked making them much healthier.
Almond Crusted Cauliflower Bites via RDelicious Kitchen @rdkitchenDig in next time you are watching the game! What football team are you rooting for?

Print

clock clock iconcutlery cutlery iconflag flag iconfolder folder iconinstagram instagram iconpinterest pinterest iconfacebook facebook iconprint print iconsquares squares iconheart heart iconheart solid heart solid icon
almond crusted cauliflower

Almond Crusted Cauliflower Bites

  • Author: Julie @ RDelicious Kitchen

Ingredients

Scale
  • 3 cups cauliflower florets
  • 2 eggs, whisked
  • 1/2 cup Blue Diamond Smokehouse Almonds, finely chopped
  • 1/4 cup whole wheat panko

Instructions

  1. Preheat the oven to 400 degrees F.
  2. Whisk together the eggs in a small bowl to create an egg wash. In a separate bowl, combine the Blue Diamond Smokehouse Almonds with the whole wheat panko breadcrumbs.
  3. Dip each cauliflower floret in the egg wash, then coat with the almond mixture. Place on a baking sheet and bake in the oven for 15-20 minutes, until cauliflower florets are fork tender and almond coating is golden brown.

Recipe Card powered byTasty Recipes

Signature

Zucchini Carrot Fritters

Brighten up fritters with a healthy twist. Add these Zucchini Carrot Fritters as a nutritious and delicious side dish for dinner and freeze a batch to enjoy later.

Zucchini Carrot Fritters - Brighten up fritters with a healthy twist. Add these Zucchini Carrot Fritters as a nutritious and delicious side dish for dinner and freeze a batch to enjoy later. via Chef Julie Harrington, RD @ChefJulie_RD #fritters #zucchini #carrot #plantbased #sidedish #glutenfree

Batch cooking and freezing has been my saving grace with my crazy schedule. My schedule during the week gets pretty hectic since I don’t work regular hours and some nights when I get home super late, the last thing I want to do it cook.

Zucchini Carrot Fritters - Brighten up fritters with a healthy twist. Add these Zucchini Carrot Fritters as a nutritious and delicious side dish for dinner and freeze a batch to enjoy later. via Chef Julie Harrington, RD @ChefJulie_RD #fritters #zucchini #carrot #plantbased #sidedish #glutenfree

How to reheat

I love the crispy crunchy outside of fritters. Don’t make the mistake I did when I popped my first batch out of the freezer warmed them in the microwave. Definitely heat them up in the oven, or let them thaw and throw them right back in the pan to warm through to keep that crisp exterior.

How to freeze

To freeze, simply let them cool and place into plastic ziplock bags. If you know you won’t be digging into them for a while, wrap individually in aluminum foil, then into a ziplock bag.

Zucchini Carrot Fritters - Brighten up fritters with a healthy twist. Add these Zucchini Carrot Fritters as a nutritious and delicious side dish for dinner and freeze a batch to enjoy later. via Chef Julie Harrington, RD @ChefJulie_RD #fritters #zucchini #carrot #plantbased #sidedish #glutenfree

Alternatives to breadcrumbs as a binding agent

I used a gluten-free garbanzo bean flour with an egg to act as a binder. Garbanzo bean flour is a fun flour to work use because it has a higher protein and fiber content than other flours.

Print
clock clock iconcutlery cutlery iconflag flag iconfolder folder iconinstagram instagram iconpinterest pinterest iconfacebook facebook iconprint print iconsquares squares iconheart heart iconheart solid heart solid icon
Zucchini Carrot Fritters stacked on parchment paper

Zucchini Carrot Fritters

  • Author: Chef Julie Harrington, RD
  • Prep Time: 15
  • Cook Time: 10
  • Total Time: 25 minutes
  • Yield: 8 fritters 1x
  • Category: side dish
  • Method: Stove Top
  • Cuisine: American

Ingredients

Scale
  • 1 zucchini
  • 2 carrots
  • 1/2 cup gluten free flour (i used garbanzo bean flour)
  • 1/2 tsp baking powder
  • 1/4 teaspoon garlic powder
  • 1/4 teaspoon onion powder
  • 1/8 teaspoon salt
  • 1/8 teaspoon pepper
  • 1 egg
  • 2 tbsp canola oil (or olive oil)

Instructions

  1. Using a box grater, shred the zucchini and carrots. In paper towels or a dish rag, ring out the zucchini and carrots to release excess moisture.
  2. In a large bowl, combine the gluten free flour, baking powder, garlic powder, onion powder, salt, and pepper with the zucchini and carrots. Toss to coat.
  3. In a small bowl, whisk egg, then add to the zucchini and carrot mixture. Stir to combine.
  4. In a large skillet, add canola over and heat over high-medium heat, drop about a 1/4 cup scoop of the mixture into the pan. Slightly flatten to create a 2-inch patty. Cook until lightly brown and then flip and cook until both sides are evenly browned.

Notes

These zucchini carrot cakes freeze well. Simply let cool and place in a plastic bag in the freezer. To reheat either 1) let thaw and put in a skillet until heated through, or 2) directly from the freezer place on a baking sheet and cook at 350 until heated through.

Keywords: fritters, zucchini, carrots, gluten free, plant-based

Recipe Card powered byTasty Recipes
Chef Julie Harrington, RD - Culinary Nutrition Consultant of chefjulierd.com
Zucchini Carrot Fritters - Brighten up fritters with a healthy twist. Add these Zucchini Carrot Fritters as a nutritious and delicious side dish for dinner and freeze a batch to enjoy later. via Chef Julie Harrington, RD @ChefJulie_RD #fritters #zucchini #carrot #plantbased #sidedish #glutenfree

Hearty Vegetable Soup

Nothing is better than coming inside from a cold winter day and warming up with a hearty bowl of soup. Making soup from scratch is by far better than the canned stuff. Canned soups are packed with a ton of sodium. The recommended intake of sodium is < 2,400 mg per day. In some soups thats 75% of your sodium intake right there!
 
Making homemade soup is simple. Plus, if you make a big batch you can freeze half and bring it back out later in the winter season. Stick to the broth based soups with tons of vegetables for fewer calories and for a nutrient dense meal.

Minestrone soup RD1.jpg

Hearty Vegetable Soup

Makes 12 servings


Ingredients:
4 strips bacon, diced
3 carrots, peeled and chopped into a small dice
4 celery stalks, chopped into a small dice
5 garlic cloves, finely chopped
2 medium red onions, chopped
Salt and pepper
1 cup cremini mushrooms, sliced
3/4 cup sundried tomatoes, sliced
2 quarts low sodium vegetable stock
2 quarts water
3 cups kale, roughly chopped
1 lb whole-wheat ditalini pasta
1 (15 oz) can chickpeas


Directions:

1. In a large stock pot over add the bacon and cook until crispy. Add the carrots, celery, garlic, and onions to the pot, season with salt and pepper, and cook until the veggies are tender, 7-8 minutes more.

2. Add the mushrooms, sundried tomatoes, and cook for another 2 minutes.

3. Add the stock and water to the pot, and bring up to a boil.

4. Add the kale, pasta, and chickpeas to the soup pot, and cook until the pasta is al dente. Season the soup with salt and pepper to taste.

5. Ladle the soup into shallow bowls.


Minestrone Soup RD2.jpg


Screen shot 2013-12-16 at 11.13.29 PM.png
(nutrition facts based on calorie count)


Enjoy!