This post may contain affiliate links. Read my privacy policy.
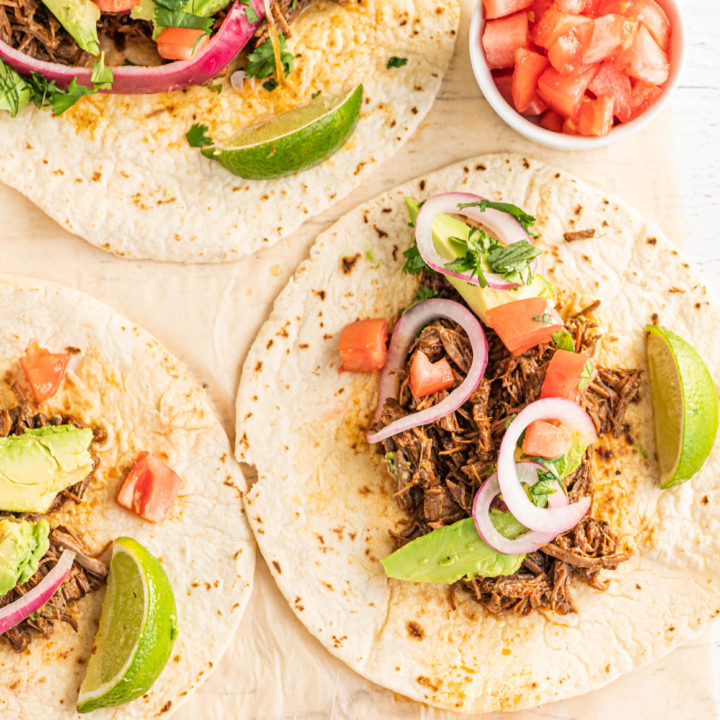
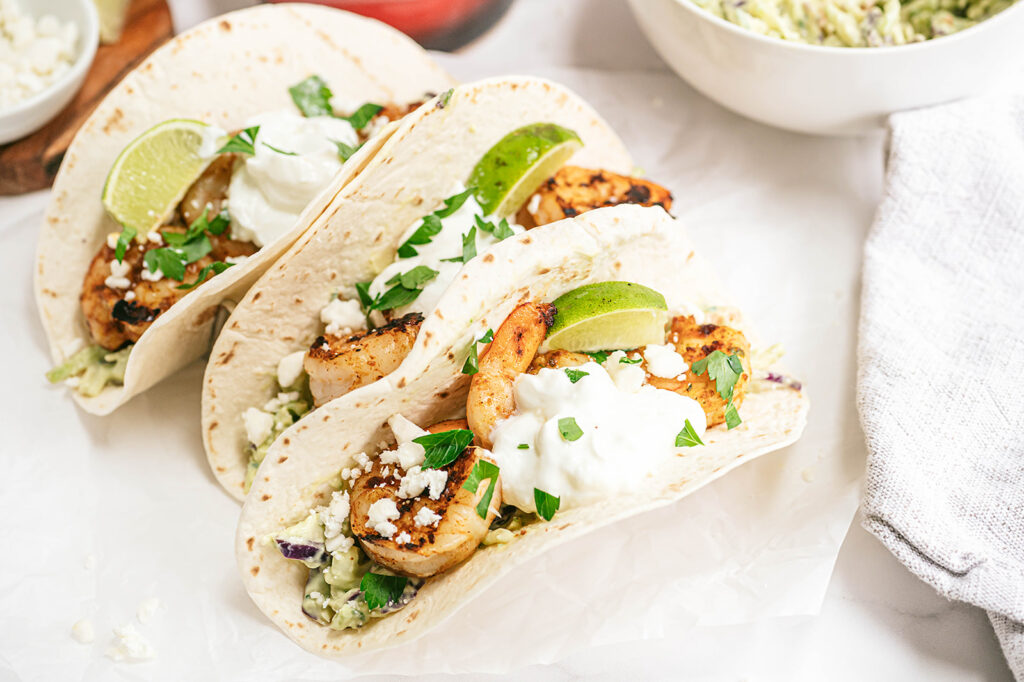
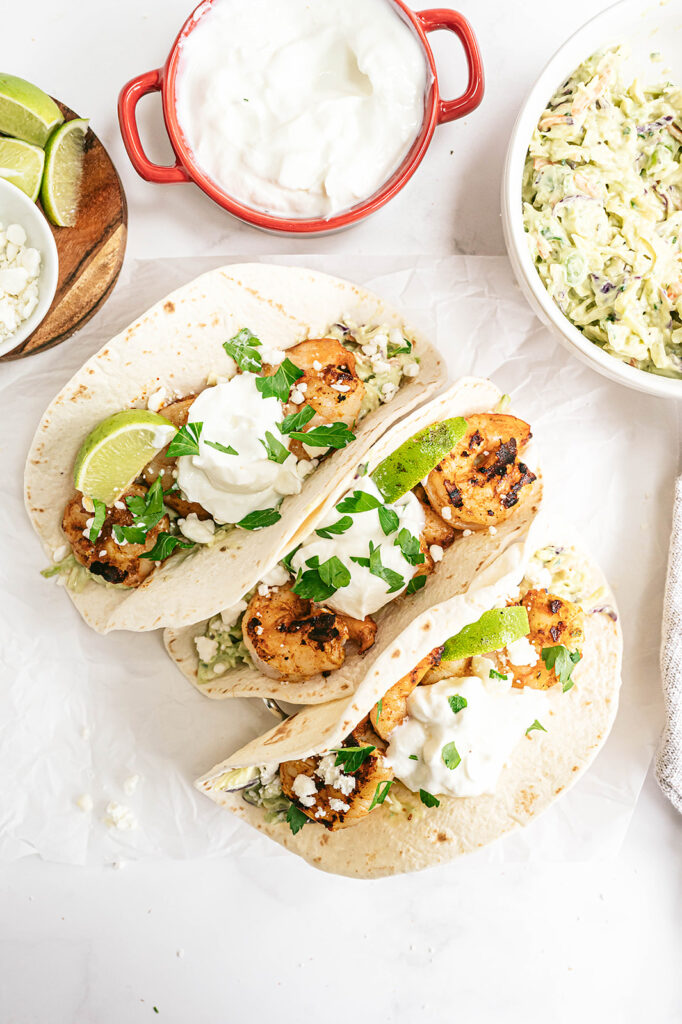
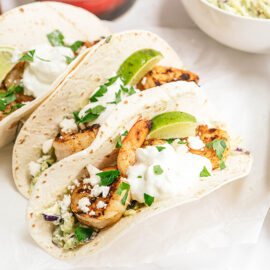
Get dinner on the table under 30 minutes! These Chipotle Lime Shrimp Tacos with a Creamy Avocado Broccoli Slaw is simple to make and you might already have all the ingredients already on hand!
The beauty of tacos is that they are easily customizable. Kick it up a notch and add more spices to the shrimp. Swap shrimp for cod. What I love about taco recipes is that they act more as a guide. You don’t need to follow them exactly. That is what’s fun about cooking, you get to be creative in the kitchen!
How to make Chipotle Lime Shrimp Tacos with Creamy Avocado Broccoli Slaw
Ingredients
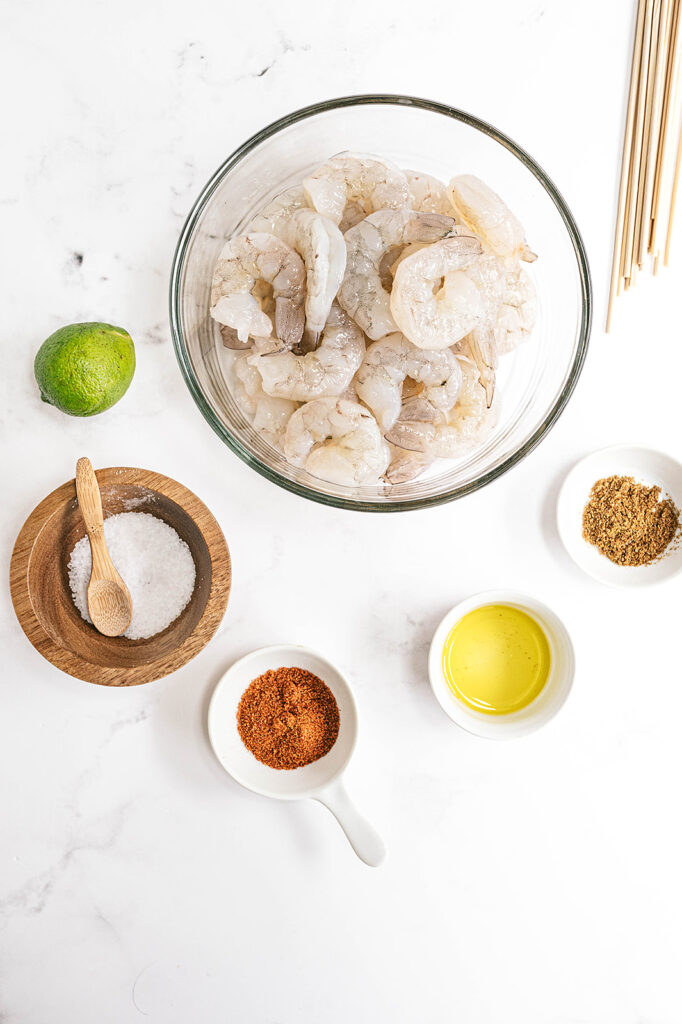
- Shrimp. I prefer using large or jumbo shrimp. Cut down on prep time by purchasing already peeled and deveined shrimp.
- Olive oil. Olive oil or any neutral oil works.
- Lime. The title of the recipe is lime tacos .. so ya know .. lime is needed here.
- Chipotle seasoning blend. Take out the guess work and use a blend. The blend I used was a combo of: Sweet Chili Pepper, Chipotle Chili Pepper, Cayenne Pepper, Oregano, Cumin, Parsley, Mustard, Garlic, Onion, Carrot, Sugar, Citric Acid, Orange Peel, Lemon Peel, Oil Of Lemon & Lime.
- Ground cumin. To add a warm, earthy flavor and aroma with a bit of both sweetness and bitterness.
- Salt. To enhance the flavors!
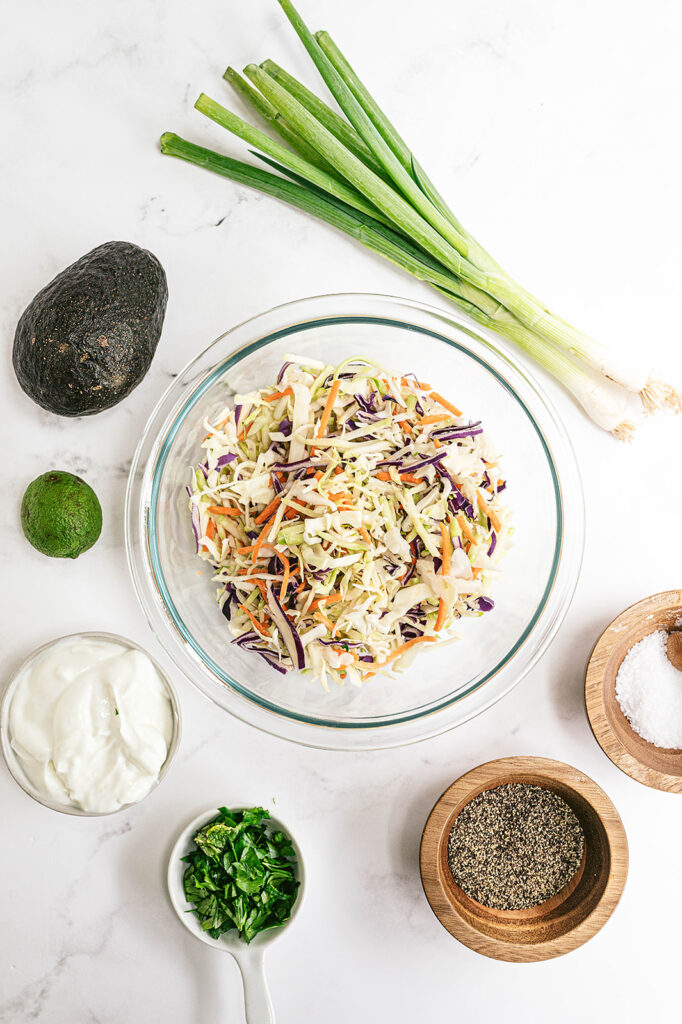
- Broccoli slaw mix. Cut down on prep time and use a slaw mix which is typically a mixture of shredded broccoli stalks with julienned carrots and a bit of purple cabbage. It can be purchased at almost any grocery store along with the bagged salads.
- Scallions.
- Plain yogurt. I used this in place of sour cream. Yogurt will add the same tanginess and creaminess needed for the slaw.
- Avocado. Your avocado still hard as a rock? Place it in a brown paper bag with a banana overnight. The banana will ripen faster giving off ethylene gas in a closed space to help ripen the avocado faster.
- Cilantro. Don’t go crazy picking off each individual leaf. The stems pack in a ton of flavor too!
- Tortillas. Use flour or corn tortilla – whatever you like best!
Equipment
- Large mixing bowls for both marinating the shrimp and mixing the broccoli slaw.
- A microplane is needed to zest the lime.
- A food processor or blender helps make the avocado yogurt mixture creamy, but it’s not needed. Use a potato masher to mash to desired consistency.
- A grill or grill pan to cook the shrimp and give it a smokier flavor.
- Wooden skewers will help to easily flip the shrimp as it cooks.
Step-by-Step Instructions
- Rinse and pat the shrimp dry. Transfer to a large mixing bowl. Drizzle with olive oil and lime juice. Sprinkle with the lime zest, chipotle seasoning, cumin, and salt. Toss to coat evenly. Cover in place in the refrigerator to marinate for at least 20 minutes. Soak skewers in water as the shrimp marinades.
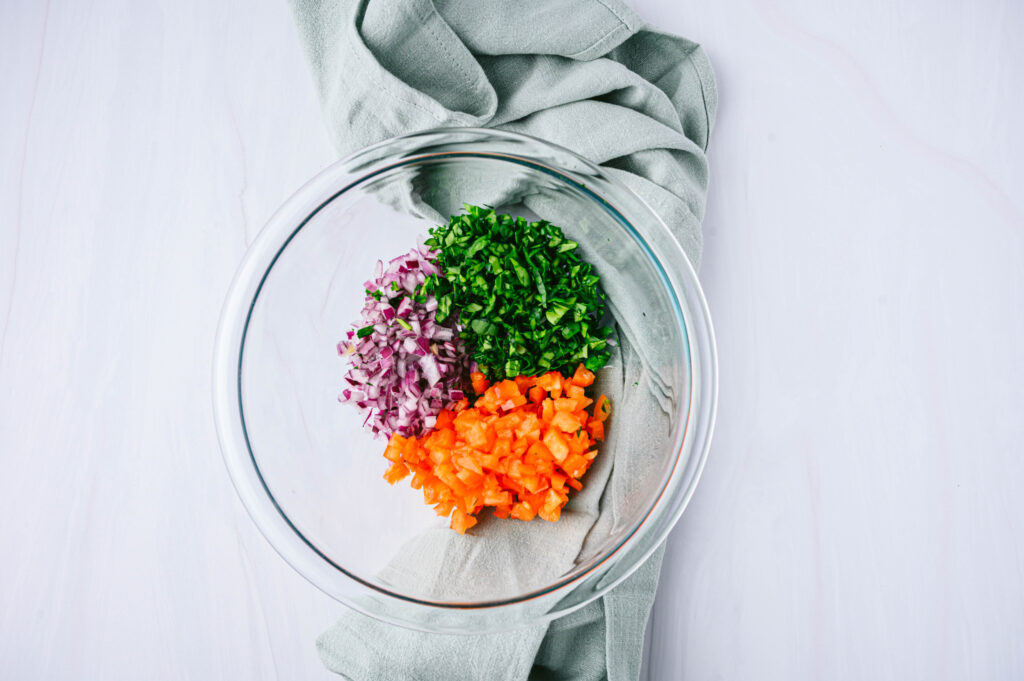
- In a bowl, combine the broccoli slaw and scallions. In a food processor, combine the yogurt, avocado, cilantro, lime juice, and zest. Pour over the slaw and toss to combine. Season with salt and pepper, to taste.
- Heat a grill (or grill pan) to medium-high heat. Place the shrimp on the skewers and grill until shrimp turn pink, about 1-2 minutes per side. (Alternatively, heat a large skillet over medium high heat. Add the shrimp to the hot pan and sauté, flipping occasionally, until the shrimp are cooked through.)
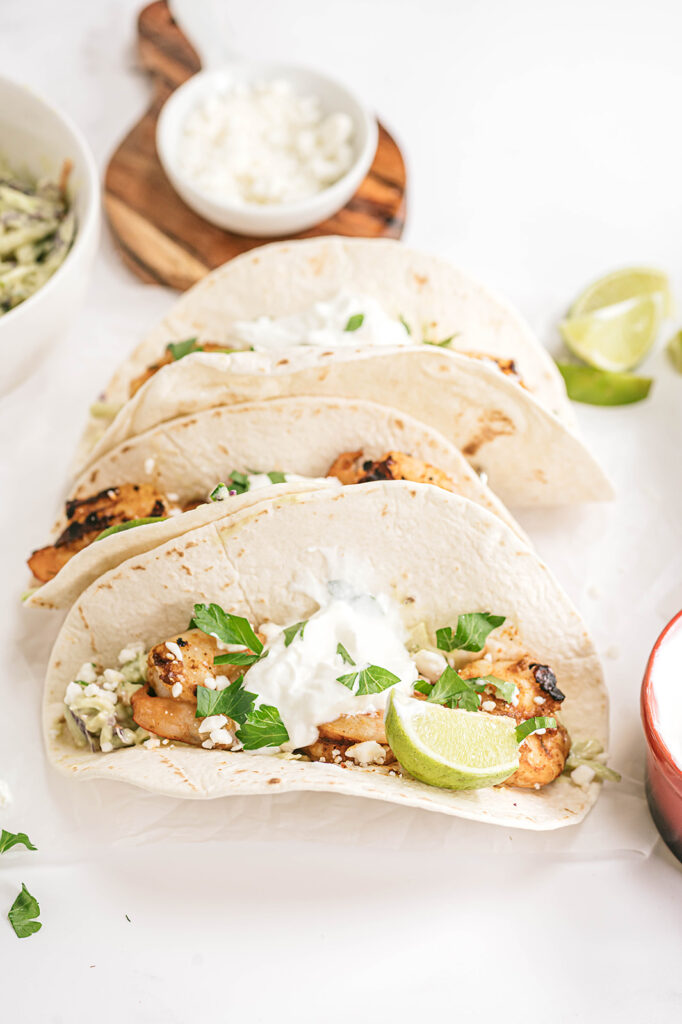
- Assemble tacos by layering the broccoli slaw, shrimp, then toppings in the tortilla.
Cooking Tips
A general rule of thumb for marinades is needing approximately 1/4 to 1/2 cup of marinade for every pound of protein. Always marinate in the refrigerator, not at room temperature Before cooking, remove the protein from marinade and pat dry with a paper towel to promote even browning and prevent steaming
Chipotle Lime Shrimp Tacos with Creamy Avocado Broccoli Slaw
- Prep Time: 20
- Cook Time: 5
- Total Time: 25 minutes
- Yield: 4
Ingredients
For the shrimp:
1 pound large or jumbo shrimp, peeled, deveined, and tails removed (fresh or frozen and thawed)
1 teaspoon olive oil
1 lime, juiced and zested
1 teaspoon chipotle seasoning blend
½ teaspoon ground cumin
½ teaspoon salt
Wooden skewers
For the broccoli slaw:
2 cups broccoli slaw mix
2 tablespoons scallions, thinly sliced
½ cup plain yogurt
1 avocado
1/4 cup fresh cilantro, chopped
1 lime, juiced and zested
Salt and pepper, to taste
For the tacos:
8 small flour or corn tortillas
Optional toppings: Cotija cheese, sour cream, cilantro, sliced avocado, lime wedges
Instructions
- Rinse and pat the shrimp dry. Transfer to a large mixing bowl. Drizzle with olive oil and lime juice. Sprinkle with the lime zest, chipotle seasoning, cumin, and salt. Toss to coat evenly. Cover in place in the refrigerator to marinate for at least 20 minutes. Soak skewers in water as the shrimp marinades.
- In a bowl, combine the broccoli slaw and scallions. In a food processor, combine the yogurt, avocado, cilantro, lime juice, and zest. Pour over the slaw and toss to combine. Season with salt and pepper, to taste.
- Heat a grill (or grill pan) to medium-high heat. Place the shrimp on the skewers and grill until shrimp turn pink, about 1-2 minutes per side. (Alternatively, heat a large skillet over medium high heat. Add the shrimp to the hot pan and sauté, flipping occasionally, until the shrimp are cooked through.)
- Assemble tacos by layering the broccoli slaw, shrimp, then toppings in the tortilla.
Keywords: taco, shrimp tacos, heart healthy, taco Tuesday, healthy tacos

FAQ
What if I don’t have a grill pan?
Alternatively, heat a large skillet over medium high heat. Add the shrimp to the hot pan and sauté, flipping occasionally, until the shrimp are cooked through.
What can I use in place of shrimp?
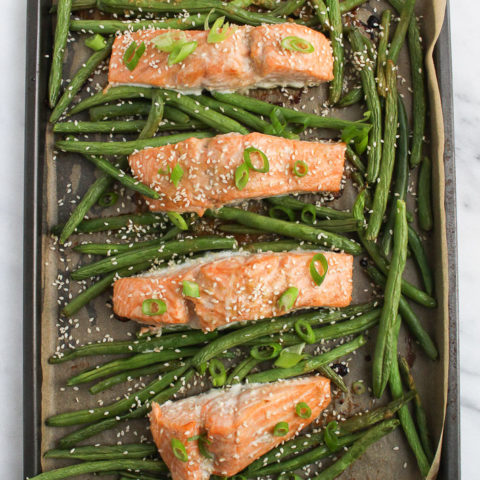
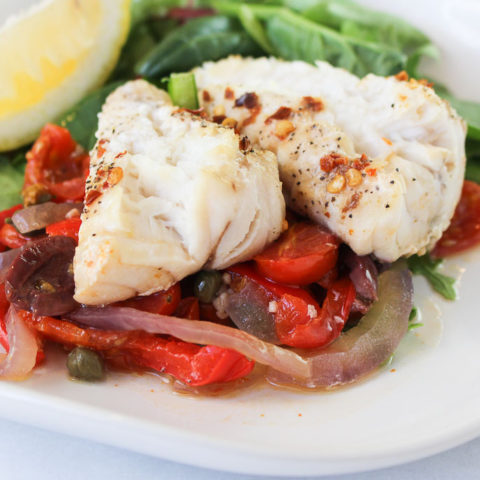
Any mild white flakey fish will do – cod, tilapia, halibut, grouper, etc.
Can I make the broccoli slaw from scratch?
Of course! Create a mixture of shredded broccoli stalks with julienned carrots and thinly sliced purple cabbage.