Instant Pot Sesame Chicken

Skip takeout! It will take you less time to make this Instant Pot Sesame Chicken than it is to make a trip out for takeout. This easy dinner idea only takes 30 minutes to make and goes great with a side of rice and steamed broccoli!
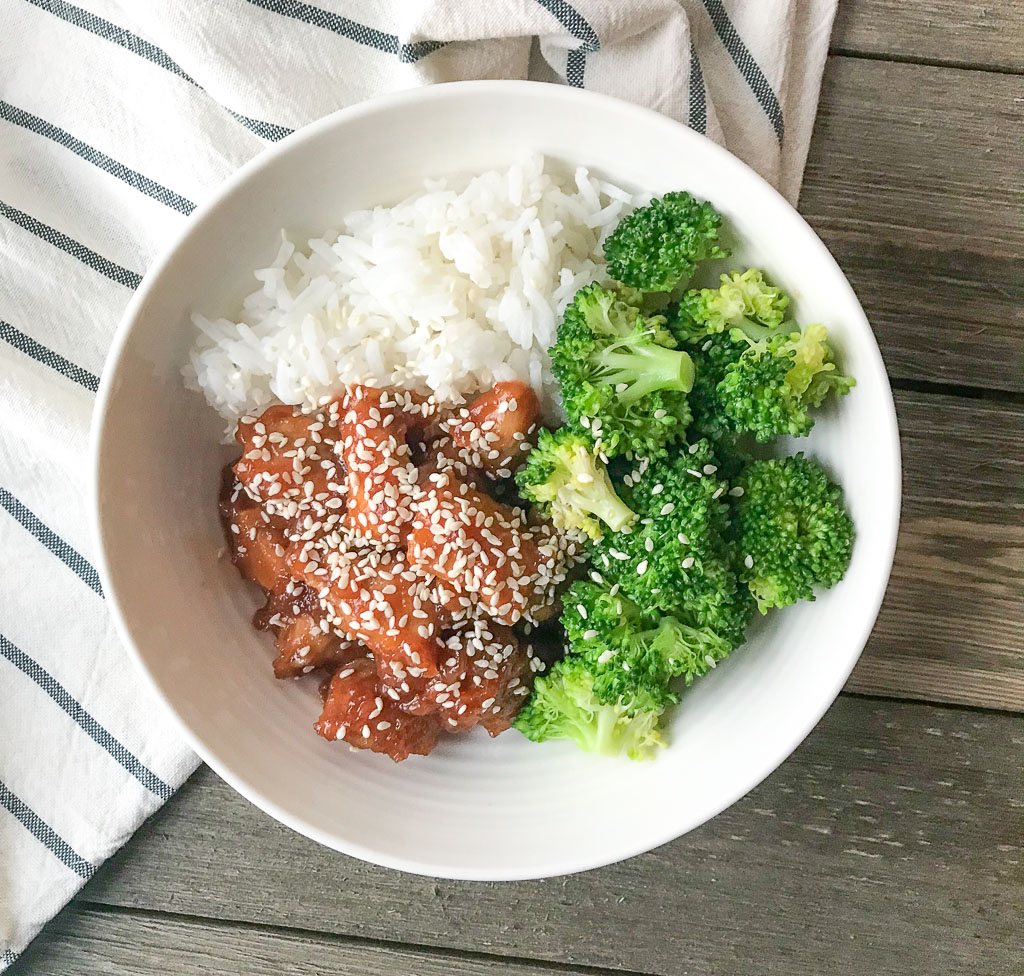
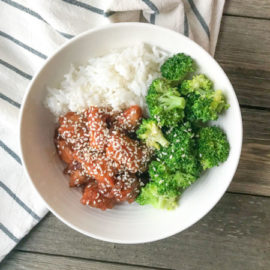
white bowl with sesame chicken, broccoli, & rice.

There are just some nights where takeout seems like the easier option. Sesame chicken is one of my favorites when ordering takeout but never leaves me feeling the best. What if I told you, I’ve figured out a way to enjoy this signature takeout dish faster than it will take you to hop in the car and grab from a restaurant. Would you believe me?

You may also enjoy Instant Pot lemon ginger salmon and pressure cooker barbacoa beef tacos! Both are easy and cook so fast!

Why You’ll Love Sesame Chicken in the Instant Pot

Healthier than takeout: Cooking the chicken in the Instant Pot creates a crispy texture without a fryer, which how typical take-out restaurants cook this dish.

Simple sauce ingredients: You most likely have the majority of these ingredients already on hand. The soy sauce, ketchup, and red pepper flakes will cook with the chicken helping it stay tender while infusing flavors. The honey and cornstarch will help crisp up the chicken and thicken the sauce.

Easy Dinner and meal prep idea: Take it even one step further to make this dinner with ease. Utilize the steamable rice and broccoli found in the frozen aisle. Or keep putting your Instant Pot to work again by cooking rice and the broccoli in there too.
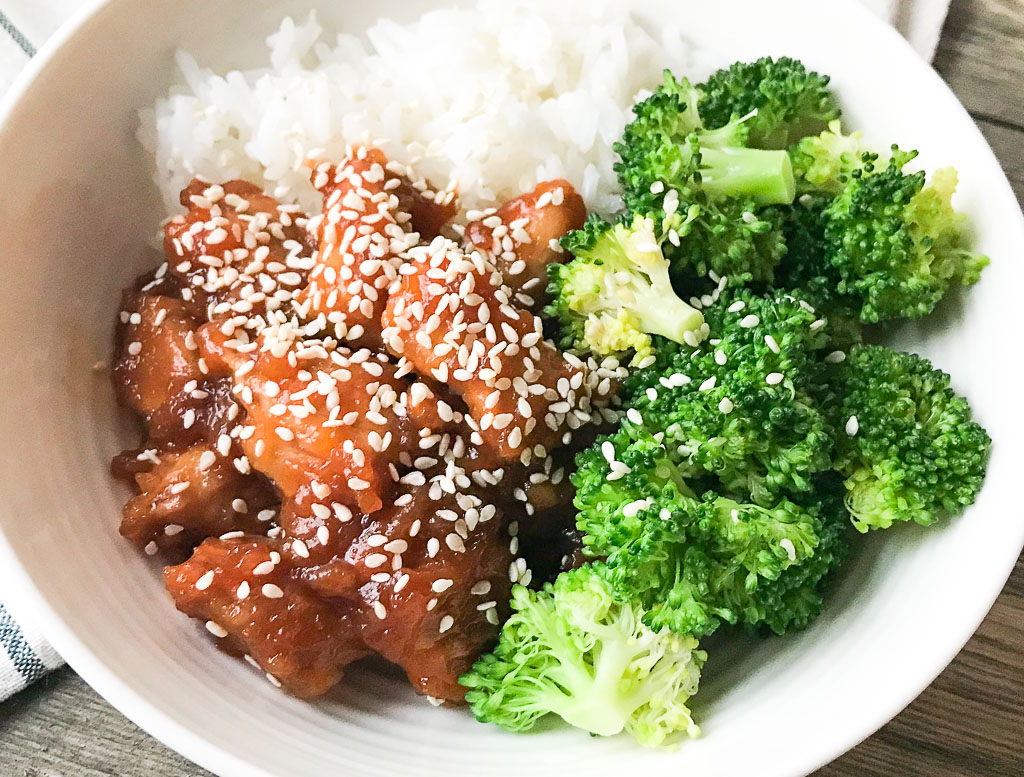
Instant Pot Sesame Chicken in a white bowl with broccoli and rice

Ingredients Needed

  • Chicken – I used boneless, skinless breasts but you can also use tenders since we are cutting the chicken in bite sized pieces.
  • cornstarch – This makes an excellent thickening agent when mixed with water and helps to get that crispy breading on the chicken.
  • sesame oil – adds that traditional flavor you are used to
  • soy sauce – go with the low sodium kind
  • ketchup
  • red pepper flakes – this is optional but adds just the right amount of spice.
  • honey
  • water
  • sesame seeds

How to Make Instant Pot Sesame Chicken

Mix a tablespoon of cornstarch with a pinch of salt in a small bowl. Toss the chicken so it’s completely covered.

Set the Instant Pot to saute and add a tablespoon of sesame oil. Once hot, saute the chicken until it’s browned.

Stir in the soy sauce, ketchup, and red pepper flakes if using. Lock the lid in place and switch the valve to the sealing position. Cook on high pressure for 3 minutes.

Once the timer goes off, carefully turn the valve to release the pressure. Remove the lid and add a teaspoon of sesame oil and honey. Stir to combine.

Whisk together the remaining water and cornstarch in a separate bowl to make a slurry.

Turn the Instant Pot back to saute and stir in the slurry. Continue stirring so the sauce thickens.

Top with sesame seeds and serve!

Tips for Making Homemade Sesame Chicken

  • If you like more spice, swap the ketchup for sriracha.
  • Don’t have cornstarch? Use a little flour instead.
  • To make this recipe gluten-free, substitute the soy sauce for tamari.
  • Toasting the sesame seeds adds more flavor, but it’s not a must!
  • Using sesame oil is essential. While you can substitute, you will miss out on the of the signature flavor of sesame chicken.
  • This recipe can be made using any electric pressure cooker, not just the Instant Pot.

Storage Instructions

Keep leftovers in an airtight container in the refrigerator for up to 4 days.

Can You Make Sesame Chicken on the Stovetop?

Yes! Follow the same instructions for breading the chicken. Saute it in a large skillet. Whisk the sauce ingredients in a small saucepan and cook until boiling, then reduce to a simmer to thicken. Stir in the slurry and remove from the heat once the desired consistency has been reached. Then toss to coat the chicken.

More Chicken Recipes to Try:
Print
clock clock iconcutlery cutlery iconflag flag iconfolder folder iconinstagram instagram iconpinterest pinterest iconfacebook facebook iconprint print iconsquares squares iconheart heart iconheart solid heart solid icon
homemade sesame chicken with white rice and broccoli in a white bowl

Instant Pot Sesame Chicken

  • Author: Chef Julie Harrington, RD
  • Prep Time: 10
  • Cook Time: 15
  • Total Time: 25 minutes
  • Yield: 4
  • Category: dinner
  • Method: Instant Pot
  • Cuisine: Chinese

Description

Skip takeout! It will take you less time to make this Instant Pot Sesame Chicken than it is to make a trip out for take out.


Ingredients

Scale
  • 1 pound boneless, skinless, chicken breast, cut into bite-size pieces
  • 2 tablespoons cornstarch, divided
  • 1 tablespoon + 1 teaspoon sesame oil, divided
  • 1/4 cup low sodium soy sauce
  • 1 1/2 tablespoons ketchup
  • pinch of red pepper flakes, optional
  • 1/4 cup honey
  • 2 tablespoons water
  • 2 teaspoons sesame seeds

Instructions

  1. In a small bowl, combine 1 tablespoon of cornstarch with a pinch of salt and pepper. Toss chicken to evenly and lightly coat.
  2. Preheat the Instant Pot and set to “saute”. Add 1 tablespoon sesame oil. Once the oil is hot, add the chicken and saute for 3-4 minutes, to brown.
  3. Stir in soy sauce, ketchup, and red pepper flakes, if using. Place the lid on the Instant Pot and seal the valve. Set to manual and 3 minutes cook time.
  4. When done, use the quick pressure release. When most of the steam is released, remove the lid. Add the remaining 1 teaspoon of sesame oil and honey. Stir to combine.
  5. In a small bowl, whisk together the remaining 1 tablespoon of cornstarch and water to make a slurry.
  6. Set Instant Pot back to saute, stir in the slurry and continue to stir as the sauce thickens to desired consistency, about 2 minutes.
  7. Top with sesame seeds.
  8. Serve over rice and steam broccoli.

Keywords: instant pot, sesame chicken, dinner

Recipe Card powered byTasty Recipes

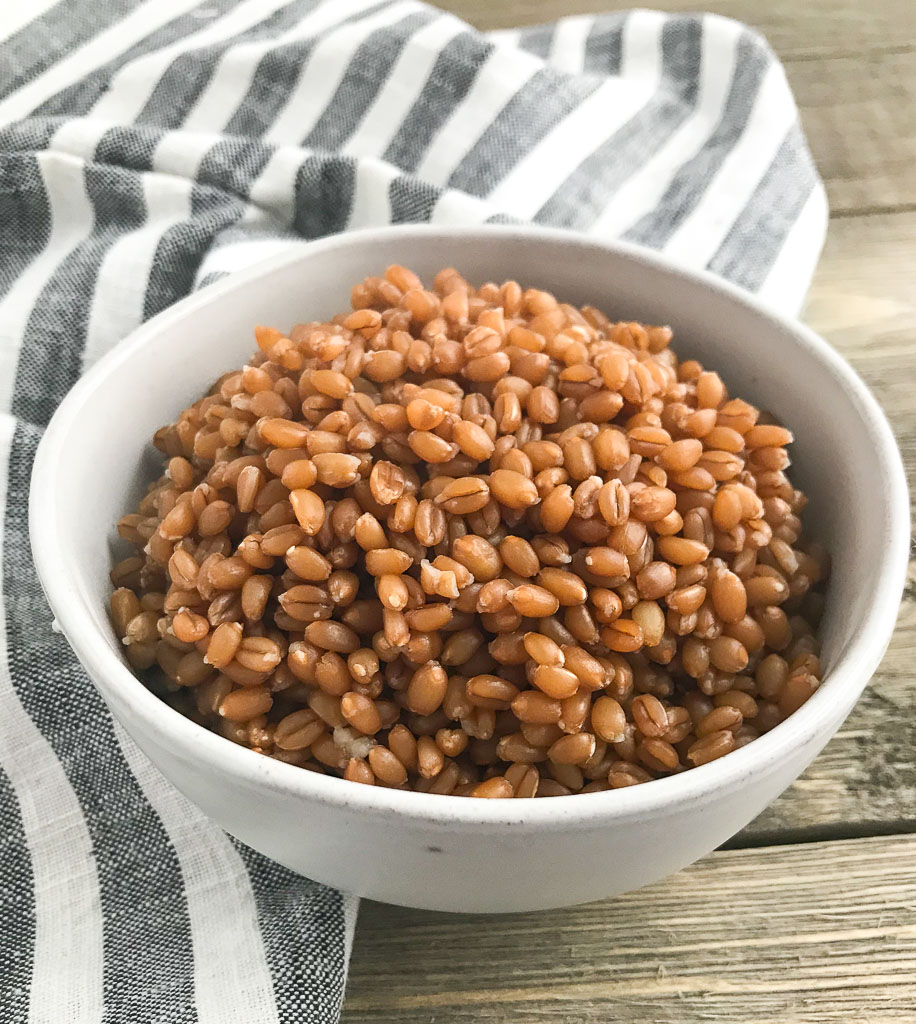
Instant Pot Wheat Berries

Save time and utilize the Instant Pot to make hearty whole grains, like wheat berries. Learn how meal prepping a batch of whole grains can turn into various recipes throughout the week.

Instant Pot Wheat Berries -Save time and utilize your Instant Pot to make hearty whole grains, like wheat berries. via Chef Julie Harrington, RD @ChefJulie_RD #instantpot #wheatberries #pressurecooker #wholegrain #mealprep #glutenfree

The Instant Pot continues to be magical. What takes over an hour to cook, now is done in 35 minutes.

Meal prep strategies

Every week now, I’ve been prepping at least one whole grain for the week. Everyone meal preps a little differently. I tend not to make full meals, but to get the cooking process started, like chopping veggies, making a batch of whole grains, grilling a few pieces of chicken, roasting a tray of veggies, etc.

This way, I am not mandated to a certain meal and it gives me more flexibility while allowing to save time during a busy week.

Instant Pot Wheat Berries -Save time and utilize your Instant Pot to make hearty whole grains, like wheat berries. via Chef Julie Harrington, RD @ChefJulie_RD #instantpot #wheatberries #pressurecooker #wholegrain #mealprep #glutenfree

Meal prep tip:

Prep a batch of whole grains, like wheat berries, to add on top of a salad, in a stir-fry, mixed into a soup, as a side dish, or even served up breakfast-style. Switch up the prepped whole grain each week for variety.

Health benefits of wheat berries

Wheat berries contain 6 grams of protein, with over 20 percent of your daily value for dietary fiber, and 8 percent of your iron in each serving.

Instant Pot Wheat Berries -Save time and utilize your Instant Pot to make hearty whole grains, like wheat berries. via Chef Julie Harrington, RD @ChefJulie_RD #instantpot #wheatberries #pressurecooker #wholegrain #mealprep #glutenfree

What are Wheat Berries?

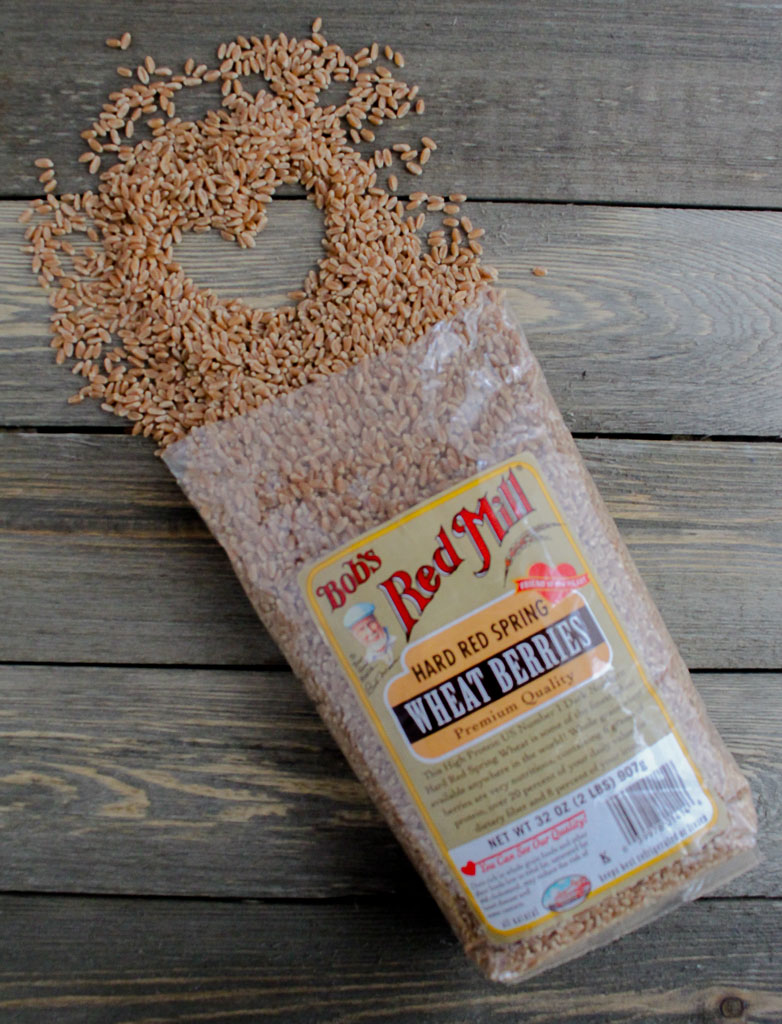
Wheat Berries are the whole grain form of wheat – the whole, complete grain before it has undergone any processing. They’re a high-fiber whole grain, containing the bran, germ, and the endosperm. Wheat berries typically take longer to cook because they are not processed and it takes a while for the liquid to penetrate through the bran to soften the grain.

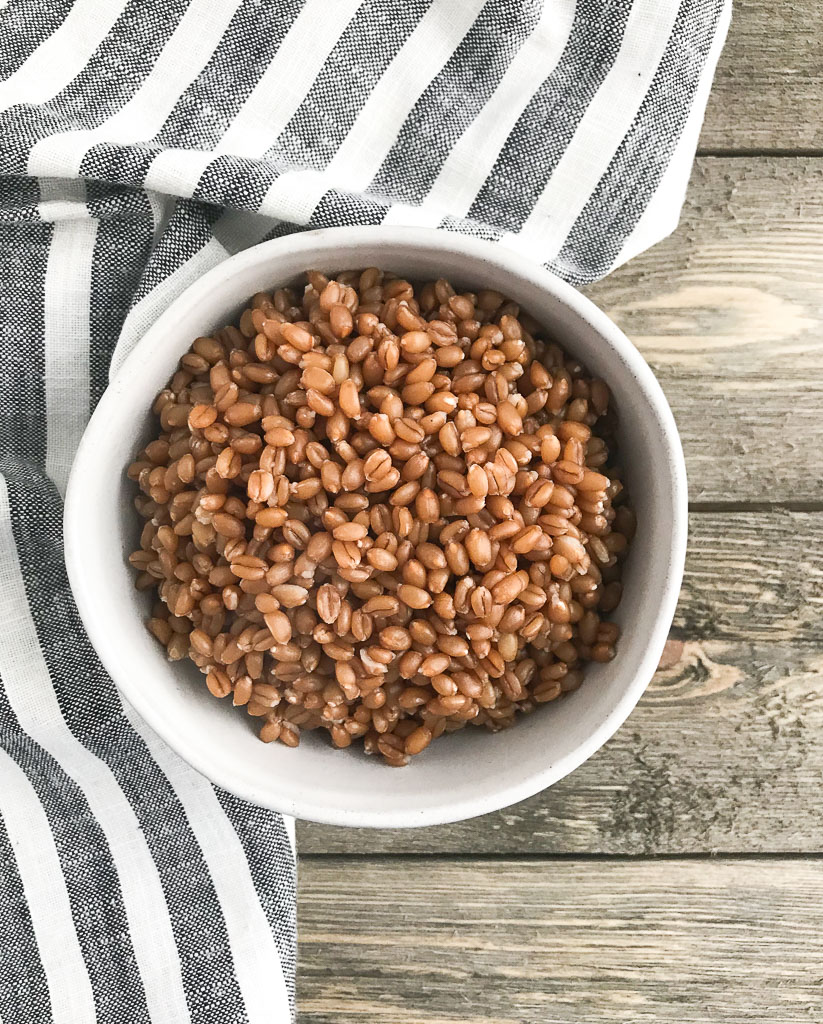
When cooked, wheat berries have a chewy bite and a subtle nutty, earthy flavor. They’re sturdy enough to handle bold dressings in salads and still delicate enough to taste delicious with some milk, honey, and cinnamon.

Print
clock clock iconcutlery cutlery iconflag flag iconfolder folder iconinstagram instagram iconpinterest pinterest iconfacebook facebook iconprint print iconsquares squares iconheart heart iconheart solid heart solid icon
wheat berries in a white bowl with a blue and white striped napkin

Instant Pot Wheat Berries

  • Author: Chef Julie Harrington, RD
  • Prep Time: 5 mins
  • Cook Time: 30 mins
  • Total Time: 35 mins
  • Yield: 4
  • Category: side dish
  • Method: Instant Pot

Ingredients

Scale
  • 3 cups water
  • 1 cup hard red spring wheat berries
  • Pinch of salt

Instructions

  1. Combine water, wheat berries, and salt in the Instant Pot. Secure the lid and seal the valve.
  2. Set the manual timer for 35 minutes.
  3. When done, do quick release by moving the valve to vent the steam. Let all the steam release.
  4. Drain the wheat berries and enjoy as is or incorporate into other recipes.

Keywords: instant pot, pressure cooker, wheat berries, whole grain, meal prep

Recipe Card powered byTasty Recipes

Other recipes you may enjoy

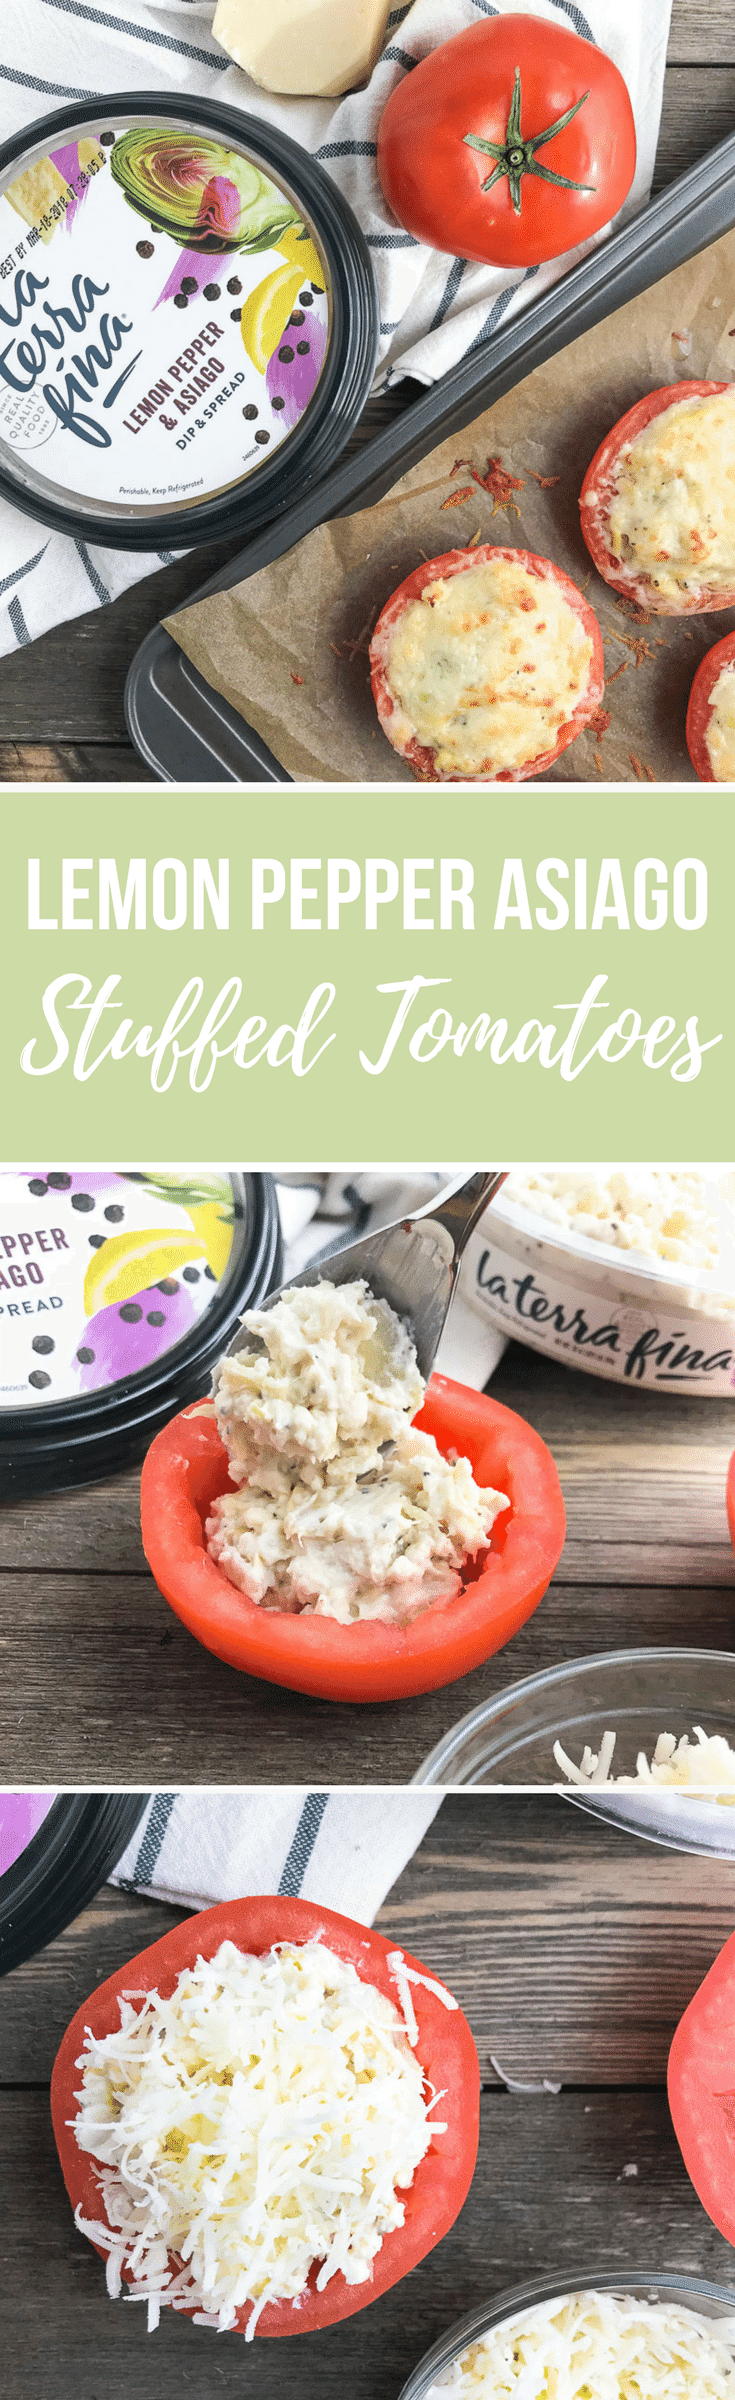
Lemon Pepper Asiago Stuffed Tomatoes

Whip up this delicious appetizer with just three simple ingredients! Lemon Pepper Asiago Stuffed Tomatoes are going to be your new go-to recipe.
Lemon Pepper Asiago Stuffed Tomatoes via RDelicious Kitchen @RD_Kitchen #ad #superbowl #gameday #biggame #appetizers #tomatoes #dip #greekyogurt
This post is sponsored by La Terra Fina. Thanks for supporting brands that make this blog possible!
For a New York Giants fan, who the heck am I going to root for during the big game on Sunday since both the Patriots and the Eagles are the NYG’s rival? NJ.com interviewed NYG fans, and I guess most will be pulling for the Patriots this year.
My boyfriend is a die-hard Eagles fan (football season is always competitive fun when our teams are playing each other). I’m going to be a supportive girlfriend and root for the Eagles this year. Plus, I always like an underdog win!
Lemon Pepper Asiago Stuffed Tomatoes via RDelicious Kitchen @RD_Kitchen #ad #superbowl #gameday #biggame #appetizers #tomatoes #dip #greekyogurt
With all good football viewing Sundays comes good food! The key to delicious appetizers is each bite is packed with flavor. My secret: La Terra Fina Greek yogurt dips & spreads. Following the tagline “Good Food from the Good Earth,” La Terra Fina produces a wide range of ready-to-eat refrigerated dip, spreads, and quiches that are rich in flavor and high in quality.
You first saw La Terra Fina on RDelicious Kitchen from my one of my Grocery Store Finds round-up. They recently have gotten a brand new look, but kept the same great taste!
Lemon Pepper Asiago Stuffed Tomatoes via RDelicious Kitchen @RD_Kitchen #ad #superbowl #gameday #biggame #appetizers #tomatoes #dip #greekyogurt
These Greek yogurt dips are perfect for entertaining. Enjoy as is served warm or cold, dunked with vegetables, crackers, or bread or utilize them in a recipe.

The lemon pepper & asiago flavor quickly became my new favorite flavor with real ingredients, no artificial colors, flavors, or preservatives.
Lemon Pepper Asiago Stuffed Tomatoes via RDelicious Kitchen @RD_Kitchen #ad #superbowl #gameday #biggame #appetizers #tomatoes #dip #greekyogurt
This is the perfect recipe who wants to show off a new appetizer that tastes like you’ve been developing these flavors in the kitchen for a while,  but really this recipe can be put together in 15 minutes with just three ingredients.
Lemon Pepper Asiago Stuffed Tomatoes via RDelicious Kitchen @RD_Kitchen #ad #superbowl #gameday #biggame #appetizers #tomatoes #dip #greekyogurt

Print

clock clock iconcutlery cutlery iconflag flag iconfolder folder iconinstagram instagram iconpinterest pinterest iconfacebook facebook iconprint print iconsquares squares iconheart heart iconheart solid heart solid icon
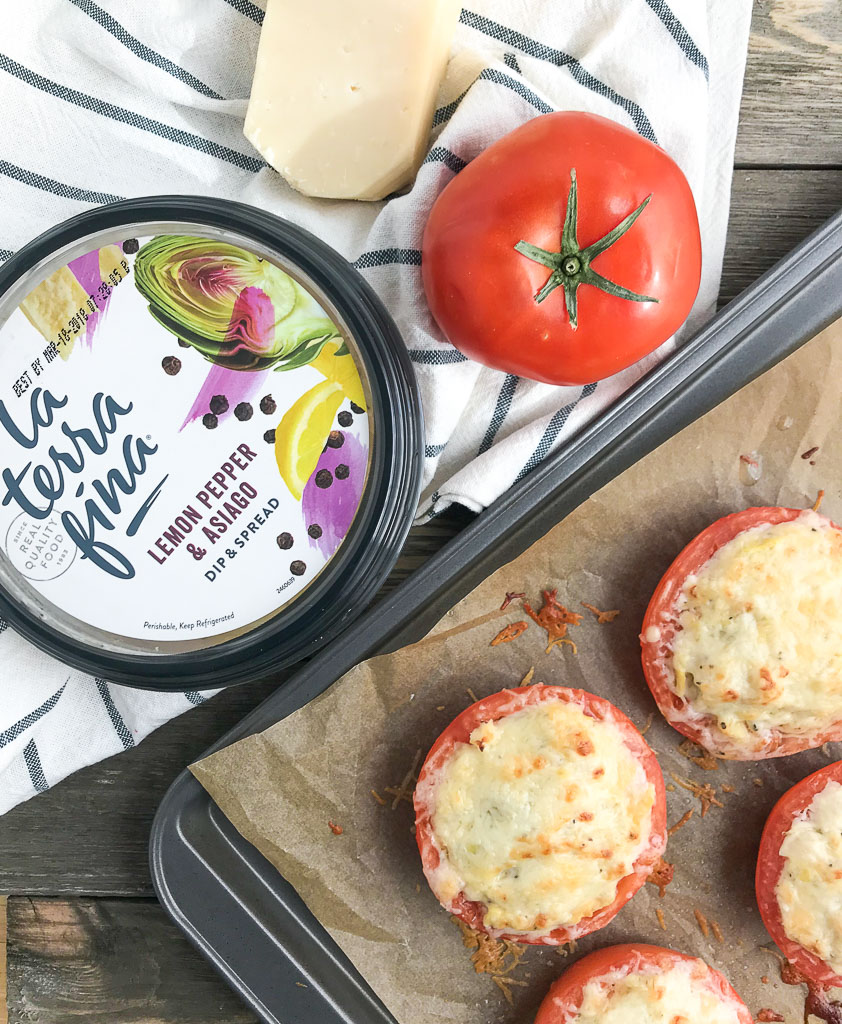
cheesy stuffed peppers on a baking sheet

Lemon Pepper Asiago Stuffed Tomatoes

  • Author: Julie @ RDelicious Kitchen
  • Prep Time: 5 mins
  • Cook Time: 11 mins
  • Total Time: 16 mins
  • Yield: 8

Description

3 simple ingredients turn into a delicious appetizer


Ingredients

Scale
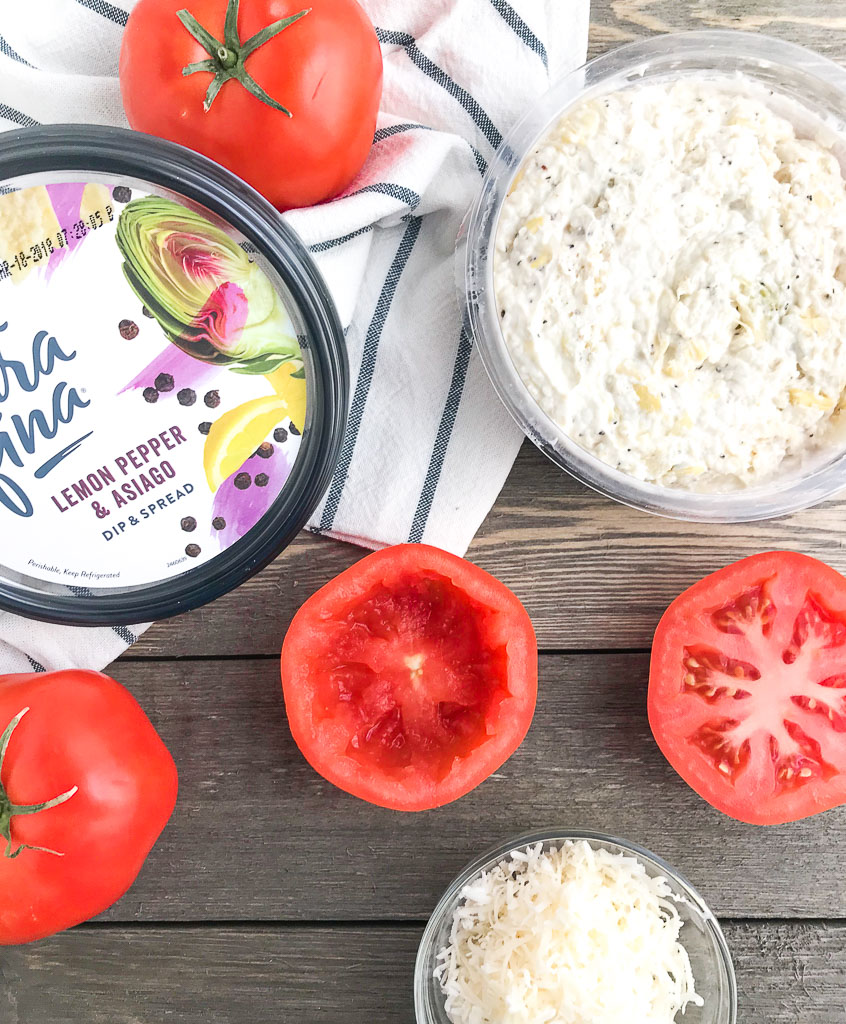
  • 4 beefsteak tomatoes
  • 1 (10 oz.) container La Terra Fina Lemon Pepper & Asiago Dip & Spread
  • 4 ounces asiago cheese, finely shredded

Instructions

  1. Preheat the oven to 350 degrees F. Line a baking sheet with parchment paper.
  2. Slice tomatoes in half horizontally and scoop out pulp and seeds. Blot inside the cavity to remove excess moisture.
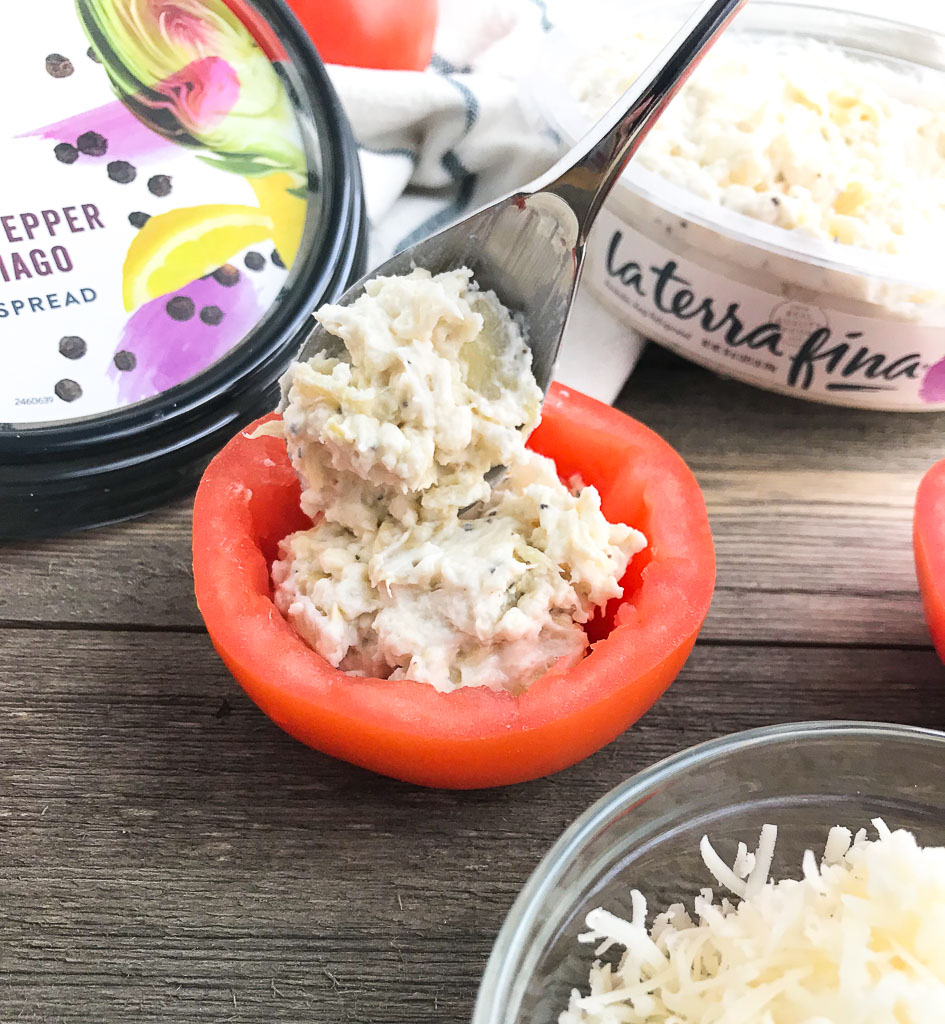
  3. Add about two heaping tablespoons of La Terra Fina Lemon Pepper & Asiago Dip & Spread into the tomatoes.
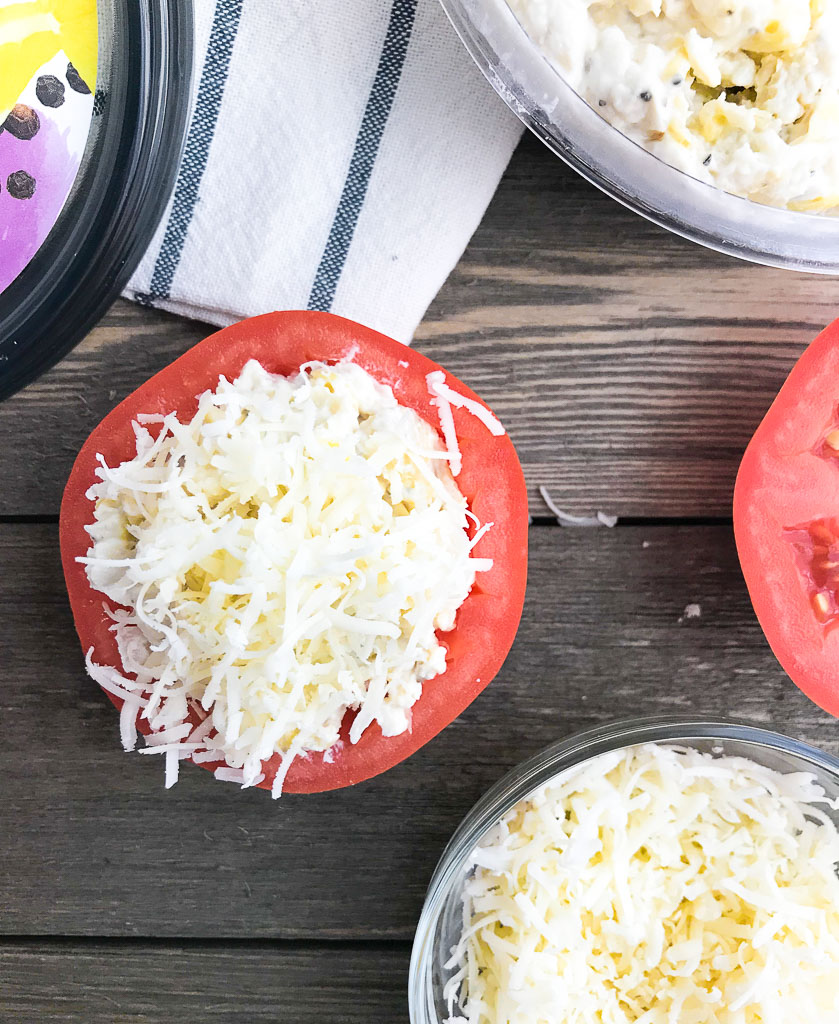
  4. Sprinkle shredded asiago cheese on top.
  5. Bake in the oven for 10 minutes, then broil on low for 1 minutes to brown the cheese on top.
  6. Remove from the oven and let cool slightly.

Recipe Card powered byTasty Recipes

 Who are you rooting for on Sunday? Or are you more excited for the food? 
Chef Julie Harrington, RD - Culinary Nutrition Consultant of chefjulierd.com

Pin for later!

Lemon Pepper Asiago Stuffed Tomatoes via RDelicious Kitchen @RD_Kitchen #ad #superbowl #gameday #biggame #appetizers #tomatoes #dip #greekyogurt
Learn more about La Terra Fina and their great products on FacebookPinterest, and Twitter — we all need a shortcut here and there while entertaining and their dips are perfect! Follow along with them on social media for more great recipes.

Why You Should Be Massaging Kale

Turn the kitchen lights down, light some scented candles, and get your kale ready for a relaxing massage. I know it sounds silly to massage kale, but trust me you’ll never NOT massage your kale again after reading this post.
Why You Should Be Massaging Kale via RDelicious Kitchen @RD_Kitchen #rdchat #kale #howto #cookingtips #salad
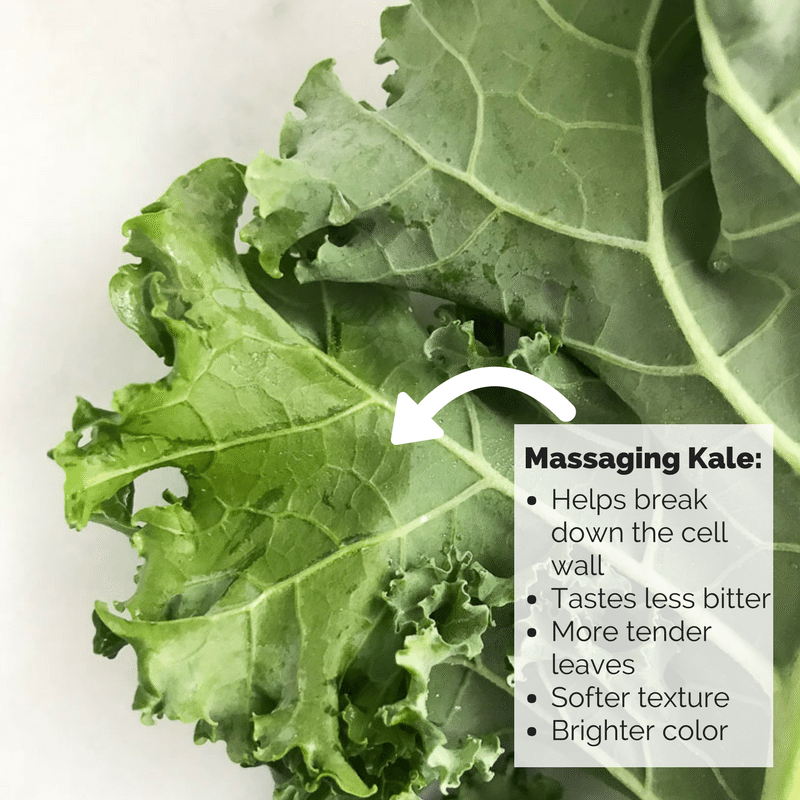
Have you ever prepared or order a kale salad and chew on the same bite which seems to last a lifetime? Kale is very fibrous and can leave you chewing until your jaw starts to numb. This happens when the kale hasn’t been treated properly. This treatment comes in the form of a massage. While it might seem a bit odd to massage your food, you’d be amazed at what a quick five-minute rubdown can do to transform this green from being bitter and tough to turning silky and sweet.

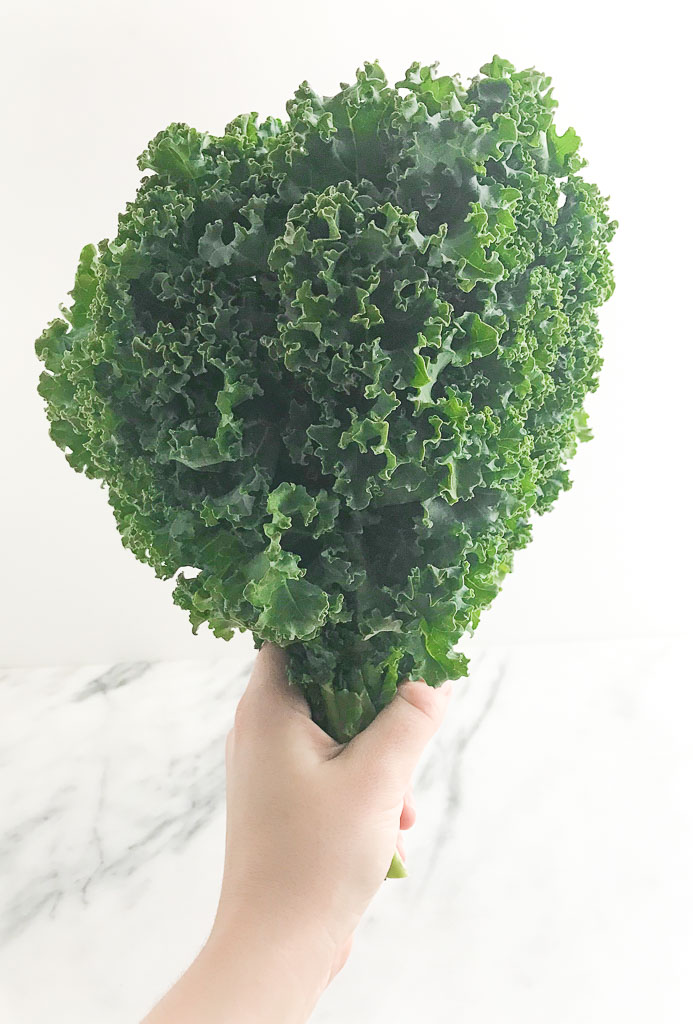
Kale is a strong, sturdy, and bitter green that can withstand growing in the cold winters. Kale was once only used as a garnish but then labeled as a “superfood” in recent years. It was used as a garnish because of its structure. The bright green leaves would withstand long hours on the buffet table, while still looking fresh and providing that pop of color. Why? Because of its tough cellulose structure.

Massaging kale is easy to do. Remove any thick fibrous ribs of the kale leaves. Take bunches of kale leaves in both hands and rub them together. Work your fingers on each leave. You’ll start to notice a visible change right away. The leaves will darken and yield, softer, shinier, and tender sweet pieces of kale.
Why You Should Be Massaging Kale via RDelicious Kitchen @RD_Kitchen #rdchat #kale #howto #cookingtips #salad

Nutrition to know:

Kale is high in fiber, antioxidants, and carotenoids (lutein and beta-carotene), with more than 45 flavonoids, particularly kaempferol, and other phytonutrients like quercetin, which helps combat inflammation. Kale has twice the vitamin K as other cruciferous vegetables.
Did you know? Kale has more vitamin C than an orange! One cup of chopped kale has 134 percent of your recommended daily intake of vitamin C, while a medium orange has 113 percent. Kale is also packed with vitamin A! A one-cup serving of kale contains over 200% of our vitamin A recommendation in the form of beta carotene.

Meal prep tip:

Since kale has such a sturdy structure, wash, trim, and massage kale for the week. Fresh kale can stay fresh for about 1 week in the refrigerator.
Ever notice the yellow/orange color on the edges as kale ages? It’s not necessarily going bad, but chlorophyll green color is breaking down and shows the rich vitamin A & C color along the edges.

Kale recipes to try:

Kale Salad with Sweet Shallot Vinaigrette via RDelicious Kitchen @RD_Kitchen #salad #dressing #homemade #shallot #vinaigrette #saladKale Salad with a Sweet Shallot Vinaigrette

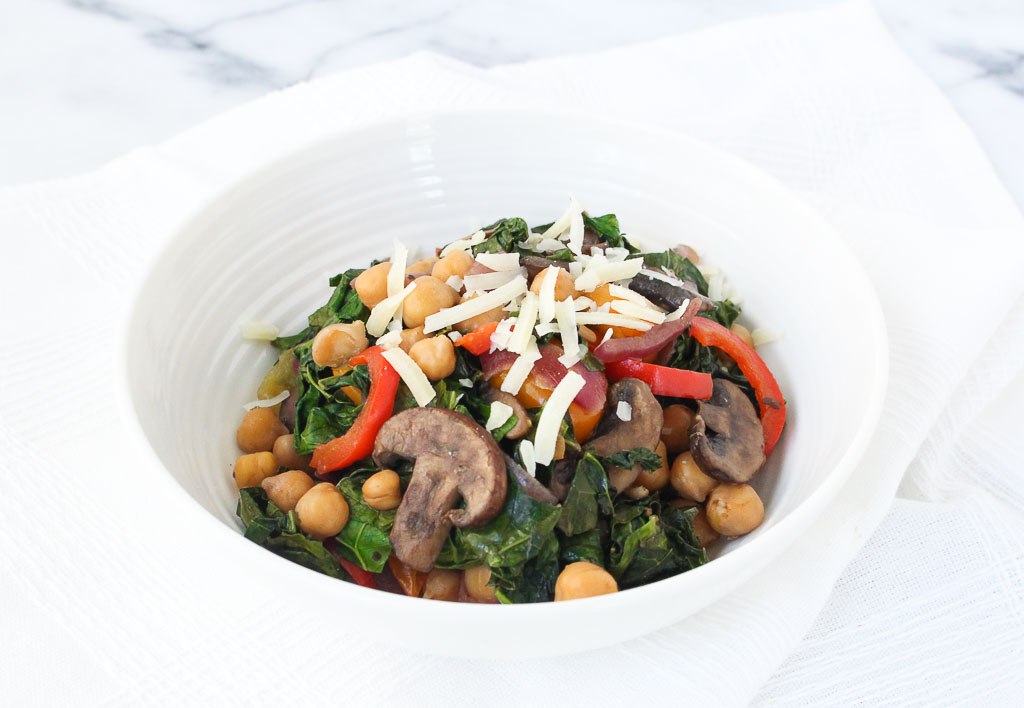
Balsamic Kale and Vegetable Saute via RDelicious Kitchen @RD_KitchenBalsamic Kale and Vegetable Saute

Butternut Squash & Kale Pita Pizza via RDelicious Kitchen @RD_KitchenButternut Squash and Kale Pita Pizza
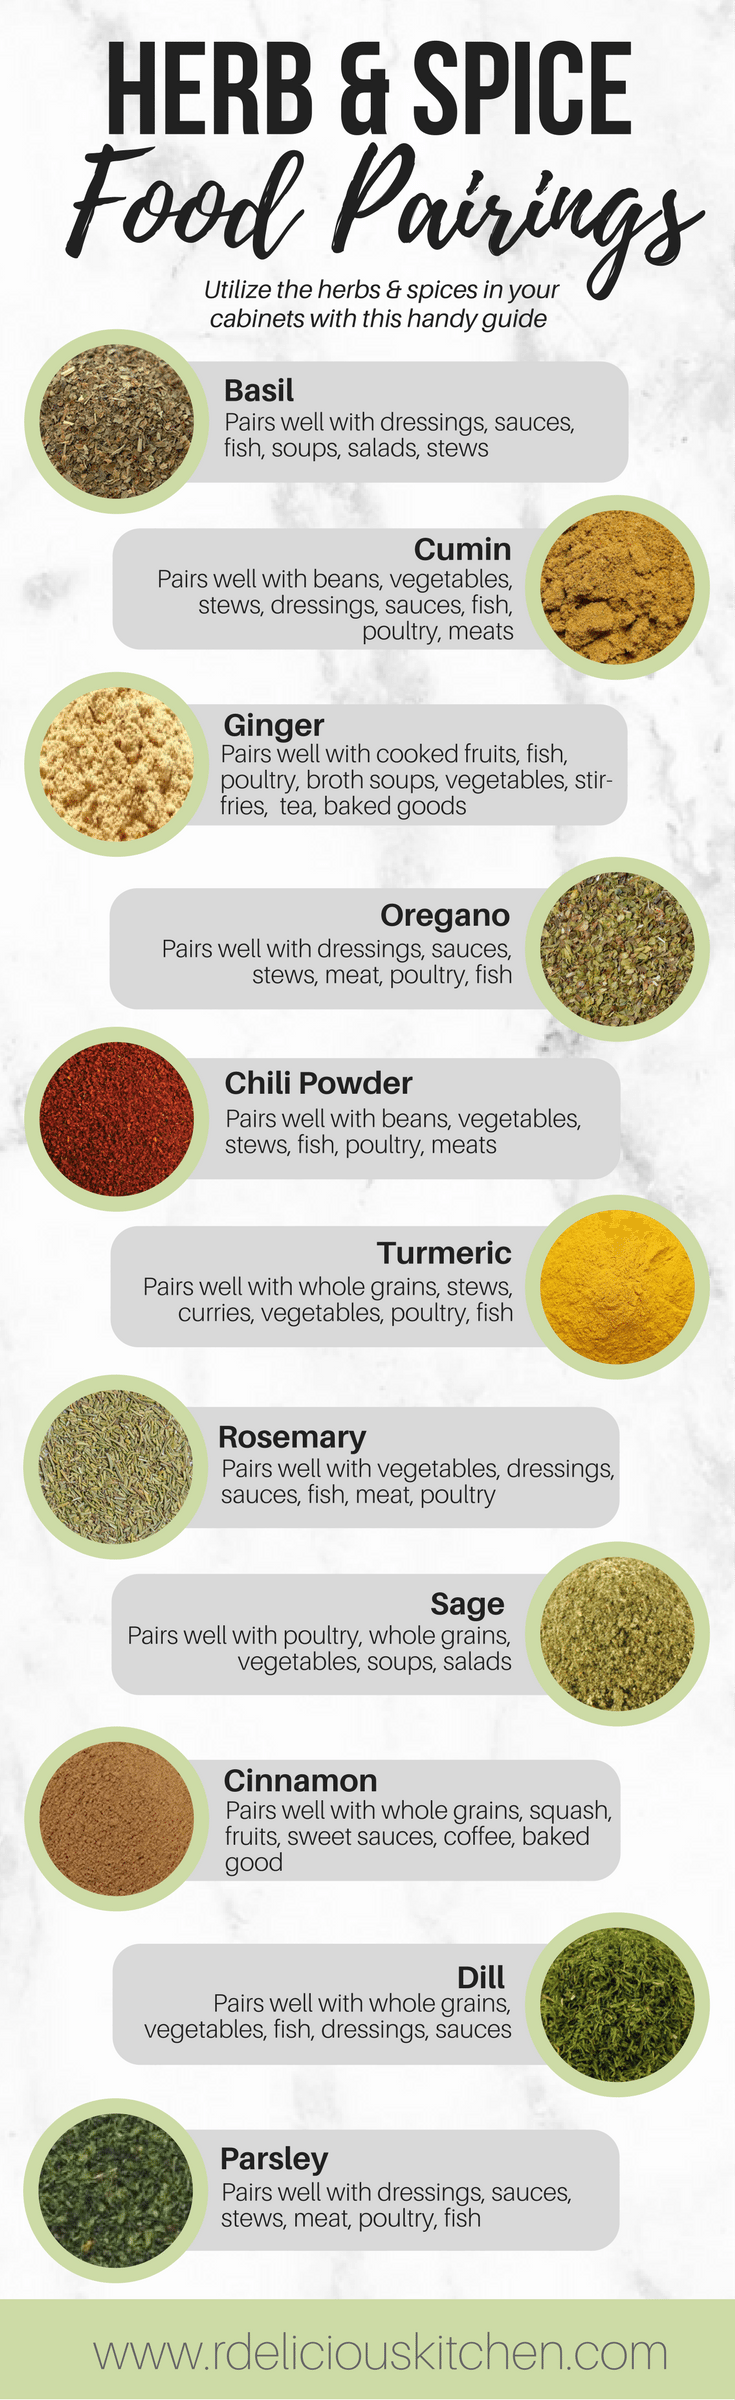
Guide to Herb & Spice Food Pairings

I’m sure you have a pantry full of herbs and spices. Not sure what to do with them? No problem! Use this handy guide to know what foods your herbs and spices pair best with.

Before we start talking about what to pair your herbs and spices with, let’s make sure you are storing them properly first.

Herb and Spice Storage Tips:

  • Keep spices and herbs away from heat, moisture, and direct sunlight. Even a commonly used herb like dried bay leaves should be kept away from the stove.
  • Don’t sprinkle spices and herbs directly from the bottle over a steaming pot. Steam can sneak into the spice bottle and sap your spices’ power. If you’re wondering why ground spices like allspice get hard and caked in the bottle, steam may be the culprit.
  • They don’t spoil, but spices and herbs do lose their strength. Old and weak seasonings will not deliver the taste that they should.
  • Make sure your measuring spoon is completely dry when you dip it into the bottle. The moisture can quickly ruin the flavor of an aromatic spice like cinnamon.
  • An inexpensive coffee grinder can also be deployed to grind whole seeds, cloves, and cinnamon sticks. Fresh-ground spices are especially flavorful.

If the recipe calls for fresh herbs, but you only have dried on hand, don’t worry. Just remember the ratio, 1 to 3. Because dried herbs have a more intense concentrated flavor, dried herbs can be substituted for fresh herbs at a ratio of 1 to 3.
Use the food pairings guide below to help utilize the herbs and spices in your kitchen pantry. Pin to save for a reference!
Herb & Spice Food Pairings via RDelicious Kitchen @RD_Kitchen #spices #herbs #cooking #seasonings #hearthealth #wellness #phytochemicals #lowsodium
Let’s get cooking!
RDelicious Kitchen @RD_Kitchen

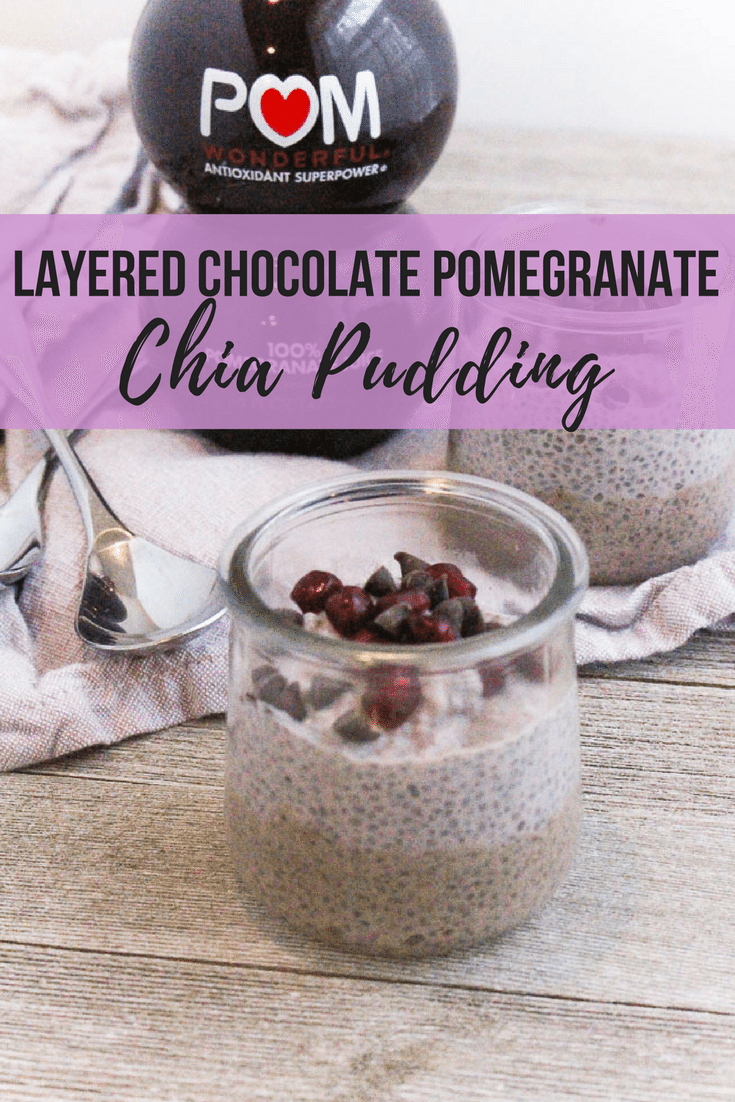
Layered Chocolate Pomegranate Chia Pudding

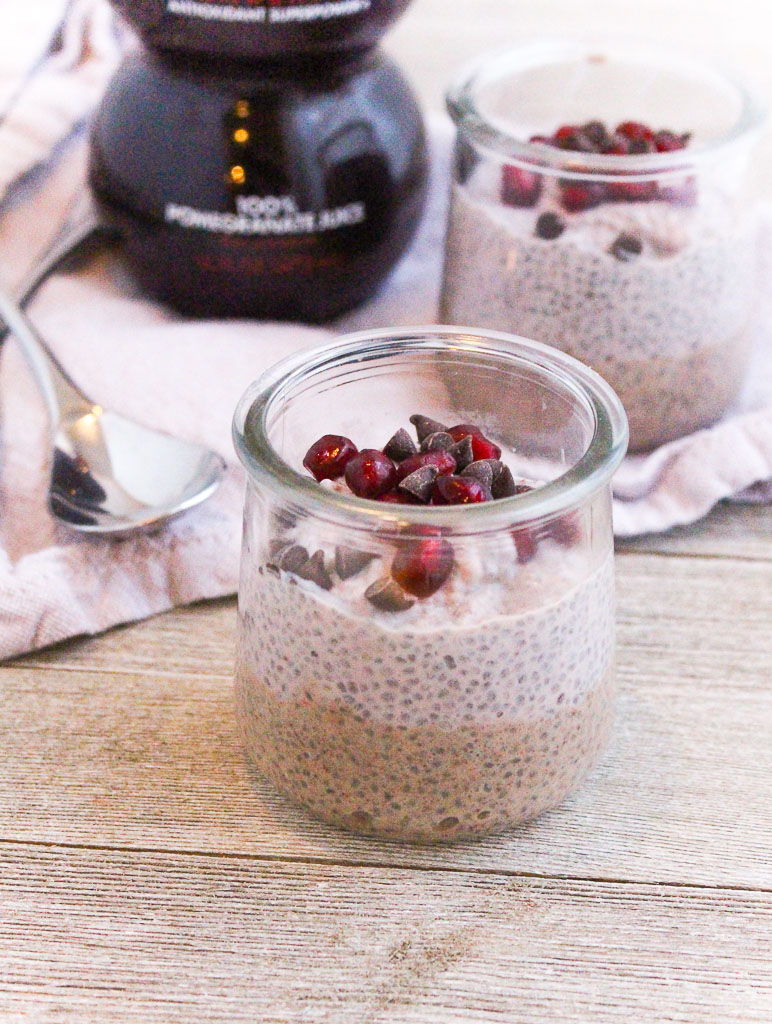
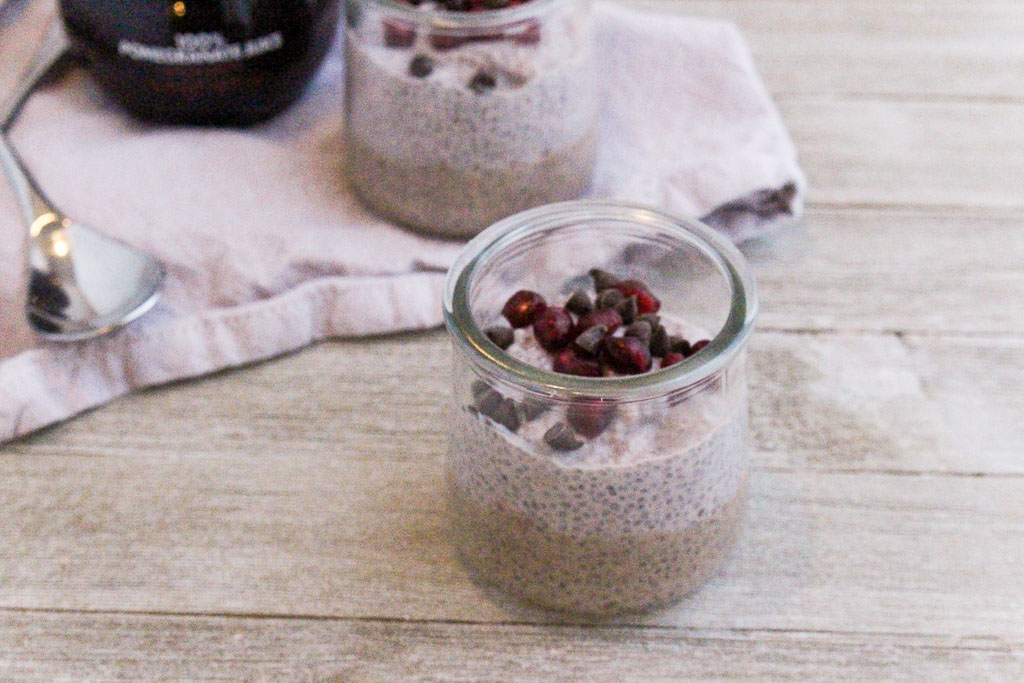
Not one, but two layers of delicious chia pudding. Have you ever tried using pomegranate juice to thicken your chia pudding? You will now because I know you’ll want to try this Layered Chocolate Pomegranate Chia Pudding.
ad: Layered Chocolate Pomegranate via RDelicious Kitchen @RD_Kitchen #chia #pomegranate #chocolate #mealprep
By posting this recipe I am entering a recipe contest sponsored by POM Wonderful and am eligible to win prizes associated with the contest. I was not compensated for my time.
Do you ever go through food phases? Chia pudding has been on constant repeat for me these past few weeks. I love that it’s easy to meal prep in advance for a quick (and satisfying) breakfast in the morning.

Learn how to (easily) seed a pomegranate!

Plus, chia pudding is easy to customize with various flavors. Another food phase I’ve been into is pomegranates. It definitely helps that they are in season right now, so I am grabbing one every time I am at the grocery store.
ad: Layered Chocolate Pomegranate via RDelicious Kitchen @RD_Kitchen #chia #pomegranate #chocolate #mealprep
When fresh pomegranates aren’t in season, I can still get my pomegranate fix with POM Wonderful 100% Juice.

POM Wonderful 100% Juice is powered by antioxidants. The pomegranate is whole-pressed, meaning a unique blend of polyphenol antioxidants from two whole pomegranates – including its fruit, pith, and rind – is found in each 8 oz bottle.
You can usually always find a bottle of POM Wonderful 100% Juice in my refrigerator. I love adding a splash of pomegranate juice to sparkling water for a fun fizzy drink.
ad: Layered Chocolate Pomegranate via RDelicious Kitchen @RD_Kitchen #chia #pomegranate #chocolate #mealprep
I had fun partnering with POM Wonderful 100% Juice and The Recipe ReDux to create a recipe using pomegranate juice. With my current chia pudding food phase, this was the first idea that popped into my head. I’ve always made chia pudding with milk or non-dairy milk as the liquid, so I wanted to see if POM Wonderful 100% Juice would yield the same kind of pudding-like consistency.
It did! I wouldn’t be posting this recipe if it didn’t 😛

Print

clock clock iconcutlery cutlery iconflag flag iconfolder folder iconinstagram instagram iconpinterest pinterest iconfacebook facebook iconprint print iconsquares squares iconheart heart iconheart solid heart solid icon
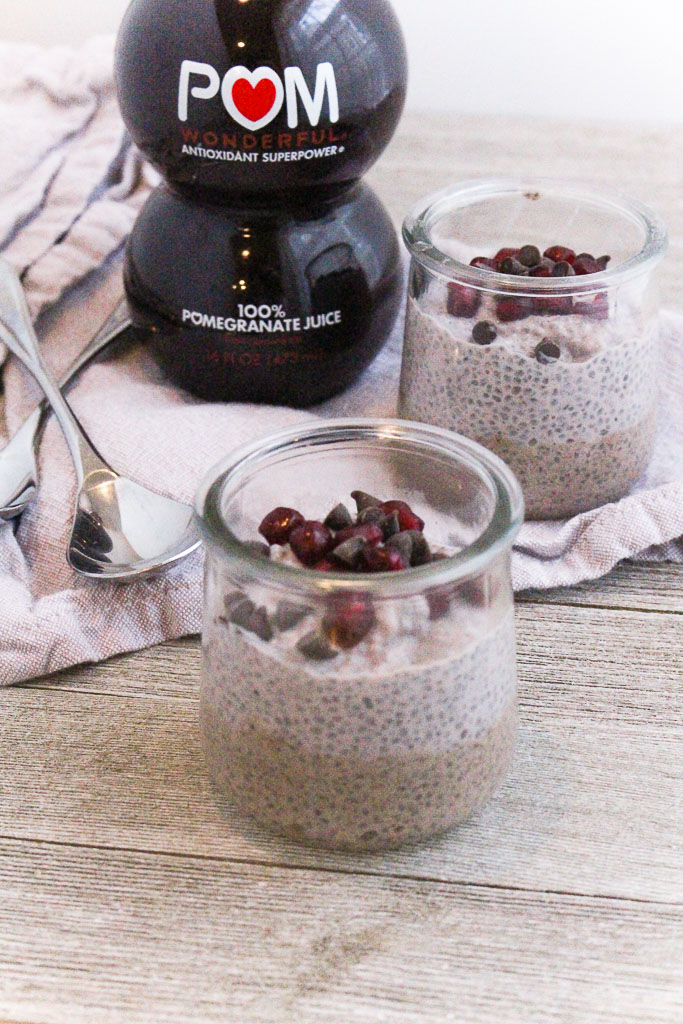
pomegranate chia pudding in a small glass jar

Layered Chocolate Pomegranate Chia Pudding

  • Author: Chef Julie Harrington, RD
  • Prep Time: 8
  • Total Time: 8 minutes
  • Yield: 4

Description

Not one, but two layers of delicious chia pudding. Have you ever tried using pomegranate juice to thicken your chia pudding? You will now because I know you’ll want to try this Layered Chocolate Pomegranate Chia Pudding.


Ingredients

Scale
  • Chocolate layer:

  • 1/4 cups chia seeds
  • 2 tablespoons Greek yogurt
  • 1/2 cup milk (or non-dairy milk)
  • 1 tablespoon maple syrup
  • 2 tablespoons cocoa powder
  • Pomegranate layer:

  • 1/4 cup chia seeds
  • 2 tablespoons Greek yogurt
  • 1/2 cup POM Wonderful 100% Pomegranate Juice
  • (Optional) toppings: mini chocolate chips. pomegranate arils

Instructions

  1. Chocolate layer: In a small bowl, whisk together chia seeds, yogurt, milk, maple syrup, and cocoa powder. Cover and transfer to the refrigerate for 1 hour.
  2. Pomegranate layer: In a small bowl, whisk together chia seeds, yogurt, and POM Wonderful 100% Pomegranate Juice. Cover and transfer to the refrigerate for 1 hour.
  3. Assembly: Remove the chia puddings from the refrigerator. In 4 separate serving cups or containers, and 1/2 cup chocolate pudding to each cup. Add 1/2 cup pomegranate pudding on top to each cup. Top with mini chocolate chips and pomegranate arils, if desired.

Keywords: chia pudding

Recipe Card powered byTasty Recipes

Chef Julie Harrington, RD - Culinary Nutrition Consultant of chefjulierd.com

Be sure to also check out the other pomegranate-inspired recipes from fellow dietitians and food bloggers in this Recipe ReDux link-up. It’s the first and only recipe challenge founded by registered dietitians. Enjoy!

Pin for later!

ad: Layered Chocolate Pomegranate via RDelicious Kitchen @RD_Kitchen #chia #pomegranate #chocolate #mealprep

HOW TO: Seed a Pomegranate

Learn the simple culinary technique of (easily) being able to seed a whole pomegranate to add powerful antioxidants to your recipes + save you money at the grocery store.
How to: Seed a Pomegranate via RDelicious Kitchen @RD_Kitchen #pomegranate #howto #antioxidants #healthy #culinary #cooking #cookingtip
Raise your hand if you’ve ever been intimidated of purchasing a pomegranate at the grocery store because you had no clue how to cut it. Now, grocery stores are making it very easy for you and pre-packaging pomegranate seeds, but are definitely much more expensive than buying a whole pomegranate.

Did you know each pomegranate contains hundreds of seeds? The pre-packaged versions, you are only getting maybe a quarter of the seeds of what a whole pomegranate holds. Don’t fear that whole pomegranate staring at you in the produce department. The skin of the pomegranate is thick and inedible, but there are hundreds of edible seeds called arils within. Gain confidence in the kitchen and follow my simple video below to easily seed a pomegranate.
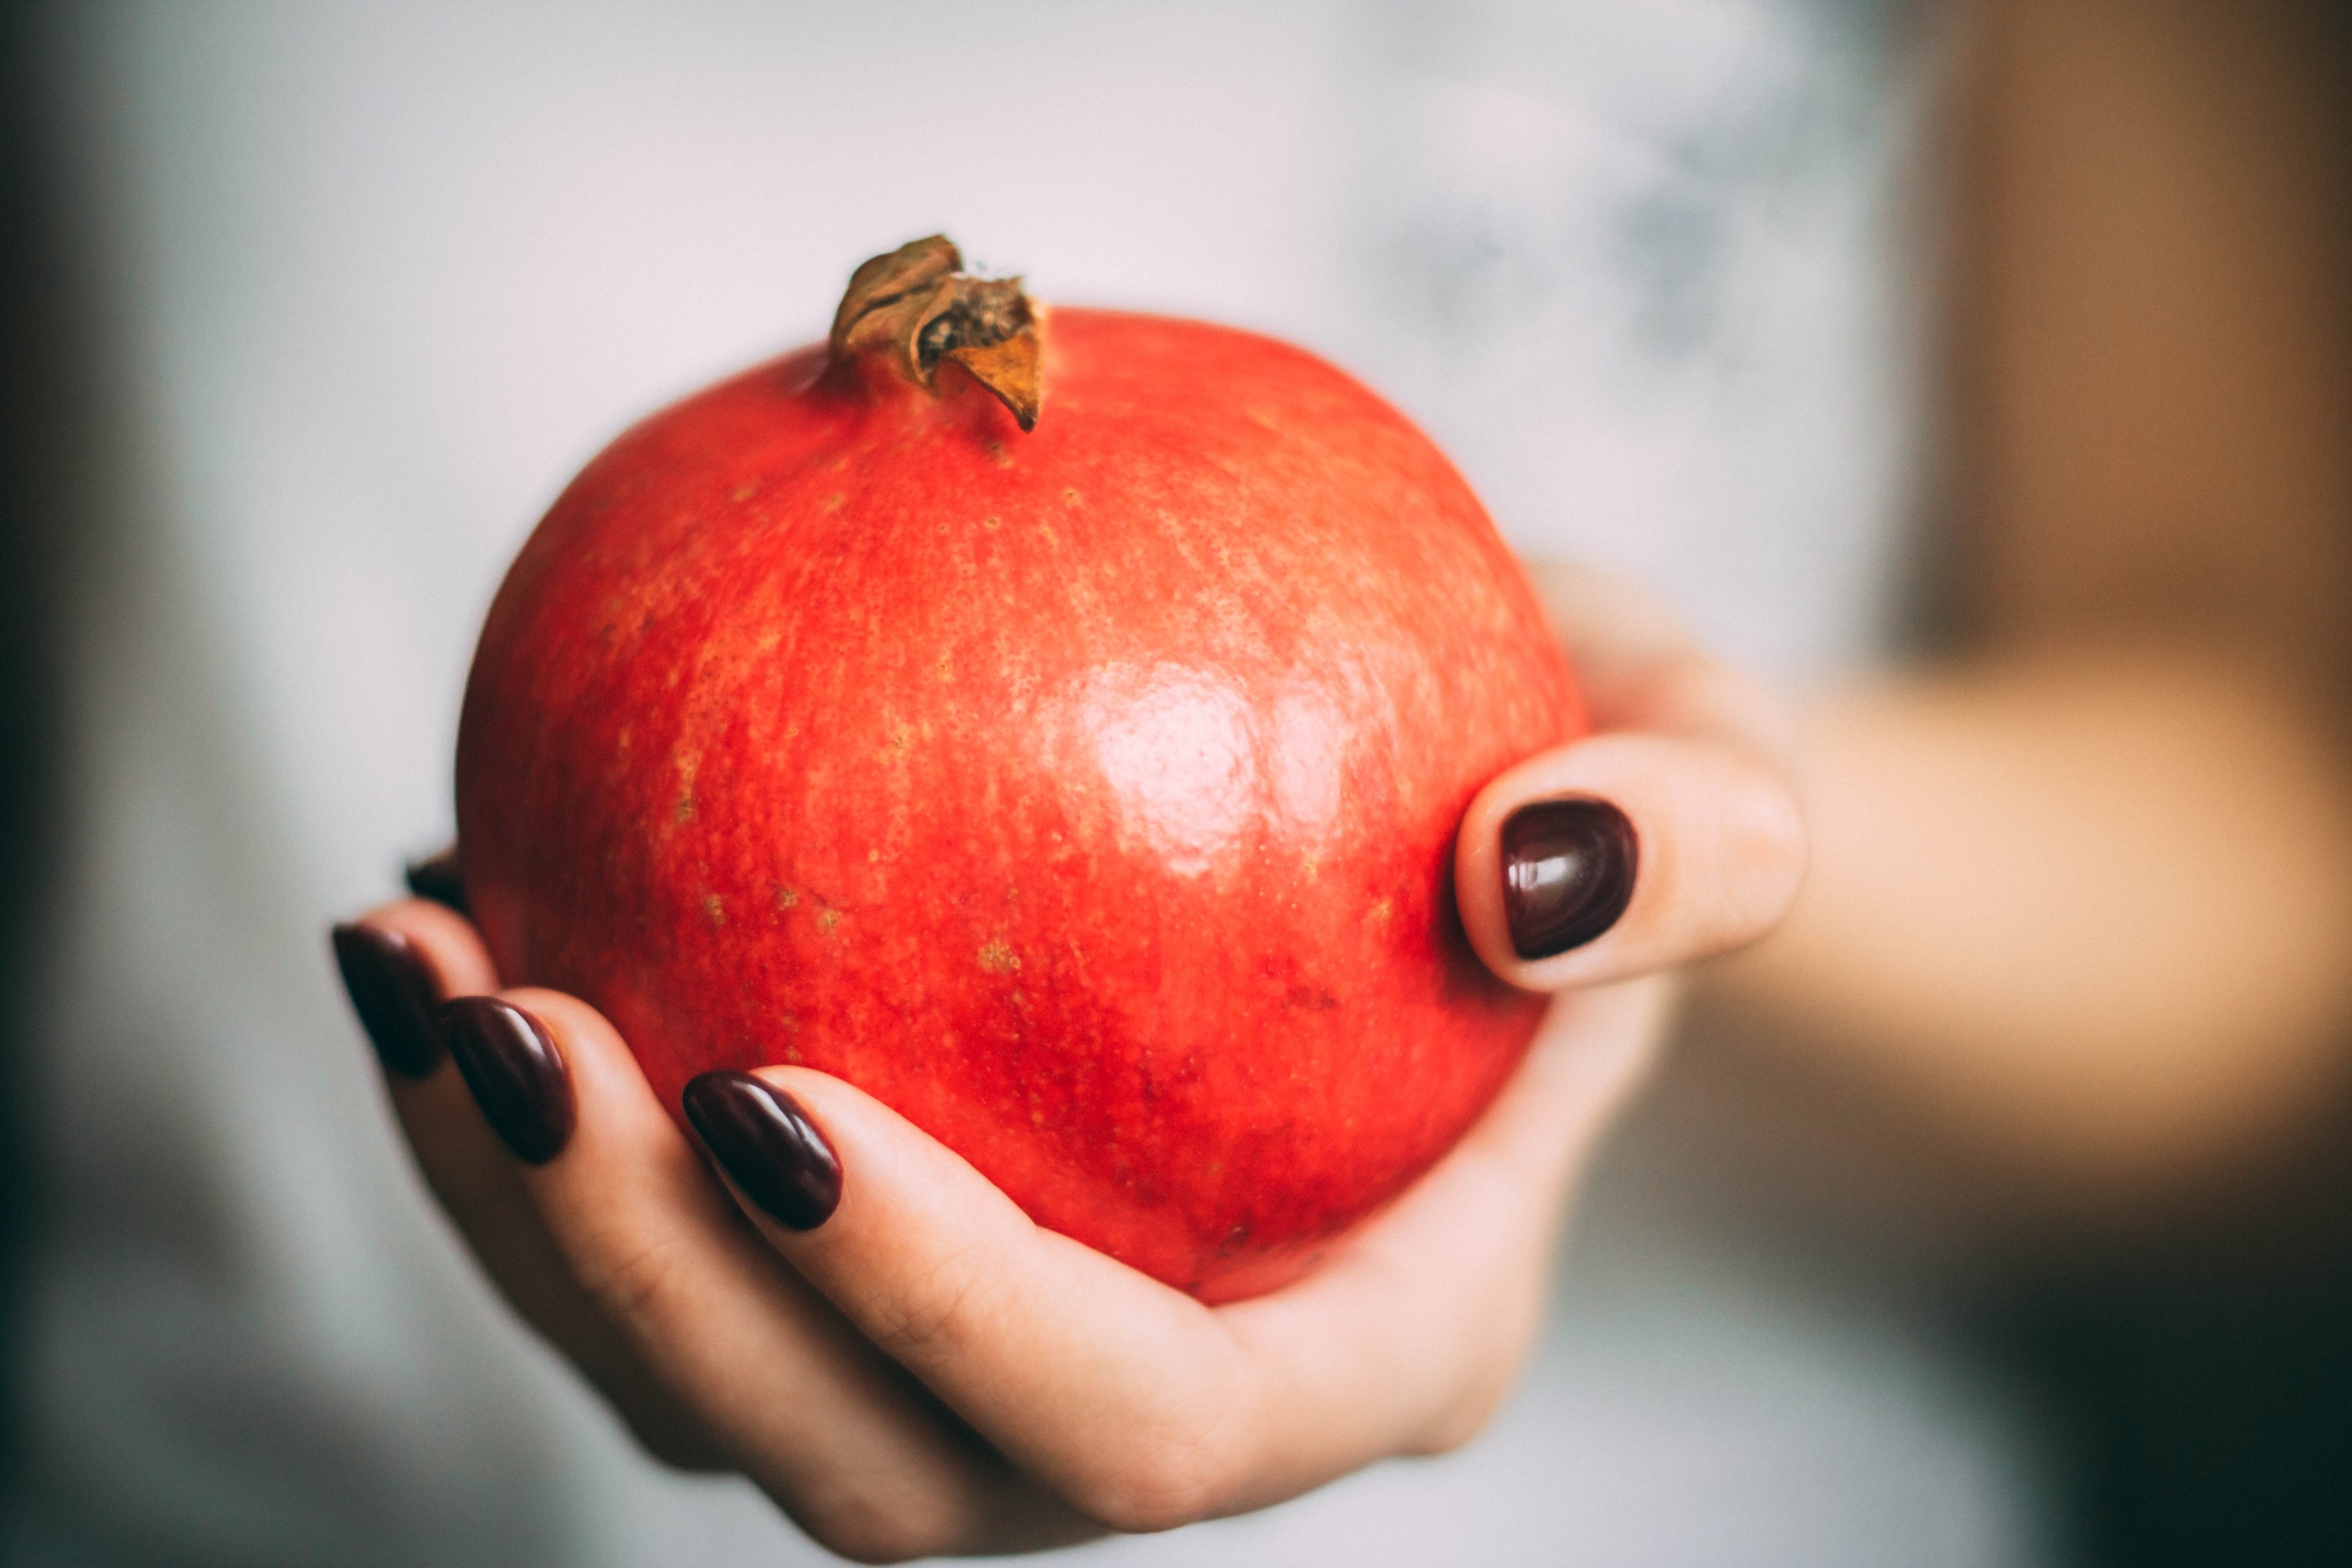
Pomegranate season typically runs from October through February. When selecting pomegranates, look for a ripe, deep-colored fruit with a red to reddish-brown outer rind that is heavy for its size.

How to seed a pomegranate:

There are a few ways to seed a pomegranate. I’ve tried them all! This technique I find the easiest and the least messiest. Those bright and colorful seeds can easily stain your clothes and cutting board. Follow my simple video the next time you go seed a pomegranate.

When you remove the seeds underwater, the seeds sink to the bottom and the pith floats to the top. Simply skim the any pieces of the pith and drain your pomegranate seeds.

Health Benefits of Pomegranates

Pomegranates contain three types of antioxidant polyphenols, including tannins, anthocyanins, and ellagic acid, in significant amounts. Antioxidants are nature’s way of providing your cells with adequate defense against attack by reactive oxygen species. Pomegranates are a good source of fiber and contain vitamins A, C, and E, iron.

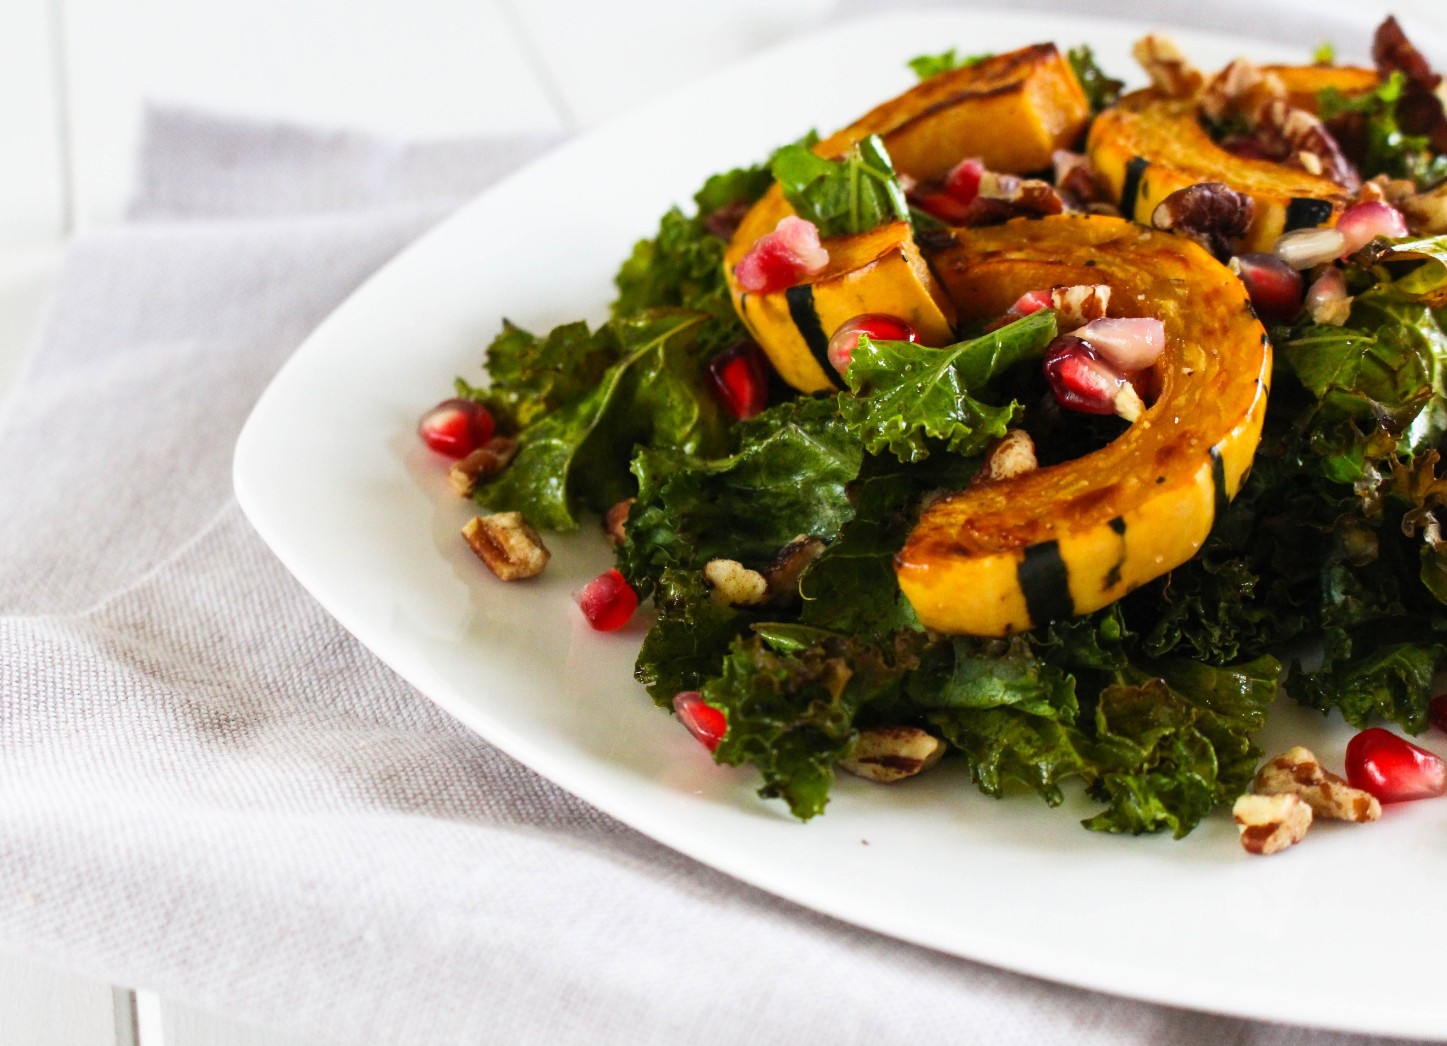
Warm Kale Salad with Delicata Squash and Pomegranate via RDelicious Kitchen via RDelicious Kitchen @rd_kitchen #kale #delicatasquash #squash #fall #pomegratate #warm #salad #thanksgiving

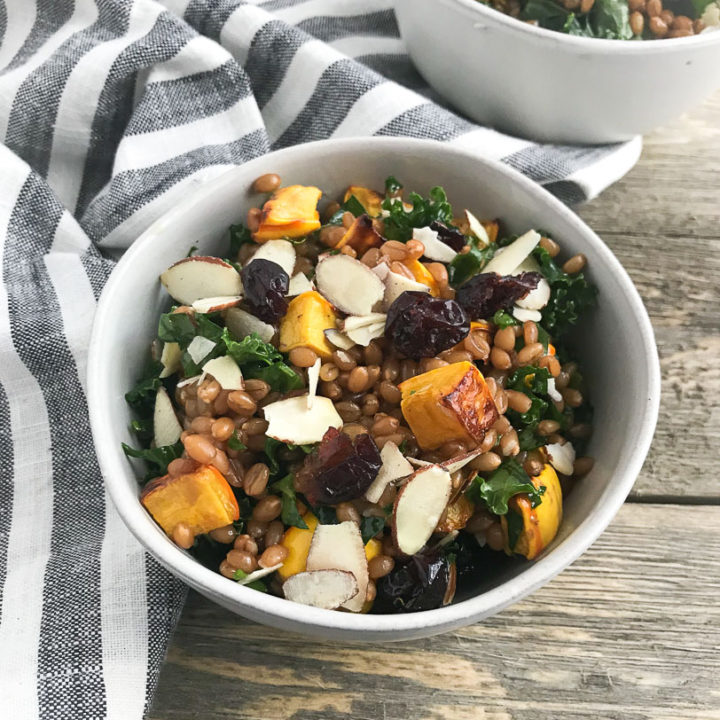
(Warm Kale Salad with Delicata Squash and Pomegranate Seeds)

How to use pomegranate seeds

Once you’ve seeded your pomegranate, snack on them as is or add them to a recipe. I like to sprinkle them over oatmeal or yogurt, top my waffles with them, add them to a salad, or even dessert. Be creative!
RDelicious Kitchen @RD_Kitchen

Pin for later!

How to: Seed a Pomegranate via RDelicious Kitchen @RD_Kitchen #pomegranate #howto #antioxidants #healthy #culinary #cooking #cookingtip

How to Make a Vinaigrette

Dress up any salad with this delicious sweet shallot vinaigrette.
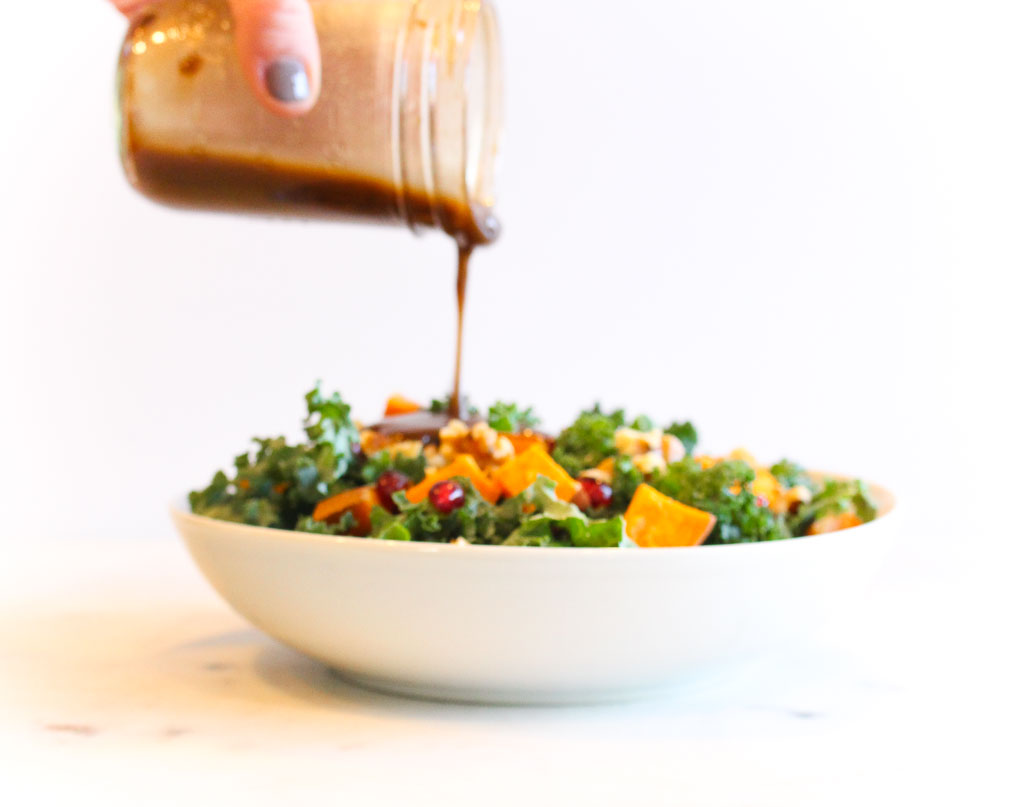
Kale Salad with Sweet Shallot Vinaigrette via RDelicious Kitchen @RD_Kitchen #salad #dressing #homemade #shallot #vinaigrette #salad
I don’t think people realize how EASY it is to make a homemade dressing. The most basic vinaigrette recipe is one part acid mixed with three to four parts base (oil). Then just add seasonings you enjoy. Simply pour ingredients into a mason jar and shake away. Your dressing is made! How easy was that? Plus, making it in a mason jar is ready to store any leftovers.

Guide to building a delicious vinaigrette:

If you want to go beyond the basics, use the guide I am sharing on Healthy Aperture’s blog.

Did you make this recipe? Tag @rdeliciouskitchen on Instagram or send me a picture, I’d love to see!
RDelicious Kitchen @RD_Kitchen

Pin for later!

Kale Salad with Sweet Shallot Vinaigrette via RDelicious Kitchen @RD_Kitchen #salad #dressing #homemade #shallot #vinaigrette #salad

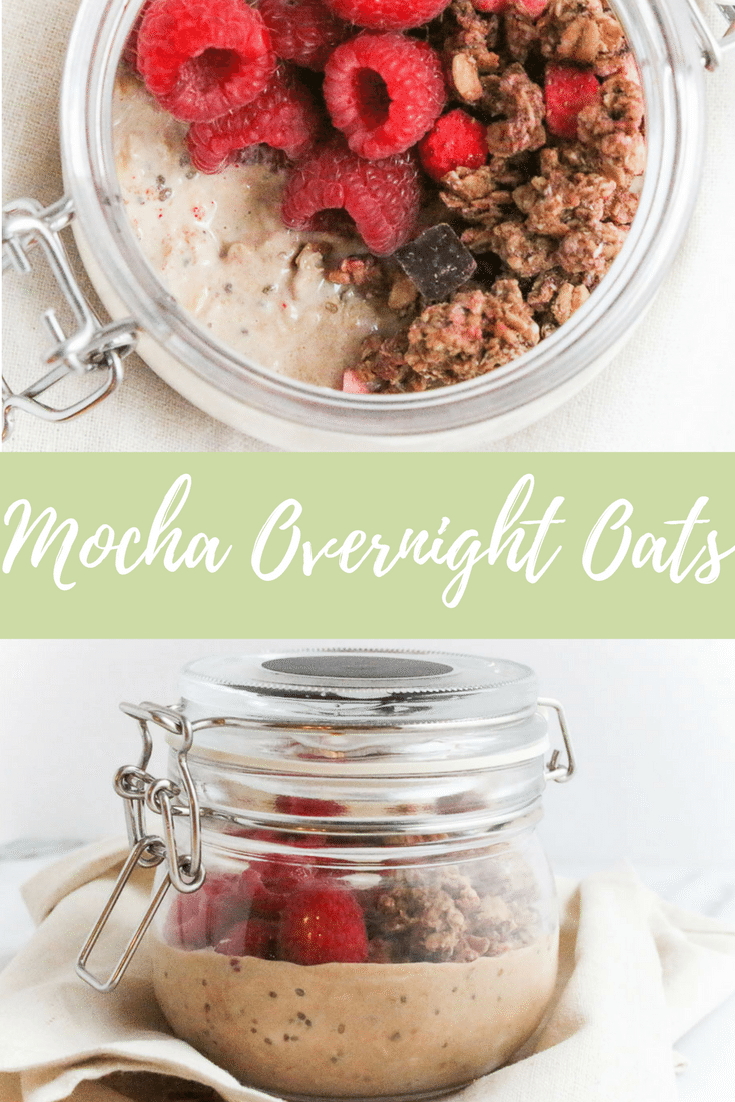
Mocha Overnight Oats

Prep breakfast the night before, so you can freely hit the snooze button the next morning. This Mocha Overnight Oats recipe will not only fill you up but also give you a little extra energy for the morning.
Mocha Chip Overnight Oats via RDelicious Kitchen @RD_Kitchen #overnightoats #coffee #mocha #protein #breakfast
I used to be the person who never hit the snooze button. I would jump out of bed the second my alarm went off. I’ve gotten into the bad habit of staying up too late doing work. Sometimes I just get on a roll and keep working until my eyes can barely stay open. I know this is such a bad habit. I’m working on it..
Mocha Chip Overnight Oats via RDelicious Kitchen @RD_Kitchen #overnightoats #coffee #mocha #protein #breakfast
This month’s Recipe Redux theme is “Grab a Book and Cook” which is a fun way to remake a recipe from your favorite cookbook. I grabbed my newest book from my collection for this month’s theme.
I love overnight oats. This new mocha overnight oats variation has become my new favorite! It is adapted from Lauren Harris-Pincus’ “The Protein-Packed Breakfast Club” cookbook.

About The Protein-Packed Breakfast Club:

The Protein-Packed Breakfast Club is filled with delicious, easy to make recipes containing 300 calories or less and packed with a minimum of 20 grams of protein. You’ll find a variety of recipes featuring dairy, protein powders, nuts, seeds, eggs and ancient grains including hot trends like overnight oats, smoothie bowls and mug cakes.
Mocha Chip Overnight Oats via RDelicious Kitchen @RD_Kitchen #overnightoats #coffee #mocha #protein #breakfast
I never thought to add coffee to my overnight oats. This is genius! The little extra pick me up, plus the mocha flavor is a perfect way to start the day. The original recipe calls for the addition of coffee and chocolate protein powder, but I only had vanilla protein powder, so I added that plus a little cocoa powder to get that same mocha flavor.

Mocha Chip Overnight Oats via RDelicious Kitchen @RD_Kitchen #overnightoats #coffee #mocha #protein #breakfast
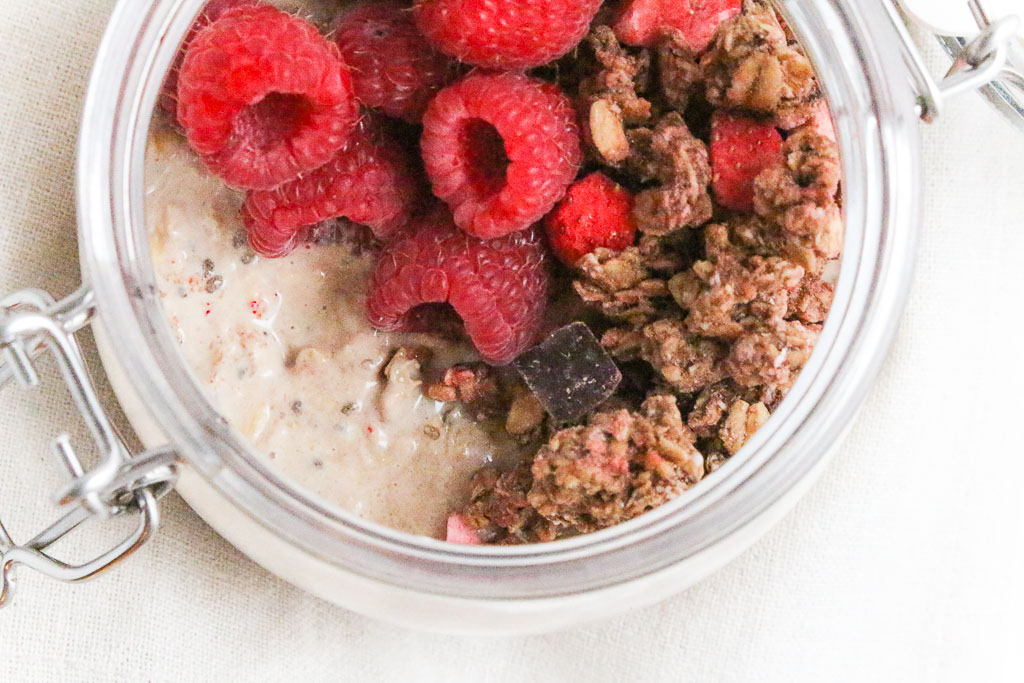
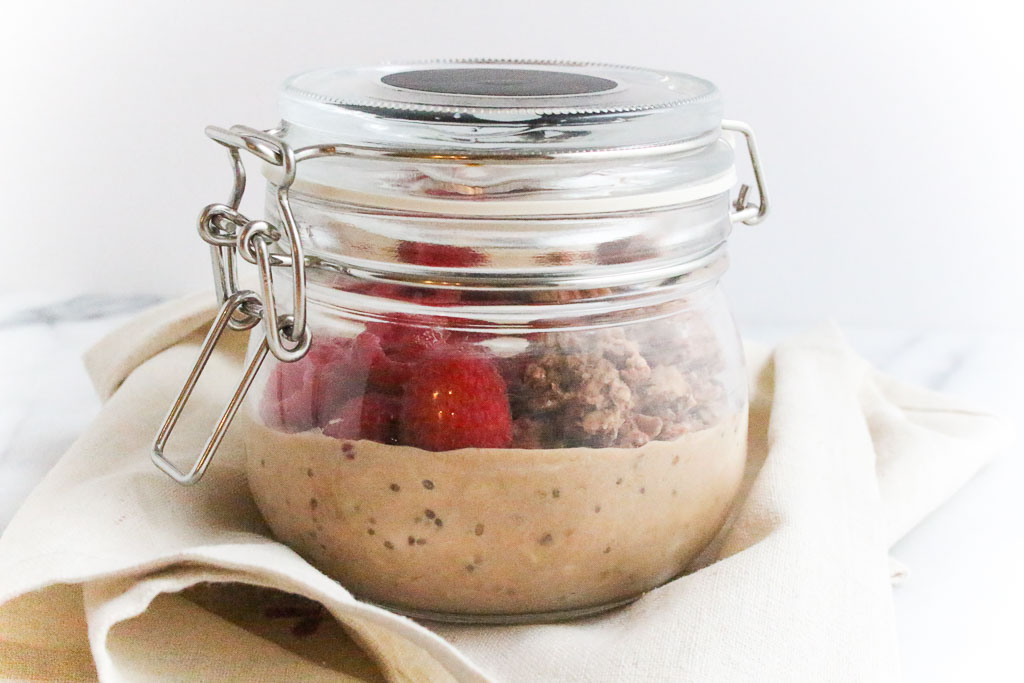
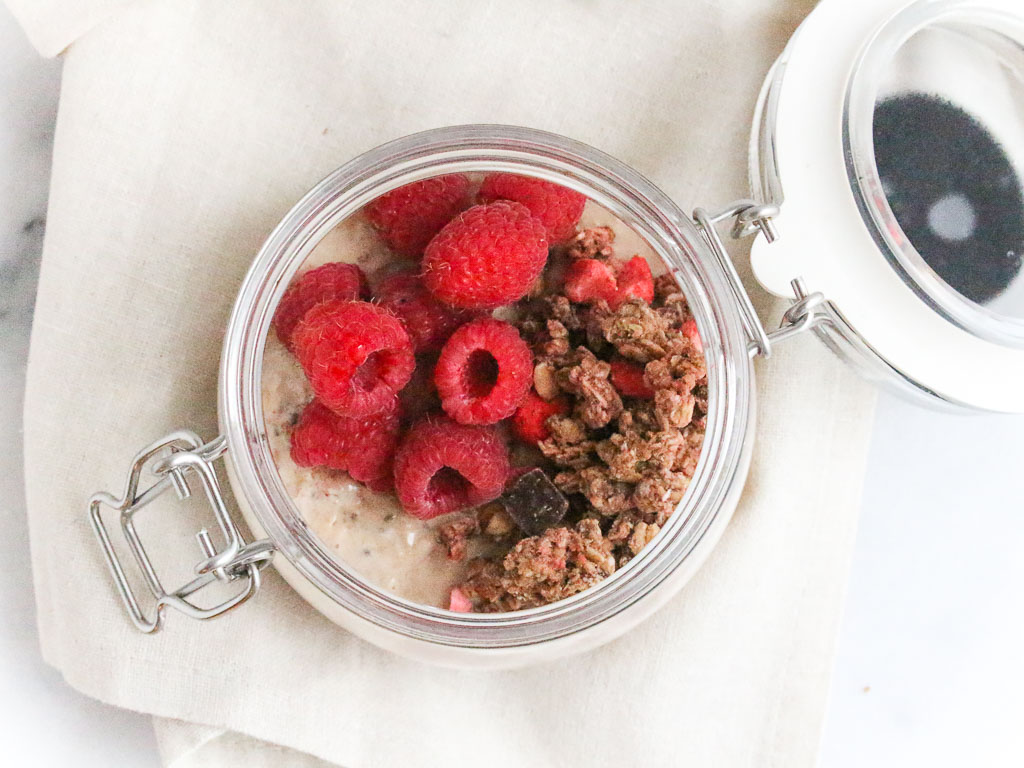
I topped mine with some raspberries and a little chocolate granola.

Print

clock clock iconcutlery cutlery iconflag flag iconfolder folder iconinstagram instagram iconpinterest pinterest iconfacebook facebook iconprint print iconsquares squares iconheart heart iconheart solid heart solid icon
oatmeal topped with granola and raspberries in a glass jar

Mocha Overnight Oats

  • Author: Chef Julie Harrington, RD
  • Prep Time: 15 + overnight
  • Total Time: 55 minute
  • Yield: 1
  • Category: Breakfast

Description

Prep breakfast the night before, so you can freely hit the snooze button the next morning. This Mocha Overnight Oats recipe will not only fill you up but also give you a little extra energy for the morning.


Ingredients

Scale
  • 1/3 cup rolled oats
  • 1/3 cup strongly brewed coffee, cooled
  • 1/3 cup plain Greek yogurt
  • 1 scoop vanilla protein powder
  • 1 teaspoon cocoa powder
  • 1 teaspoon chia seeds
  • Toppings: raspberries, chocolate raspberry granola

Instructions

  1. In a mason jar or container, add all ingredients; stir well until combined.
  2. Cover an refrigerate overnight.
  3. In the morning, before serving, top with raspberries and chocolate raspberry granola. Enjoy!

Notes

Recipe adapted from Mocha Chip Overnight Oats from “The Protein-Packed Breakfast Club” cookbook by Lauren Harris-Pincus, MS, RDN

Keywords: overnight oats, mocha

Recipe Card powered byTasty Recipes

Chef Julie Harrington, RD - Culinary Nutrition Consultant of chefjulierd.com

Pin for later!

Mocha Chip Overnight Oats via RDelicious Kitchen @RD_Kitchen #overnightoats #coffee #mocha #protein #breakfast

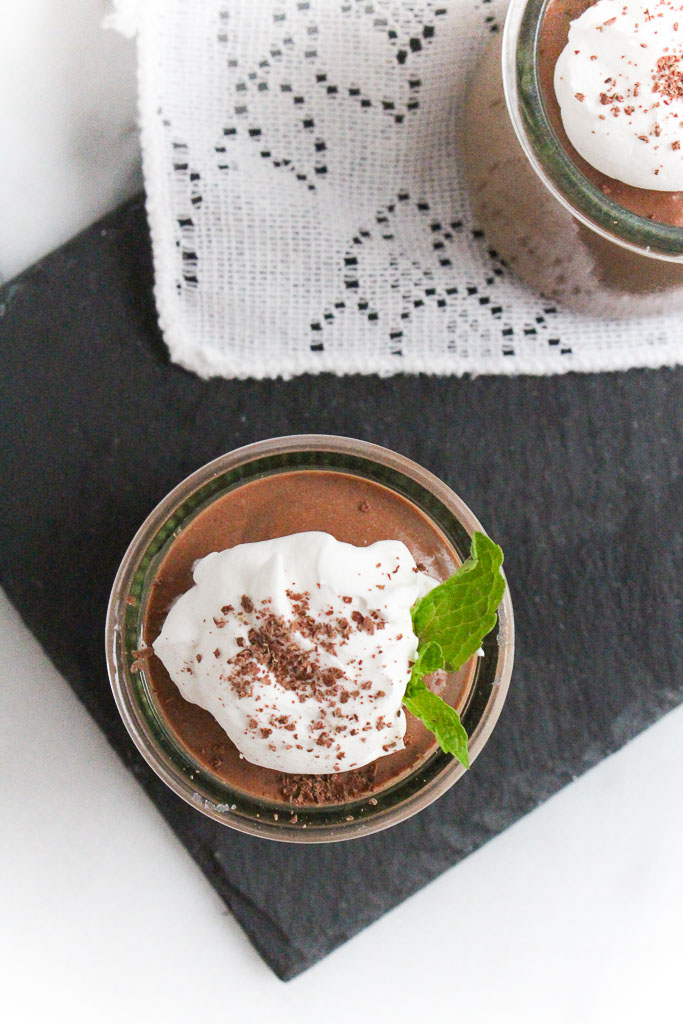
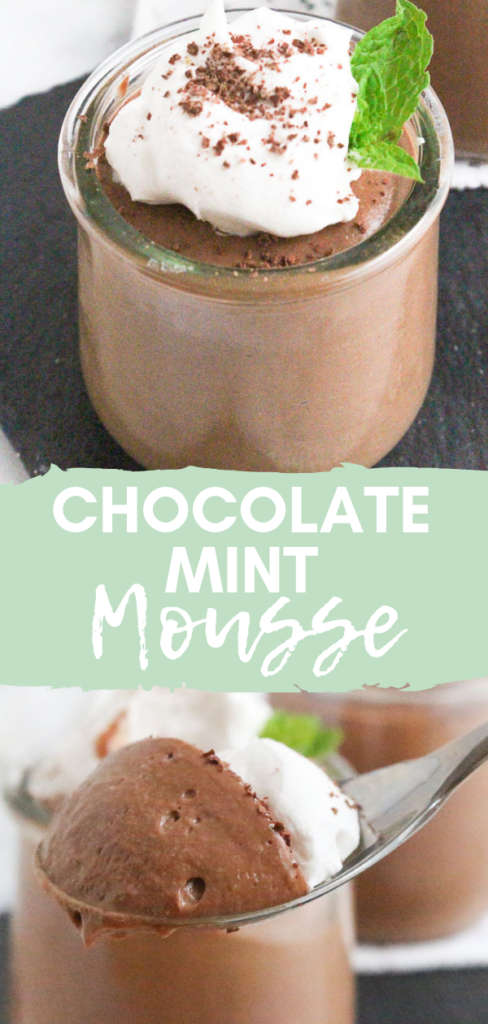
Chocolate Mint Mousse

These perfectly portioned (vegan) Chocolate Mint Mousse desserts will satisfy your sweet tooth.
Vegan Chocolate Mint Mousse via Chef Julie Harrington, RD @ChefJulie_RD #vegan #chocolate #mint #dessert #tofu #protein #chocolatemint #dairyfree
The great debate: Is it chocolate chip mint ice cream OR mint chocolate chip ice cream? Also, does it need to be green or is it okay being white? My family and I have discussed this in great lengths. We have different opinions, but one thing we can agree on is the love for the chocolate/mint combination.
Do you remember those Andes candies? Still, to this day, my mom put those in our Christmas stockings.
Vegan Chocolate Mint Mousse via Chef Julie Harrington, RD @ChefJulie_RD #vegan #chocolate #mint #dessert #tofu #protein #chocolatemint #dairyfree

I repurposed the Oui yogurt glass containers for these perfectly portioned desserts. The secret ingredient that makes this silky and smooth vegan mousse – silken tofu!

Silken tofu is silkier than regular tofu, provides an incredibly delicate texture. That’s why it’s a natural fit in mousses and pies. Don’t worry, you would have no idea there is tofu in there. Tofu takes on the flavors of what else is in the recipe – in this case, chocolate mint!
Vegan Chocolate Mint Mousse via Chef Julie Harrington, RD @ChefJulie_RD #vegan #chocolate #mint #dessert #tofu #protein #chocolatemint #dairyfree
I’m sure you knew that tofu is an excellent plant-based protein, but did you know tofu is also an excellent source of calcium? Calcium is not just found in dairy products, but also soy and dark leafy greens, which is important for bone health.

Print

clock clock iconcutlery cutlery iconflag flag iconfolder folder iconinstagram instagram iconpinterest pinterest iconfacebook facebook iconprint print iconsquares squares iconheart heart iconheart solid heart solid icon
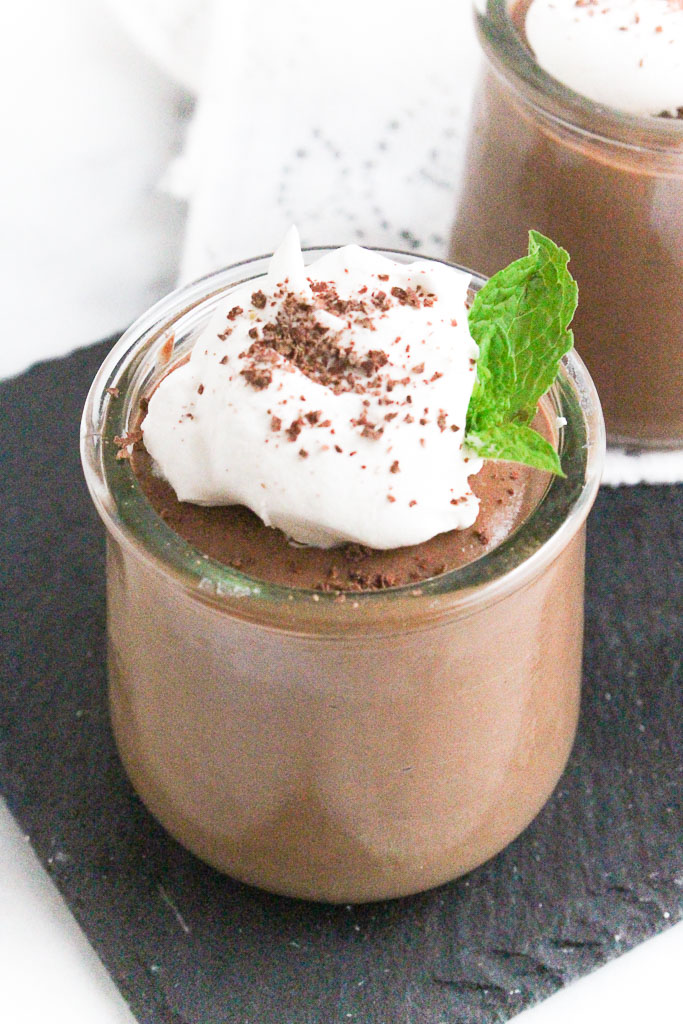
vegan chocolate mint mousse in a glass jar

Chocolate Mint Mousse

  • Author: Chef Julie Harrington, RD
  • Prep Time: 15 minutes
  • Cook Time: 2 hours
  • Total Time: 2 hours 15 minutes
  • Yield: 4
  • Category: Dessert

Description

These perfectly portioned (vegan) Chocolate Mint Mousse desserts will satisfy your sweet tooth.


Ingredients

Scale
  • 8 ounces dark chocolate, chopped
  • 3 tablespoons maple syrup
  • 1 teaspoon espresso powder
  • 1 teaspoon mint extract
  • ¼ teaspoon sea salt
  • 2 cups (16 ounces) silken tofu (NOT soft tofu)
  • 1 tablespoon water
  • Toppings: coconut whipped cream, shaved chocolate, mint leaves

Instructions

  1. Melt the chocolate over a double boiler, or in a microwave-safe bowl. Remove the bowl from the heat as soon as the chocolate has melted, being careful not to burn it. Stir in the maple syrup, espresso powder, mint extract, and salt.
  2. In a blender, combine the silken tofu, water, and melted chocolate. Blend until thoroughly combined.
  3. Divide equally between 4 ramekins or little jars. Cover and refrigerate for at least 2 hours.
  4. Top with coconut whipped cream, shaved chocolate, and mint leaves if using.

Notes

For the (dairy free) coconut whipped cream:
https://chefjulierd.com/coconut-whipped-cream/

Keywords: #vegan #chocolate #mint #dessert #tofu #protein #chocolatemint #dairyfree

Recipe Card powered byTasty Recipes

Chef Julie Harrington, RD - Culinary Nutrition Consultant of chefjulierd.com


Vegan Chocolate Mint Mousse via Chef Julie Harrington, RD @ChefJulie_RD #vegan #chocolate #mint #dessert #tofu #protein #chocolatemint #dairyfree