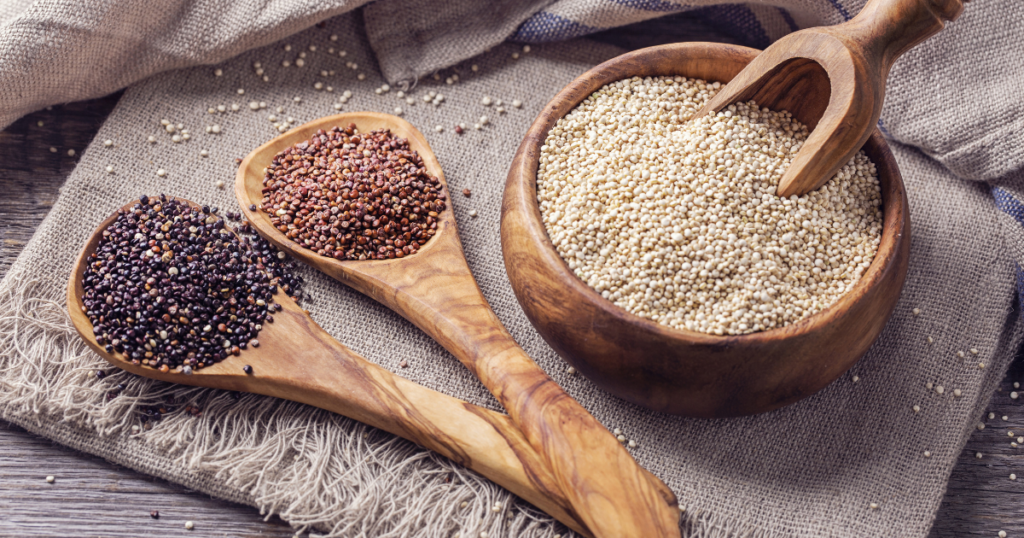
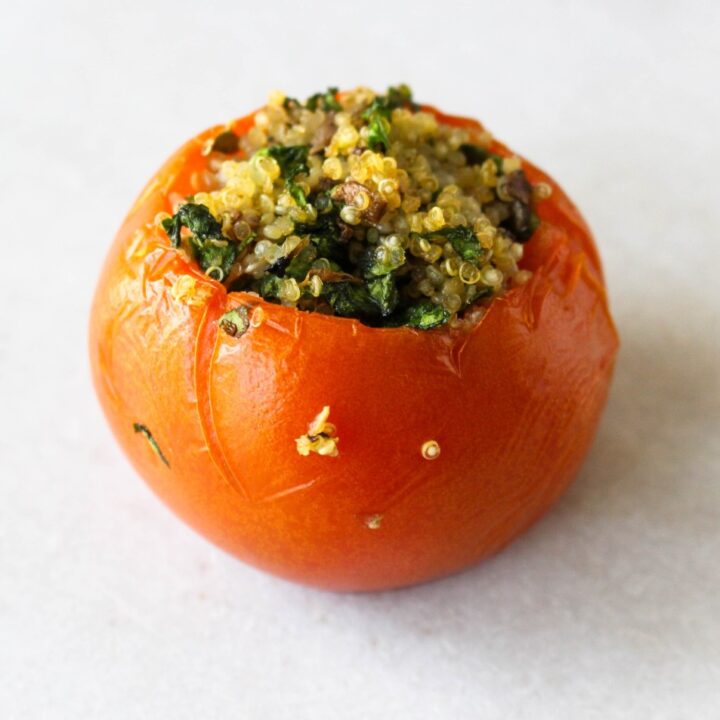
Quinoa is a naturally gluten free grain packed with protein, fiber, and other essential nutrients. If you’re cooking quinoa for the first time, you might be wondering if it needs to be rinsed before cooking. If so, read on for all the details on how to do that correctly!
What is saponin?
Saponins, get their name because they lather up in water, like soap suds. The herb soapwort is one of the most concentrated sources of saponins and sometimes used to make a natural cleanser.
Saponin is a natural substance found on quinoa that can be removed by rinsing. Saponin has a subtle unpleasant bitter taste. By rinsing quinoa before cooking, it removes saponins, therefore removing the bitterness.
Are saponins safe?
Saponins are phytochemicals made by plants as a method of natural pest control. The bitter taste of these compounds makes the plant less palatable to birds, insects, and humans.
Rinsing quinoa just removes that bitterness, making quinoa more enjoyable.
Health benefits of quinoa
Pronounced KEEN-wah, quinoa is gluten-free, high in protein and one of the few plant foods that contain sufficient amounts of all nine essential amino acids.
One cup (185 grams) of cooked quinoa, provides:
Protein: 8 grams
Fiber: 5 grams
Manganese: 58% of the recommended daily allowance (RDA)
Magnesium: 30% of the RDA
Phosphorus: 28% of the RDA
Folate: 19% of the RDA
Copper: 18% of the RDA
Iron: 15% of the RDA
Zinc: 13% of the RDA
Potassium 9% of the RDA
Fun fact: There are over 1,800 varieties of quinoa, but the three main types you’ll find in the grocery store are white, red, and black.
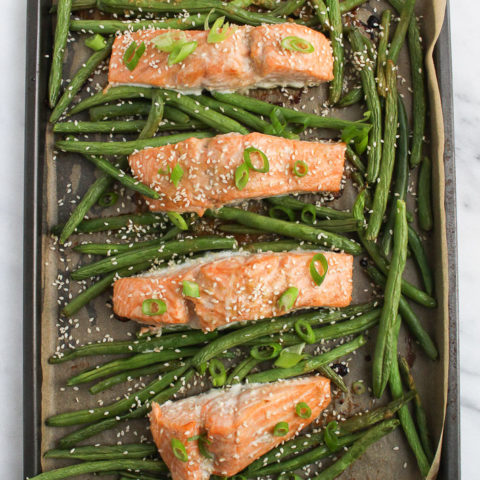
Separate facts and fiction about farm-raised salmon and learn how the Norwegian aquaculture industry sets the standard for high-quality, safe, and sustainably farmed salmon.
This post is sponsored by the Norwegian Seafood Council. Thank you for supporting brands that make this blog possible!
I had an incredible opportunity last year to travel to Norway to learn first hand about seafood from Norway. As a dietitian and a chef, I am invested in learning about where our food comes from and the sustainability practices behind them to create a thriving future for the next generation.
Sustainability has been one of the main objectives of the Norwegian fishing industry, committed producing seafood in a safe, controlled, and sustainable manner with strict regulations.
Get the facts about farm-raised salmon from Norway
Farm-raised salmon from Norway is raised in its natural habitat and not a cramped pool of fish swimming on top of each other. The ratio of the pens in the fjord is 97.5% water to 2.5% salmon.
Farm-raised salmon from Norway is able to have much more control to prevent disease and mortality.
Seafood from Norway is all about sustainability. Since fishing had been part of their heritage for more than 2,000 years, taking care of the sea for the next generation is part of their culture.
Seafood from Norway is shipped fresh or frozen! (really, however, the customer wants it!)
Why origin matters
There are a lot of choices out there when it comes to seafood – both wild and farmed. Salmon is really one of the most popular species in the US and there are a number of species available with different characteristics.
The origin of the seafood, as every country has completely different practices.
How to identify seafood from Norway
According to the USDA, Country of Origin Labeling (COOL) is a consumer labeling law that requires retailers (grocery stores and supermarkets) to identify the country of origin on certain foods, including wild-caught fish, farm-raised fish, and shellfish.
It will clearly be listed that the seafood is from Norway or you can look for the Seafood From Norway seal.
Our group in Norway with safety gear to check out the Fjords.
Why eat more fish
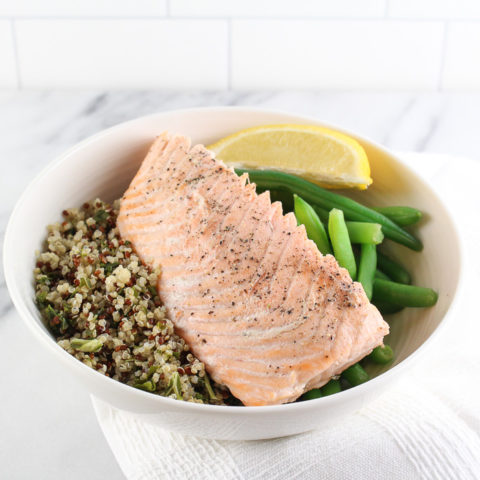
Seafood helps build healthy hearts. Omega-3 fatty acids help reduce high blood pressure and high cholesterol levels, lowering the risk of heart disease.
Storing fresh salmon
Fresh salmon can last up to two days if stored close to 32 degrees, rather than up to one day at the typical home refrigerator temperature of 40 degrees. Place the fish in a zipper-lock bag on ice in a bowl (or cover it with ice packs) and place it at the back of the fridge, where it’s coldest.
How to freeze salmon
If you want to freeze raw salmon, pat it dry, and wrap it tightly in plastic wrap, place it in an airtight container and freeze it. Make sure to label it with the date and use it within three months.
Cooking Tips
Skin side up or skin side down?
First of all—skin is tasty! So when you’re cooking salmon, keep that skin on. It provides a safety layer between your fish’s flesh and a hot pan or grill. Start with the skin-side down, and let it crisp up. It’s much easier to slide a fish spatula under the salmon’s skin than under its delicate flesh.
Utilize these tips on how to select and store asparagus properly to help it last longer.
Selecting Asparagus
Asparagus is most widely available from February to June, with April being the peak.
Did you know? Size isn’t an indicator of quality or flavor; thick asparagus is just more mature than the thin variety. Instead, look for firm, straight, and plump stalks of asparagus vibrant in color. Avoid stems that are very firm, woody, and cracked. This is a sign of aging and drying out.
The tips, also called the buds, of asparagus, are just as important to pay attention to as the stalks. Look for asparagus tips that a tight and firm with a hint of dark green and purple color to them.
Notice that in the produce department or at the farmer’s market, the asparagus bunches are rubber-banded and lined up in a trough of water? If not and just lined up on the shelf, the asparagus has already started drying out resulting in more to trim off and less to eat, when ready to use.
There is nothing worse that taking out asparagus from the vegetable crisper to find either limp or dried out asparagus.
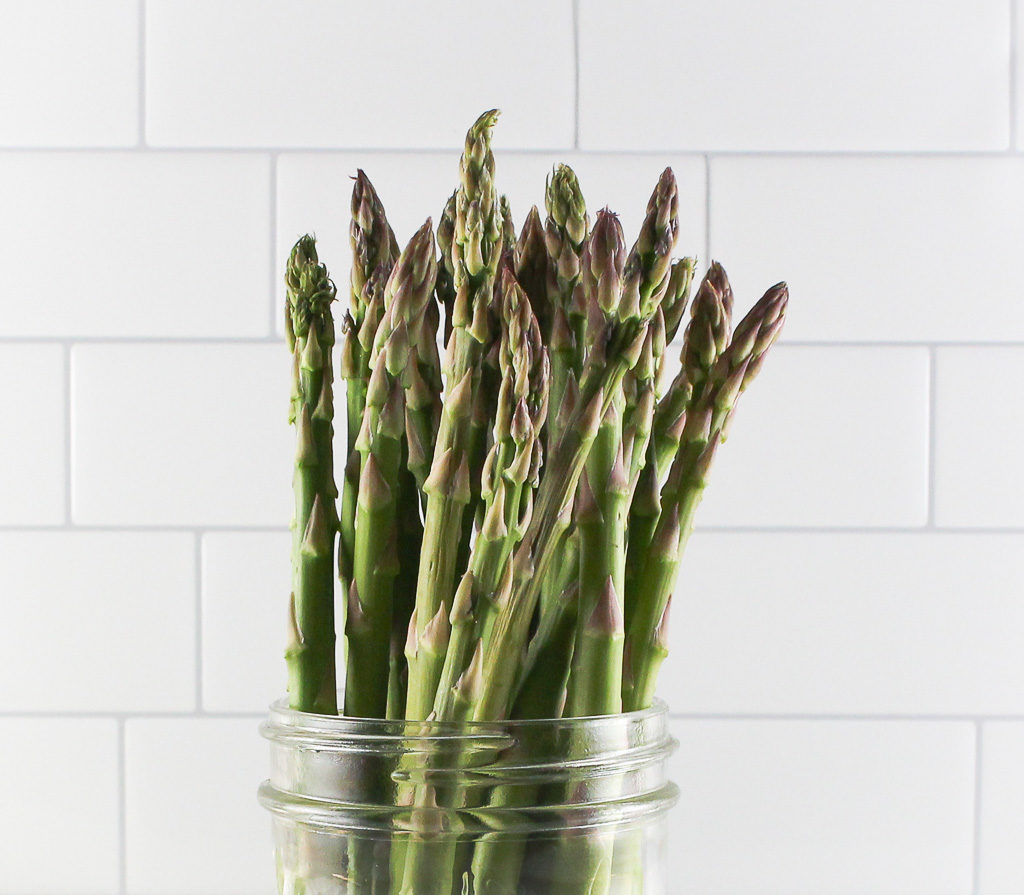
Asparagus will keep for a week or more in the refrigerator if stored properly. Treat asparagus like flowers, needing to be kept upright and moist in water to stay fresh.
The Best Way to Store Asparagus
Right when you bring home asparagus from the grocery store or farmer’s market, trim about an inch off the ends of the asparagus.
Stand the asparagus up in a glass jar and pour about an inch or two of water at the bottom, making sure all the ends are sitting in the water.
Loosely cover the asparagus with a plastic bag and store in the refrigerator for up to a week. If the water looks cloudy, just change it as needed.
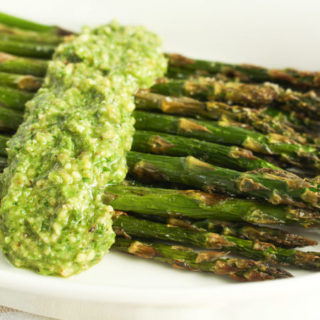
Health Benefits of Asparagus
Asparagus, being packed with antioxidants is one of the top-ranked fruits and vegetables for its ability to neutralize cell-damaging free radicals. This may help slow the aging process and reduce inflammation.
The green veggie is packed with good-for-you vitamins and minerals like vitamins A, C, E, K, and B6, as well as folate, iron, copper, calcium, protein, and fiber.
The chef knife – one of the most used pieces of kitchen equipment, but do you really know everything about it?
A chef knife, also known as a utility knife or French knife, is the most valuable tool as it can handle many tasks in the kitchen. Each part of the knife has a specific function. Understand these functions to help you better choose a chef knife that would be the best fit for you.
Each knife has a blade, handle, bolster, tang, and rivets.
Blade:
The blade is the sharp, flat portion of the knife used for cutting. Most knives are made from high-carbon stainless steel, which can be easily sharpened and resistant to rust and discoloration.
Knife blades have five parts: the point, tip, heel, edge, and spine.
The point is the foremost section of a knife tip that can be used as a piercing tool.
The tip is the front quarter of the knife blade. Most cutting is accomplished between the tip and the heel.
The heel is the rear portion of the blade. The heel is used to cut thick food items when more force is required.
The edge is the sharpest part of the knife blade that is between the tip and the heel.
The spine is not sharp and opposite the edge.
Handle:
The handle of the knife should be comfortable and properly fit the hand. The weight of the handle may differ, so find one that fits your hand best and is comfortable for you.
Bolsters:
Not all knives have bolsters. The bolster is a thick band of metal where the blade meets the handle. The purpose is to provide strength to the knife blade and to prevent slipping from the handle during the cutting process.
Tang and Rivets:
The tang is the tail of the knife blade that extends into the handle. The tang is secured to the handle with rivets. The rivets are metal fasteners to secure the tang to the handle. There are different kinds of tangs.
Source: 50 Effective Knife Techniques by Michael J. McGreal
A full tang extends to the end of the handle and typically contains several rivets.
A partial tang extends only a partial amount into the handle and had fewer rivets. Partial tangs are less durable but are lighter to handle.
A rat-tail tang is a narrow rod of metal that runs the length of the knife handle and no rivets are needed to hold it in place. Knives with a rat-tail tang are less durable than both a full and partial tang knives.
For me, investing in a good kitchen knife is key. Personally, the chef knife is the most used kitchen equipment I use daily.
These are the basics of your chef knife, but stay tuned for more information! Coming up we will talk about different styles of knives and their different uses.
Comment below of questions you have about your knives or kitchen equipment that I can answer in future posts!
This post may contain affiliate links. To find out more information, please read my disclosure statement.
References 50 effective knife techniques Michael McGreal – American Technical Publishers – 2017
This post may contain affiliate links. Read my privacy policy.
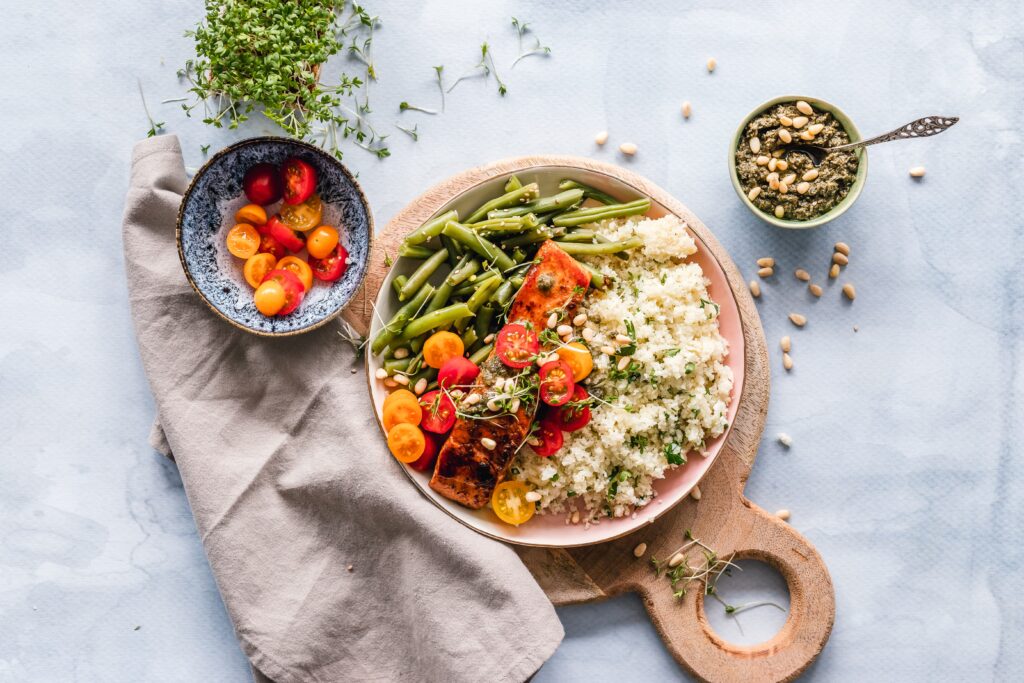
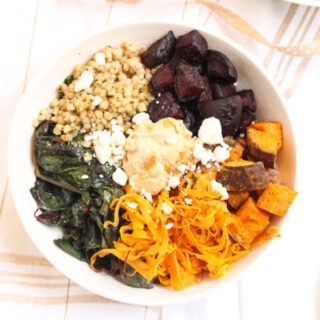
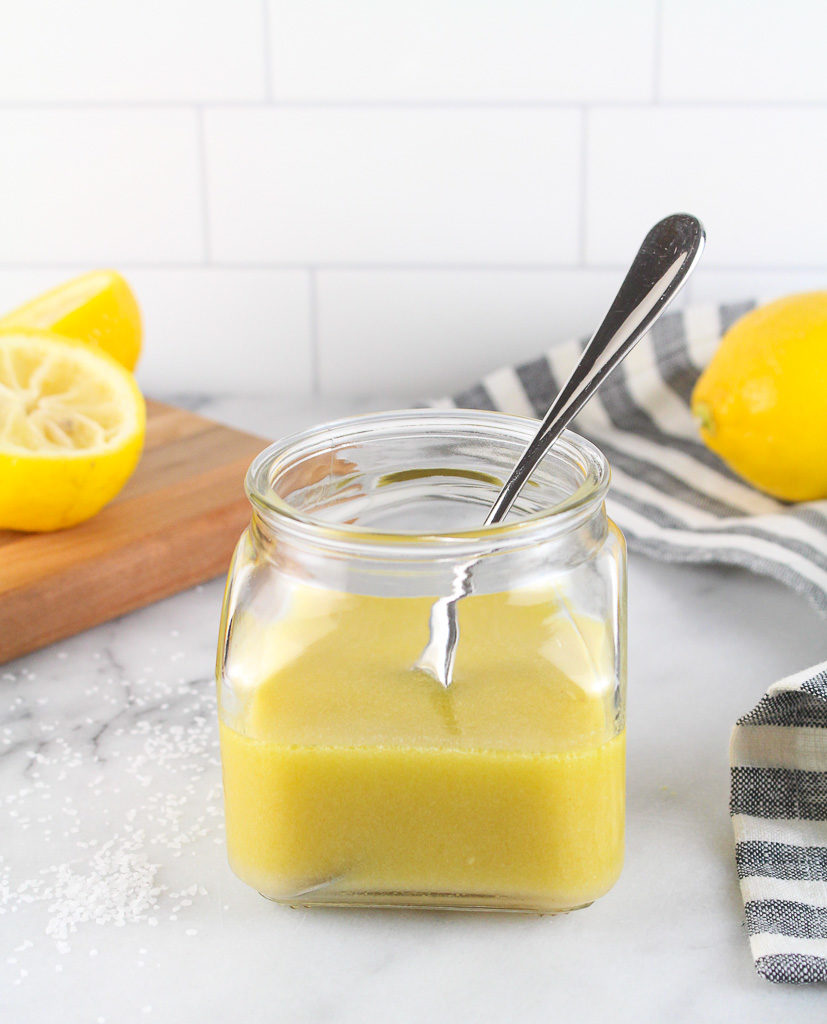
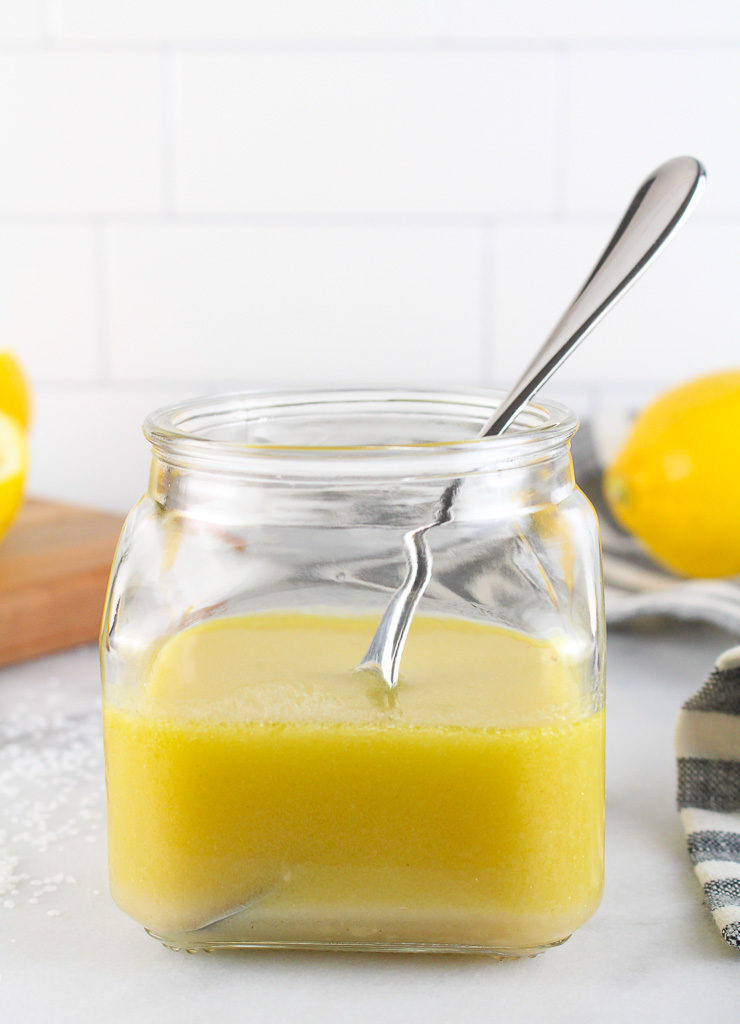
Brighten any salad, grain, or vegetable dish with this simple lemon vinaigrette. Made with ingredients you probably already have on hand, simply whip this up in a mason jar.
I don’t think people realize how EASY it is to make a homemade dressing. The most basic vinaigrette recipe is mixing an acid and a base. Then just add seasonings you enjoy. Simply pour ingredients into a mason jar and shake away. Your dressing is made! How easy was that? Plus, making it in a mason jar is ready to store any leftovers.
If you want to go beyond the basics, use this guide to build your own vinaigrette.
Create a homemade vinaigrette
Choose your acid:
This can be in the form of vinegar or citrus juice. Pick something that matches with your salad mix-ins. Opt for a sweet acid like white wine vinegar, white balsamic vinegar, or an orange juiced, for salads that have fruit.
Try acids like apple cider vinegar, balsamic vinegar, red wine vinegar, rice vinegar, lemon juice, lime juice, or other citrus juices.
Tip: Think about the components of your salad. If you have a salad with bright colors, avoid darker vinegar. Once the salad is dressed, those bright vibrant colors will look muddy. Remember – we eat with our eyes first!
Choose your base:
The base is oil. Use good quality oil. This can be a simple olive oil or fancy garlic and rosemary-infused walnut oil. Again think about the components of your salad. If there are avocados in your salad, why not try avocado oil?
Try oils like olive oil, avocado oil, walnut oil, pumpkin seed oil, hazelnut oil, or other flavor-infused oils.
Add seasonings:
If you are new to making dressings, simple olive oil and balsamic vinegar dressing with a pinch of salt and pepper will work just fine. Once you are comfortable making dressings, try amping it up with other seasonings.
Add a teaspoon of Dijon mustard to add a little tanginess and also to help create a creamier vinaigrette. Add a teaspoon of miso for an umami flavor. Try using fresh herbs for a pop of flavor. For a sweet vinaigrette, add a little maple syrup or honey.
Once you start playing around with different combinations, you’ll start to know what flavor combinations you like best!
February is Heart Health Month and oats have a stellar reputation for their heart health benefit. Do you know the difference between each variety of oats?
Fiber’s role in heart health
Dietary fiber can help improve blood cholesterol levels and lower your risk of heart disease, stroke, obesity and even type 2 diabetes.
The American Heart Association recommends that at least half of the grains you eat be whole grains. Eating whole grains (like oats) are consistently associated with a reduced risk of chronic disease, including cardiovascular disease. Whole grain oats and oat bran can help lower blood cholesterol thanks to the power of beta-glucan – a soluble fiber, largely unique to oats, that basically tells your liver to pull LDL cholesterol out of the blood. Then, it binds to some of the cholesterol in your gut, keeping it from ever reaching your bloodstream.
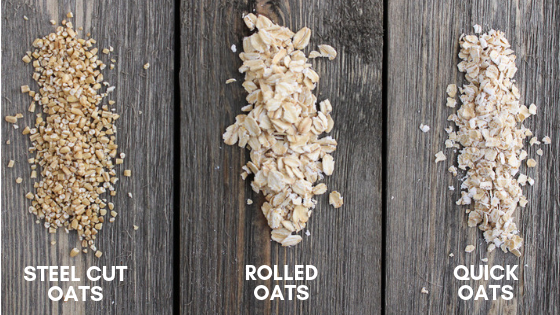
You head to the grocery store to pick up oats, and there are so many options. Steel-cut oats, rolled oats, old-fashioned oats – what’s the difference?
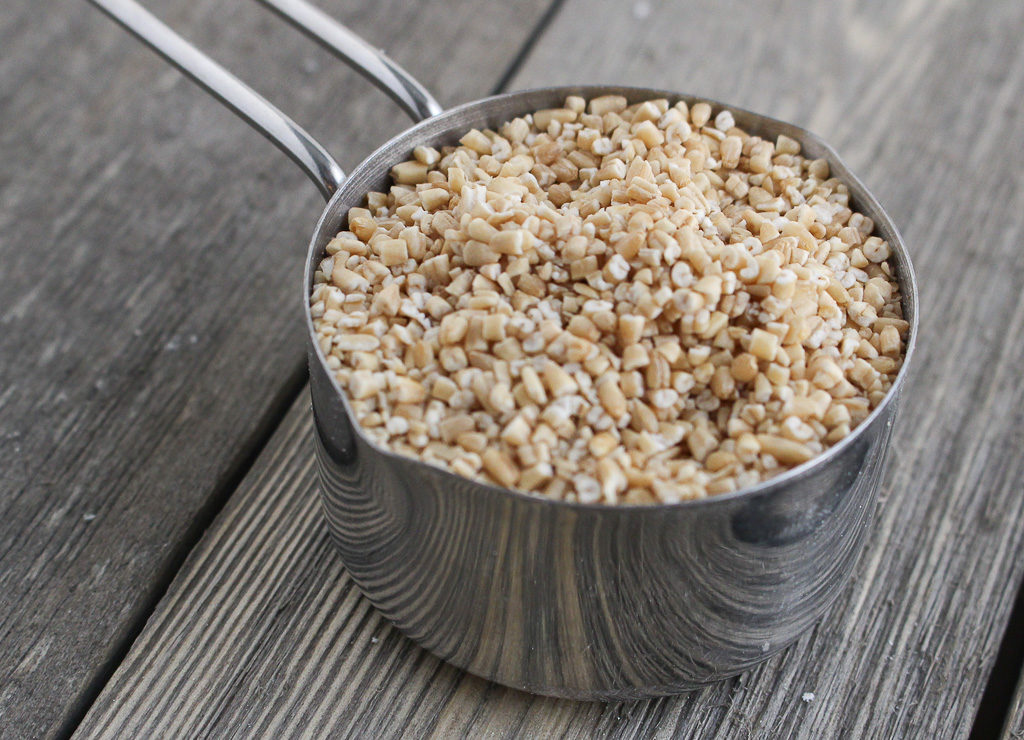
Steel Cut Oats
Steel-cut oats, also known as Irish or Scottish oats, are oats that are processed by chopping the whole oat groat into several pieces. This type of oatmeal takes the longest to cook. Why? Because the outside layer of the whole grain, the bran, is fully intact. A longer cook time penetrates through the bran creating tender, yet a chewy texture that retains much of its shape even after cooking.
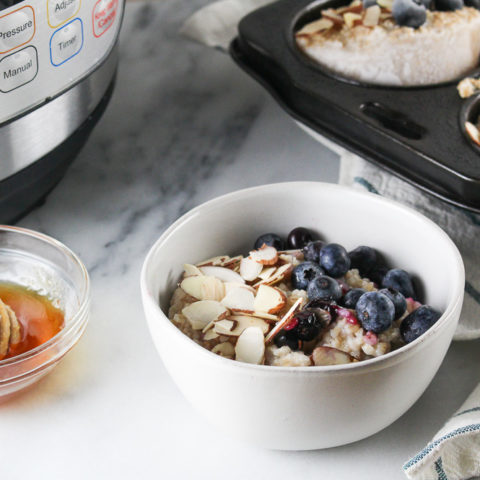
Don’t have time in the morning to cook steel-cut oats? I don’t blame you! Prepare them in advance by cooking them over the stovetop, in a crockpot, or Instant Pot. Or try my frozen muffin tin method.
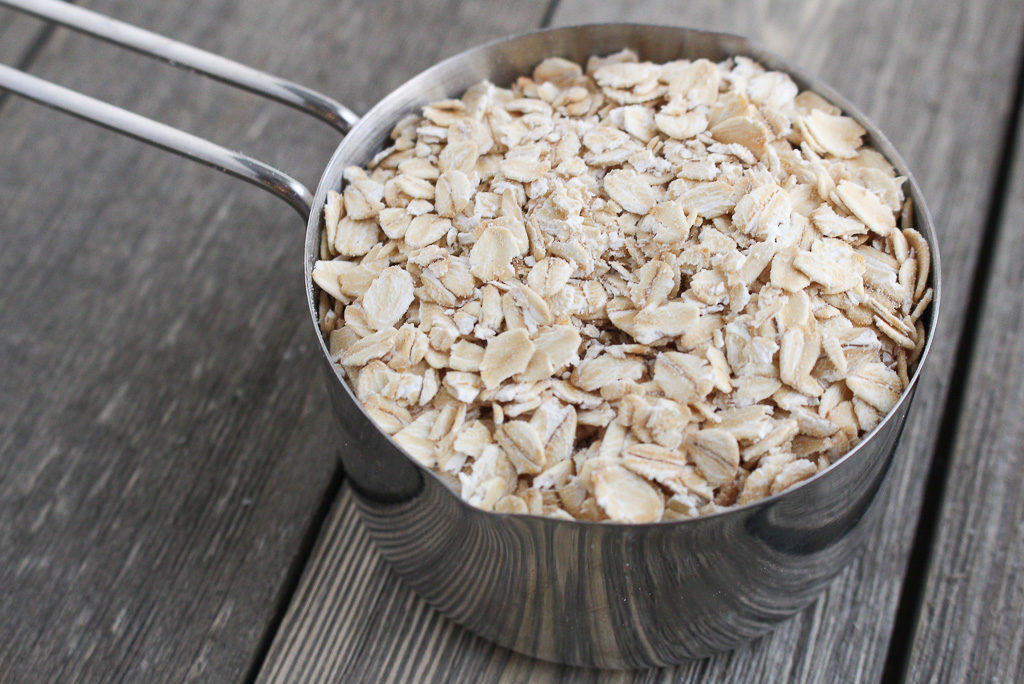
Rolled oats, also known as old-fashioned oats, are created when oat groats are steamed and then rolled into flakes. This process stabilizes the healthy oils in the oats, so they stay fresh longer, and helps the oats cook faster, by creating a greater surface area.
Rolled oats cook faster than steel-cut oats. They absorb more liquid and hold their shape well during cooking. With their faster cook time, enjoy a bowl of warm oatmeal in the morning or use in recipes like muffins, granola, pancakes, or other baked good recipes.
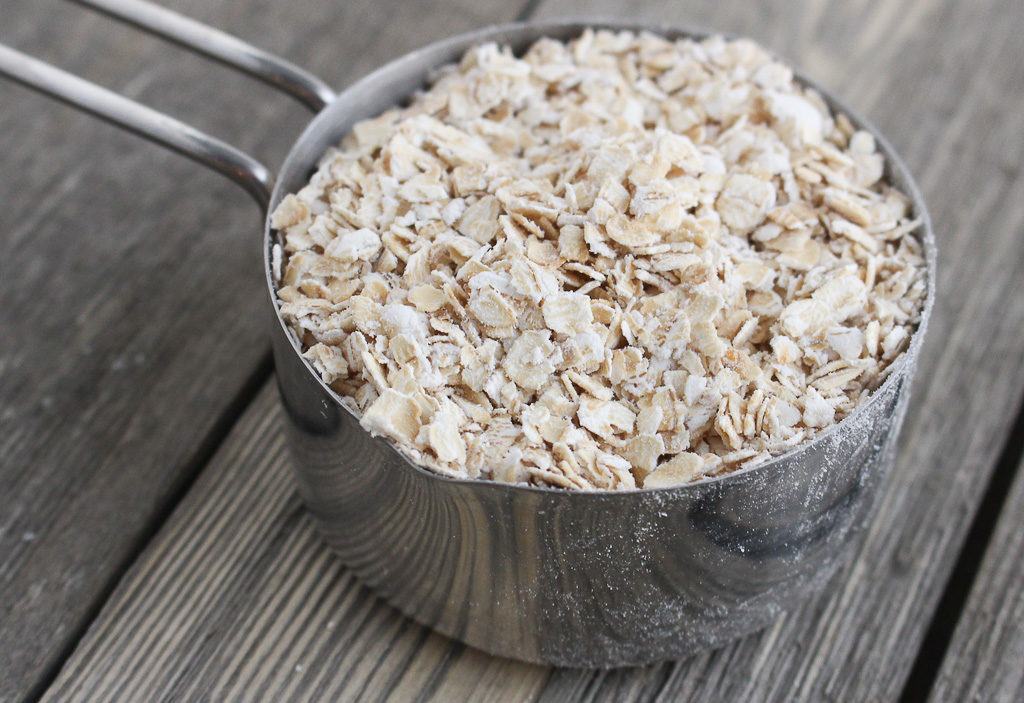
Quick oats, also known as minute oats or instant oats are rolled oats and that are steamed for even longer. As the most processed type of oat, instant oatmeal cooks in seconds and has a smooth, creamy, and soft consistency and mild flavor.
Quick cook more quickly than steel-cut or rolled oats, but retain less of their texture, and often cook up mushy. Plus, be mindful of the multiple varieties of quick oats in the shelf. Tip: Opt for the quick oats in the canister vs. the individual packets. Not only will you save money, but often the packets contain disodium phosphate (aka. salt), to help them swell even faster in the microwave, whereas the canister contains just the oats. Additionally, the packets contain added sugar, if choosing the flavored varieties.
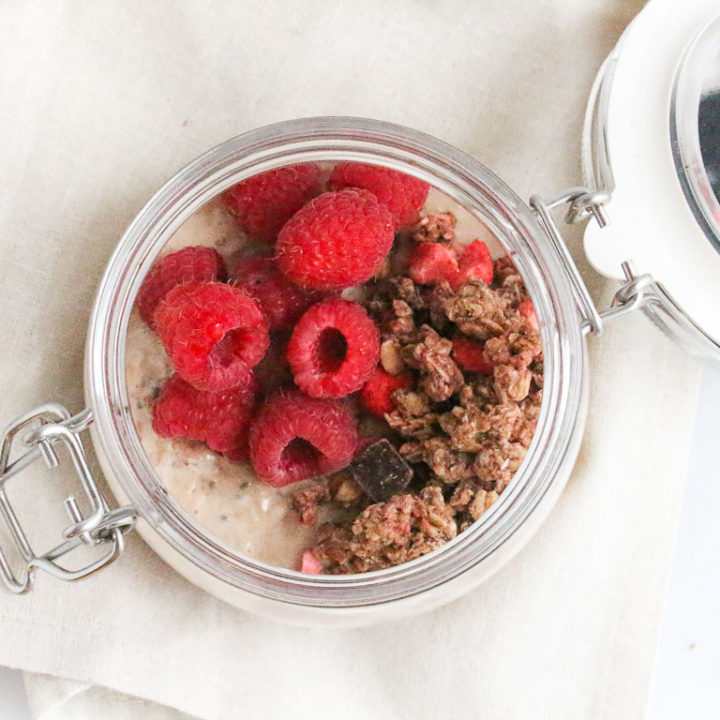
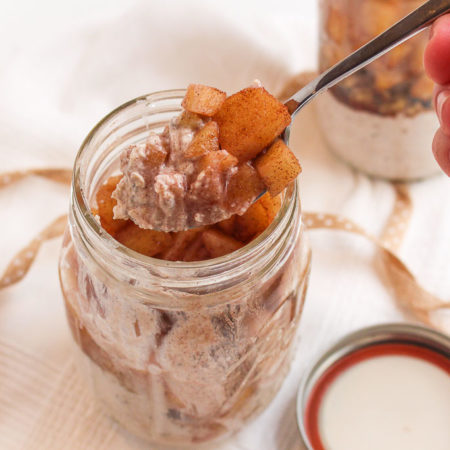
Consuming uncooked oats, like overnight oats that are soaked in milk or yogurt to soften, contain resistant starch. Resistant starch is a carbohydrate that resists digestion in the small intestine and ferments in the large intestine. As the fibers ferment they act as a prebiotic and feed the good bacteria in the gut.
The John Hopkins Patient Guide to Diabetes notes that “When starches are digested they typically break down into glucose. Because resistant starch is not digested in the small intestine, it doesn’t raise glucose. Gut health is improved as fermentation in the large intestine makes more good bacteria and less bad bacteria in the gut. Healthy gut bacteria can improve glycemic control. Other benefits of resistant starch include increased feeling of fullness, treatment and prevention of constipation, decrease in cholesterol, and lower risk of colon cancer. Resistant starch is fermented slowly so it causes less gas than other fibers.”
This post may contain affiliate links. To find out more information, please read my disclosure statement.
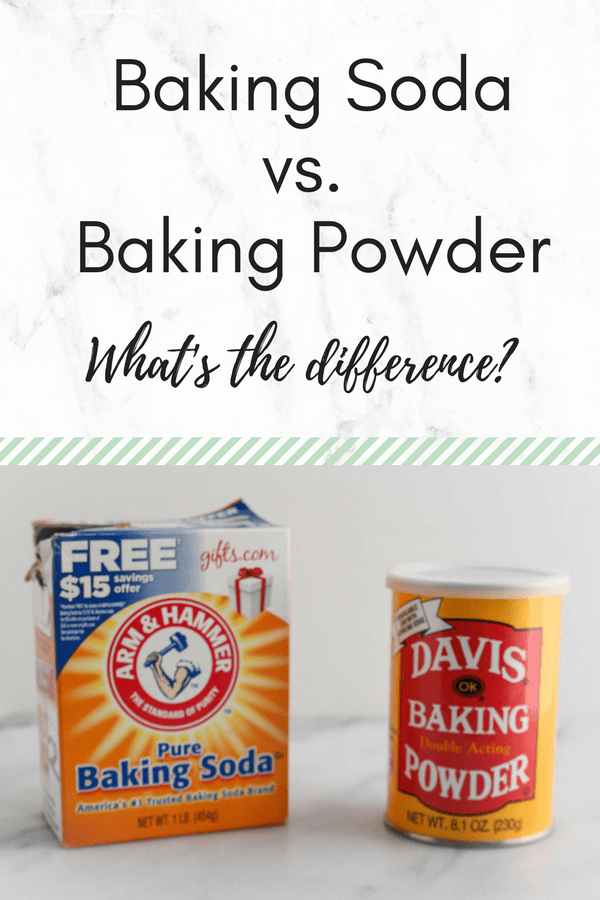
Let’s get nerdy! I love sharing new recipes with you, but I want to start diving more into the food science of food too. When a recipe calls for baking soda or baking powder, what is their purpose? What’s the difference between the two?
Let’s answer the first question: Is there a difference between baking soda and baking powder? YES!
My friend, who is an 8th-grade science teacher, says “Obviously, there is a difference. When you add baking soda to vinegar, it makes cool science volcanos and the other doesn’t.”
Welp, that’s all you need to know. Blog post over. Just kidding, there is so much more to learn! Baking soda and baking powder do have a lot in common, as they are both chemical leaveners, meaning they generate gas during the making and baking of a batter.
Some recipes may call for one or the other, or both, but just make sure you don’t confuse the two because they do have distinct differences.
Baking Soda:
Baking soda contains a single ingredient, sodium bicarbonate. When baking soda is combined with something acidic (think buttermilk, yogurt, citrus juice, vinegar, etc.), it produces carbon dioxide. This creates little bubbles that helps give rise to baked goods.
I know you might be thinking, I’ll just add more to get a better rise in my baked goods. Think again. Be careful not to add too much! When sodium bicarbonate is heated it produces sodium carbonate, which produced a metallic taste. No one wants a metallic tasting muffin. That metallic taste can be neutralized by the acid that is used in the recipe, while still giving our baked goods a pretty good rise.
Did you know?
You can also use baking soda to create homemade cleaners to freshen and clean up tough stains in your home. Learn ways you can use baking soda for cleaning purposes.
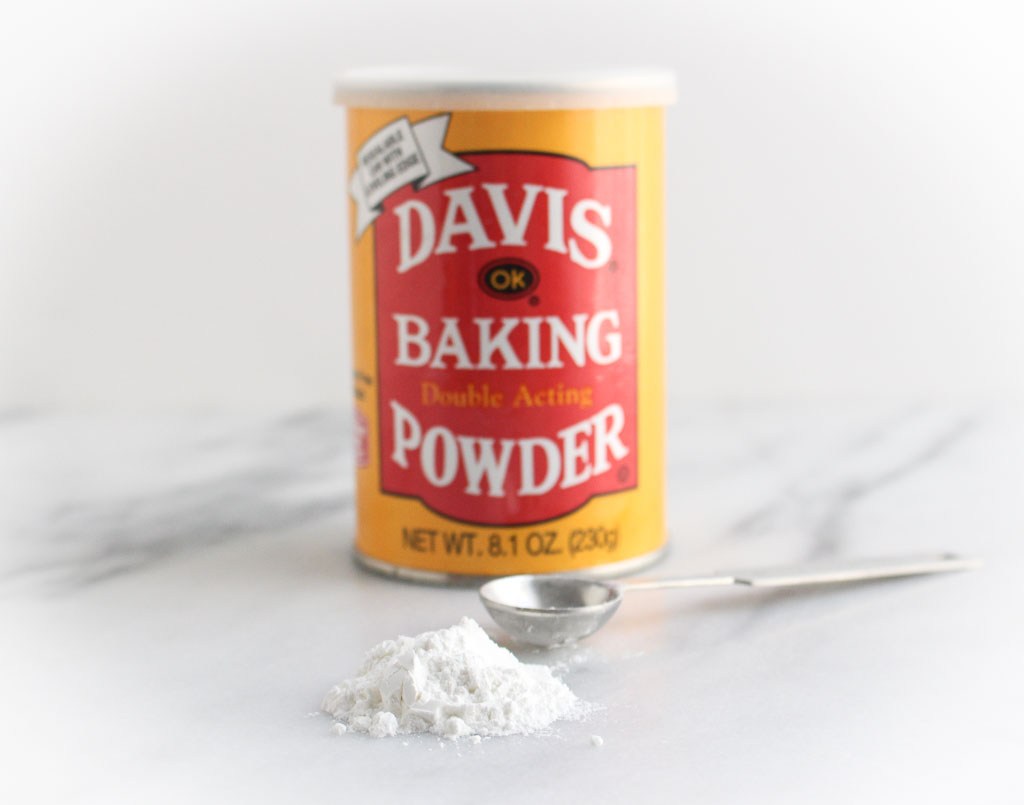
Baking Powder:
Baking powder is a mixture of baking soda and dry acid (plus, sometimes cornstarch). Yup, baking soda is one of the main ingredients in your baking powder. The acid that is typically used is cream of tartar. Cornstarch is often added in to keep the ingredients separate and dry.
The balance of acid (cream of tartar) and base (baking soda) is already balanced for you, so there will be no metallic aftertaste even if you go a little heavy handed with baking powder.
Baking powder only needs a liquid or moisture for a reaction to occur (no acid necessary). With baking powder, the chemical reaction that helps the product rise happens when the product is slowly heated. Baking powder allows for more flexibility because you can let the batter or dough sit for a little while before baking and still get the rise you’re after.
You might see some baking powders at the grocery store that say “double acting”. This means that a small amount of carbon dioxide is released and that some leavening occurs (bubbles) when the baking powder gets wet from wet ingredients, but the rest of the leavening occurs when the baked good is heated.
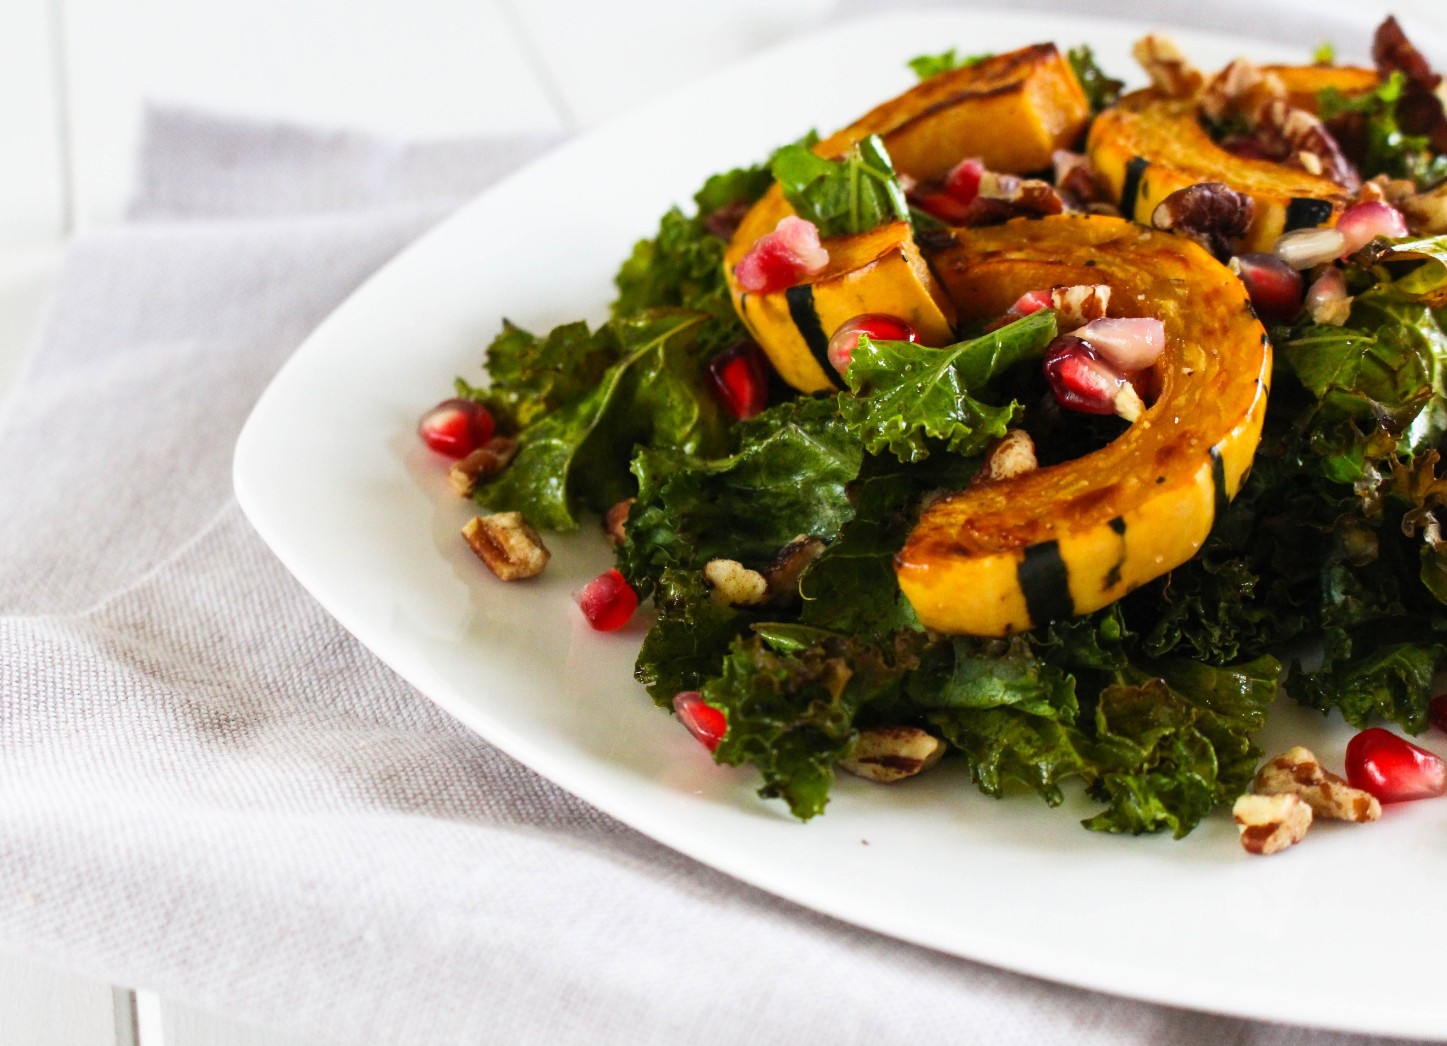
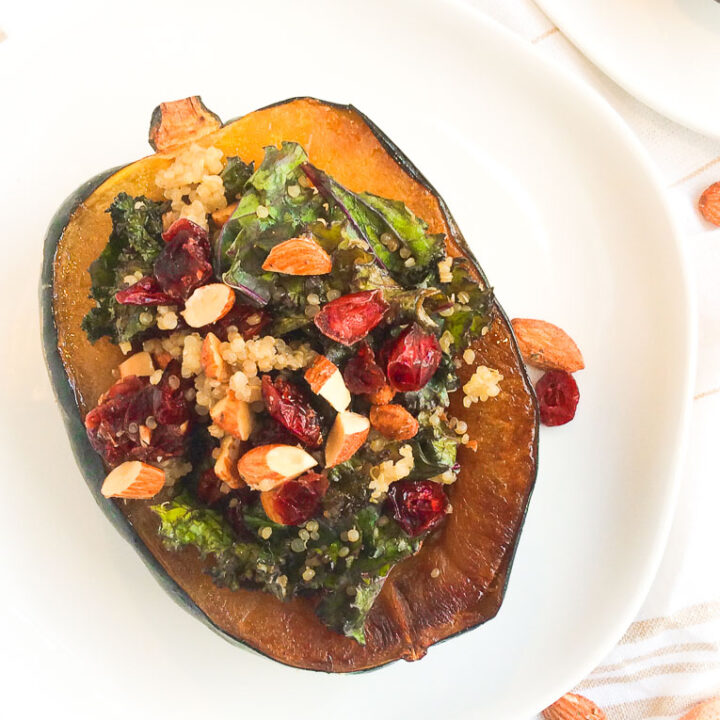
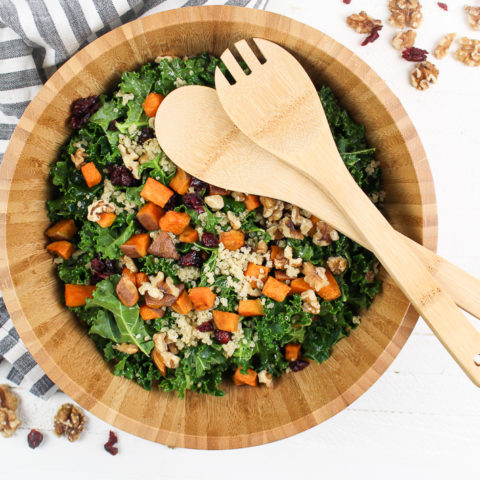
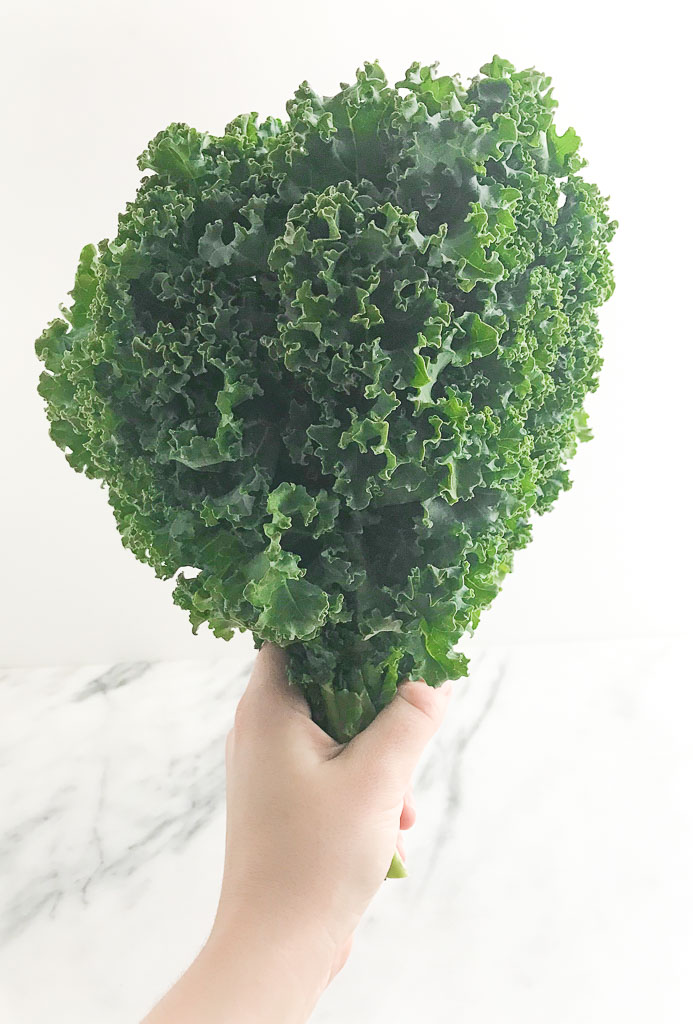
Turn the kitchen lights down, light some scented candles, and get your kale ready for a relaxing massage. I know it sounds silly to massage kale, but trust me you’ll never NOT massage your kale again after reading this post.
Have you ever prepared or order a kale salad and chew on the same bite which seems to last a lifetime? Kale is very fibrous and can leave you chewing until your jaw starts to numb. This happens when the kale hasn’t been treated properly. This treatment comes in the form of a massage. While it might seem a bit odd to massage your food, you’d be amazed at what a quick five-minute rubdown can do to transform this green from being bitter and tough to turning silky and sweet.
Kale is a strong, sturdy, and bitter green that can withstand growing in the cold winters. Kale was once only used as a garnish but then labeled as a “superfood” in recent years. It was used as a garnish because of its structure. The bright green leaves would withstand long hours on the buffet table, while still looking fresh and providing that pop of color. Why? Because of its tough cellulose structure.
Massaging kale is easy to do. Remove any thick fibrous ribs of the kale leaves. Take bunches of kale leaves in both hands and rub them together. Work your fingers on each leave. You’ll start to notice a visible change right away. The leaves will darken and yield, softer, shinier, and tender sweet pieces of kale.
Nutrition to know:
Kale is high in fiber, antioxidants, and carotenoids (lutein and beta-carotene), with more than 45 flavonoids, particularly kaempferol, and other phytonutrients like quercetin, which helps combat inflammation. Kale has twice the vitamin K as other cruciferous vegetables.
Did you know? Kale has more vitamin C than an orange! One cup of chopped kale has 134 percent of your recommended daily intake of vitamin C, while a medium orange has 113 percent. Kale is also packed with vitamin A! A one-cup serving of kale contains over 200% of our vitamin A recommendation in the form of beta carotene.
Meal prep tip:
Since kale has such a sturdy structure, wash, trim, and massage kale for the week. Fresh kale can stay fresh for about 1 week in the refrigerator.
Ever notice the yellow/orange color on the edges as kale ages? It’s not necessarily going bad, but chlorophyll green color is breaking down and shows the rich vitamin A & C color along the edges.
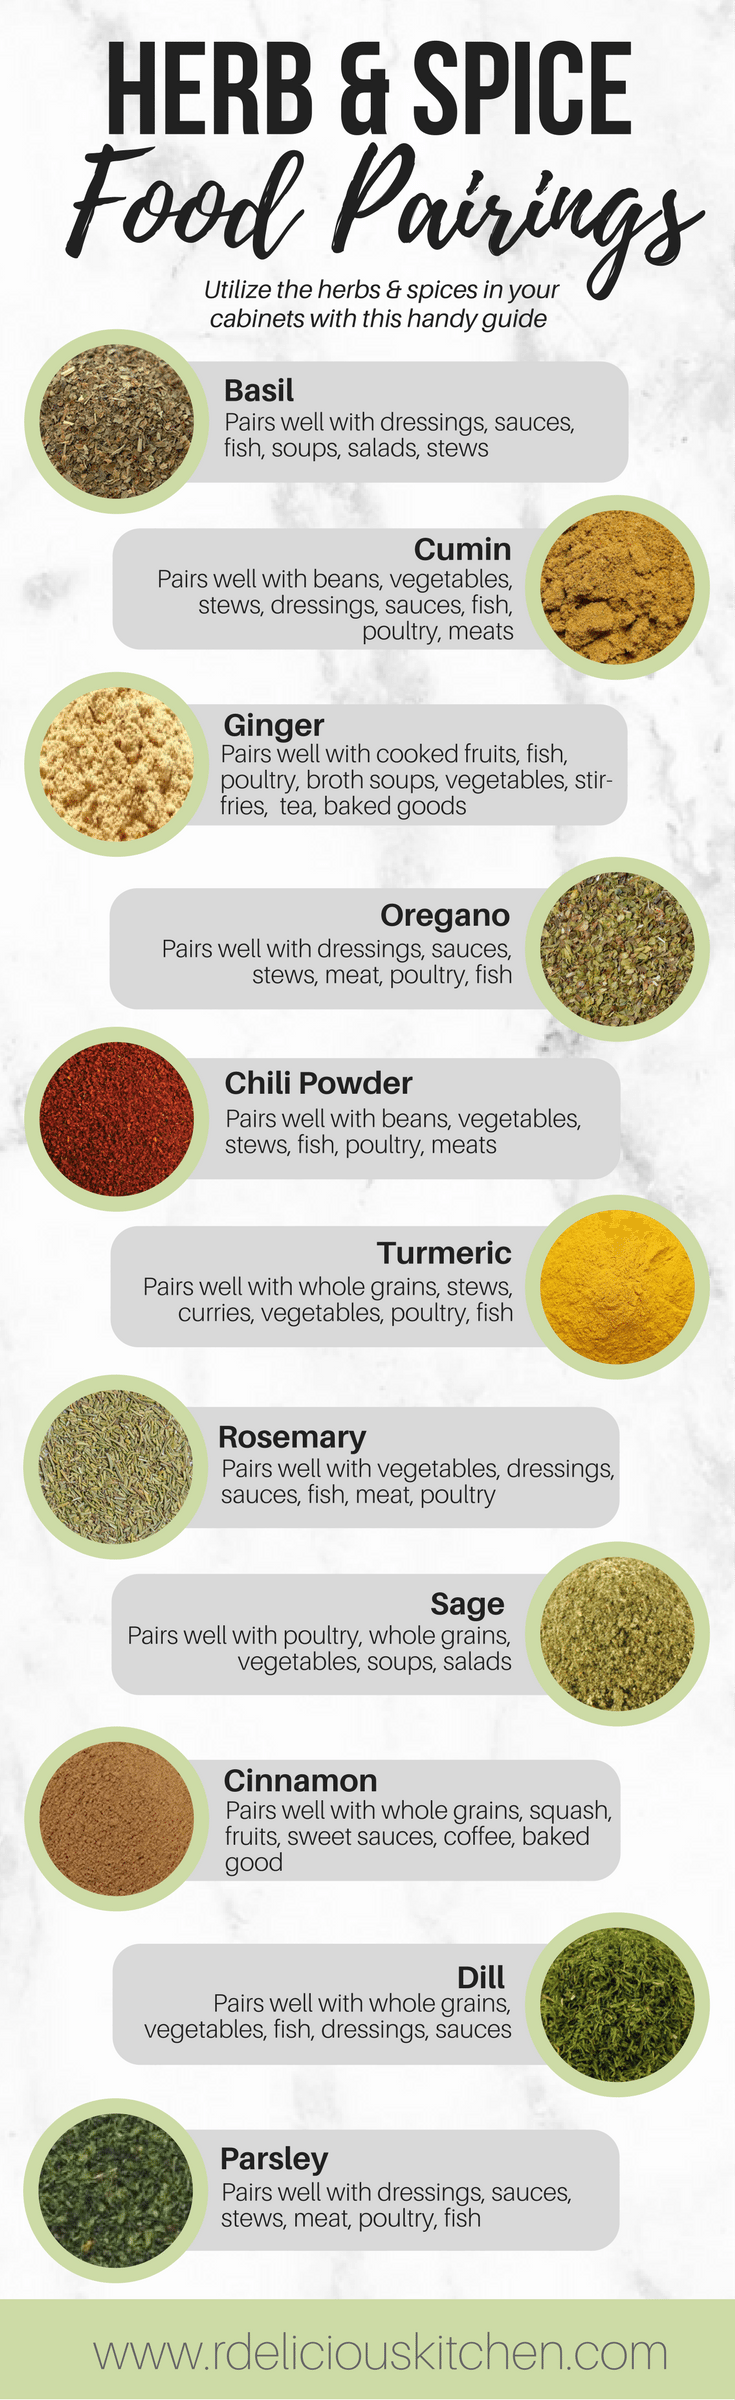
I’m sure you have a pantry full of herbs and spices. Not sure what to do with them? No problem! Use this handy guide to know what foods your herbs and spices pair best with.
Before we start talking about what to pair your herbs and spices with, let’s make sure you are storing them properly first.
Herb and Spice Storage Tips:
Keep spices and herbs away from heat, moisture, and direct sunlight. Even a commonly used herb like dried bay leaves should be kept away from the stove.
Don’t sprinkle spices and herbs directly from the bottle over a steaming pot. Steam can sneak into the spice bottle and sap your spices’ power. If you’re wondering why ground spices like allspice get hard and caked in the bottle, steam may be the culprit.
They don’t spoil, but spices and herbs do lose their strength. Old and weak seasonings will not deliver the taste that they should.
Make sure your measuring spoon is completely dry when you dip it into the bottle. The moisture can quickly ruin the flavor of an aromatic spice like cinnamon.
An inexpensive coffee grinder can also be deployed to grind whole seeds, cloves, and cinnamon sticks. Fresh-ground spices are especially flavorful.
If the recipe calls for fresh herbs, but you only have dried on hand, don’t worry. Just remember the ratio, 1 to 3. Because dried herbs have a more intense concentrated flavor, dried herbs can be substituted for fresh herbs at a ratio of 1 to 3. Use the food pairings guide below to help utilize the herbs and spices in your kitchen pantry. Pin to save for a reference!
Let’s get cooking!
Learn the simple culinary technique of (easily) being able to seed a whole pomegranate to add powerful antioxidants to your recipes + save you money at the grocery store.
Raise your hand if you’ve ever been intimidated of purchasing a pomegranate at the grocery store because you had no clue how to cut it. Now, grocery stores are making it very easy for you and pre-packaging pomegranate seeds, but are definitely much more expensive than buying a whole pomegranate.
Did you know each pomegranate contains hundreds of seeds? The pre-packaged versions, you are only getting maybe a quarter of the seeds of what a whole pomegranate holds. Don’t fear that whole pomegranate staring at you in the produce department. The skin of the pomegranate is thick and inedible, but there are hundreds of edible seeds called arils within. Gain confidence in the kitchen and follow my simple video below to easily seed a pomegranate.
Pomegranate season typically runs from October through February. When selecting pomegranates, look for a ripe, deep-colored fruit with a red to reddish-brown outer rind that is heavy for its size.
How to seed a pomegranate:
There are a few ways to seed a pomegranate. I’ve tried them all! This technique I find the easiest and the least messiest. Those bright and colorful seeds can easily stain your clothes and cutting board. Follow my simple video the next time you go seed a pomegranate.
When you remove the seeds underwater, the seeds sink to the bottom and the pith floats to the top. Simply skim the any pieces of the pith and drain your pomegranate seeds.
Health Benefits of Pomegranates
Pomegranates contain three types of antioxidant polyphenols, including tannins, anthocyanins, and ellagic acid, in significant amounts. Antioxidants are nature’s way of providing your cells with adequate defense against attack by reactive oxygen species. Pomegranates are a good source of fiber and contain vitamins A, C, and E, iron.
Once you’ve seeded your pomegranate, snack on them as is or add them to a recipe. I like to sprinkle them over oatmeal or yogurt, top my waffles with them, add them to a salad, or even dessert. Be creative!
This website uses cookies to improve your experience. We'll assume you're ok with this, but you can opt-out if you wish.AcceptRejectRead More
Privacy & Cookies Policy
Privacy Overview
This website uses cookies to improve your experience while you navigate through the website. Out of these, the cookies that are categorized as necessary are stored on your browser as they are essential for the working of basic functionalities of the website. We also use third-party cookies that help us analyze and understand how you use this website. These cookies will be stored in your browser only with your consent. You also have the option to opt-out of these cookies. But opting out of some of these cookies may affect your browsing experience.
Necessary cookies are absolutely essential for the website to function properly. This category only includes cookies that ensures basic functionalities and security features of the website. These cookies do not store any personal information.
Any cookies that may not be particularly necessary for the website to function and is used specifically to collect user personal data via analytics, ads, other embedded contents are termed as non-necessary cookies. It is mandatory to procure user consent prior to running these cookies on your website.


 Butternut Squash and Kale Pita Pizza