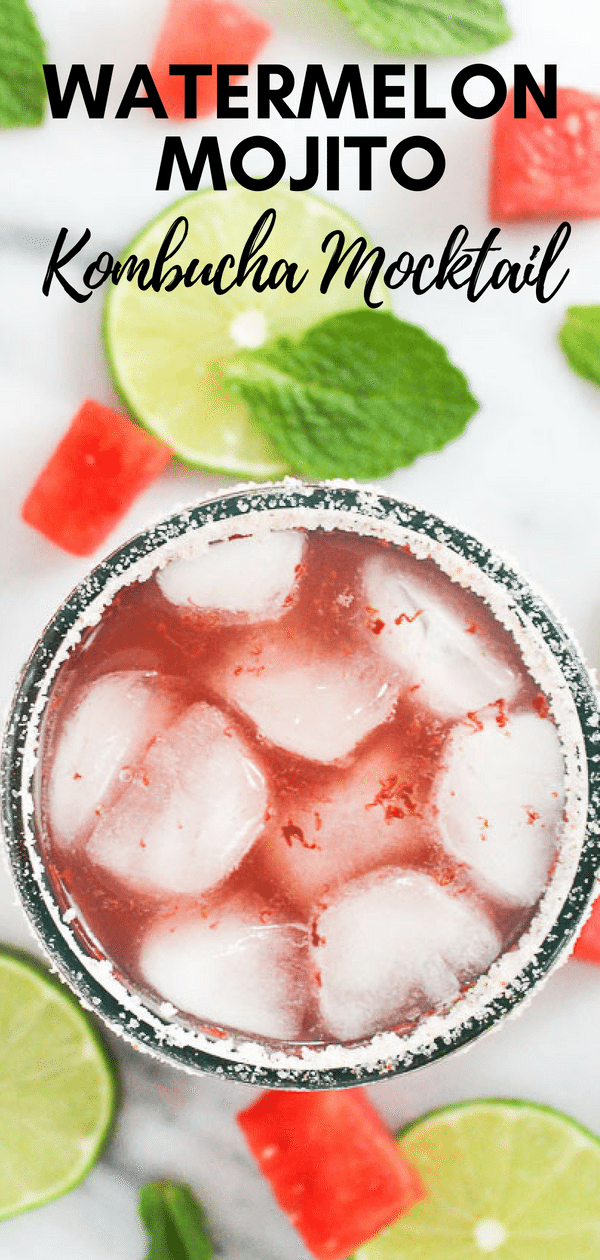
Watermelon Mojito Kombucha Mocktail

Sip on this refreshing Watermelon Mojito Kombucha Mocktails and set up a fun drink station to wow your guests this summer.
Watermelon mojito in a clear glass with ice
I’ve come to really enjoy kombucha.

What is kombucha?

Kombucha is a fermented tea that naturally contains probiotics. These probiotics are actually good bacteria that line your digestive tract and support your immune system, as they absorb nutrients and fight infection and illness.
With its health benefits, I wanted to make it into a fun mocktail instead of just drinking it straight. Kombucha comes in many flavors, which ranges in many colors to create a variety of colorful mocktails.

What’s a better way to enjoy your Kombucha Mocktail than with a perfectly styled drink station? A bar cart makes the perfect base for your drink station along with being a great conversation starter. They’re easy to move around your house or even outside for entertaining. The best part is that there really is a bar cart out there to match any design style or budget. You can find a glam rose gold cart with leather accents or more rustic wooden piece that’s perfect for housing all of the accouterments for fixing the perfect mocktail. Pick your favorite cart and you’ll have no problem creating a fun drink station in your home.

Large glass beverage dispensers are perfect for making a statement atop your bar cart. The bright fun color of your kombucha along with any floating fruit slices or herbs will become a tantalizing focal point for guests! This dispenser from Crate & Barrel has a trendy wooden stand or if you’re looking for more variety this set has two dispensers with cute chalkboard labels to tell your drinks apart. You can supplement your beverage dispensers with elegant carafes of juices or fizzy drinks for plenty of customization.

Next, add a few fun touches to really bring your station to life. There are practical additions like printed napkins or bright straws that are always sure to be a hit. A stack of books is a great way to show off your personality and can be a fun conversation starter for guests. In their post on bar cart styling tips, the professional designers at Havenly suggest hanging a piece of art above your cart to give the area a finished look. No matter how you decide to accessorize your drink station, adding thoughtful touches of your personality will elevate it from a simple beverage center to a stylish focal point in your home.
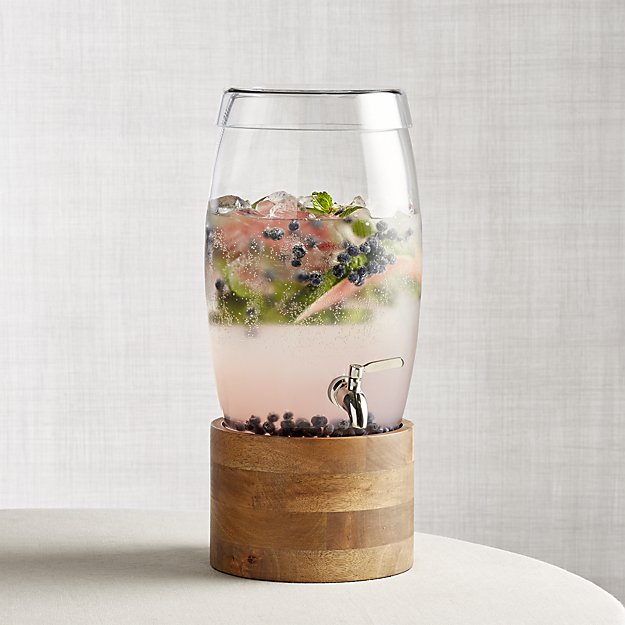
Oregon Glass Drink Dispenser with Brooks Wood Stand Crate and Barrel

(Image source)

Accenting your station with a small potted plant atop your cart gives it a perfect touch of vibrancy and life! From succulents to bouquets of fresh flowers, plants are a great accessory for any style of decor. For extra fun, use a small herb planter set to showcase live garnishes for the drinks you’re serving, like some fresh mint for my Watermelon Mojito Kombucha Mocktail. Include a small pair of scissors so guests can snip their own fresh herbs for adding to their beverages.
Finally, when styling a drink station, your glassware is more than just functional. Pick out some fun glasses that match your personality and show them off on top of your bar cart like a decor piece. Cut crystal glasses are always a classic choice for some sophisticated sparkle or just grab some cute mason jars if your style is more casual. Varying the sizes and shapes of your glassware will add some fun diversity to the look of your station.Overhead shot of Watermelon Mojito with salt rimmed edges
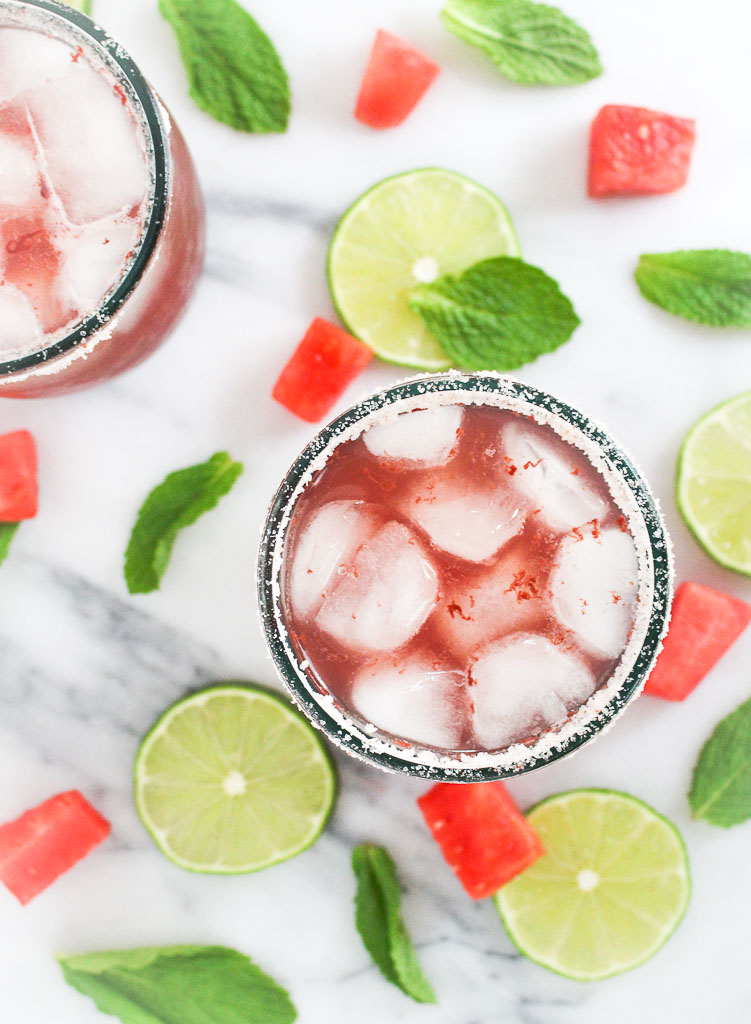
Put it all together atop your cart and you’ll have a perfectly adorable station for showing off your kombucha mocktails in style!
Design style tips provided by Havenly. I was not compensated for this post. All thoughts and opinions are my own.
Print
clock clock iconcutlery cutlery iconflag flag iconfolder folder iconinstagram instagram iconpinterest pinterest iconfacebook facebook iconprint print iconsquares squares iconheart heart iconheart solid heart solid icon
bright pink mocktail in glass with watermelon and lime

Watermelon Mojito Kombucha Mocktail

  • Author: Chef Julie Harrington RD
  • Yield: 2

Description

Sip on this refreshing gut-healthy kombucha mocktail.


Ingredients

Scale
  • 8 oz. watermelon kombucha
  • 8 oz. seltzer or club soda
  • 2 tablespoons lime juice, plus more for garnish
  • ¼ cup mint, muddled, plus more for garnish
  • salt, to garnish the rim of the glass

Instructions

  1. Using a mortar and pestle crush the fresh mint leaves to release the flavor.
  2. In a shaker, add the kombucha, lime juice. and mint. Gently shake. (Be careful, the kombucha is carbonated.)
  3. Pour in a glass with ice with the ridges lined with salt (optional).
  4. Top with seltzer. Garlic with a mint leave and/or lime wedge.

Recipe Card powered byTasty Recipes

Chef Julie Harrington, RD - Culinary Nutrition Consultant of chefjulierd.com

Pin for later!
Overhead shot of watermelon mojito beverage with text

Turkey Veggie Burgers

These Spinach Turkey Burgers are delicious on and off the grill! . Learn how to keep a turkey burger juicy no matter which way you choose to cook it!

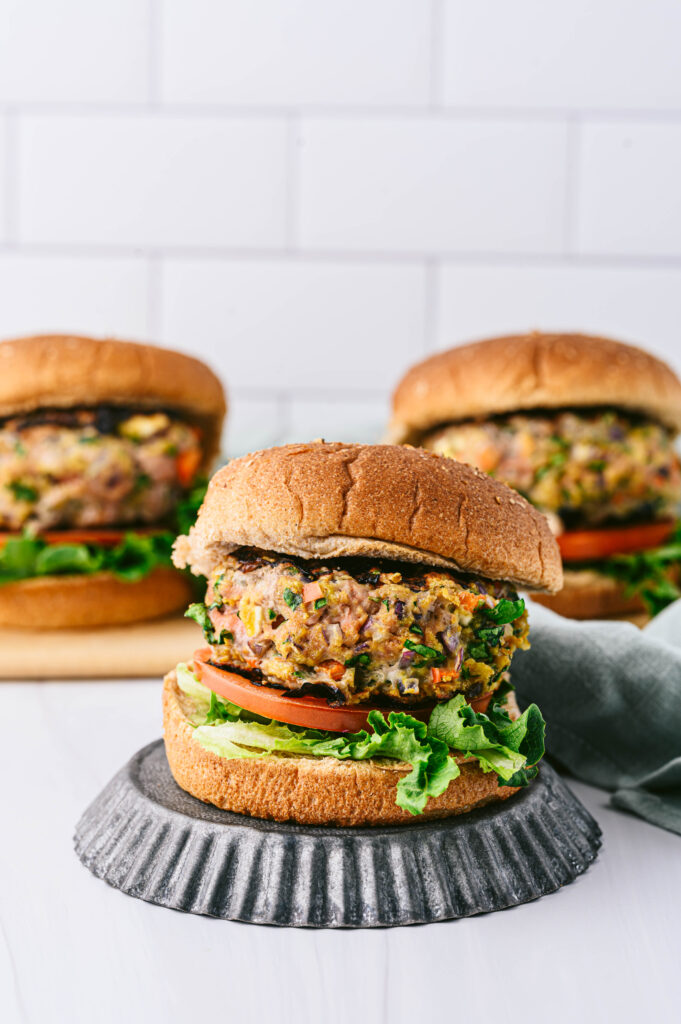
three veggie turkey burgers on buns with toppings

It’s officially grilling season! Grilling is a healthy cooking technique. This cooking method exposes food to direct heat, leaving grilled food evenly charred on the outside and juicy in the inside. It is also a lower-fat cooking method because the fat will drip from the grill grates. Grilling can be for meats, vegetables, and fruit. Have you ever had grilled pineapple? It’s delicious!

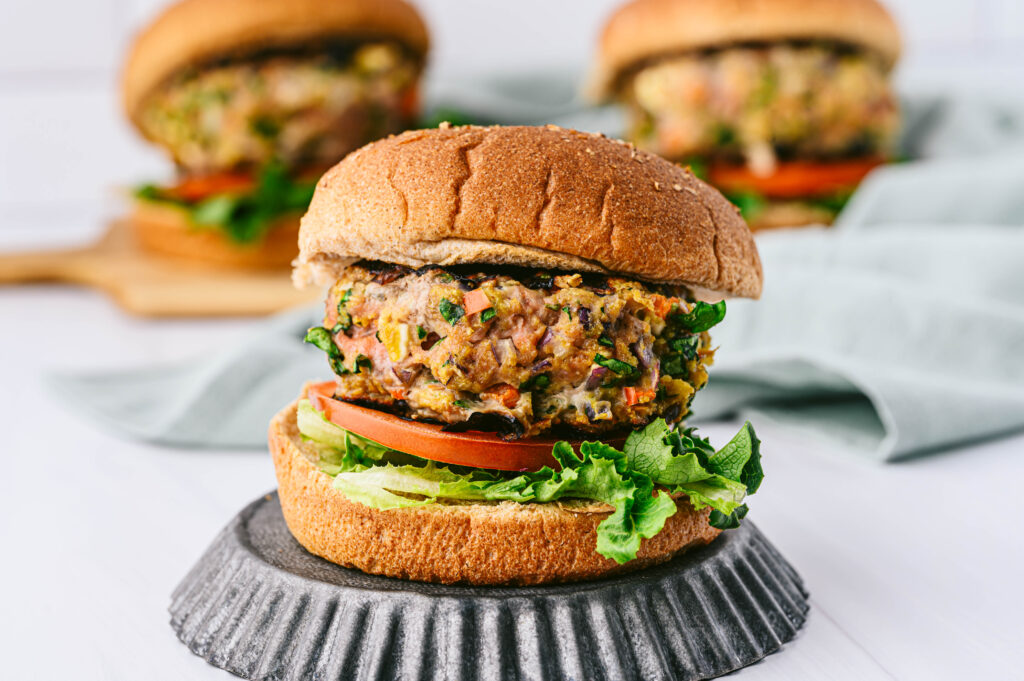
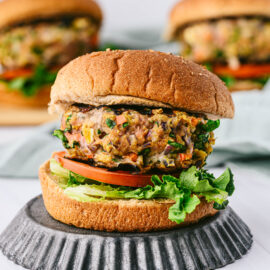
close up of a spinach turkey burger on a bun with lettuce and tomato

Why You’ll Love Turkey Spinach Burgers

So often I hear complaints that turkey burgers are dry and chewy because they are very lean. Indeed, ground turkey breast is very lean with only 1% fat. Knowing that, how can we add more flavors, more moisture, and even stretch your dollar? Veggies!

Finely chopping veggies and incorporating them into the ground turkey will help keep the burger moist and tender. When cooked the water content from the vegetables is released, leaving you with a juicy burger.

Plus, by bulking up the ground turkey with veggies, it creates more burger patties, significantly stretching your dollar. One pound of ground meat often serves four, but with adding veggies it stretches it to six servings.

I call these confetti burgers because there are flecks of colors throughout the burger patty. The key is finely chopping vegetables so they evenly disperse throughout the patty. Play around with different veggies that you like. I always aim to add at least three different colors into the mix.

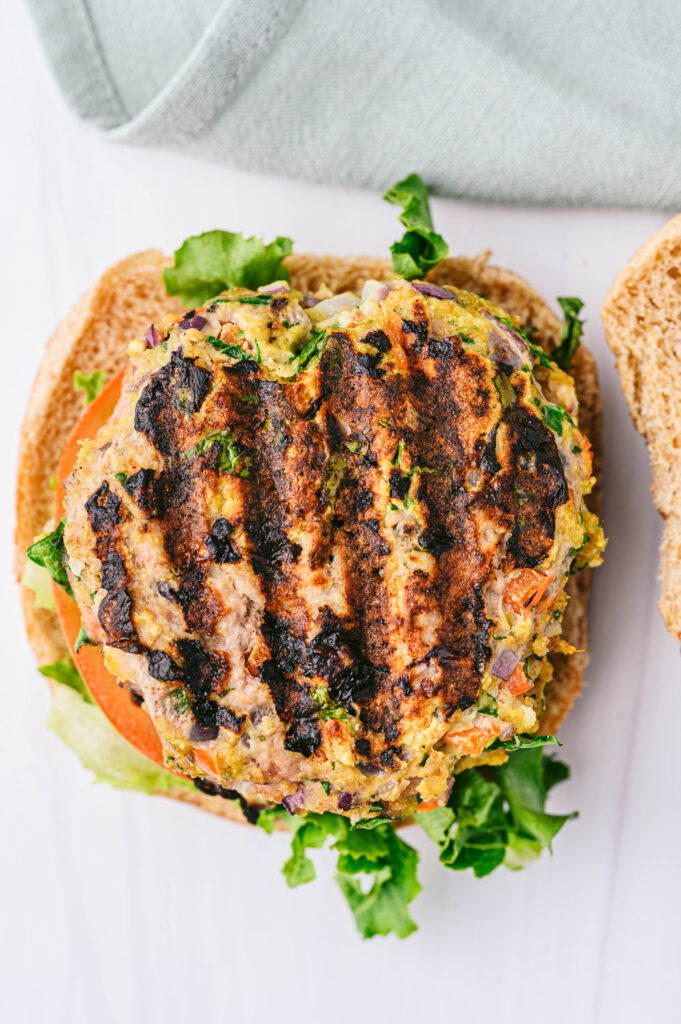
top view of a grilled veggie turkey burger on the bottom bun with lettuce and tomato

The Difference Between Charcoal and Gas Grills

Charcoal Grills

They provide a more distinct smoky flavor along with that amazing backyard aroma. It’s such a tease when I’m running through the neighborhood and all I smell are my neighbors grilling. Scented wood chips or charcoal will bring the additional flavor. However, charcoal can be a little messy and sometimes tricky to regulate the temperature

Gas Grills

Just turn on a switch and your gas grill is fired up and ready to go. You are able to easily regulate the temperature and often gas grills have different settings that you can easily regulate areas of the grill at different temperatures. You won’t really get that smoky flavor, but you are able to cook various items on the grill at the same.

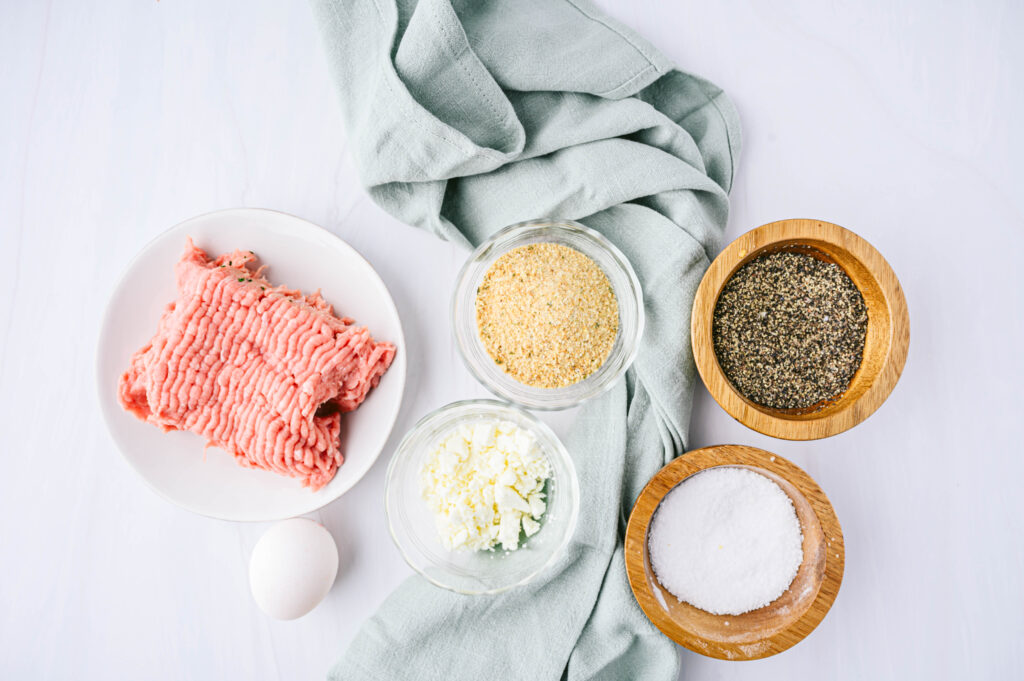
ingredients needed for veggie turkey burgers

Ingredients Needed for Spinach Feta Turkey Burgers

  • red bell pepper
  • red onion
  • spinach
  • ground turkey breast
  • feta cheese
  • breadcrumbs
  • egg
  • salt and pepper

How to Make Turkey Veggie Burgers

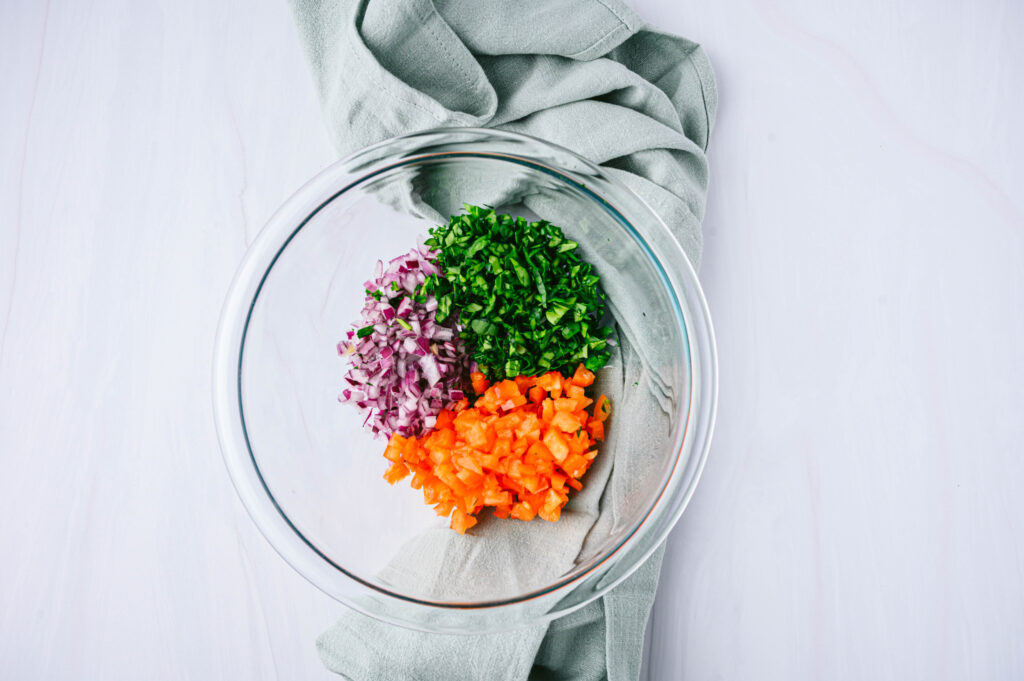
Prep all of the vegetables and preheat the grill.

chopped veggie in a glass bowl for burgers

Combine the ground turkey, feta cheese, egg, salt, pepper, and breadcrumbs in large mixing bowl.

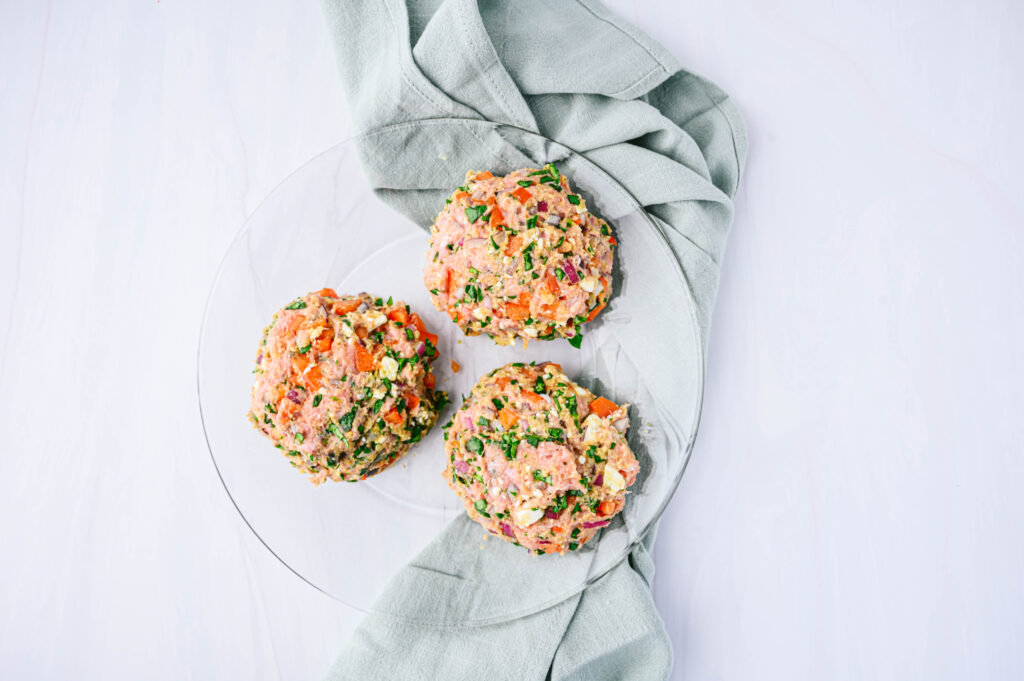
Mix together with your hands until the ingredients are incorporated. Form 6 patties.

three veggie turkey patties on a glass plate

Grill each burger 5-7 minutes on each side or until the internal temperature reaches 165 degrees.

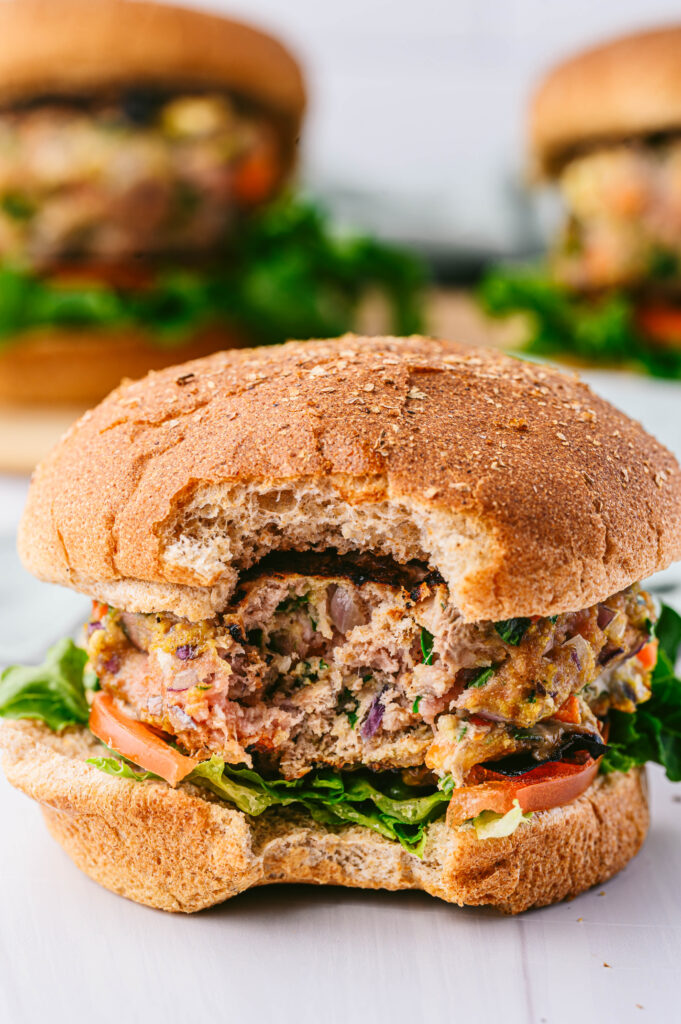
Serve on a whole wheat bun with your favorite toppings!

a spinach veggie turkey burger with a bite taken out

Can You Make These on the Stovetop or in the Oven?

Yes. Bake for 15 minutes at 350 degrees.

For the stovetop, get a skillet nice and hot and add a little oil. Cook for the burgers for several minutes on each side.

Tips for Making

  • Be careful when flipping the burgers and only flip one time. These can be delicate, you don’t want them to fall apart.
  • To make ahead of time you can store the patties in the fridge or freeze them until you are ready to serve.
  • While these go great with traditional toppings, you can also add a little tzatziki sauce for a whole new flavor.
  • Avoid using frozen spinach. It has too much moisture and it will be hard to keep the turkey burgers together.
  • Use a veggie chopper to get the vegetables nice and small.
turkey veggie burger on a whole wheat bun with toppings

What Do Turkey Burgers Go With

Of course you can always serve them with fries or wedges, but here are a few of my other favorite side dishes.

Print
clock clock iconcutlery cutlery iconflag flag iconfolder folder iconinstagram instagram iconpinterest pinterest iconfacebook facebook iconprint print iconsquares squares iconheart heart iconheart solid heart solid icon
close up of a spinach turkey burger on a bun with lettuce and tomato

Turkey Veggie Burgers

  • Author: Chef Julie Lopez, RD
  • Prep Time: 15
  • Cook Time: 15
  • Total Time: 30 minutes
  • Yield: 6
  • Category: dinner
  • Cuisine: American

Description

The best turkey burgers! The secret to preventing the burgers from drying out is the added veggies!


Ingredients

Scale
  • 1 medium red bell pepper, finely chopped
  • 1 red onion, finely chopped
  • 2 cups spinach, finely chopped
  • 1 pound ground turkey breast
  • ½ cup feta cheese, crumbled
  • ½ cup breadcrumbs
  • 1 egg
  • ⅛ tsp salt
  • ⅛ tsp pepper

Instructions

  1. Preheat grill. Prep all the vegetables, and set aside in a bowl.
  2. Add the ground turkey, feta cheese, breadcrumb, egg, salt, and pepper.
  3. Mix together until all ingredients are incorporated together. Form into 6 patties.
  4. Grill each side for about 5-7 minutes (or bake in the oven at 350 degrees for 15 minutes), or until internal temperature reaches 165 degrees F.
  5. Put on top of a whole wheat bun and with your favorite healthy toppings.

Keywords: turkey burger, burger, dinner

Recipe Card powered byTasty Recipes

Did you make this recipe? Let me see! Tag me on Instagram or Facebook.

other recipes you may enjoy

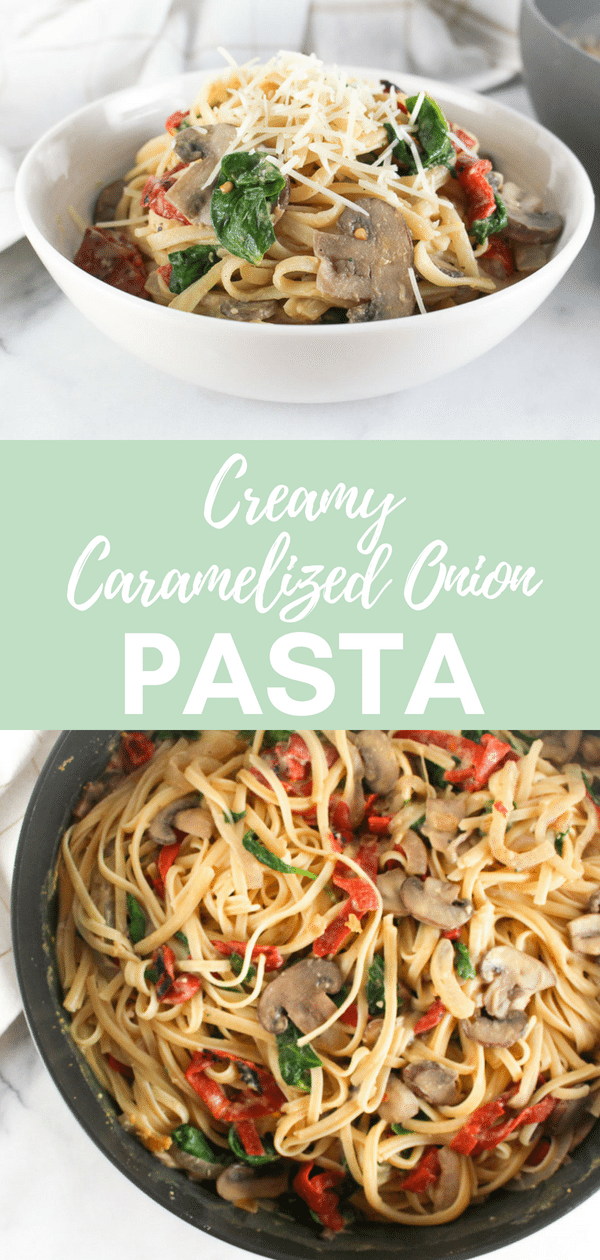
Creamy Caramelized Onion Pasta

Looking to revamp pasta night? Love a creamy sauce, but looking for a dairy free version? Try this Creamy Caramelized Onion Pasta, using hummus as the base of the sauce. 
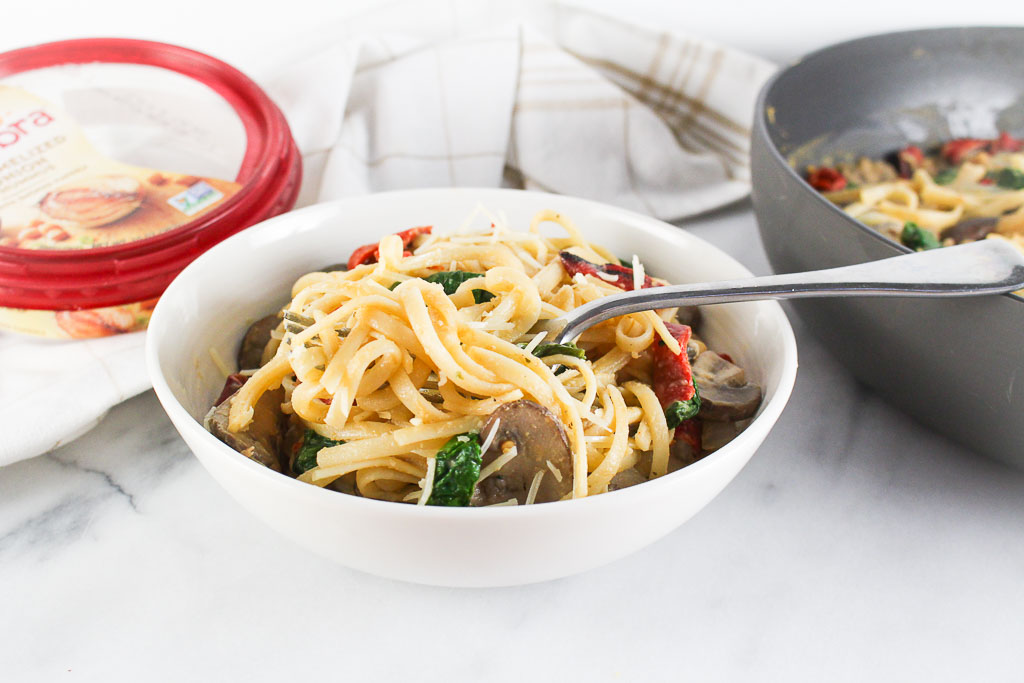
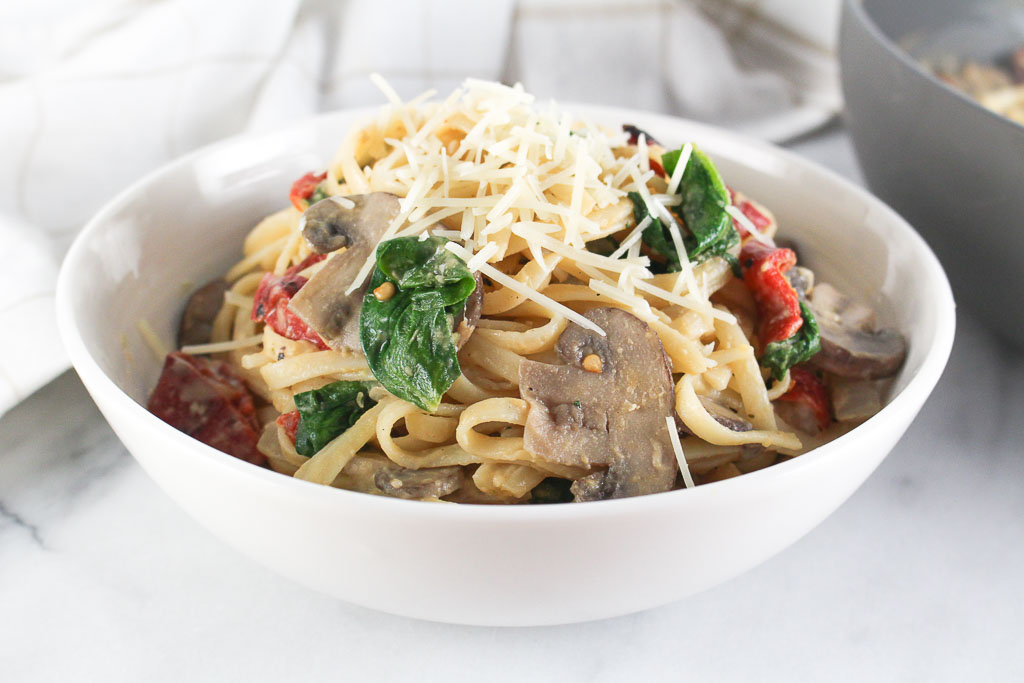
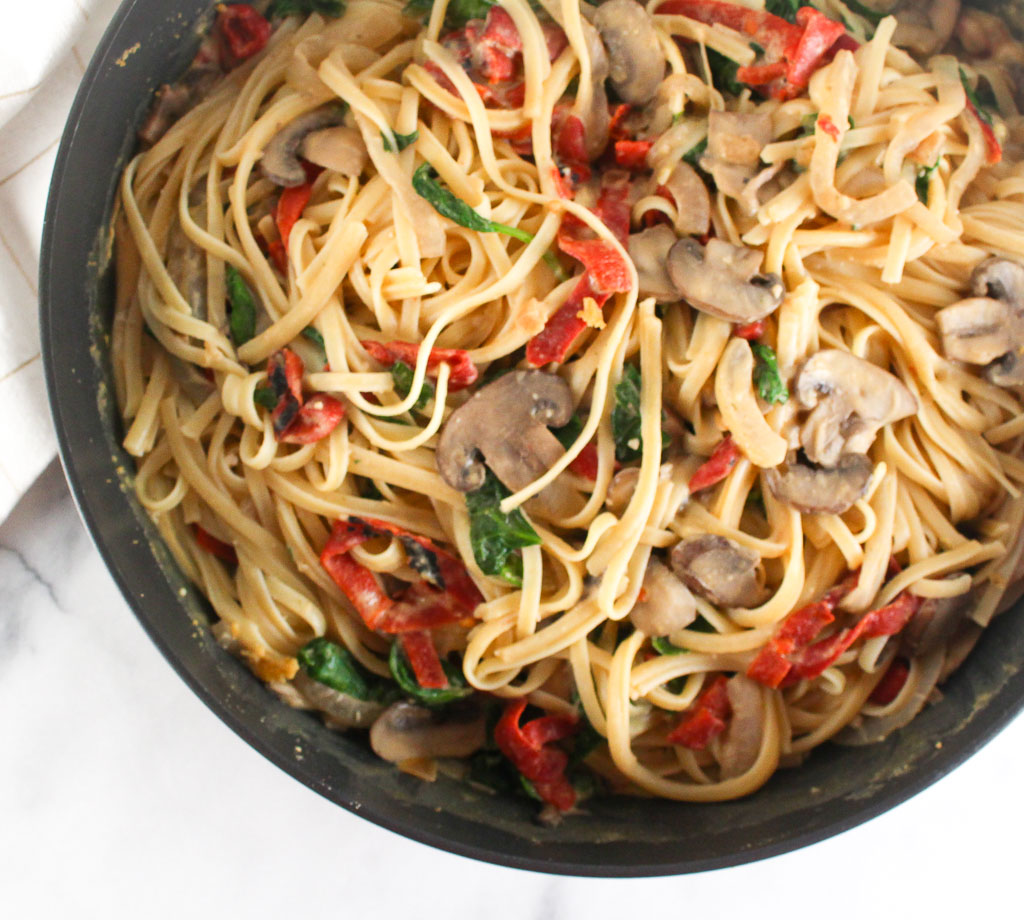
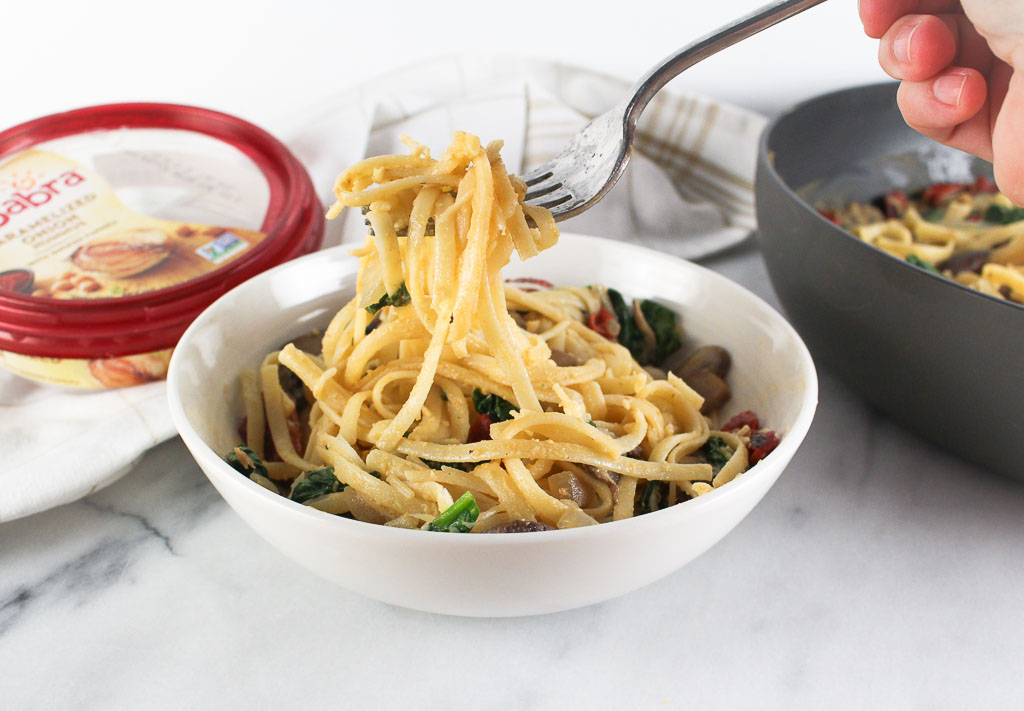
creamy pasta in a white bowl with mushrooms, spinach, roasted red peppers, caramelized onions, and parmesan cheese

I received free samples of Sabra mentioned in this post. By posting this recipe I am entering a recipe contest sponsored by Sabra and am eligible to win prizes associated with the contest. I was not compensated for my time.
I have so many memories of my childhood going to Grandma’s for Sunday night dinner with my whole family. Pasta was always on the menu. It’s the Italian way! The second you walked into Grandma’s house you could smell the gravy that has been simmering all day.
Funny story about gravy .. Well, I thought everyone called marinara sauce, gravy. I remember teaching one of my first cooking classes discussing the baked eggplant parm that we were going to top with homemade gravy. With all the puzzled faces looking back at me, I instantly got nervous thinking, “oh no, maybe no one likes eggplant parm?”, but one participant spoke up and questioned the unique combo. They were all thinking gravy = the brown gravy you put on turkey during Thanksgiving. I would have given the same look if I thought I was going to be eating baked eggplant parm with brown gravy. From then on, I’ve been pretty specific when explaining the recipes we are making in cooking class.
creamy pasta in a white bowl with mushrooms, spinach, roasted red peppers, caramelized onions, and parmesan cheese

creamy pasta in a white bowl with mushrooms, spinach, roasted red peppers, caramelized onions, and parmesan cheese

Use hummus as a base to create a creamy sauce.

I love creamy pasta, but it always leaves me with a stomach ache because it’s just so heavy. Did you know you can create a creamy sauce using hummus? Is your mind blown? By using hummus as the base for a creamy sauce, not only makes it dairy free but also is a plant-based protein making it a more filling and satisfying bowl of pasta. There are over a dozen delicious flavors of Sabra to choose from, but I have a sweet spot for anything caramelized onion.
creamy pasta in a white bowl with mushrooms, spinach, roasted red peppers, caramelized onions, and parmesan cheese
To double up on the caramelized onion flavor, I added even more caramelized onions and other veggies to round out this meal. Revamp your pasta night with this new recipe!

Print

clock clock iconcutlery cutlery iconflag flag iconfolder folder iconinstagram instagram iconpinterest pinterest iconfacebook facebook iconprint print iconsquares squares iconheart heart iconheart solid heart solid icon
creamy pasta with vegetables in a white bowl

Creamy Caramelized Onion Pasta

  • Author: Chef Julie Harrington, RD
  • Prep Time: 15
  • Cook Time: 30
  • Total Time: 45 minutes
  • Yield: 6
  • Category: dinner, pasta

Description

This creamy pasta is completely dairy free with the base of the sauce being hummus!


Ingredients

Scale
  • 1/2 pound linguine
  • 1 tablespoon olive oil
  • 1 sweet onion, thinly sliced
  • 2 cloves garlic, minced
  • 1 pound crimini mushrooms, sliced
  • 4 cups baby spinach
  • 8 oz. jar roasted red peppers, packed in water, sliced
  • 1 (10 oz.) container Sabra Caramelized Onion Hummus
  • 1/3 cup low-sodium vegetable broth
  • salt, to taste

Instructions

  1. Cook pasta according to pasta directions.
  2. In a large saute pan, heat olive oil over medium heat. Saute onions and garlic for about 4 minutes, until the onion is translucent. Add the mushrooms and saute for 5-7 minutes, until tender and most of the water has evaporated. Tips: Do not rush this step. The mushrooms will release a lot of moisture. Saute until most of the moisture evaporates.
  3. Add the spinach and stir to combine and wilt. Fold in the roasted red peppers. Remove from pan and set aside.
  4. In the same pan, add the container of Sabra Caramelized Onion Hummus and broth. Whisk and bring to a gentle simmer.
  5. Add the sauteed vegetables and linguine to the sauce. Season with salt to taste.

Notes

For a lower-carb version: Use half pasta and half zucchini noodles (or all zucchini noodles)
For gluten-free: Use a gluten-free paste (my favorite it Banza!)
To pack in more protein: Use a bean-based pasta.

Keywords: pasta, dinner, vegetarian

Recipe Card powered byTasty Recipes

Chef Julie Harrington, RD - Culinary Nutrition Consultant of chefjulierd.com

Pin for later!
Creamy Caramelized Onion Pasta @julieharringtonRD #pasta #hummus #dairyfree #caramelizedonion #dinner

For more delicious recipes, click the link below or go to Sabra.

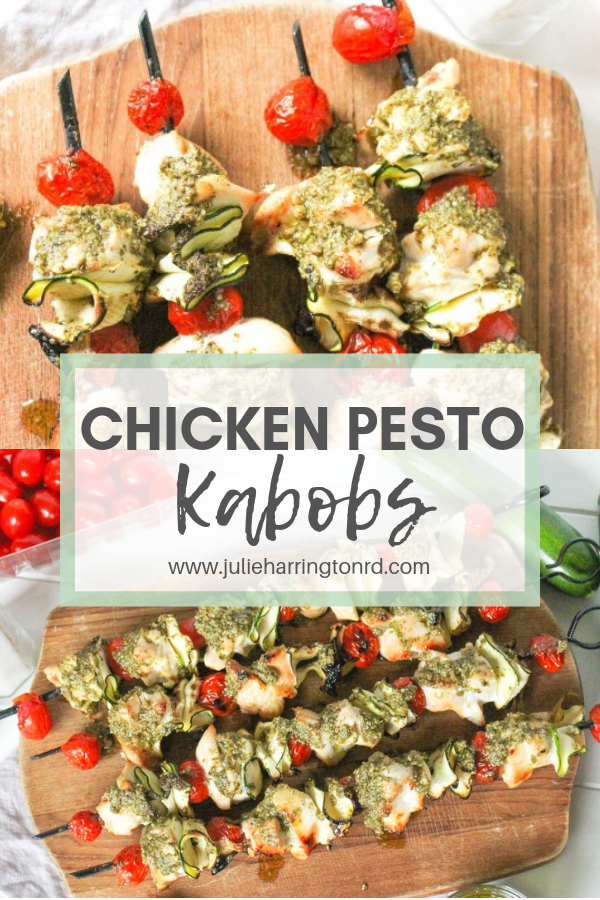
Chicken Pesto Kabobs

Need some new grilling inspiration? Try these simple and flavorful Chicken Pesto Kabobs!

Chicken Pesto Kabobs + learn the difference between charcoal and gas #grills via Chef Julie Harrington, RD @ChefJulie_RD #kabobs #grill #grilling #chicken #pesto #simplerecipe

Fire up the grill! Any grill will do, but there are advantages and disadvantages of using both charcoal or gas grills.

Charcoal vs. Gas Grills – What’s the difference?

Charcoal Grills:

Charcoal grills provide a more distinct smoky flavor along with that amazing backyard aroma. It’s such a tease when I’m running through the neighborhood and all I smell are my neighbors grilling. Scented wood chips or charcoal will add additional flavor. However, charcoal can be a little messy and sometimes tricky to regulate the temperature.

Gas Grills:

Just turn on a switch and your gas grill is fired up and ready to go. You are able to easily regulate the temperature and often gas grills have different settings that you can easily regulate areas of the grill at different temperatures. You won’t really get that smoky flavor, but you are able to cook various items on the grill at the same time.

Chicken Pesto Kabobs + learn the difference between charcoal and gas #grills via Chef Julie Harrington, RD @ChefJulie_RD #kabobs #grill #grilling #chicken #pesto #simplerecipe

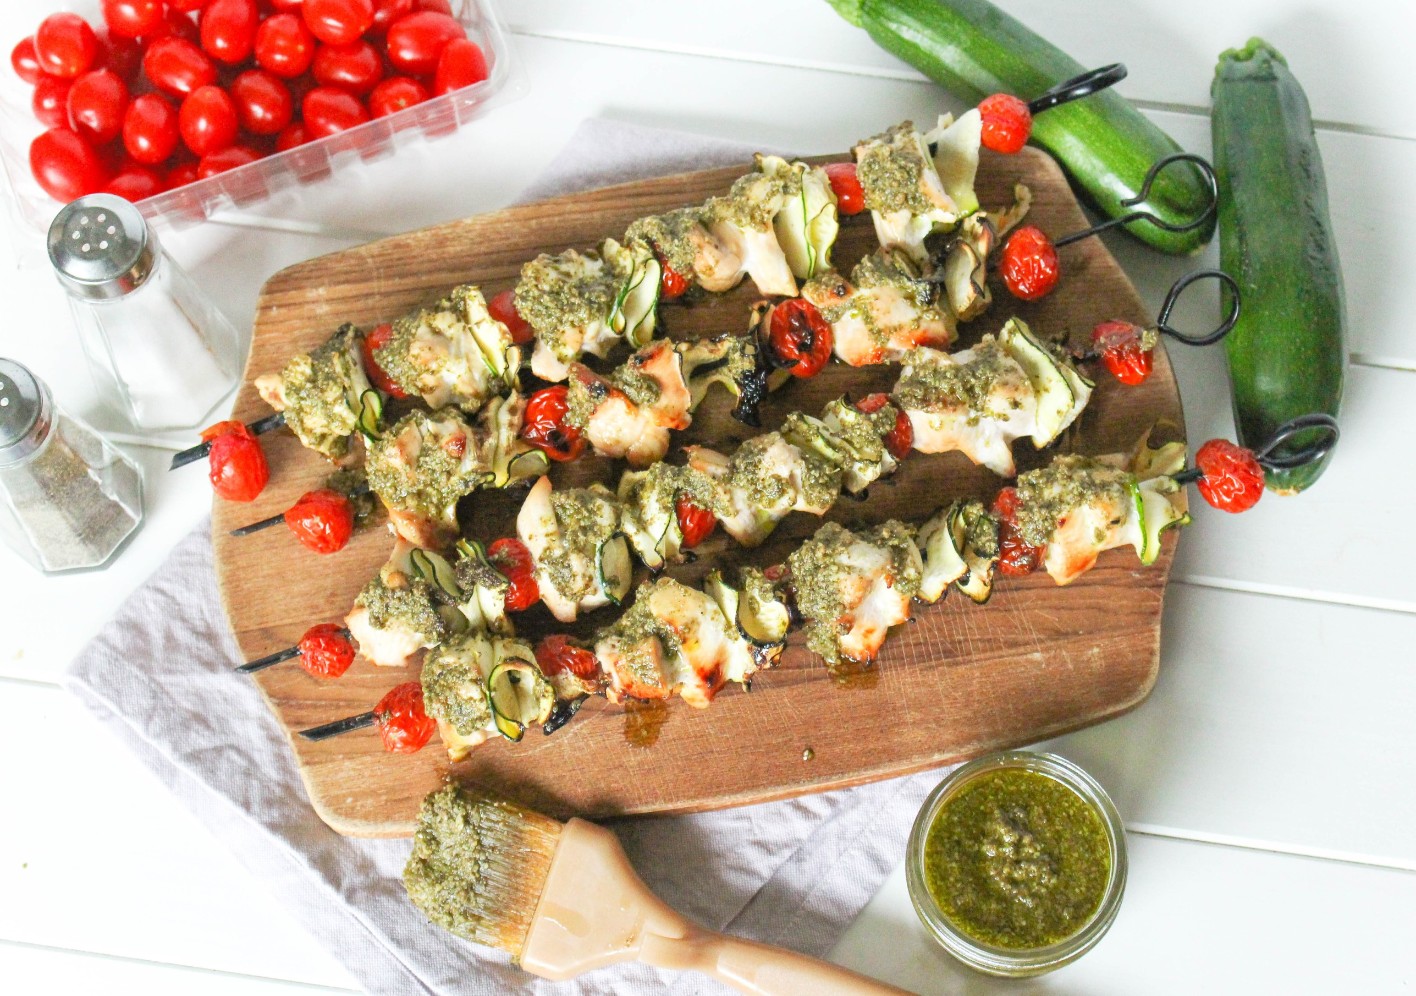
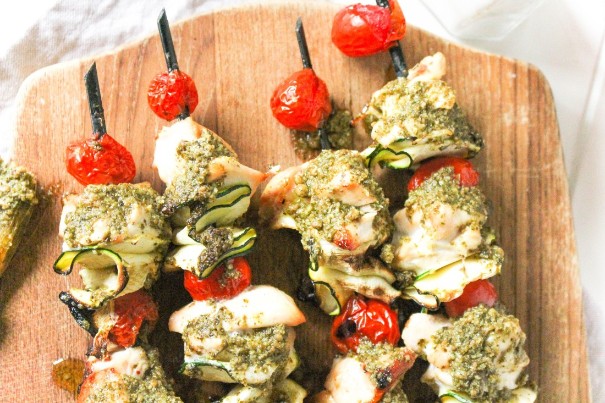
I like to create little ribbons for the zucchini to thread on the skewers. Chopped (quartered or in half moons) zucchini works just as fine! I just enjoy the crispy edges of the zucchini ribbons that crisp up from the grilling process.

If you are making zucchini ribbons, just be careful using the mandolin. They can be a tad dangerous. I got into a fight with mine once.

Chicken Pesto Kabobs + learn the difference between charcoal and gas #grills via Chef Julie Harrington, RD @ChefJulie_RD #kabobs #grill #grilling #chicken #pesto #simplerecipe

Grilling is a healthy cooking method

Grilling is a healthy cooking method to prepare your food. It requires minimal added fats and imparts a smoky flavor while keeping meats and veggies juicy and tender.

Recipe shortcut

There is nothing wrong with cooking with convenience. If using prepared pesto this recipe only has 4 ingredients and can be whipped up for a delicious dinner in no time!

Print
clock clock iconcutlery cutlery iconflag flag iconfolder folder iconinstagram instagram iconpinterest pinterest iconfacebook facebook iconprint print iconsquares squares iconheart heart iconheart solid heart solid icon
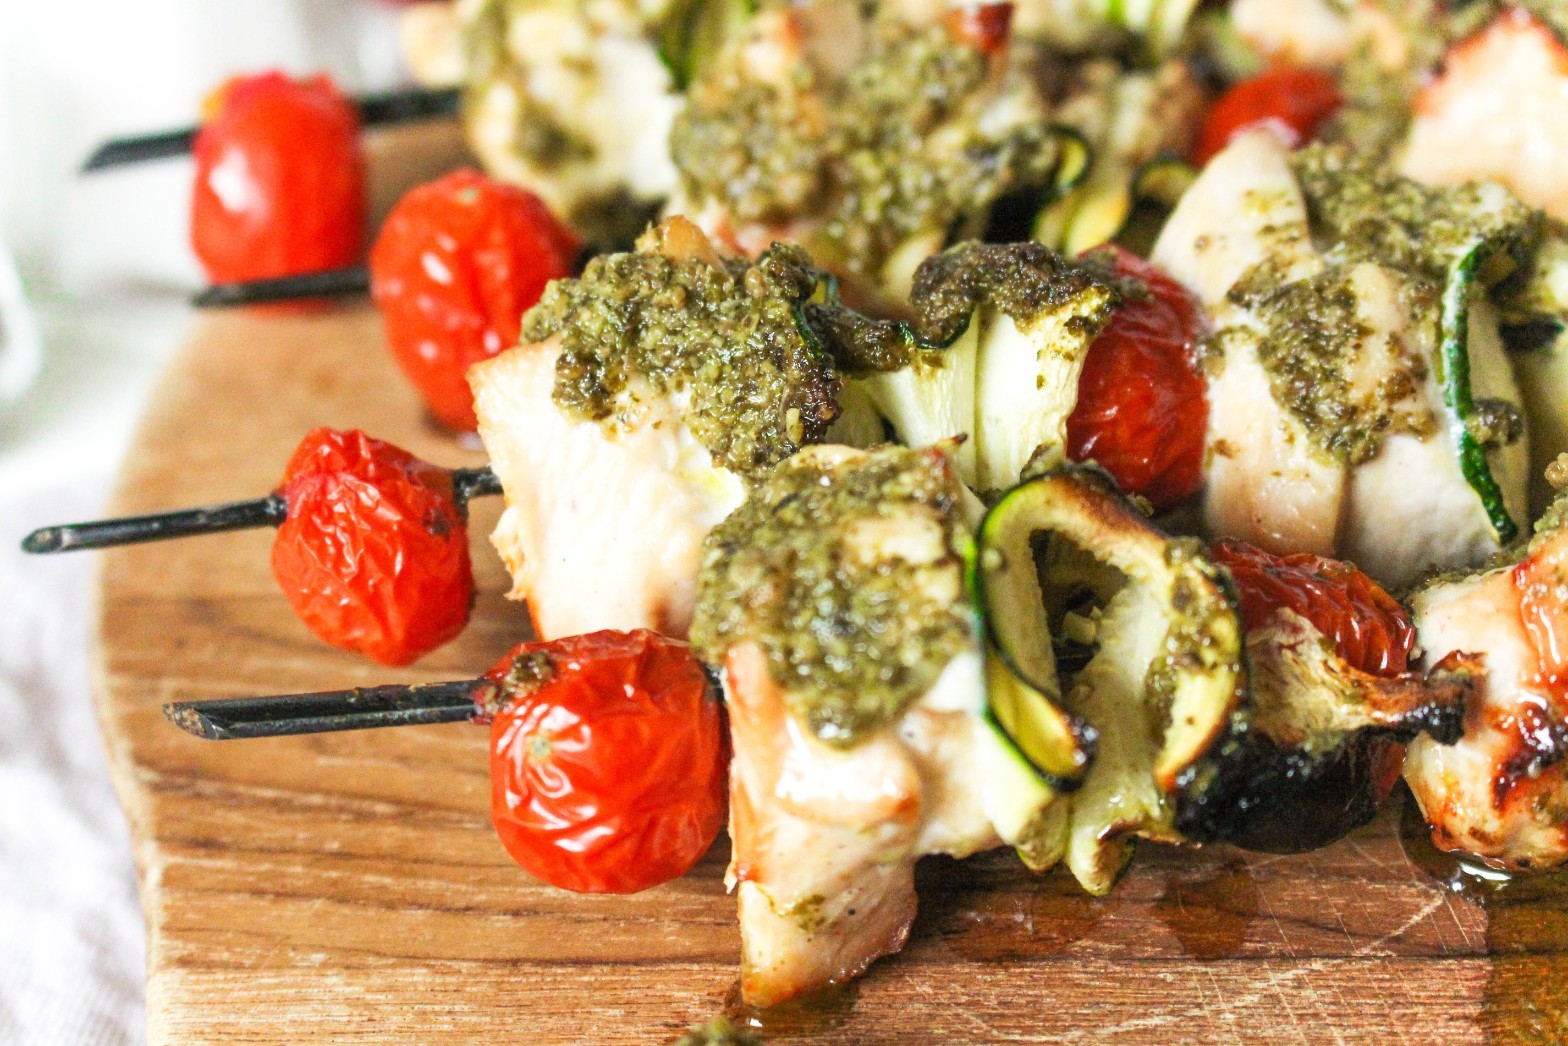
chicken pesto kabobs on a wooden board

Chicken Pesto Kabobs

  • Author: Chef Julie Harrington, RD
  • Prep Time: 1 hour
  • Cook Time: 12 mins
  • Total Time: 1 hour 12 mins
  • Yield: 4
  • Category: Dinner
  • Method: Grilling

Ingredients

Scale
  • 1 cup cherry tomatoes
  • 2 zucchini
  • 1 pound boneless, skinless chicken breasts, cut into 1 inch cubes
  • 1 cup pre-made pesto, divided
  • salt and pepper, to taste

Instructions

  1. In a large resealable bag, combine chicken and ¾ cup pesto; marinate for 1 hour.
  2. Using a mandolin (or carefully cut with a knife), slice zucchini lengthwise.
  3. Remove chicken from the marinade. Thread the cherry tomatoes, zucchini in a ribbon-like pattern, then chicken. Repeat until skewer is filled.
  4. Preheat grill to medium-high heat. Add kebobs to grill, cook gently turning halfway through for about 10-12 minutes or until internal temperature of the chicken reaches 165 degrees F. Season with salt and pepper, to taste.
  5. Brust on additional pesto, if desired. Serve immediately.

Keywords: grilling, grill, kabob, chicken, pesto, simple

Recipe Card powered byTasty Recipes
Chef Julie Harrington, RD - Culinary Nutrition Consultant of chefjulierd.com

Pin for later!
Chicken Pesto Kabobs + learn the difference between charcoal and gas #grills via Chef Julie Harrington, RD @ChefJulie_RD #kabobs #grill #grilling #chicken #pesto #simplerecipe

This recipe was originally posted in July 2016. Content and recipe have been updated.

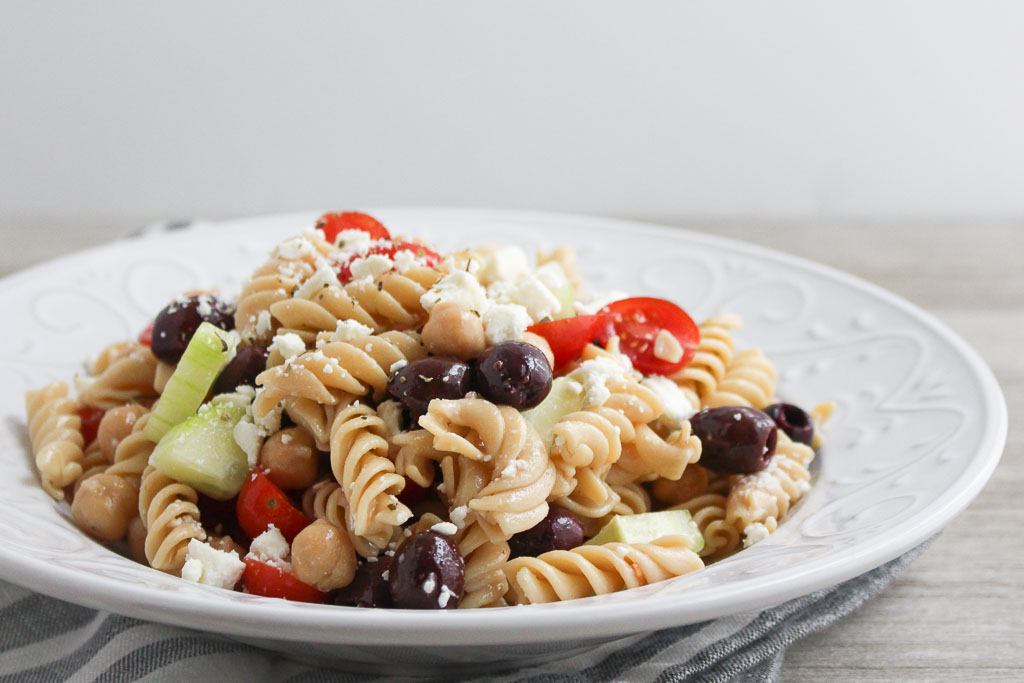
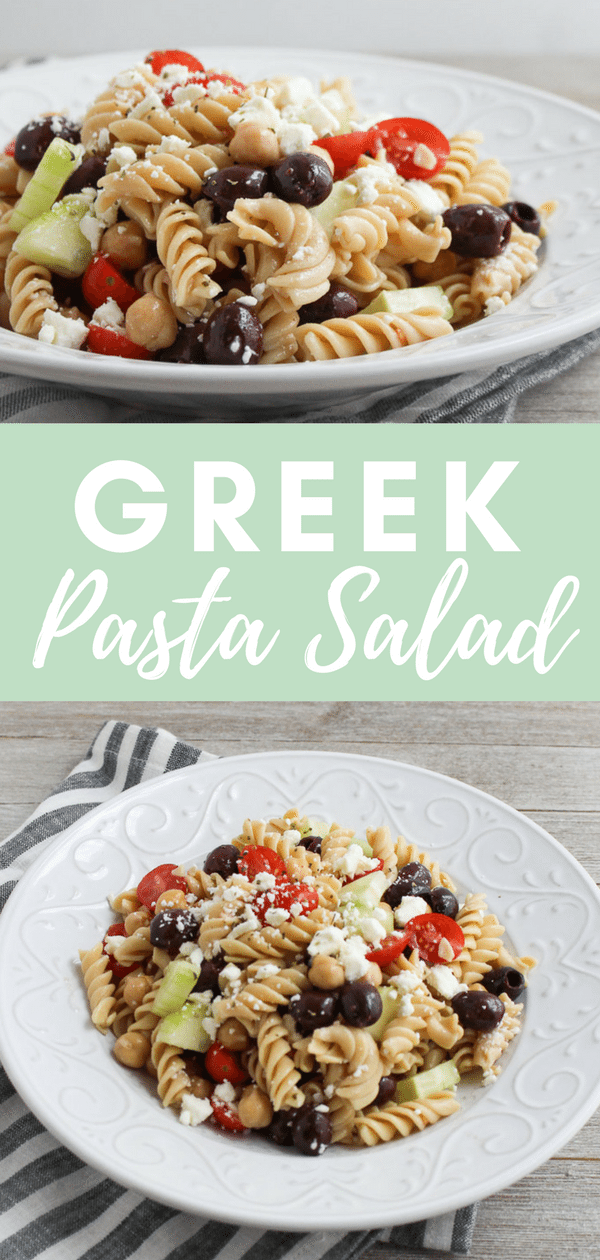
Greek Pasta Salad

Did you know April 23rd is picnic day? What are your favorite picnic recipes? Add this Greek Pasta Salad to your next picnic spread.
Greek pasta salad - Banza (chickpea) pasta salad with cherry tomatoes, cucumbers, olives, chickpeas, feta cheese, in a white dish
I had many summer jobs during high school and in between college semesters. One of them was at an outdoor catering business. We did a lot of BBQ’s and graduation parties, which served the classic outdoor fair, including burgers, hot dogs, barbeque chicken, and ribs. Plus, the typical sides like, potato salad, pasta, salad, and coleslaw.

Making the sides was one of the tasks I simply dreaded. With catering, every recipe is made in mass quantities to serve a crowd.
Do you have a certain food or ingredient that just skeeves you out? For me it’s mayonnaise. For a large party, I would have to make potato salad in these large buckets and wear these giant gloves to toss the mayonnaise in.
Greek pasta salad - Banza (chickpea) pasta salad with cherry tomatoes, cucumbers, olives, chickpeas, feta cheese, in a white dish
I used Banza pasta for this recipe. I feel like there are never enough plant-based protein options available at barbeques. This is a great way to have a protein-packed option for those who don’t eat meat and want to enjoy this as more of a meal than a side dish.

Print

clock clock iconcutlery cutlery iconflag flag iconfolder folder iconinstagram instagram iconpinterest pinterest iconfacebook facebook iconprint print iconsquares squares iconheart heart iconheart solid heart solid icon
chickpea pasta with vegetables in a white bowl

Greek Pasta Salad

  • Author: Chef Julie Harrington, RD
  • Prep Time: 10
  • Cook Time: 8
  • Total Time: 18 minutes
  • Yield: 6
  • Category: pasta, side dish

Description

Everyone will love it when you bring this Greek Pasta Salad to your next BBQ!


Ingredients

Scale
  • 8 ounces box rotini Banza pasta (or pasta of your choice)
  • 1-pint cherry tomatoes halved
  • 1 seedless cucumber, peeled and quartered
  • 1 (15 oz.) can chickpeas, drained and rinsed
  • 1/2 cup pitted Kalamata olives
  • 3 tablespoons olive oil
  • 2 tablespoons red wine vinegar
  • 2 cloves garlic, minced
  • 2 teaspoons dried oregano
  • salt, to taste
  • 1/2 cup feta cheese

Instructions

  1. Cook pasta according to package directions. Rinse with cold water to stop the cooking process.
  2. In a large bowl combine, pasta, tomatoes, cucumbers, chickpeas, and olives.
  3. In a small bowl, whisk together olive oil, red wine vinegar, garlic, and oregano. Season with salt to taste.
  4. Drizzle dressing over pasta salad and toss to combine. Gently fold in feta cheese just before serving.

Keywords: pasta salad, side dish, vegetarian

Recipe Card powered byTasty Recipes

Chef Julie Harrington, RD - Culinary Nutrition Consultant of chefjulierd.com

Pin for later!

Greek pasta salad - Banza (chickpea) pasta salad with cherry tomatoes, cucumbers, olives, chickpeas, feta cheese, in a white dish

Sweet Potato Flax Waffles

Make these Sweet Potato Flax Waffles for a delicious weekend breakfast, and freeze for later to enjoy during a busy week.  

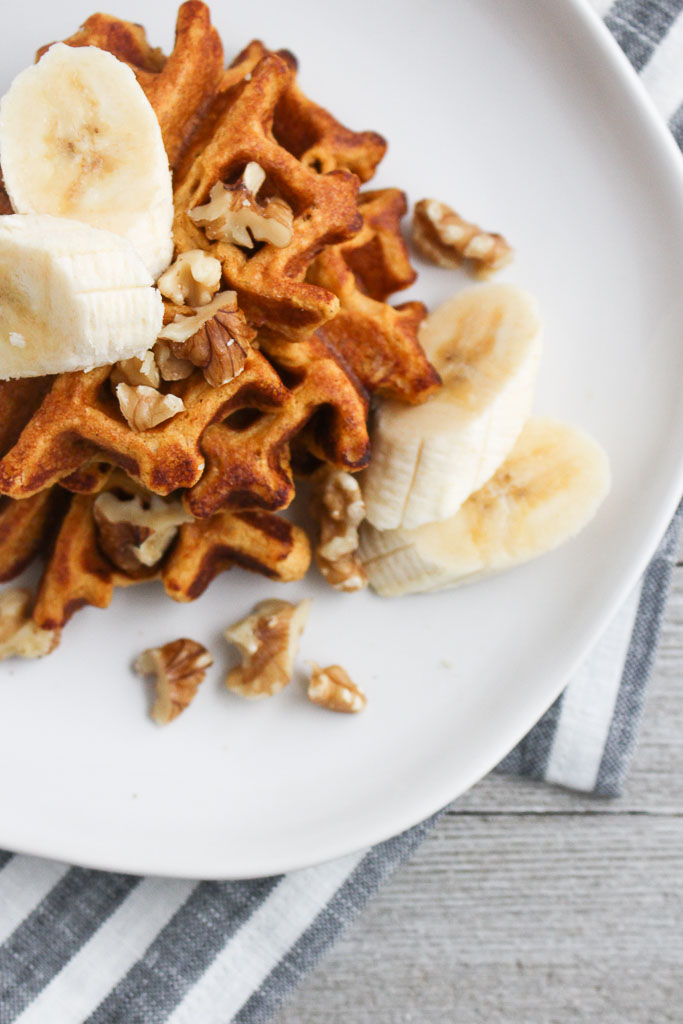
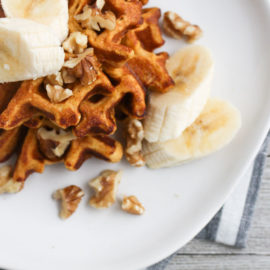
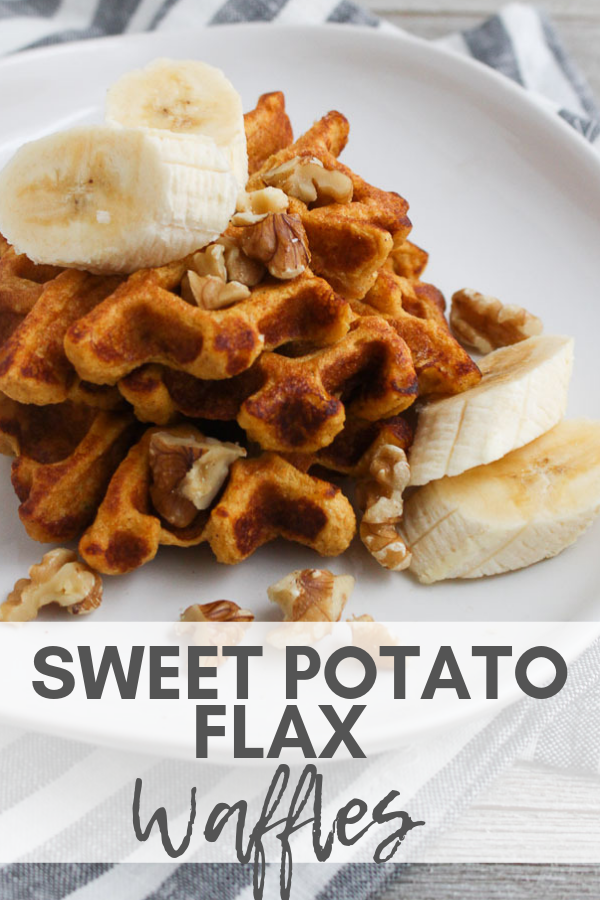
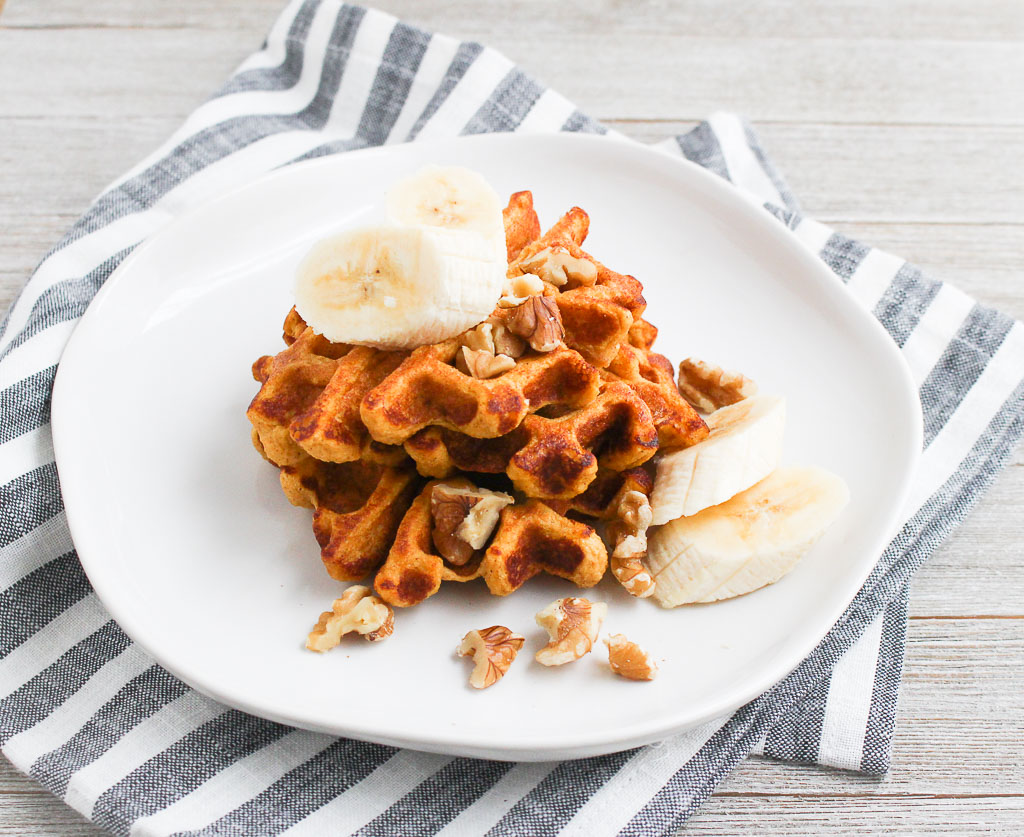
several sweet potato waffles on a plate with sliced bananas

I go through phases where my waffle iron is always being used daily but then sits there collecting dust. I think it’s because sometimes I get sick of cleaning it. You have to get into all the nooks and crannies to make sure you don’t miss anything.

I used to get SO excited when we would stay at a hotel that had a continental breakfast and we could make Belgium waffles for breakfast. It was always an extra little treat!

two sweet potato flax waffles with sliced bananas and walnuts on a small white plate

Are Potato Waffles Healthy?

Yes! These waffles are packed with nutrition. These sweet potatoes are filled with vitamins, minerals, and antioxidants. Using the ground flax takes place of having to add flour. Flax seeds are a great source of fiber and are high in omega 3 fatty acids. Oats are another good source of fiber and have some protein as well.

This waffle recipe is balanced to help with blood sugar spikes and will keep you fuller for longer, especially when compared to other conventional breakfast foods.

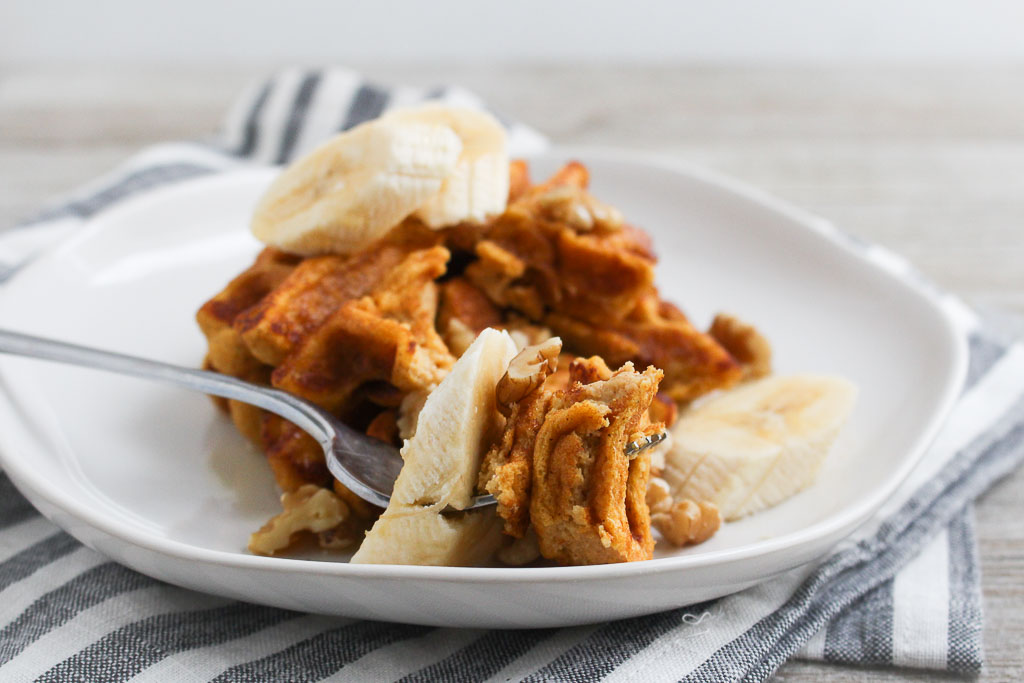
sweet potato waffles on a fork resting on a plate

Sweet Potato Waffle Ingredients

  • sweet potato puree
  • old-fashioned oats
  • ground flax (I used Manitoba Milling Co.)
  • milk
  • eggs
  • cinnamon
  • baking powder
  • salt
  • cooking spray
  • toppings: sliced banana, walnuts, maple syrup (optional)

How to Make Waffles Using Sweet Potatoes

To make the sweet potato waffle base, you need to bake the sweet potatoes first. Once they are done, scoop out the flesh and add it to a blender or food processor.

Add the remaining ingredients to the blender and pulse until it’s smooth. Allow the waffle batter to sit for about 10 minutes.

Spray your waffle iron with cooking spray and heat to medium-high.

Pour 1/3 of the batter at a time to make each sweet potato waffle. Cook 3-4 minutes or until the desired consistency is reached.

Serve with your favorite toppings for a healthy and nutritious breakfast.

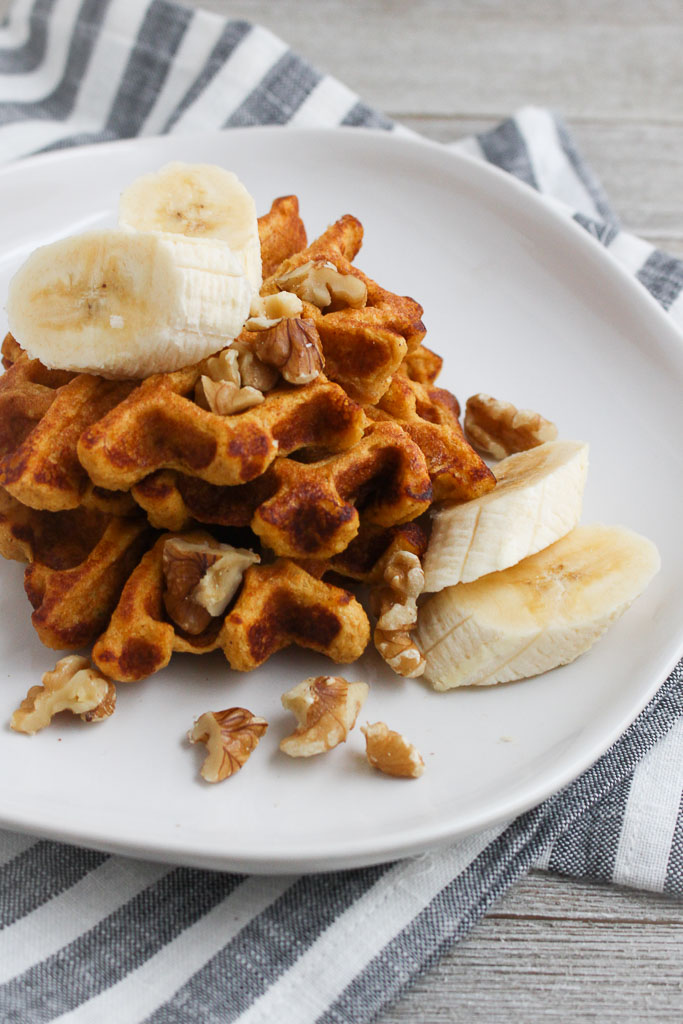
three sweet potato waffles on a plate with bananas and walnuts

Waffle Topping Ideas

  • Fresh fruit – bananas, apples, berries, melon
  • Greek yogurt
  • Nut Butter – peanut butter, almond butter
  • Seeds
  • Honey or maple syrup

Can You Make Sweet Potato Waffles Vegan?

I haven’t tested this version, but if you experiment you could swap the poultry eggs for flax eggs. Then cut down on the amount of additional flax. You would also want to use a plant-based milk as well.

Are These Waffles Gluten Free?

They are as long as you choose a gluten free brand of oats, like Quaker or Bob’s Red Mill.

Tips for Making

  • I used Manitoba Milling Co. finely milled flaxseed, which is almost like the consistency of flour. If using coarse ground flax, more liquid may be needed. 
  • To store you can reheat them in a toaster. They also freeze really well too which is great for meal prepping.
  • Make sure you cook the sweet potatoes until they are tender before adding them to the blender.
  • Preheating the waffle iron first helps to give a crispy outside.
  • This batter can easily be used for pancakes as well.

Team Waffle or Team Pancake?

I’ve mentioned before that I used to be a waffle person over pancake person, only because I used to be terrible at flipping them. I think my skills have improved though.
Waffle pros: They freeze and reheat better than pancakes (in my opinion).
Waffle cons: You only can really make one at a time, whereas with a large enough pan, you can easily make a few pancakes at a time.

Print
clock clock iconcutlery cutlery iconflag flag iconfolder folder iconinstagram instagram iconpinterest pinterest iconfacebook facebook iconprint print iconsquares squares iconheart heart iconheart solid heart solid icon
sweet potato waffles on a white plate with bananas and walnuts

Sweet Potato Flax Waffles

  • Author: Julie Harrington, RD
  • Prep Time: 15
  • Cook Time: 20
  • Total Time: 35 minutes
  • Yield: makes 8 waffles 1x
  • Category: breakfast, waffles

Description

Make these Sweet Potato Flax Waffles for a delicious weekend breakfast, and freeze for later to enjoy during a busy week.


Ingredients

Scale
  • 3/4 cup sweet potato puree (about 1 medium sweet potato – baked and flesh scooped out)
  • 1/2 cup old-fashioned oats
  • 1/2 cup ground flax (I used Manitoba Milling Co.)
  • 1 cup milk
  • 2 eggs
  • 1 tablespoon cinnamon
  • 1/4 teaspoon baking powder
  • pinch of salt
  • cooking spray
  • toppings: sliced banana, walnuts, maple syrup (optional)

Instructions

  1. Add all ingredients to a blender and blend until smooth. Let batter sit for 10 minutes.
  2. Preheat waffle iron to medium-high heat. Spray with cooking spray.
  3. Pour 1/3 cup of batter into waffle iron. Cook until desired consistency (about 3-4 minutes per side).
  4. Top waffles with sliced bananas, walnuts, and syrup, if desired.

Notes

To make sweet potato puree: Score a sweet potato with a paring knife. Wrap in tin foil and bake until soft. When cool enough to handle, scoop out the flesh and puree.

Meal Prep: Make a batch of these waffles ahead of time. They freeze well. Just pop them in the toaster to warm up.

I used Manitoba Milling Co. finely milled flax seed, which is almost like the consistency of flour. If using coarse ground flax, more liquid may be needed. 

Keywords: waffles, breakfast, sweet potato, grain free, gluten free

Recipe Card powered byTasty Recipes

Breakfast Recipes

Disclosure: This recipe was submitted to for a recipe contest and eligible to win prizes. I was not compensated for my time.  

Chef Julie Harrington, RD - Culinary Nutrition Consultant of chefjulierd.com

Pin for later!
Sweet Potato Flax Waffles via Chef Julie Harrington, RD @ChefJulie_RD Make these Sweet Potato Flax Waffles for a delicious weekend breakfast, and freeze for later to enjoy during a busy week.  #sweetpotato #waffles #breakfast #brunch #flax #flaxseed #freezerfriendly

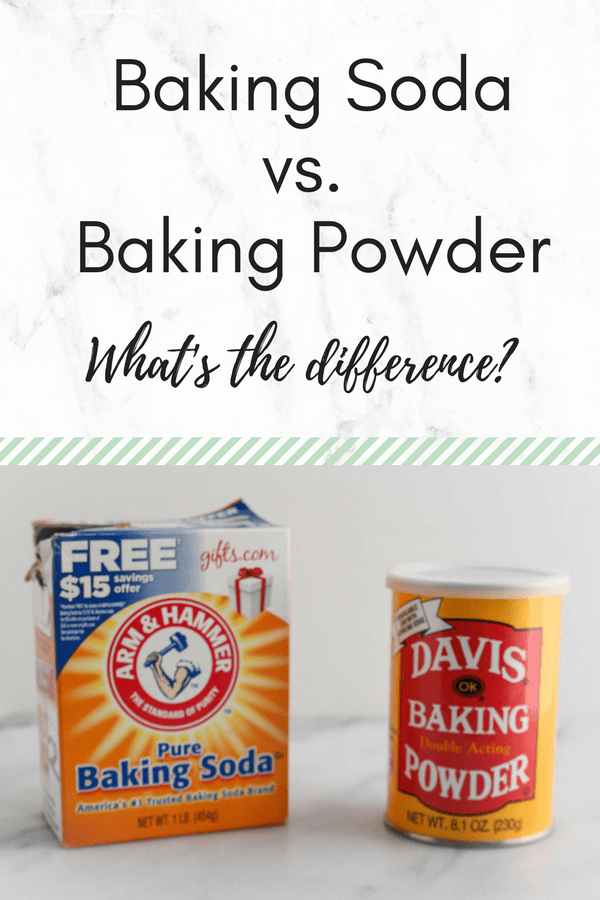
Baking Soda vs. Baking Powder – What’s the Difference?

Let’s get nerdy! I love sharing new recipes with you, but I want to start diving more into the food science of food too. When a recipe calls for baking soda or baking powder, what is their purpose? What’s the difference between the two?
Baking Soda vs. Baking Powder - What's the difference via RDelicious Kitchen @RD_Kitchen #cooking #cookingtips #foodscience #science #baking
Let’s answer the first question: Is there a difference between baking soda and baking powder? YES!
My friend, who is an 8th-grade science teacher, says “Obviously, there is a difference. When you add baking soda to vinegar, it makes cool science volcanos and the other doesn’t.”
Welp, that’s all you need to know. Blog post over. Just kidding, there is so much more to learn! Baking soda and baking powder do have a lot in common, as they are both chemical leaveners, meaning they generate gas during the making and baking of a batter.
Some recipes may call for one or the other, or both, but just make sure you don’t confuse the two because they do have distinct differences.

Baking Soda:

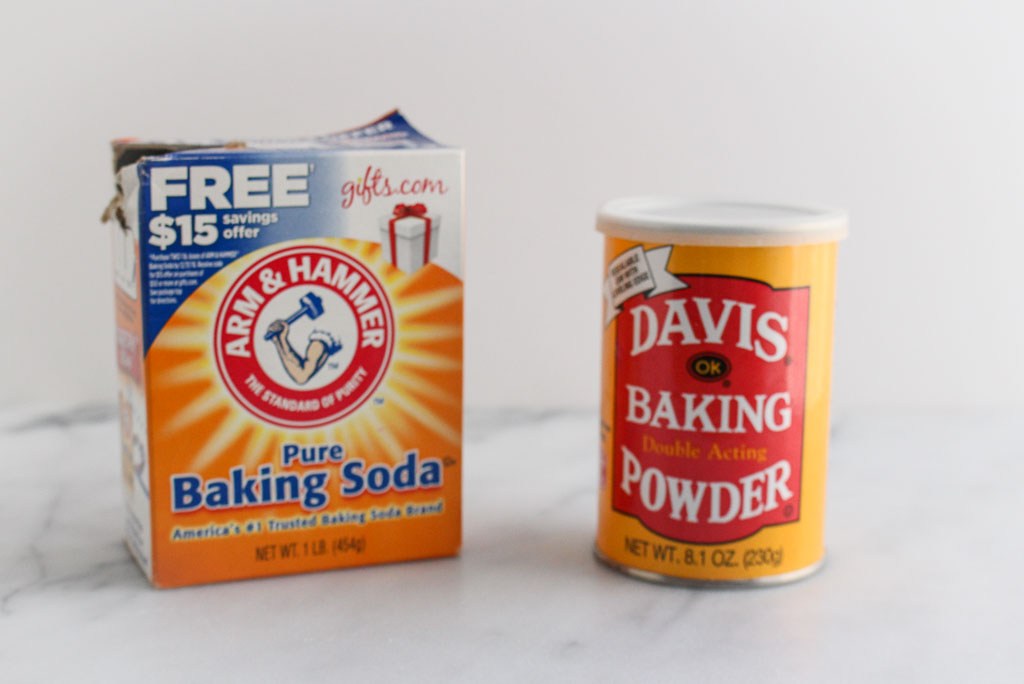
Baking soda contains a single ingredient, sodium bicarbonate. When baking soda is combined with something acidic (think buttermilk, yogurt, citrus juice, vinegar, etc.), it produces carbon dioxide. This creates little bubbles that helps give rise to baked goods.
I know you might be thinking, I’ll just add more to get a better rise in my baked goods. Think again. Be careful not to add too much! When sodium bicarbonate is heated it produces sodium carbonate, which produced a metallic taste. No one wants a metallic tasting muffin. That metallic taste can be neutralized by the acid that is used in the recipe, while still giving our baked goods a pretty good rise.

Did you know?

You can also use baking soda to create homemade cleaners to freshen and clean up tough stains in your home. Learn ways you can use baking soda for cleaning purposes.
Baking Soda vs. Baking Powder - What's the difference via RDelicious Kitchen @RD_Kitchen #cooking #cookingtips #foodscience #science #baking

Baking Powder:

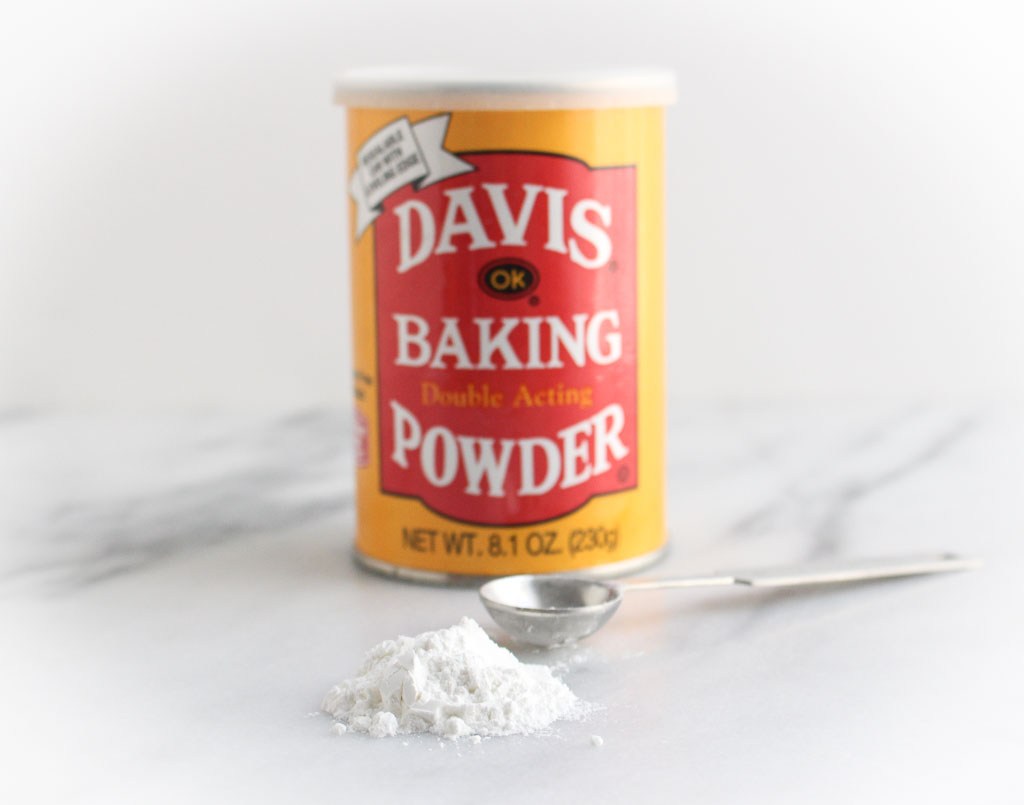
Baking powder is a mixture of baking soda and dry acid (plus, sometimes cornstarch). Yup, baking soda is one of the main ingredients in your baking powder. The acid that is typically used is cream of tartar. Cornstarch is often added in to keep the ingredients separate and dry.
The balance of acid (cream of tartar) and base (baking soda) is already balanced for you, so there will be no metallic aftertaste even if you go a little heavy handed with baking powder.
Baking powder only needs a liquid or moisture for a reaction to occur (no acid necessary). With baking powder, the chemical reaction that helps the product rise happens when the product is slowly heated. Baking powder allows for more flexibility because you can let the batter or dough sit for a little while before baking and still get the rise you’re after.
You might see some baking powders at the grocery store that say “double acting”. This means that a small amount of carbon dioxide is released and that some leavening occurs (bubbles) when the baking powder gets wet from wet ingredients, but the rest of the leavening occurs when the baked good is heated.

The bottom line:

To help you easily remember the difference between baking soda and baking powder, remember: Baking soda needs an acid.  Baking powder has an acid.

Baking soda = single ingredient.

Baking powder = poof in the oven.

RDelicious Kitchen @RD_Kitchen

Pin for later!
Baking Soda vs. Baking Powder - What's the difference via RDelicious Kitchen @RD_Kitchen #cooking #cookingtips #foodscience #science #baking

Oat Flour Pancakes

These pancakes are whole grain and gluten-free, making them a perfect fit for any pancake enthusiast!

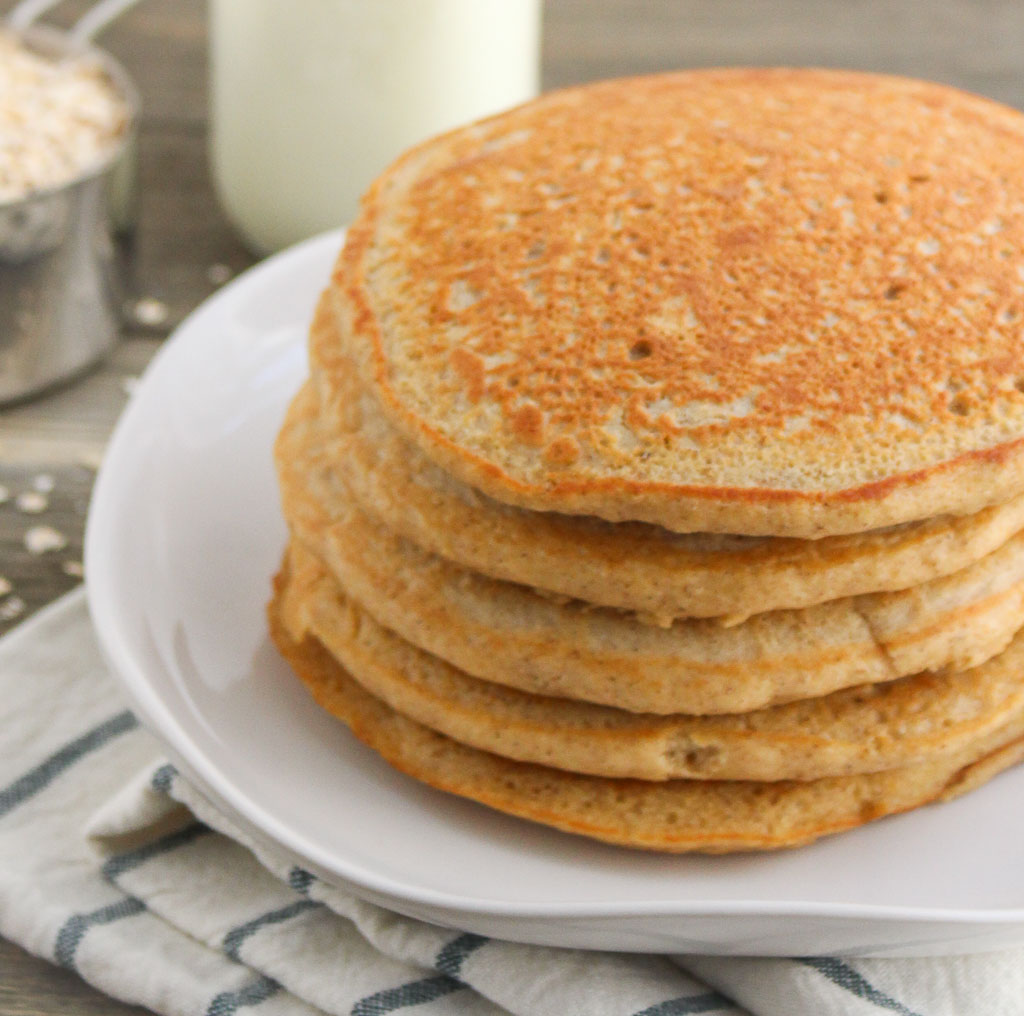
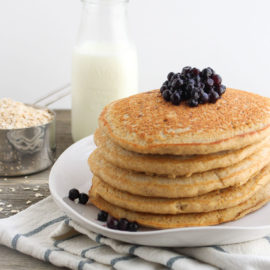
oat flour pancakes stacked on a white plate

Why I love Oat Flour Pancakes

I used to be “anti pancake” because I am the worst at flipping them. Really, it was that I was impatient and tried to flip them too early before they set.

When my sisters and I were little, my dad was the only one who was allowed to cut our pancakes. He would keep them perfectly stacked and cut them into perfect triangles. I was more of a syrup dunker than a drizzler. I would take each triangle and dunk it into the “good syrup”. My aunt lives in Vermont and she would send us delicious locally made maple syrup.

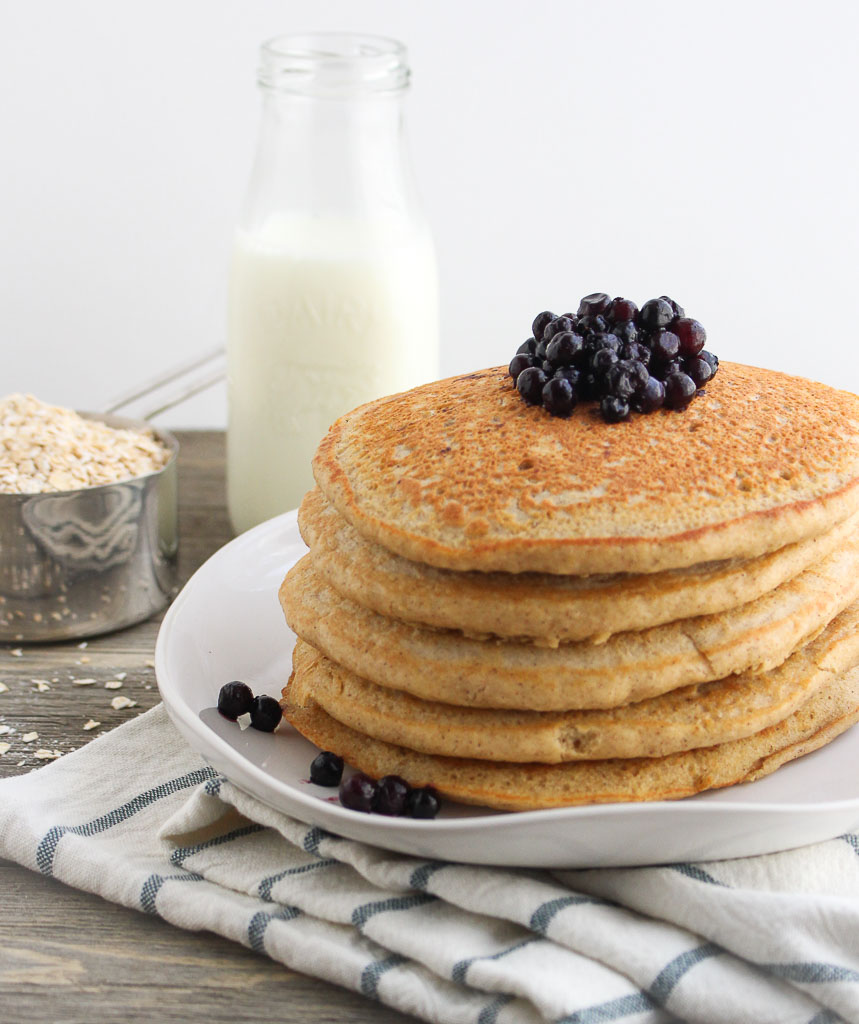
gluten free pancakes on a white plate topped with wild blueberries

Using whole grains for pancakes

The problem with pancakes is that I never felt satisfied after eating them. Adding whole grains as the base of pancakes can help solve that solution.

I used oat flour as the base. You could just buy oat flour, but it’s pretty easy to make. Just take rolled oats or instant oats and pulse them in a food processor until they resemble a light fluffy flour. Oat flour still contains all part of the whole grain, but not as dense as whole wheat flour, yielding a fluffier pancake.

oat flour pancakes with blueberries

The secret to creating fluffy pancakes

Vinegar in pancakes? Yes! It’s the secret to help activate the baking powder and helps the pancakes puff and become fluffy.

I’ve tried some other methods like adding seltzer to the batter or whipping the egg whites separately from the egg yolks before combining them. Both methods do work, but I don’t always have seltzer on hand, and mixing egg whites separately makes more messy bowls. I don’t know about you, but the fewer dishes to clean, the better!

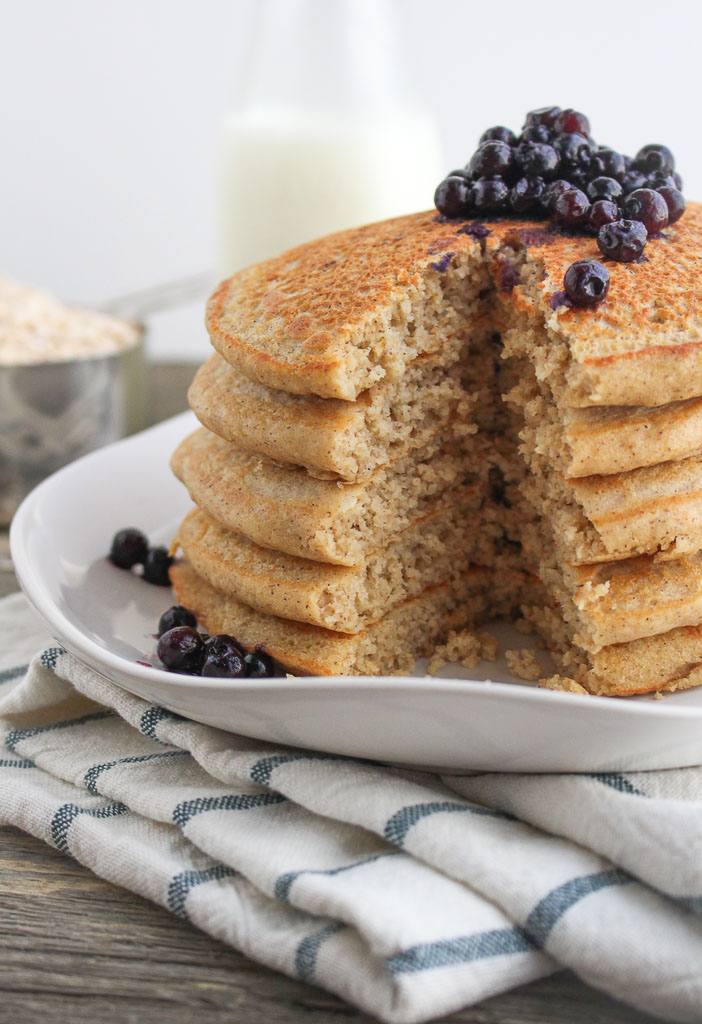
Oat flour pancakes cut with wild blueberries

Syrup dunker or drizzler?

Are you a syrup dunker or drizzler? Most of the time I ditch the syrup and use frozen fruit like wild blueberries. When frozen berries defrost they become all gooey and syrupy. Other times, I’ll spread peanut butter or yogurt between the layers. I really just go with what I’m craving at the time.
How do you top your pancakes?

Print
clock clock iconcutlery cutlery iconflag flag iconfolder folder iconinstagram instagram iconpinterest pinterest iconfacebook facebook iconprint print iconsquares squares iconheart heart iconheart solid heart solid icon
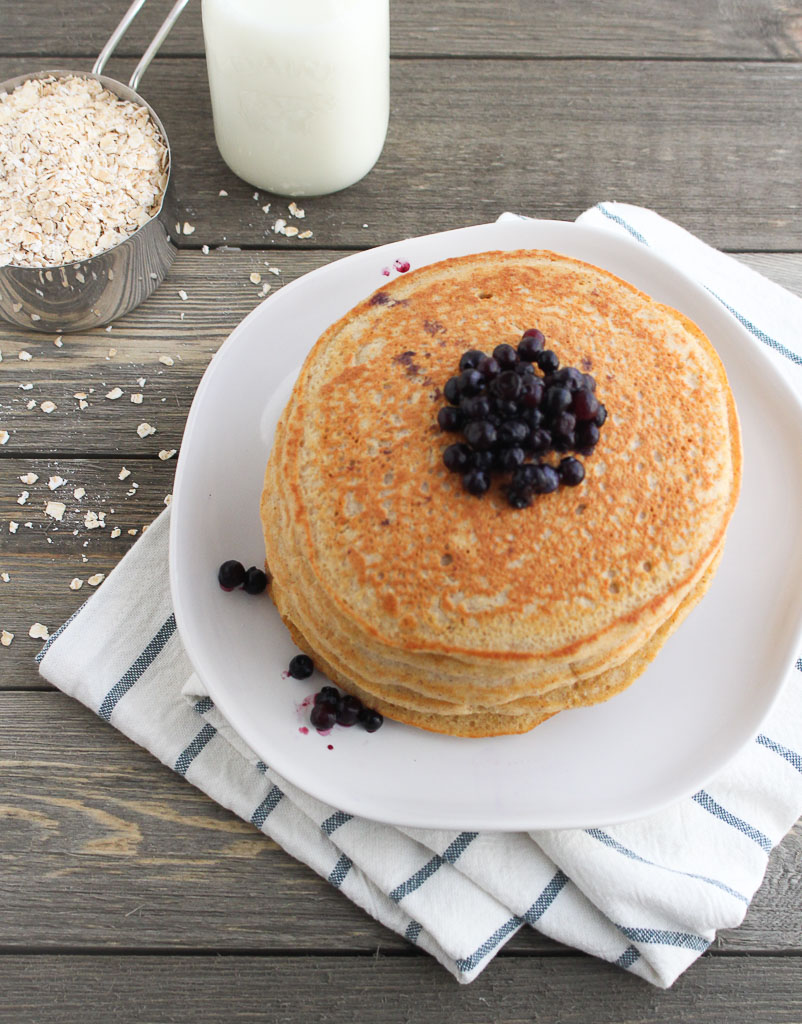
stack of oat flour pancakes on a white plate with blueberries

Oat Flour Pancakes

  • Author: Chef Julie Harrington, RD
  • Prep Time: 10
  • Cook Time: 10
  • Total Time: 20 minutes
  • Yield: 2-3 1x
  • Category: pancakes, breakfast

Description

These oat flour pancakes are whole grain and gluten-free, making them a perfect fit for any pancake enthusiast!


Ingredients

Scale
  • 1 3/4 cup oat flour (see notes)
  • 1 tablespoon sugar
  • 2 teaspoons baking powder
  • 2 teaspoons cinnamon
  • ¼ teaspoon salt
  • 1 cup milk (or non-dairy milk of choice)
  • 1 teaspoon vanilla extract
  • 2 teaspoons apple cider vinegar (or white vinegar)
  • 1 tbsp canola oil
  • 2 eggs

Instructions

  1. In a large mixing bowl, combine oat flour, sugar, baking powder, cinnamon, and salt. Stir to combine.
  2. In a medium mixing bowl, add milk, vanilla, apple cider vinegar, canola oil, and eggs; whisk together.
  3. Slowly add wet ingredients into dry ingredients and mix until it just comes together. (do not overmix)
  4. Let batter sit for 5-7 minutes. It will thicken.
  5. Lightly spray a hot griddle with cooking spray.
  6. Use a 1/2 measuring cup to scoop the pancake batter onto the griddle.
  7. Let the pancakes bubble before flipping. Cook until golden brown on both sides.

Notes

Make your own oat flour:
Place either rolled oats or instant oats in a food processor at high speed. Process until it turns into fine oat flour.

Batter makes 6 medium-sized pancakes.

Keywords: pancakes, breakfast, whole grain, brunch

Recipe Card powered byTasty Recipes

*This recipe was originally posted in 2014. A new picture has been updated in 2018.

Pineapple Beef Stir Fry

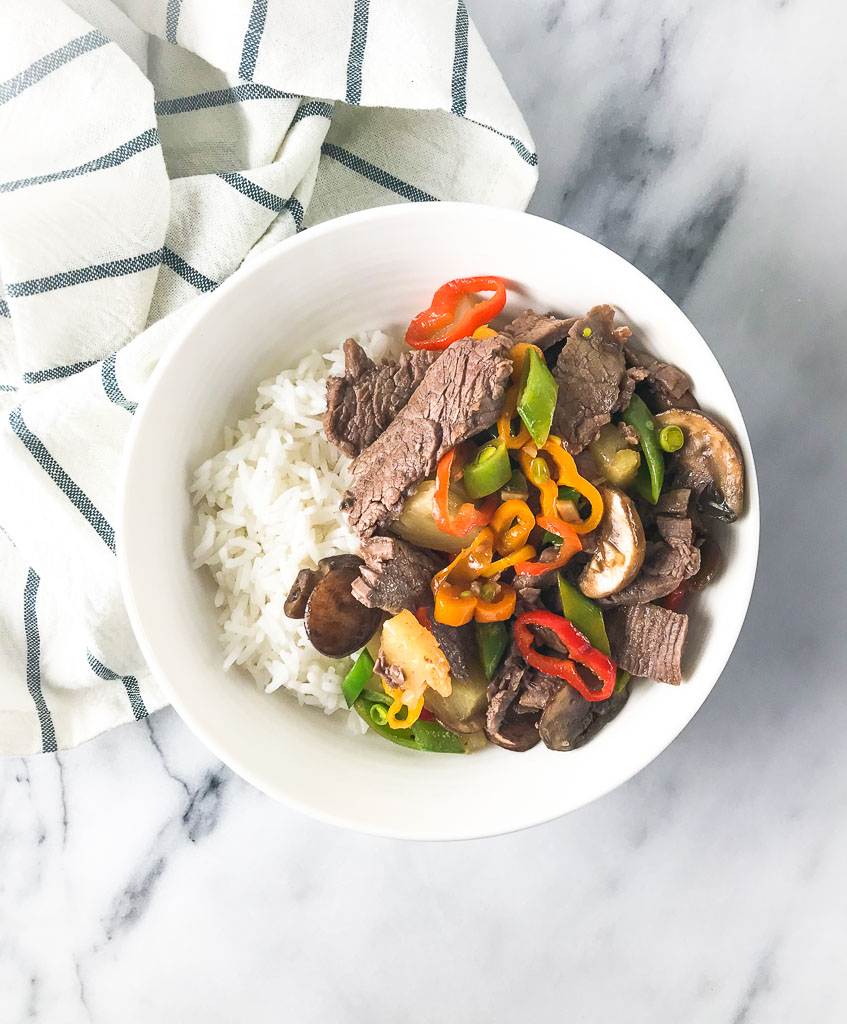
Beef stir fry in a white bowl with white rice

This post is sponsored by The Beef Checkoff. Thanks for supporting brands that make this blog possible!

Dietitians are celebrating all month long because March is National Nutrition Month! This year’s theme is “Go Further with Food”. This theme encourages us to achieve the numerous benefits healthy eating habits offer while including a variety of healthful foods from all of the food groups on a regular basis.

Previously working as a Supermarket RD, I quickly learned that a grocery store is a confusing place, especially in certain areas like the meat section.

It can be challenging grocery shopping for beef if you are unsure of the difference between flank steak and skirt steak. The different costs, categories, or even proper cooking techniques of various cuts of beef can throw off even a savvy home cook.

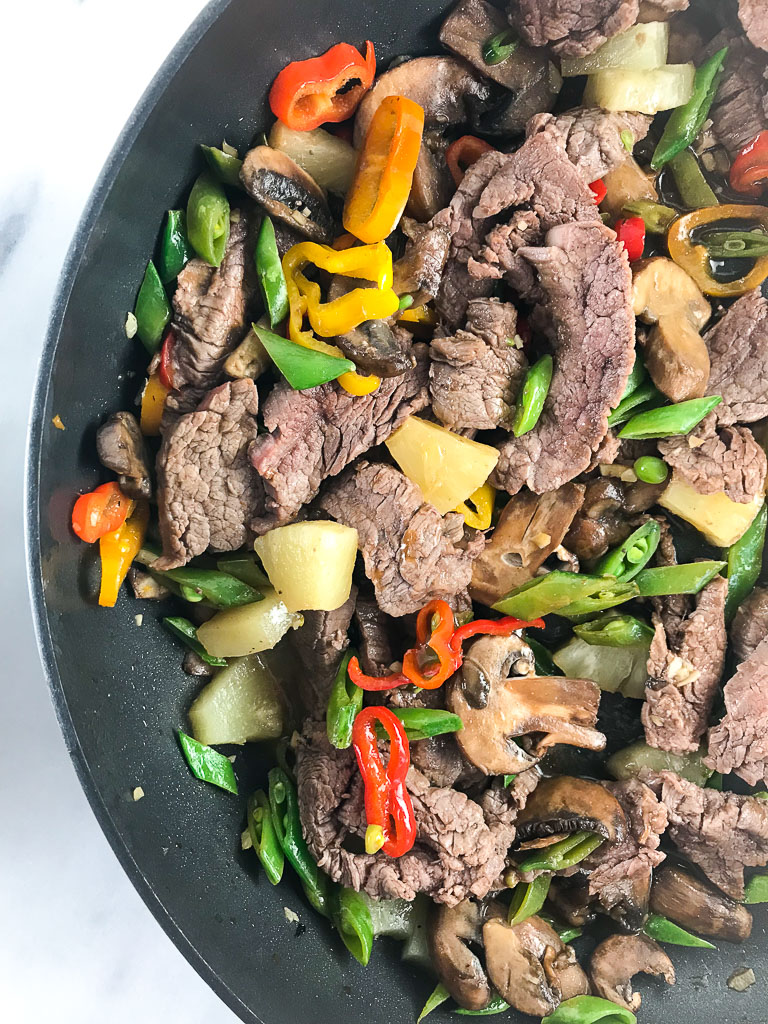
pineapple beef stir fry in a pan

At the supermarket meat case, each beef package label typically identifies the primal cut and the sub-primal cut name. It also includes the weight, price per pound, total price, sell-by date, and safe handling instructions. It may also include a grade, nutrition and preparation information, and the country of origin.

Understanding Beef Labeling + Pineapple Beef Stir Fry Recipe via RDelicious Kitchen @RD_Kitchen #sponsored by The Beef Checkoff #beef #stirfry #dinner #nutrition

It’s time to “Beef Up Nutrition Month” with decoding what the labels mean in the supermarket meat case.

BEEF QUALITY GRADING

The USDA divides beef into categories by different grades. Prime, Choice, and Select are the ones you will see at the grocery store.  The certain qualifications that determine the quality grade of beef are:

  • Distribution of marbling within the lean muscle at the 12th/13th rib
  • Age/maturity of the carcass
  • Color, texture, & firmness of the lean muscle

Prime-Grade Beef is the USDA’s highest designation. Coming from younger, well-fed cattle, this beef has more marbling with a firmer flesh. Prime-grade beef accounts for less than approximately five percent of the market in the United States, with the vast majority going to steakhouses and fancy hotels. Prime roasts and steaks are excellent for roasting, grilling, or broiling.


Choice-Grade Beef is of high quality and produced in highest quantity. Choice-grade beef has less marbling than Prime.  This is the standard option at supermarkets. Choice roast and steaks, especially from the rib and loin, will be very tender, juicy, and flavorful when roasted, grilled, or broiled. Less tender cuts are great for slow cooking.


Select-Grade Beef is slightly leaner than Prime and Choice because it has less marbling.  It can lack some tenderness, flavor, and juiciness as compared to the higher grades. Select grade beef often benefits from marinating prior to grilling or broiling. 1


Check out this easy to explore chart, outlining the various Grades of Beef.

NATURAL, GRASS-FED, ORGANIC – WHAT’S THE DIFFERENCE?

Beyond just the quality grade, beef comes along with additional labels. Package labeling can be very confusing.

All cattle spend the majority of their lives eating grass on pastures. But beef can be finished in a variety of ways, giving you choices when at the meat case in your local grocery store or at a restaurant.

“Natural” This label implies the beef has no artificial ingredients or colors added to it an is minimally processed. 2

“Naturally Raised” does have validity. As of 2009, the label ensures that the animals are free of antibiotics, never received growth-promoting hormones, never fed animal by-products, and may spend time at a feed yard. Naturally raised cattle may be either grain- or grass-finished.

“100% Organic Beef” means that the animals must be fed completely organic feed grains and have never received antibiotics and growth-promoting hormones. This is certified and inspected by the government. Organic beef cattle may be either grain- or grass-finished, as long as the USDA’s Agriculture Marketing Service certifies the feed is 100% organically grown and can be fed in a feed yard. 3

“Grass Finished” cattle spend their lives eating grass or foraging, but not always necessarily stay on a 100 percent grass-fed diet or finished on grass.  Some “grass-fed” cattle are still fed grain for their last few weeks to help fatten the cattle. Grass-fed cattle may or may not be given FDA-approved antibiotics to treat, prevent, or control disease and/or growth-promoting hormones. 2

Learn how to Decode the Label with this simple infographic.

Need help choosing lean beef or wondering what type of cooking method works best? Use the Beef. It’s what’s for dinner’s cooking guide.

WHY BEEF?

Beef provides you with 10 essential nutrients that support a heart-healthy lifestyle including protein, zinc, iron and B vitamins. The nutrients found in beef provide our bodies with the strength to thrive and grow throughout all the stages of life.

Beef is an excellent source of protein.

One 3-ounce cooked serving of beef provides approximately 50% of your Daily Value (25 grams) of this important nutrient—making it an excellent source! Protein helps maintain a healthy weight, as well as preserve and build muscle.

New research suggests it’s not only important to just get enough protein in at dinner or lunch but to spread it throughout your day for optimal health. Aim for 25-30 grams of protein at each meal. 4,5

What is considered lean?

6 Look for the word “round” or “loin” in its name when choosing lean cuts of beef.

Lean cuts include top sirloin steak, tenderloin steak, strip steak (or top loin steak), or 95% lean ground beef.

Print
clock clock iconcutlery cutlery iconflag flag iconfolder folder iconinstagram instagram iconpinterest pinterest iconfacebook facebook iconprint print iconsquares squares iconheart heart iconheart solid heart solid icon
pineapple beef stir fry with white rice in a white bowl

Pineapple Beef Stir Fry Recipe

  • Author: Chef Julie Harrington, RD
  • Prep Time: 30
  • Cook Time: 20
  • Total Time: 50 minutes
  • Yield: 4
  • Category: dinner

Description

Whip up this simple and delicious stir-fry for dinner.


Ingredients

Scale
  • 1 (8-ounce) can pineapple tidbits, 3 tablespoons juice reserved
  • 5 tsp rice vinegar
  • 1 tbsp low sodium soy sauce
  • 1 tbsp ketchup
  • 2 tsp brown sugar
  • 1 lb. flank steak, cut into strips
  • 1 tsp cornstarch
  • 3 tsp sesame oil, divided
  • 1 tbsp minced garlic
  • 1 cup sliced mushrooms
  • 1 cup snap peas
  • 1 sweet pepper, sliced

Instructions

  1. Whisk the reserved 3 tbsp pineapple juice, vinegar, soy sauce, ketchup, and sugar in a small bowl until smooth. Place beef in a medium bowl; toss with 2 tablespoons of the sauce. Let marinate for 20 minutes.
  2. Add cornstarch to the remaining sauce and whisk until smooth.
  3. Heat 2 teaspoons oil in a large nonstick pan over medium-high heat. Transfer the beef to the pan. Whisk any remaining marinade into the bowl of sauce. Cook the beef, stirring every 1 to 2 minutes, until tender, about 4-5 minutes. Transfer the beef to a plate.
  4. Add the remaining 1 tsp oil to the pan and heat over medium heat. Add garlic, stirring constantly, until fragrant, about 30 seconds. Add the mushrooms, snap peas and sweet pepper to cook, stirring often, until just tender, about 3 minutes. Pour in the sauce and cook, stirring, until thickened, about 30 seconds. Add the beef and pineapple and cook, until heated through.
  5. Serve over rice, quinoa, or cauliflower rice.

Keywords: stir fry, beef, dinner

Recipe Card powered byTasty Recipes

other recipes you may enjoy

Learn more about the health benefits of beef via Snacking in Sneakers
Fun Facts About Beef: Nutrients, Recipes, and a Free Printable Placemat! via Mama Teaches
Fresh Homemade Cheesy Beef-a-Roni via Brooklyn Active Mama
Slow Cooker Cuban Shredded Beef via Snacking in Sneakers
a Rafflecopter giveaway


References:
1. Inspection & Grading of Meat and Poultry: What Are the Differences?
2. Meat & Poultry Labeling Terms
3. Organic Labeling Standards
4. Paddon-Jones D, Rasmussen BB. Dietary protein recommendations and the prevention of sarcopenia. Curr Opin Clin Nutr Metab Care 2009;12:86-90
5. Mamerow MM, et al. Dietary protein distribution positively influences 24-h muscle protein synthesis in healthy adults. J Nutr 2014;144:876-80
6. U.S. Department of Agriculture, Food Safety, and Inspection Service. Beef from Farm to Table. Available at: https://www.fsis.usda.gov/wps/wcm/connect/c33b69fe-7041-4f50-9dd0-d098f11d1f13/Beef_from_Farm_to_Table.pdf?MOD=AJPERES
Grades of Beef
Decode the Label

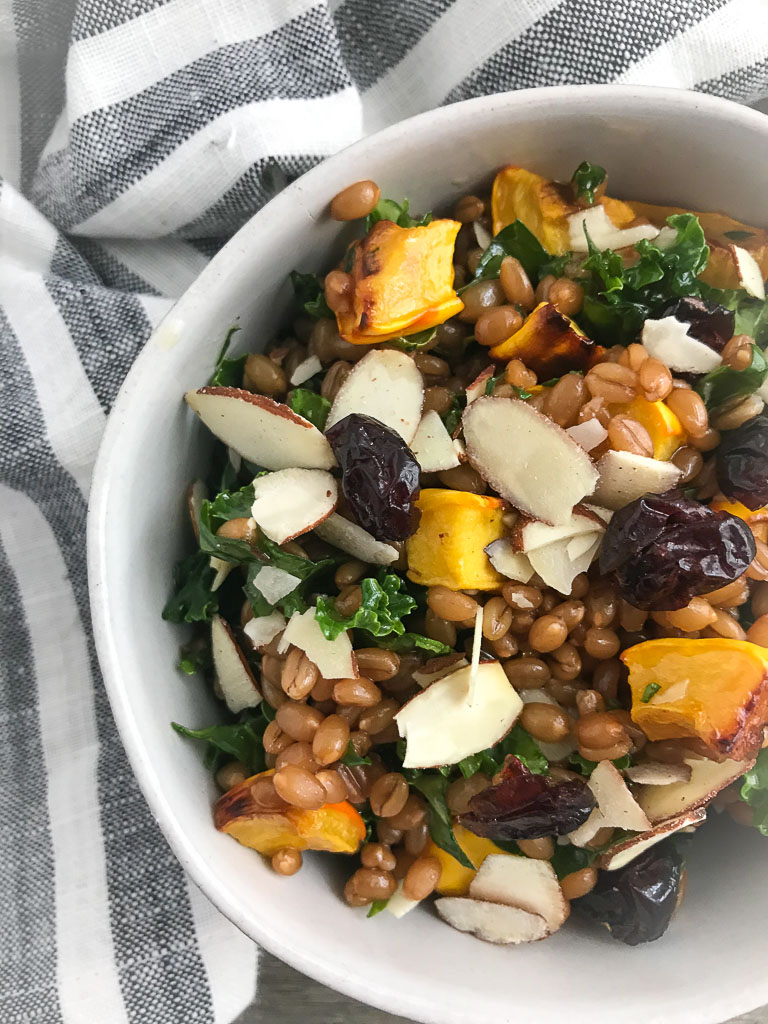
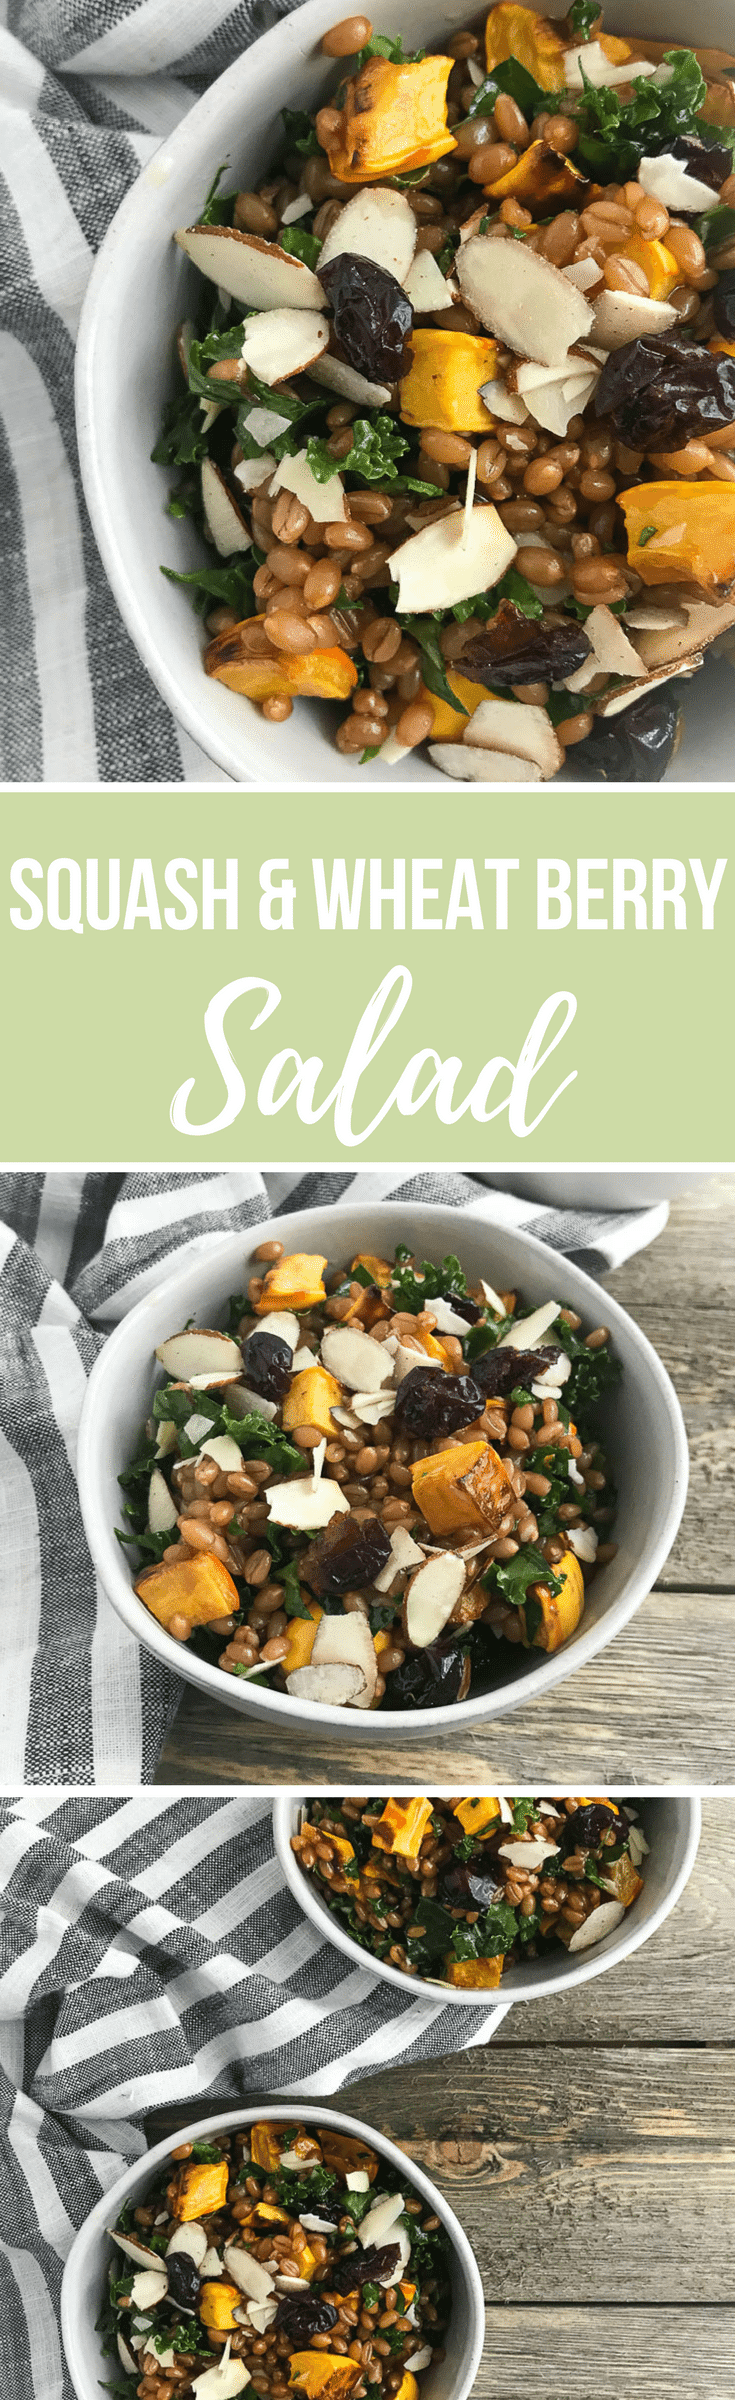
Squash and Wheat Berry Salad

This Squash & Wheat Berry Salad captures all the different flavors of sweet, savory, tart, and nutty. Batch cook for the week for a satisfying meal or side dish. 
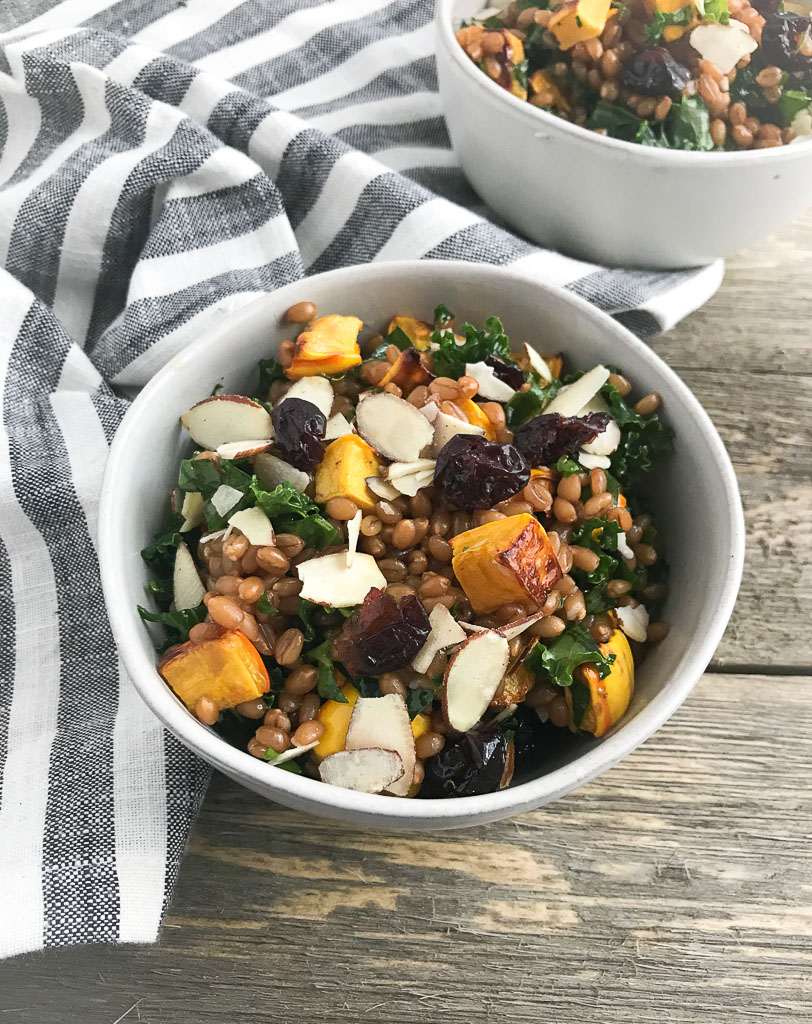
Squash & Wheat Berry Salad via RDelicious Kitchen @RD_Kitchen #wheatberries #wholegrain #squash #sidedish #salad

One of my meal prep strategies is batch cooking at least one whole grain for the week. Then that whole grain is incorporated throughout the week in various ways.
I’ve been utilizing my Instant Pot to quickly batch cook grains for my weekly meal prep. Wheat berries can take up to an hour to cook and require you to keep a constant eye on them. Throw them into the Instant Pot and voila – done in half the time!
Squash & Wheat Berry Salad via RDelicious Kitchen @RD_Kitchen #wheatberries #wholegrain #squash #sidedish #salad
I’ve had a little extra time on my hands this week being completely snowed in the past two days. With an already prepped batch of wheat berries in my fridge, I utilized the ingredients in my kitchen to create this dish.
I feel like many of my recipes are like I am a contestant on Chopped. The items that are in my kitchen are my “mystery basket”. I must say it is a much easier mystery basket than what the contestants end up with. Chopped viewers voted, mashed potatoes candies were voted the weirdest basket ingredient on the show. What even are those?!
Squash & Wheat Berry Salad via RDelicious Kitchen @RD_Kitchen #wheatberries #wholegrain #squash #sidedish #salad
Squash season is not over yet! I love using delicata squash because of its more tender flesh and skin, making this variety easier to work with. No need to even peel the skin!

Make your own vinaigrette:

You know I love making my own dressings. It’s SO easy. Want to create your own signature vinaigrette? Use my guide with your favorite flavor combination!

Print

clock clock iconcutlery cutlery iconflag flag iconfolder folder iconinstagram instagram iconpinterest pinterest iconfacebook facebook iconprint print iconsquares squares iconheart heart iconheart solid heart solid icon
wheat berry salad with squash in a white bowl

Squash Wheat Berry Salad

  • Author: Chef Julie Harrington, RD
  • Prep Time: 30
  • Cook Time: 8
  • Total Time: 38 minutes
  • Yield: 6
  • Category: side dish

Description

This Squash & Wheat Berry Salad captures all the different flavors of sweet, savory, tart, and nutty. Batch cook for the week for a satisfying meal or side dish.


Ingredients

Scale
  • 2 cups wheat berries, cooked
  • 1 delicata squash (about 2 cups), or your favorite squash
  • 2 tablespoons olive oil, divided
  • zest of one orange
  • 3 tablespoons fresh orange juice
  • 1 tablespoon maple syrup
  • 2 cups kale, stems removed and chopped
  • ½ cup dried tart cherries
  • 1/3 cup sliced almond

Instructions

  1. Cook wheat berries according to package directions (or try my Instant Pot Wheat Berries recipe for a simple method). Let cool once cooked.
  2. Preheat oven to 400 degrees F. Dice delicate squash. Toss with 1 tablespoon of olive oil and sprinkle with salt and pepper. Place on a baking sheet lined with parchment paper. Roast for 20-30 minutes, until squash is tender and caramelized, stirring occasionally.
  3. In a mason jar, combine remaining 1 tablespoon of olive oil, orange zest, orange juice, and maple syrup. Secure the mason jar lid and vigorously shake. Season with salt and pepper, to taste.
  4. In a large bowl, combine wheat berries, squash, kale, dried tart cherries, and sliced almond. Dress with salad dressing. Toss to combine.

Notes

Instant Pot Wheat Berries recipe here

Keywords: side dish, farro, whole grain, squash, salad

Recipe Card powered byTasty Recipes

Did you make this recipe? I’d love to see. Tag me on Instagram, Facebook, or comment below!

Chef Julie Harrington, RD - Culinary Nutrition Consultant of chefjulierd.com

Pin for later!
Squash & Wheat Berry Salad via RDelicious Kitchen @RD_Kitchen #wheatberries #wholegrain #squash #sidedish #salad