Slow Cooker Thai Meatballs

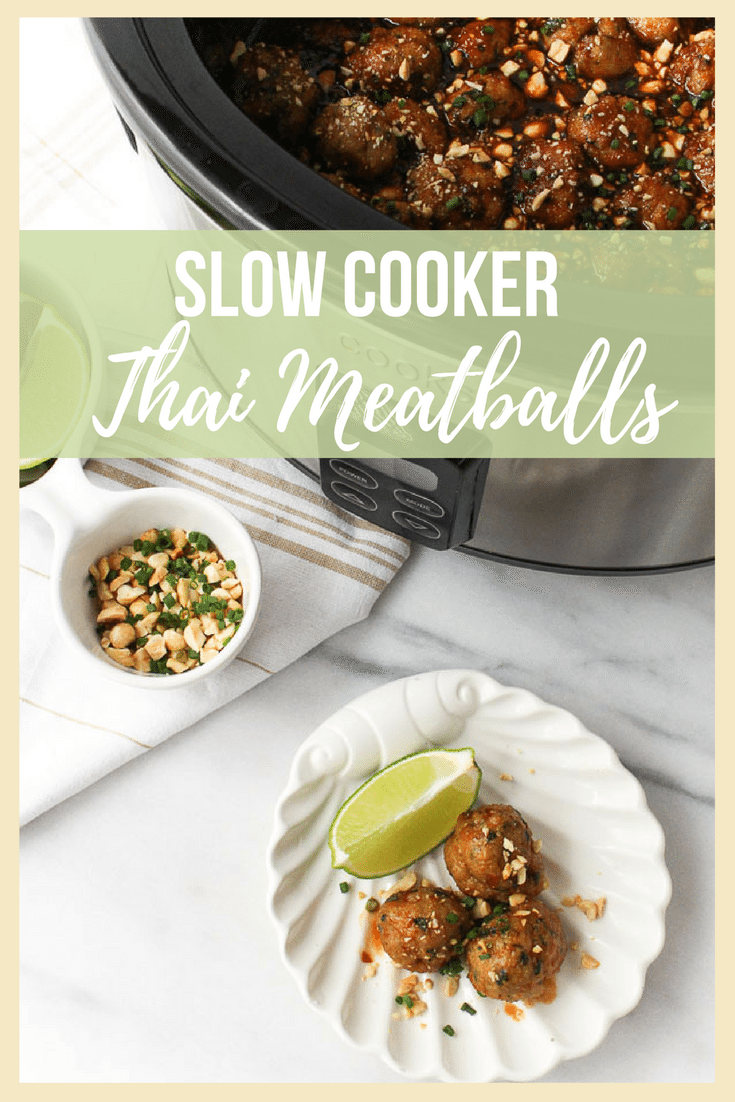
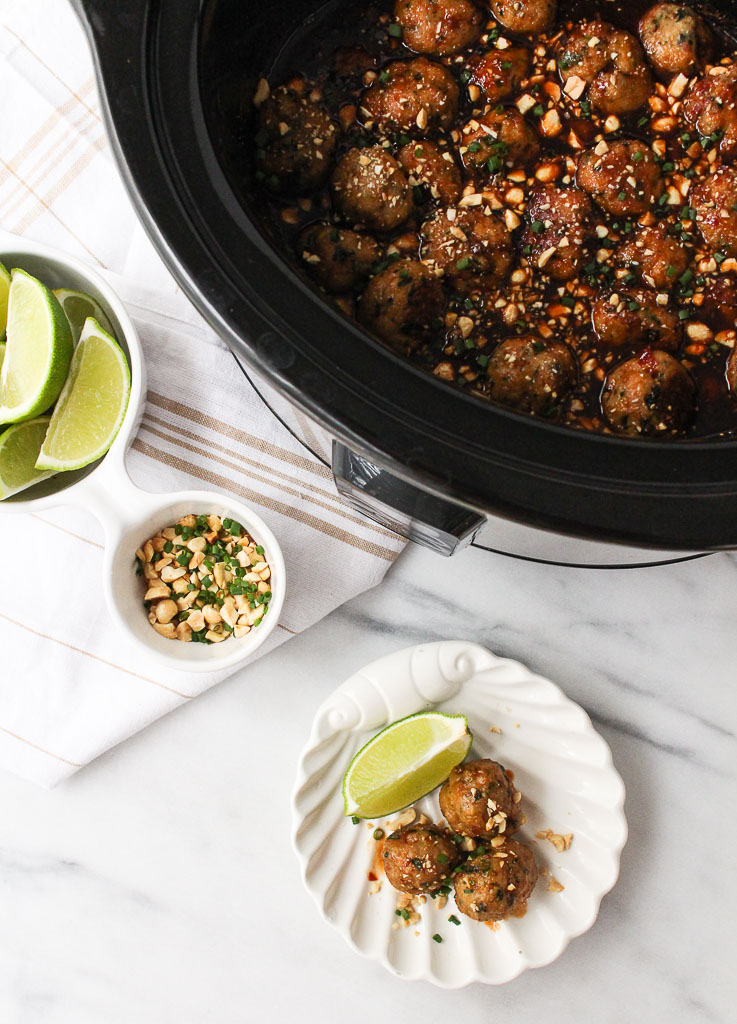
Looking for a new appetizer idea? Set it and forget it! These Slow Cooker Thai Meatballs are the perfect balance of sweet and spicy that everyone will keep coming back for.
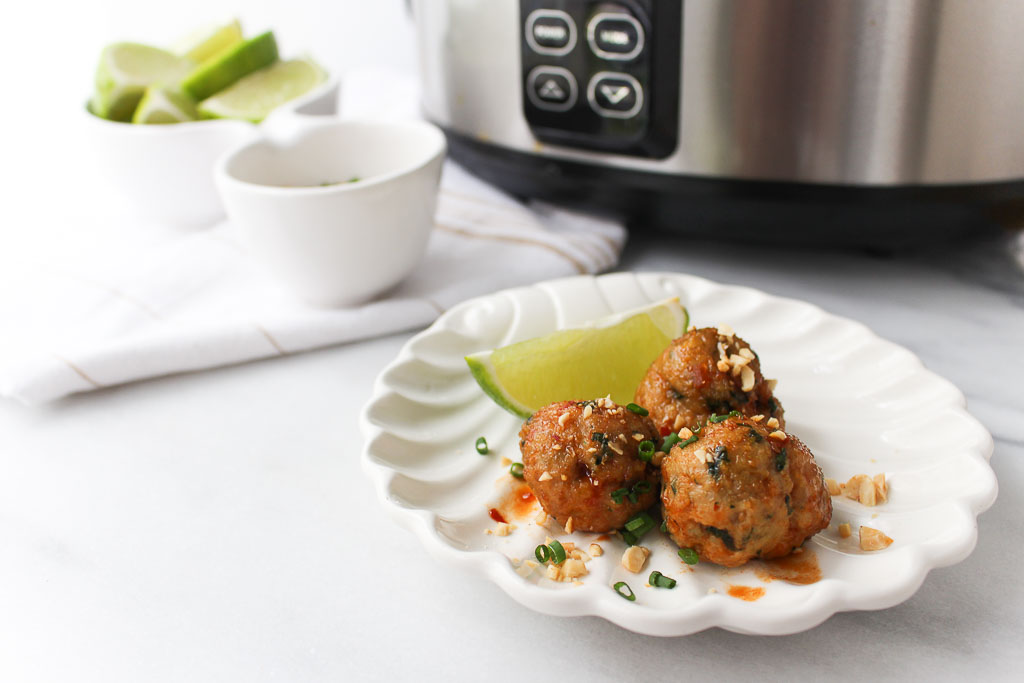
Slow Cooker Thai Meatballs via RDelicious Kitchen @RD_Kitchen
By posting this recipe I am entering a recipe contest sponsored by SPLENDA® Sweeteners and am eligible to win prizes associated with the contest. I was not compensated for my time.
This past weekend, my family did our second annual fantasy football draft. I am feeling pretty good about my picks. There is a trophy on the line and I want bragging rights this year.
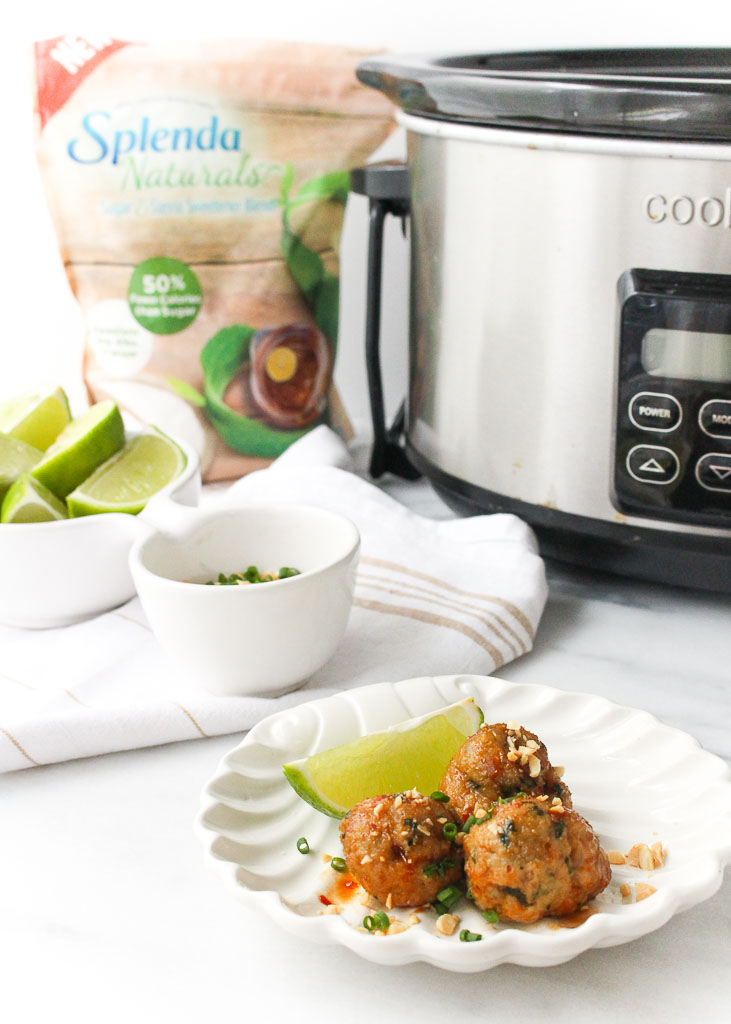
Slow Cooker Thai Meatballs via RDelicious Kitchen @RD_Kitchen
With football season about to start, it’s got me thinking of new recipes for Sunday football game gatherings. Let’s be honest, if my team isn’t playing, I’m mainly just there for the food.
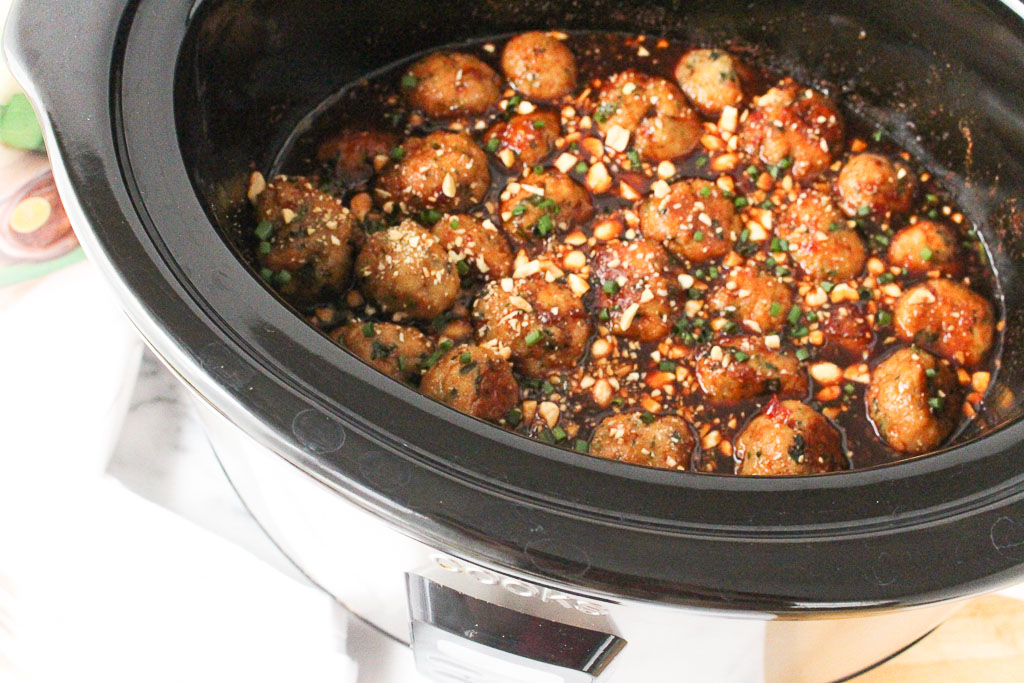
Slow Cooker Thai Meatballs via RDelicious Kitchen @RD_Kitchen

Why SPLENDA® Naturals Sugar & Stevia Blend?

These Slow Cooker Thai Meatballs have the perfect balance of sweet and spicy, sweetened with SPLENDA® Naturals Sugar & Stevia Blend and adds a kick of spice with Thai chili sauce. SPLENDA® Naturals Sugar & Stevia Blend is made from only 2 non-GMO ingredients: stevia & cane sugar. With 50% Fewer calories than sugar, a 1⁄2 teaspoon of SPLENDA® Naturals Sugar & Stevia Blend gives you the same amount of sweetness as a full teaspoon of traditional sugar. Bonus – it has no bitter aftertaste that you sometimes get with other artificial or alternative sweeteners.
Slow Cooker Thai Meatballs via RDelicious Kitchen @RD_Kitchen
If serving as an appetizer, keep them on warm in the crockpot and serve with small skewers or toothpicks to or serve over quinoa or cauliflower rice to make a main dish.
Print
clock clock iconcutlery cutlery iconflag flag iconfolder folder iconinstagram instagram iconpinterest pinterest iconfacebook facebook iconprint print iconsquares squares iconheart heart iconheart solid heart solid icon
thai meatballs made in the slow cooker

Slow Cooker Thai Meatballs

  • Author: Chef Julie Harrington, RD
  • Prep Time: 20
  • Cook Time: 50
  • Total Time: 1 hour 10 minutes
  • Yield: 16-20 1x
  • Category: Appetizer
  • Method: Slow Cooker
  • Cuisine: Thai

Description

Set it and forget it! These Slow Cooker Thai Meatballs are the perfect balance of sweet and spicy that everyone will keep coming back for.


Ingredients

Scale
  • 3 stalks lemongrass, roughly chopped
  • 2 shallots, roughly chopped
  • 4 cloves garlic, roughly chopped
  • 2-inch knob of ginger, peeled and roughly chopped
  • 3 tablespoons hoisin sauce
  • 2/3 cup Thai chili sauce
  • ¼ cup SPLENDA® Naturals Sugar & Stevia Blend
  • 2/3 cup low sodium soy sauce
  • ½ cup rice vinegar
  • 1 cup water
  • 2 lbs. ground chicken breast
  • 1 cup whole wheat panko bread crumbs
  • 1 egg
  • ½ cup chives, divided
  • ¼ cup cilantro, chopped
  • salt and pepper, to taste
  • ½ cup unsalted peanuts, chopped
  • (optional) fresh lime wedges, to garnish

Instructions

  1. In a food processor, combine lemongrass, shallots, garlic, ginger, and hoisin sauce. Process the mixture until it forms a paste.
  2. In a small sauté pan add half the paste, reserving the remaining half for the meatballs. Cook stirring until fragrant. Remove from the pan and add to a slow cooker.
  3. Stir in the chili sauce, SPLENDA® Naturals Sugar & Stevia Blend, soy sauce, rice vinegar, and water with the paste in the slow cooker. Cover and cook on high for 3 hours, or until reduced by half.
  4. Preheat the oven to 350 degrees F. Line a large baking sheet with parchment paper. In a large bowl combine the remaining paste, ground chicken, panko, egg, ¼ cup of the chives, and cilantro. Season with salt and pepper. Mix meatball mixture until well combined. If the mixture is too wet, add more panko.
  5. Roll meatballs into golf ball size meatballs; line on the baking sheet. Bake for 20 minutes, until beginning to brown.
  6. Add meatballs to the slow cooker for the last 30 minutes of cooking, stirring to coat.
  7. In a small bowl, combine remaining chives and peanuts. Slice limes.
  8. Once the timer is up, sprinkle meatballs with the peanuts and chives. Serve meatballs with lime wedges.

Keywords: slow cooker, appetizer, meatballs, crockpot

Recipe Card powered byTasty Recipes

Chef Julie Harrington, RD - Culinary Nutrition Consultant of chefjulierd.com

  Pin it for later!

Slow Cooker Thai Meatballs via RDelicious Kitchen @RD_Kitchen
Need more inspiration? You can see lots of other lower sugar recipes at the link below. Thank you to #TheRecipeReDux for hosting another great recipe contest!
Blueberry Cobbler Overnight Oats

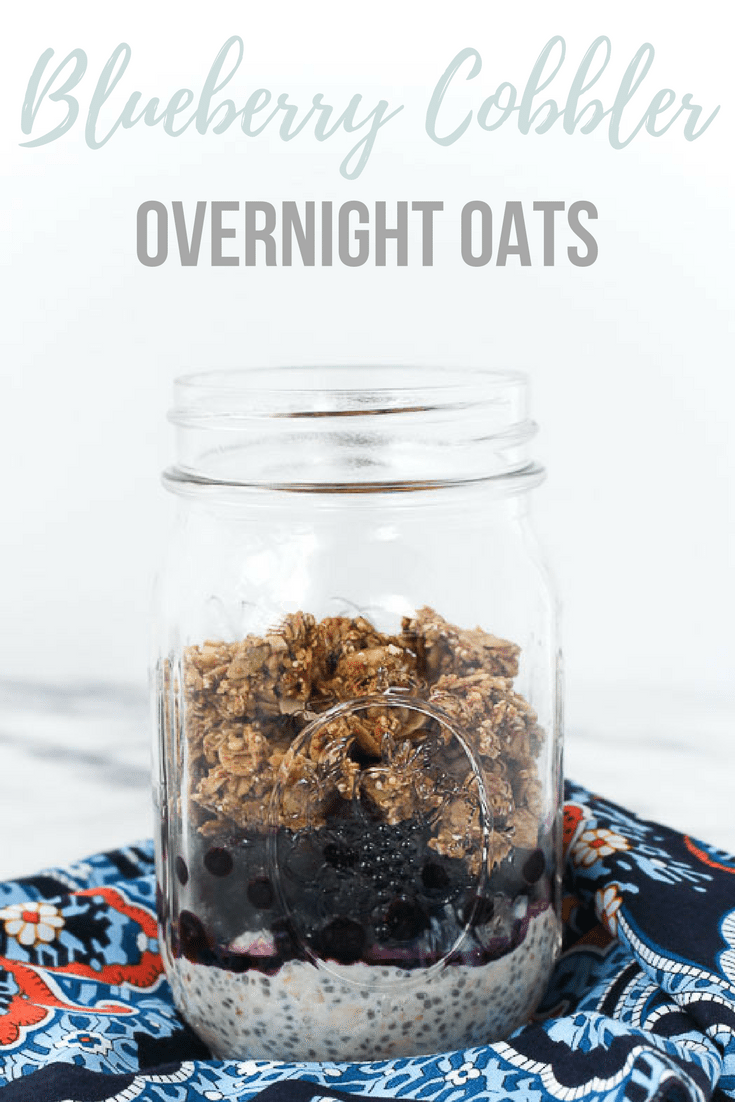
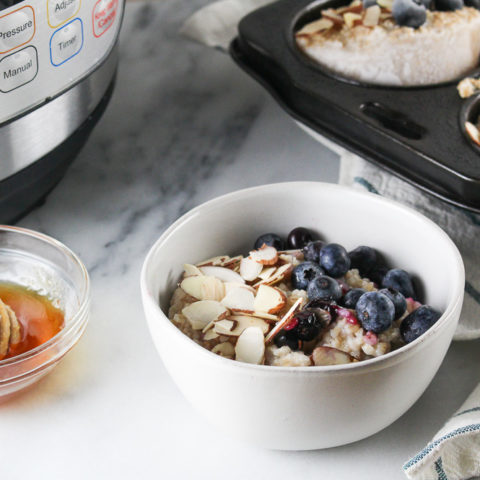
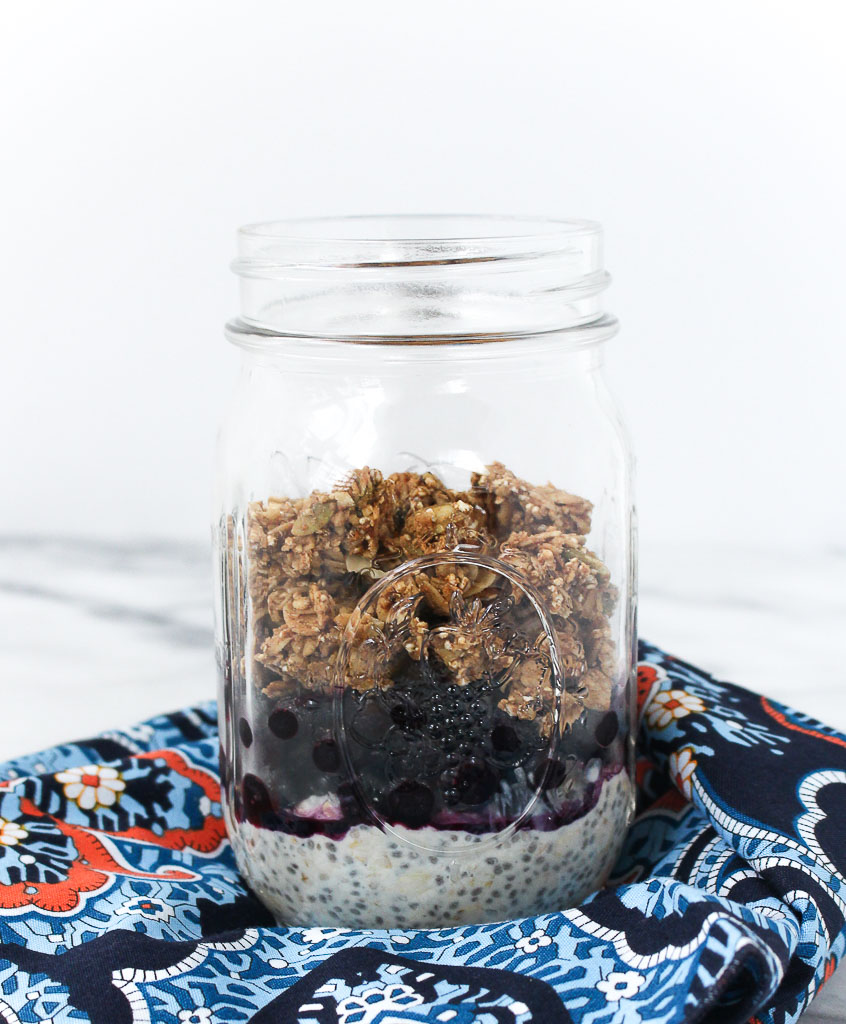
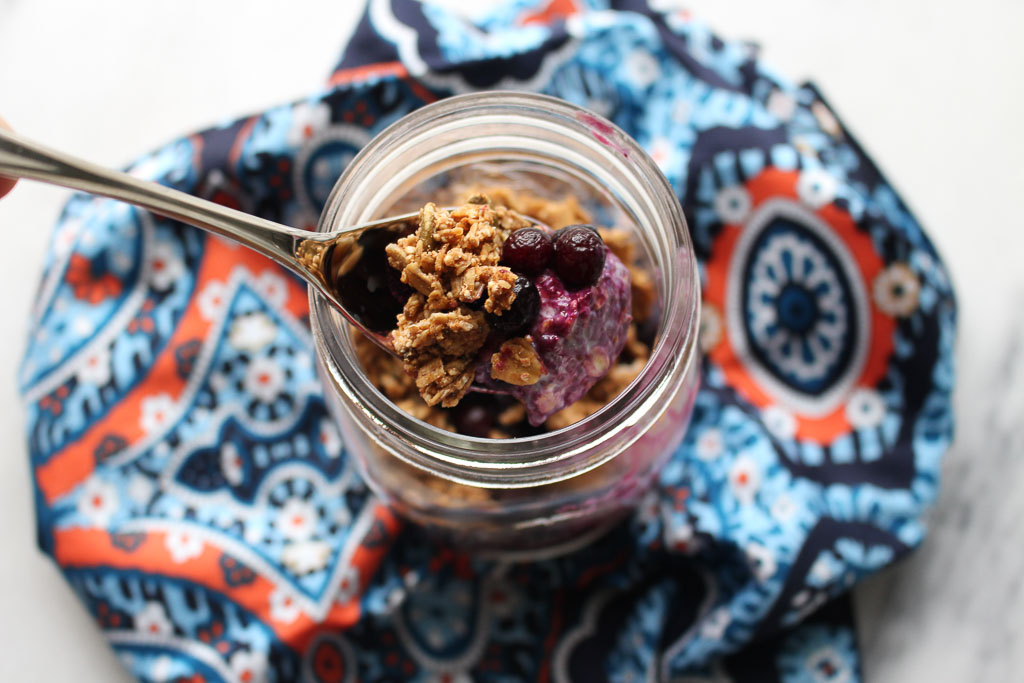
Hit the snooze button. Make these Blueberry Cobbler Overnight Oats the night before for a delicious grab and go breakfast.
Blueberry Cobbler Overnight Oats via RDelicious Kitchen @RD_Kitchen
Meal prep is key for busy weeks. I still don’t understand when I am counseling clients who tell me they skip breakfast. I need my fuel first thing in the morning to start the day.

I used to never hit the snooze button, but when I make my breakfast in advance I justify the little extra time I have in the morning to get ready.

This recipe is so easy to make!


I decided to use Wild Blueberries because I love how sweet and tart they are. Any fruit would work with this recipe. Wild Blueberries have twice (2x) the antioxidant capacity of larger, cultivated blueberries.
Blueberry Cobbler Overnight Oats via RDelicious Kitchen @RD_Kitchen

Print
clock clock iconcutlery cutlery iconflag flag iconfolder folder iconinstagram instagram iconpinterest pinterest iconfacebook facebook iconprint print iconsquares squares iconheart heart iconheart solid heart solid icon
blueberry overnight oats in a mason jar

Blueberry Cobbler Overnight Oats

  • Author: Julie @ RDelicious Kitchen
  • Prep Time: 5 mins
  • Total Time: 5 mins
  • Yield: 1

Ingredients

Scale
  • 2 tablespoons rolled oats
  • 1 tablespoon chia seeds
  • 2 tablespoons plain Greek yogurt
  • 1 teaspoon maple syrup
  • 1/4 cup milk
  • 1/2 cup wild blueberries
  • 1/4 cup low sugar granola

Instructions

  1. In a mason jar (or small bowl) combine rolled oats, chia seeds, Greek yogurt, maple syrup, and milk. Stir to combine. Refrigerate overnight.
  2. In the morning top with wild blueberries and granola.

Notes

Low sugar granola recommendation: Purely Elizabeth or KIND granola

Recipe Card powered byTasty Recipes

Did you make this recipe? Tag @rdeliciouskitchen on Instagram or send me a picture, I’d love to see!


RDelicious Kitchen @RD_Kitchen

 Pin it for later!

Blueberry Cobbler Overnight Oats via RDelicious Kitchen @RD_Kitchen

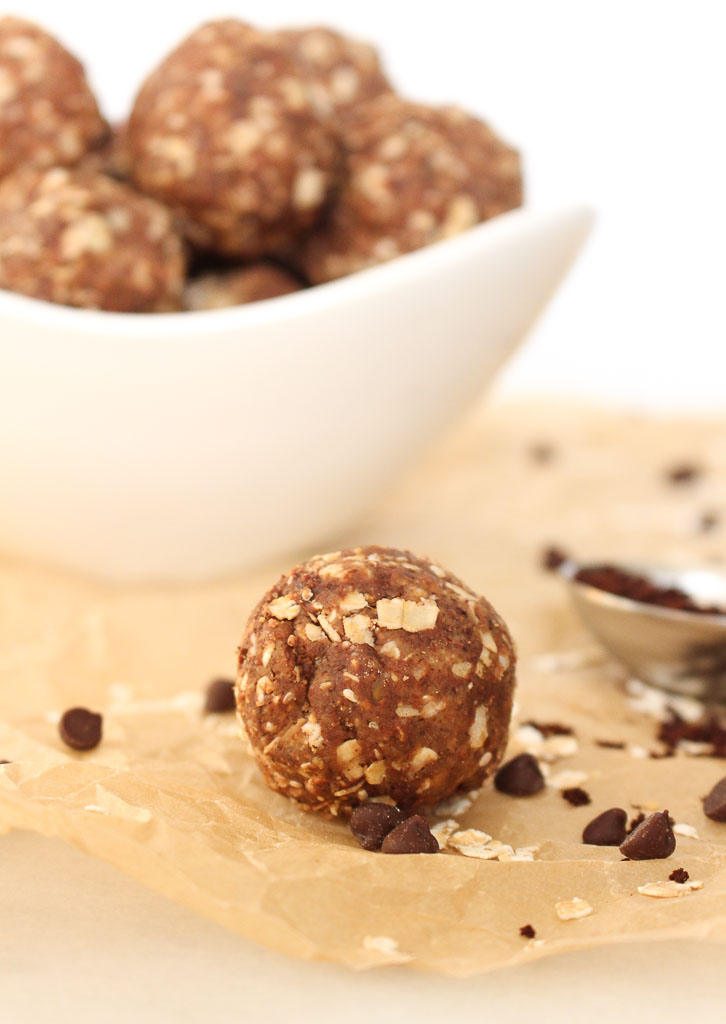
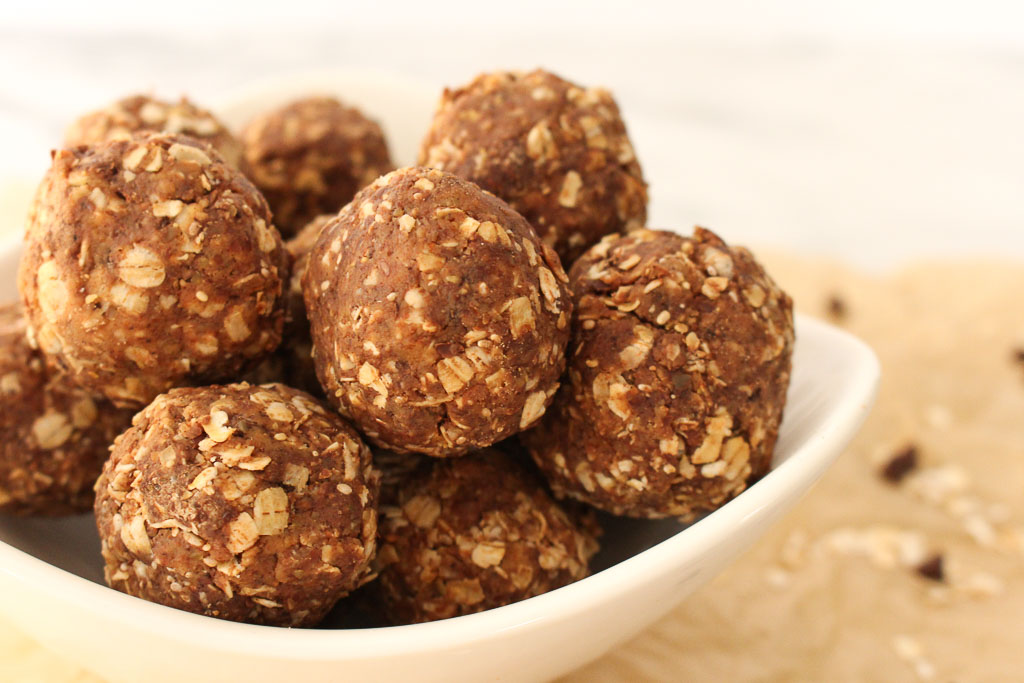
Vanilla Espresso Energy Bites

Need a little afternoon pick-me-up? These Vanilla Espresso Energy Bites are a perfect energy boosting snack.

Vanilla Espresso Energy Bites via RDelicious Kitchen @RD_Kitchen
I originally posted this recipe back in 2014 on my travels to Blog Brulee in Vermont. Boy, a lot has changed since that conference. That conference hands down was the most amazing experience and I contribute a lot of my blogging success from that conference. It gave me the confidence to turn my hobby into my business.
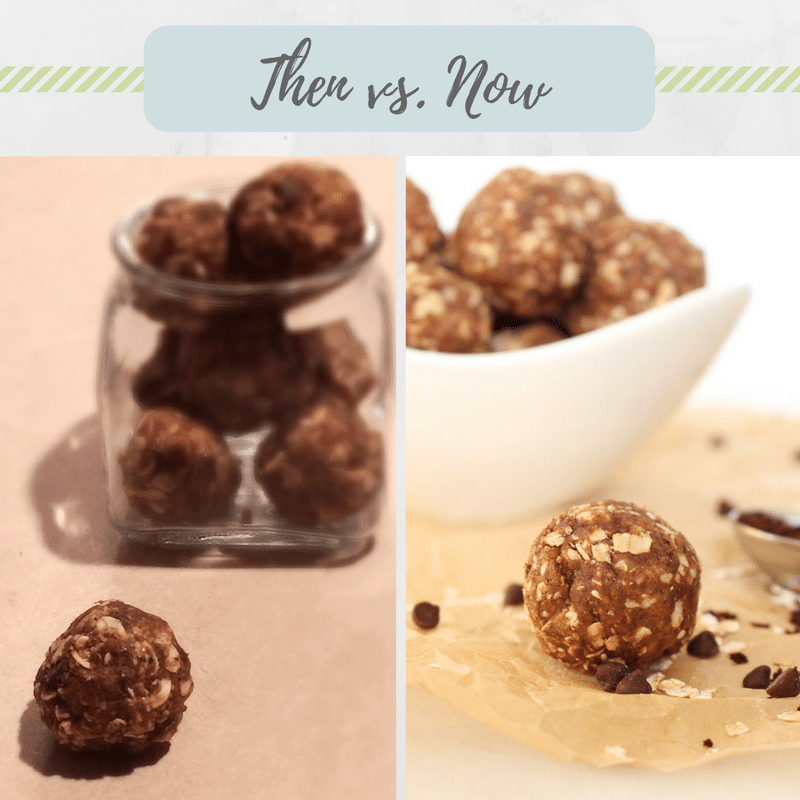
One of my biggest goals was to focus on my food photography. When you are sharing a recipe online, it has to look visually appealing. While some of my old recipes taste delicious, they are not very photogenic. I am working on updating old recipes this summer. This is one of my favorite energy bite recipes, but the photo definitely needed an upgrade.
Then vs. Now - Improving Food PhotographyEvery time I take food pictures, I am constantly learning and improving. It is a constant learning process.

Vanilla Espresso Energy Bites via RDelicious Kitchen @RD_Kitchen
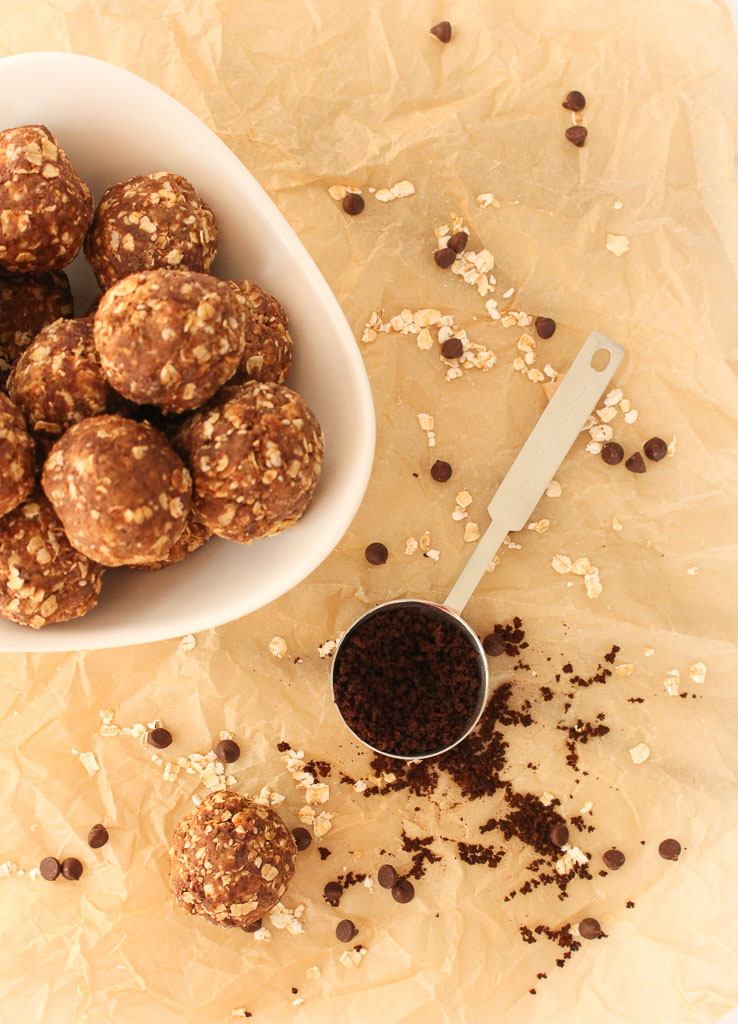
If you are a coffee lover, you’ll love the addition of the espresso powder. It will give you that little jolt to power you through the afternoon. Find espresso powder in the coffee aisle of the grocery store.
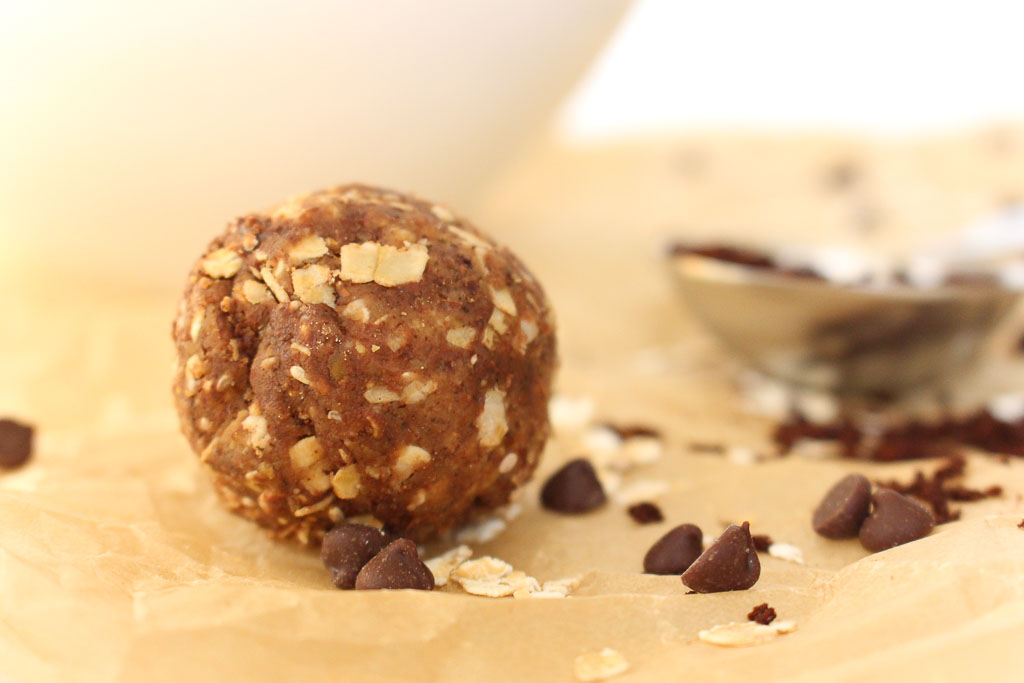
Make these ahead and enjoy all week (if they even last that long). Just remember to store in the refrigerator, or they dry out and get very crumbly.
Vanilla Espresso Energy Bites via RDelicious Kitchen @RD_Kitchen

Print
clock clock iconcutlery cutlery iconflag flag iconfolder folder iconinstagram instagram iconpinterest pinterest iconfacebook facebook iconprint print iconsquares squares iconheart heart iconheart solid heart solid icon
espresso energy bites

Vanilla Espresso Energy Bites

  • Author: Julie @ RDelicious Kitchen
  • Yield: 16 balls 1x

Ingredients

Scale
  • 1½ cup rolled oats
  • ¾ cup ground flax seed
  • ½ cup chocolate chips
  • 1 cup vanilla almond butter (I used Justin’s)
  • 2 tbsp pure maple syrup
  • 1 tablespoon espresso powder

Instructions

  1. Add oats, flax seed, and chocolate chips in a large bowl. Toss to combine.
  2. Add almond butter, maple syrup, and espresso in a small bowl and microwave for 30 seconds or until softened.
  3. Combine the almond butter mixture with the oat mixture until combined. The mixture will be thick. Shape into tablespoon-sized balls. Store in refrigerator.

Recipe Card powered byTasty Recipes

Did you make this recipe? Tag @rdeliciouskitchen on Instagram or send me a pic, I’d love to see!RDelicious Kitchen @RD_Kitchen

Pin this recipe for later!

Vanilla Espresso Energy Bites via RDelicious Kitchen @RD_Kitchen

Cheesy Cauliflower Waffles

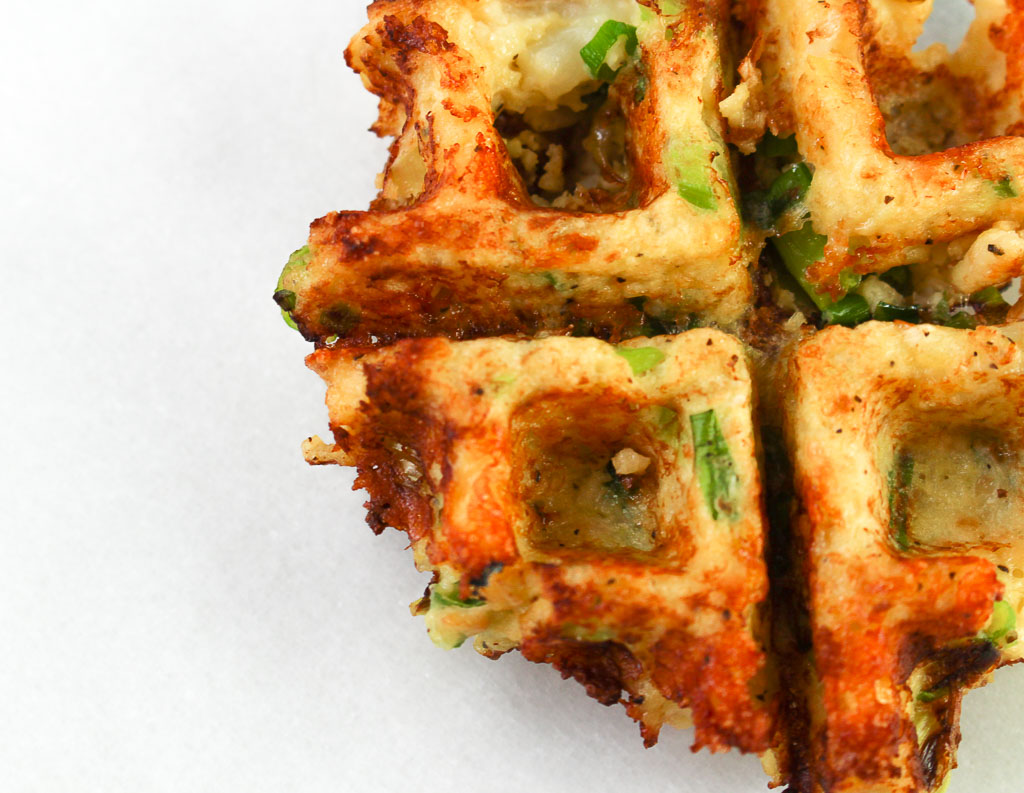
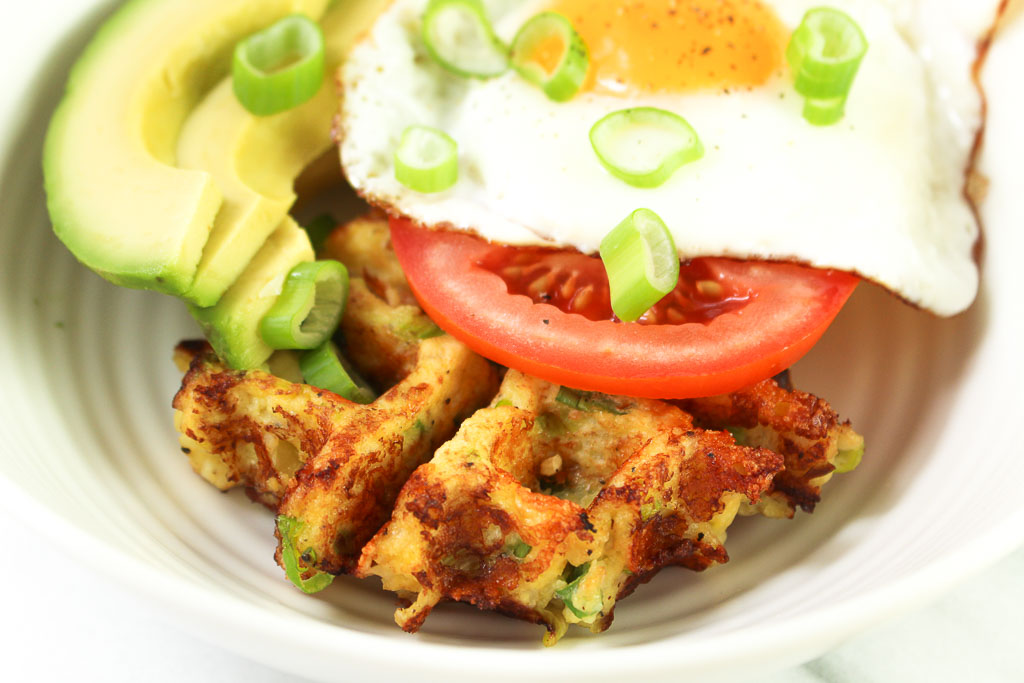
Take out your waffle maker and whip up a batch of these Cheesy Cauliflower Waffles (aka. “Cauli-Waffles”) for a fun new breakfast!
close up image of a cheesy cauliflower waffle

As a food blogger and recipe developer, I always have recipe ideas running through my mind. This “cauli-waffle” idea was inspired when I was organizing my kitchen gadgets and found my waffle maker buried in the back of one of my cabinets. I honestly forget what kitchen gadgets that I have sometimes. Hi, my name is Julie and I am a kitchen gadget hoarder.

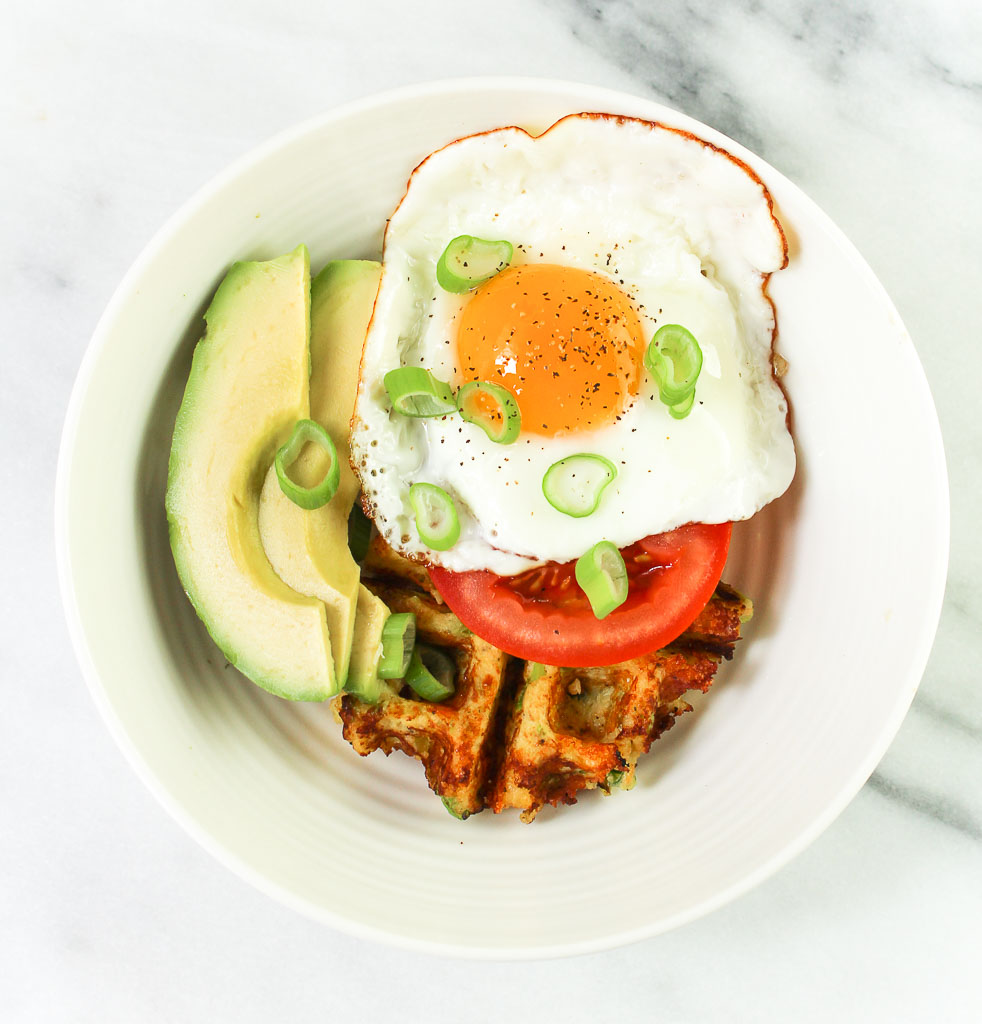
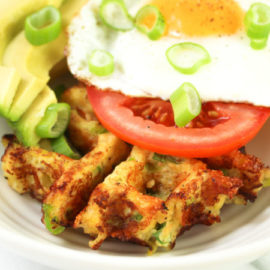
cauliflower waffle with a fried egg, tomato, and avocado

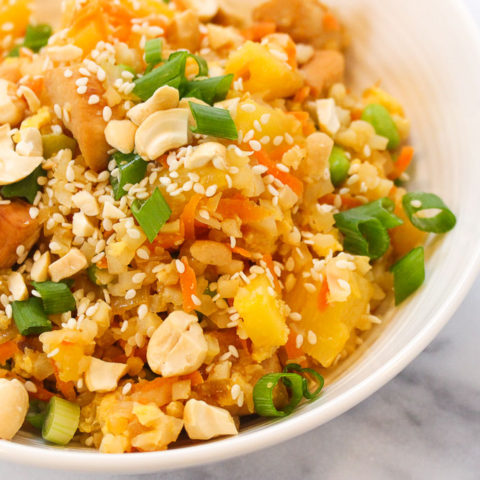
I set my waffle maker on my counter and was planning on making waffles for a fun weekend breakfast, but when I woke up Saturday morning, I was craving savory rather than sweet. The plan for the cauliflower rice that was sitting in my fridge was to make my Hawaiian Chicken Cauliflower Fried Rice for dinner that night, was used for my breakfast instead.

Cheesy Cauliflower Waffles

This is going to become one of my brunch staples. I topped my waffle with a fried egg, avocado, and tomato slices. Now that is what I call a savory breakfast.

Cheesy Cauliflower Waffles topped with a fried egg, tomato, and avocado

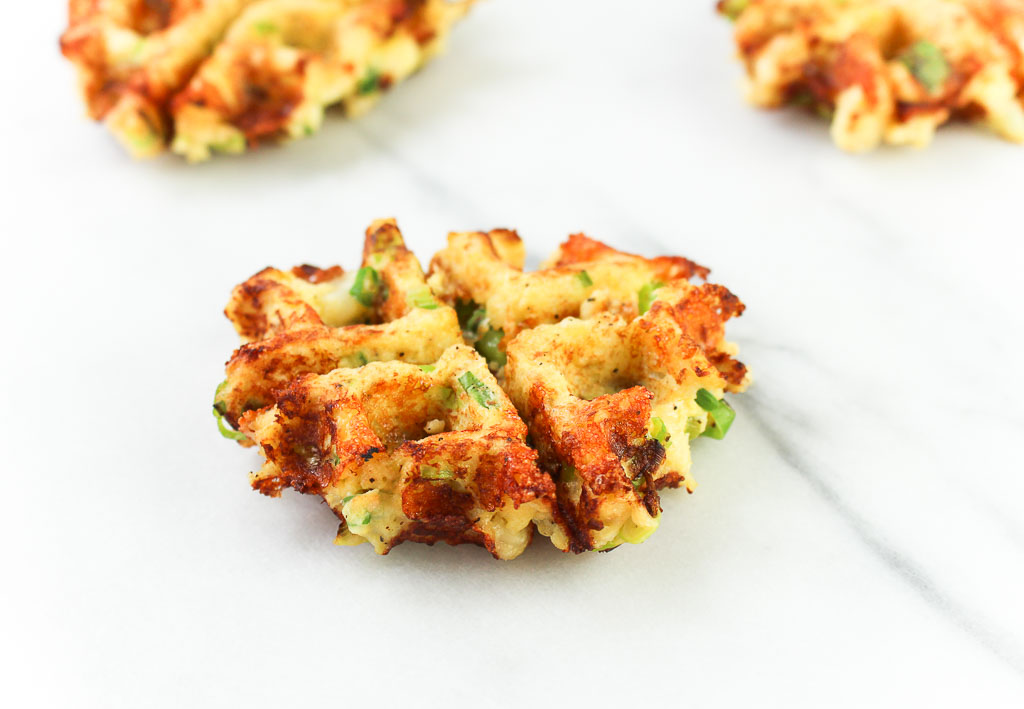
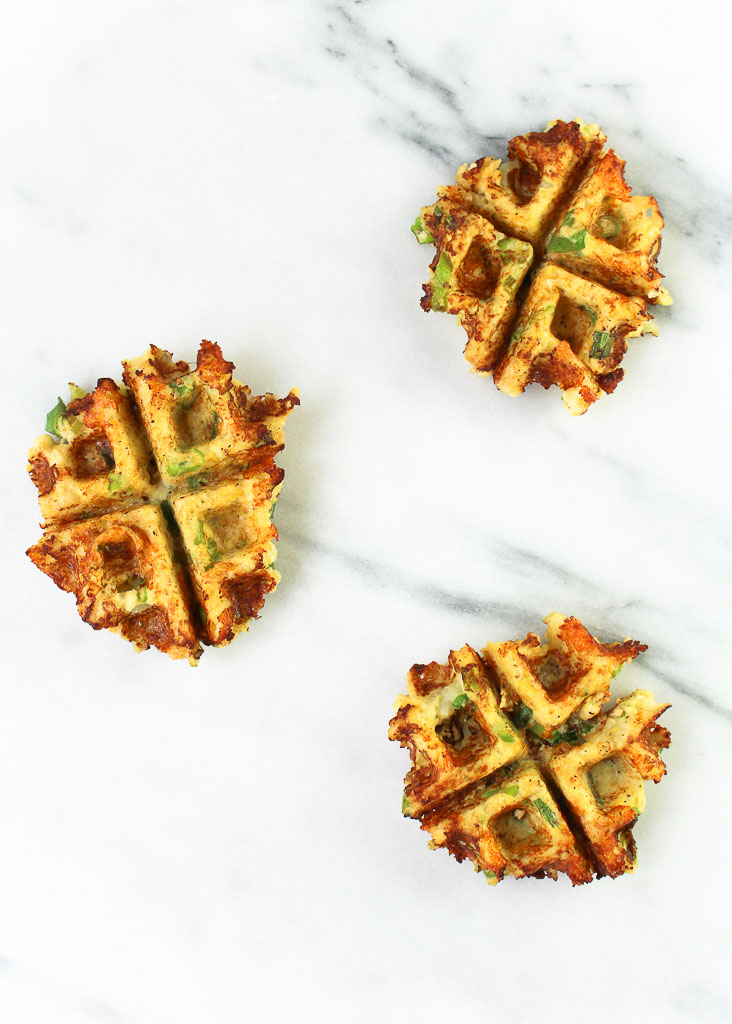
I am going to assume they freeze well. I really can’t say since they were all devoured that morning.. oops! I would recommend warming them in the oven if you do have leftovers. 

cauliflower waffles on a marble slab

Have you ever made a savory dish using your waffle iron?

Print
clock clock iconcutlery cutlery iconflag flag iconfolder folder iconinstagram instagram iconpinterest pinterest iconfacebook facebook iconprint print iconsquares squares iconheart heart iconheart solid heart solid icon
Cheesy Cauliflower Waffles with fried egg, tomato, and avocado

Cheesy Cauliflower Waffles

  • Author: Chef Julie Harrington, RD
  • Prep Time: 15
  • Cook Time: 20
  • Total Time: 35 minutes
  • Yield: 4
  • Category: Breakfast
  • Method: Waffle Maker
  • Cuisine: American

Description

Take out your waffle maker and whip up a batch of these Cheesy Cauliflower Waffles (aka. “Cauli-Waffles”) for a fun new breakfast!

Ingredients

Scale
  • 3 cups cauliflower rice
  • 3 scallions, chopped
  • 1/2 cup cheddar cheese, shredded (I used Cabot!)
  • 2 cloves garlic, minced
  • 1 egg, whisked
  • salt and pepper, to taste

Instructions

  1. Place your cauliflower rice into a microwave-safe dish. Add a teaspoon of water, (which will help to steam the cauliflower). Cover the dish with a damp paper towel. Cook for 2-3 minutes.
  2. Leave your cauliflower rice covered, to stand for 5 minutes. Transfer to a clean towel or paper towel and press to remove any excess moisture, which can make your dish soggy.
  3. Add cauliflower, scallions, cheddar cheese, and garlic in a bowl. Toss to combine. Fold in whisked egg until all ingredients are coated. Season with salt and pepper.
  4. Heat waffle iron. Spray waffle iron well with cooking spray. Add 3/4 cup of the cauli-waffle mixture to the waffle iron and cook 3-4 minutes until the desired doneness. (I like them extra crispy!)
  5. Remove cauli-waffle from waffle iron and spray again before making your next waffle. Repeat process until 4 waffles are made.
  6. Enjoy as is or top with a fried egg, tomato slices, and avocado.

Keywords: Waffle, cauliflower, low carb, savory, cheesy

Recipe Card powered byTasty Recipes

other recipes you may enjoy

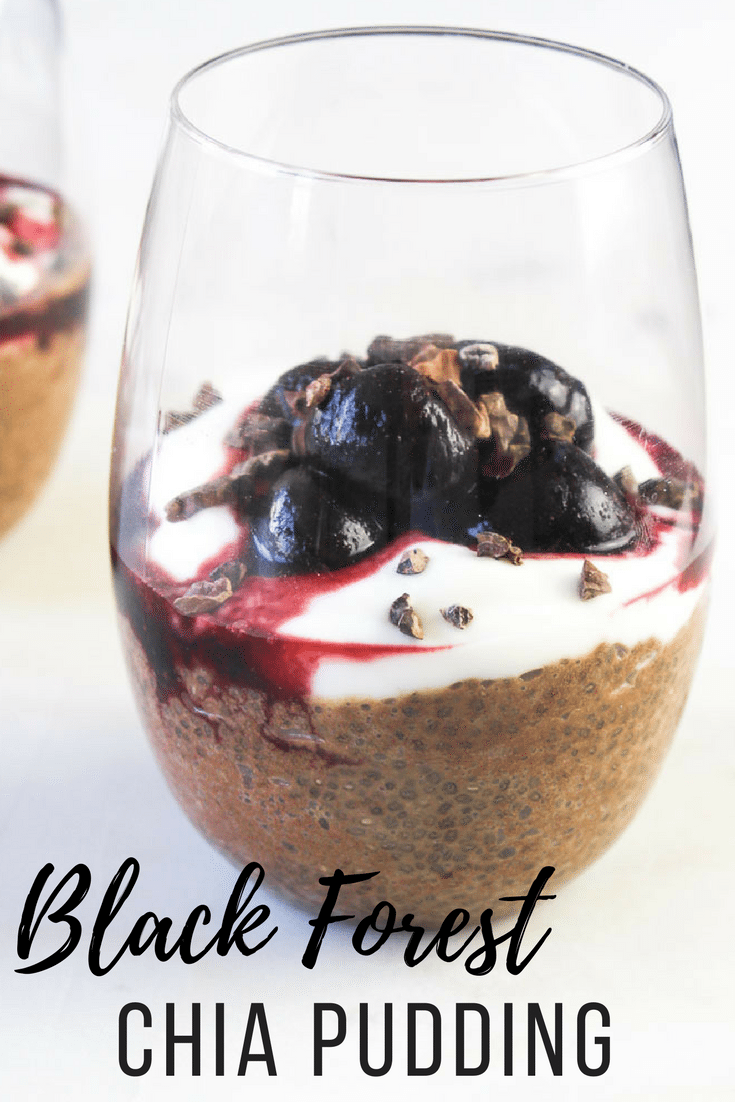
Black Forest Chia Pudding

For breakfast, snack, or dessert, this Black Forest Chia Pudding will fill you up and satisfy your sweet tooth at the same time.https://chefjulierd.com/When I first tried kombucha, I didn’t understand how anyone could drink it, but now I LOVE it. Same goes for chia pudding. The first time I tried it, I hated the texture, but now it is something I really enjoy.

It’s funny how your taste buds change and adapt over time. This is why I when I teach kids classes, I encourage them to try a new food at least 5 times in 5 different ways. According to Ellyn Satter Institute, unfamiliar foods may have to be presented 15 or 20+ times. This goes for picky eater adults too!
https://chefjulierd.com/Over time and trying chia pudding a few different ways the texture actually grew on me and now I really enjoy it. Plus, it’s been fun creating new versions to the same chia base.
Tip: If you don’t enjoy the texture of chia pudding, whip it in a food processor or blender and it becomes a fluffy mousse consistency.
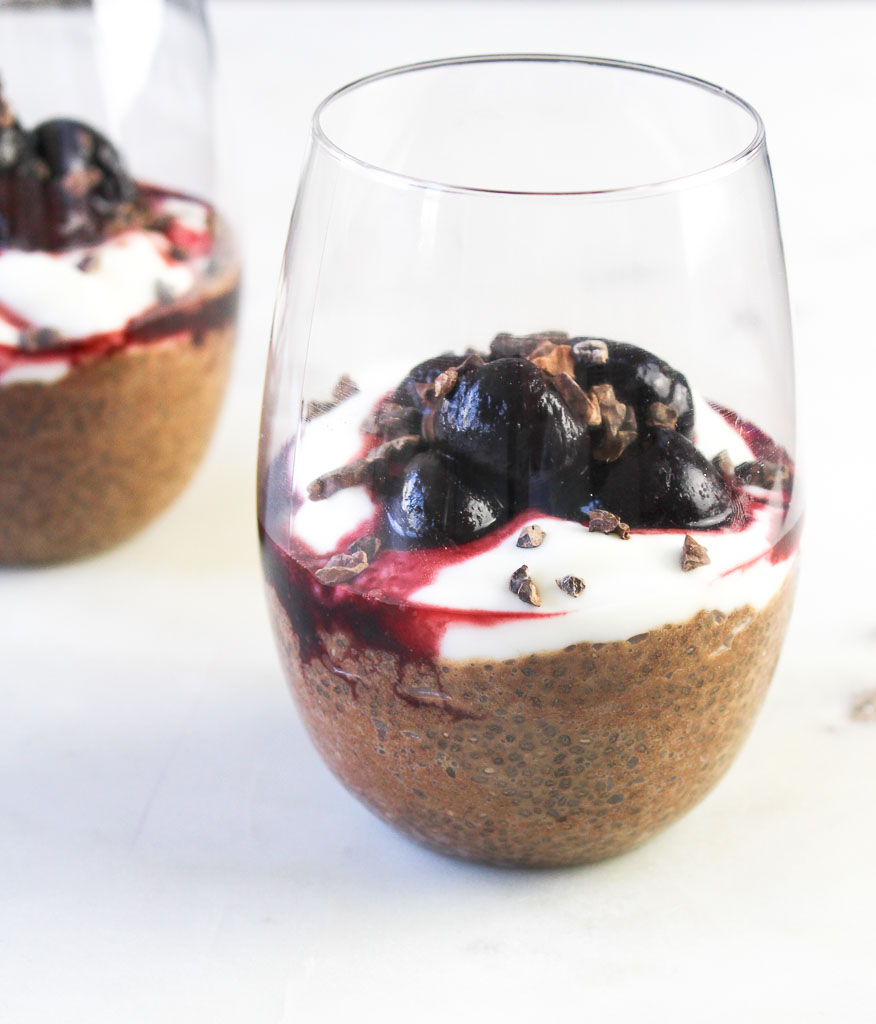
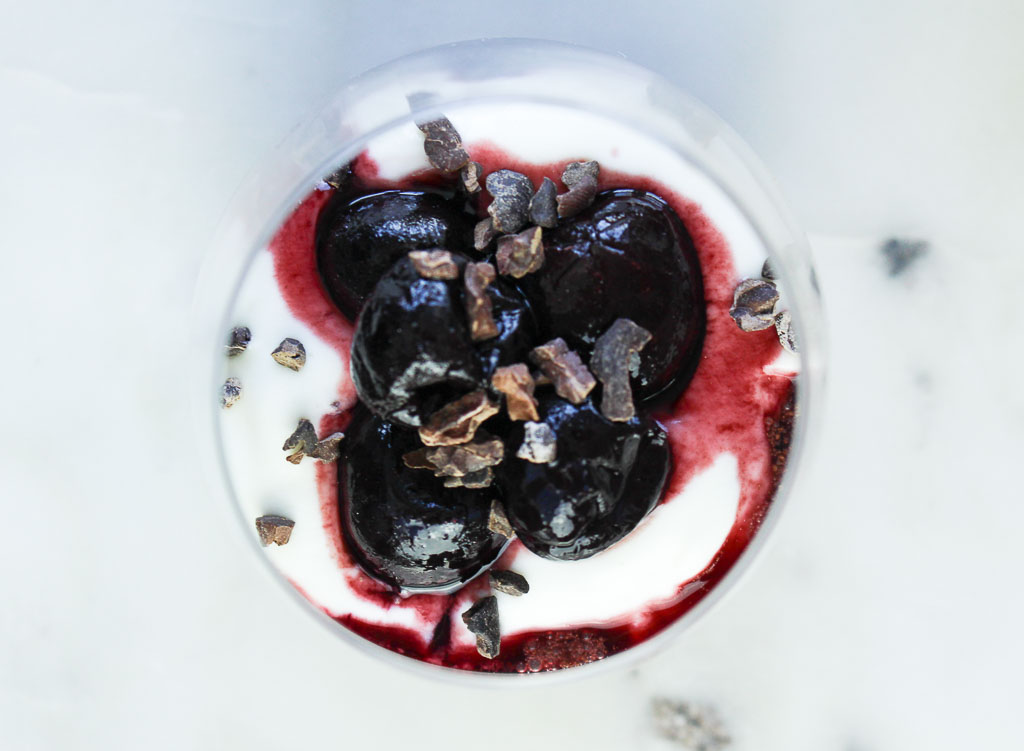
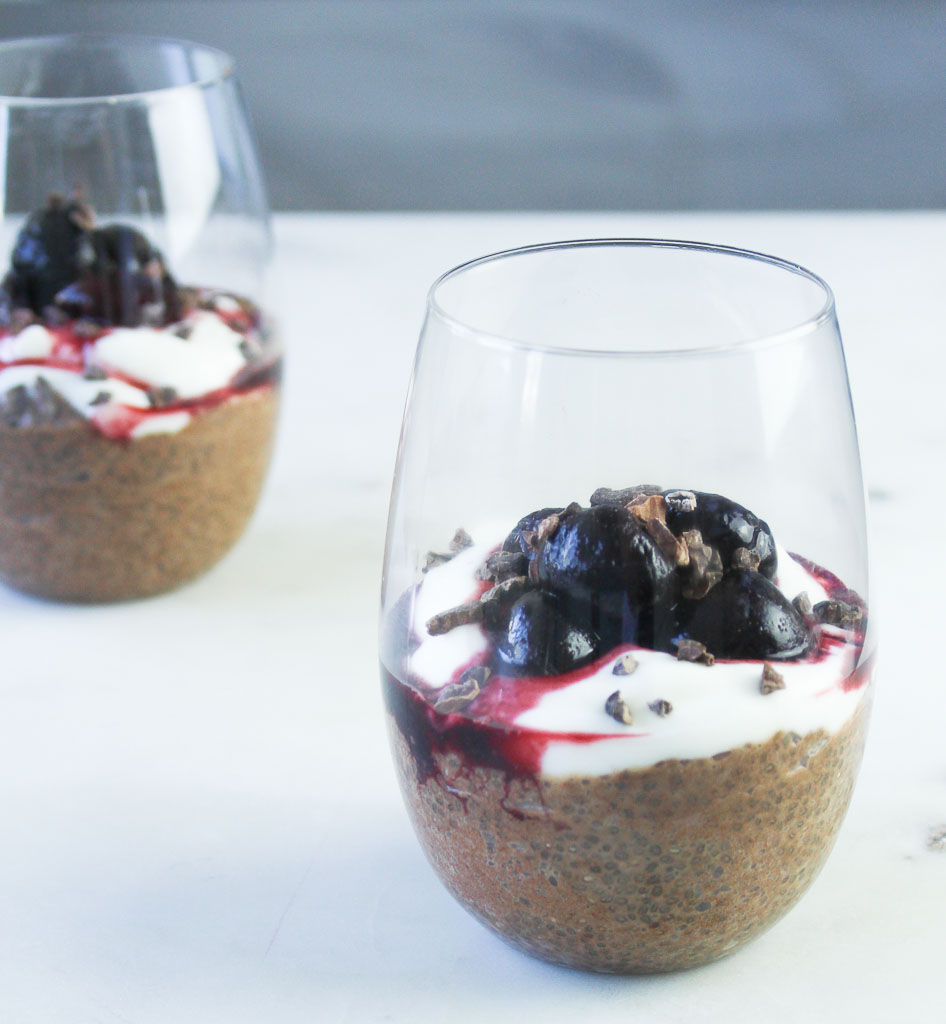
https://chefjulierd.com/What’s a better way to enjoy chia pudding, no other than a tasty black forest cake dessert! The delicious chocolate chia base, with a creamy layer, topped with sweet black cherries, and cocoa nibs, it doesn’t get much better than this!
With wholesome ingredients, this can be served as breakfast, snack, or dessert!

Print

clock clock iconcutlery cutlery iconflag flag iconfolder folder iconinstagram instagram iconpinterest pinterest iconfacebook facebook iconprint print iconsquares squares iconheart heart iconheart solid heart solid icon
black forest chia pudding in a glass

Black Forest Chia Pudding

  • Author: Julie @ RDelicious Kitchen
  • Yield: 2

Ingredients

Scale
  • 1/3 cup chia seeds
  • 2 tablespoons raw cacao powder (or unsweetened cocoa powder)
  • 1 1/4 cups unsweetened non-dairy milk
  • 1 tablespoon maple syrup
  • 1/2 cup frozen dark cherries, thawed
  • 1/2 cup plain yogurt
  • 1 tablespoon cocoa nibs

Instructions

  1. In a small bowl, whisk together chia seeds, cacao powder, almond milk, and maple syrup. Divide into two containers. Store in the refrigerator overnight for the mixture to thicken.
  2. Top chia pudding with 1/4 cup yogurt, 1/4 cup cherries, and half tablespoon cocoa nibs in each container.

Recipe Card powered byTasty Recipes

RDelicious Kitchen @RD_Kitchen
Black Forest Chia Pudding via RDelicious Kitchen @RD_Kitchen

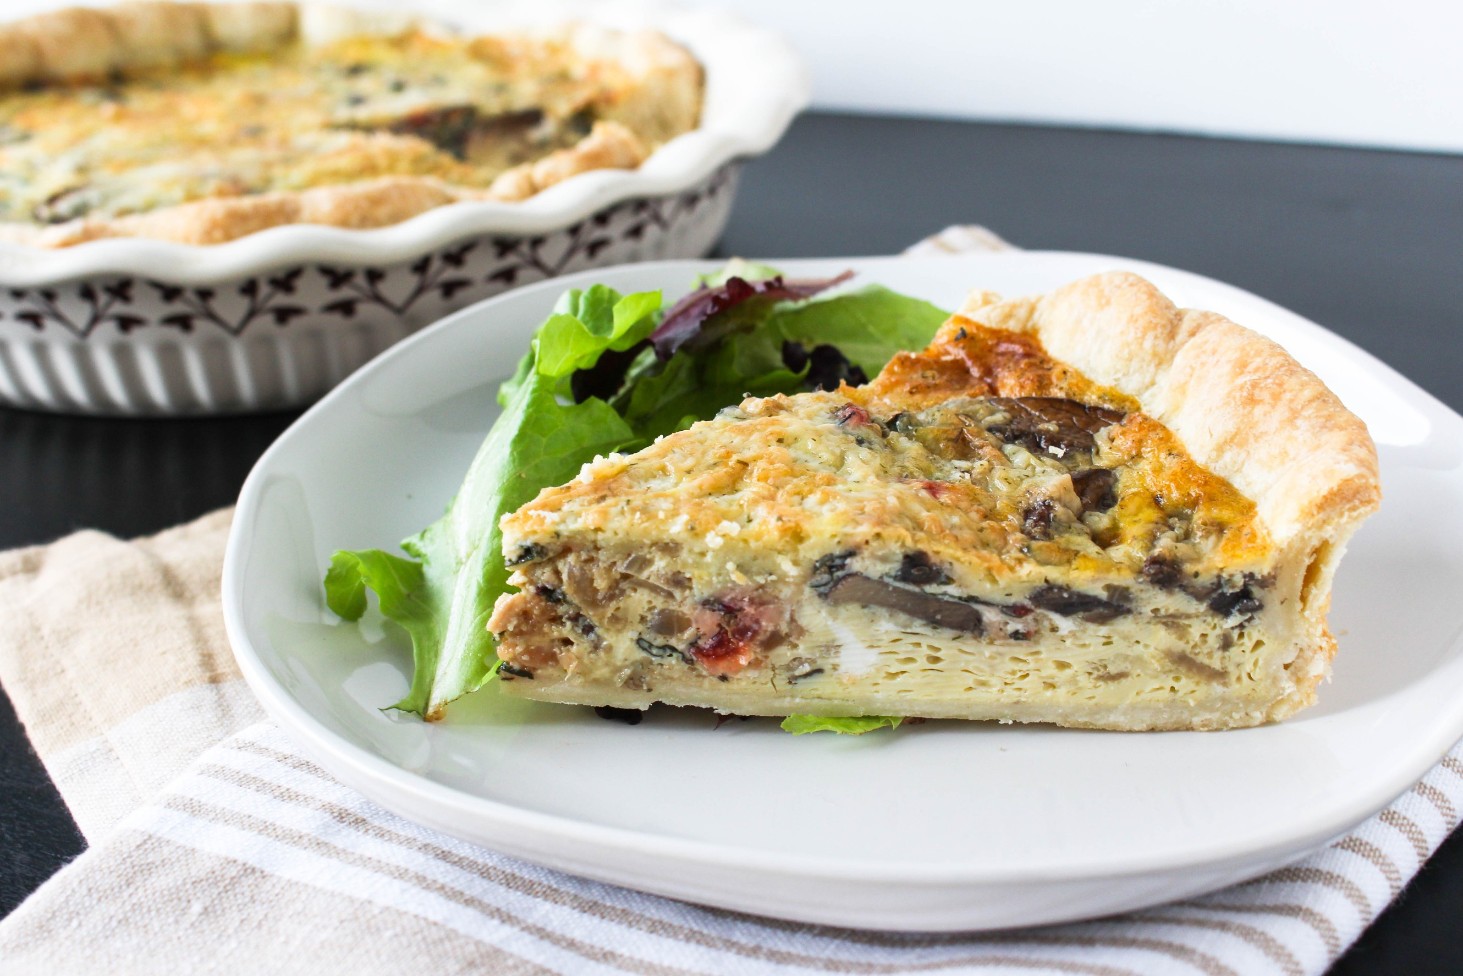
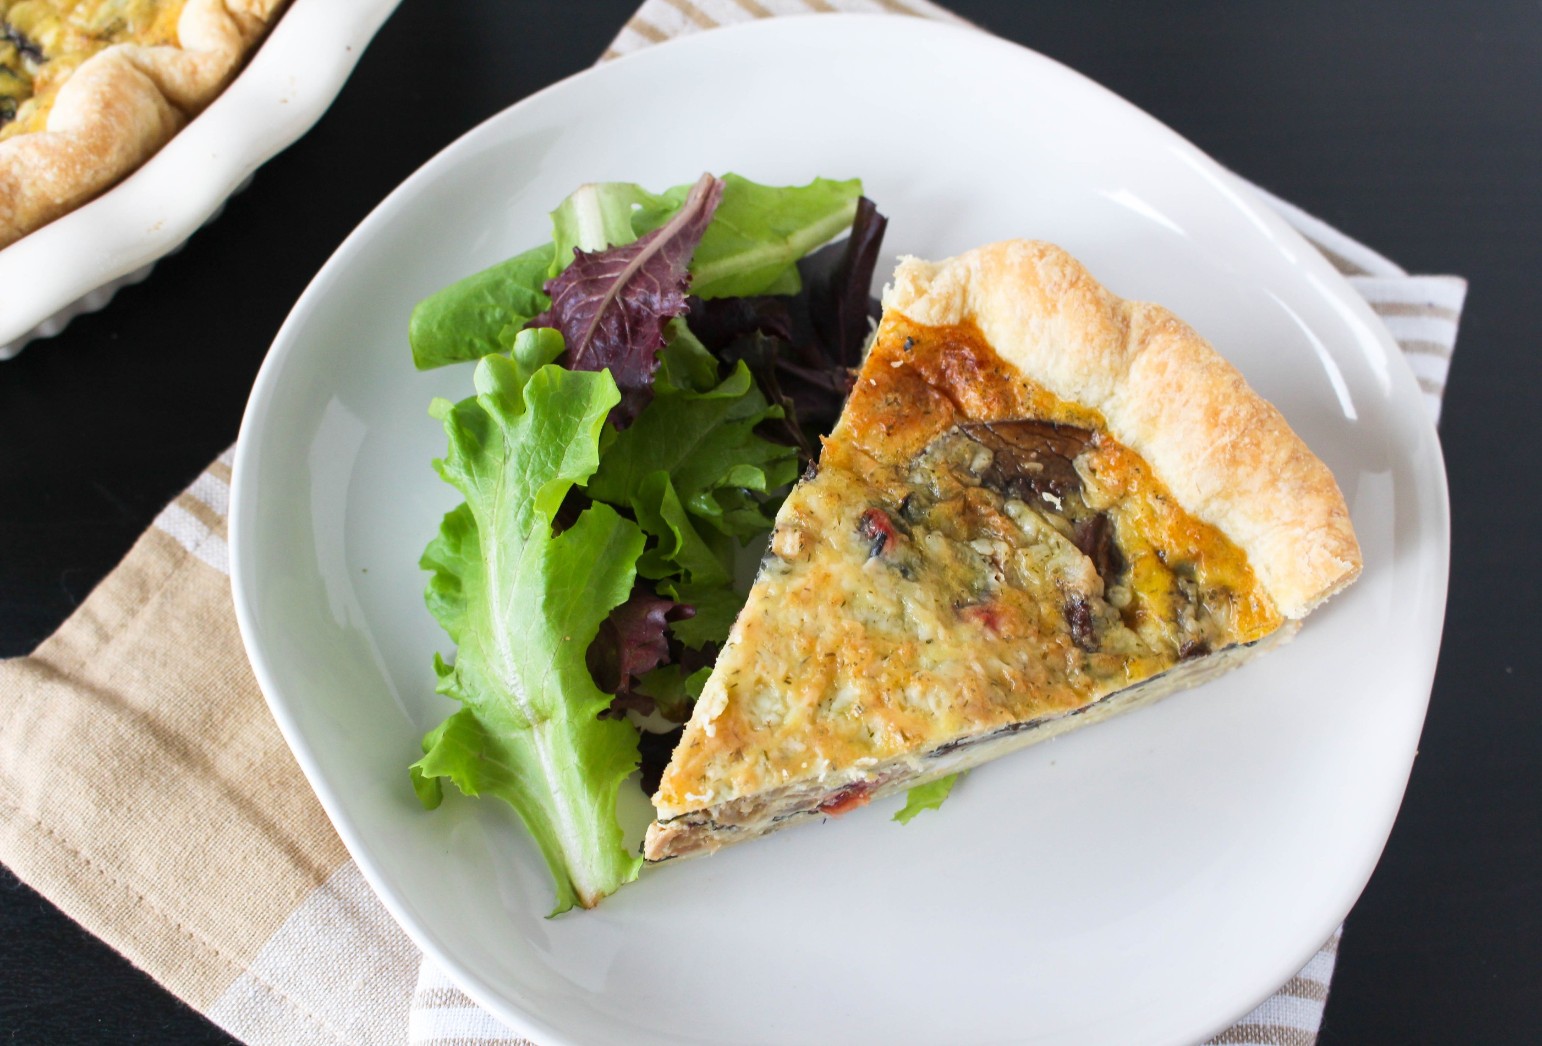
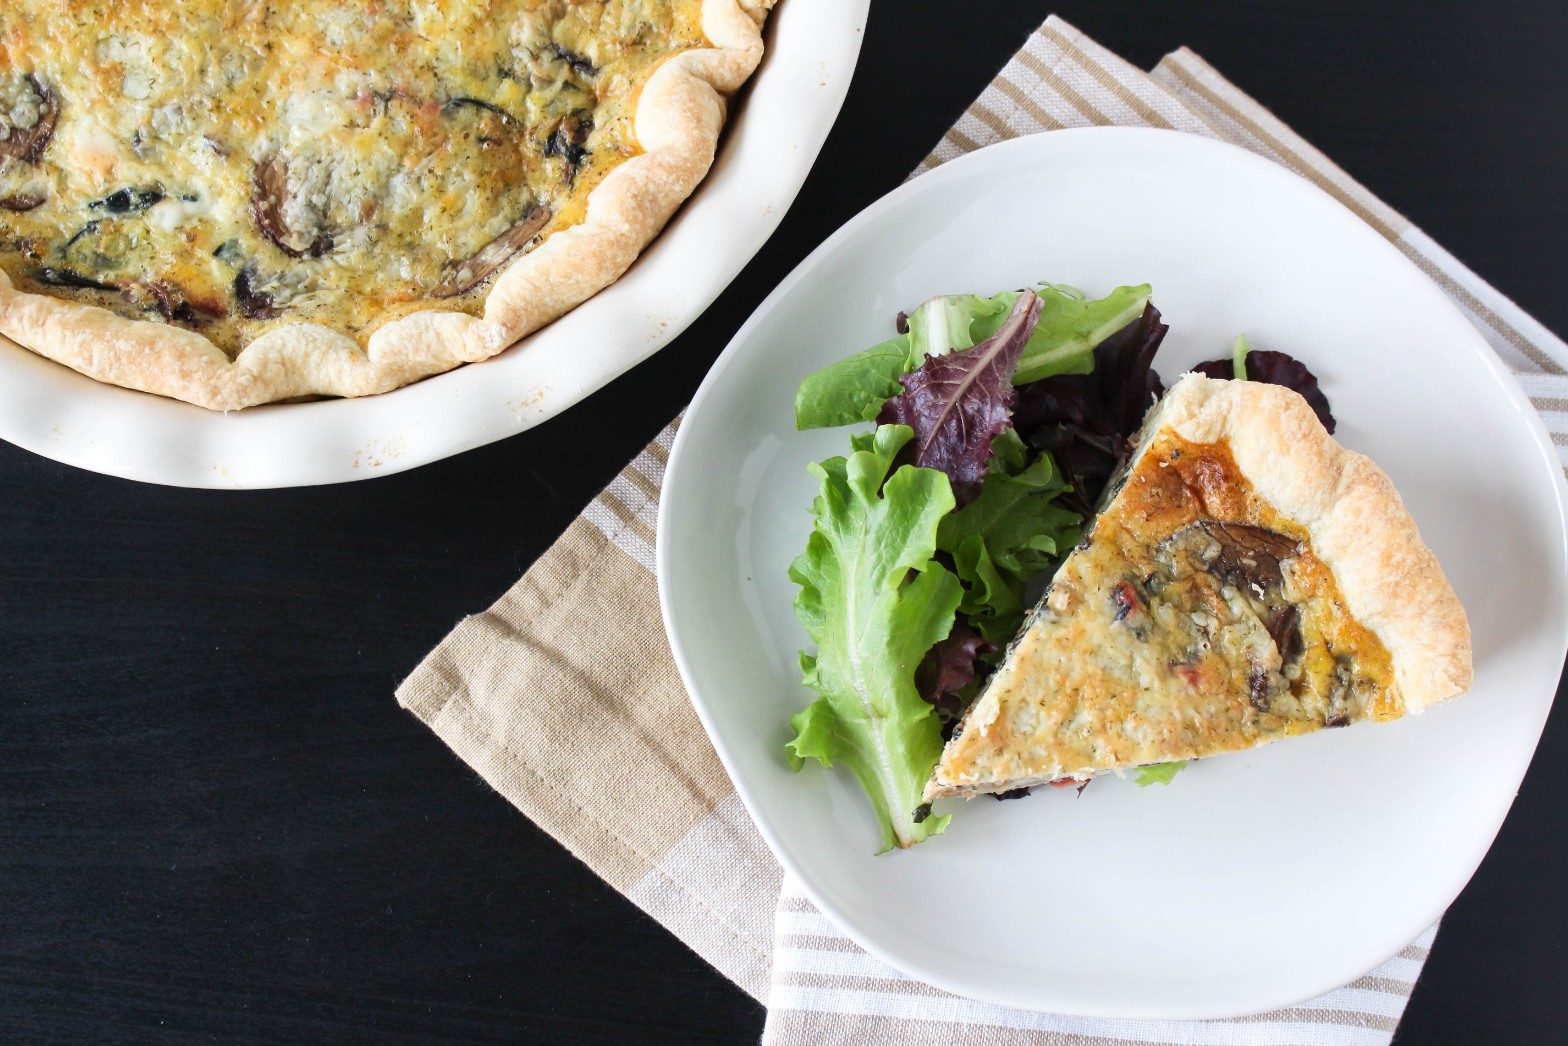
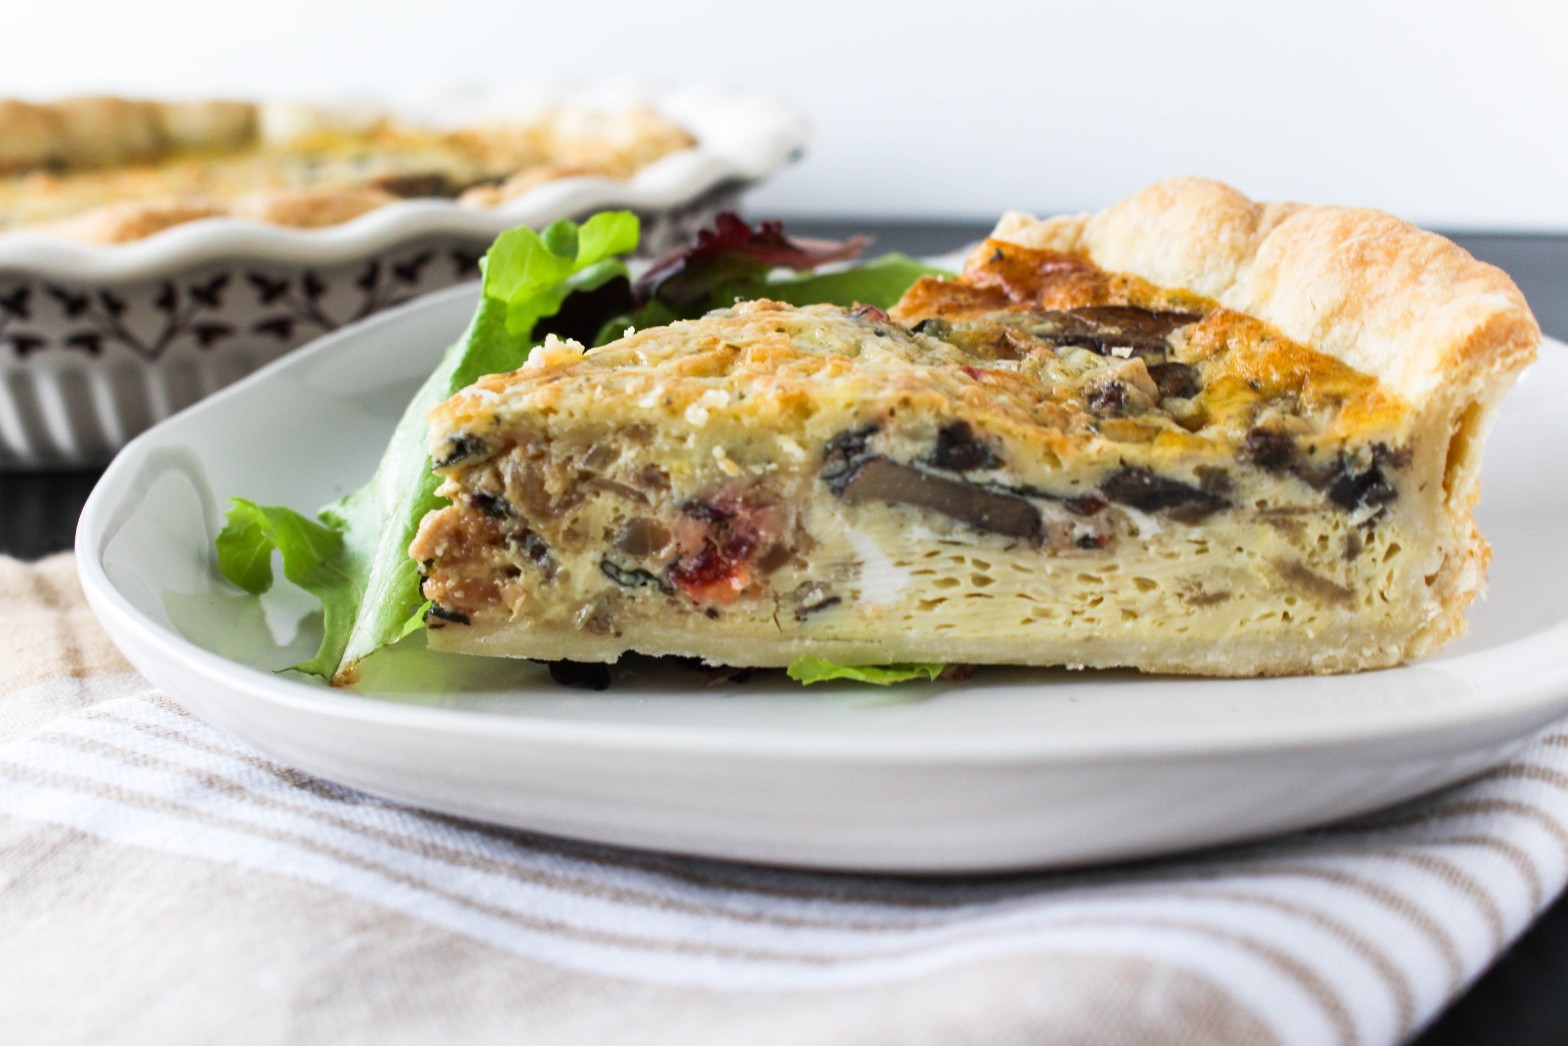
Swiss Chard and Mushroom Quiche

Whether you are pleasing a crowd for brunch or simply meal prepping for the upcoming week, add a Swiss Chard and Mushroom Quiche to the menu for a veggie and protein-packed breakfast!

Swiss Chard and Mushroom Quiche via RDelicious Kitchen @RD_Kitchen
I love a good quiche, but I’m a little OCD on the ratios when I make mine. I crave the perfect balance of crust, filling, and eggy-ness.

  • Crust thin enough but thick enough to enjoy delicious flaky crust in every bite.
  • Plenty of filling. Quiches are typically filled with vegetables, protein, and cheese. I like when each bite incorporates all the flavors of the filling.
  • The perfect balance of fluffy eggs. This kind of goes hand in hand with the filling part, and even amount of filling and eggs.

Swiss Chard and Mushroom Quiche via RDelicious Kitchen @RD_Kitchen
I used red swiss chard with mushrooms as the stars for the filling. What’s fun about quiche is you can play around with the ingredients to create your favorite combo! Plus, it’s an easy (and tasty) way to incorporate vegetables in the morning.


Swiss Chard and Mushroom Quiche via RDelicious Kitchen @RD_Kitchen
The magic of this quiche is the cheese. Cabot’s garlic & herb cheddar is out of this world. It is so creamy with a rich garlic and herb flavor, finishing with the subtle bite from the cheddar. Did you know many of Cabot’s cheese is lactose free? How can cheese be lactose free, you may wonder. The removal of lactose occurs naturally during the cheese making process. Just look for the “Lactose-Free” icon on the packaging of your favorite Cabot cheese products if you are looking for a  naturally lactose-free cheese.
Swiss Chard and Mushroom Quiche via RDelicious Kitchen @RD_KitchenI have a pretty deep pie plate that I used for this quiche. If you don’t have as deep of a dish, you may want to scale back a little on the amount of eggs. I did note that in the recipe’s note section, but just in case, I thought I would remind you again 😉
What’s your favorite quiche combo?

Print
clock clock iconcutlery cutlery iconflag flag iconfolder folder iconinstagram instagram iconpinterest pinterest iconfacebook facebook iconprint print iconsquares squares iconheart heart iconheart solid heart solid icon
Swiss Chard and Mushroom Quiche on a white plate

Swiss Chard and Mushroom Quiche

  • Author: Julie @ RDelicious Kitchen
  • Cook Time: 40 mins
  • Total Time: 40 mins
  • Yield: 8-12 1x

Ingredients

Scale
  • For the crust:
  • 1 1/4 cups all-purpose flour
  • 1 tsp salt
  • 1/2 cup (1 stick) unsalted butter
  • 2 tbsp to 1/4 cup ice water
  • For the quiche:
  • 2 tbsp olive oil
  • 1/2 large onion, sliced
  • 2 tbsp garlic, minced
  • 1 1/2 cups mini portabello mushrooms, sliced
  • 1 tbsp balsamic vinegar
  • 2 heaping cups red swiss chard, chopped (or any dark leafy green)
  • 4 oz Cabot garlic & herb cheddar cheese, shredded
  • 68 eggs* (see note)
  • 1/2 cup low-fat milk

Instructions

  1. Whisk together the flour and salt.
  2. Dice the butter into small cubes. Using a pastry blender (or fork) work the butter into the flour until it’s well-distributed, but not fully incorporated.
  3. Tossing with a fork, drizzle in the ice water. Stop adding water when the dough starts to come together, and grab it in your hands.
  4. Gather the dough into a ball. Gently shape each dough into a rough disk. For better texture, chill the dough for at least 30 minutes before rolling. Roll into an even circle. Place into pie dish and pinch the edges along the sides for the crust. Set aside until ready to use.
  5. In a large skillet, heat olive oil over low-medium heat. Cook onions for 20 minutes, until caramelized. Add the garlic and mushrooms and cook until mushrooms are tender. Add the balsamic vinegar and let reduce to about half. Toss in the swiss chard to coat with vegetables until just beginning to wilt.
  6. In a large bowl, whisk together eggs and milk. Season with salt and pepper.
  7. Sprinkle half the garlic & herb cheddar cheese at the bottom of the quiche crust. In an even layer add the swiss chard and mushroom mixture. Pour in the eggs. Top with remaining cheese.
  8. Bake in the oven for 35-40 minutes, until the edge of the crust has browned and the filling appears set.

Notes

Pie crust recipe adapted from King Arthur Flour’s all-butter pie crust.

I used a deep pie dish which was able to fit 8 eggs. If your pie plate is more shallow use 6 eggs.

Recipe Card powered byTasty Recipes


Broccoli Cauliflower Salad

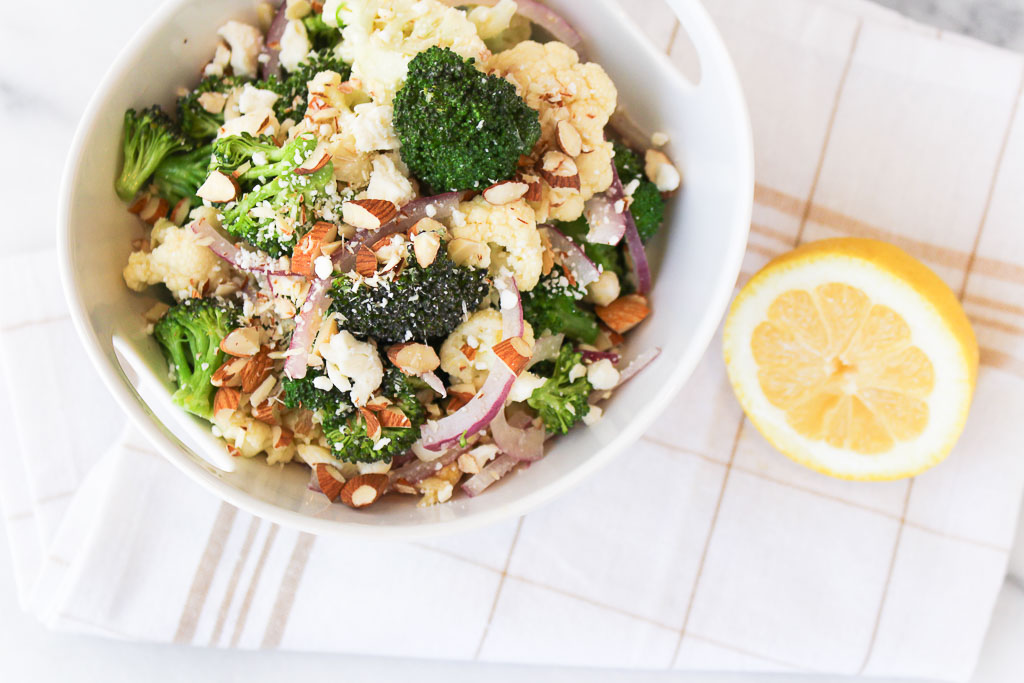
This Broccoli Cauliflower Salad is light and refreshing, being a perfect addition to your spring menu.

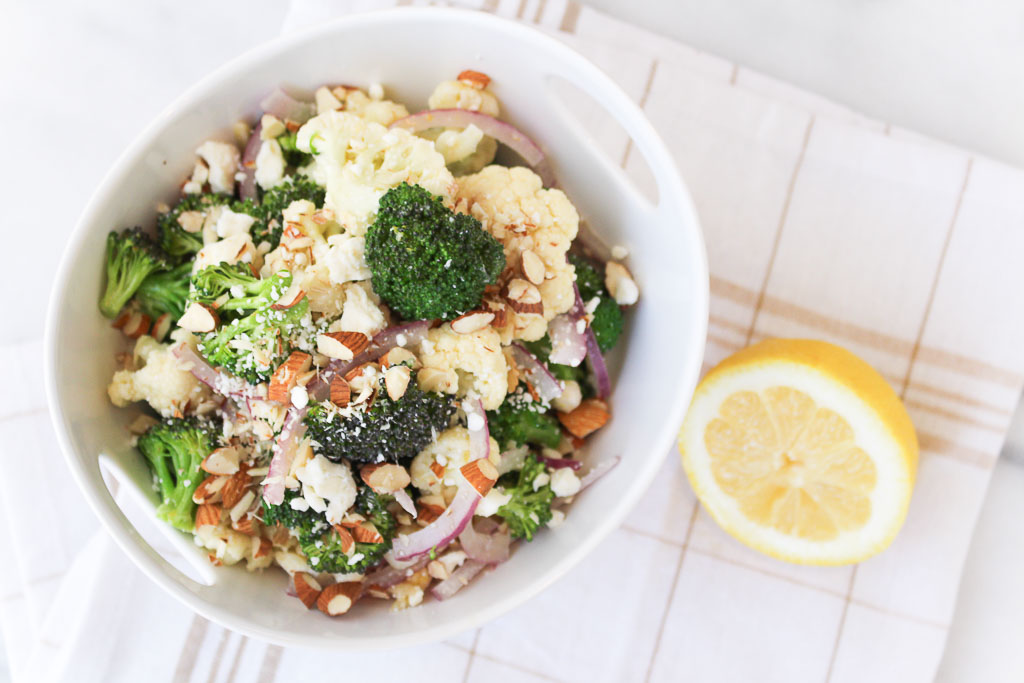
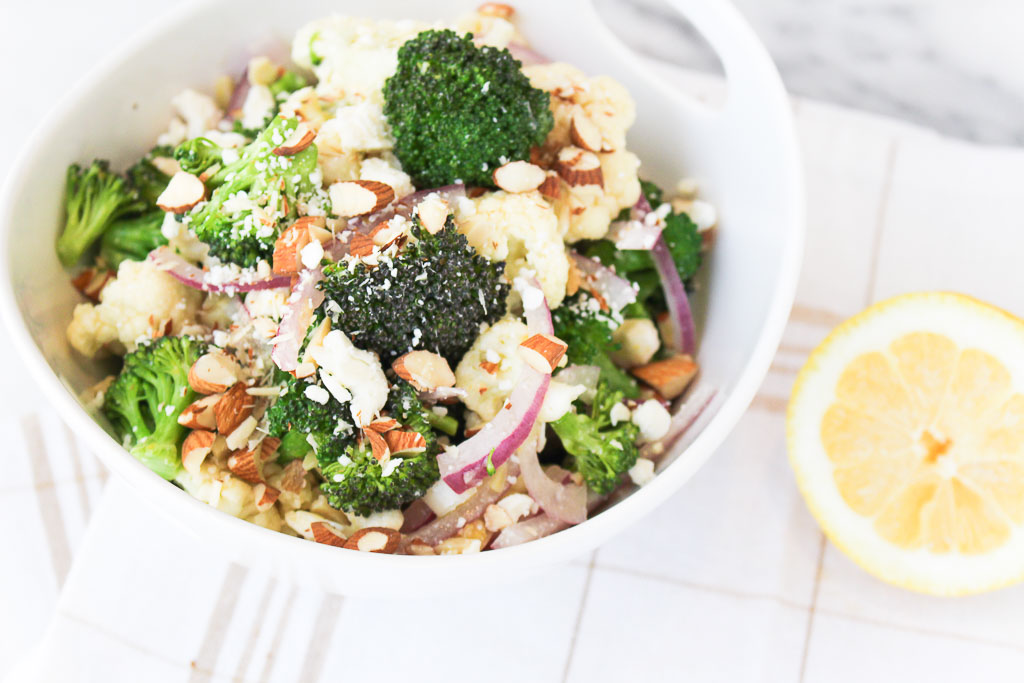
Broccoli cauliflower salad with red onions and almonds in a white bowl

Now that the weather is finally warming up here in NJ, my cooking methods start to shift. Roasting is one of my favorite cooking methods for vegetables, but as the weather warms I begin to not use my oven as frequently.

cold broccoli and cauliflower salad with red onions

All winter long I’ve been on a roasted broccoli kick. Broccoli was on my shopping list every week. I am surprised I didn’t get sick of it after a while. This time when I grabbed the broccoli from the fridge, I knew I wanted to do something different.

Instead of roasting this head of broccoli, this time I steamed it. Steaming was never my favorite until I figured out how to perfectly steam broccoli to my liking. Before steamed veggies would always be a little blah and mushy. I like a good crunch to them. Now I gently steam them, then shock them to keep their crisp.

broccoli cauliflower salad in a white bowl

Culinary term: Shocking

“Shocking” is a culinary term that refers to a rapid change in temperature, usually caused by plunging the food into an ice bath.  It’s most often used with veggies that are being steamed or boiled.

Oh, don’t forget about the cauliflower. I steamed and shocked that too to keep some crunchy texture to those florets too. This salad is so refreshing and a perfect addition to your spring menu.

Print
clock clock iconcutlery cutlery iconflag flag iconfolder folder iconinstagram instagram iconpinterest pinterest iconfacebook facebook iconprint print iconsquares squares iconheart heart iconheart solid heart solid icon
Broccoli Cauliflower Salad in a white bowl

Broccoli Cauliflower Salad

  • Author: Chef Julie Harrington, RD
  • Prep Time: 20 minutes
  • Total Time: 20 minutes
  • Yield: 810 1x
  • Category: side dish
  • Method: No Cook
  • Cuisine: American

Description

This Broccoli Cauliflower Salad is light and refreshing, being a perfect addition to your spring menu.


Ingredients

Scale
  • 2 cups cauliflower, cut into florets
  • 2 cups broccoli, cut into florets
  • 1 red onion (small), thinly sliced
  • 1/2 cup almonds, chopped
  • 2 tablespoons feta cheese
  • 1 lemon, zested and juiced
  • 1/4 cup olive oil
  • 1 teaspoon Dijon mustard
  • salt and pepper, to taste

Instructions

  1. In a large pot, steam cauliflower and broccoli in a steamer basket for about 3-4 minutes. Remove from pot and plunge in an ice bath or run under cold water (to stop the cooking process). Drain well and place in a large salad bowl.
  2. In a small bowl, whisk together lemon juice, lemon zest, olive oil, dijon mustard, and season with salt and pepper.
  3. Add red onion, almonds, and feta cheese to the broccoli and cauliflower. Toss together with the dressing.

Notes

Don’t love raw red onions? Try adding pickled onions instead!

Keywords: salad, broccoli, cauliflower, side dish, fresh

Recipe Card powered byTasty Recipes

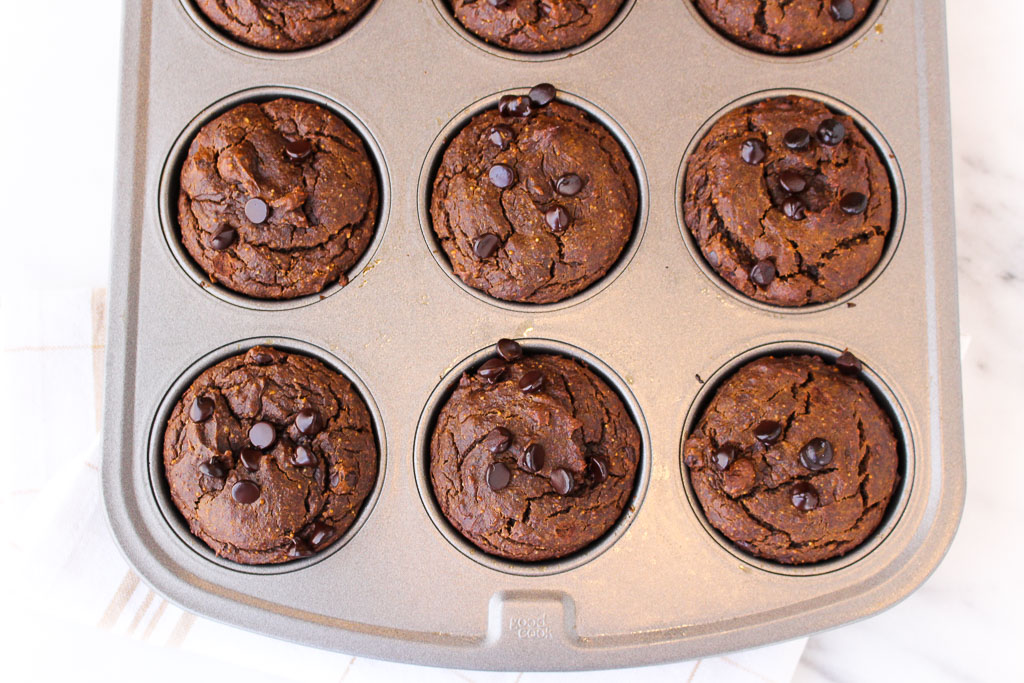
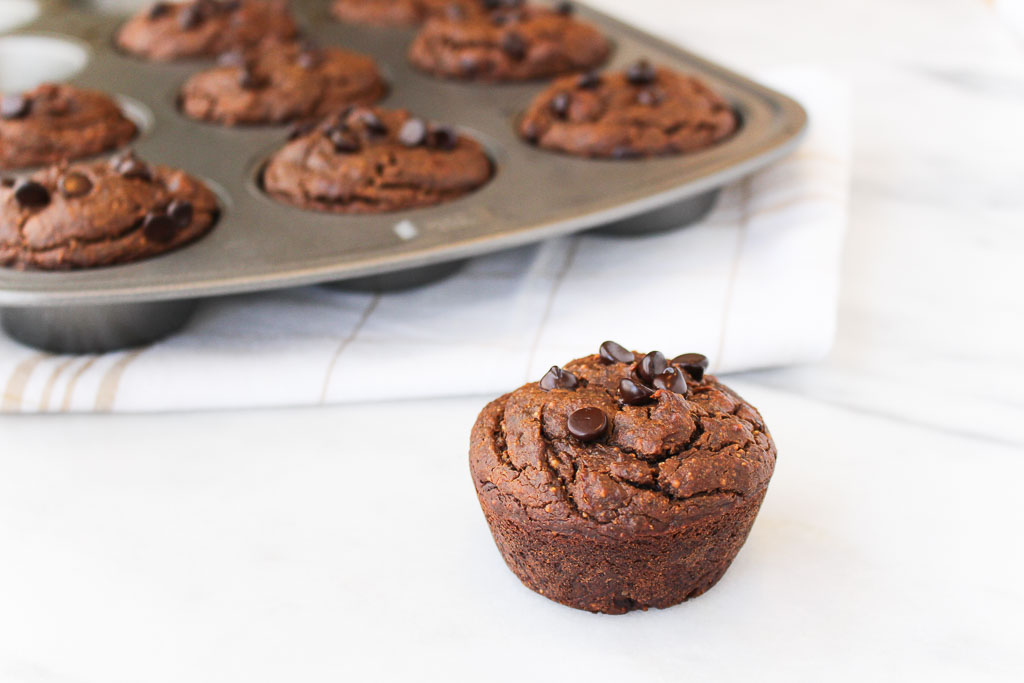
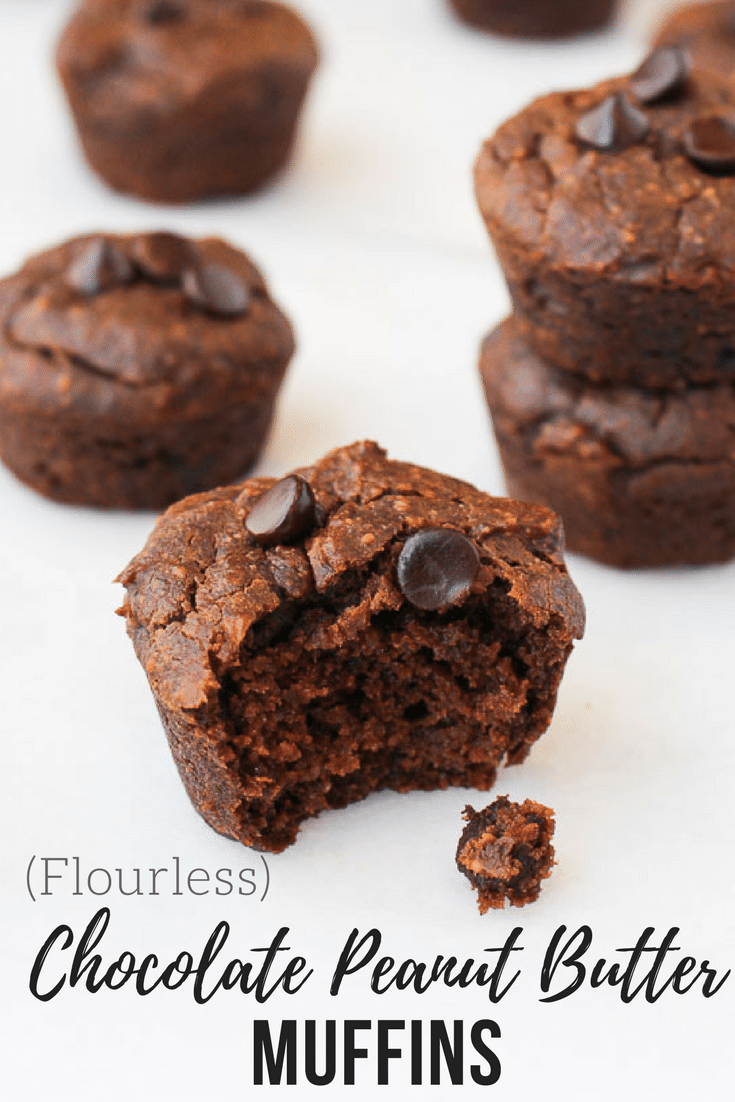
Flourless Chocolate Peanut Butter Muffins

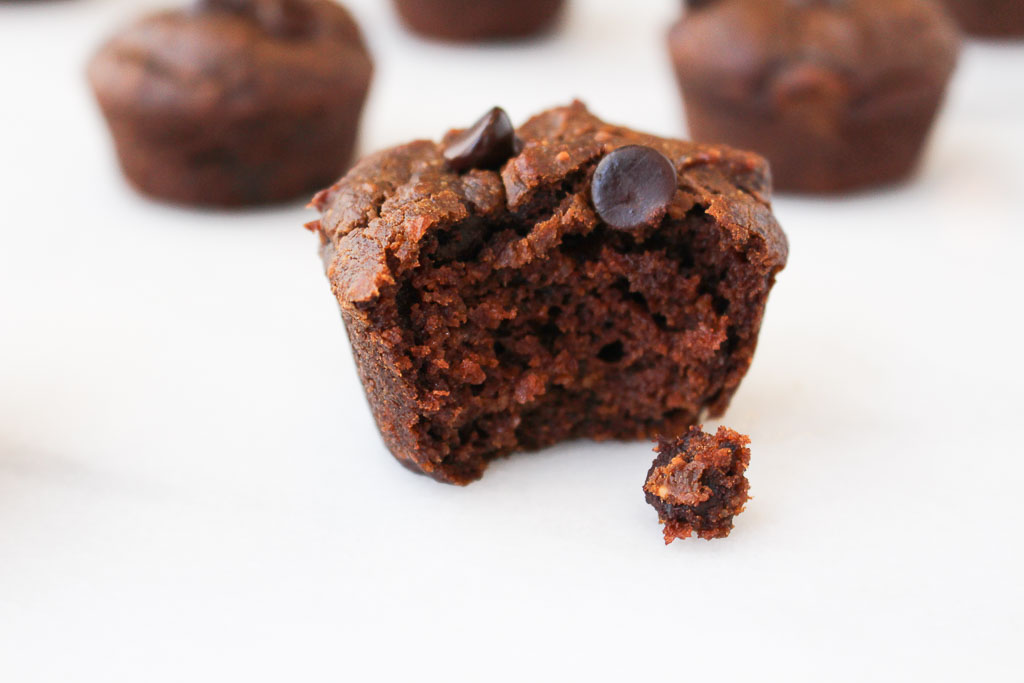
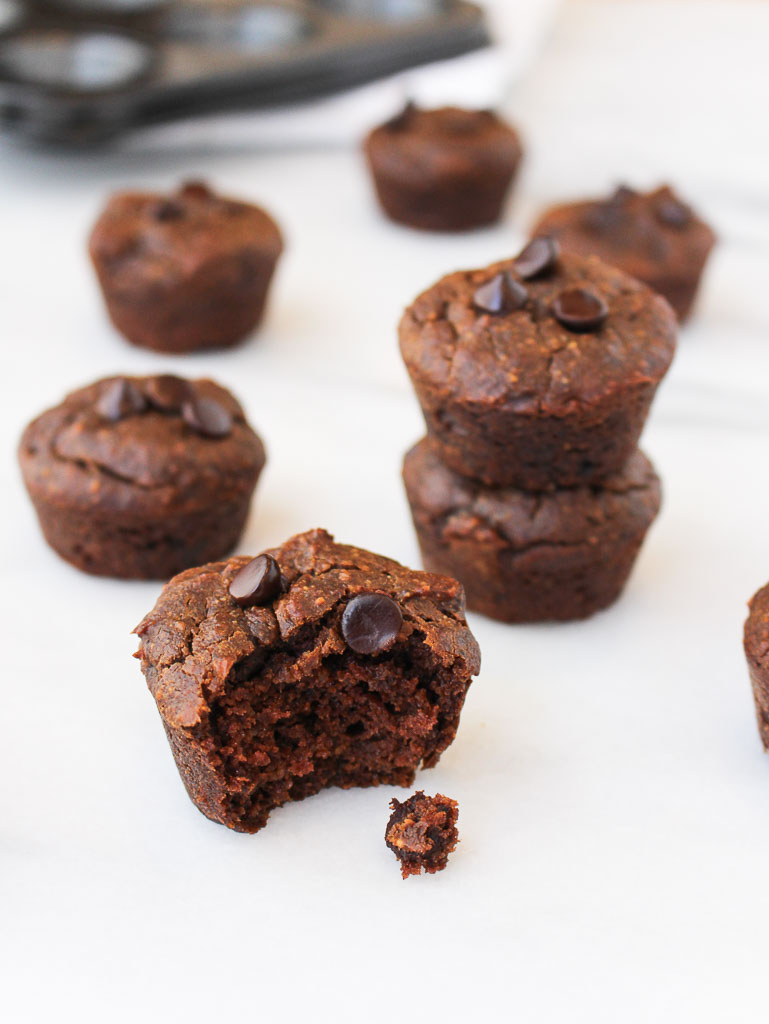
You won’t believe that these Chocolate Peanut Butter Muffins are flourless! Made with wholesome ingredients these muffins can be part of a healthy breakfast or enjoyed as a decadent dessert.
Flourless Chocolate Peanut Butter Muffins via RDelicious Kitchen @RD_KitchenDisclaimer: I am warning you, if you make these, they may not last a week in your house. They didn’t in mine! I found ways to enjoy these muffins with almost any meal. Crumble on top of smoothie bowls for breakfast, pair with a yogurt parfait for lunch, top with peanut butter for the ultimate dessert.

Flourless Chocolate Peanut Butter Muffins via RDelicious Kitchen @RD_Kitchen

Flourless Chocolate Peanut Butter Muffins via RDelicious Kitchen @RD_KitchenWhenever I offer baked goods to my family and friends, they tend to be a little skeptical thinking that there is no way there is a “healthier” option that STILL tastes good. My dad’s famous words are “what’s in this” before he tries anything I make. My response is the typical eye roll with “JUST TRY IT!”. Even though my dad may question everything I make, he still always tries it. Making a flourless muffin that tastes as indulgent as dessert, this is one recipe no one will pass on. Flourless Chocolate Peanut Butter Muffins via RDelicious Kitchen @RD_KitchenFlourless Chocolate Peanut Butter Muffins via RDelicious Kitchen @RD_Kitchen

Print

clock clock iconcutlery cutlery iconflag flag iconfolder folder iconinstagram instagram iconpinterest pinterest iconfacebook facebook iconprint print iconsquares squares iconheart heart iconheart solid heart solid icon
Flourless Chocolate Peanut Butter Muffins

Flourless Chocolate Peanut Butter Muffins

  • Author: Julie @ RDelicious Kitchen
  • Yield: 14 1x

Ingredients

Scale
  • 2 eggs, (at room temp) beaten
  • 2 cups natural peanut butter (or almond butter)
  • 1/2 cup maple syrup
  • 1 1/2 cups pumpkin puree
  • 6 tablespoons unsweetened cacao powder (or unsweetened cocoa powder)
  • 2 teaspoons baking soda
  • 2 teaspoons vanilla extract
  • 1/2 cup dark chocolate chips

Instructions

  1. Preheat oven to 350 degrees F. Spray a muffin tray with cooking spray or line with parchment liners.
  2. In a large bowl, combine eggs, peanut butter, maple syrup, pumpkin puree, cacao powder, baking soda, and vanilla extract. Whisk together until smooth and creamy.
  3. Fold in the chocolate chips.
  4. Fill muffin tins 3/4 full.
  5. Bake for 30-35 minutes, until a toothpick, comes out clean.

Recipe Card powered byTasty Recipes

RDelicious Kitchen @RD_Kitchen Flourless Chocolate Peanut Butter Muffins via RDelicious Kitchen @RD_Kitchen

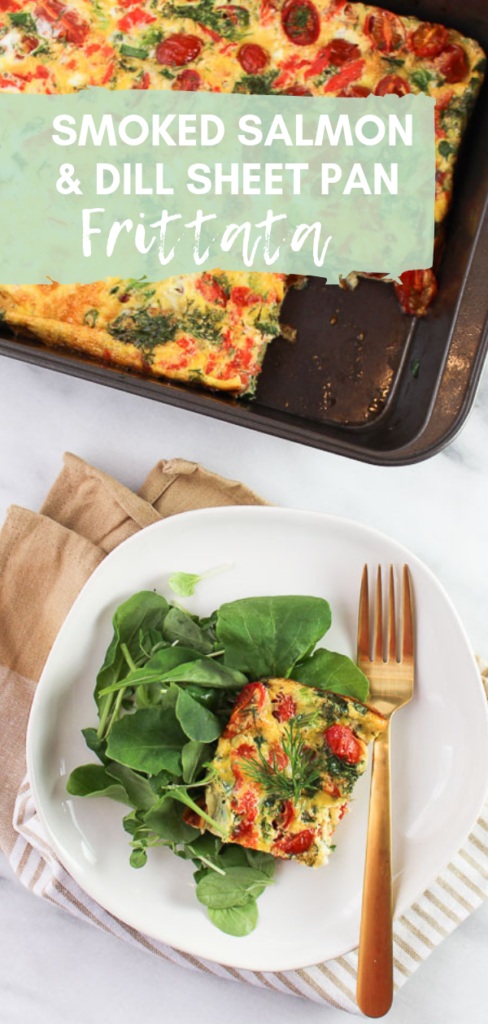
Smoked Salmon and Dill Sheet Pan Frittata

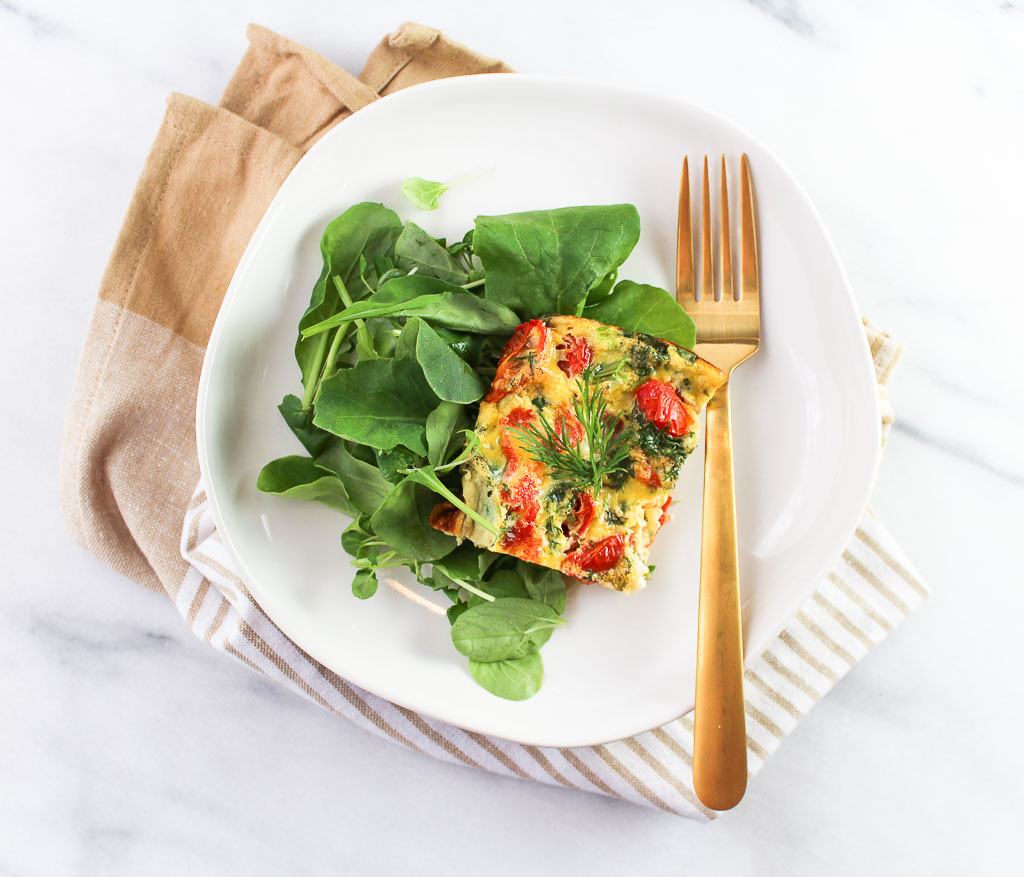
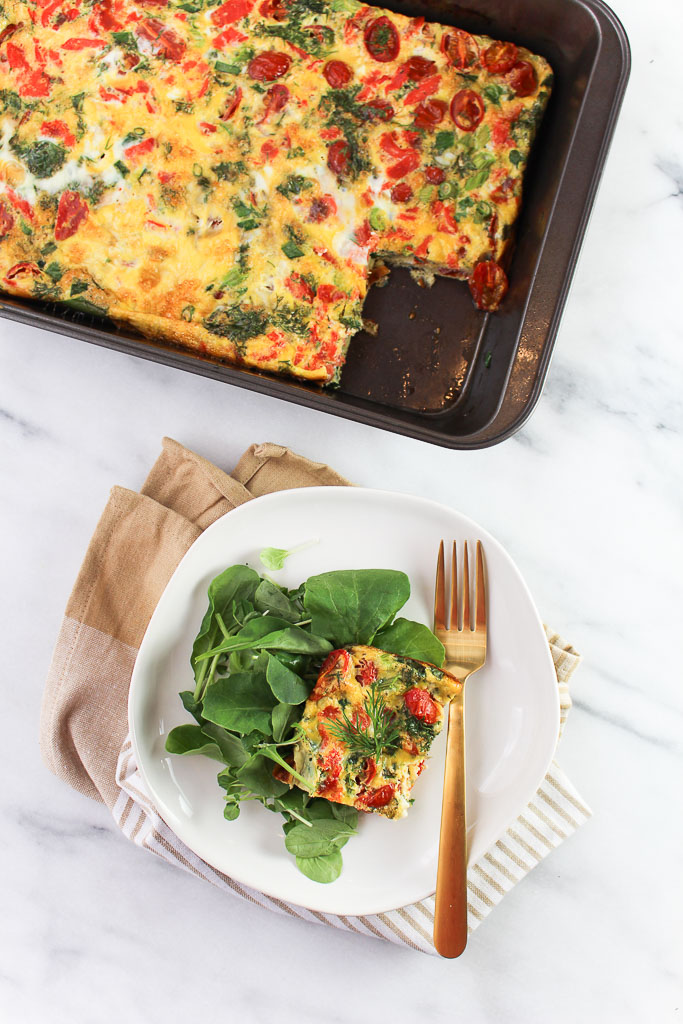
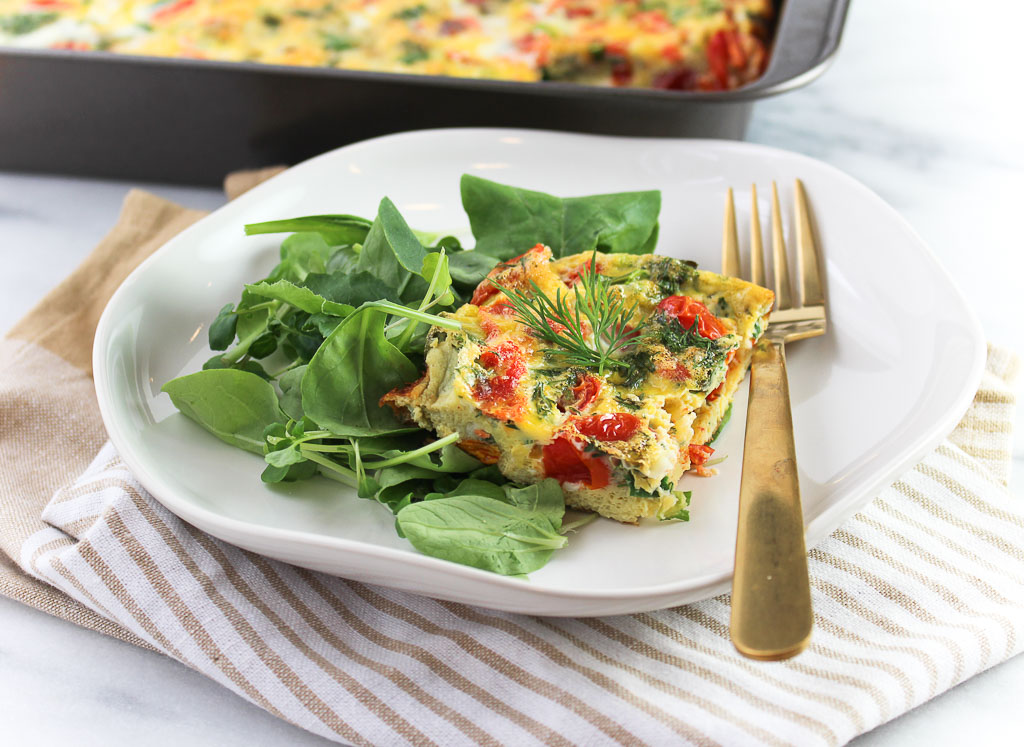
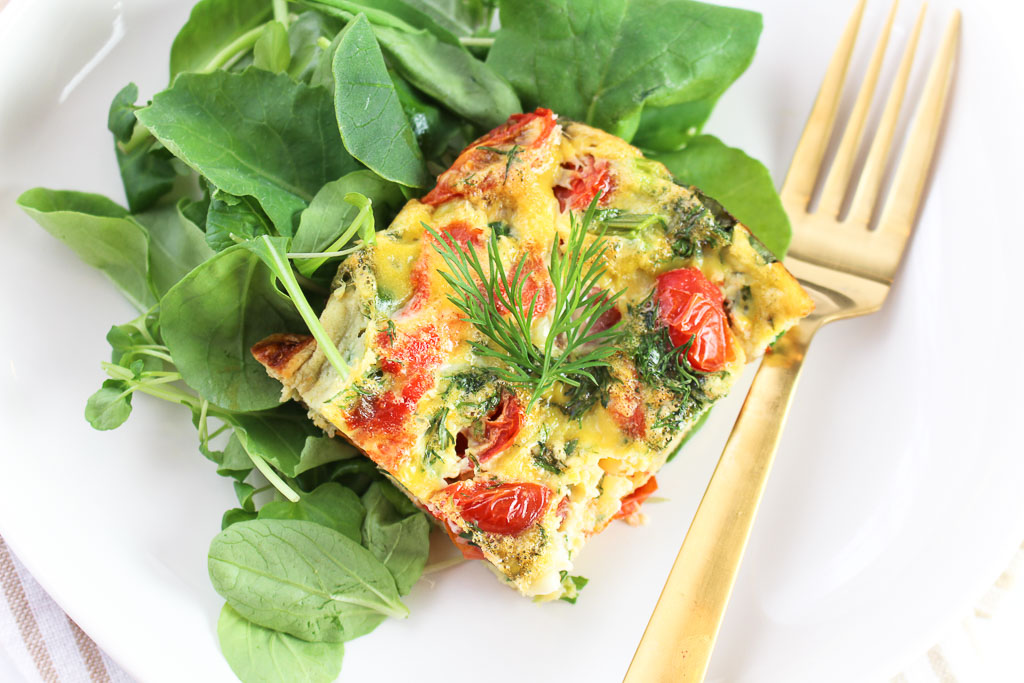
Serve eggs family-style with this Smoked Salmon and Dill Sheet Pan Frittata that will kick your breakfast or brunch up a notch.
Smoked Salmon and Dill Sheet Pan Frittata via Chef Julie Harrington, RD @ChefJulie_RD #smokedsalmon #salmon #breakfast #frittata #eggs #sheetpan #seafoodWay back when one of my first jobs was at a bagel shop. It was one of my favorite jobs. I worked with my friends and got to enjoy endless bagels and coffee. The only downside was getting to work at 5:00 am on a weekend.
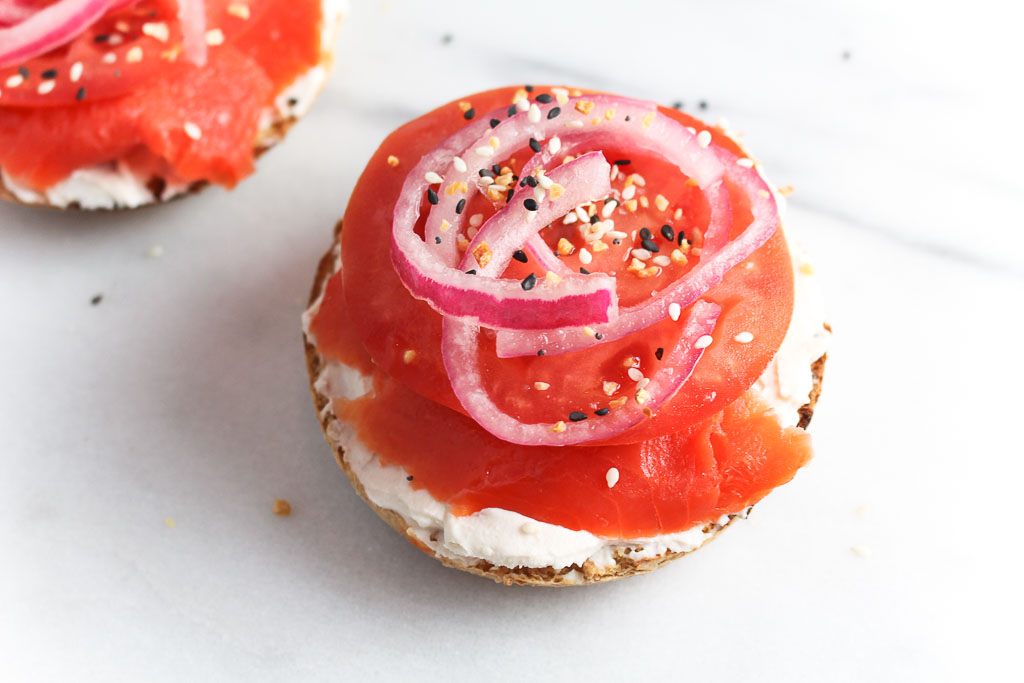
Smoked Salmon and Dill Sheet Pan Frittata via Chef Julie Harrington, RD @ChefJulie_RD #smokedsalmon #salmon #breakfast #frittata #eggs #sheetpan #seafoodNow, I love enjoying a leisurely brunch on the weekend. One thing the bagel shop introduced me to was smoked salmon or also known as lox. I still remember this one customer who always ordered – an everything bagel with cream cheese, lox, tomato, red onion, and capers. Of course, I had to try it.

Smoked Salmon and Dill Sheet Pan Frittata via Chef Julie Harrington, RD @ChefJulie_RD #smokedsalmon #salmon #breakfast #frittata #eggs #sheetpan #seafoodThat’s when my smoked salmon love affair began. It is now a staple at my brunches. I love the addition of the smoked salmon in this frittata. Plus, baking it in the sheet pan makes it so easy to serve! Smoked Salmon and Dill Sheet Pan Frittata via Chef Julie Harrington, RD @ChefJulie_RD #smokedsalmon #salmon #breakfast #frittata #eggs #sheetpan #seafoodOften times the term lox and smoked salmon are used interchangeably, but there is a difference. Lox was traditionally only made from the belly of salmon. The salmon is salt-cured or brined but never cooked or even smoked. It has a very smooth silky texture. Smoked salmon is a much more generic term than lox. Smoked salmon can be made from any part of the fish, and it starts with salt curing or brining, just as in lox.

Print

clock clock iconcutlery cutlery iconflag flag iconfolder folder iconinstagram instagram iconpinterest pinterest iconfacebook facebook iconprint print iconsquares squares iconheart heart iconheart solid heart solid icon
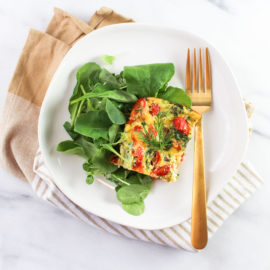
piece of Smoked Salmon and Dill Sheet Pan Frittata on a white plate with a gold fork

Smoked Salmon and Dill Sheet Pan Frittata

  • Author: Chef Julie Harrington, RD
  • Prep Time: 10 mins
  • Cook Time: 20 mins
  • Total Time: 30 mins
  • Yield: 8
  • Category: Breakfast
  • Method: Oven-Baked

Ingredients

Scale
  • 12 eggs
  • 5 ounces smoked salmon (lox), chopped
  • 3 scallions, chopped
  • 1/2 cup dill, roughly chopped
  • 1-pint grape tomatoes, sliced in half
  • salt and pepper, to taste

Instructions

  1. Prep:
  2. Preheat the oven to 350 degrees F. Spray a 13×9 inch deep baking dish with cooking spray. Set aside.
  3. Whisk eggs in a large bowl. Season with salt and pepper.
  4. Spread smoked salmon, scallions, dill, and grape tomatoes evenly in the bottom of the baking dish.
  5. Gently pour eggs over the smoked salmon mixture.
  6. Bake in the oven for 20 minutes, until eggs are cooked through and top begins to brown.

Keywords: #smokedsalmon #salmon #breakfast #frittata #eggs #sheetpan #seafood

Recipe Card powered byTasty Recipes

Chef Julie Harrington, RD - Culinary Nutrition Consultant of chefjulierd.com

Smoked Salmon and Dill Sheet Pan Frittata via Chef Julie Harrington, RD @ChefJulie_RD #smokedsalmon #salmon #breakfast #frittata #eggs #sheetpan #seafood

Quick Pickled Onions

A jar of quick pickled onions in your refrigerator gives you last-minute, tangy addition to many dishes.

Quick Pickled Onions via Chef Julie Harrington @ChefJulie_RD #pickledonions #onions #pickling #fermentedfoods #topping #condiment #makeahead

My fiance LOVES red onion. In my opinion a little too much. Now every time he makes tuna salad, I need to supervise because the last time he made it I think there was more red onion then actual tuna. It should have been called a red onion salad.

Quick Pickled Onions via Chef Julie Harrington @ChefJulie_RD #pickledonions #onions #pickling #fermentedfoods #topping #condiment #makeahead

While I do enjoy onions, raw onions are not always my favorite. I sometimes feel like they overpower a dish. Have you ever tried pickled onions instead? I now have been adding these tangy slices into my dishes to get more of a tangy red onion flavor instead that sharp and pungent red onion flavor that can take over the whole dish.


Quick Pickled Onions via Chef Julie Harrington @ChefJulie_RD #pickledonions #onions #pickling #fermentedfoods #topping #condiment #makeahead

There are so many uses for pickled onions. Add to sandwiches, use as a condiment to top tacos or egg salad, or toss them into grain salads. Their tart and tangy flavor and their bright pink color will perk up any dish.

Quick Pickled Onions via Chef Julie Harrington @ChefJulie_RD #pickledonions #onions #pickling #fermentedfoods #topping #condiment #makeahead

As the pickled onions continue to brine in the refrigerator, they will turn to vibrant pink in color. Make sure to store your pickled onions in a glass container (I used a mason jar). Most metals will react with vinegar and plastic will absorb the flavors. Plus, being able to see them is always a little reminder when I open my refrigerator to top my dishes with them.

Print
clock clock iconcutlery cutlery iconflag flag iconfolder folder iconinstagram instagram iconpinterest pinterest iconfacebook facebook iconprint print iconsquares squares iconheart heart iconheart solid heart solid icon
quick pickled onions in a mason jar

Quick Pickled Onions

  • Author: Chef Julie Harrington, RD
  • Prep Time: 2 hours
  • Total Time: 2 hours
  • Yield: 8
  • Category: side dish
  • Method: no cook

Ingredients

Scale
  • 1/2 cup apple cider vinegar
  • 1 tablespoon sugar
  • 1 1/2 teaspoon kosher salt
  • 1 cup water
  • 1 red onion, thinly sliced

Instructions

  1. In a mason jar, combine the apple cider vinegar, sugar, salt, and water. Close the lid and shake until sugar and salt have dissolved. (Or can be whisked in a bowl)
  2. Add the onions to the mason jar, making sure all the onions are submerged. Let sit at room temperature for at least 2 hours. (see notes for the make ahead version)
  3. Drain onions before using.

Notes

MAKE AHEAD: Can be made 2 weeks ahead. Cover and chill.

Keywords: quick pickled onions, pickled onions, onions, condiment, topping

Recipe Card powered byTasty Recipes