This post may contain affiliate links. Read my privacy policy.
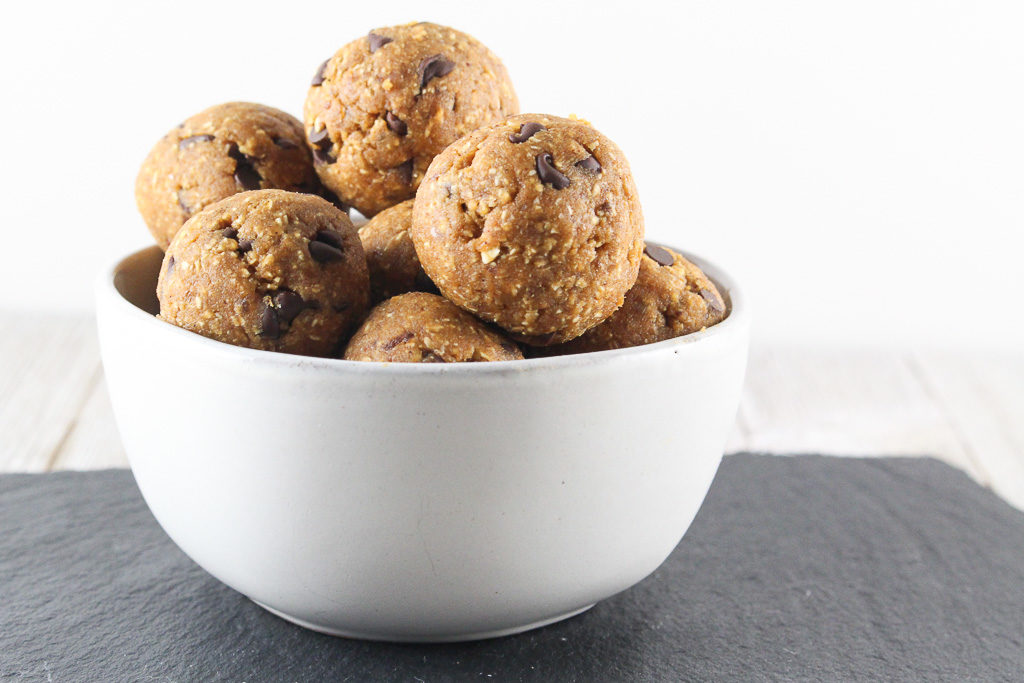
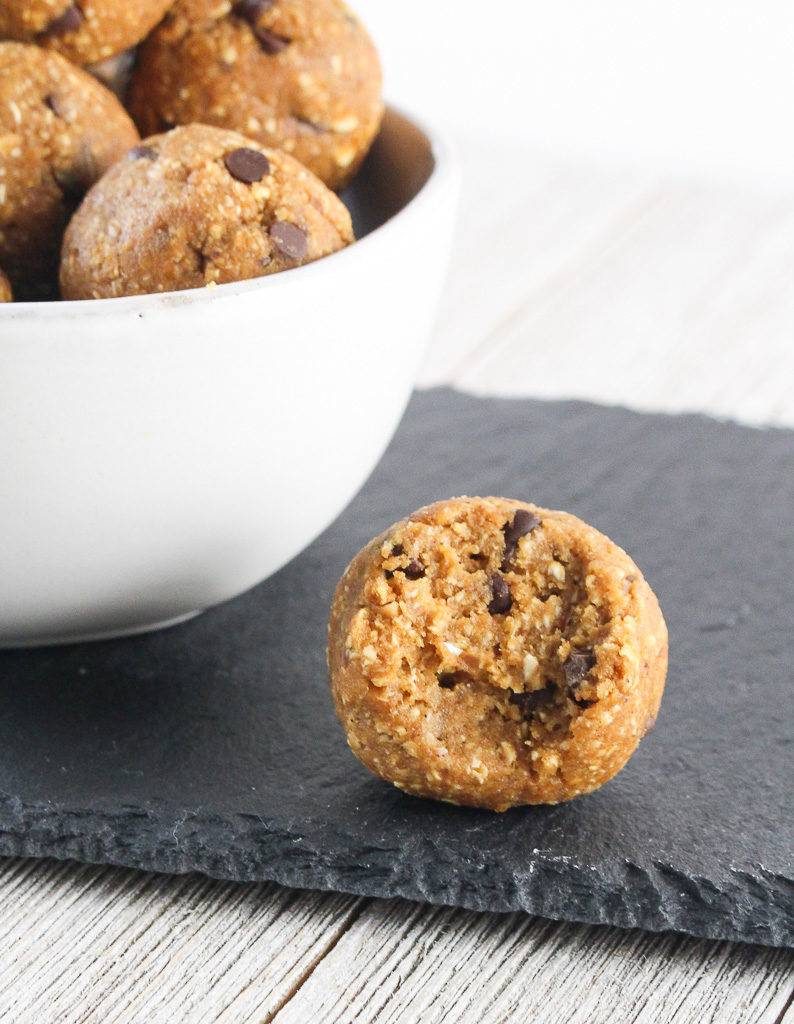
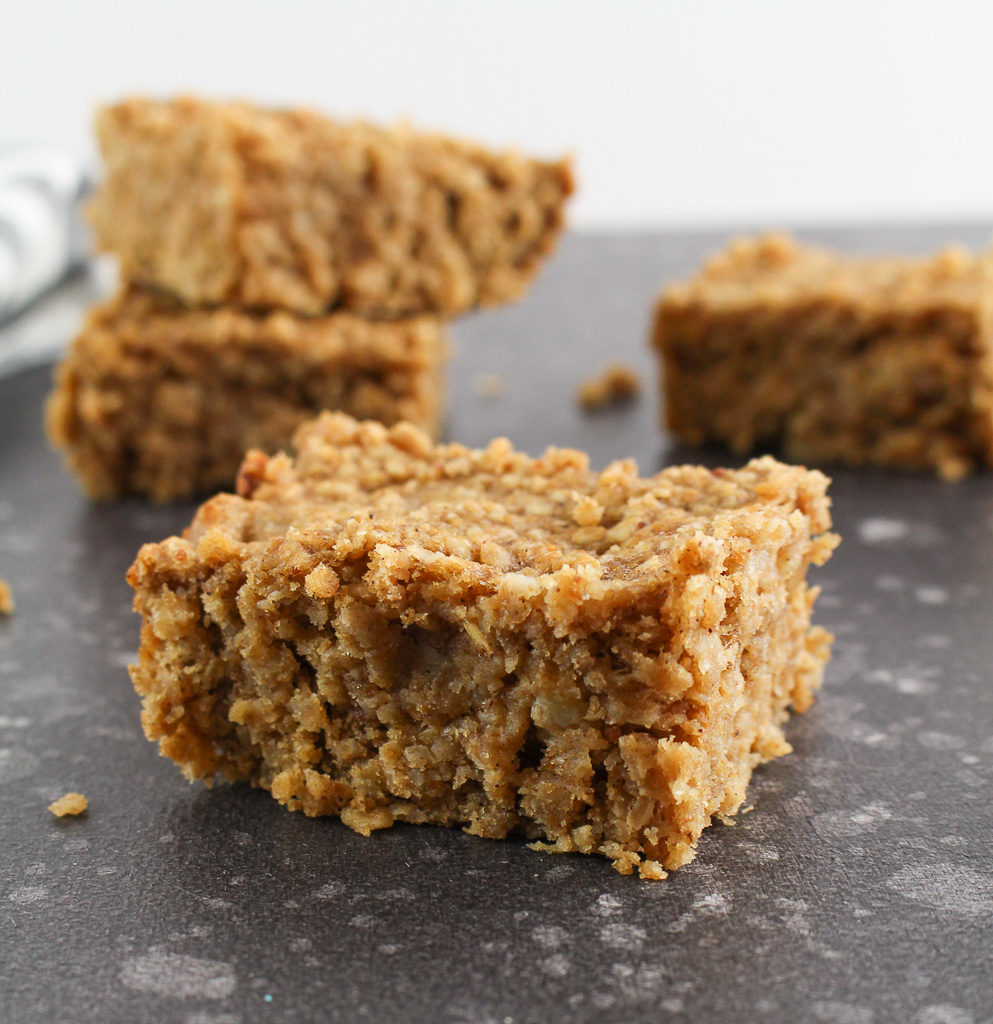
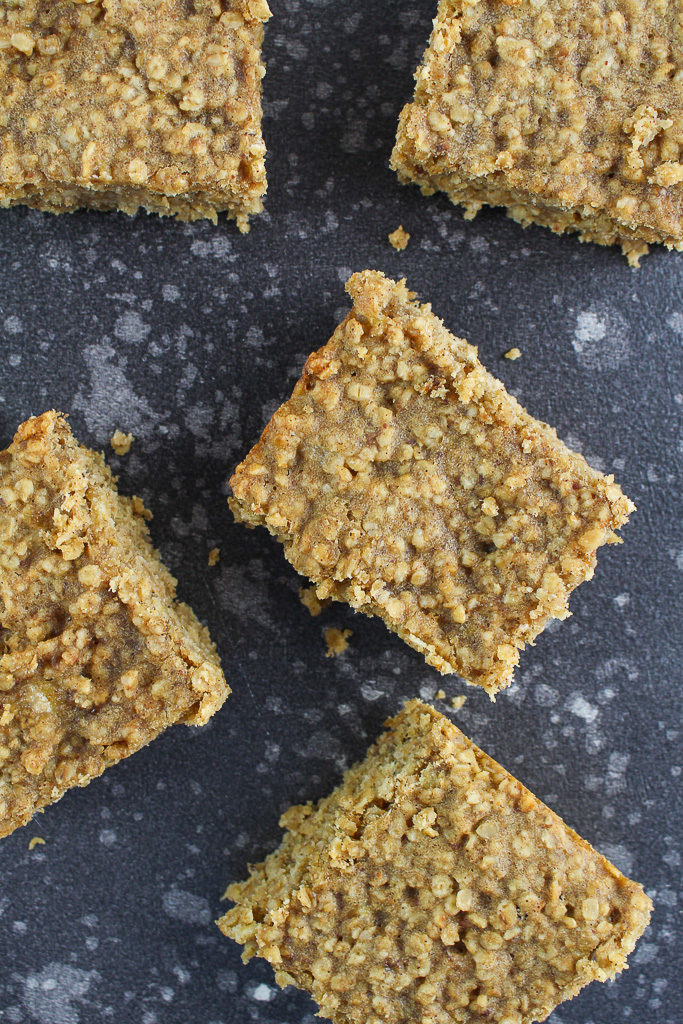
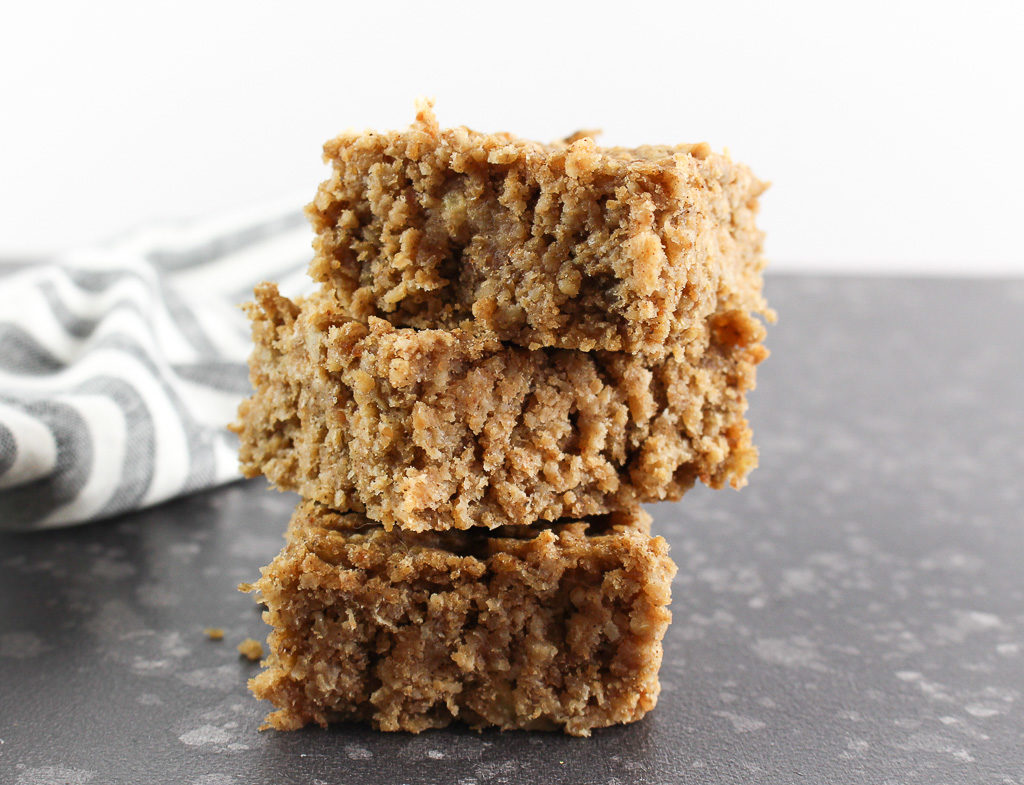
These Peanut Butter Oat Bars are soft, chewy, and subtly sweet to add to a balanced breakfast or enjoyed as a snack.
Dear future children, please do not have a peanut allergy. Your future peanut butter addict’s mom will be very sad. Peanut butter is a staple food in my diet. I can confidently say I enjoy peanut butter pretty much every day.
Did you know?
It takes about 540 peanuts to make a 12-ounce jar of peanut butter. (source)
Health benefits of peanut butter
Replacing saturated fat with similar amounts of unsaturated fats may reduce the risk of heart disease. One serving of dry-roasted peanuts (30 grams) contains 12 grams of unsaturated fat, only two grams of saturated fat, and no trans fat.
Peanuts are an excellent source of (20% of the Daily Value):
- Niacin: Niacin is an important B vitamin that helps to convert food to energy, aids with the digestive and nervous system, and helps the skin.
- Manganese: Manganese is important for processing cholesterol, and nutrients like carbohydrates and protein.
(source)
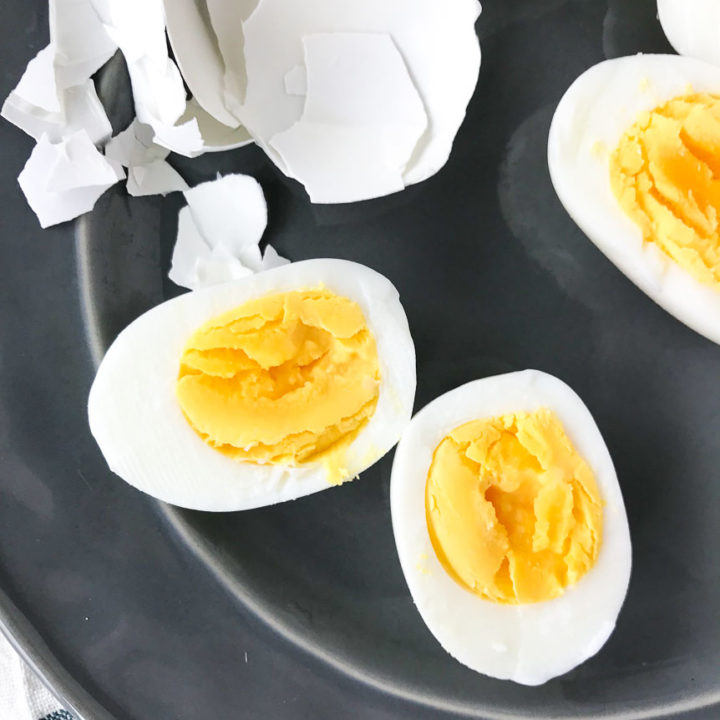
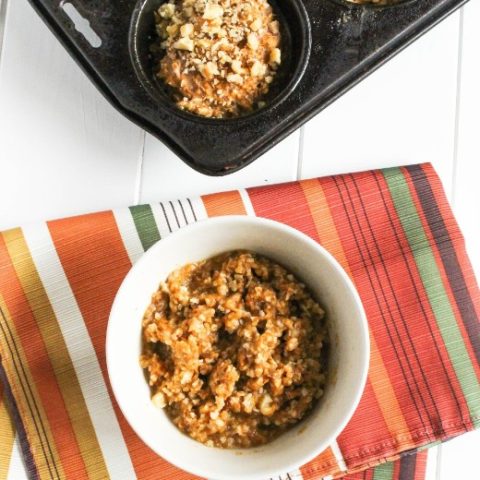
Just one bowl, these bars are easy to whip up. Pair with a piece of fruit and/or yogurt for breakfast, or enjoy alone as a snack. If you are peanut butter obsessed like me, I even added a smear of peanut butter on top.
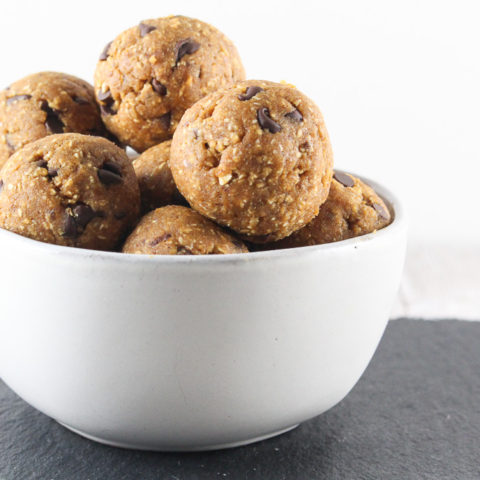
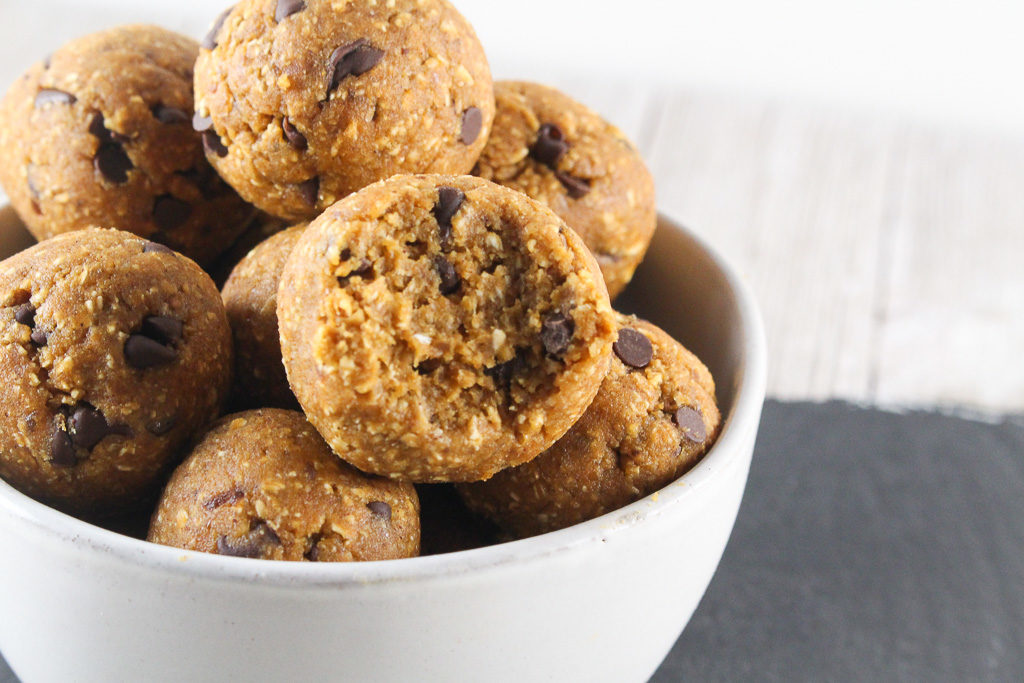
I kept this Peanut Butter Oat Bars recipe simple, but of course, you can add your own twist. Stir in chocolate chips, some nuts or seeds. I’m even curious to try tahini in place of the peanut butter.
Print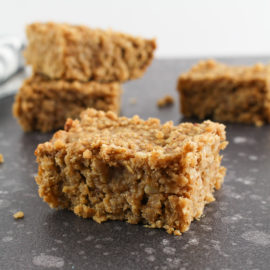
Peanut Butter Oat Bars
- Prep Time: 15
- Cook Time: 30
- Total Time: 45 minutes
- Yield: 8
- Category: Baked Good
- Method: Baking
Description
These Peanut Butter Oat Bars are soft, chewy, and subtly sweet to add to a balanced breakfast or enjoyed as a snack.
Ingredients
1/2 cup natural peanut butter, melted
1/2 cup coconut oil, melted
1 small ripe banana, mashed
1/4 cup maple syrup
2 eggs
1 teaspoon vanilla extract
1 teaspoon ground cinnamon
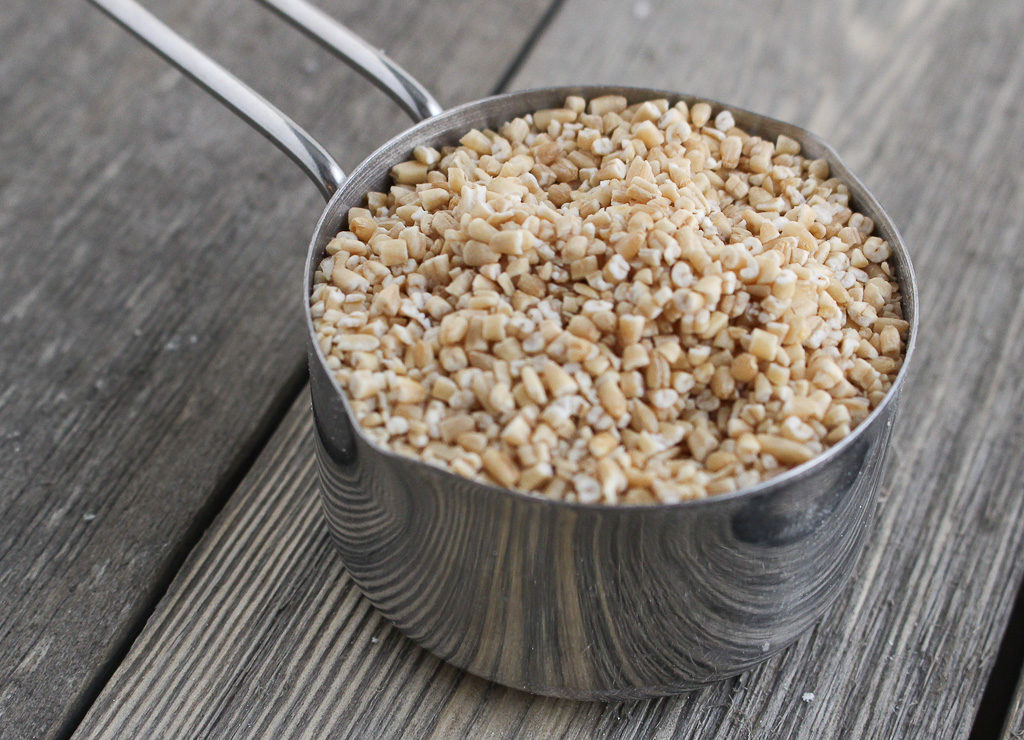
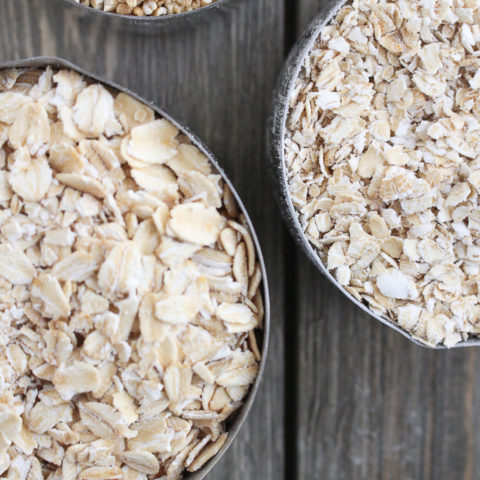
1 1/2 cups rolled oats
1/2 cup finely ground flaxseed (see notes)
Instructions
- Preheat the oven to 350°F. Coat an 8×8 baking pan with cooking spray and set aside.
- In a large bowl, whisk together peanut butter, coconut oil, banana, maple syrup, eggs, and vanilla extract until well combined.
- Stir in cinnamon, rolled oats, and flaxseed, until well combined.
- Pour into the prepared baking dish and spread in an even layer. Bake for 25-30 minutes until edges are lightly browned and a toothpick inserted in the middle comes out clean.
- Cool for 15 minutes before slicing into squares.
Notes
I used Manitoba Milling Co. Smooth Whole-Milled Flaxseed, which is more of a powdery/flour texture.
Add chocolate chips or nuts, sprinkled on top or folded into the batter, as desired.
Keywords: peanut butter, oats, bars, breakfast, snack, whole grain,