
This post may contain affiliate links. Read my privacy policy.
Have you ever had one of those aha moments at work where you just feel like, this is what I was meant to be doing? When I was younger and was asked, what do you want to be when you grow up, my answer wasn’t a dietitian/chef. Yes, I always loved cooking, but honestly, my response was less than typical than my other classmates who wanted to be teachers, police officers, and doctors. Mine was a whale trainer. Yup. I loved animals (and still do!) and became fascinated with orca whales when I was in 2nd grade.
So how did I get here? Well honestly, as a senior in high school I was like many others – I had no idea what I wanted to do. I was interested in plenty of careers, but nothing stood out to me to directly pursue. Since I was really unsure, I was looking at colleges that had a variety of offerings, but honestly, I really wanted to play a sport and Cabrini college was talking to me about playing field hockey. I went into my first year at Cabrini with a major in Health Professions.
As I was completing my gen-ed courses I started taking courses for my major and looking into the future with that major, I was thinking of all the things I wanted to do, but wouldn’t be able to pursue with just that degree. Along with a brutal first year at college (that is a whole other crazy story), I decided to leave Cabrini.
That summer was difficult. I felt lost. I definitely had the support of my friends and family during this time trying to figure out what I wanted to do next. It was to my benefit that my mom is a high school guidance counselor and has the inside scoop about a plethora of colleges as she helps high school seniors apply to college. When my mom suggested Johnson & Wales University, I was skeptical. Culinary school? But then I learned about their culinary nutrition program and I fell in love. I was always drawn to the health professional field and being able to merge my love of cooking with nutrition seemed like the perfect fit. I literally applied (and got in!) about a week before the semester started. Talk about fast decisions!
I look back on that summer and remind myself that whenever in a tough situation, things will work out and never settle for anything that doesn’t make you happy. I truly appreciate the opportunities I have within the culinary nutrition field. It feels like this is what I was meant to be doing. I hope my passion is transferred over to others when I present on culinary nutrition topics and demonstrations.
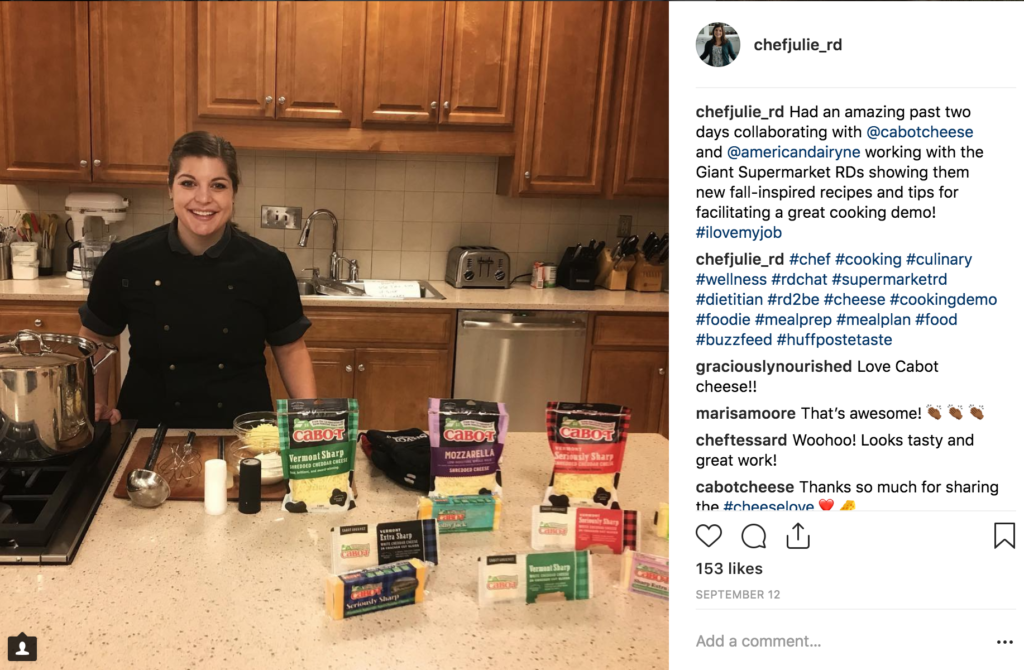
I love my job!
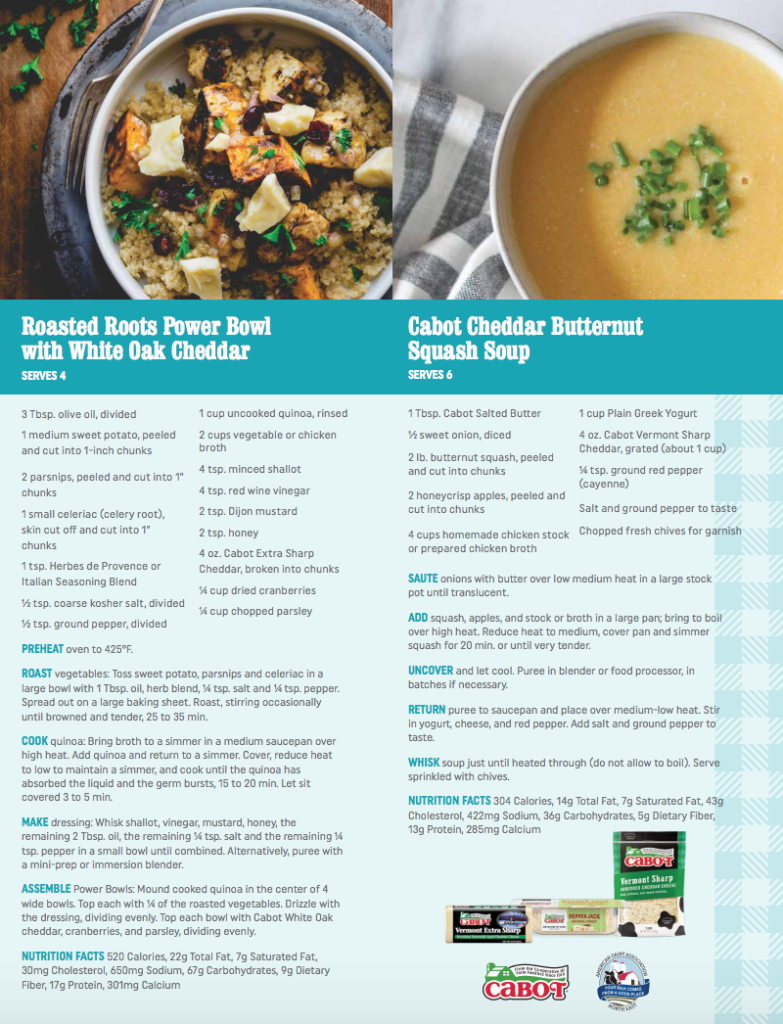
Last month I spent two days with Cabot and the NY American Dairy Council providing cooking demonstrations and cooking tips to Giant supermarket RD’s how to utilize seasonal fall ingredients, and of course Cabot cheese! They are gearing up for diabetes awareness month in November, so I helped develop educational materials and recipes to fit within their themes.
Traveling and presenting to other RD’s was definitely an aha moment feeling. Not many RD’s have a strong culinary background or had the opportunity to go to culinary school as I did.
HOW TO BUILD A POWER BOWL WITH BALANCE
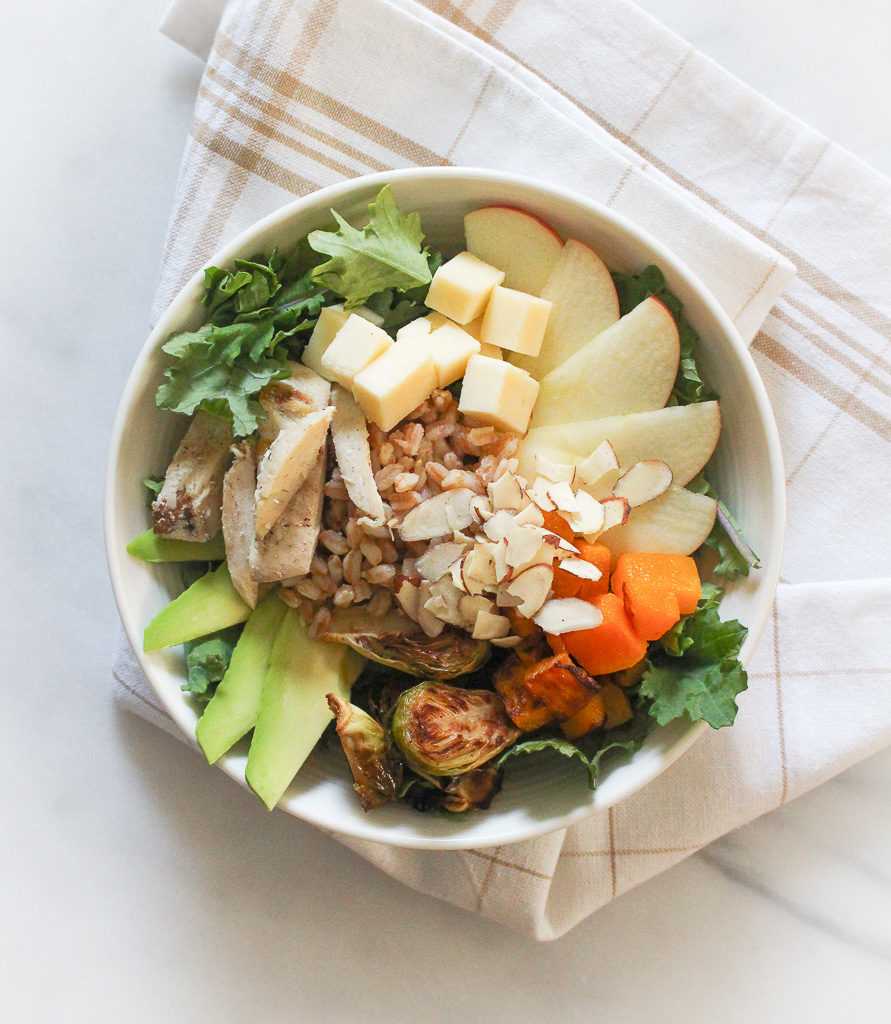
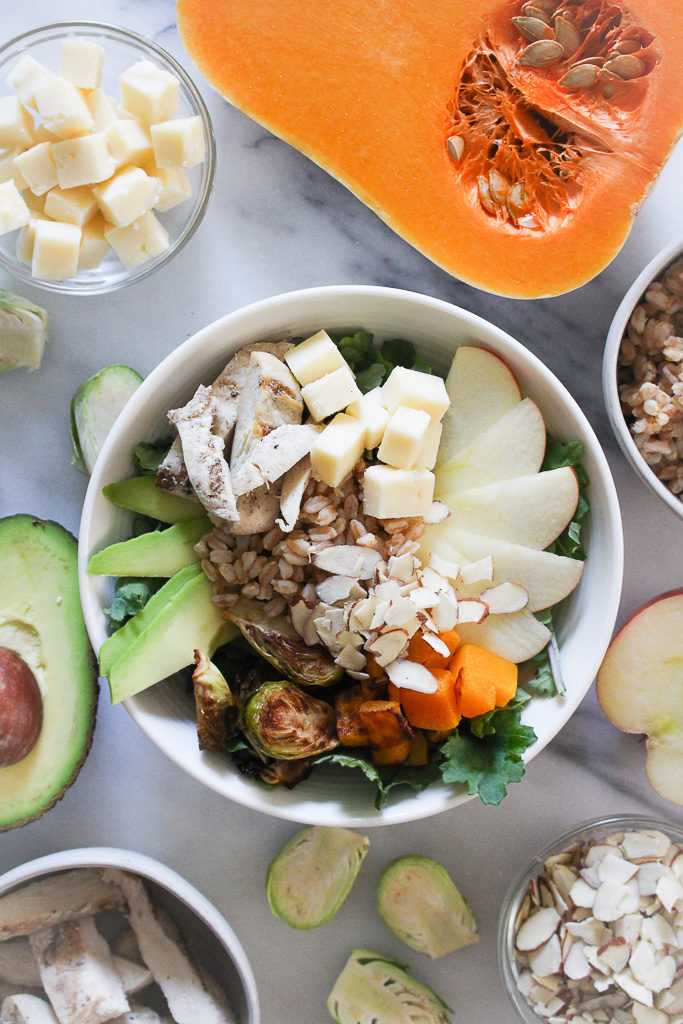
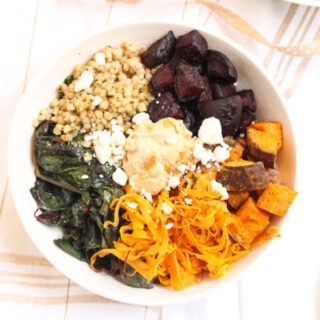
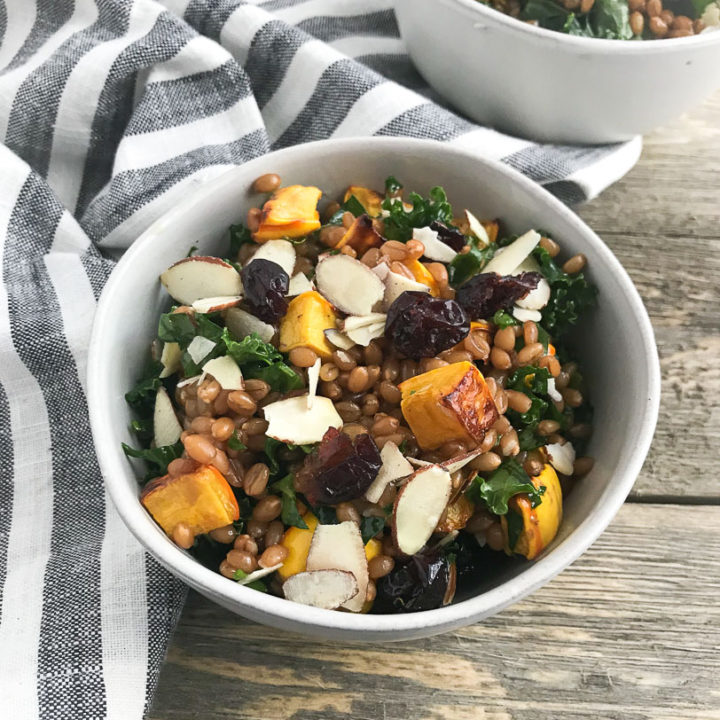
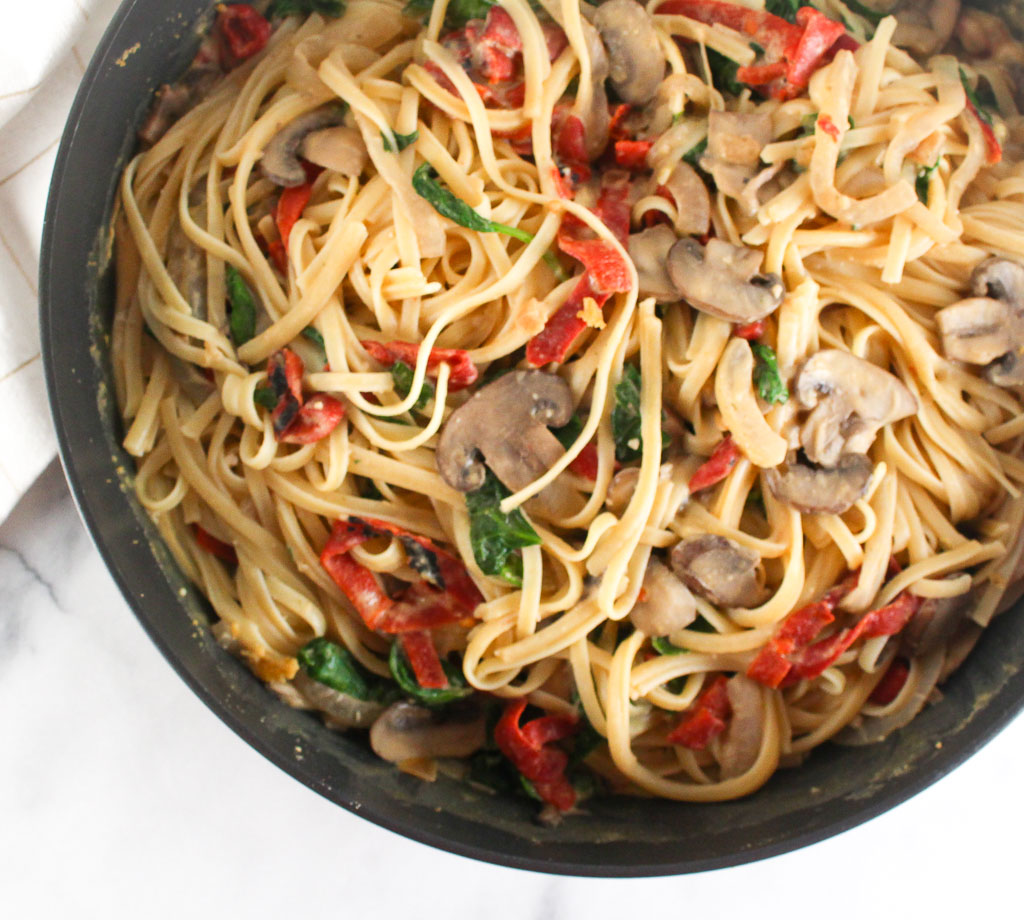
I had a lot of fun developing this recipe. Whenever you build a power bowl or nourish bowl (whatever you choose to call it), think about balance. Balancing food groups to be more full and satisfying. Balancing textures and flavors so every bite is more exciting.
Build your own with this guide below.
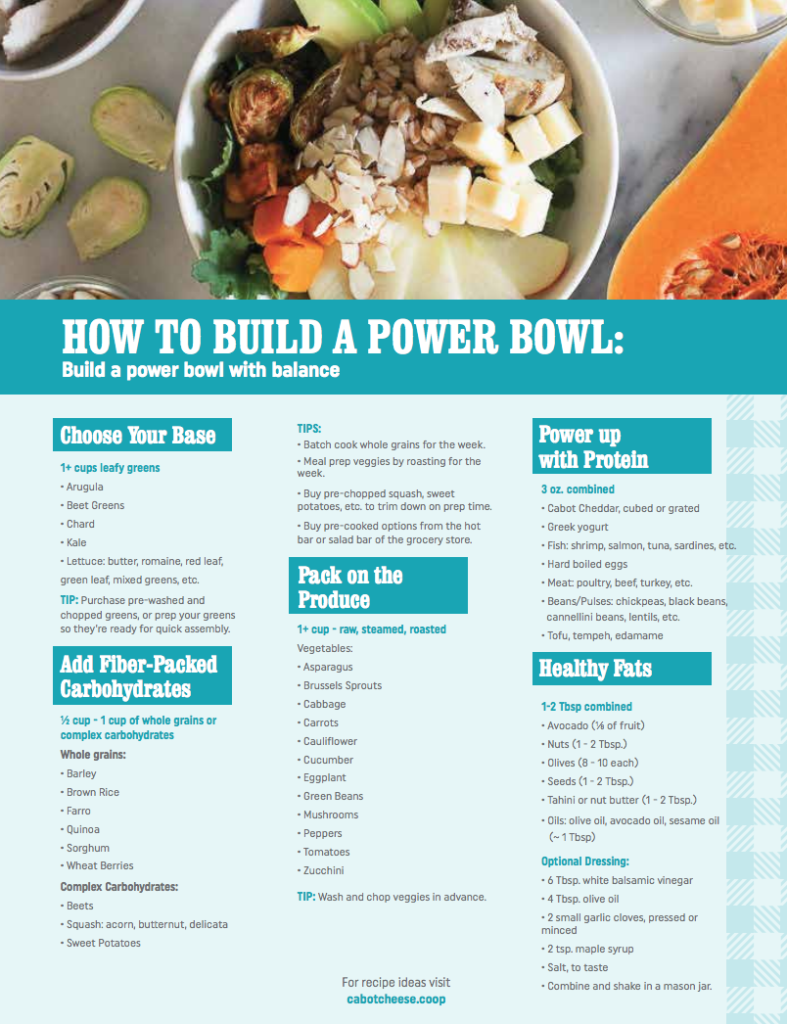
Click on the image to download!
What I love about these bowls is that you can customize them so many ways and never get bored. Plus, if you spend a little time meal prepping ingredients in advance a fancy bowl with a plethora of delicious ingredients can come together in minutes.
Print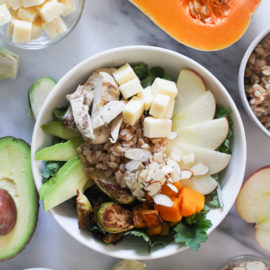
Fall Harvest Nourish Bowl
- Prep Time: 15
- Total Time: 15 minutes
- Yield: 1-2 1x
- Cuisine: Seasonal
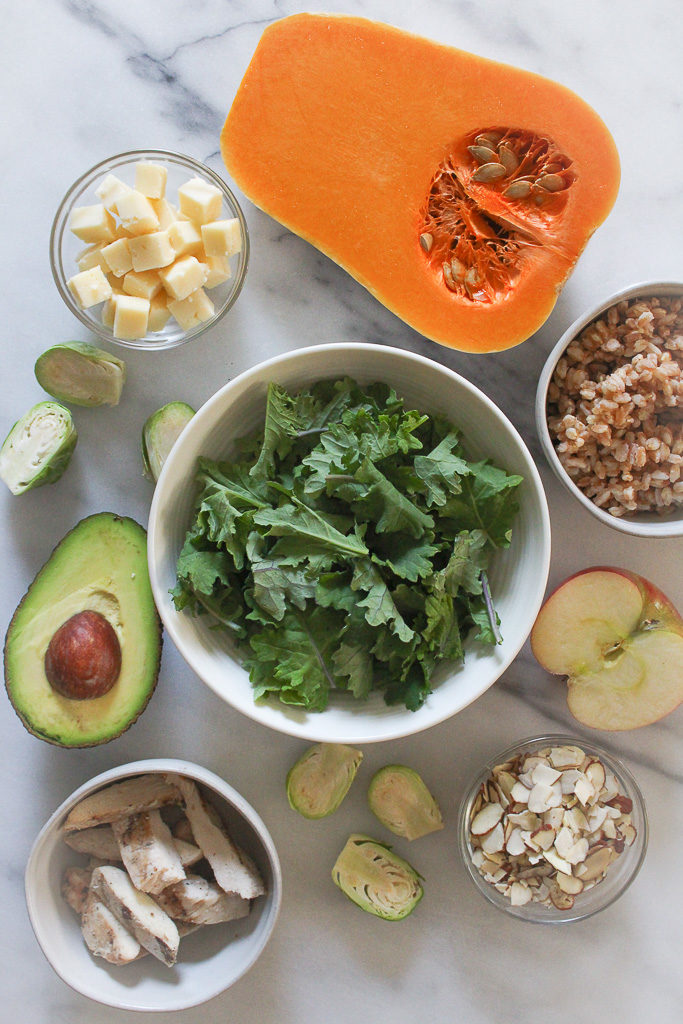
Ingredients
1–2 cups baby kale
1/2 cup farro, cooked
1/2 cup butternut squash, cubed and roasted
1/2 cup Brussels sprouts, roasted
1 small apple, sliced
3 oz. grilled chicken, chopped
1 oz. cheddar cheese, cubed (I love Cabot’s
1/4 avocado, sliced
1 tablespoon sliced almonds
Dressing:
6 tablespoons white balsamic vinegar
4 tablespoons olive oil
2 small garlic clove, pressed or minced
2 teaspoons maple syrup
salt, to taste
Instructions
Notes
The dressing will make extra. Save the remaining dressing for later use.
This recipe is great to prep all ingredients in advance and just toss together.


