Lemon Vinaigrette

Brighten any salad, grain, or vegetable dish with this simple lemon vinaigrette. Made with ingredients you probably already have on hand, simply whip this up in a mason jar.
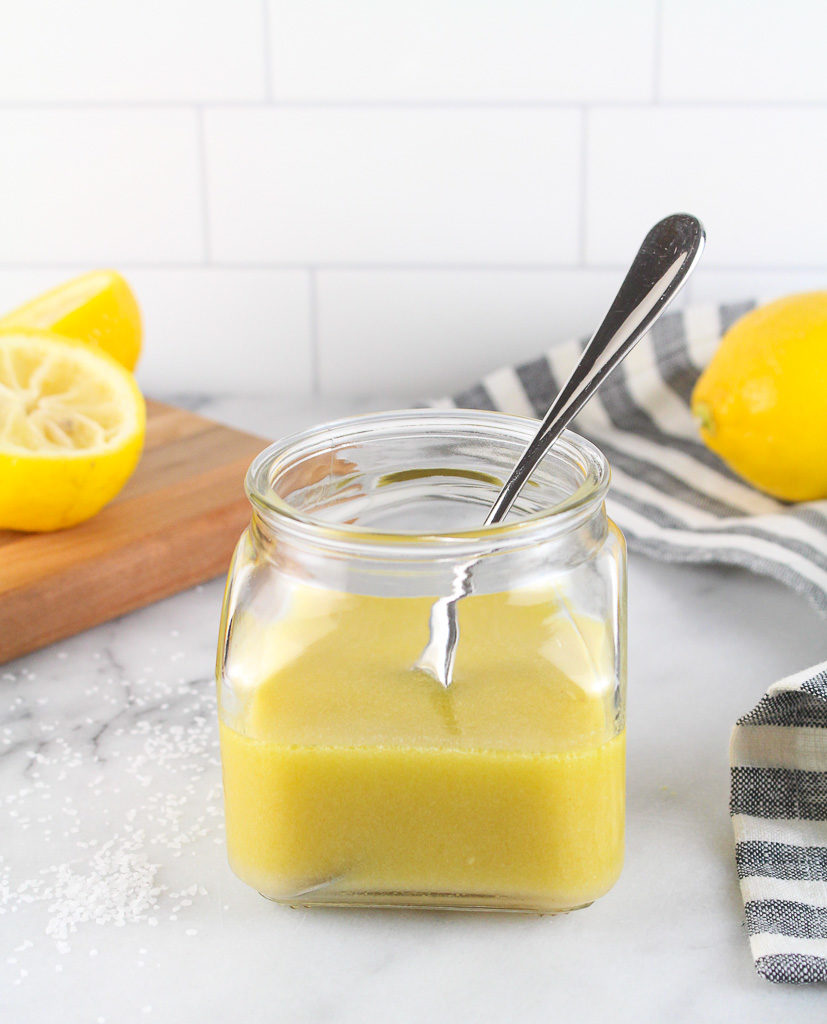
Lemon Vinaigrette in a small glass jar

I don’t think people realize how EASY it is to make a homemade dressing. The most basic vinaigrette recipe is mixing an acid and a base. Then just add seasonings you enjoy. Simply pour ingredients into a mason jar and shake away. Your dressing is made! How easy was that? Plus, making it in a mason jar is ready to store any leftovers.
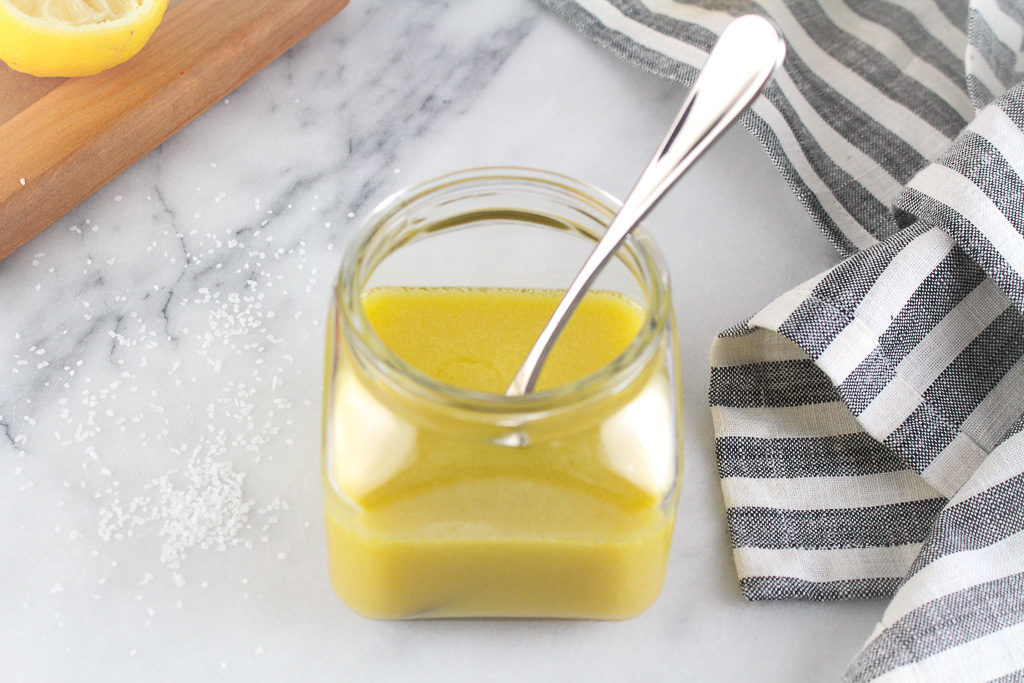
Lemon Vinaigrette in a small glass jar

If you want to go beyond the basics, use this guide to build your own vinaigrette.

Create a homemade vinaigrette

Choose your acid:

This can be in the form of vinegar or citrus juice. Pick something that matches with your salad mix-ins. Opt for a sweet acid like white wine vinegar, white balsamic vinegar, or an orange juiced, for salads that have fruit. 

Try acids like apple cider vinegar, balsamic vinegar, red wine vinegar, rice vinegar, lemon juice, lime juice, or other citrus juices. 

Tip: Think about the components of your salad. If you have a salad with bright colors, avoid darker vinegar. Once the salad is dressed, those bright vibrant colors will look muddy. Remember – we eat with our eyes first! 

Choose your base:

The base is oil. Use good quality oil. This can be a simple olive oil or fancy garlic and rosemary-infused walnut oil. Again think about the components of your salad. If there are avocados in your salad, why not try avocado oil? 

Try oils like olive oil, avocado oil, walnut oil, pumpkin seed oil, hazelnut oil, or other flavor-infused oils. 

Add seasonings:

If you are new to making dressings, simple olive oil and balsamic vinegar dressing with a pinch of salt and pepper will work just fine. Once you are comfortable making dressings, try amping it up with other seasonings. 

Add a teaspoon of Dijon mustard to add a little tanginess and also to help create a creamier vinaigrette. Add a teaspoon of miso for an umami flavor. Try using fresh herbs for a pop of flavor. For a sweet vinaigrette, add a little maple syrup or honey. 
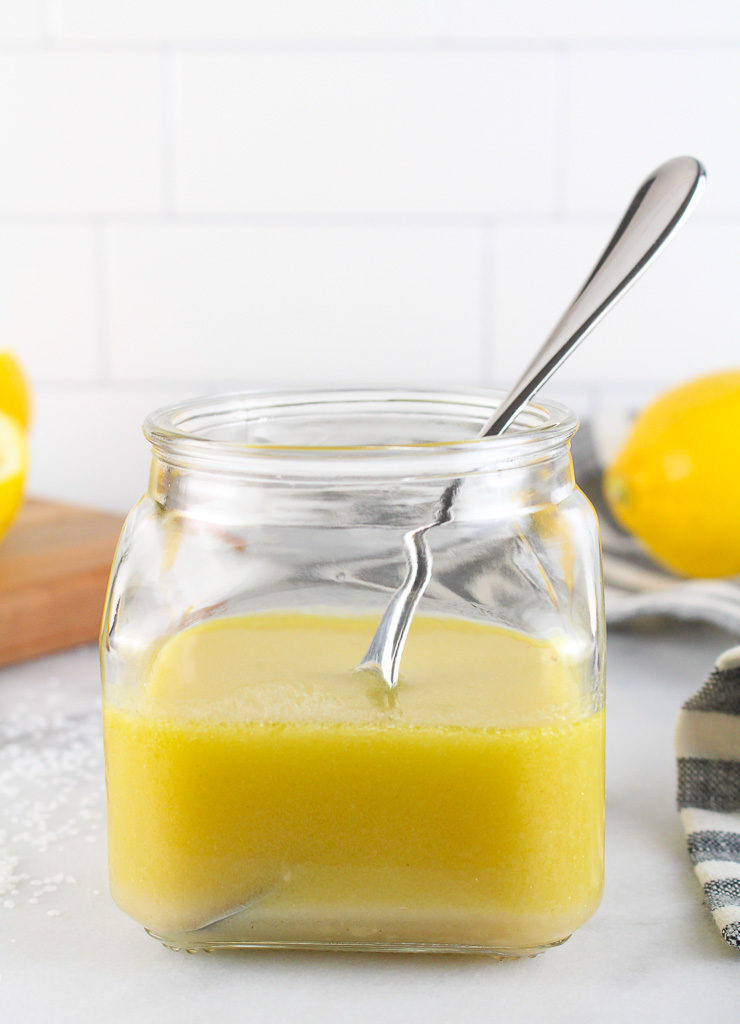
Lemon Vinaigrette in a small glass jar

Once you start playing around with different combinations, you’ll start to know what flavor combinations you like best!

Print
clock clock iconcutlery cutlery iconflag flag iconfolder folder iconinstagram instagram iconpinterest pinterest iconfacebook facebook iconprint print iconsquares squares iconheart heart iconheart solid heart solid icon
lemon vinaigrette in a small jar with lemons

Lemon Vinaigrette

  • Author: Chef Julie Harrington, RD
  • Prep Time: 5
  • Total Time: 5 minutes
  • Yield: 3/4 cup 1x
  • Category: dressing
  • Method: no-cook

Description

This lemon vinaigrette is incredibly easy to make. Drizzle it on all your salad and veggie recipes!


Ingredients

Scale
  • 1/3 cup olive oil
  • 2 lemons, juiced (approx 1/3 cup juice)
  • 1 teaspoon Dijon mustard
  • 1 teaspoon maple syrup
  • 2 garlic cloves, minced
  • salt and pepper, to taste

Instructions

Simply measure ingredients and add to a mason jar. Secure lid and shake. Season with salt and pepper, to taste.


Keywords: dressing, vinaigrette, homemade, mason jar, salad dressing, healthy fats, lemon, citrus, cooking tips

Recipe Card powered byTasty Recipes

Other recipes you may enjoy

Steel Cut Oats vs. Rolled Oats vs. Quick Oats – What’s the Difference?

February is Heart Health Month and oats have a stellar reputation for their heart health benefit. Do you know the difference between each variety of oats?

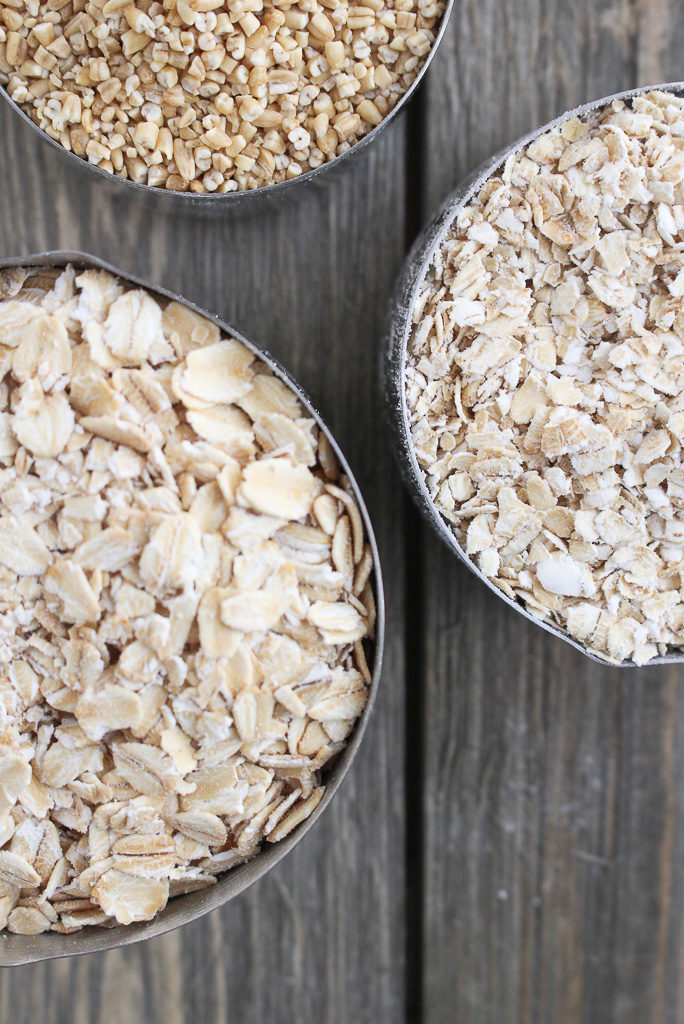
variety of oats in steel measuring cups

Fiber’s role in heart health

Dietary fiber can help improve blood cholesterol levels and lower your risk of heart disease, stroke, obesity and even type 2 diabetes.

The American Heart Association recommends that at least half of the grains you eat be whole grains. Eating whole grains (like oats) are consistently associated with a reduced risk of chronic disease, including cardiovascular disease. Whole grain oats and oat bran can help lower blood cholesterol thanks to the power of beta-glucan – a soluble fiber, largely unique to oats, that basically tells your liver to pull LDL cholesterol out of the blood. Then, it binds to some of the cholesterol in your gut, keeping it from ever reaching your bloodstream.

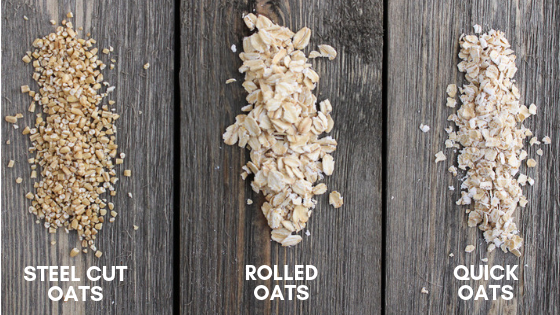
You head to the grocery store to pick up oats, and there are so many options. Steel-cut oats, rolled oats, old-fashioned oats – what’s the difference?

different variety of oats on a wooden board

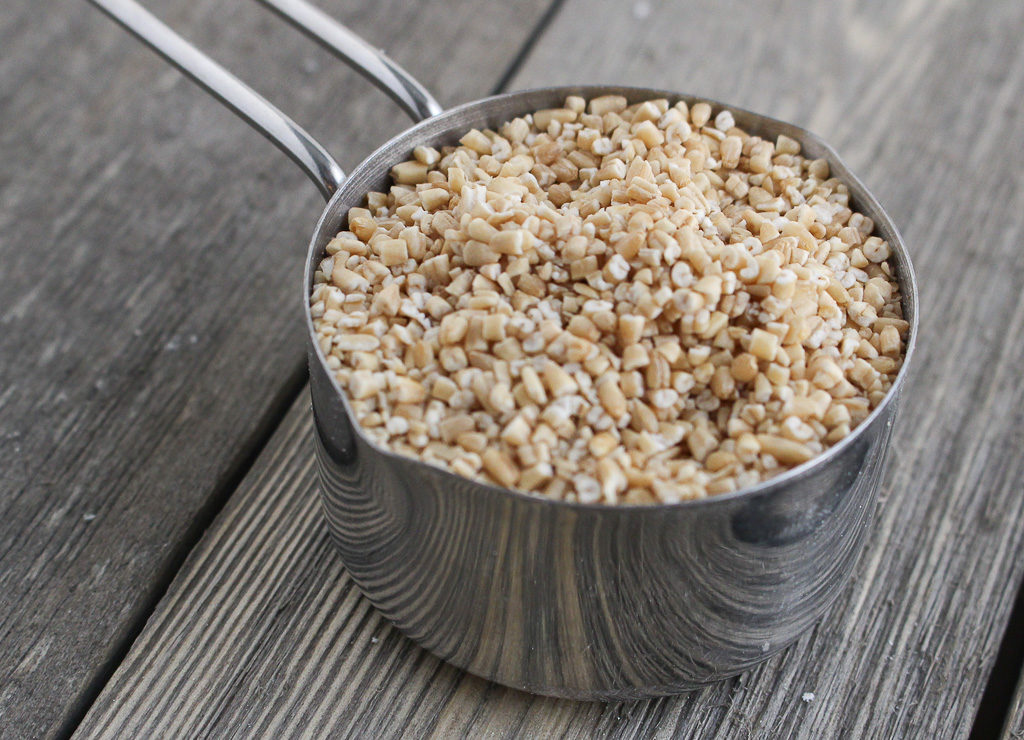
Steel Cut Oats

steel cut oats in a metal measuring cup

Steel-cut oats, also known as Irish or Scottish oats, are oats that are processed by chopping the whole oat groat into several pieces. This type of oatmeal takes the longest to cook. Why? Because the outside layer of the whole grain, the bran, is fully intact. A longer cook time penetrates through the bran creating tender, yet a chewy texture that retains much of its shape even after cooking.

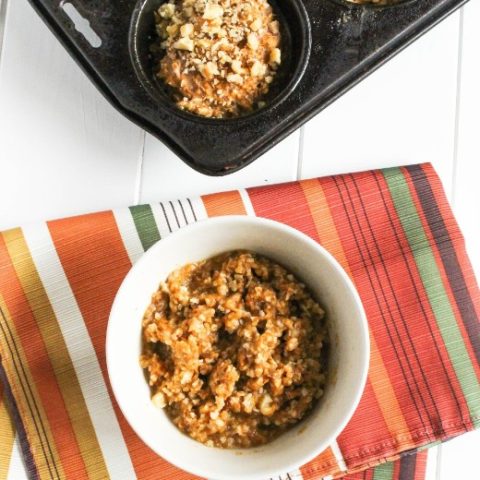
Don’t have time in the morning to cook steel-cut oats? I don’t blame you! Prepare them in advance by cooking them over the stovetop, in a crockpot, or Instant Pot. Or try my frozen muffin tin method.

Get the recipe: Frozen (Single Serving) Pumpkin Steel Cut Oatmeal

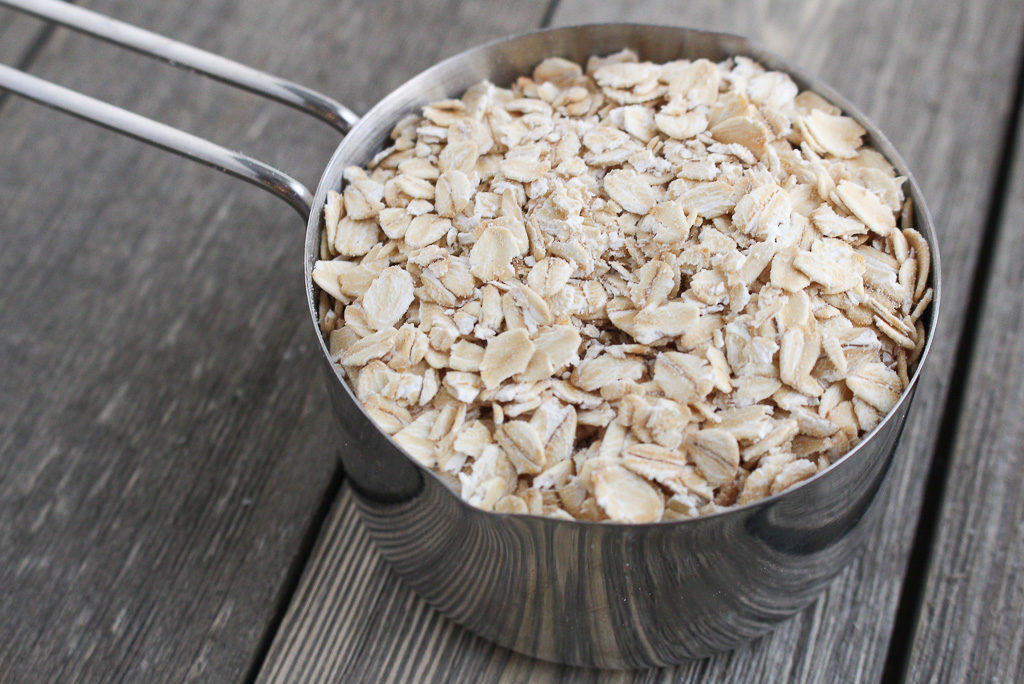
Rolled Oats

rolled oats in a metal measursing cup

Rolled oats, also known as old-fashioned oats, are created when oat groats are steamed and then rolled into flakes. This process stabilizes the healthy oils in the oats, so they stay fresh longer, and helps the oats cook faster, by creating a greater surface area.

Rolled oats cook faster than steel-cut oats. They absorb more liquid and hold their shape well during cooking. With their faster cook time, enjoy a bowl of warm oatmeal in the morning or use in recipes like muffins, granola, pancakes, or other baked good recipes.

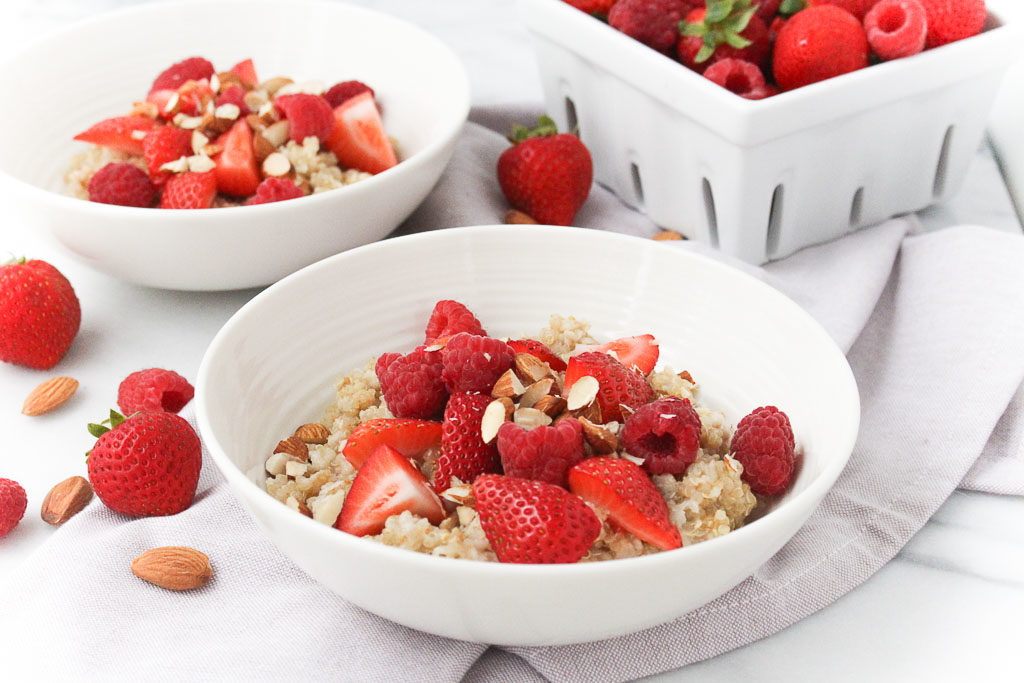
Get the recipe: Quinoa Oatmeal with Berries

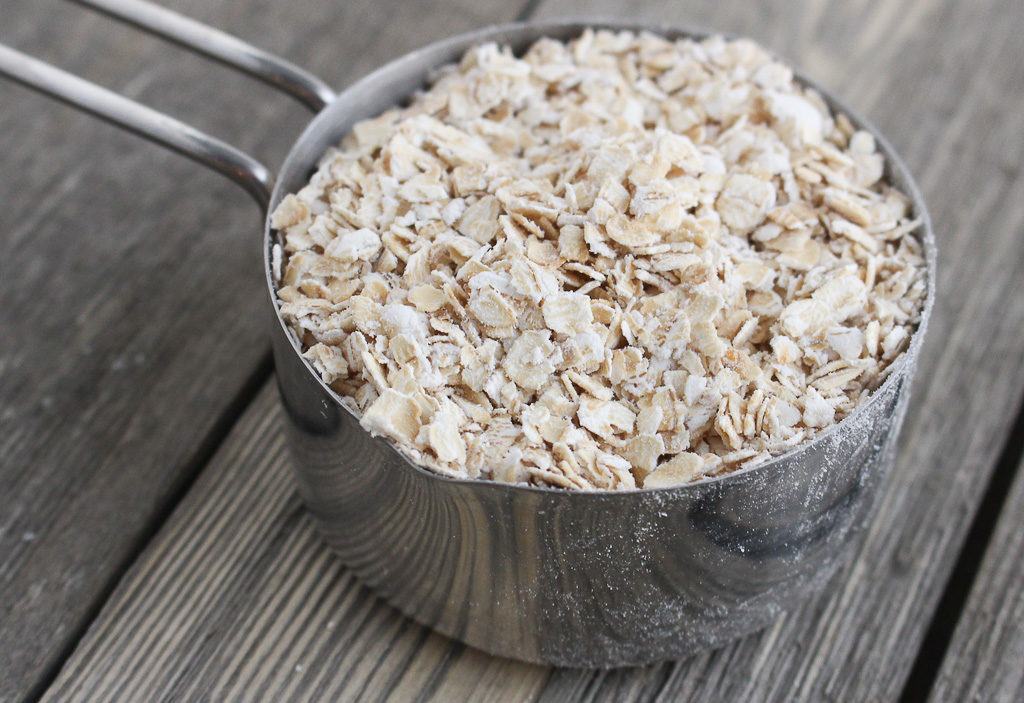
Quick Oats

quick oats in a metal measuring cup

Quick oats, also known as minute oats or instant oats are rolled oats and that are steamed for even longer. As the most processed type of oat, instant oatmeal cooks in seconds and has a smooth, creamy, and soft consistency and mild flavor.

Quick cook more quickly than steel-cut or rolled oats, but retain less of their texture, and often cook up mushy. Plus, be mindful of the multiple varieties of quick oats in the shelf. Tip: Opt for the quick oats in the canister vs. the individual packets. Not only will you save money, but often the packets contain disodium phosphate (aka. salt), to help them swell even faster in the microwave, whereas the canister contains just the oats. Additionally, the packets contain added sugar, if choosing the flavored varieties.

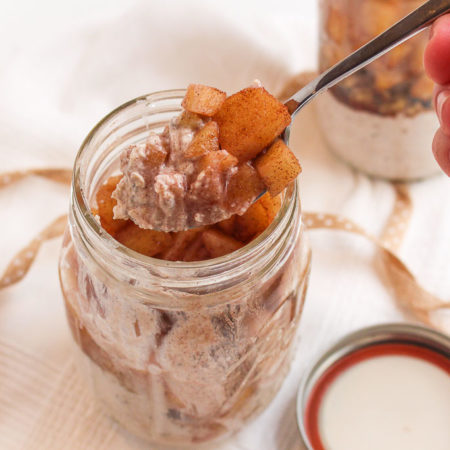
Get the recipe: Apple Pie Overnight Oats

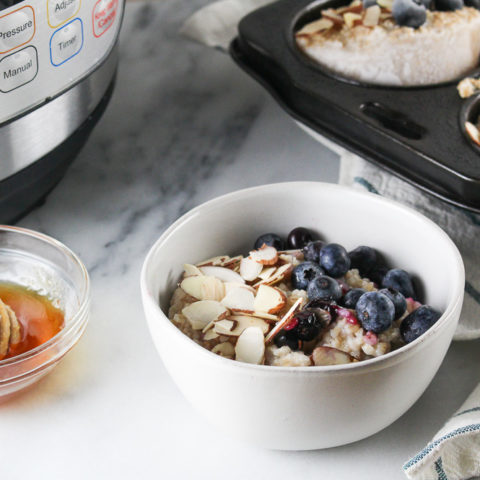
oatmeal with strawberries and raspberries in a white bowl

New Research

Consuming uncooked oats, like overnight oats that are soaked in milk or yogurt to soften, contain resistant starch. Resistant starch is a carbohydrate that resists digestion in the small intestine and ferments in the large intestine. As the fibers ferment they act as a prebiotic and feed the good bacteria in the gut.

The John Hopkins Patient Guide to Diabetes notes that “When starches are digested they typically break down into glucose. Because resistant starch is not digested in the small intestine, it doesn’t raise glucose. Gut health is improved as fermentation in the large intestine makes more good bacteria and less bad bacteria in the gut. Healthy gut bacteria can improve glycemic control. Other benefits of resistant starch include increased feeling of fullness, treatment and prevention of constipation, decrease in cholesterol, and lower risk of colon cancer. Resistant starch is fermented slowly so it causes less gas than other fibers.”

This post may contain affiliate links. To find out more information, please read my disclosure statement.

Recipes you may enjoy

One-Pan Chicken Sausage & Gnocchi Sauté

This one-pan chicken sausage & gnocchi saute utilizes simple ingredients to create a delicious meal in minutes.

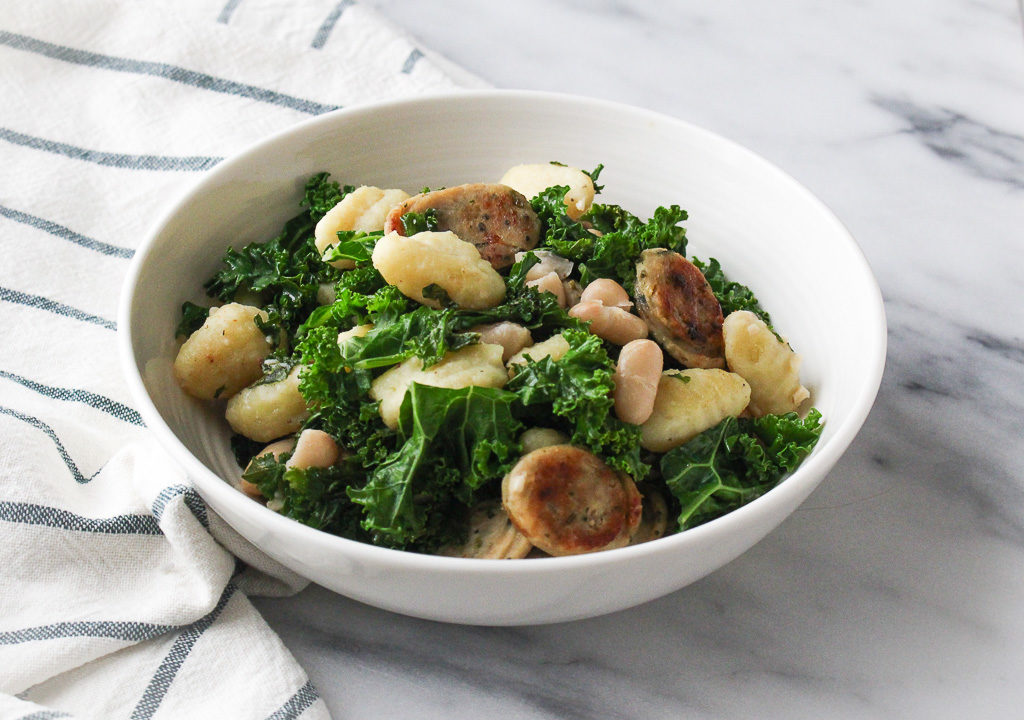
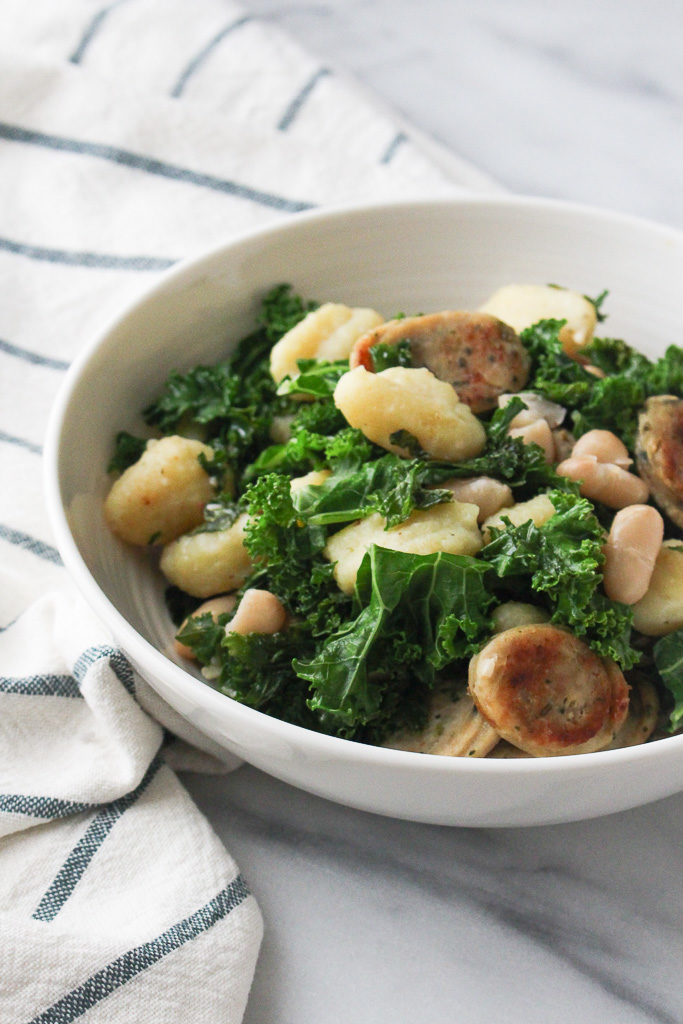
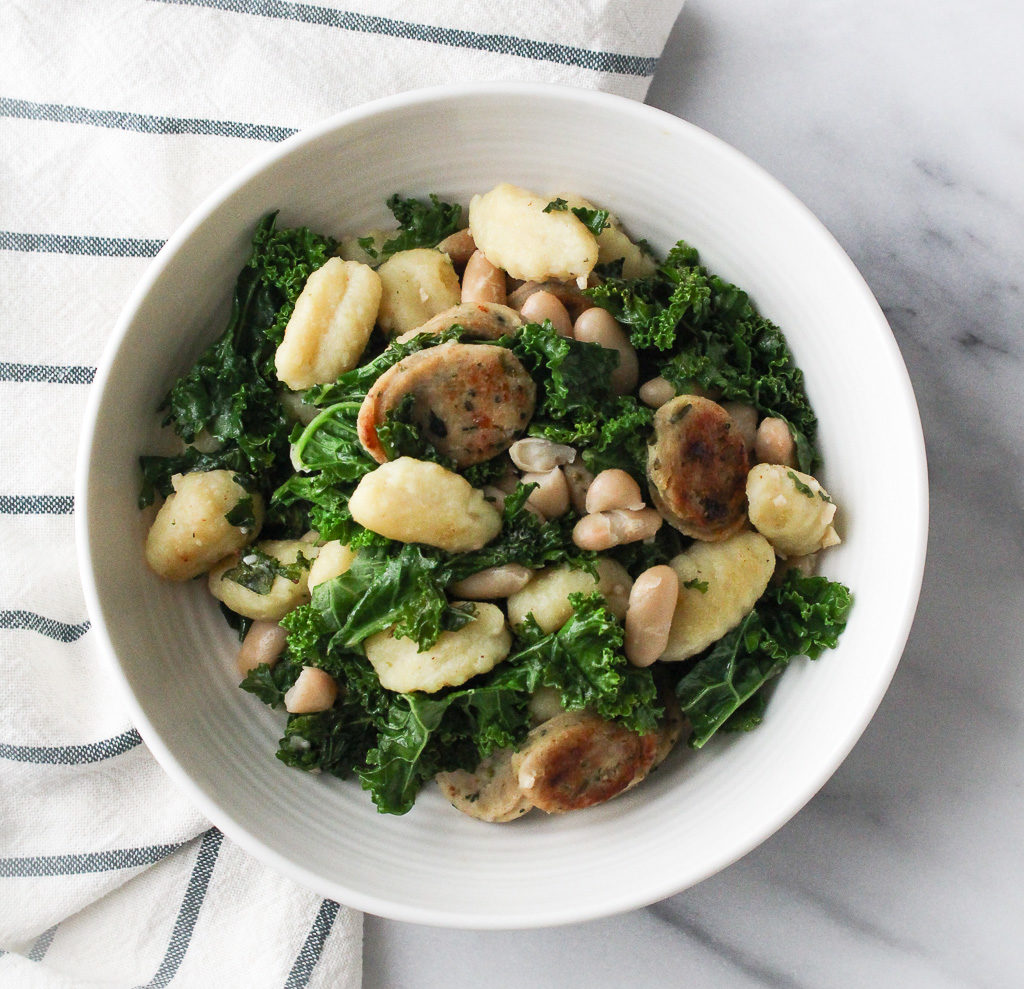
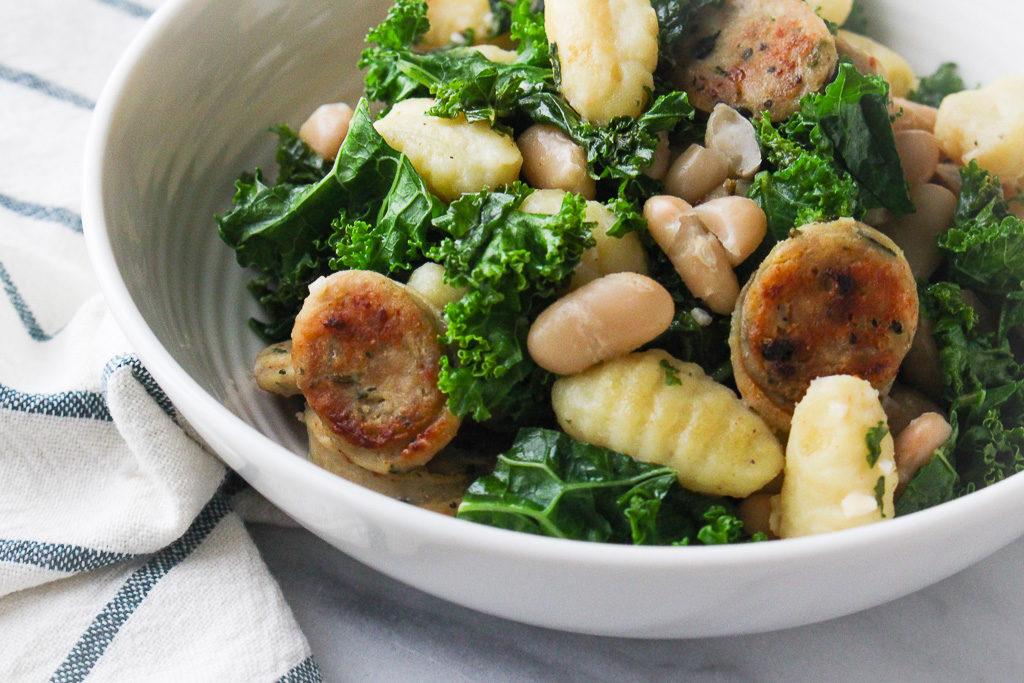
kale with chicken sausage and gnocchi

I never understood the mad rush to the grocery store when there is an inkling of news about the possibility of snow. Previously, working as a retail dietitian, the madness was unreal. The aisles with the bread and milk would be completely wiped out. I guess everyone’s instinct is to survive on bread and milk if they get snowed in? I’ll never understand.

Sausage, gnocchi, and kale in a white bowl

My kitchen isn’t always completely stocked and with news of snow, I’m the last person you will see heading to the grocery store. I don’t want to deal with the craziness!

I think it’s fun to poke around the kitchen utilizing what I have on hand to create new meal ideas. I always say that makes me feel like I am on an episode of “Chopped“. (minus the crazy ingredients like cow’s tongue the contestants get in their mystery baskets)

One Pan Chicken Sausage & Gnocchi Sauté in a white bowl on a marble slab

Each kitchen no matter how big or small has four kitchen zones: the refrigerator, freezer, pantry, and countertops. Don’t just open the fridge and just decide “there’s nothing to eat, let’s grab take out.” Utilize the ingredients in each zone to create a meal. This recipe uses all four kitchen zones to create a delicious and balanced meal.

What Kind of Gnocchi Should I Use? 

You can use the kind you find that are shelf-stable, frozen, and can even use cauliflower gnocchi instead of potato. 

The gnocchi is cooked separately to start with, which is why you can use multiple brands of varieties. 

If you haven’t tried Trader Joe’s gnocchi, you are truly missing out!

Ingredients for Chicken Sausage Gnocchi

Gnocchi – as I mentioned earlier you can choose your favorite 

Olive oil

Chicken sausage – these are the link kind

Garlic cloves

White beans – any variety will work 

Kale 

Chicken broth – try to get low sodium if you can

How to Make Chicken Sausage Gnocchi in Less Than 30 Minutes

Before we get started, go ahead and cook the gnocchi according to the instructions on the packaging. 

While that’s cooking, prep your kale by removing the ribs and chopping it coarsely. 

Then add a tablespoon of oil over medium heat and cook the chicken sausages, just until they are browned. Take them out of the pan and set aside. 

Using the same pan, heat the rest of the oil and add the minced garlic, drained white beans, and cooked gnocchi. 

Cook until the gnocchi and beans are warmed. Be sure to keep a close watch on the garlic, you do not want it to burn. You can turn down the heat if needed. 

Add the sausage links back to the pan followed by the kale and chicken broth. Stir and cover until the kale wilts. 

Take the lid off and continue cooking just to allow the excess liquid to evaporate. 

Top with some parm and serve! 

chicken sausage and gnocchi in a white bowl next to a dish towel

No need to rush to the grocery store when there is snow in the forecast. Just utilize what you have in each kitchen zone! And with simply one pan, chicken sausage & gnocchi saute came together in minutes.

Print
clock clock iconcutlery cutlery iconflag flag iconfolder folder iconinstagram instagram iconpinterest pinterest iconfacebook facebook iconprint print iconsquares squares iconheart heart iconheart solid heart solid icon
One Pan Chicken Sausage & Gnocchi Sauté in a white bowl

One Pan Chicken Sausage & Gnocchi Sauté

  • Author: Chef Julie Harrington, RD
  • Prep Time: 10
  • Cook Time: 25
  • Total Time: 35 minutes
  • Yield: 4
  • Category: dinner
  • Method: one pan

Description

One Pan Chicken Sausage & Gnocchi Sauté making meal time a breeze


Ingredients

Scale

10 oz. gnocchi*, cooked according to package directions
2 tablespoons olive oil, divided
4 links chicken sausage*, sliced on a bias
4 cloves garlic, minced
1 (15.5 oz.) can white beans, drained and rinsed
6 cups kale, ribs removed and roughly chopped
1/4 cup low-sodium chicken broth


Instructions

Cook gnocchi according to package directions. 

Heat 1 tablespoon of olive oil over medium-high heat. Cook chicken sausages until browned. Remove from pan and set aside.

Heat remaining 1 tablespoon of olive oil in the same pan. Add garlic, white beans and gnocchi. Saute until beans and gnocchi are warmed through. (Keep an eye on the garlic. Do not let it burn. Turn down heat if needed.)

Add chicken sausage back into the pan. Then, add kale and chicken broth. Stir to thoroughly combine ingredients. Cover until kale wilts. Remove lid and allow excess moisture to evaporate. 

Serve. Top with parmesan cheese, if desired. 


Notes

  • *Can use cauliflower gnocchi in this recipe, if desired.
    *I used Alfresco chicken sausage.

Keywords: kale, chicken, chicken sausage, one pan, gnocchi, white beans, beans, dinner

Recipe Card powered byTasty Recipes

This post may contain affiliate links. To find out more information, please read my disclosure statement.

other recipes you may enjoy

Pumpkin Pie Bites

Do you ever have something on your to-do list that just keeps getting rolled over every time to a new to-do list? Welp. That’s posting this Pumpkin Pie Bites recipe. Sorry for holding out on you.

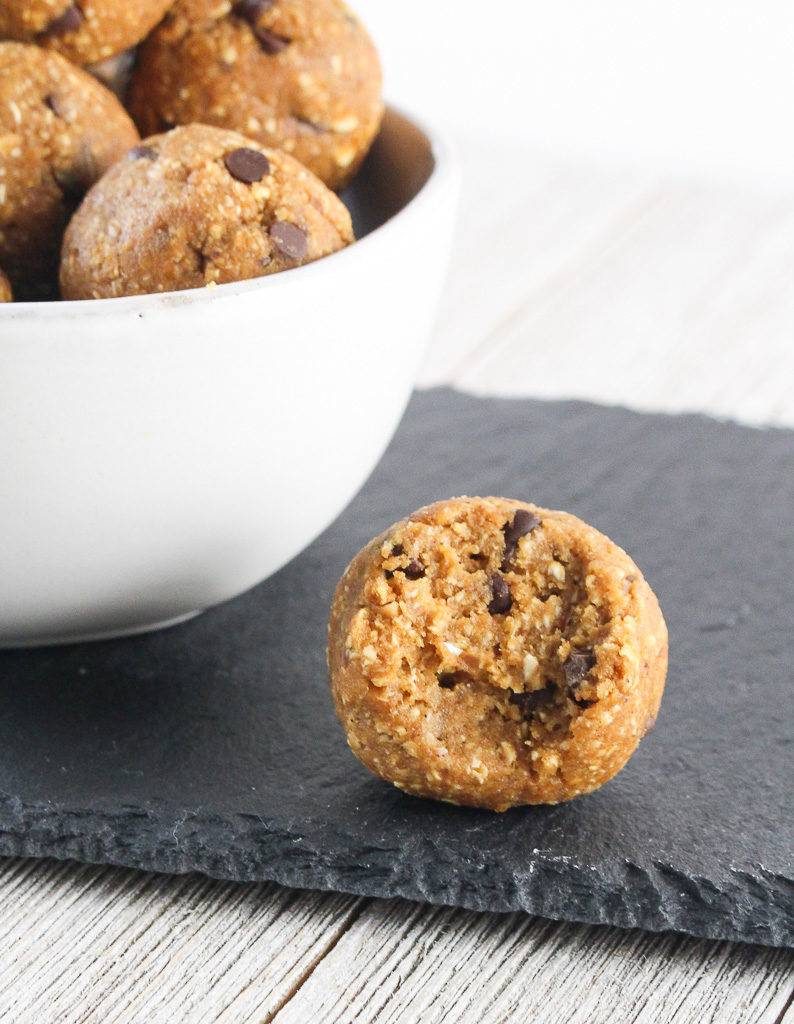
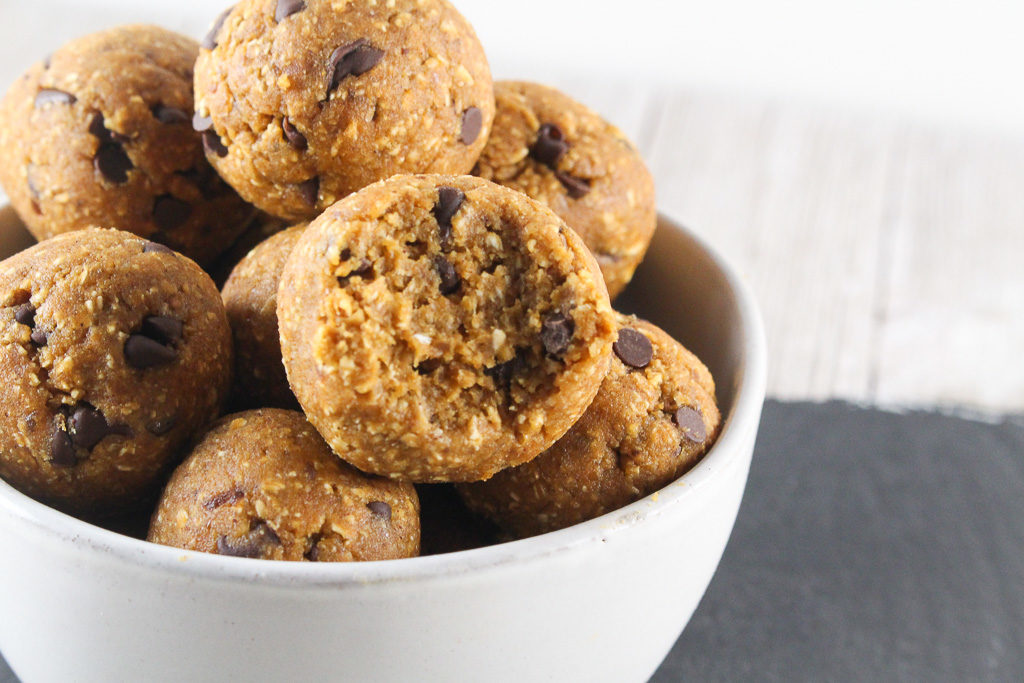
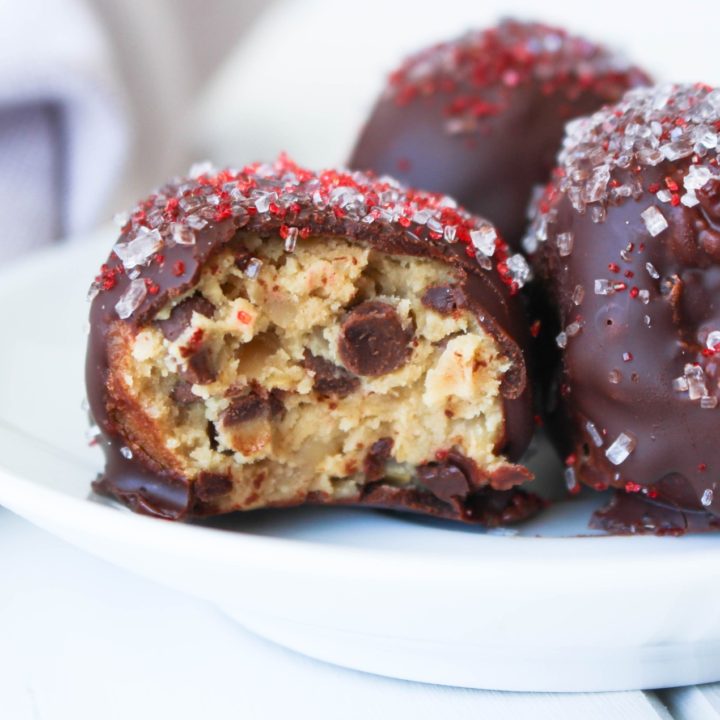
bite taken out of an energy bite

I know I am often the minority when it comes to the love of my paper planner. (Passion Planner to be exact) For the month of January, the pages are completely filled with meetings, cooking classes, presentations, parties, etc. I’m one of those people who likes being busy, but sometimes things fall through the cracks, like posting this recipe which has been sitting in draft for the past two weeks. #sorryivebeenbusy

bite taken out of a pumpkin pie bite

A version of this recipe was developed with one of my awesome JWU interns. I have a sweet spot for JWU interns and I am a JWU alum myself. I love spending days in the kitchen as a full “test kitchen” days. It’s been fun working with JWU interns because we speak the same “culinary language”. This recipe was tested a few times until the texture and taste came out just right.

energy bites in a white bowl on a stone slab

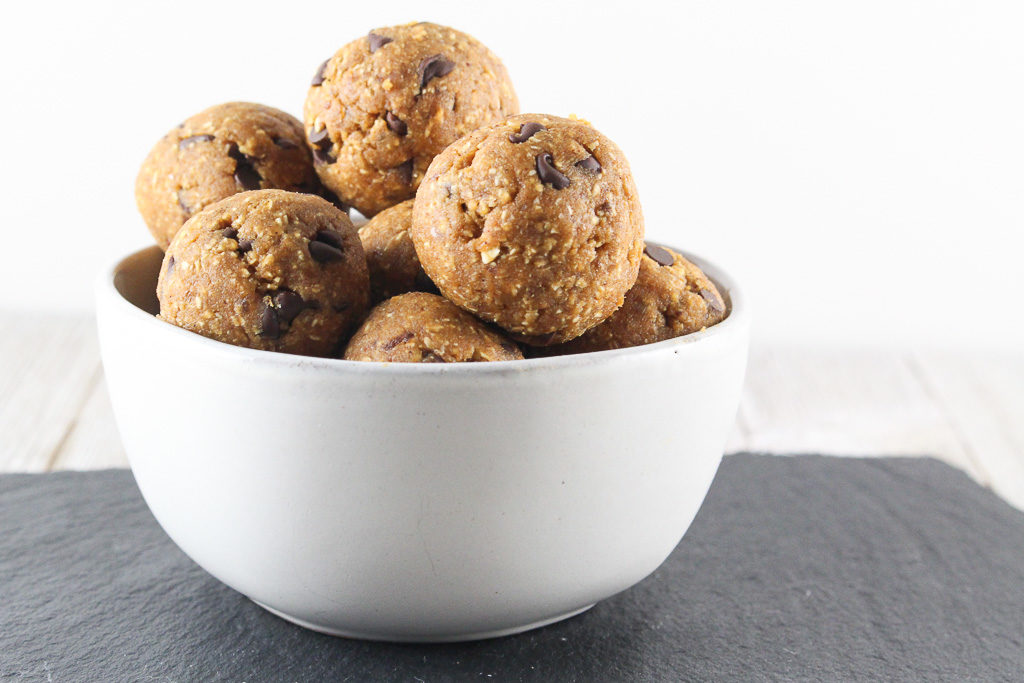
Batch cook these little energy bites for the week. They are the perfect on-the-go snack. Who says pumpkin season is over? Let’s keep the pumpkin around all year round!

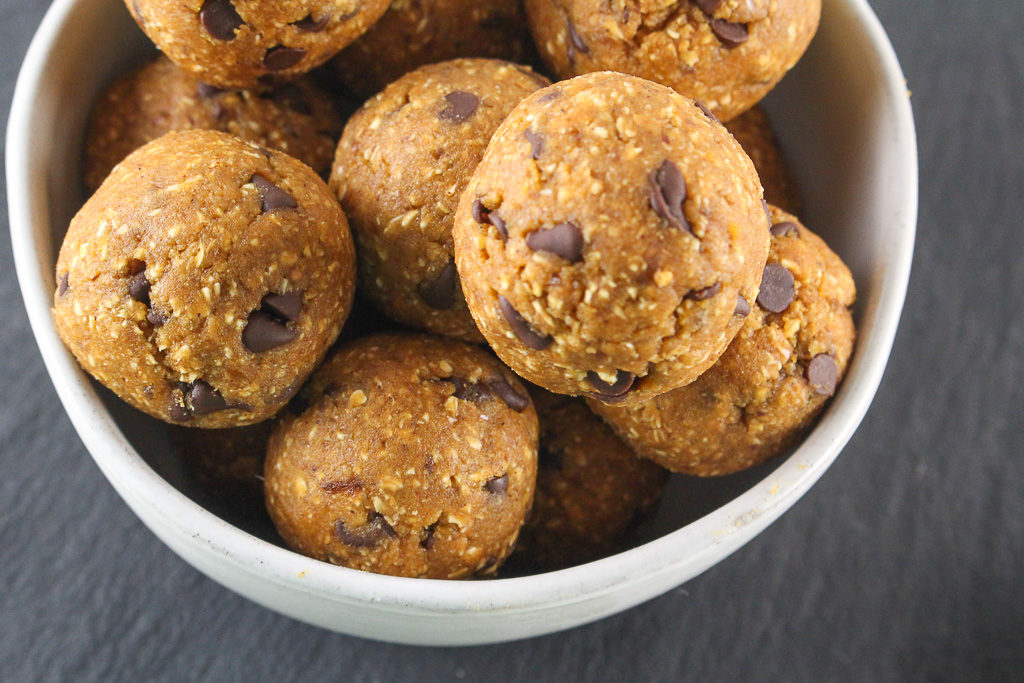
bowl of pumpkin pie bites
Print
clock clock iconcutlery cutlery iconflag flag iconfolder folder iconinstagram instagram iconpinterest pinterest iconfacebook facebook iconprint print iconsquares squares iconheart heart iconheart solid heart solid icon
pumpkin pie energy bites in a white bowl on a slate

Pumpkin Pie Bites

  • Author: Chef Julie Harrington, RD
  • Prep Time: 10
  • Total Time: 10 minutes
  • Yield: 8 servings (2 bites per serving) 1x
  • Category: snack, dessert
  • Method: no-cook

Description

Batch cook these bites for an energy-boosting snack during the day!


Ingredients

Scale
  • 1/4 cup Medjool dates, pitted
  • boiling water, as needed
  • 1/4 cup almond butter
  • 1/4 cup pumpkin puree
  • 2 teaspoons maple syrup
  • 1  1/2 teaspoons pumpkin pie spice (or a mix of 1/2 tsp ginger, 1/2 tsp nutmeg, 1 tsp cinnamon)
  • 1/4 teaspoon salt
  • 2 tablespoon coconut flour*
  • 1  1/2 cup oats
  • 1/2 cup mini chocolate chips

Instructions

  1. Soak the dates in boiling water for 10 minutes. Drain.
  2. Combine all ingredients, except for the chocolate chips, in a food processor. Process until fairly smooth, stopping occasionally to scrape down the sides.
  3. Transfer to a separate bowl and fold in chocolate chips. Chill in the fridge for at least 20 minutes.
  4. Once chilled, scoop 1-tablespoon sized portions and roll into balls. The mixture makes about 16 bites. Store in the refrigerator in an airtight container.

Notes

If the dough is too sticky, pulse in additional coconut flour, 1/2 teaspoon at a time. 

Keywords: pumpkin, pumpkin pie, energy bites, snack,

Recipe Card powered byTasty Recipes

other recipes you may enjoy

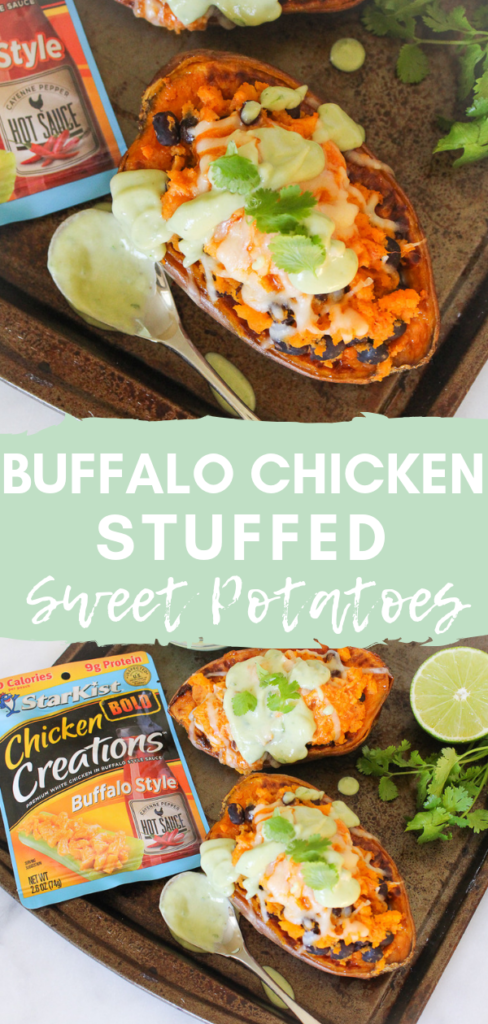
Buffalo Chicken Stuffed Sweet Potatoes

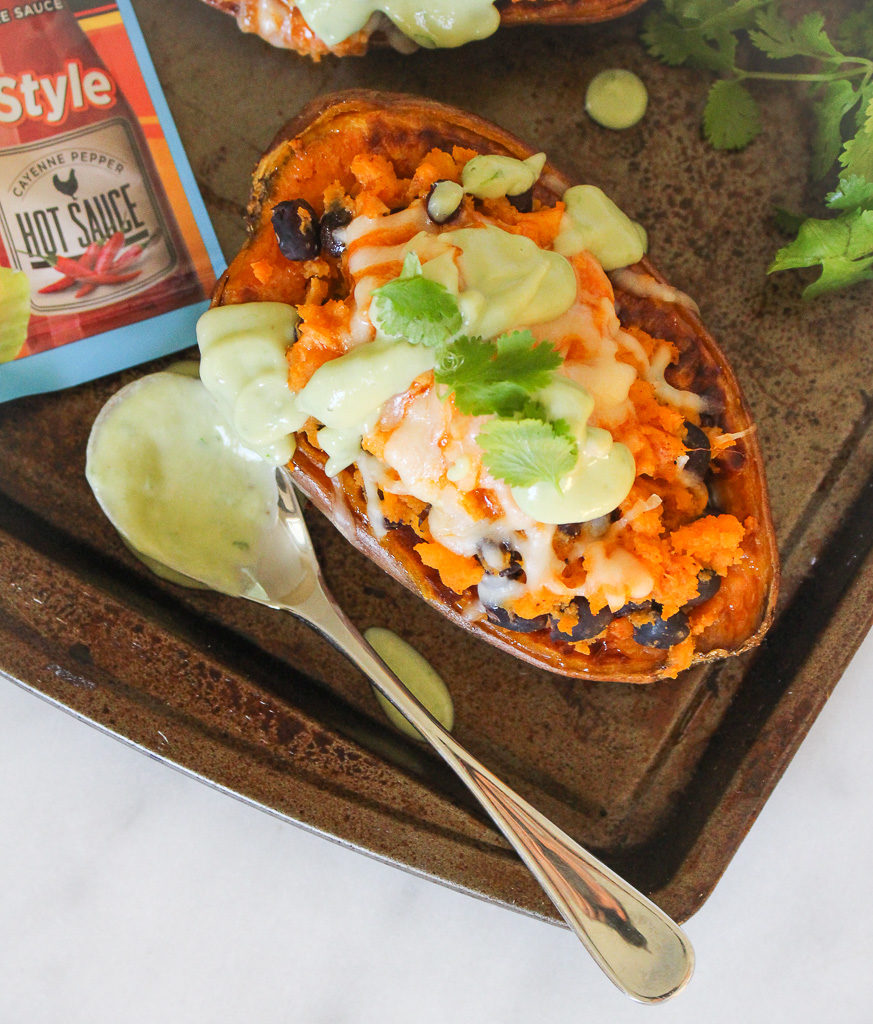
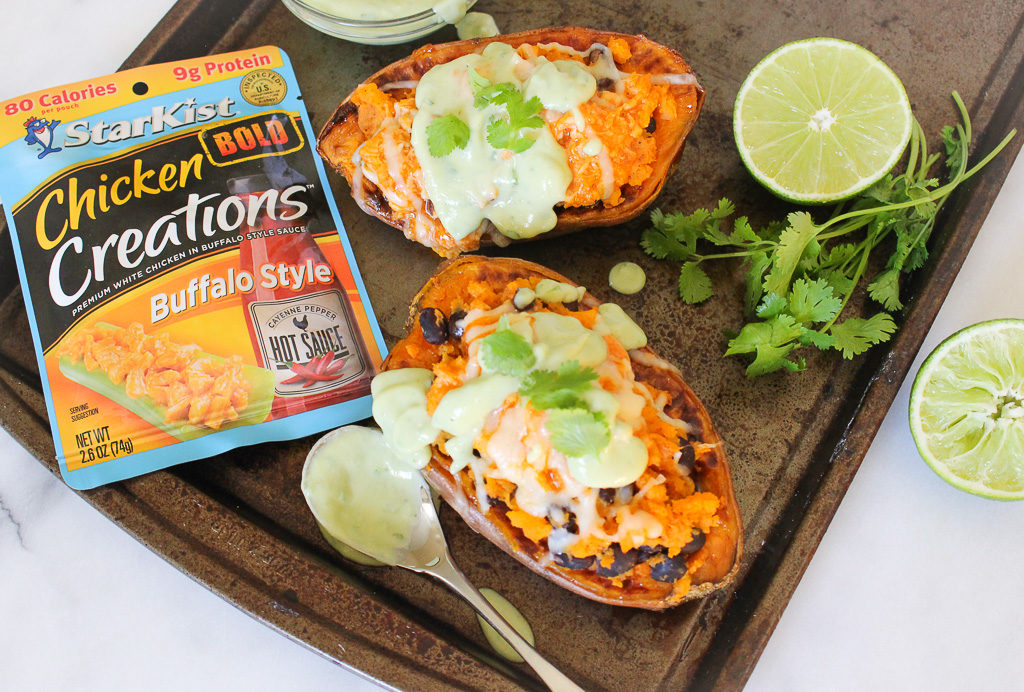
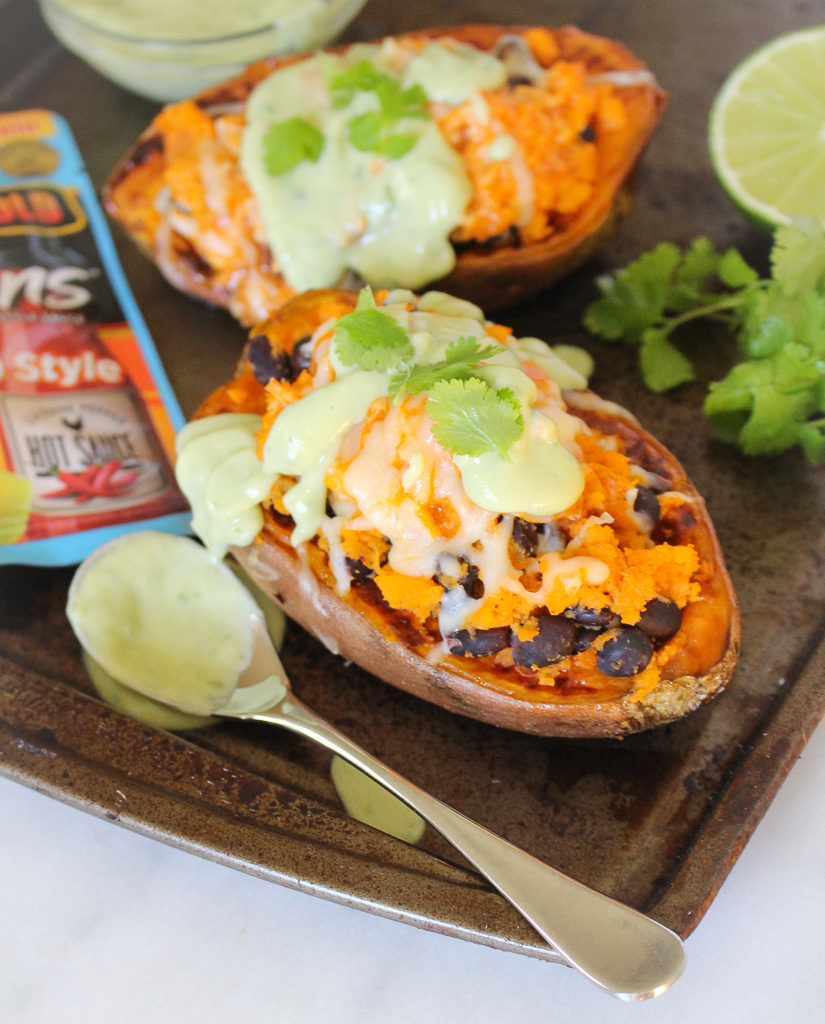
Whip up these quick and delicious Buffalo Chicken Stuffed Sweet Potatoes that have been sponsored by StarKist, but of course, all opinions expressed are my own. Thank you for like-minded brands for making this blog possible!

Buffalo Chicken Stuffed Sweet Potatoes via Chef Julie Harrington, RD @ChefJulie_RD

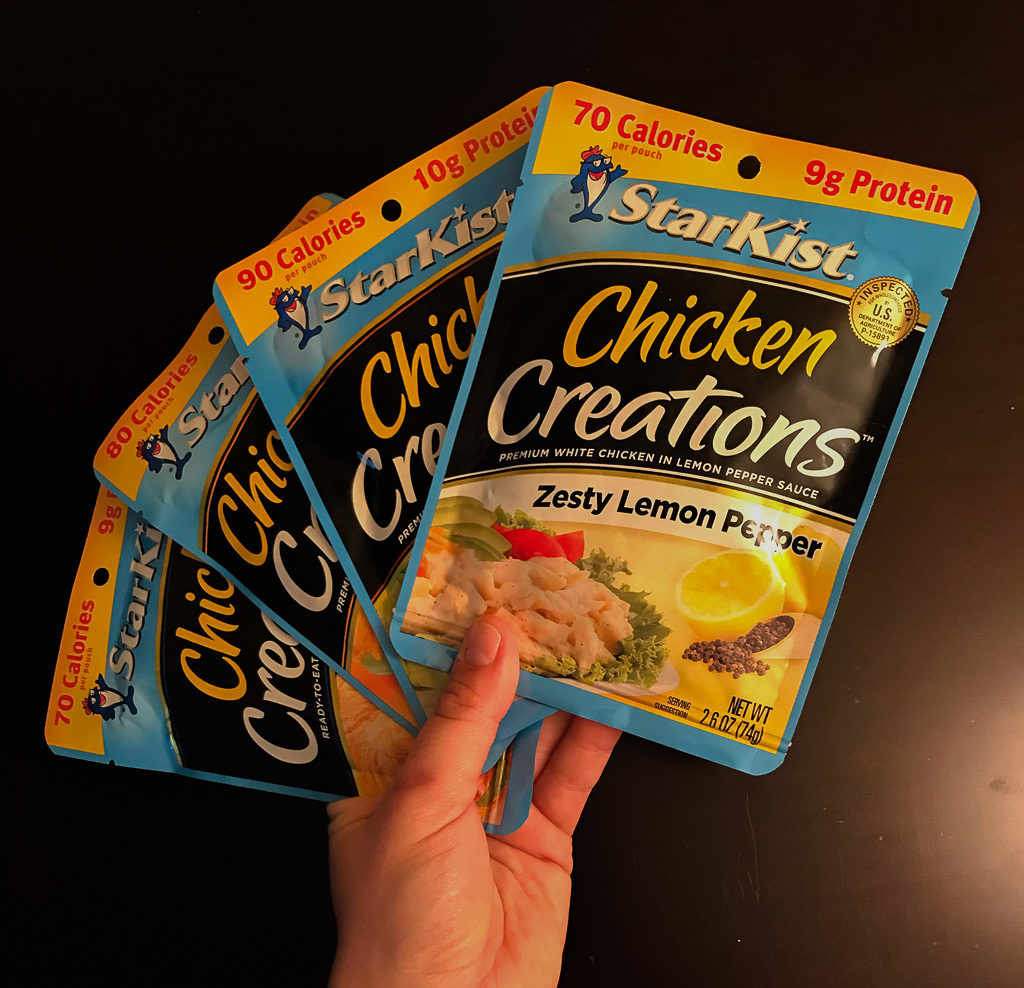
Traveling is always fun and like many of you, I make sure I am always packing plenty of food for my travel adventures. No one wants to be stuck in the car, train, or airplane hangry. One food group that sometimes is a struggle packing for travel is protein. I don’t want to be that person that whips out hard boiled eggs and be known as the stinky food traveler that gets stuck sitting next to me. StarKist’s new Chicken Creations are making protein on the go a cinch. These Chicken Creations come in a pouch that is ready to be on the move – just tear, eat, and go!

Buffalo Chicken Stuffed Sweet Potatoes via Chef Julie Harrington, RD @ChefJulie_RD

If we are friends on Instagram you saw that I recently was at FNCE (Food & Nutrition Conference & Expo), the world’s largest meeting of food and nutrition experts — more than 10,000 registered dietitian nutritionists, nutrition science researchers, policy makers, health-care providers, and industry leaders attend the annual meeting — and address key issues affecting the health of all Americans.

Buffalo Chicken Stuffed Sweet Potatoes via Chef Julie Harrington, RD @ChefJulie_RD

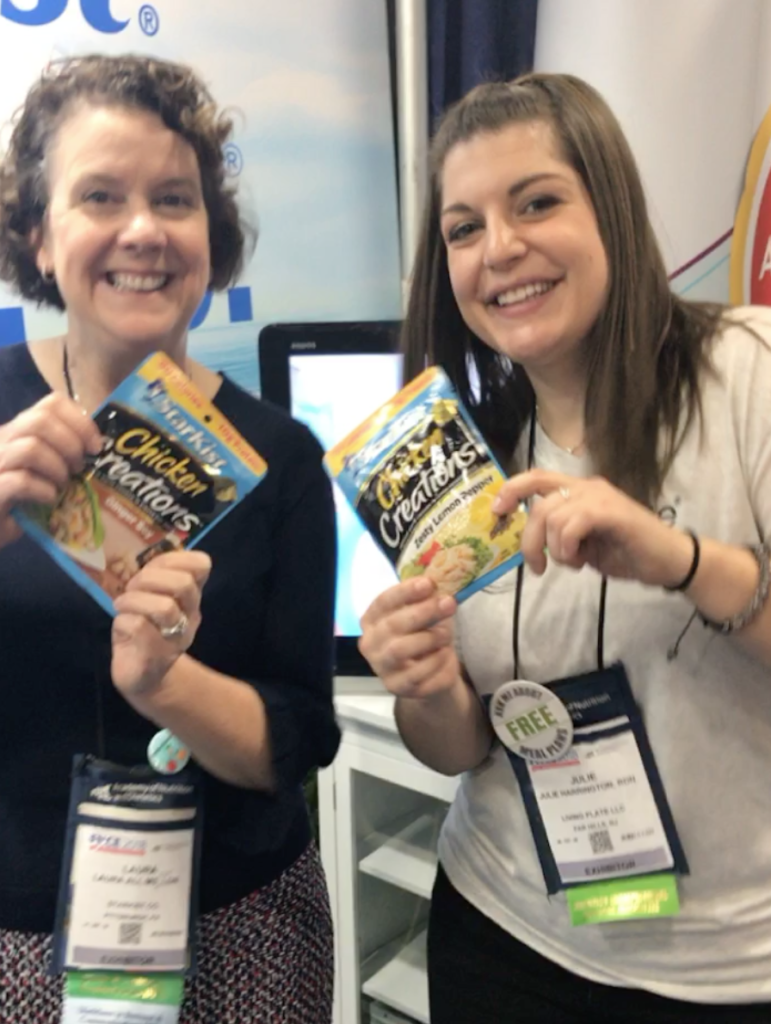
At FNCE, I spent most of my time at the expo hall connecting with RDN colleagues and businesses. I made a stop over to StarKist’s booth to chat with Laura Ali, MS, RDN, LDN of StarKist. I love that brands are hiring registered dietitians on staff to provide evidence-based nutrition. I wish more brands would do that! We chatted about StarKist’s new Chicken Creations pouches. If you didn’t know, they already have convenient pouches for tuna, salmon, and now chicken!

Buffalo Chicken Stuffed Sweet Potatoes via Chef Julie Harrington, RD @ChefJulie_RD

Image mid-boomerang!

Last week I posted on my Instagram stories, asking what you wanted to learn more about StarKist’s new tear and go Chicken Creations. You asked, they answered! I went back to Laura Ali, MS, RDN, LDN of StarKist with your questions and here is what she said.

Laura Ali, MS, RDN, LDN of StarKist answers your questions about StarKist Chicken Creations

Q: What defines “premium white chicken”? Does it come from chicken breast or other parts as well?
A: “Our chicken is 100% white meat with no dark meat added”

Q: How is the chicken cooked?
A: The chicken is lightly grilled and then cooked to a safe internal temperature before it is mixed with our seasonings and added to the pouch. It is then vacuum sealed and then retorted for sterility.

Q: What is the shelf life?
A: 3 years

Q: Is the pouch recyclable?
A: Not at this time. We are actively investigating options for how to recycle the pouch.

Q: What is the pouch made of?
A: The pouch is made of food grade materials. It has 4 separate layers of aluminum, polypropylene, nylon, and polyester.

Q: Can you heat the chicken in the pouch?
A: No, it is not a microwaveable pouch so you should remove the chicken and place it in a separate container to microwave.

Q: Will other flavors be coming out?
A: Our beaks are sealed! But you can be assured StarKist has a strong innovation agenda with many new products planned for the future!

Buffalo Chicken Stuffed Sweet Potatoes via Chef Julie Harrington, RD @ChefJulie_RD

I am all about quick and easy recipes. Coming back from FNCE, I didn’t have my usual meal prep done since I got home on a Tuesday evening. I was able to whip up this recipe from ingredients I had on hand. Having protein ready to go in my pantry was clutch. StarKist Chicken Creations are ready to eat as is. I’ve been also grabbing a pouch as I’m running out the door to top a simple salad with for quick and easy lunch. The possibilities are endless!

Print

clock clock iconcutlery cutlery iconflag flag iconfolder folder iconinstagram instagram iconpinterest pinterest iconfacebook facebook iconprint print iconsquares squares iconheart heart iconheart solid heart solid icon
Buffalo Chicken Stuffed Sweet Potatoes on a sheet pan

Buffalo Chicken Stuffed Sweet Potatoes

  • Author: Chef Julie Harrington, RD
  • Prep Time: 5
  • Cook Time: 40
  • Total Time: 45 minutes
  • Yield: 2
  • Category: lunch, dinner

Ingredients

Scale

1 large sweet potato
1 teaspoon chili powder
2 teaspoons garlic powder
1/2 cup black beans
2 (2.6 oz.) packets of Starkist Chicken Creations BOLD Buffalo Style
1/4 cup mozzarella cheese

For the Avocado Lime Sauce:
1/2 avocado
1/4 cup plain yogurt
1/2 lime, juiced
2 tablespoons cilantro
23 tablespoons water (more if needed)
salt and pepper, to taste.


Instructions

Preheat the oven to 425 degrees F. Line a baking sheet with parchment paper, cut the sweet potatoes in half lengthwise, and place both halves flat side down on the baking sheet. Bake in the oven for 30 minutes.

Once the sweet potato halves are finished cooking, remove from the oven. Let cool enough to be able to handle. Scoop out the inside of the sweet potato halves and place in a bowl. Add the chili powder and garlic powder; mix together. Fold in the black beans.

Scoop the mixture back into the sweet potato skins. Top each sweet potato with one packet of Starkist Chicken Creations BOLD Buffalo Style and sprinkle with mozzarella cheese. Place back in the oven for about 8-10 minutes or until heated through.

While sweet potatoes are cooking, combine avocado, yogurt, lime, cilantro, and water in a blender or a small food processor. Blend until smooth. Season with salt and pepper, to taste.

Remove sweet potatoes from the oven and drizzle with avocado sauce.


Notes

Don’t love buffalo sauce? Try this same recipe with one of Starkist’s Chicken Creations other flavors: Chicken Salad, Ginger Soy, or Zesty Lemon Pepper.

Keywords: buffalo, sweet potato, southwest, chicken, avocado

Recipe Card powered byTasty Recipes

Chef Julie Harrington, RD - Culinary Nutrition Consultant of chefjulierd.com

Buffalo Chicken Stuffed Sweet Potatoes via Chef Julie Harrington, RD @ChefJulie_RD

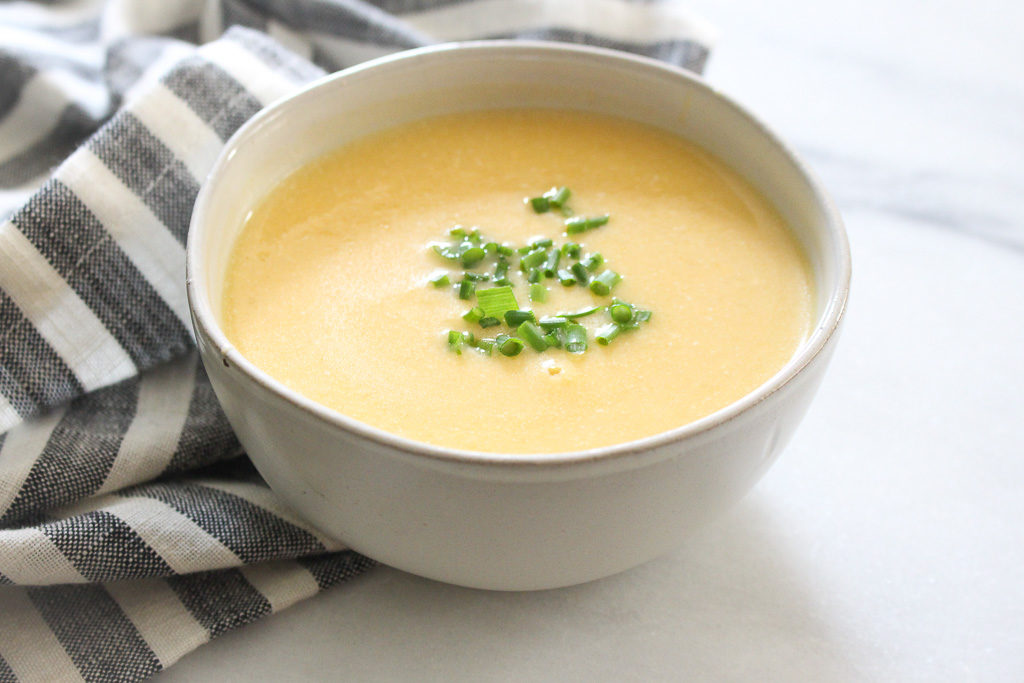
Butternut Squash Apple Cheddar Soup

Butternut Squash Apple Cheddar Soup via Chef Julie Harrington, RD @ChefJulie_RD

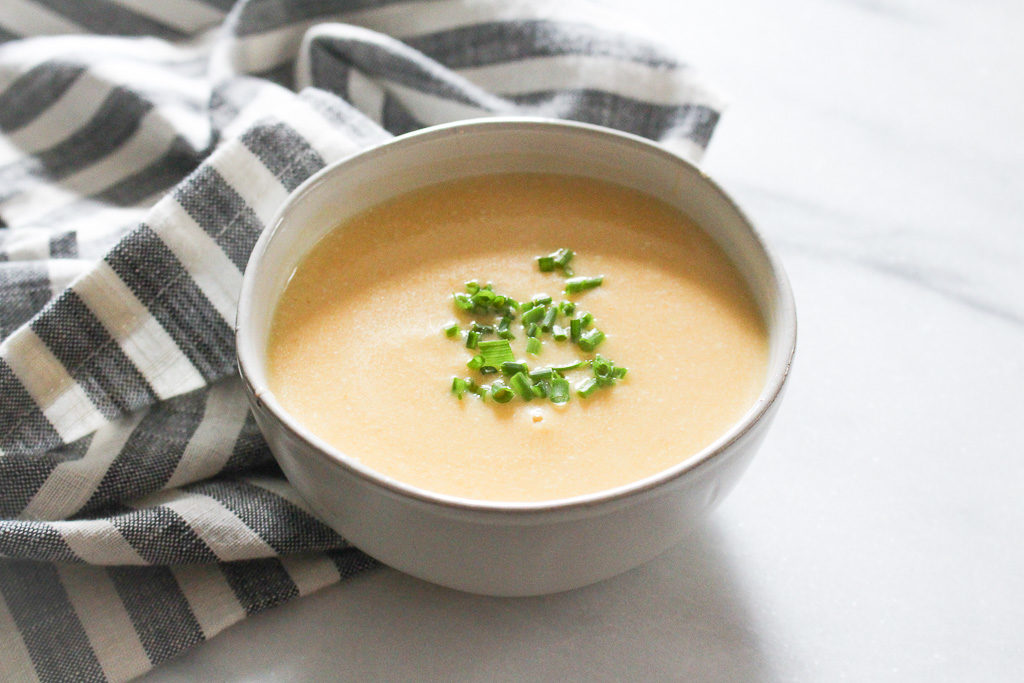
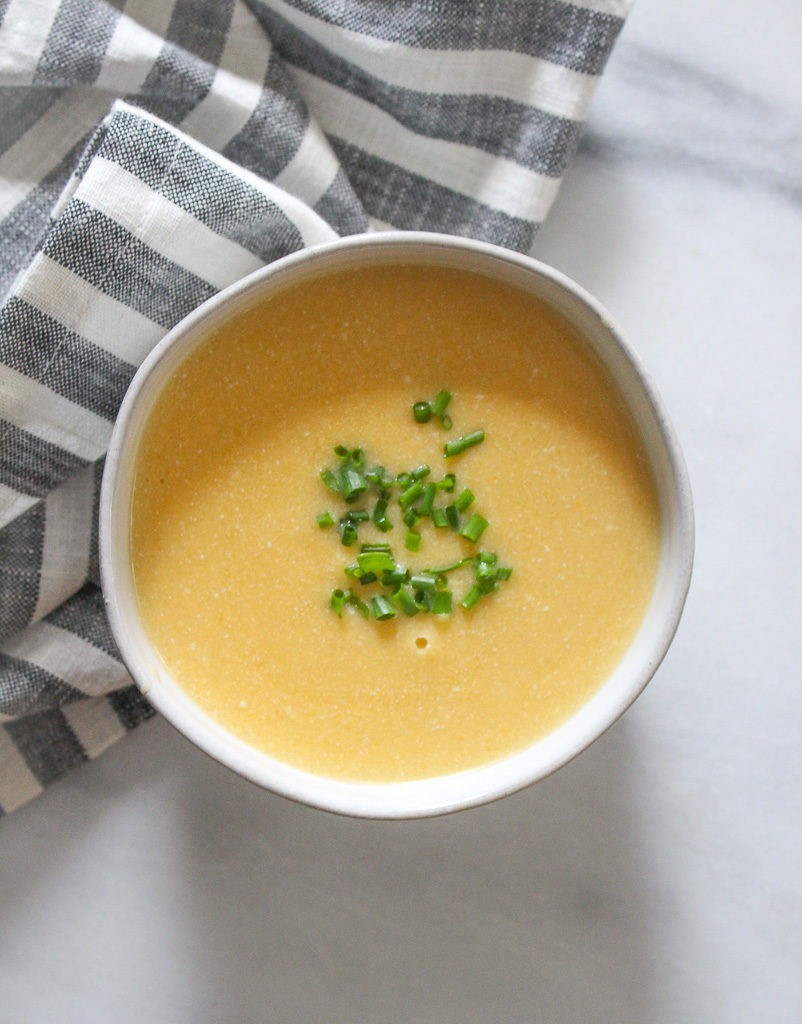
There is nothing better then cozying up to a warm bowl of soup on a chilly evening. Soups can pack in a ton of flavor utilizing various food groups creating a balanced meal.

A couple of weeks ago I had a cooking class called “Hearty Soups & Salads” and in the class, we discussed when making soup, the ingredients and steps are well thought out to build and develop depths of flavors.

Butternut Squash Apple Cheddar Soup via Chef Julie Harrington, RD @ChefJulie_RD

You might think, pairing butternut squash and Honeycrisp apples would yield a soup too sweet, but with the addition of sharp cheddar and plain yogurt, adds a balance of salty, with a hint of tart and tangy.

When blended, this creates a silky smooth soup. Batch cook and freeze some for later.

Butternut Squash Apple Cheddar Soup via Chef Julie Harrington, RD @ChefJulie_RD

Properly cool, freeze, and reheat soup:

  1. Refrigerators and freezers cannot cool soups quickly enough for food safety protocols. Speed up the cooling process by placing the pot of soup in a bath of ice water in the sink. Stir soup to help release the heat.
  2. Label and date large ziplock plastic bags. To help pour soup in the bag, place bag in the bowl and cuff the bag over the edges. Ladle soup into each bag, let out excess air and seal.
  3. Lay bags flat in a single layer in the freezer. When completely frozen, stack bags to save space in the freezer.
  4. Thaw overnight in the refrigerator. Reheat over medium-low heat, stirring occasionally.
Print
clock clock iconcutlery cutlery iconflag flag iconfolder folder iconinstagram instagram iconpinterest pinterest iconfacebook facebook iconprint print iconsquares squares iconheart heart iconheart solid heart solid icon
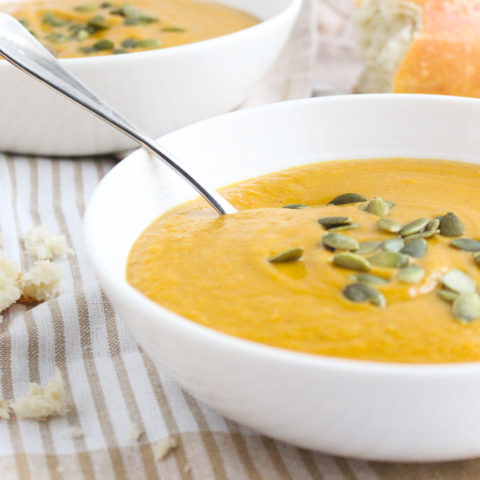
Butternut Squash Apple Cheddar Soup in a white bowl

Butternut Squash Apple Cheddar Soup

  • Author: Chef Julie Harrington, RD

Ingredients

Scale

1 tablespoon butter
½ sweet onion, diced
2 pounds butternut squash, peeled and cut into chunks
2 Honeycrisp apples, peeled and cut into chunks
4 cups low-sodium chicken broth
1 cup plain Greek yogurt
4 ounces sharp cheddar, grated (about 1/2 cup) [I used Cabot’s sharp cheddar]
¼ teaspoon ground red pepper (cayenne)
Salt and ground pepper to taste
Chopped fresh chives, for garnish


Instructions

Saute onions with butter over low medium heat in a large stockpot until translucent.
Add squash, apples, and stock or broth in a large pan; bring to boil over high heat. Reduce heat to medium, cover pan and simmer squash for 20 minutes or until very tender.
Uncover and let cool. Puree in blender or food processor, in batches, if necessary.
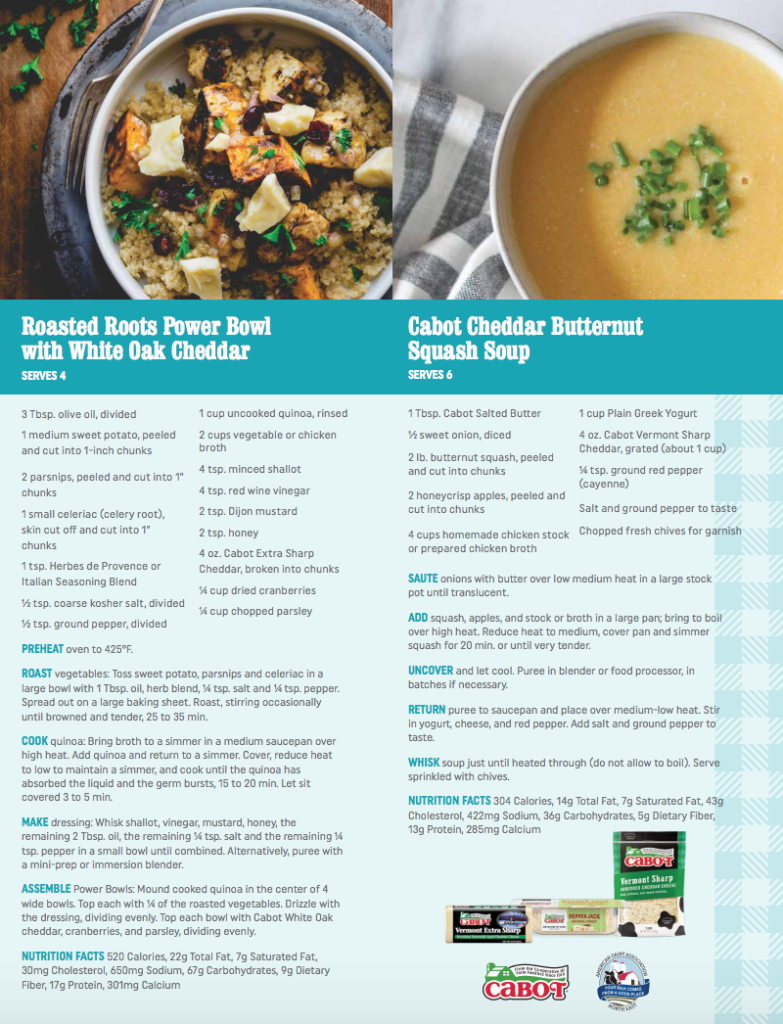
Return puree to saucepan and place over medium-low heat. Stir in yogurt, cheese, and ground red pepper. Add salt and ground pepper to taste.
Whisk soup just until heated through (do not allow to boil). Serve sprinkled with chives.


Recipe Card powered byTasty Recipes

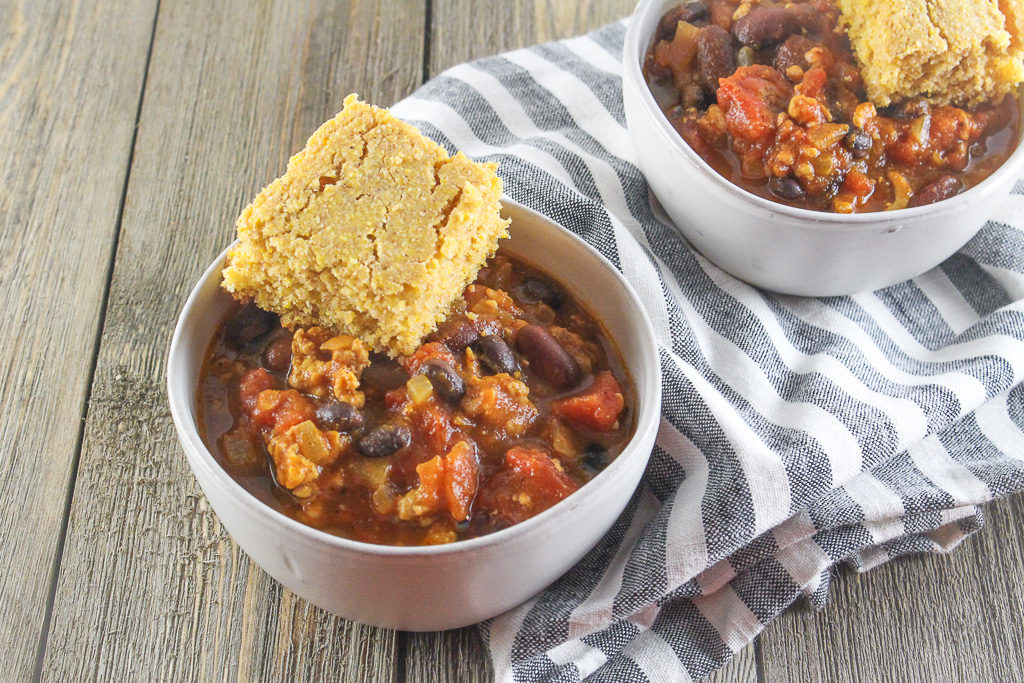
Turkey Pumpkin Chili

Pumpkin isn’t only for sweet recipes. Try switching things up and use pumpkin in a savory cooking application. Start with this Turkey Pumpkin Chili! 

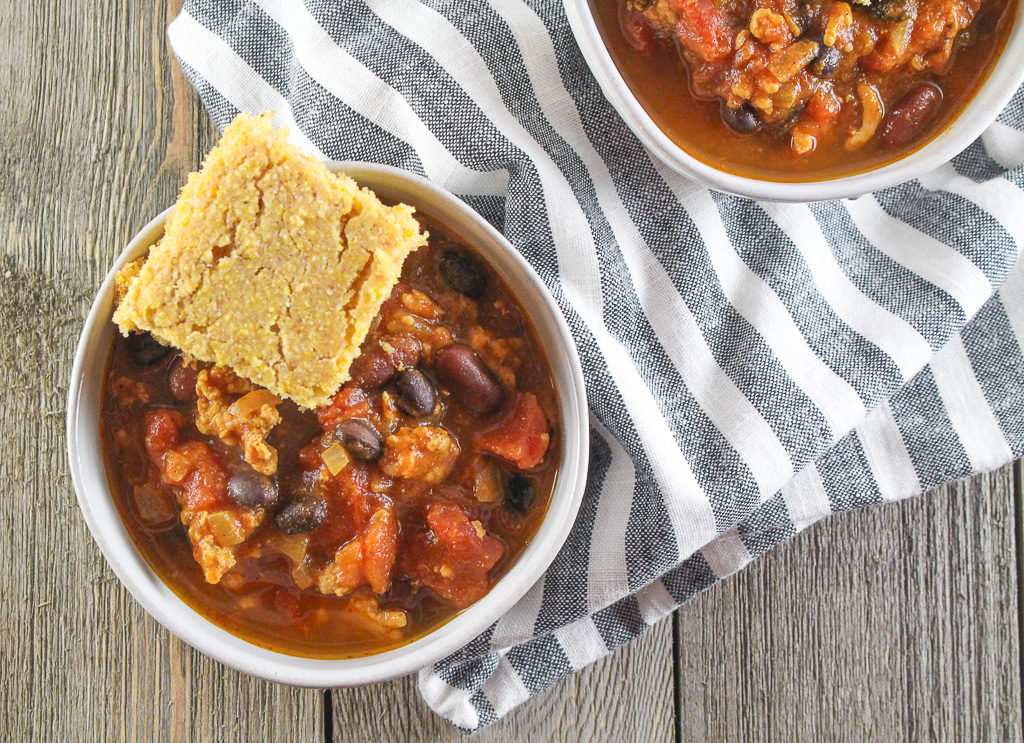
Turkey Pumpkin Chili with a piece of cornbread in a white bowl

How is October already coming to an end? Fall is a busy time for me with conferences and a lot of work travel. Also during this time of year, I’m sure your Pinterest boards are being saturated with pumpkin everything! I am would say I am a self-proclaimed pumpkin lover, but my RD friend Maggie I would nominate as the president of the pumpkin lover’s club. She just came out with a pumpkin cookbook featuring 50 creative pumpkin flavored, shaped, & spiced recipes.

Turkey Pumpkin Chili with piece of cornbread in a white bowl

Did You Know?

A few years back I was at a conference and an RD from Nestle was there speaking about Libby’s canned pumpkin. That brand is a staple across supermarkets nationally. I’m sure many of you, like myself, stock up on Libby’s canned pumpkin this time of year. I was fascinated to learn they exclusively use Dickinson pumpkins, which are a special strain of pumpkins.

Why Dickinson Pumpkins?

Libby’s acquired the rights to the “Libby’s Select Dickinson” pumpkin in 1929 from the Dickinson family who brought it in the early 1800s from Kentucky. If you ever Google “Dickinson pumpkin” images that appear look like a pale, slightly misshapen butternut squash, not the jack-o-lantern pumpkin you may be thinking of. When Dickinson pumpkins are grown and cultivated just right, they yield a sweet, bright orange flesh that’s amazing in dishes from pies to pasta, and a healthier ingredient to swap into some of your favorite recipes.

Confession: One year I was a little too pumpkin obsessed. I ate it in my oats for breakfast, stirred it in my yogurt, made smoothies, breads, soups every. single. day. I had a tad too much beta-carotene and my palms started turning orange. Lesson learned.

While pumpkin is used in sweet applications the majority of the time, pumpkin works well with savory applications. This chili is perfect for someone who isn’t too crazy about super spicy chili. It’s a mellow flavor with a hint of sweet. I feel like chili isn’t complete without a slice of cornbread. I always crumble up the cornbread right into the chili.

Print
clock clock iconcutlery cutlery iconflag flag iconfolder folder iconinstagram instagram iconpinterest pinterest iconfacebook facebook iconprint print iconsquares squares iconheart heart iconheart solid heart solid icon
white bowl with turkey pumpkin chili with a piece of cornbread

Turkey Pumpkin Chili

  • Author: Chef Julie Harrington, RD
  • Prep Time: 10
  • Cook Time: 20
  • Total Time: 30 minutes
  • Yield: 6
  • Category: chili

Ingredients

Scale
  • 2 tablespoons olive oil
  • 1 medium onion, diced
  • 3 cloves garlic, minced
  • 1 lb. ground turkey breast
  • 1 1/2 tablespoons chili powder
  • 1 teaspoon cumin
  • 1/4 teaspoon cinnamon
  • 1/4 teaspoon cayenne pepper
  • 1 (28 oz) can no salt added diced tomatoes
  • 1 (15 oz) can pumpkin puree (not pie filling)
  • 2 cups low sodium chicken stock
  • 1 (15 oz) can black beans, drained & rinsed
  • 1 (15 oz) can red kidney beans, drained & rinsed
  • pinch of salt and pepper

Instructions

  1. Heat oil in a large pot over medium heat. Add the onion and garlic. Cook until tender, about 5 minutes. Add the turkey, and cook until browned, stirring occasionally.
  2. Stir in the chili powder, cumin, oregano, cinnamon, and cayenne pepper, and cook for 1-2 minutes.
  3. Add in the diced tomatoes, pumpkin, chicken stock and beans, and stir to combine.
  4. Bring the chili to a boil, then reduce the heat and simmer, uncovered, for 20 minutes.
  5. Serve with cornbread.

Notes

This chili freezes well. Make a large batch and freeze half for another time.

Keywords: chili, pumpkin, turkey,

Recipe Card powered byTasty Recipes

Other recipes you may enjoy

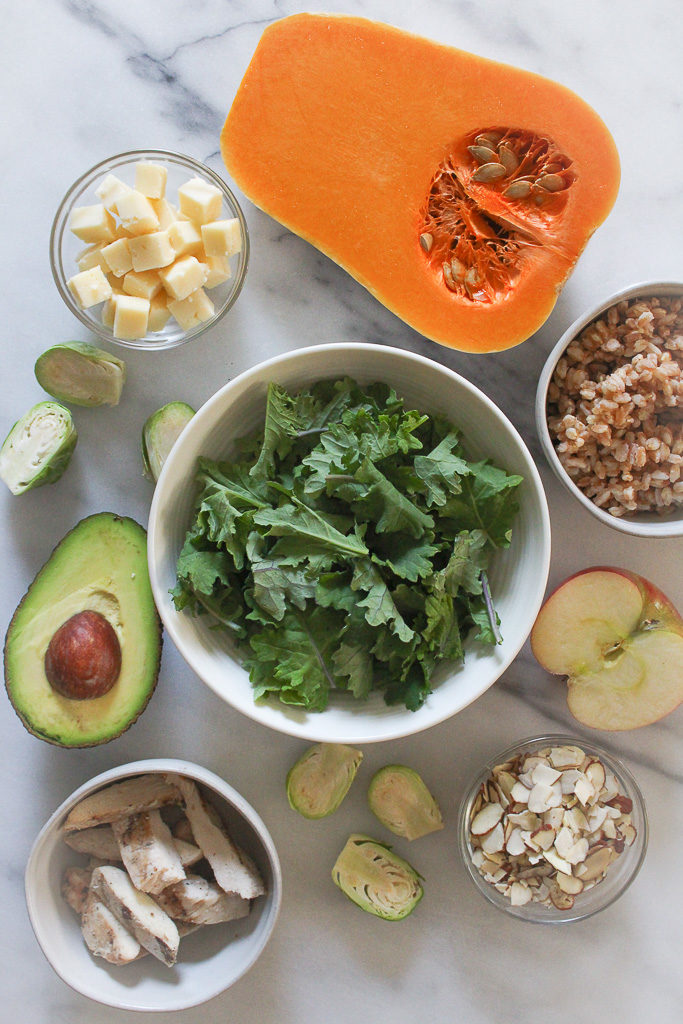
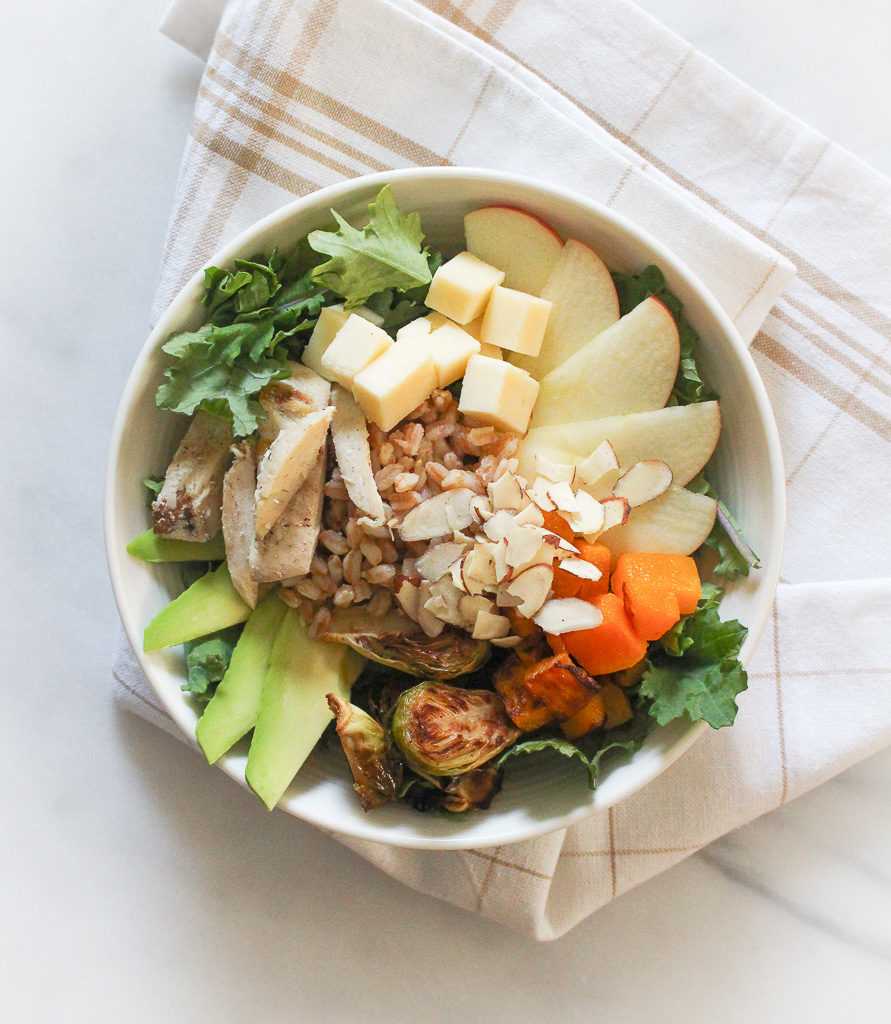
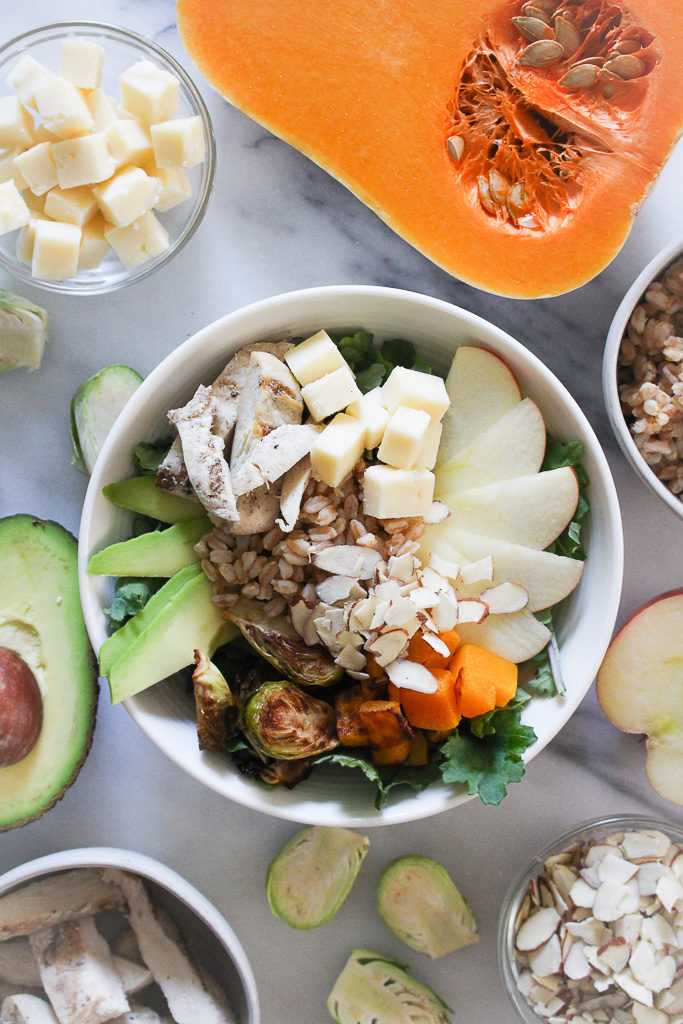
Fall Harvest Nourish Bowl

Fall Harvest Nourish Bowl via Chef Julie Harrington, RD @ChefJulie_RD #powerbowl #nourishbowl #salad #fall

Have you ever had one of those aha moments at work where you just feel like, this is what I was meant to be doing? When I was younger and was asked, what do you want to be when you grow up, my answer wasn’t a dietitian/chef. Yes, I always loved cooking, but honestly, my response was less than typical than my other classmates who wanted to be teachers, police officers, and doctors. Mine was a whale trainer. Yup. I loved animals (and still do!) and became fascinated with orca whales when I was in 2nd grade.

Fall Harvest Nourish Bowl via Chef Julie Harrington, RD @ChefJulie_RD #powerbowl #nourishbowl #salad #fall

So how did I get here? Well honestly, as a senior in high school I was like many others – I had no idea what I wanted to do. I was interested in plenty of careers, but nothing stood out to me to directly pursue. Since I was really unsure, I was looking at colleges that had a variety of offerings, but honestly, I really wanted to play a sport and Cabrini college was talking to me about playing field hockey. I went into my first year at Cabrini with a major in Health Professions.

As I was completing my gen-ed courses I started taking courses for my major and looking into the future with that major, I was thinking of all the things I wanted to do, but wouldn’t be able to pursue with just that degree. Along with a brutal first year at college (that is a whole other crazy story), I decided to leave Cabrini.

Fall Harvest Nourish Bowl via Chef Julie Harrington, RD @ChefJulie_RD #powerbowl #nourishbowl #salad #fall

That summer was difficult. I felt lost. I definitely had the support of my friends and family during this time trying to figure out what I wanted to do next. It was to my benefit that my mom is a high school guidance counselor and has the inside scoop about a plethora of colleges as she helps high school seniors apply to college. When my mom suggested Johnson & Wales University, I was skeptical. Culinary school? But then I learned about their culinary nutrition program and I fell in love. I was always drawn to the health professional field and being able to merge my love of cooking with nutrition seemed like the perfect fit. I literally applied (and got in!) about a week before the semester started. Talk about fast decisions!

I look back on that summer and remind myself that whenever in a tough situation, things will work out and never settle for anything that doesn’t make you happy. I truly appreciate the opportunities I have within the culinary nutrition field. It feels like this is what I was meant to be doing. I hope my passion is transferred over to others when I present on culinary nutrition topics and demonstrations.

@ChefJulie_RD Instagram

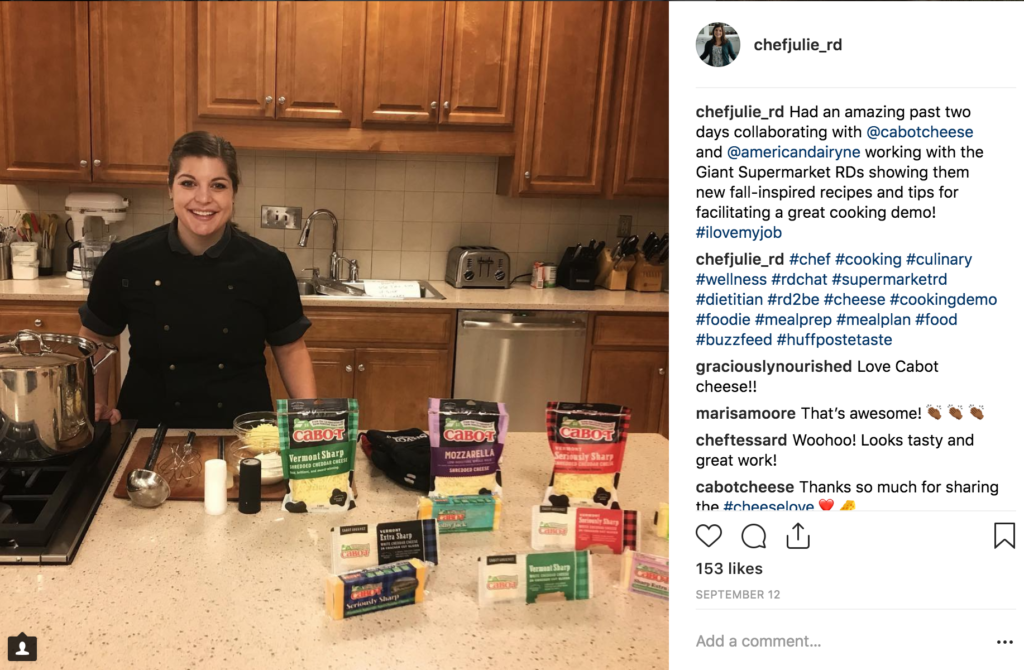
I love my job!

Last month I spent two days with Cabot and the NY American Dairy Council providing cooking demonstrations and cooking tips to Giant supermarket RD’s how to utilize seasonal fall ingredients, and of course Cabot cheese! They are gearing up for diabetes awareness month in November, so I helped develop educational materials and recipes to fit within their themes.
Traveling and presenting to other RD’s was definitely an aha moment feeling. Not many RD’s have a strong culinary background or had the opportunity to go to culinary school as I did.

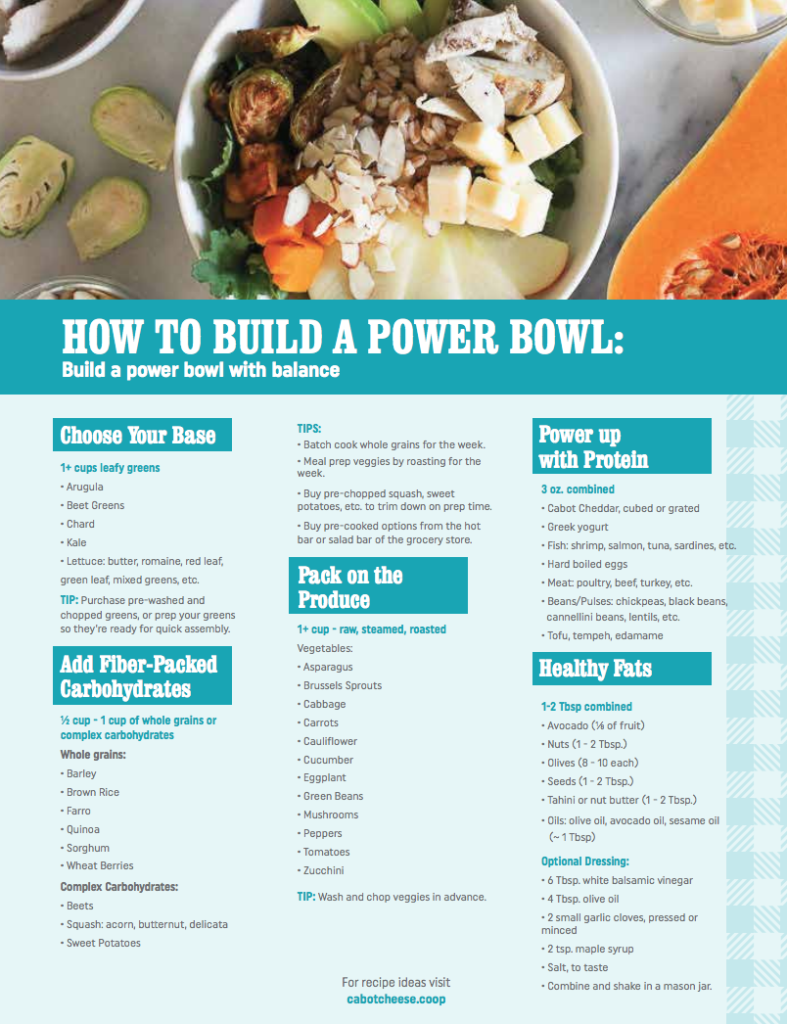
HOW TO BUILD A POWER BOWL WITH BALANCE

I had a lot of fun developing this recipe. Whenever you build a power bowl or nourish bowl (whatever you choose to call it), think about balance. Balancing food groups to be more full and satisfying. Balancing textures and flavors so every bite is more exciting.
Build your own with this guide below.

How to build a power bowl: Build a power bowl with balance
How to Build a Power Bowl: Build a power bowl with balance

Click on the image to download!

What I love about these bowls is that you can customize them so many ways and never get bored. Plus, if you spend a little time meal prepping ingredients in advance a fancy bowl with a plethora of delicious ingredients can come together in minutes.

Print
clock clock iconcutlery cutlery iconflag flag iconfolder folder iconinstagram instagram iconpinterest pinterest iconfacebook facebook iconprint print iconsquares squares iconheart heart iconheart solid heart solid icon
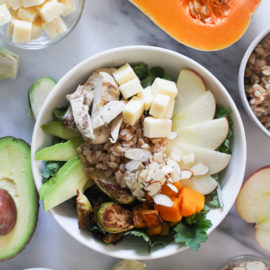
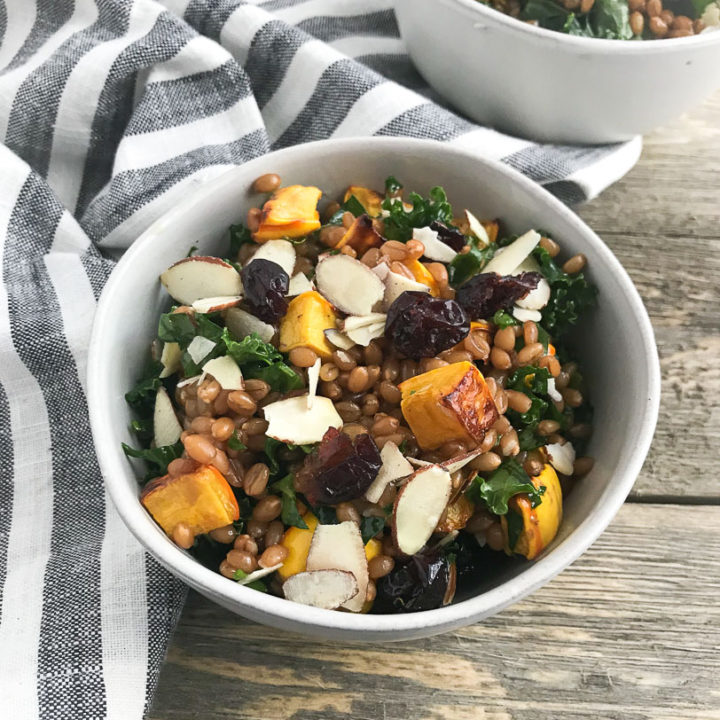
Fall Harvest Nourish Bowl in a white bowl with ingredients

Fall Harvest Nourish Bowl

  • Author: Chef Julie Harrington, RD
  • Prep Time: 15
  • Total Time: 15 minutes
  • Yield: 1-2 1x
  • Cuisine: Seasonal

Ingredients

Scale

12 cups baby kale
1/2 cup farro, cooked
1/2 cup butternut squash, cubed and roasted
1/2 cup Brussels sprouts, roasted
1 small apple, sliced
3 oz. grilled chicken, chopped
1 oz. cheddar cheese, cubed (I love Cabot’s
1/4 avocado, sliced
1 tablespoon sliced almonds

Dressing:
6 tablespoons white balsamic vinegar
4 tablespoons olive oil
2 small garlic clove, pressed or minced
2 teaspoons maple syrup
salt, to taste


Instructions

For the dressing: In a mason jar, combine white balsamic vinegar, olive oil, garlic, and maple syrup. Shake to combine. Season with salt to taste.

Add all ingredients into a bowl and toss together. Toss with salad dressing and serve.

Notes

The dressing will make extra. Save the remaining dressing for later use.

This recipe is great to prep all ingredients in advance and just toss together.

Recipe Card powered byTasty Recipes

Other recipes you may enjoy

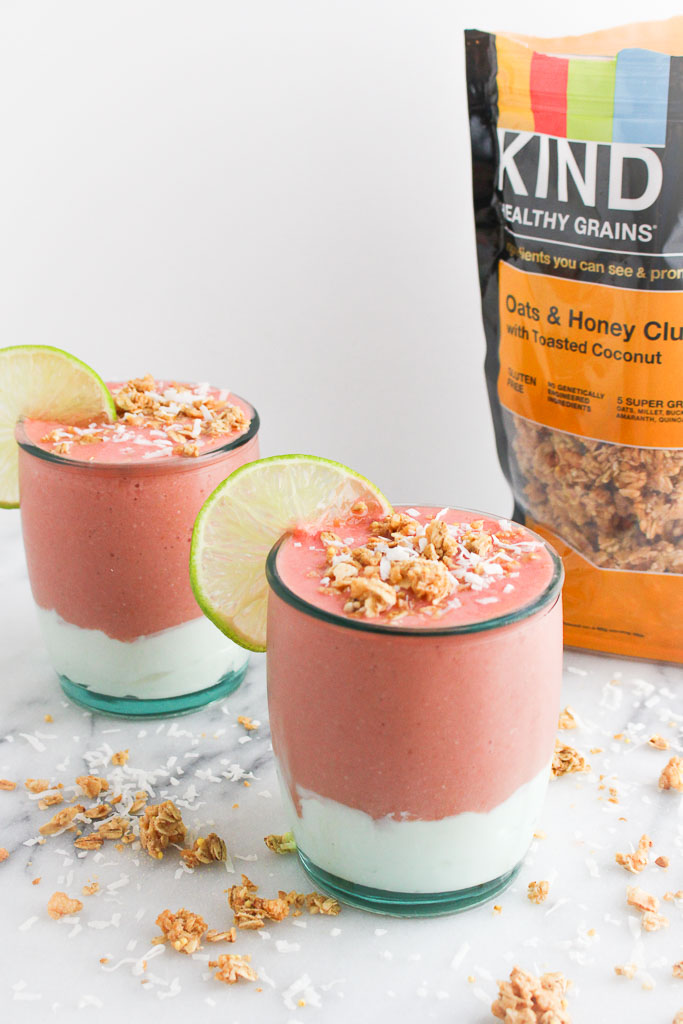
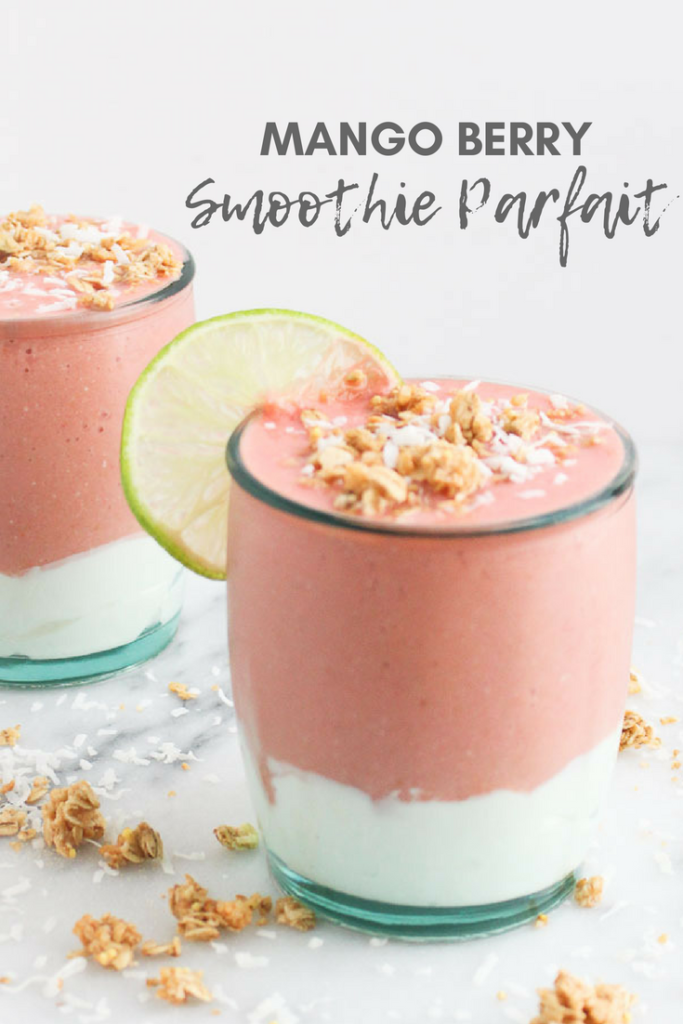
Mango Berry Smoothie Parfait

Smoothie or parfait – which do you prefer? Can’t decide? Neither can I! Get these best of both with this Mango Berry Smoothie Parfait.

Mango Berry Smoothie Parfait via Chef Julie Harrington, RD @chefjulie_RD #smoothie #smoothieparfait #tropical #parfait

Disclosure: This post was sponsored by KIND Snacks for a recipe contest with Ahold Foods. This recipe was featured in Stop & Shop and Giants circular week of 9/20/18. Thanks for supporting the brands that make this blog possible!

Do you prefer smoothie bowls or parfaits?

Smoothie Bowls vs. Parfaits

Smoothie Bowls:

Making a smoothie bowl instead of an on-the-go drink can help practice mindful eating and encourage slower eating. It’s easy to suck down a smoothie in a few big gulps. By enjoying a smoothie bowl with a spoon it can help you slow down, be more aware of what you’re eating and pay attention to whether or not you are actually hungry. Plus you can add more toppings!

Parfaits:

A yogurt parfait is typically served in a tall glass with layers of several different ingredients. Yogurt is the star of the recipe, but many add-ins, such as fruit or granola, also make an appearance. I always prefer to make my own yogurt parfaits with ingredients and products I love. Be mindful when ordering a yogurt parfait out, as they are often loaded with added sugars. Also, sometimes if the glass is too narrow I am usually eating layer by layer until there is enough room to mix it all to get every flavor in one bite.

What about getting the best of both worlds create a smoothie parfait!

Mango Berry Smoothie Parfait via Chef Julie Harrington, RD @chefjulie_RD #smoothie #smoothieparfait #tropical #parfait

Most smoothies have bananas as the base. But what if you don’t like bananas? (Hi, Steph – this recipe is for you!) I love bananas, but I often get requests from clients for smoothies without banana based on their preferences.

Banana is often used as the base because it helps create a creamy and smooth consistency of a smoothie. Using the frozen berries with yogurt help mimic that same creamy consistency, but I felt like it was still missing something. By adding a handful of KIND oats & honey clusters gave it a thicker consistency what I was looking for.

Mango Berry Smoothie Parfait via Chef Julie Harrington, RD @chefjulie_RD #smoothie #smoothieparfait #tropical #parfait

This recipe is for anyone who can’t make up their mind what they want to eat. This happens often for me. I can never decide and tend to merge things together, which gave me the inspiration for this recipe.

Print

clock clock iconcutlery cutlery iconflag flag iconfolder folder iconinstagram instagram iconpinterest pinterest iconfacebook facebook iconprint print iconsquares squares iconheart heart iconheart solid heart solid icon
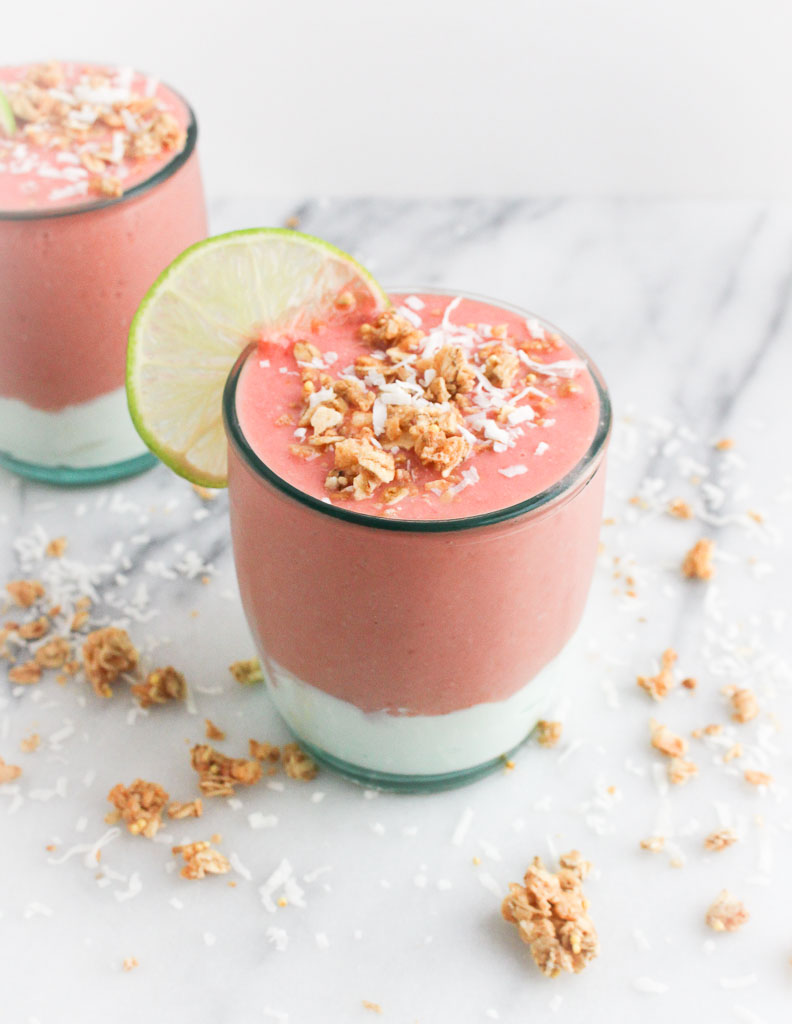
clear glass layered with yogurt and smoothie topped with granola

Mango Berry Smoothie Parfait

  • Author: Chef Julie Harrington, RD
  • Prep Time: 10
  • Total Time: 10 minutes
  • Yield: 2
  • Category: smoothie, snack

Description

Can’t decide between a yogurt parfait or a smoothie? You don’t have to with this Mango Berry Smoothie Parfait.


Ingredients

Scale
  • 2 cups vanilla Greek yogurt
  • ½ cup frozen raspberries
  • ½ cup frozen strawberries
  • ½ cup fresh mango, cubed (can use frozen)
  • 1 teaspoon ground ginger
  • 1 tablespoon lime juice
  • 1/4 cup mango orange juice (can sub orange juice)
  • ½ cup milk
  • 1 tablespoon unsweetened coconut flakes
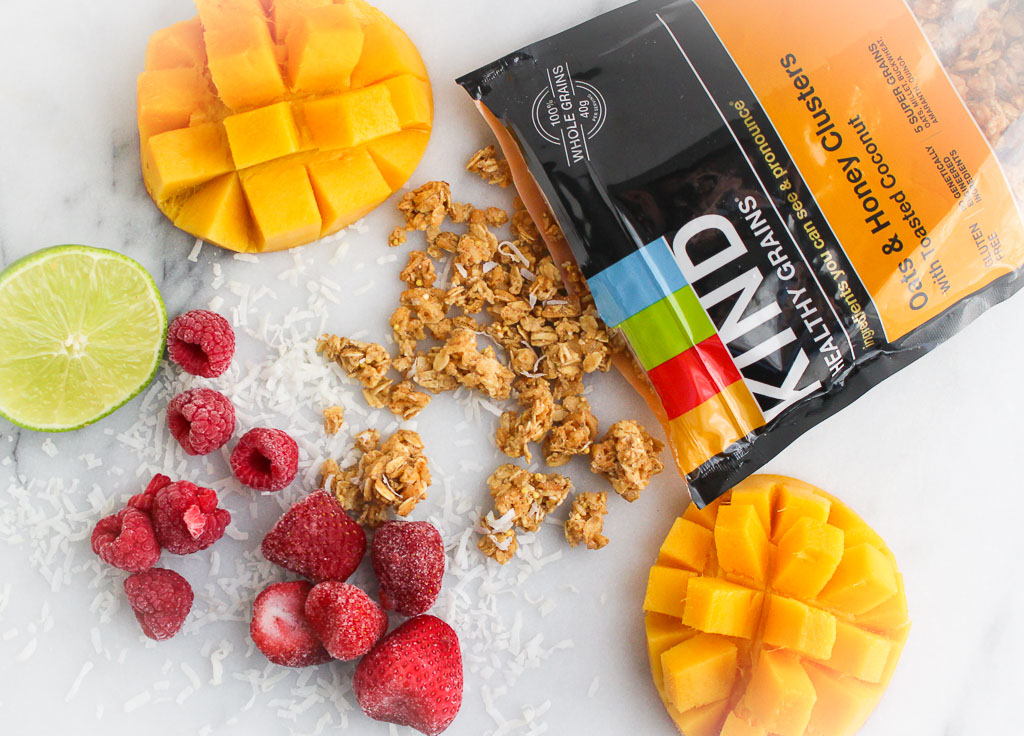
  • ¼ cup KIND oats & honey clusters with toasted coconut

(optional) toppings: unsweetened coconut flakes, KIND oats & honey clusters with toasted coconut


Instructions

  1. In a short glass, divide yogurt evenly in the bottom of two glasses.
  2. In a blender, combine raspberries, strawberries, mango, ginger, lime juice, mango orange juice, milk, unsweetened coconut, and KIND oats & honey clusters with toasted coconut. Blend until smooth.
  3. Pour over yogurt and top with unsweetened coconut flakes and KIND oats & honey clusters with toasted coconut, if using.

Keywords: smoothie, drink, snack, yogurt parfait

Recipe Card powered byTasty Recipes


Chef Julie Harrington, RD - Where food and love meet in the kitchen @ChefJulie_RD

Mango Berry Smoothie Parfait via Chef Julie Harrington, RD @chefjulie_RD #smoothie #smoothieparfait #tropical #parfait


Peach Walnut Crisp

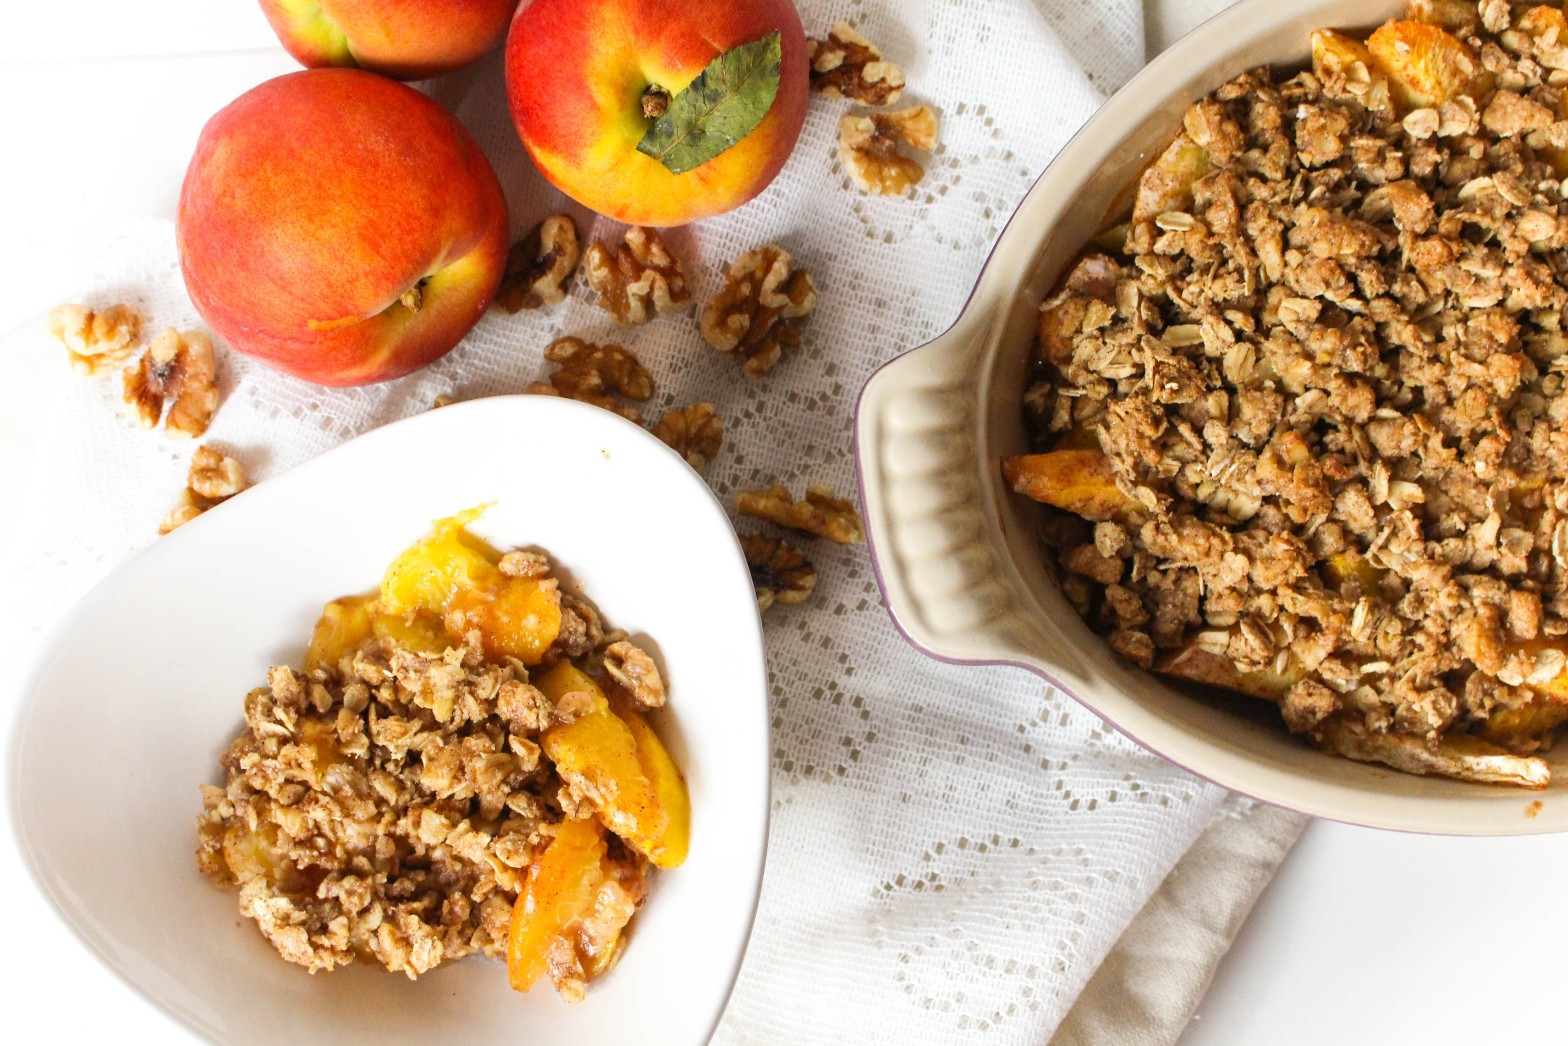
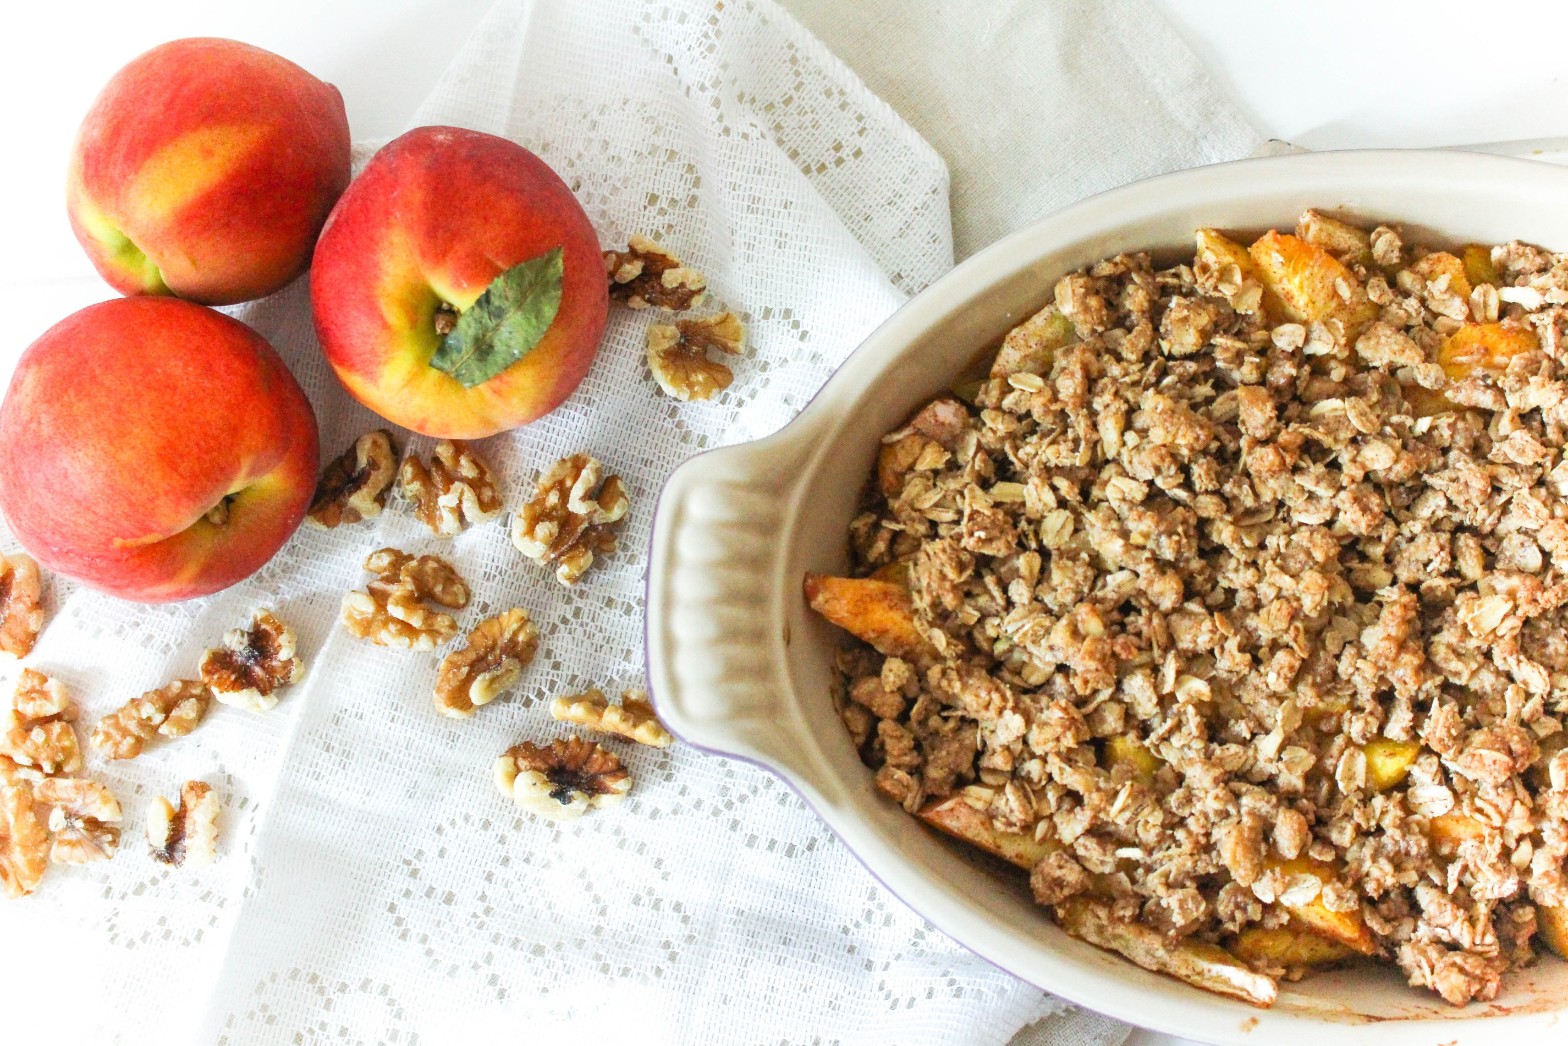
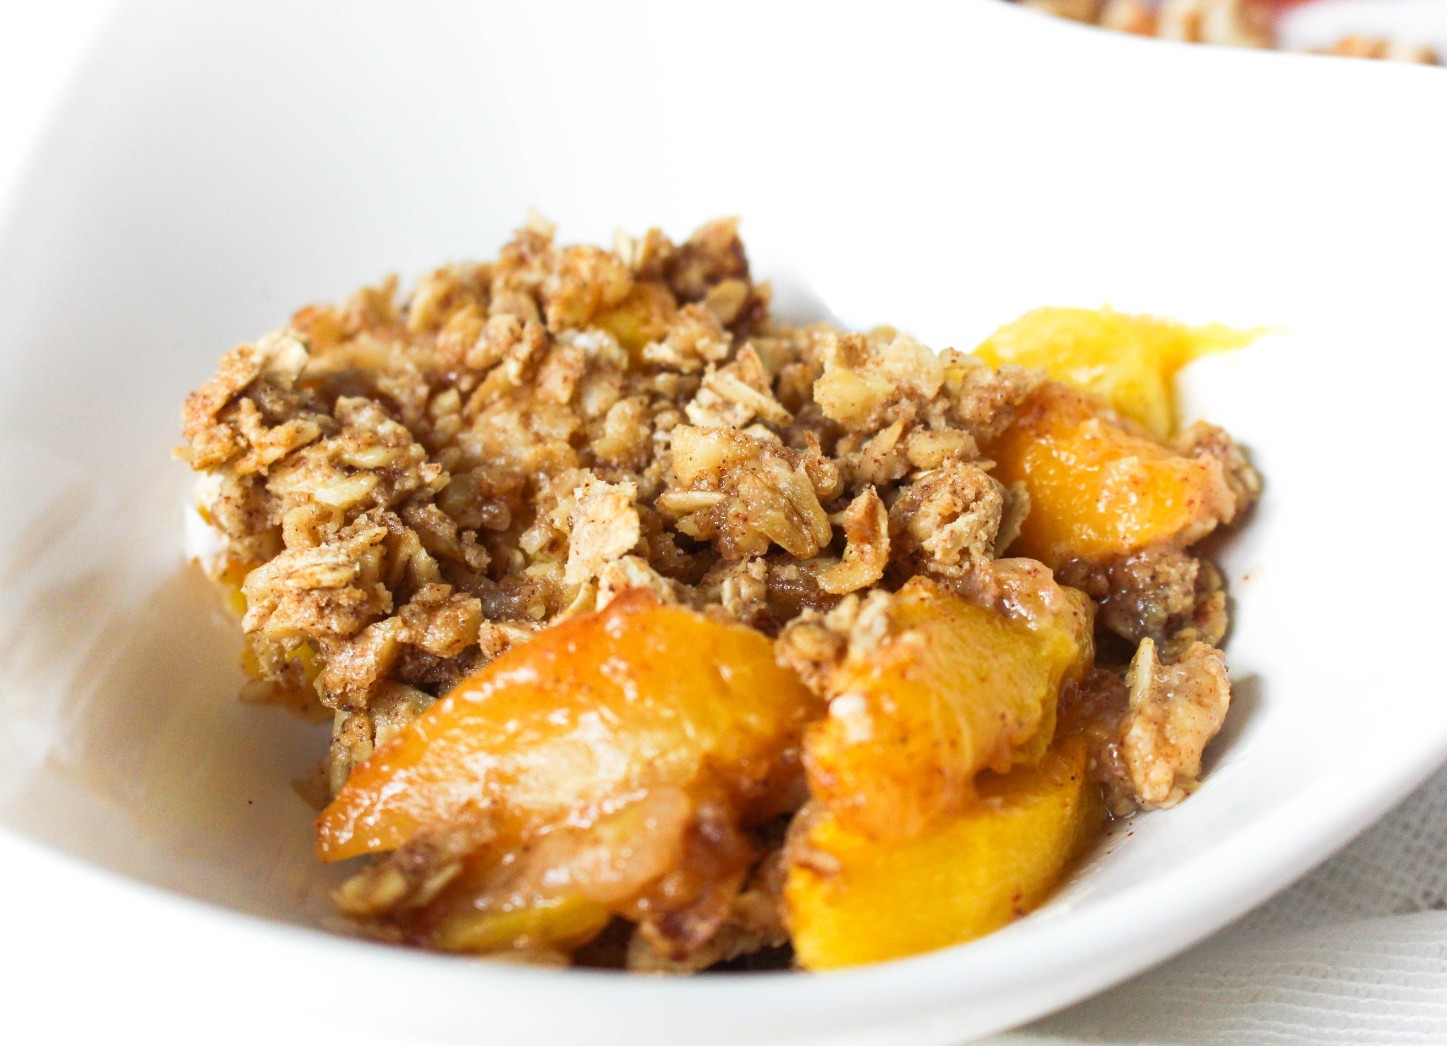
Peach Walnut Crisp is a simple summer dessert recipe, full of juicy peaches and a thick walnut crumb topping that everyone will love. Peach Walnut Crisp via RDelicious Kitchen @rdkitchenDuring the summer months, I love desserts that incorporate fresh produce. Pie is one of my favorite desserts, but my favorite parts are the middle and the crumble on top. Making a fruit crisp is the answer for me!

What’s the Difference Between a Cobbler, Crumble, and Crisp?

Crumbles and crisps are very similar, with the name crumble originating from England. They both contain fresh fruit with a streusel-like topping that gets baked until the fruit is cooked. The original difference between the two lay in the streusel topping: crisps would contain oats and crumbles would not. (source)

Peaches are starting to take over the produce department and as I was eating the juiciest peach on my way home from work and dripping peach juice down my arms and all over my car (not the smartest snack choice for the car) when I came up with this recipe idea.
Peach Walnut Crisp via RDelicious Kitchen @rdkitchen

Peaches may be the seasonal featured ingredient of this recipe, but paired with this amazing thick walnut crisp topping, walnuts are the true star. Walnuts are a delicious and versatile ingredient that is the perfect complement to other whole foods for nutritious, tasty recipes.

Did you know?
Unique among nuts, walnuts contain the highest amount of ALA.

What is ALA?
Alpha-linolenic acid (ALA), is the plant-based omega-3 essential fatty acid, required by the human body. As one of the best plant food sources of omega-3s, a one-ounce serving of walnuts provides 2.5 grams of ALA. A growing body of scientific evidence is beginning to uncover a variety of benefits that ALA/omega-3s may provide to our bodies. While most nuts contain monounsaturated fats, only walnuts are comprised primarily of polyunsaturated fat (13 grams out of 18 grams total fat). Dietary guidelines recommend that people keep total fat intake between 20 to 35 percent of calories, with most fats coming from sources of polyunsaturated and monounsaturated fatty acids. Walnuts provide important components of a healthy diet – an ounce of walnuts has 2.5 grams of the essential plant-based omega-3 alpha-linolenic acid (ALA), and 4 grams of protein and 2 grams of fiber to keep you feeling full.
Peach Walnut Crisp via RDelicious Kitchen @rdkitchen
I get a lot of questions of how to store nuts in your home kitchen. I turned to the California Walnut Commission to get the most accurate answers from walnut experts!

You can maintain the fresh taste of California walnuts by keeping them cold. Walnuts go rancid when exposed to warm temperatures for long periods of time. Heat causes the fat in walnuts to change the structure, which creates off odors and flavors. Fresh walnuts smell mildly nutty and taste sweet. If your walnuts smell like paint thinner, you know they’re rancid. And if they’re rancid, you should throw them away!

When you bring walnuts home from the store, the best place to store them is in your refrigerator or freezer, depending on when you’re going to use them. If you’re going to use the walnuts right away, place them in your refrigerator. If you’ll be storing them for a month or longer, store them in your freezer. If you buy walnuts in sealed packaging, you can store the walnuts in their original packaging. Once you open the bag, transfer the walnuts to an airtight container to maintain freshness. If you buy bulk walnuts, either in-shell or shelled, place the walnuts in an airtight container for long-term cold storage.
Peach Walnut Crisp via RDelicious Kitchen @rdkitchenHappy baking!

Print

clock clock iconcutlery cutlery iconflag flag iconfolder folder iconinstagram instagram iconpinterest pinterest iconfacebook facebook iconprint print iconsquares squares iconheart heart iconheart solid heart solid icon
Peach walnut crisp in a baking dish and white bowl

Peach Walnut Crisp

  • Author: Julie @ RDelicious Kitchen
  • Prep Time: 15 mins
  • Cook Time: 30 mins
  • Total Time: 45 mins
  • Yield: 4
  • Category: Dessert

Description

Enjoy this Peach Walnut Crisp for a sweet (and healthy) treat!


Ingredients

Scale
  • 4 large peaches, peeled, pitted, and sliced
  • 1 1/2 tablespoons arrowroot starch (or cornstarch)
  • 2 teaspoons cinnamon, divided
  • 1/3 cup rolled oats
  • 1 cup walnuts, chopped
  • 2 tablespoons oat flour
  • 2 tablespoons coconut sugar
  • 1/8 teaspoon salt
  • 2 tablespoons maple syrup
  • 2 tablespoons coconut oil (not melted)

Instructions

  1. Preheat oven to 350 degrees F. Coat an 8-inch baking dish with cooking spray. Set aside.
  2. In a large bowl, gently toss peach slices with arrowroot and 1/2 teaspoon cinnamon until evenly coated. Pour in an even layer at the bottom of the baking dish.
  3. In another bowl, combine the rolled oats, walnuts, oat flour, coconut sugar, and salt. Stir to combine. Mix in the maple syrup and coconut oil. Knead with the back of a fork or finger to create a crumb-like texture. Evenly layer on top of the peach slices in the baking dish.
  4. Bake in the oven for 30 minutes, until crumble is golden brown.
  5. Remove from oven and let cool for at least 30 minutes on a cooling rack. This will allow the peach mixture set.

Recipe Card powered byTasty Recipes

Chef Julie Harrington, RD - Where food and love meet in the kitchen @ChefJulie_RD

Peach Walnut Crisp by Chef Julie Harrington, RD @ChefJulie_RD #peach #crisp #dessert #crumble #fruitcrumble

This recipe was originally posted in June 2018. The recipe was too good, so nothing changed there. I just spruced up the post with my new website.