This post may contain affiliate links. Read my privacy policy.
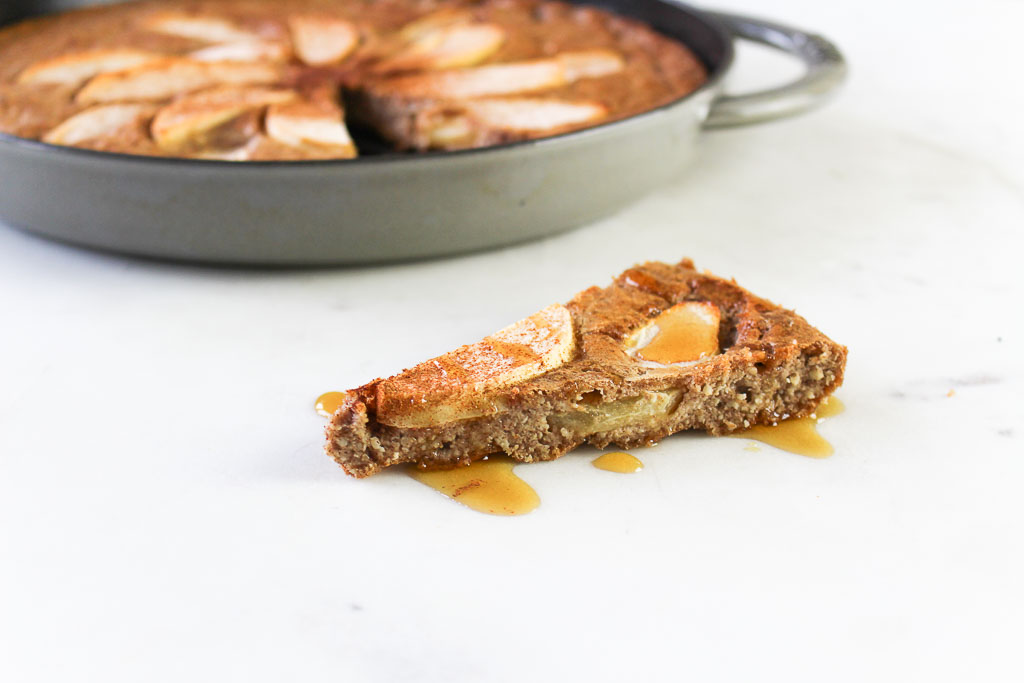
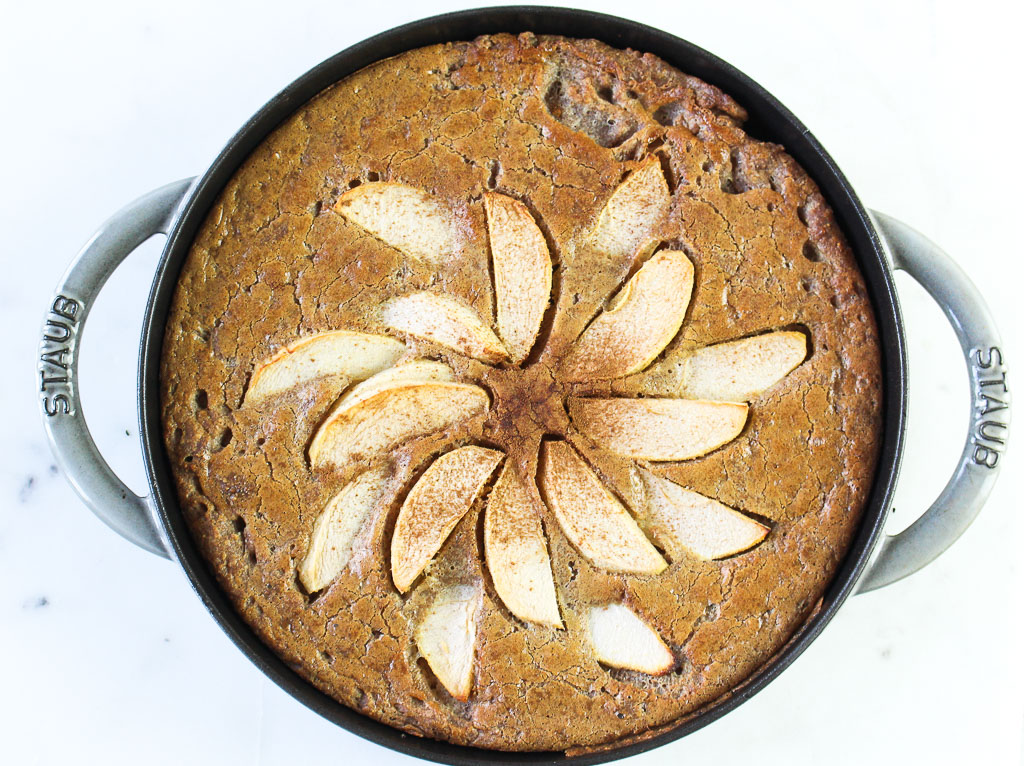
Serve pancakes family style with this (grain-free) Jumbo Skillet Apple Pancake. Confession: I am a terrible pancake flipper. I am a waffle maker pro, but when it comes to pancakes, I fall short.
It’s either I am too eager to flip them before they are ready or the flipping process is just a disaster, like how I flipped it right on top on my other pancakes and I just made one giant pancake mound. Culinary school graduate fail. I was going to attempt to make this recipe into individual pancakes, but instead of the hassle of making a bunch of pancakes, I tried making one giant pancake and let me tell you.. it was the best idea I’ve ever had. This giant pancake can now be served family style, so no more waiting for your stack on Sunday morning when everyone else is chowing down. Plus, no more pancake flipping disasters!
I opted to top mine with apple slices this time, but now I am thinking of all the topping options I want to try. This is going to become a staple on my weekends. Bonus, it heats up well too!
1 apple (such as a Honeycrisp Pink Lady), peeled, cored, and thinly sliced
Instructions
Place a large cast iron skillet in the oven. Preheat the oven to 450 degrees F, leaving the skillet inside during preheating.
In a large bowl, whisk together the eggs, coconut milk, maple syrup, and vanilla. In a separate bowl, whisk together the almond flour, arrowroot starch, cinnamon, baking powder, and salt. Pour the dry ingredients into the egg mixture and stir until fully combined.
Carefully remove the hot skillet from the oven and add the coconut oil. Swirl it around the pan to coat the bottom and sides. Carefully pour the batter into the skillet. Gently place the apple slices on top. Bake for 15-20 minutes, or until golden brown and slightly puffed.
Serve sprinkled with extra cinnamon and drizzle with maple syrup, if desired.
This post may contain affiliate links. Read my privacy policy.
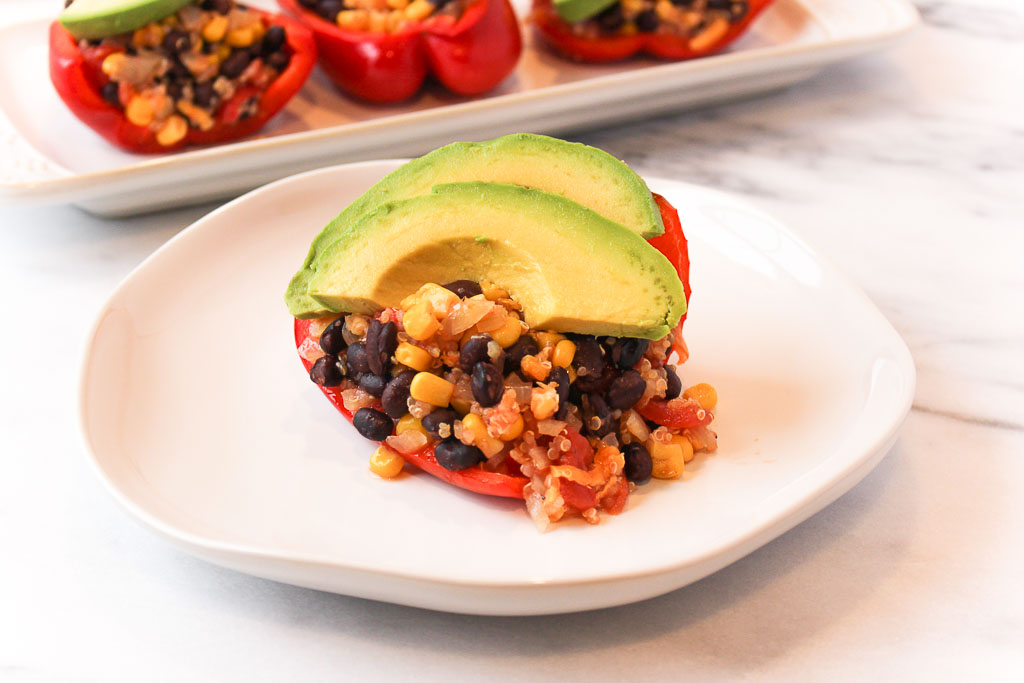
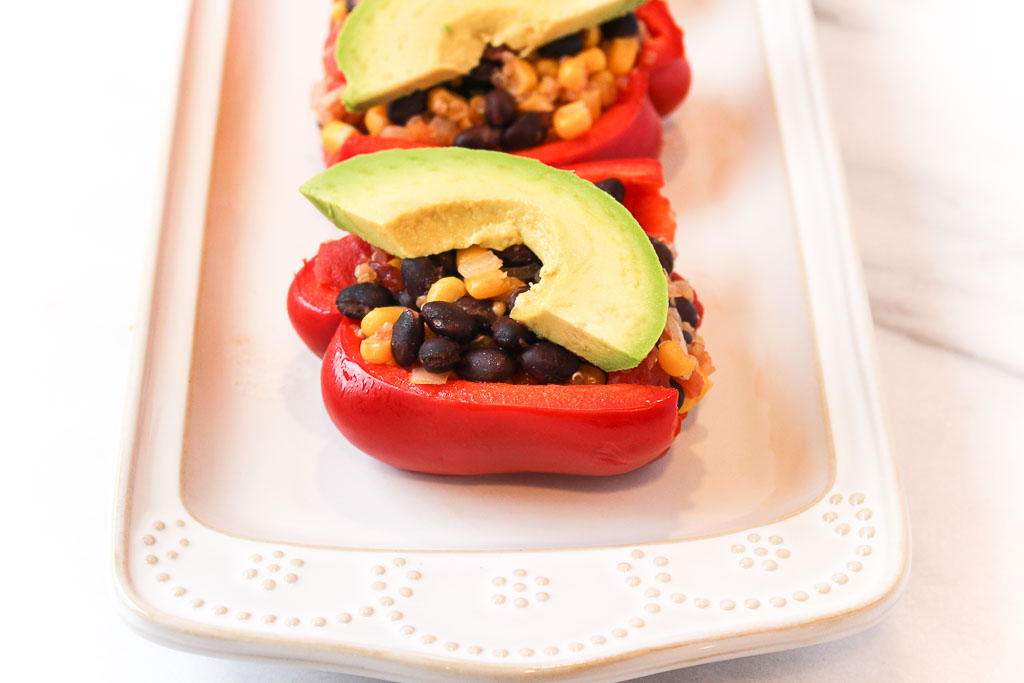
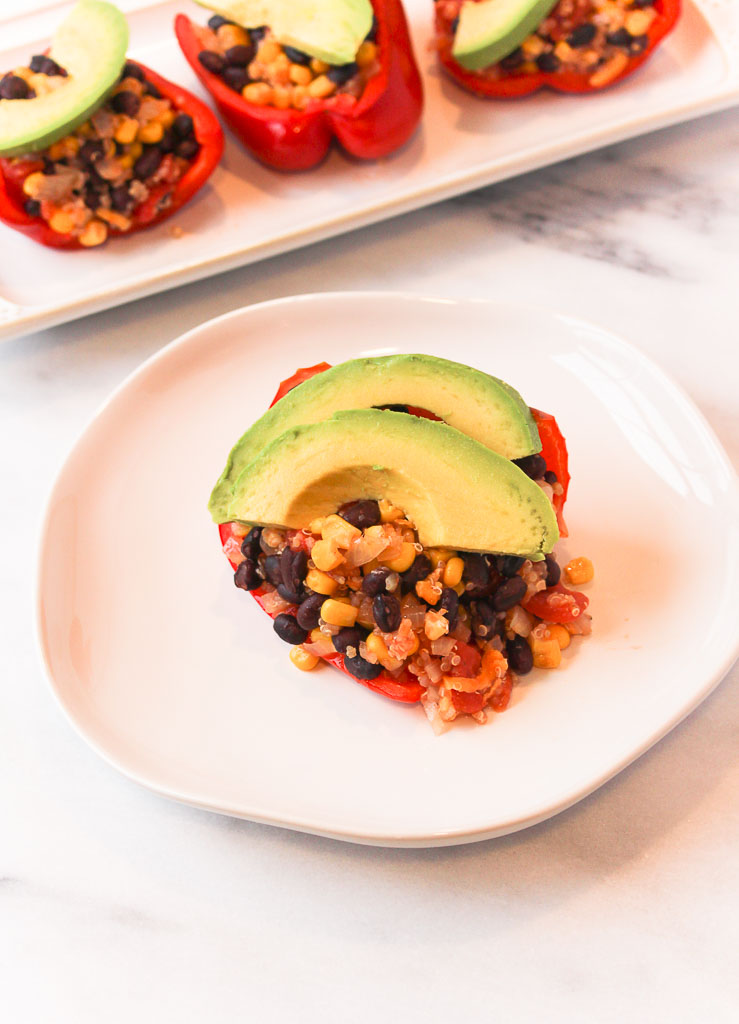
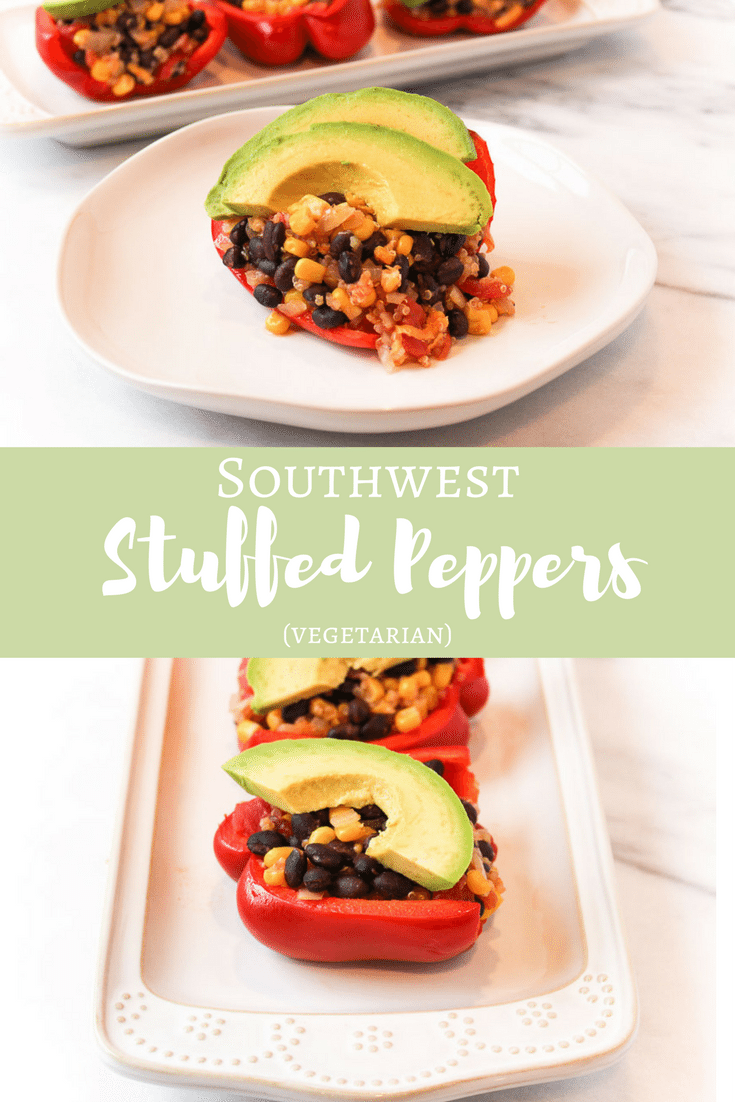
Looking for a budget friendly recipe? You’ve come to the right place. These Southwest Stuffed Peppers will keep your stomach and wallet full coming in at only $1.06 per serving. The Recipe ReDux challenged members to see how low they can go and make a meal for less than $3 per serving.
Did you know that within the top 3 New Year’s resolutions #3 involved finances?
1. Lose Weight/Eat Healthier
2. Life/Self Improvements
3. Better Financial Decisions
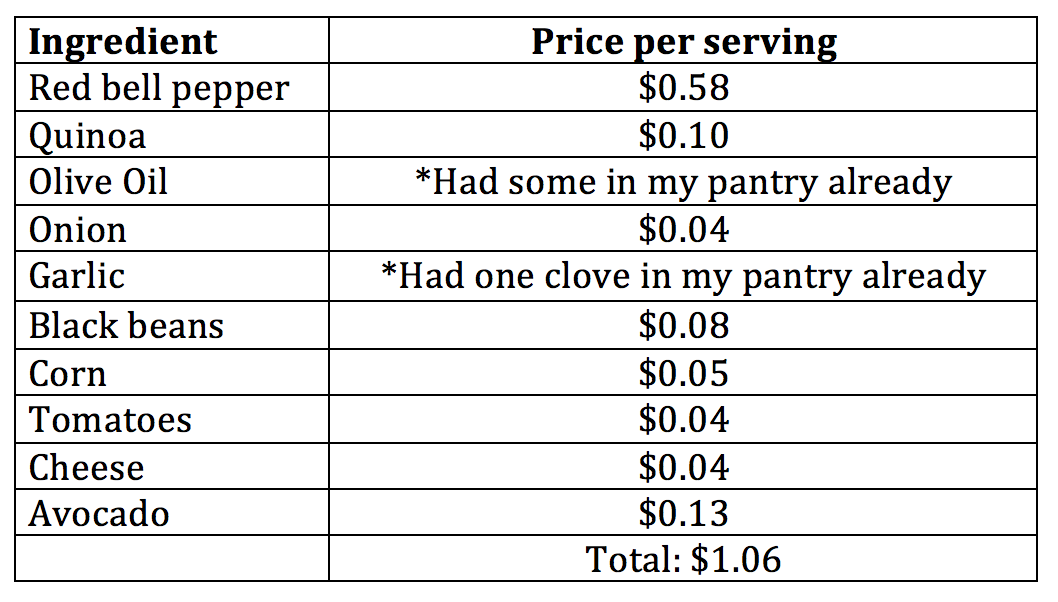
Many are looking to make better financial decisions this year, myself included. I was curious to see how much I was actually spending on groceries per month, so I tracked it for the month to see my typical cost on groceries. Being a food blogger and one who weirdly enjoys grocery shopping, when I see new items they tend to creep into my cart. That being said, my monthly grocery spending was a little higher than I thought it would be. Ever since then I’ve been more conscious of my spending when at the grocery store. I loved that this Recipe ReDux theme was this month because I had fun shopping to see how low I can go with the cost per serving. This definitely busts the myth that “healthy eating is expensive”, considering this recipe totals to $1.06 per serving made with healthy and wholesome ingredients.
Here’s the breakdown:
Wondering what I will be doing with those half cans of ingredients? I love being creative with extra ingredients that I have in the fridge. I think this will turn into a burrito bowl.
1/2 (14.5 oz) can no-salt-added diced tomatoes, drained
1/2 cup cheddar cheese, shredded
1/2 avocado, sliced
salt and pepper, to taste
Instructions
Preheat oven to 350 degrees F. Spray a baking sheet with nonstick cooking spray. Slice pepper in half lengthwise, place on baking sheet. Bake for 10 minutes.
Cook quinoa according to package directions.
In a saute pan, heat olive oil over medium-high heat. Add onions, saute until translucent. Add the beans, corn, tomatoes, and cooked quinoa and cook until heated through. Stir in cheese.
Remove peppers from oven and stuff with bean mixture. Bake for an additional 5 minutes.
Remove from oven and top with avocado slices.
Recipe Card powered by
Don’t forget to check out other Recipe ReDux members money-saving recipes!
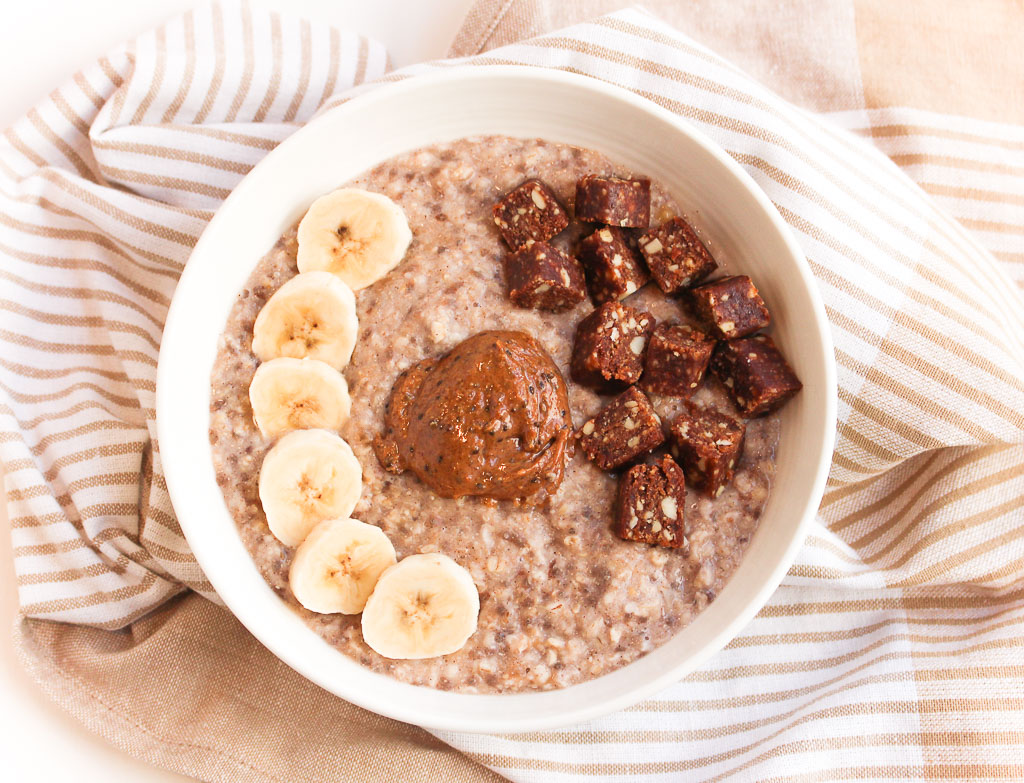
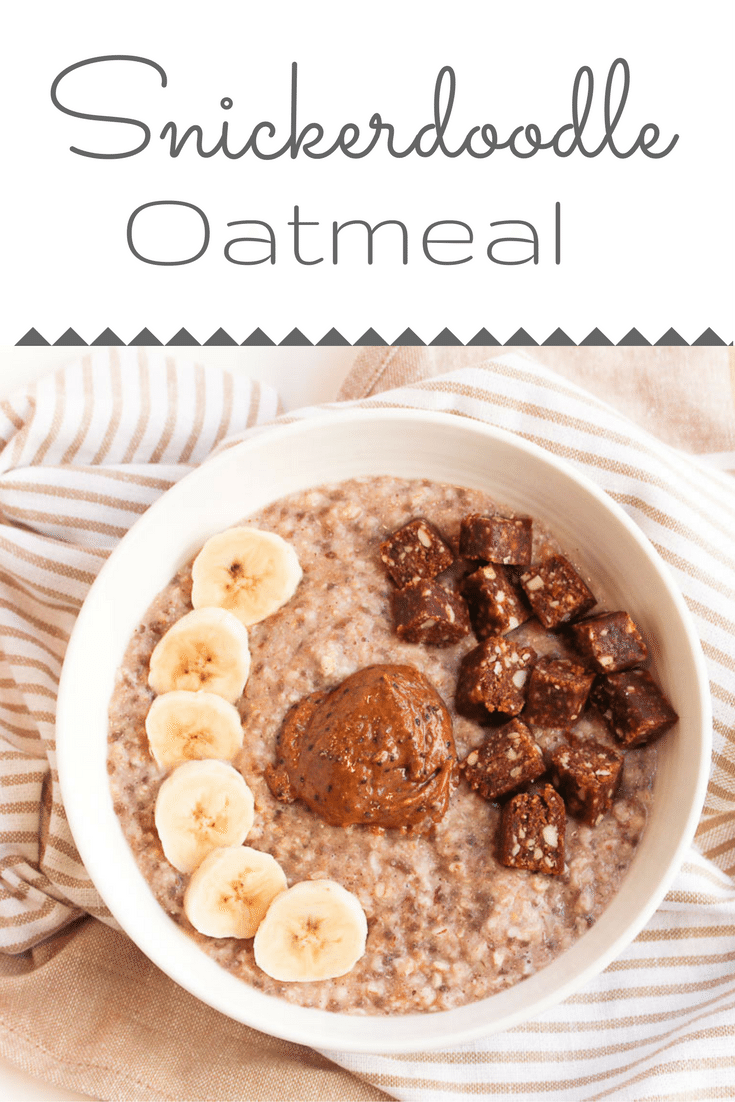
Cozy up to a bowl of Snickerdoodle Oatmeal this holiday season!During the winter months, I always crave a warm bowl of oatmeal in the morning. Skip the sugary packets of oats and create a hearty bowl with simple ingredients, that I am sure are probably in your kitchen already.
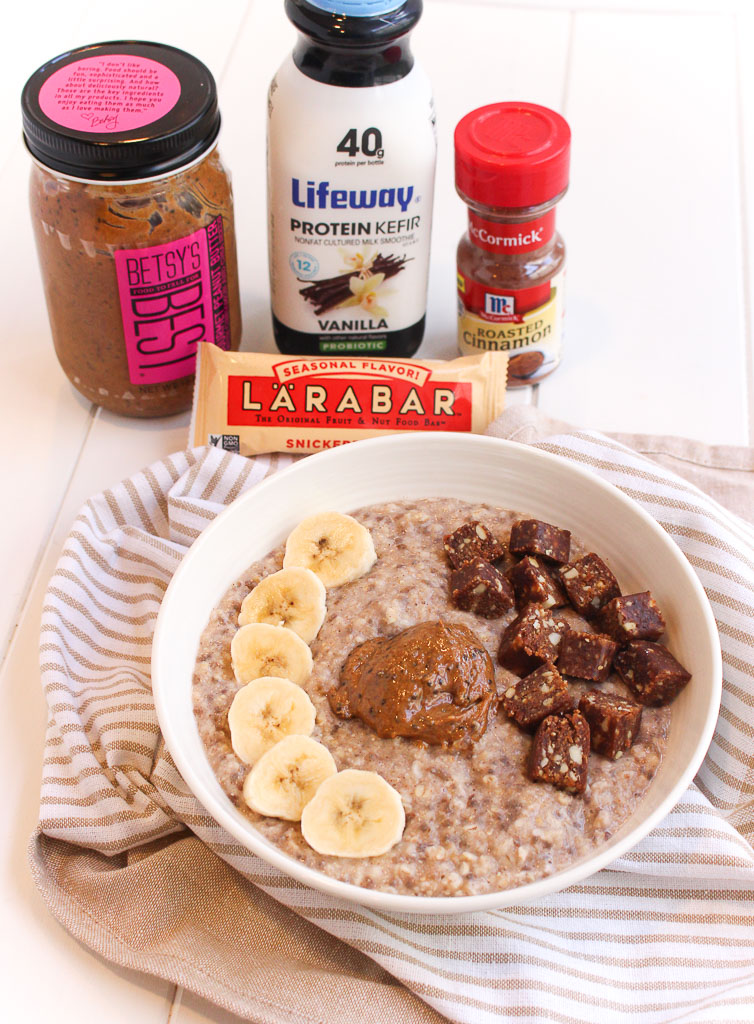
Surprisingly, I am not the biggest fan of snickerdoodle cookies. I think it’s because I don’t prefer sugar cookies (the base of snickerdoodles). I am more of a chocolate chip cookie kind of gal, but I do love the warm cinnamon sugar combination from snickerdoodles. McCormick recently came out with a new roasted cinnamon. The roasted version has a richer, deeper flavor than traditional cinnamon. If you love cinnamon and want a bigger and bolder flavor, you have to try roasted cinnamon.
The toppings of this oatmeal really make this breakfast a winner! Have you tried the seasonal Larabar snickerdoodle flavor? Plus, swirling in Betsy’s Best cinnamon chia gourmet peanut butter adds that extra pop of flavor.
This post may contain affiliate links. Read my privacy policy.
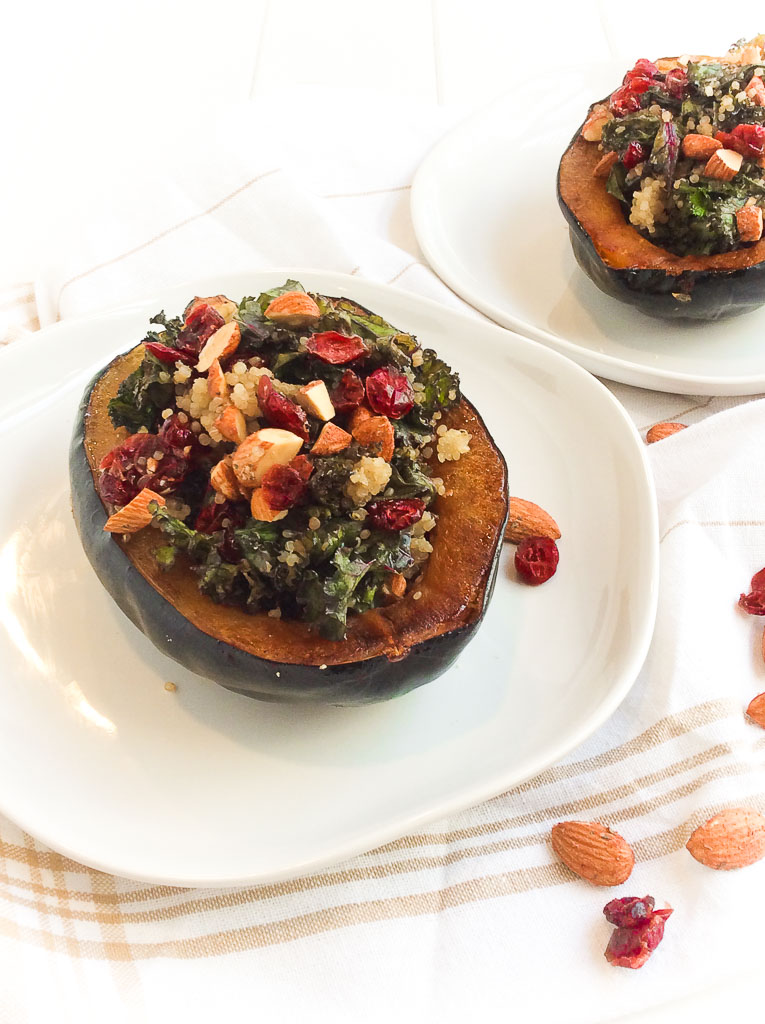
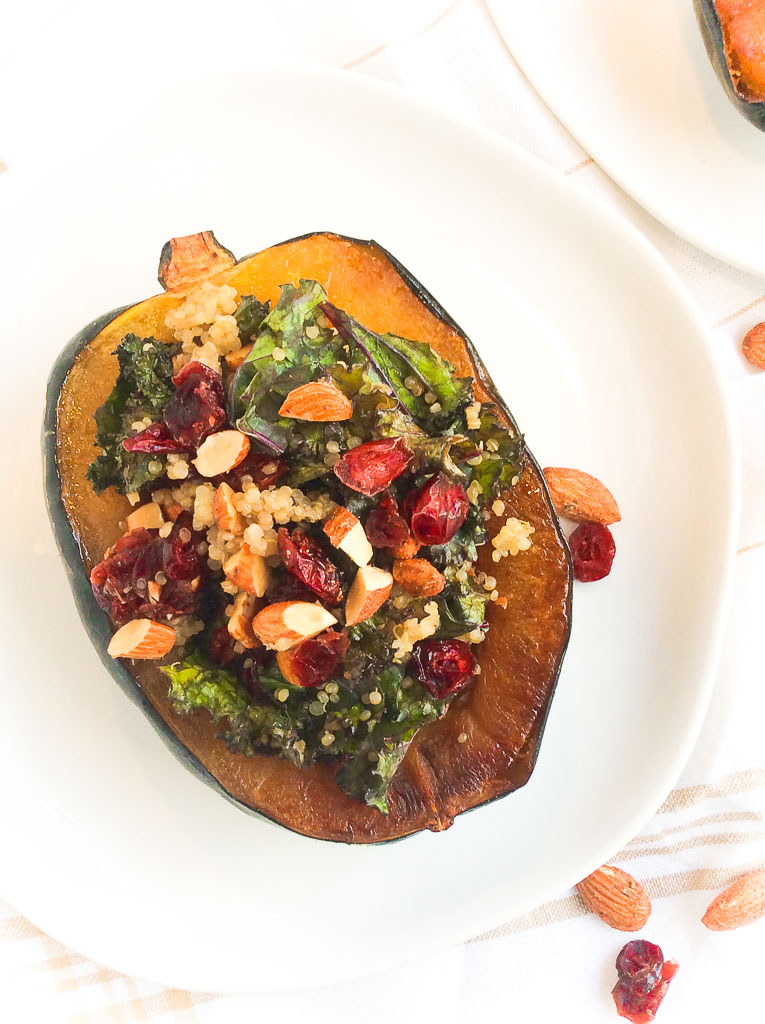
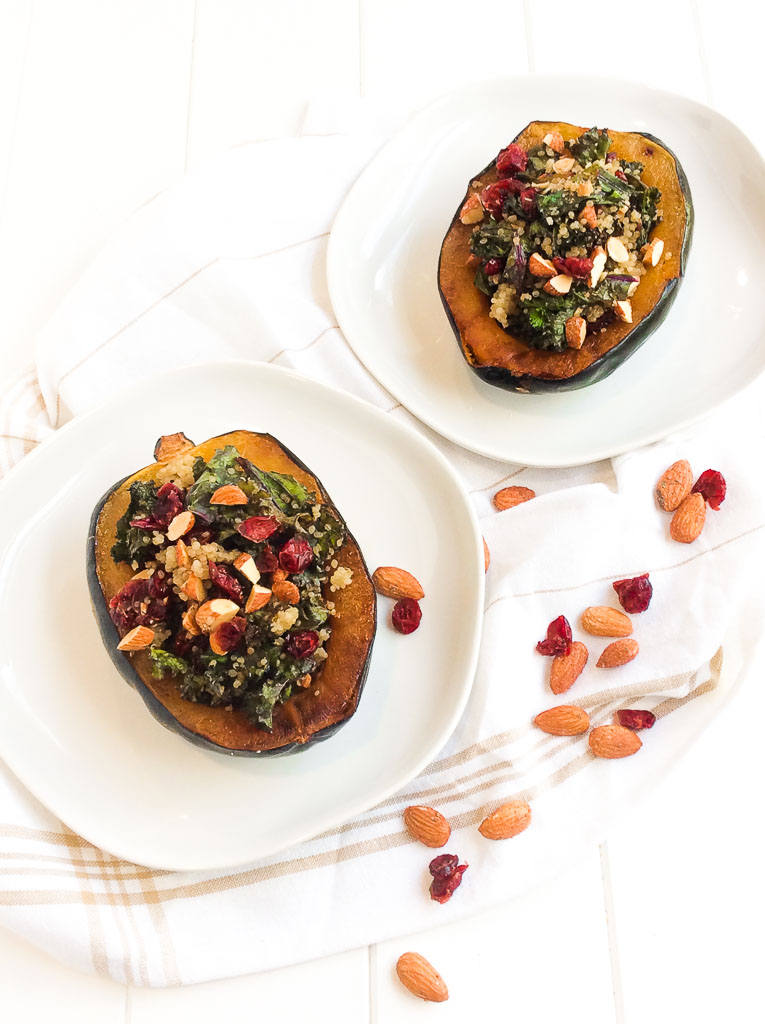
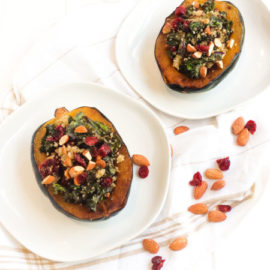
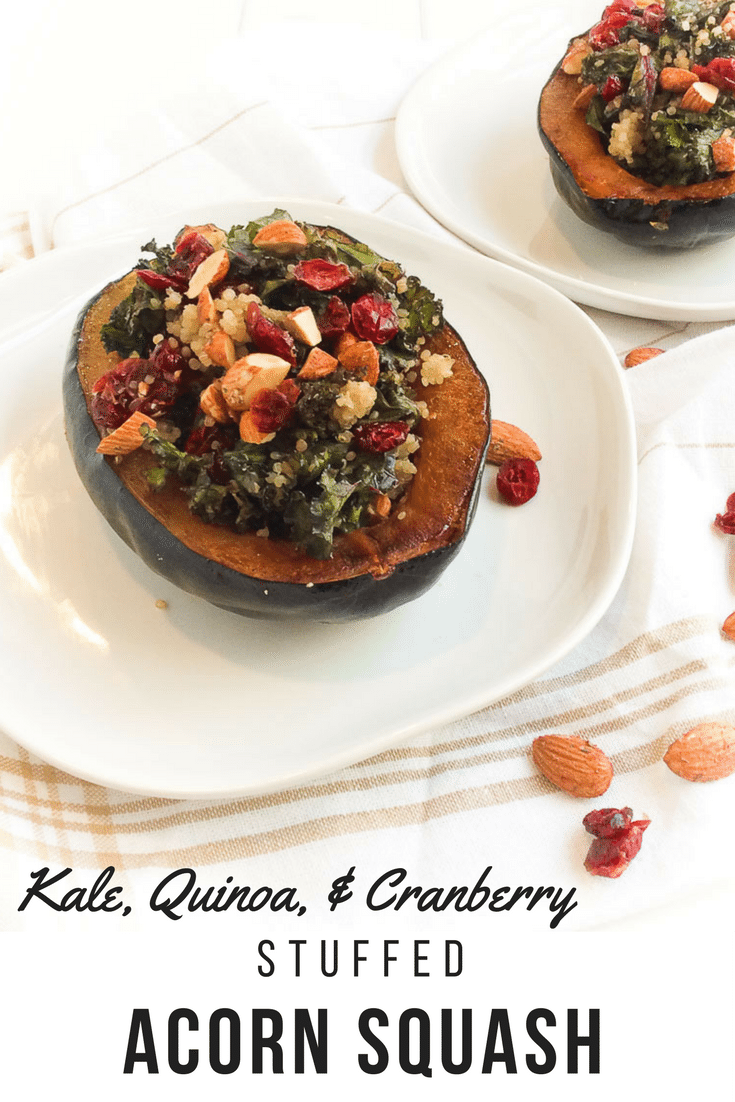
Sometimes dinner time turns into an episode of Chopped right in your own kitchen. This Kale, Quinoa, and Cranberry Stuffed Acorn Squash can easily be customized with ingredients you have in your refrigerator and pantry for a simple, wholesome meal.
The holiday season can be stressful at times. Considering I haven’t even started any of my holiday shopping, let alone even figuring out what I am getting anyone, that is adding a little stress to my plate these days. Things have been very busy here at RDelicious Kitchen, so I like to escape to my happy place and stress reliever – the kitchen.
There is something so soothing about chopping, stirring, and the aroma in the kitchen. With my days being jam packed it has been leaving little time for simple things, like grocery shopping. This recipe was inspired as I was in my imaginary world of being on an episode of Chopped. When you haven’t gone grocery shopping in a little while, you have to get creative!
Time-saving tip: Whenever I make a batch of quinoa, I always make extra and freeze the rest. This whole grain freezes well and easily heats up so you don’t have to start from scratch every time you are making quinoa.
My kale was on its last legs in my fridge, so in the saute pan it goes! Kale is one of those leafy greens that even after washing and trimming can last long in the refrigerator. When it begins to wilt, that’s when I throw that kale in my smoothies or saute pan – no waste!
When building a recipe, look to add different textures to the dish. I added almonds (my balsamic roasted almonds, to be exact) which adds that crunch factor, but also adds heart-healthy fats, fiber, and protein!
Slice acorn squash in half, lengthwise. Scoop out the seeds. Place squash on a baking sheet coated with cooking spray, flesh side down. Roast squash until for tender, about 30-50 minutes. (Exact roasting time will depend on the size and variety of your squash.
In a large skillet over medium-high heat, add the olive oil to the pan. Add kale and cook until slightly wilted. Add the balsamic vinegar and let cook for an additional 2 minutes.
Stir in the quinoa, dried cranberries, and almonds, and cook until warmed through.
Full acorn squash with kale, quinoa, and kale mixture and serve.
Notes
*for an extra kick of balsamic, add balsamic roasted almonds
This post may contain affiliate links. Read my privacy policy.
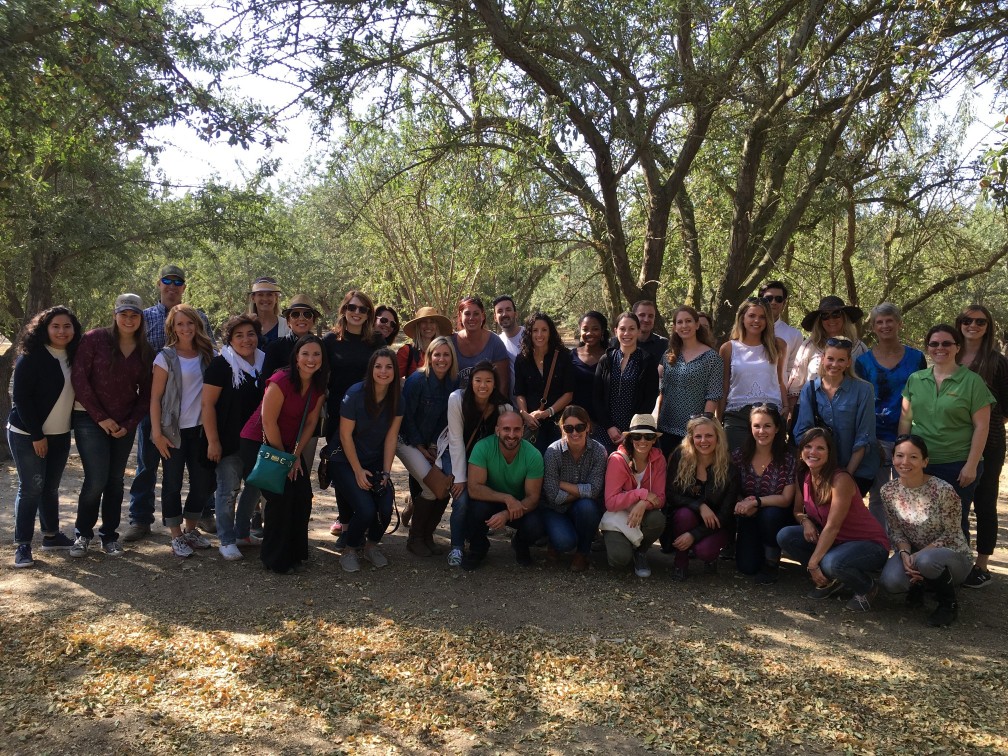
This past September I traveled to California for the first time. I was so fortunate that California Almond Board invited me on an amazing trip to the almond orchards in Lodi, California with a group of amazing Registered Dietitians and food bloggers. We learned a wealth of information of all things almonds, including sustainability, growing methods, almond life cycles and nutrition research. Disclosure: I was provided with free travel and accommodations to the California Almond Orchard experience. I was not additionally compensated for my time or to write this post.
Ever wonder where those almonds that are in your trail mix, granola bars, and cereals are from? The almond lifecycle has many stages before they end up in your kitchen cabinets.
Did you know, there are more than 30 different varieties of almonds? 10 of them comprise the majority of almonds produced in California. 80% of the world’s almonds are produced in California, and from raw almonds and almond butter to almond flour, almond milk, and almond oil. The Central Valley of California is the perfect spot for almonds to grow due to their mild, wet winters and hot, dry summers. The Almond Lifecycle: November – February: Almond trees go through a period of dormancy when the cold weather lets them sit back, relax and store up almond nutrients for next year’s crop. Late February – early March: Almond tree buds burst into light pink and white blooms in preparation for pollination. Nonpareils are among the first to bloom, while other varieties, such as Carmel and Mission, bloom later.
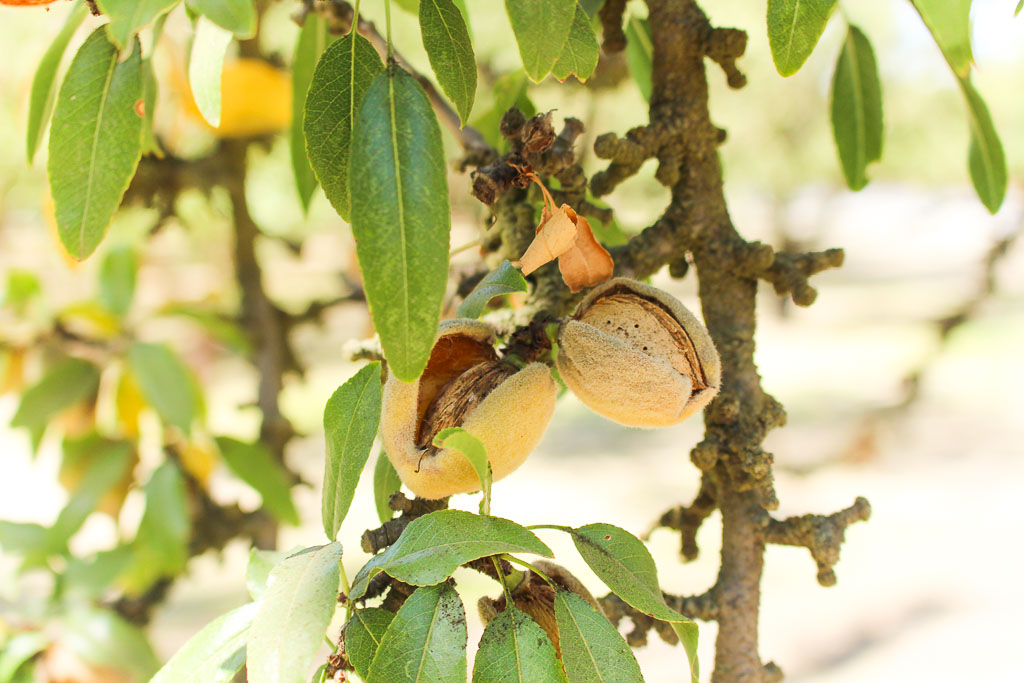
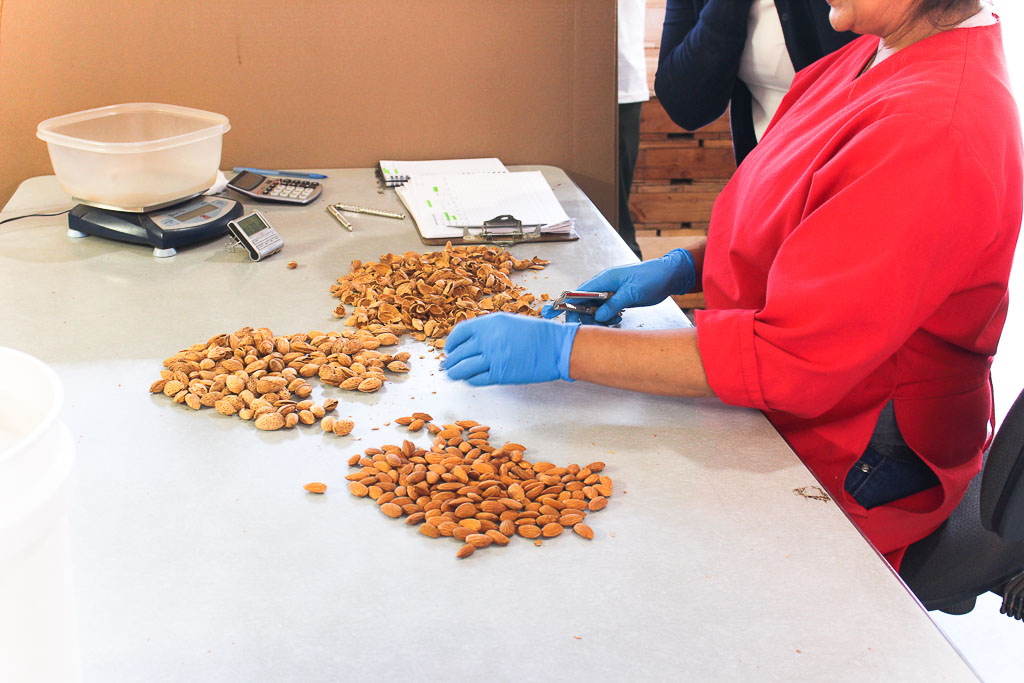
Many almond trees are not self-pollinating, so bees provide the missing piece of the puzzle. Populations of bees are brought to the orchard to carry pollen and initiate crop development. March – June: Almonds continue to mature, with the shell hardening and kernel forming. Also at this time, green almonds are harvested for various culinary uses.July – early August: Almond hulls begin to split open exposing the almond shell and allowing it to dry. Shortly before harvest, the hulls open completely. Mid-August through October: Mechanical tree “shakers” harvest the almonds by vigorously shaking them to the ground. The almonds then dry naturally for 8–10 days in the orchard before they are swept into rows and picked up by machine.After harvest, almonds go to a huller/sheller where the kernels pass through a roller to remove the hull, shell, and any remaining debris. Next stop: the handler for sizing, where the almond kernels drop into separate bins according to size.
After sizing, almonds are kept in controlled storage conditions to maintain quality until they’re either shipped or further processed into any variety of different almond forms for diverse culinary uses. (source: California Almonds)
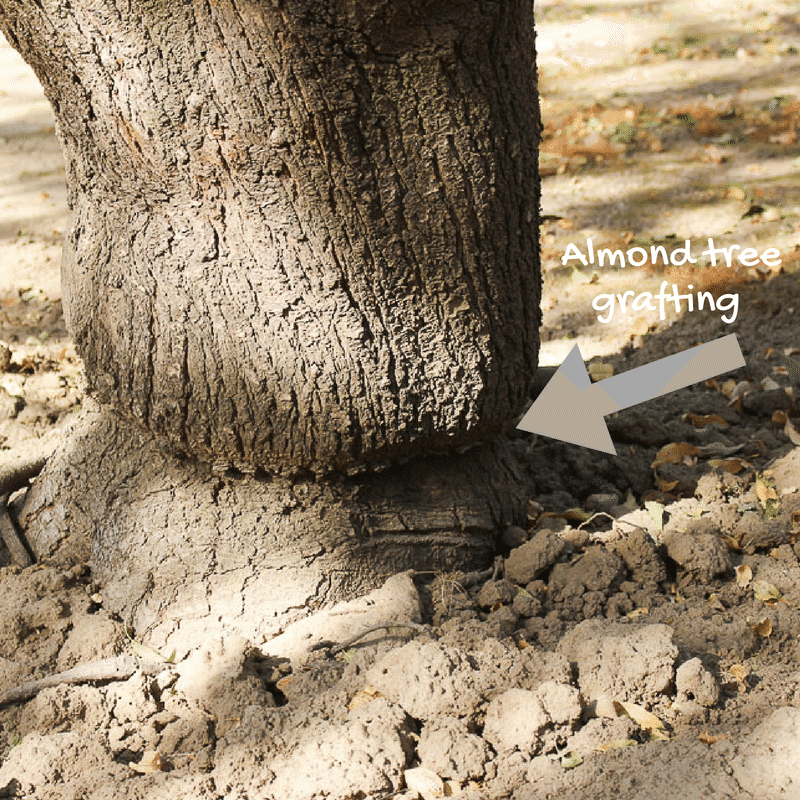
Did you know – Almond trees are grafted on the roots of peach or plum trees for a stronger root base. The almond trees are grown in a nursery, then grafted onto the root of a peach or plum tree to grow to maturity. Through the orchard you are able to see the point where they were grafted since they overlap each other. Did you know there are three parts to an almond? The hull, shell, and kernel make up this mighty little nut and all parts are used. The hull is the dry and fuzzy outer later. Hulls are sold as livestock feed, which reduces the amount of water used to grow other feed crops. The shells go to various alternative farming uses such as livestock bedding. The kernel, which most think of when thinking about almonds, is the nutrient-rich almond we eat. Each serving (28 g) contains 6 grams of energy-packed protein, 4 grams of hunger-fighting fiber, 13 grams of “good” unsaturated fat and only 1 gram of saturated fat.
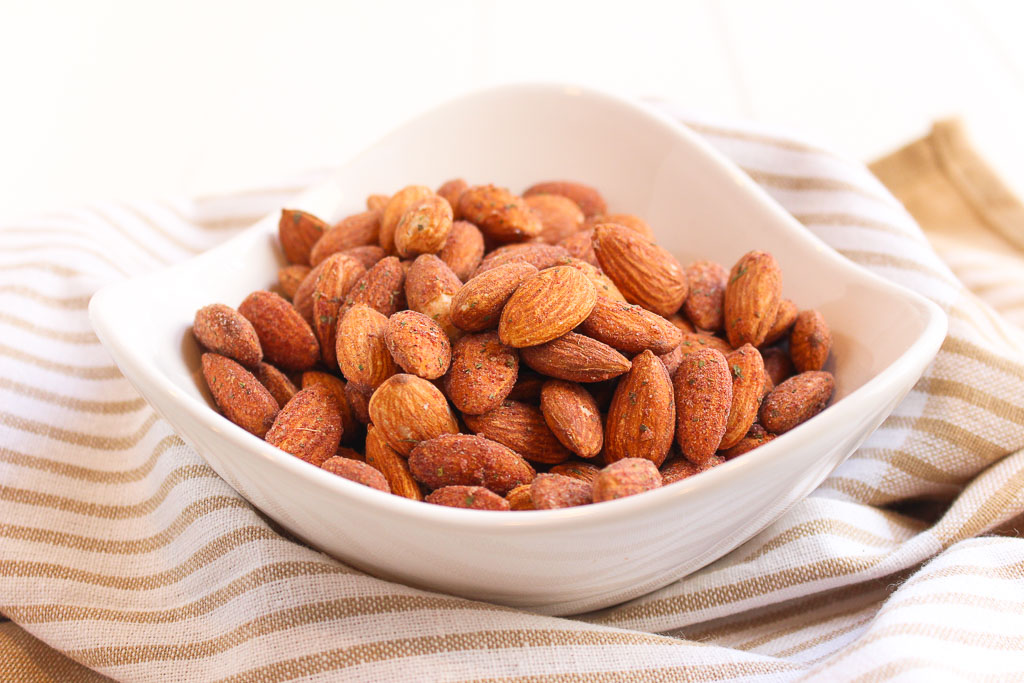
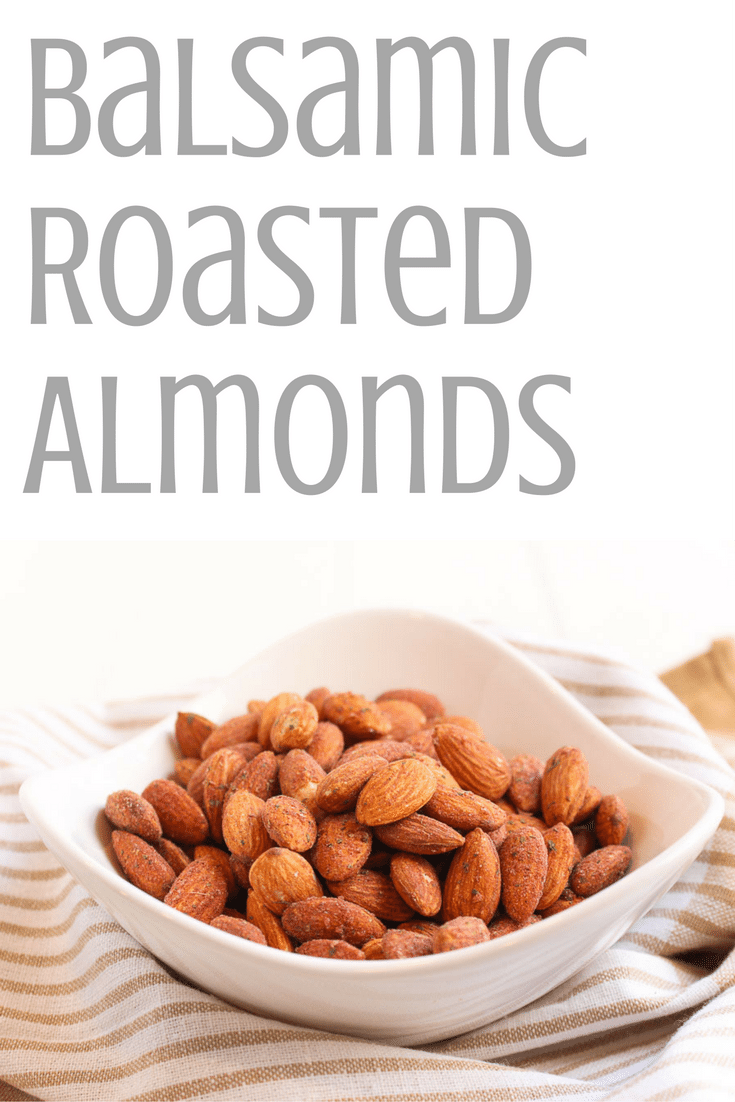
Now that I have you craving almonds, here is a delicious recipe to jazz up your almond snacks. Try these Balsamic Roasted Almonds. Just a few simple ingredients and snack time is jazzed up a little.
Warning: these almonds are addicting. The whole batch was gone in less than a week. Add them to salads, pair with a piece of fruit, the possibilities are endless. Be on the look out for another recipe soon using these almonds!
Place almonds in a small bowl. Pour the balsamic vinegar into the bowl, stir to coat the almonds. Let sit for one hour.
Pre-heat the oven to 350˚. Drain the vinegar from the almonds and pat almonds dry. Add sea salt and rosemary to the bowl and stir well to coat the almonds evenly. Spread almonds evenly onto a cookie sheet and bake for 8 minutes (stir the almonds halfway through cooking).
Remove from oven and let cool for 30 minutes. Store almonds in an airtight container.
Recipe Card powered by
Thank you California Almonds for this amazing experience! To learn more about California Almonds check out their website. They have great resources for health professionals!
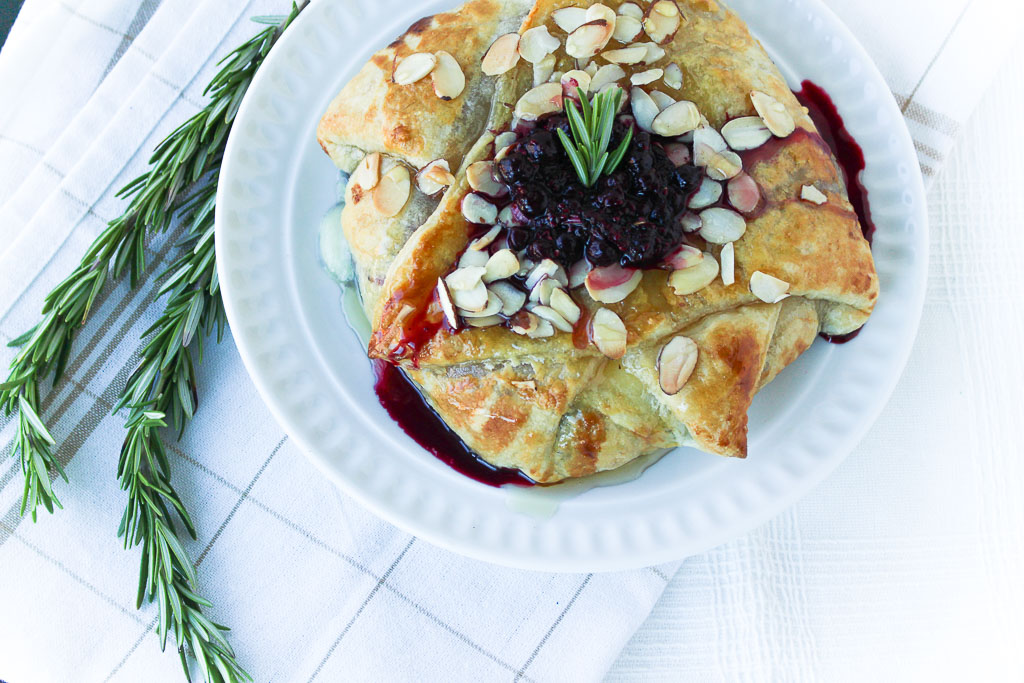
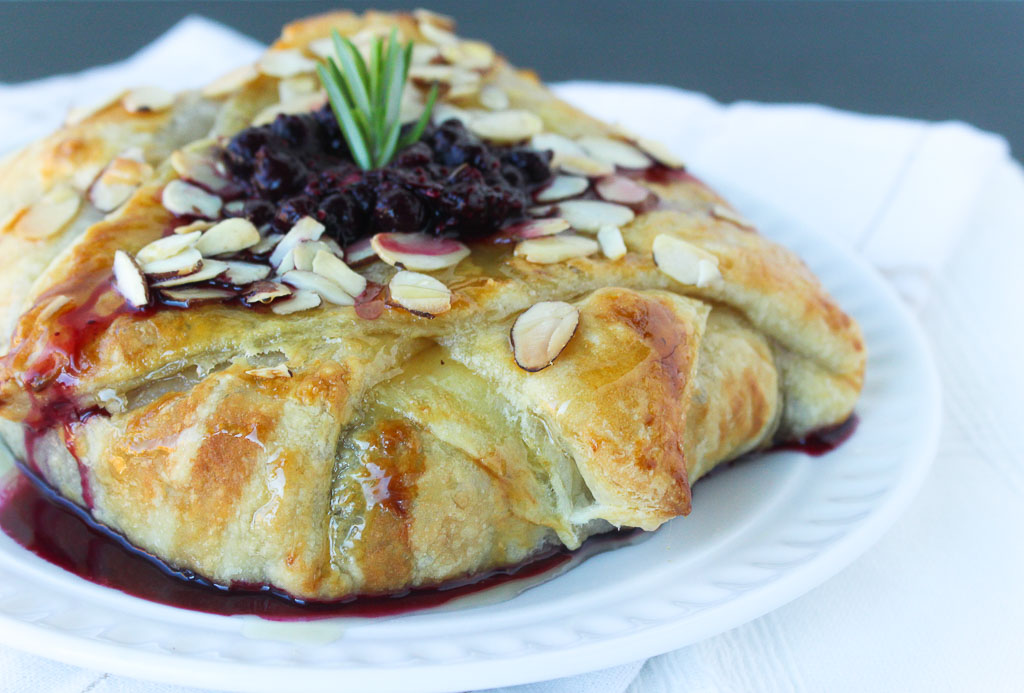
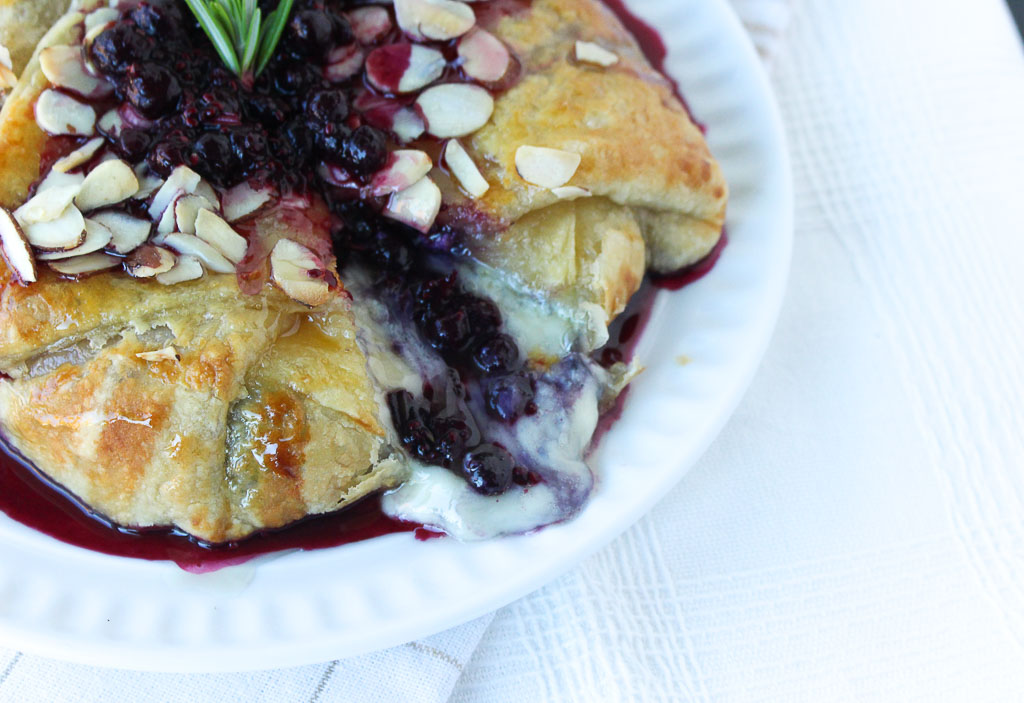
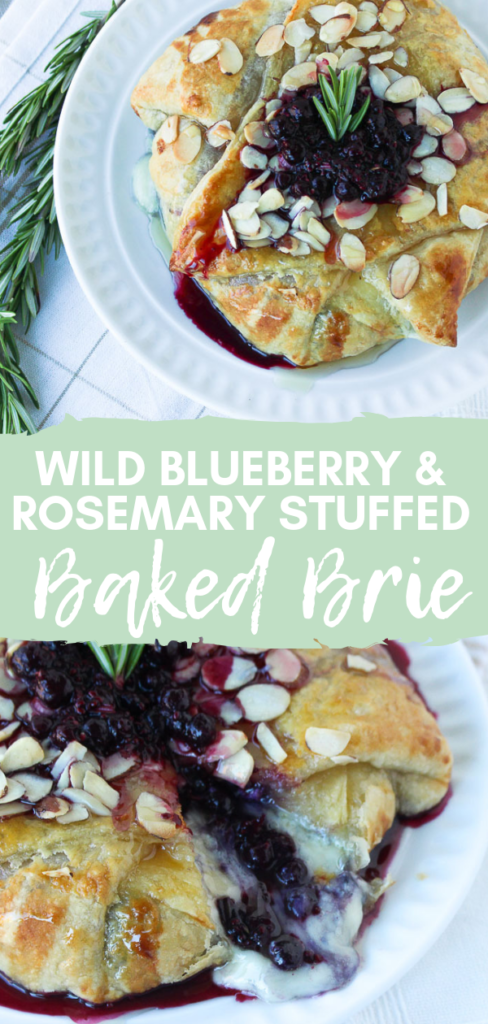
A balance of savory and sweet, this Wild Blueberry & Rosemary Stuffed Baked Brie is a festive appetizer your guests will love. Disclosure: By posting this recipe I am entering a recipe contest sponsored by Wild Blueberries and am eligible to win prizes associated with the contest. I was not compensated for my time.
Welp, it’s official. The holiday season is here! If you didn’t know, I work as a Supermarket RD and the grocery store is on top of the holiday season craze. The second Halloween was over, those shelves cleared out to the clearance rack and the Thanksgiving/Christmas decorations and food items are filling the shelves to the brim.
Being a food blogger, I am ahead of the game too, testing recipes for the holiday season already. The holiday season is my favorite time of year! It’s all about family, friends, and FOOD! I know that nutrition is not everyone’s top concern during the holidays. While it’s okay to indulge a little on holidays, I still always want to add a nutrition punch to my flavorful recipe creations.
Did you know? Wild blueberries have a more intense flavor than regular blueberries. Wild Blueberry plants grow wild and are genetically diverse with thousands of interlocking plants spreading naturally across fields called barrens, giving Wild Blueberries their complex and delicious flavor with a mix of tart and sweet.
Make sure to stop over to the frozen section of the grocery store tour, because that is where you’ll find Wild Blueberries. Wild Blueberries are different from cultivated blueberries. For one, they are smaller than your regular blueberry and you can’t find them in the produce aisle. The Wild Blueberry crop (99% of it) is frozen. The little berries are individually quick frozen (IQF) at harvest locking in their nutrition and taste.
Since the Wild Blueberries are frozen when warmed it does create more moisture. Too much moisture will create a soggy pastry crust. A simple (and healthy hack) is to add chia seeds to help thicken the Wild Blueberry mixture. Yes, I know you’ll be excited to share these new Wild Blueberry facts at your holiday party. I’m sure you’ll have plenty of time because everyone will be huddled around this appetizer dish digging in for more.
A balance of savory and sweet, this Wild Blueberry & Rosemary Stuffed Baked Brie is a festive appetizer your guests will love.
Ingredients
Scale
1 cup frozen wild blueberries
3 tablespoons honey, divided
1 tablespoon rosemary, chopped
1 lemon, juiced and zested
1 tablespoon chia seeds
12-ounce wheel of brie
1 sheet puff pastry defrosted
1 egg, whisked
1/4 cup sliced almonds
Instructions
In a small pot over low-medium heat, combine wild blueberries, honey, rosemary, lemon juice, lemon zest and chia seeds. Let simmer for about 10 minutes until mixture thickens. Let cool completely.
Preheat oven to 400 degrees F.
Roll the puff pastry into 12×12 inch square. Slice brie horizontally. Place of the brie, rind side down in the middle of the puff pastry. Add blueberry mixture evenly over brie. Place the other half of brie gently on top the blueberry mixture to cover.
Fold up the corners of puff pastry one at a time, brushing all the dough with the egg wash as you go, using it as the glue to hold the pastry together. Continue to brush the egg wash over the top and sides of the dough after formed.
Bake the brie at 400 degrees for 10 minutes, then carefully pull the oven rack out without removing the brie from the oven. Quickly drizzle with remaining honey and sprinkle with the remaining almond slices. Slide the Brie back in the oven and continue baking for another 10 minutes. Remove from the oven. Top with the remaining wild blueberry mixture and garnish with rosemary. Serve warm.
This post may contain affiliate links. Read my privacy policy.
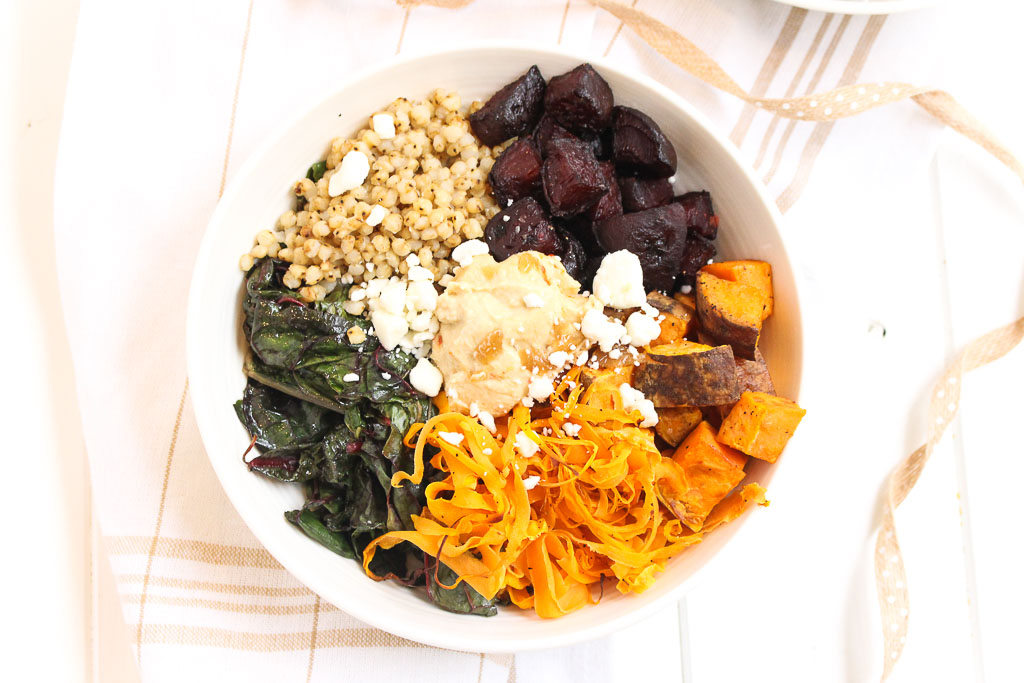
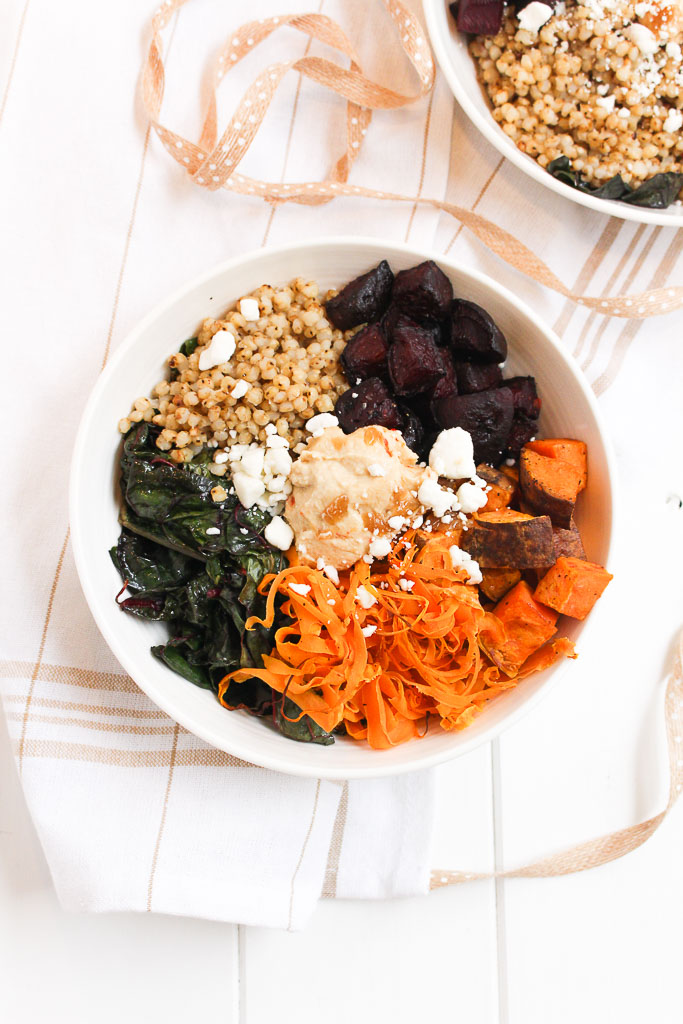
A comforting, satisfying plant-based bowl, this Roasted Root Vegetable Power Bowl is the perfect colorful fall dinner to cozy up to on a chilly night.
Fall is my favorite season! I just love the cool, crisp weather, the beautiful fall foliage, and of course the food!
This time of year, I find myself roasting vegetables daily. Roasting is one of my favorite cooking methods for veggies, but there’s something about cracking the windows on a cool fall evening and cozying up with fluffy blankets with a warm comforting meal.
Recipe ReDux members were challenged to create a plant protein power bowl, packed with protein, fiber and color, plant power bowls are trendy and delicious.
I decided to use sorghum as my whole grain in this recipe because I was inspired when I met Katie Cavuto, RD at the sorghum booth at FNCE this past weekend. She just released a new cookbook “Whole Cooking and Nutrition” and I was able to sample her sorghum recipe.
Have you ever used sorghum before? When I counsel clients, I encourage them to expand their variety of whole grains in their diet. I often see that their first swap is switching white bread to whole wheat bread or white rice to brown rice, which is great, but I don’t want them to just stop there.
Ancient grains, like sorghum, have more nutrition bang for your buck. Sorghum, which doesn’t have an inedible hull like some other grains, is commonly eaten with all its outer layers, thereby retaining the majority of its nutrients. One serving of sorghum contains 5 grams of fiber and is a good source of iron!
I absolutely love how colorful this recipe is. More colors = more nutrients. Another plus is it’s so simple to make. Simply place your veggies on a pan to roast as you prep the remaining ingredients.
If you want a shortcut, you can use Love Beets instead of the mess of peeling beets at home. Love Beets come peeled, steamed and vacuum packed.
Preheat the oven to 400 degrees F. Coat a large baking sheet with cooking spray. Toss sweet potatoes and beets with 1 tablespoon olive oil and sprinkle with salt and pepper. Bake for 15 minutes.
Using a peeler, create long strands of carrots. Remove vegetables from oven, add carrots and toss. Bake for an additional 10-15 minutes until vegetables are fork tender. Remove from oven.
In a large bowl, massage Swiss chard leaves with olive oil and apple cider vinegar. Add garlic powder, salt and pepper. Add Swiss chard on a large baking sheet. Roast for 10 minutes until Swiss chard is tender (not crispy).
As vegetables are roasting, cook the sorghum. Add sorghum and water to a pot. Bring to a boil; cook 5 minutes. Turn heat down to low; cover and cook for about 45 minutes or until tender-firm. (for an extra boost of flavor, add a splash of vegetable stock with the water) Season with salt and pepper.
Assemble your bowls, by adding sections of sweet potatoes, beets, carrots, Swiss chard, and sorghum. Add a dollop of hummus and sprinkle with goat cheese. Serve warm.
This post may contain affiliate links. Read my privacy policy.
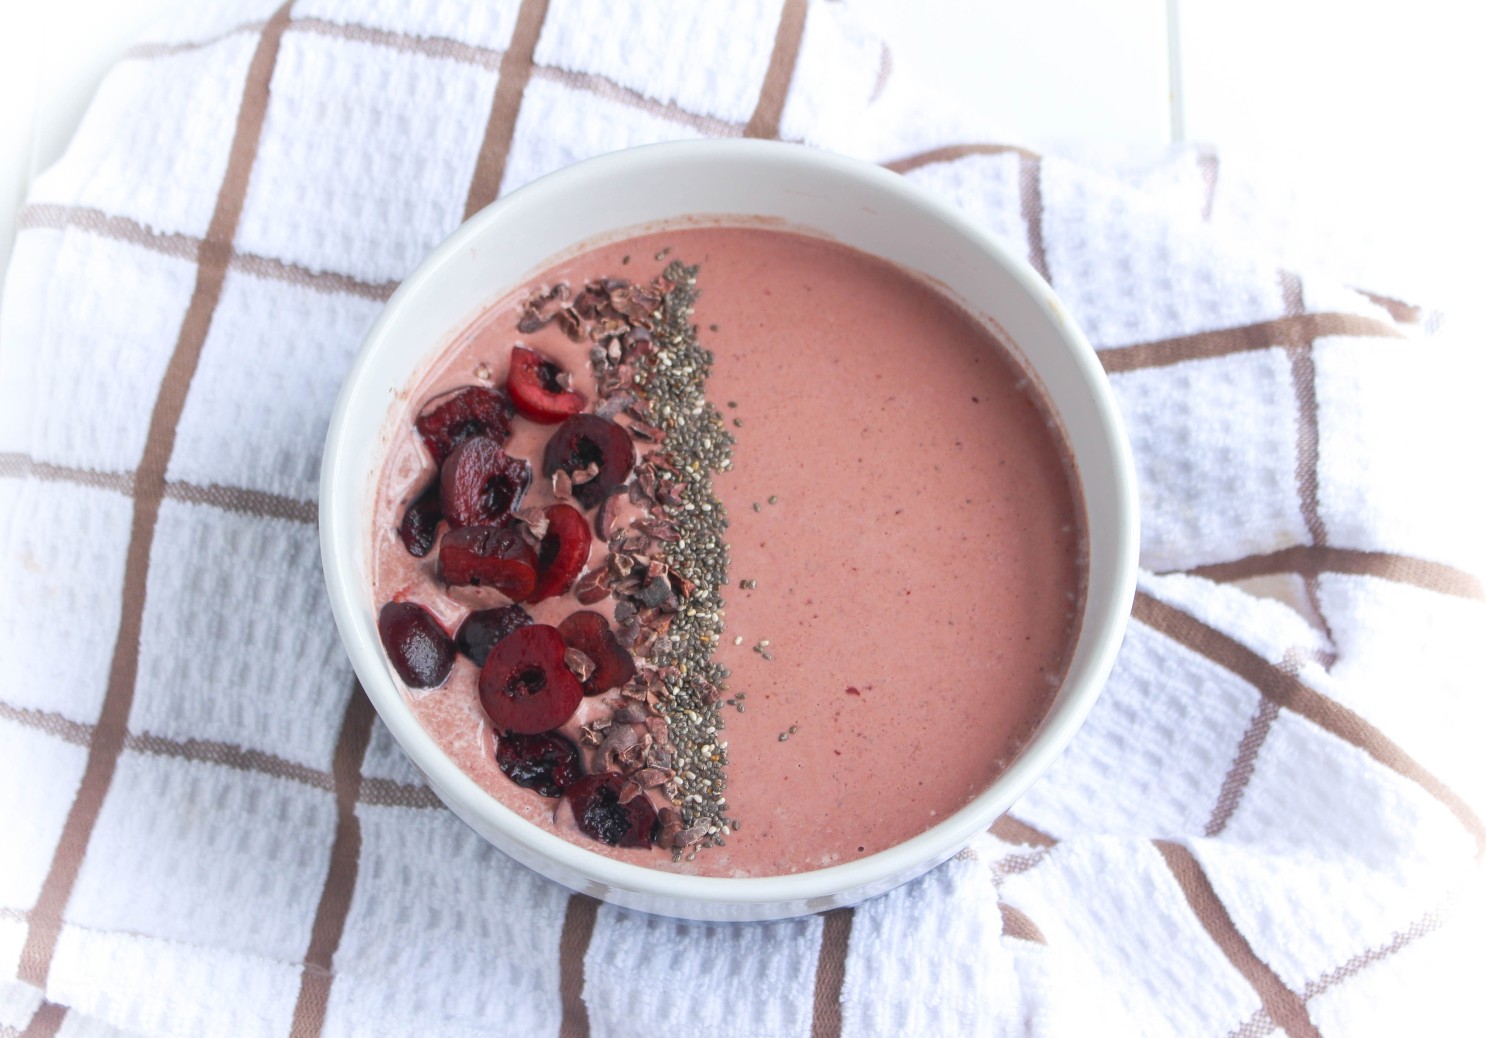
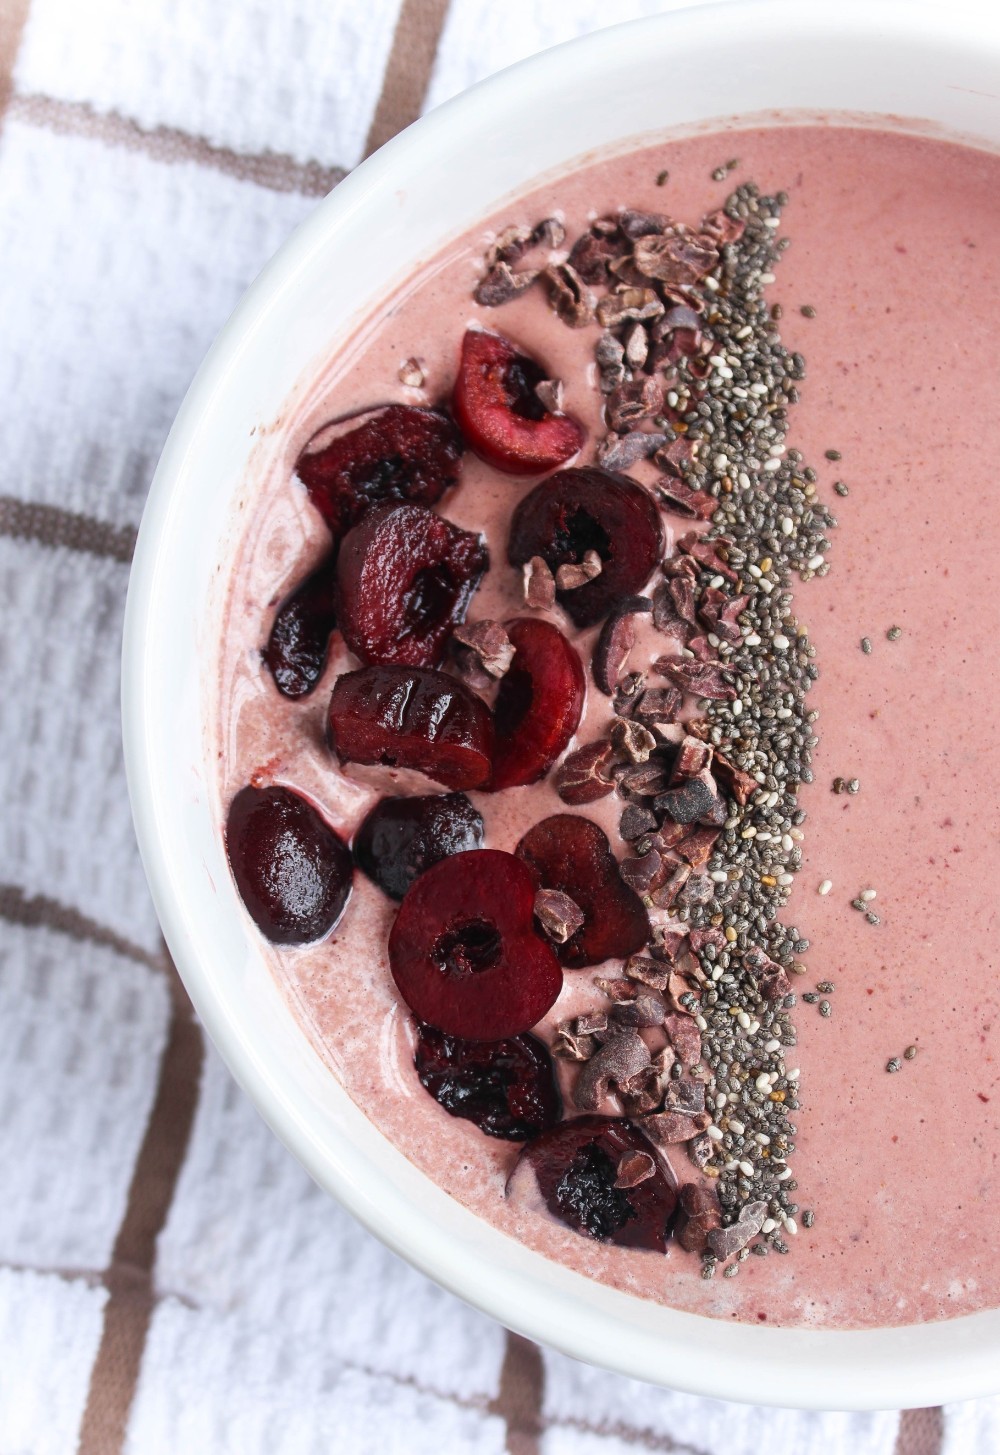
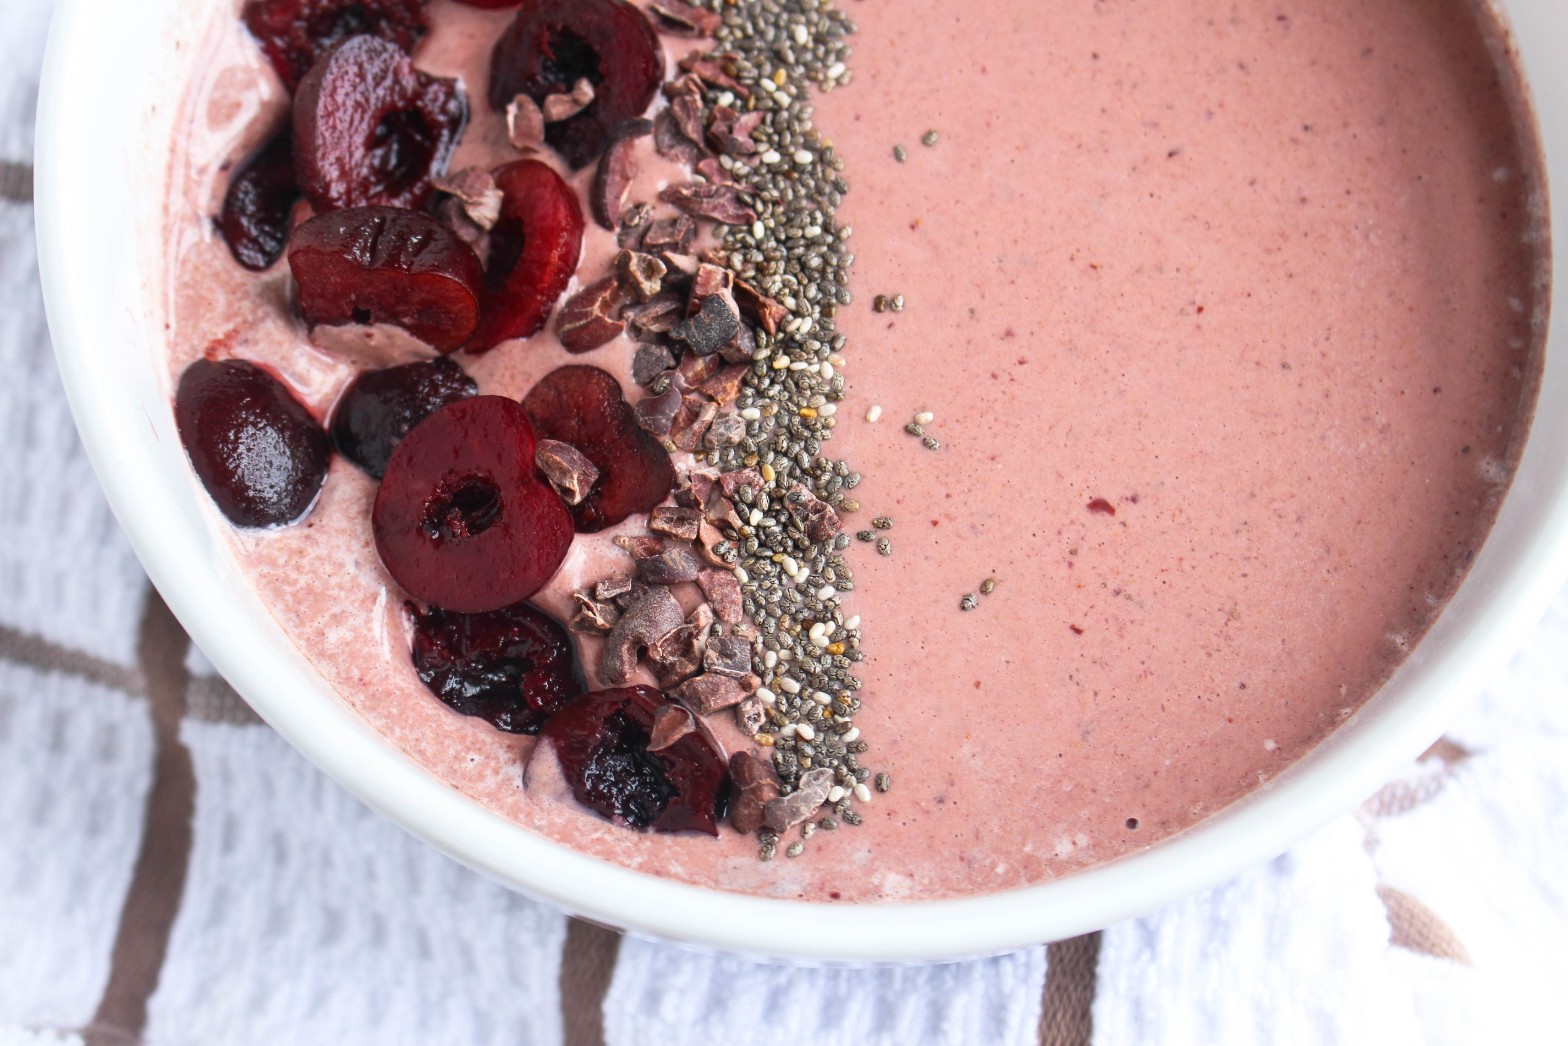
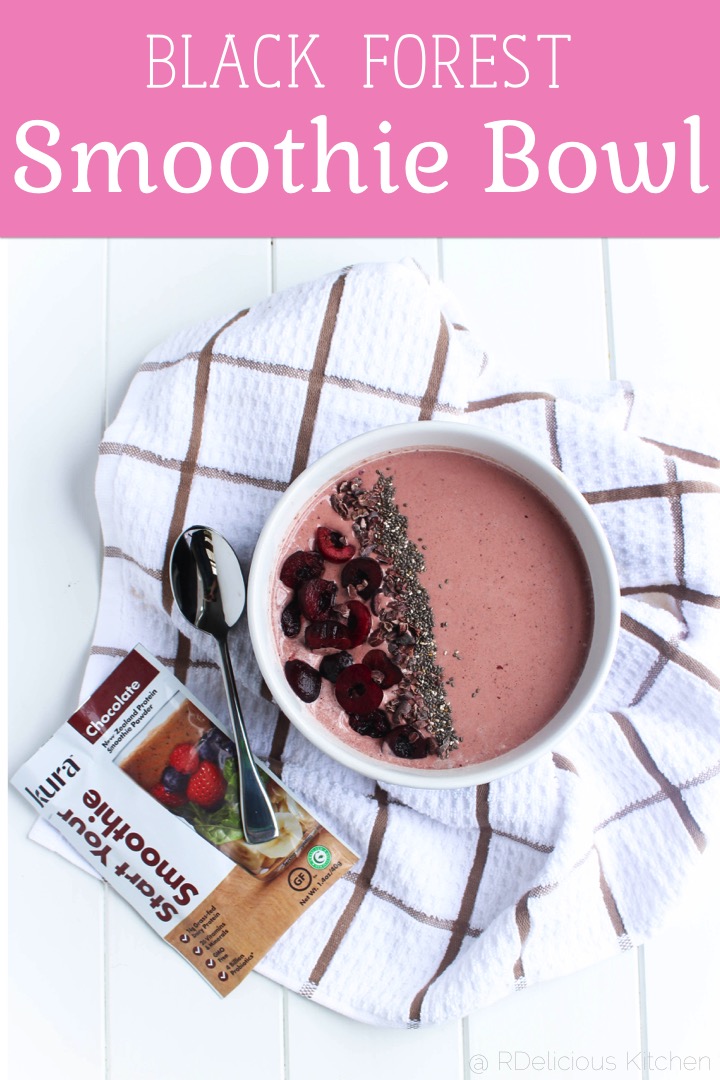
Imagine the sweet indulgent taste of black forest cake, but a healthier version for breakfast. This Black Forest Smoothie Bowl will feel like an indulgent treat, but healthy for delicious and filling breakfast. Disclosure: I was not compensated for this post, however I did receive free samples of Kura. All opinions are my own and not influenced in any way.
I will be the first to admit, sometimes these pretty looking bowls end up in a tumbler cup as I am rushing out the door. It’s so important to take the time to sit down and enjoy a breakfast. I personally am trying to be more mindful of that myself. I know I’ve talked about this before, but enjoying a smoothie bowl vs. a smoothie drink (even with the same exact ingredients) can help practice mindful eating.
Making a smoothie bowl instead of an on-the-go drink can help practice mindful eating and encourage slower eating. It’s easy to suck down a smoothie in a few big gulps. By enjoying a smoothie bowl with a spoon it can help you slow down, be more aware of what you’re eating and pay attention to whether or not you are actually hungry.
I never used to be a fan of protein powders, because majority of them have a lot of weird sounding ingredients and additives in them and even have a weird after taste, but now there are more options out there from real food ingredients. I always promote real food first, but sometimes protein powders can be a great supplement to the meal. Key word = supplement. Protein powders alone shouldn’t replace a full meal. Take this smoothie bowl for example, it contains three food groups with a balanced mixture of carbs, fats, and proteins, coming from it’s wholesome ingredients – fruit, almond milk, yogurt, almond butter, and chia seeds. The protein powder is supplementing the meal to add that extra little boost of protein. I was intrigued about Kura with it’s grass-fed dairy protein and probiotic blend. Again, the protein powder is meant to supplement the meal with adding an additional 14g of New Zealand grass-fed dairy protein, which is proven to have higher levels of omega-3s than grain-fed dairy protein. (source)
Have fun with the toppings and add your favorite healthy options!
This post may contain affiliate links. Read my privacy policy.
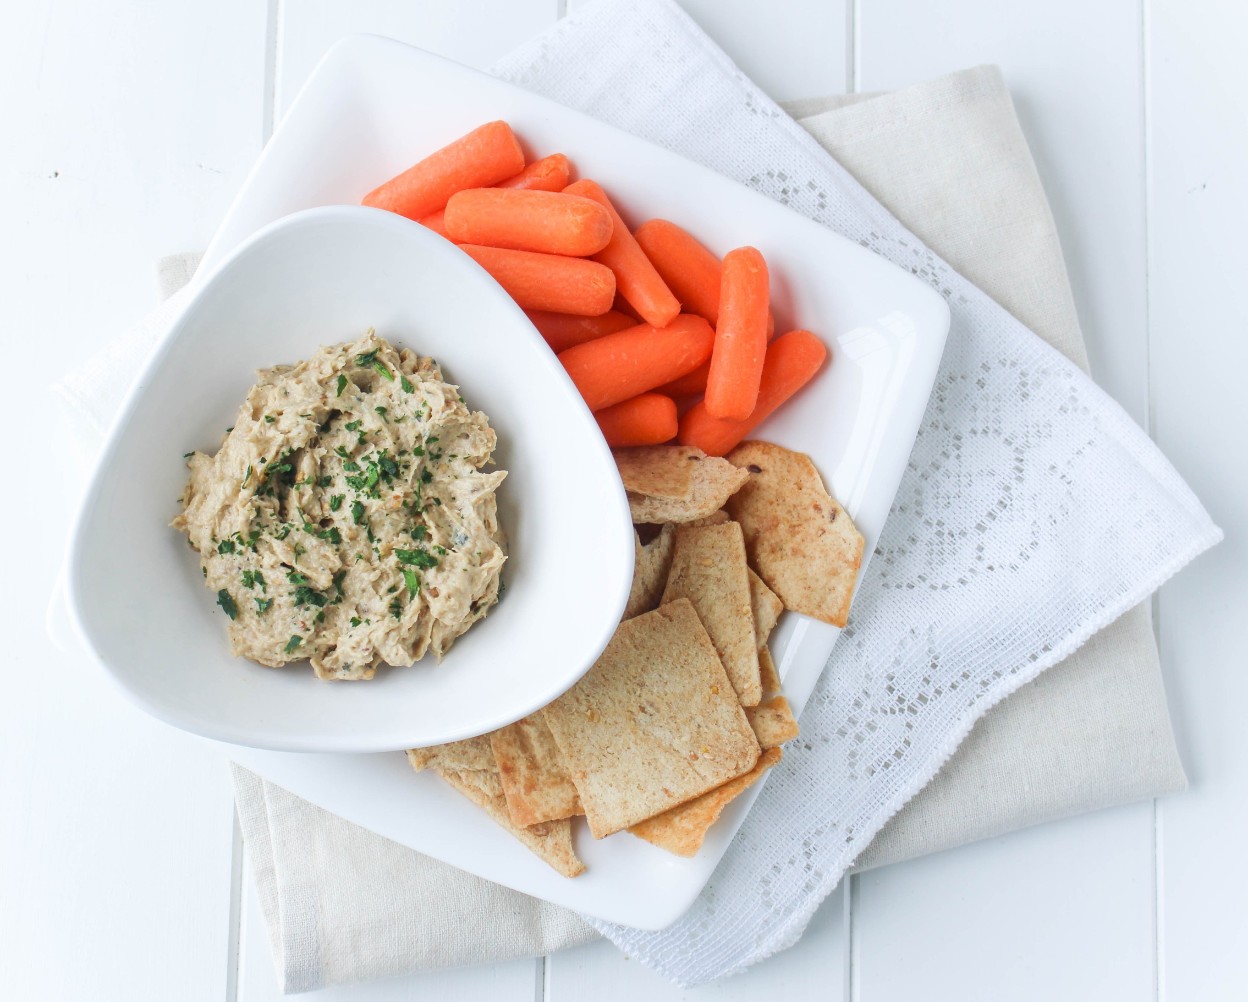
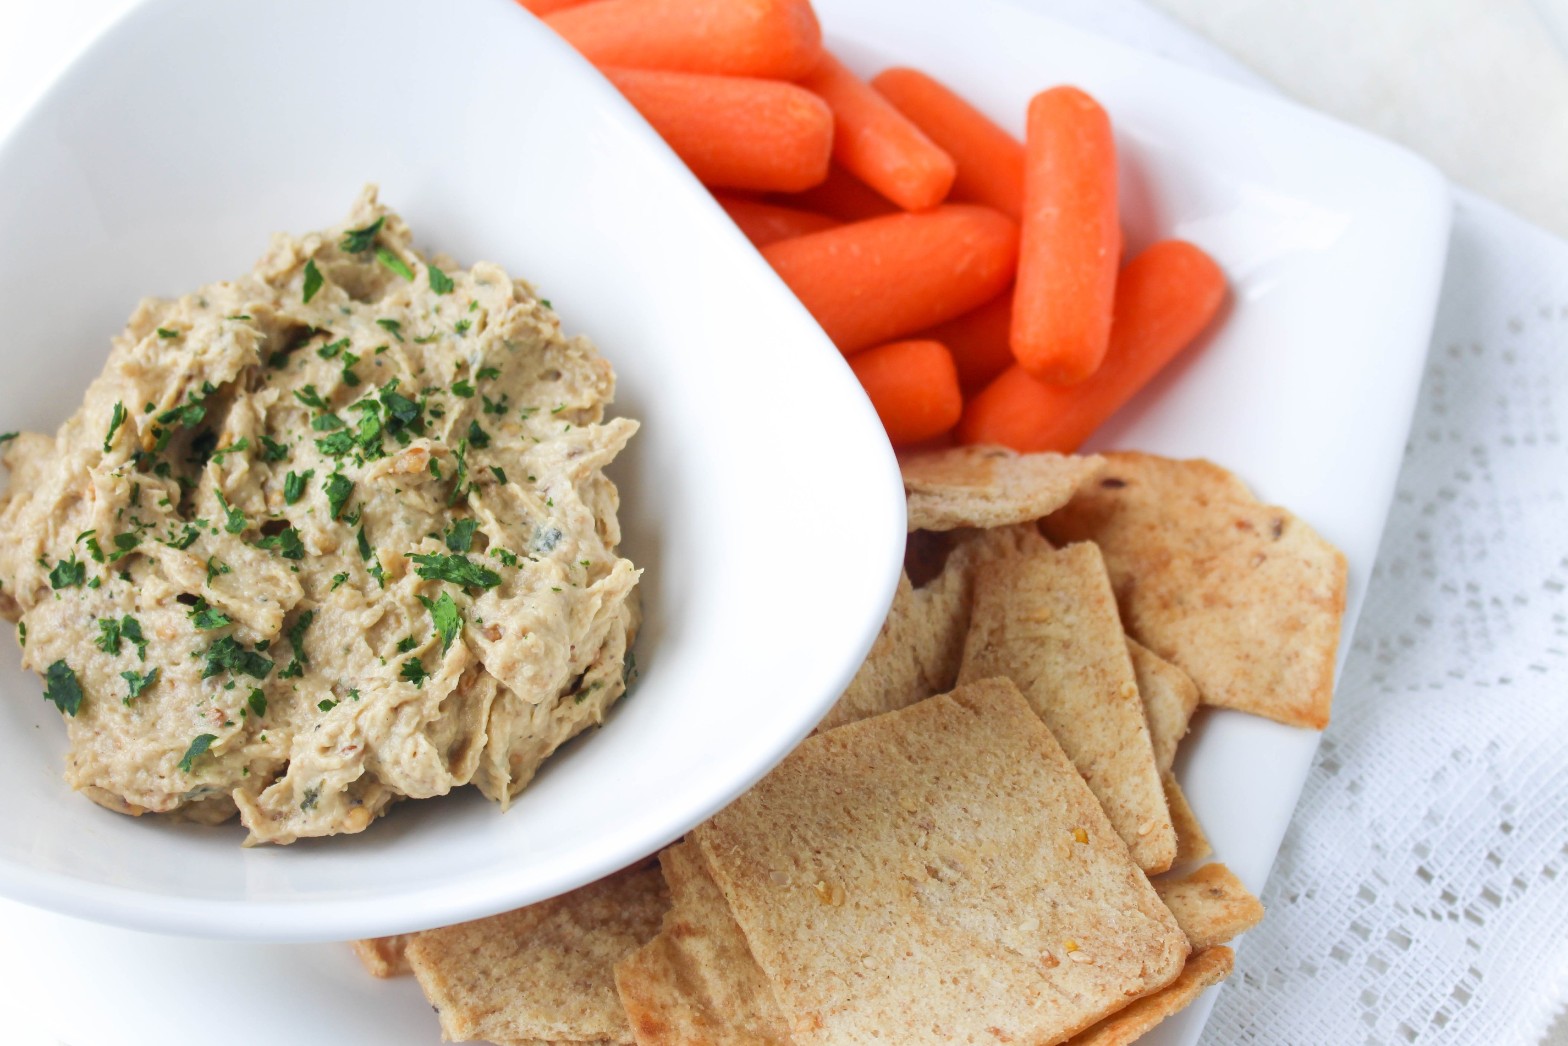
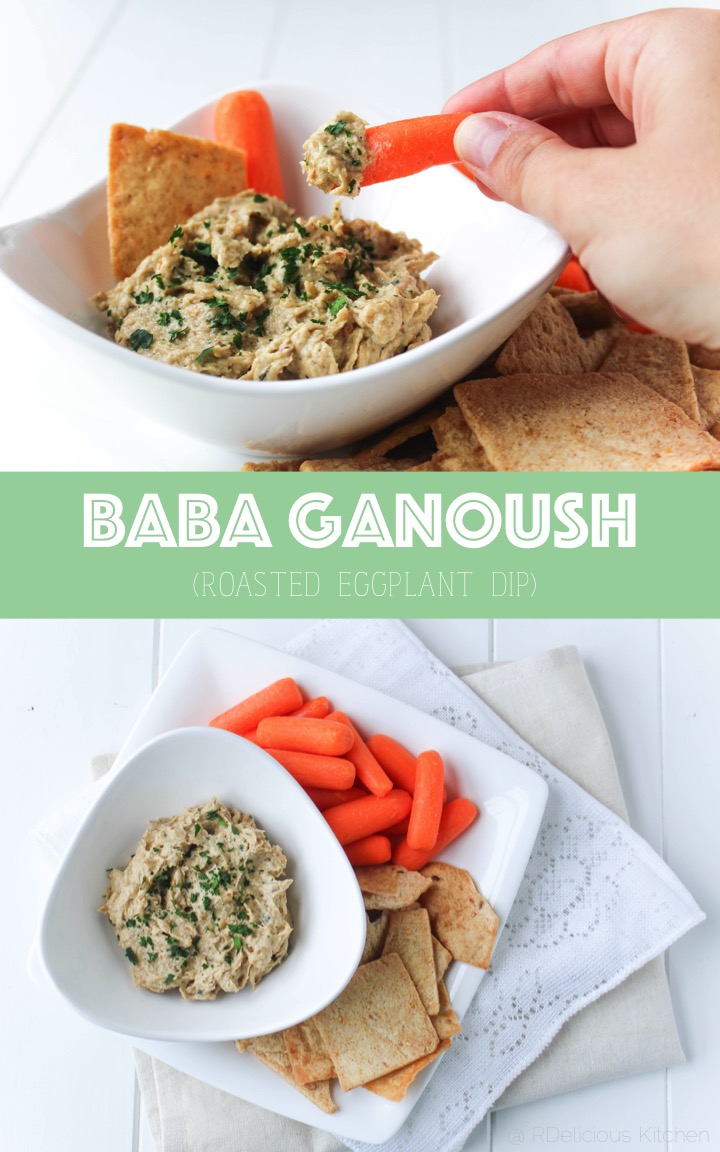
Looking for a new dip for your veggies? Try baba ganoush – a signature Middle Eastern roasted eggplant puree enriched with tahini and seasoned with lemon juice and lots of garlic.
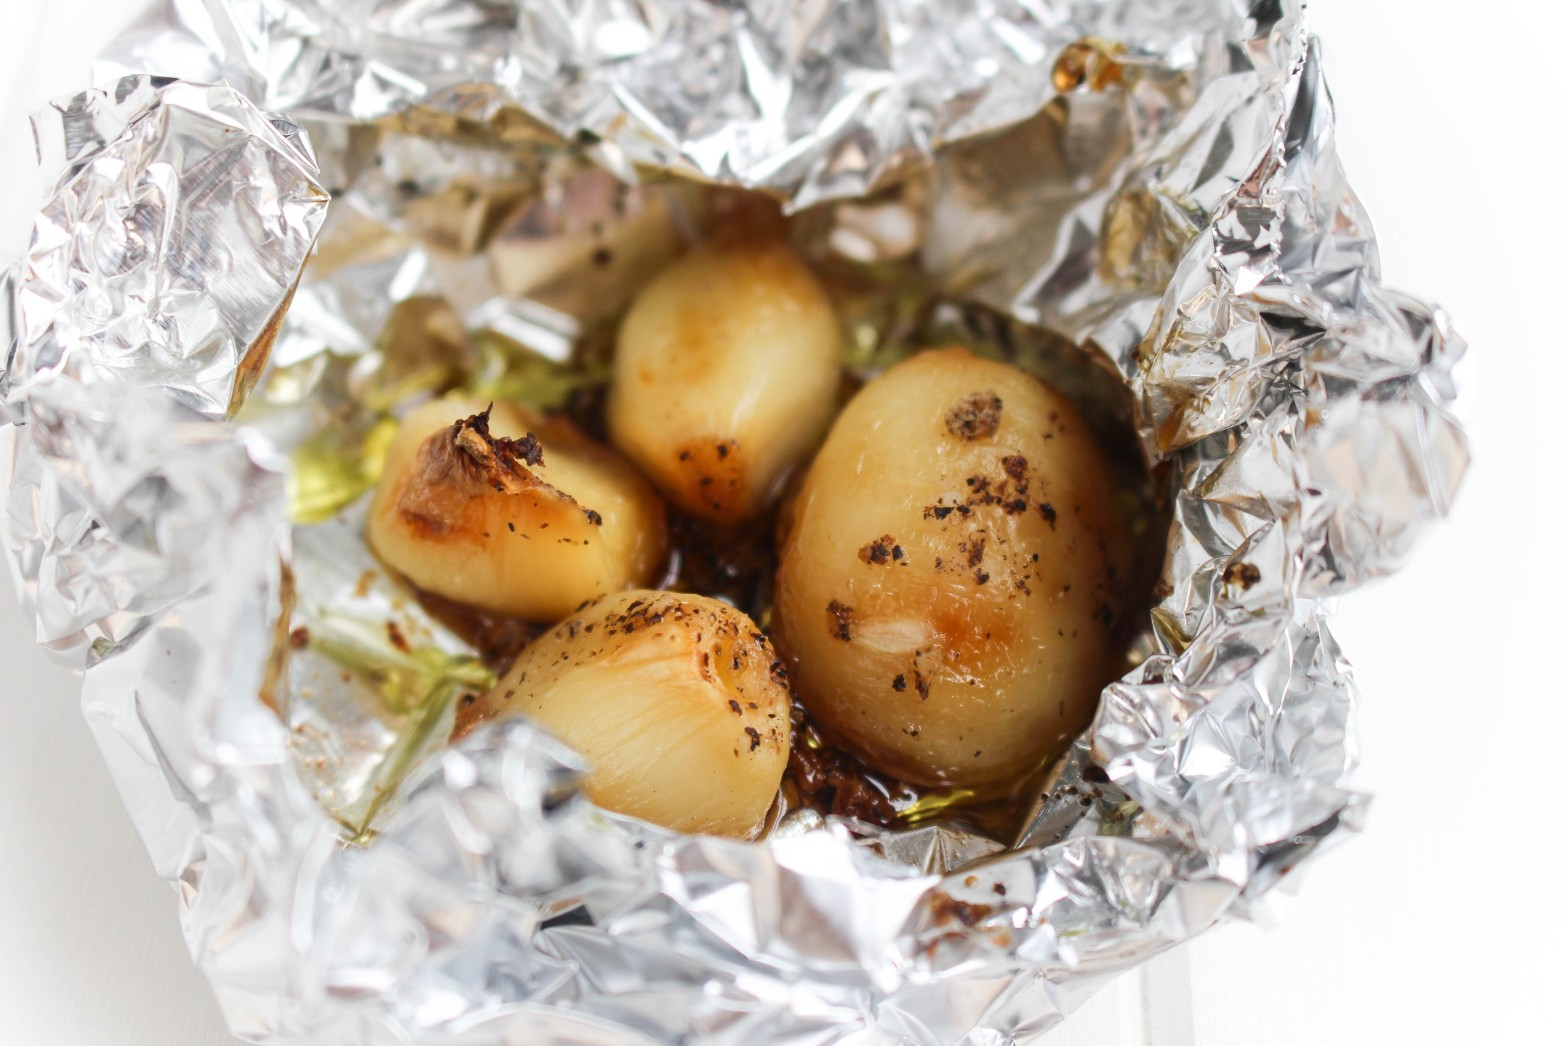
My favorite part of this dip is the smokiness that the dish brings when roasting the eggplant. I additionally roasted the garlic for this dip too. Have you ever roasted garlic before? It adds that same smokiness but also a subtle sweet flavor. Simply add cloves of garlic (you can even do the whole head of garlic at once!) in a little tin foil pouch, drizzle with some olive oil and sprinkle a little salt and pepper. Seal up the foil and roast along with the eggplant. This will also help incorporate the garlic flavor throughout the dip because it is much easier to blend since it is softer when you puree the dip.
I picked up a bunch of eggplant at my last farmer’s market visit. It’s been sitting in my refrigerator because I just couldn’t decide what to make. I had so many recipe ideas running through my head. #foodbloggerproblems My extended family decided this year to do a big fantasy football draft. It was pretty entertaining. One thing about our family is that we are all very loud. So all of in the room trying to have an organized fantasy draft = chaos. Everyone was just talking over each other, but once we figured everything out, everyone picked their teams. Wish me luck this season!
Baba ganoush is very similar to hummus, but instead of chickpeas being the base, roasted eggplant is. Don’t skimp on the tahini (ground sesame seeds). It really adds that extra boost of flavor, plus heart healthy unsaturated fats.
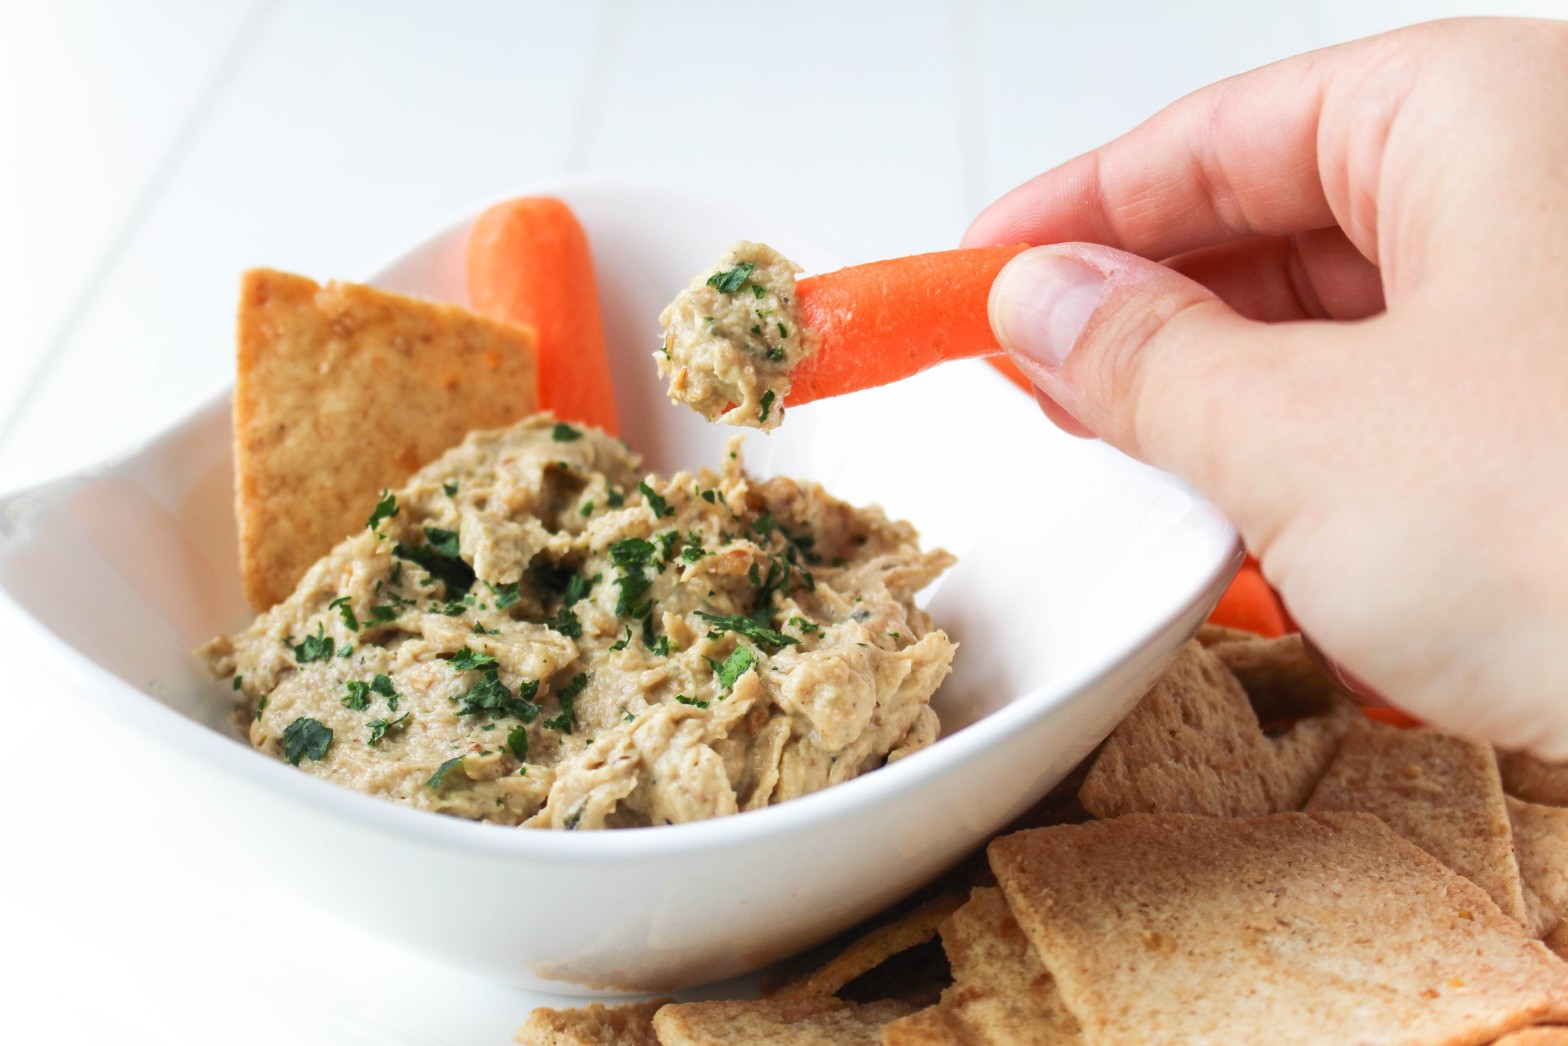
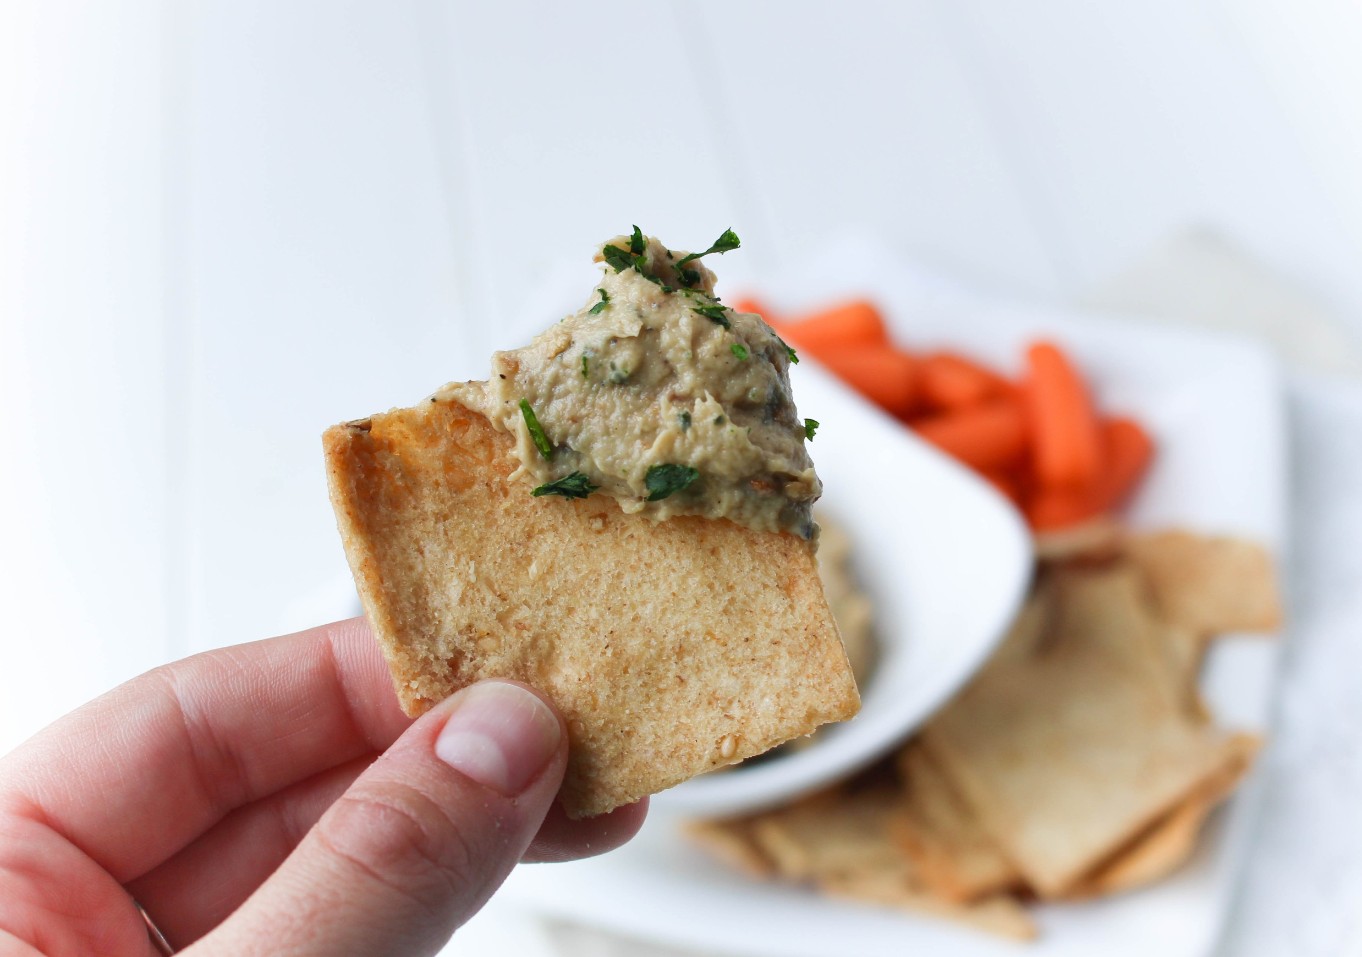
You can use baba ganoush like in any application where you would use hummus. Spread it on a sandwich instead of mayo. Swirl it in to mashed potatoes or mashed cauliflower to kick it up with some flavor. Or just simply dunk with your favorite veggies or pita chips.
Slice eggplant into 1/4 inch rounds and place on a large baking sheet. Drizzle with 1 tablespoon olive oil and sprinkle with salt and pepper.
On a small piece of tin foil, add the garlic cloves, drizzle over 1/2 tablespoon of olive oil and sprinkle with salt and pepper. Loosely wrap the foil around the garlic. Place the wrapped garlic on the baking sheet with the eggplant.
Broil for 5 minutes, turn eggplant and broil for an additional 5 minutes. Turn broiler off, but do not remove eggplant from the oven. Heat oven to 350 degrees and roast for an additional 25 minutes.
Remove from pan, wrap the rounds in foil to lock in moisture; let sit for about 5 minutes.
Peel away most of the skin of the eggplant and add flesh to a food processor. It should be soft and tender and the skin should come off easy. Add the roasted garlic tahini, lemon juice, remaining 1 tablespoon olive oil, and parsley. Process until smooth and creamy. Season with salt and pepper.
Garnish with additional parsley. Serve with pita chips and veggies.
This post may contain affiliate links. Read my privacy policy.
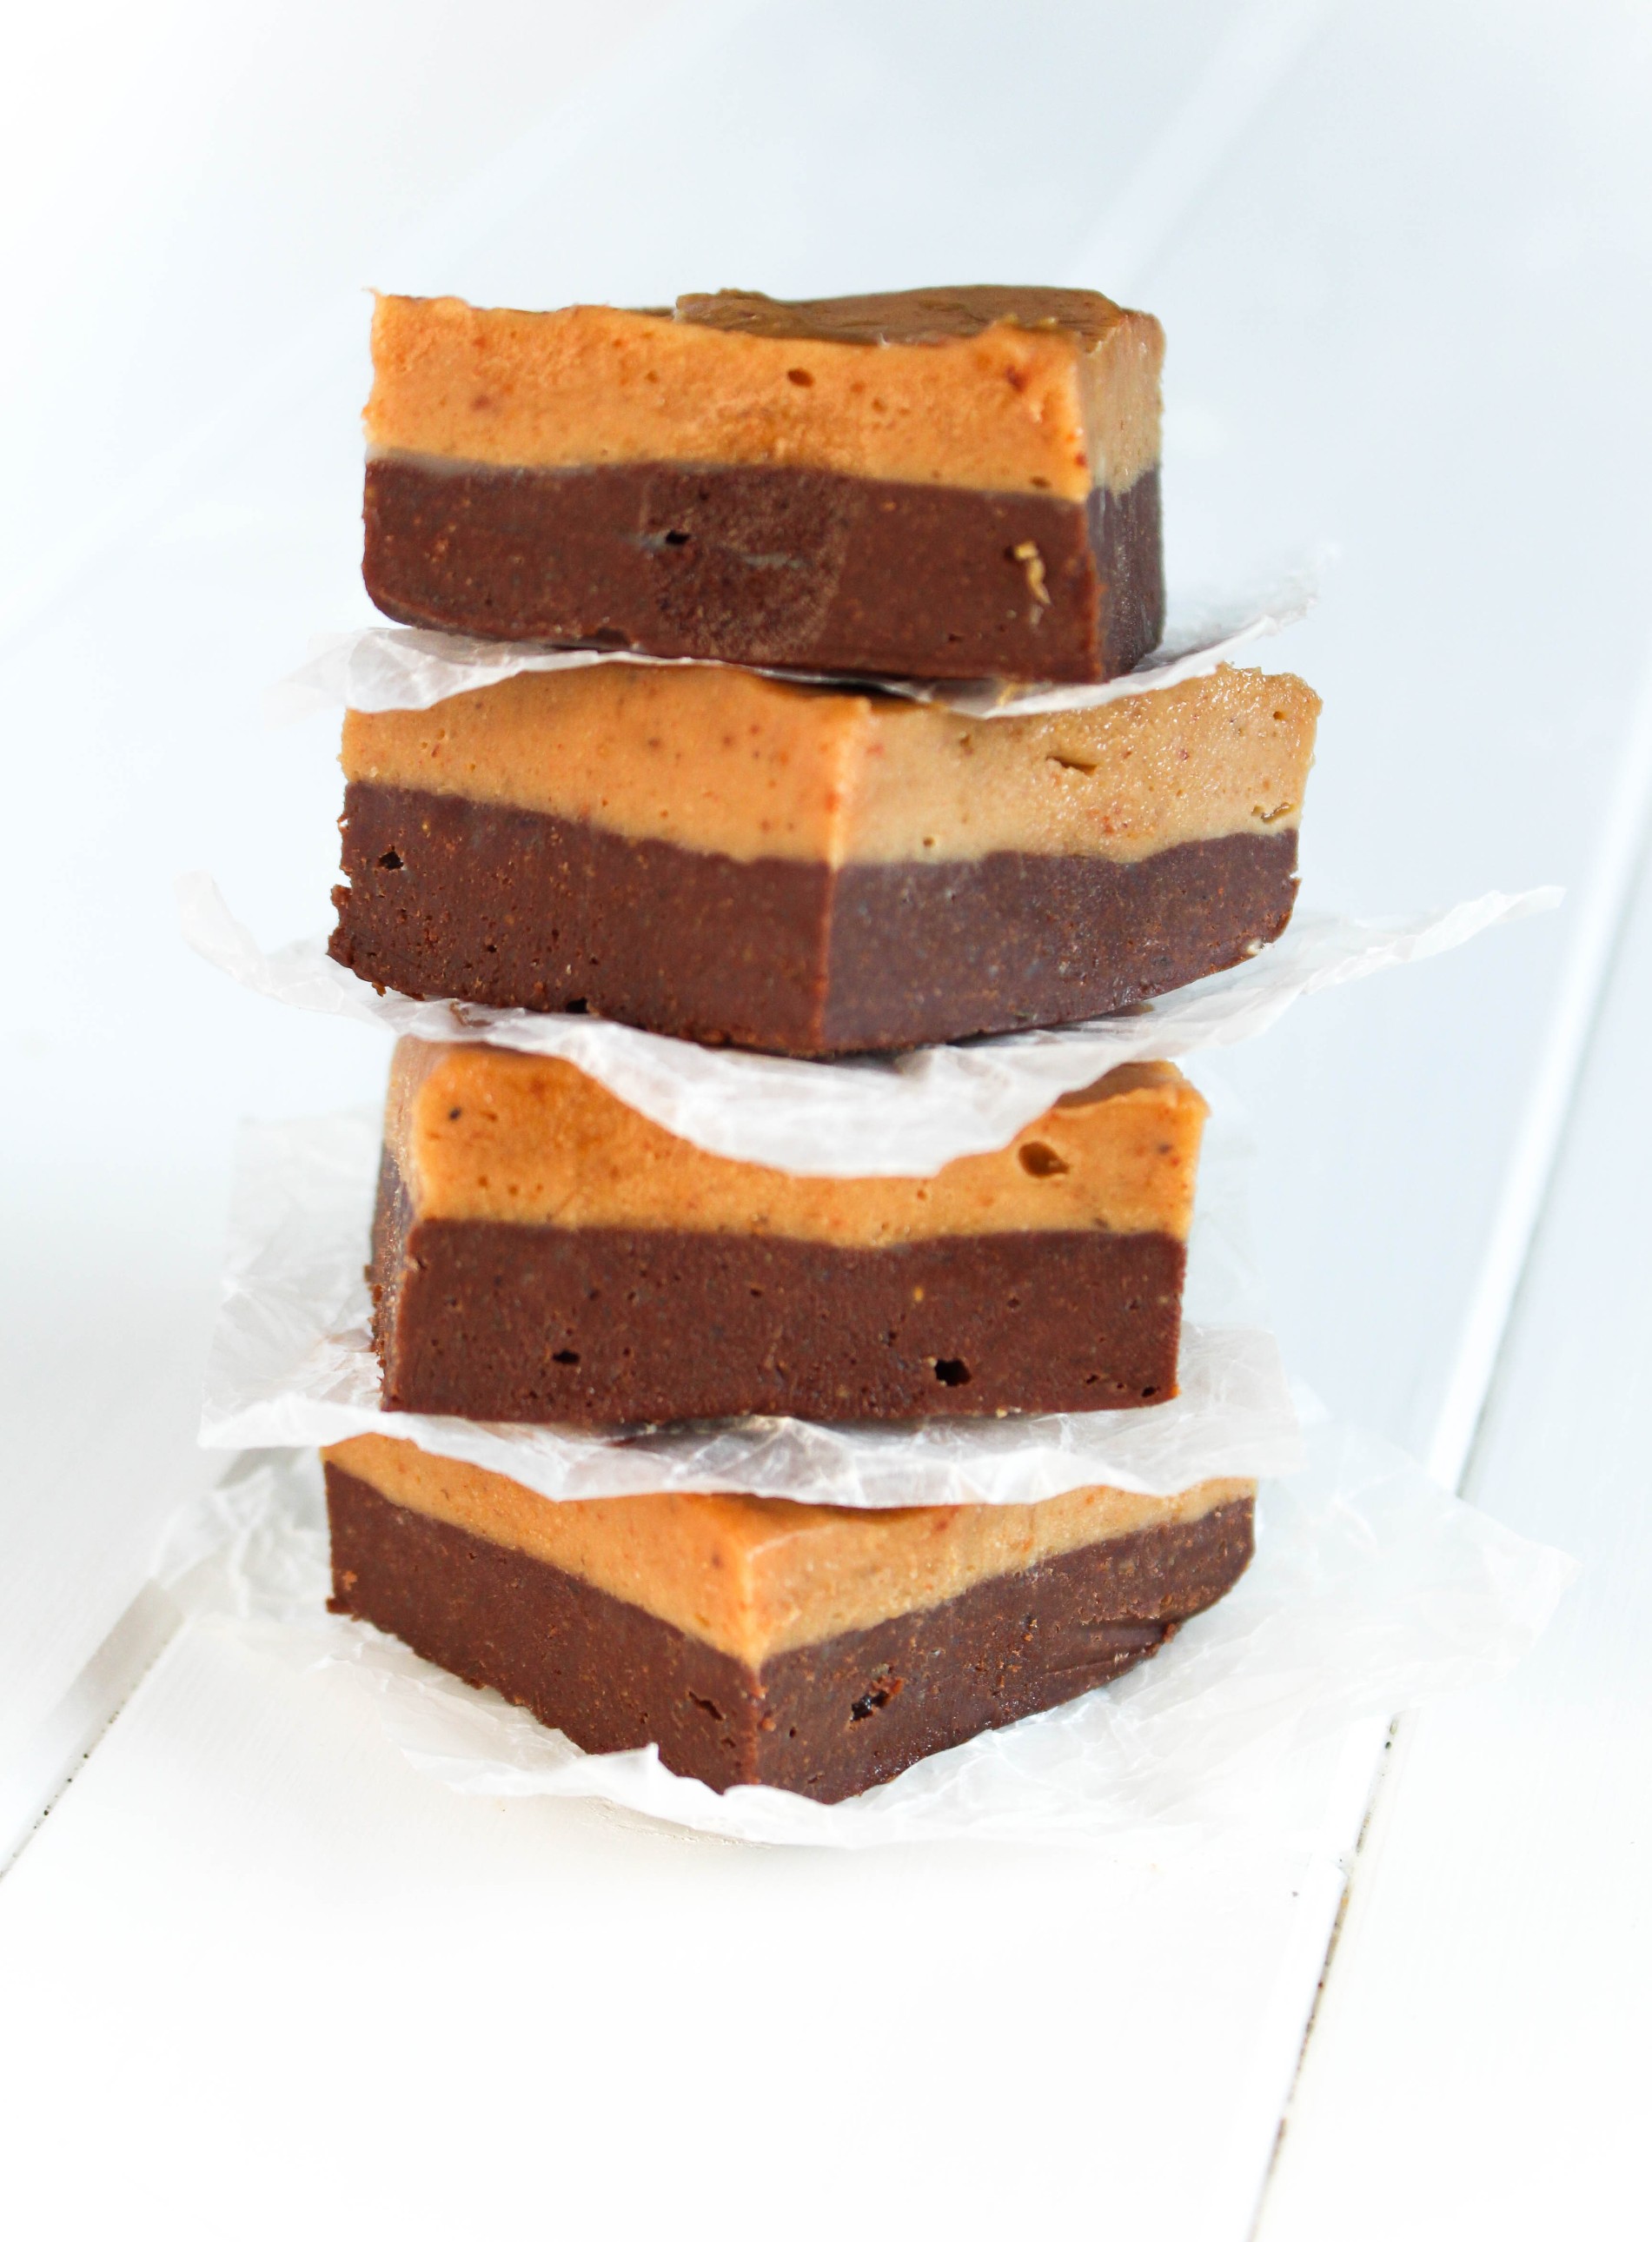
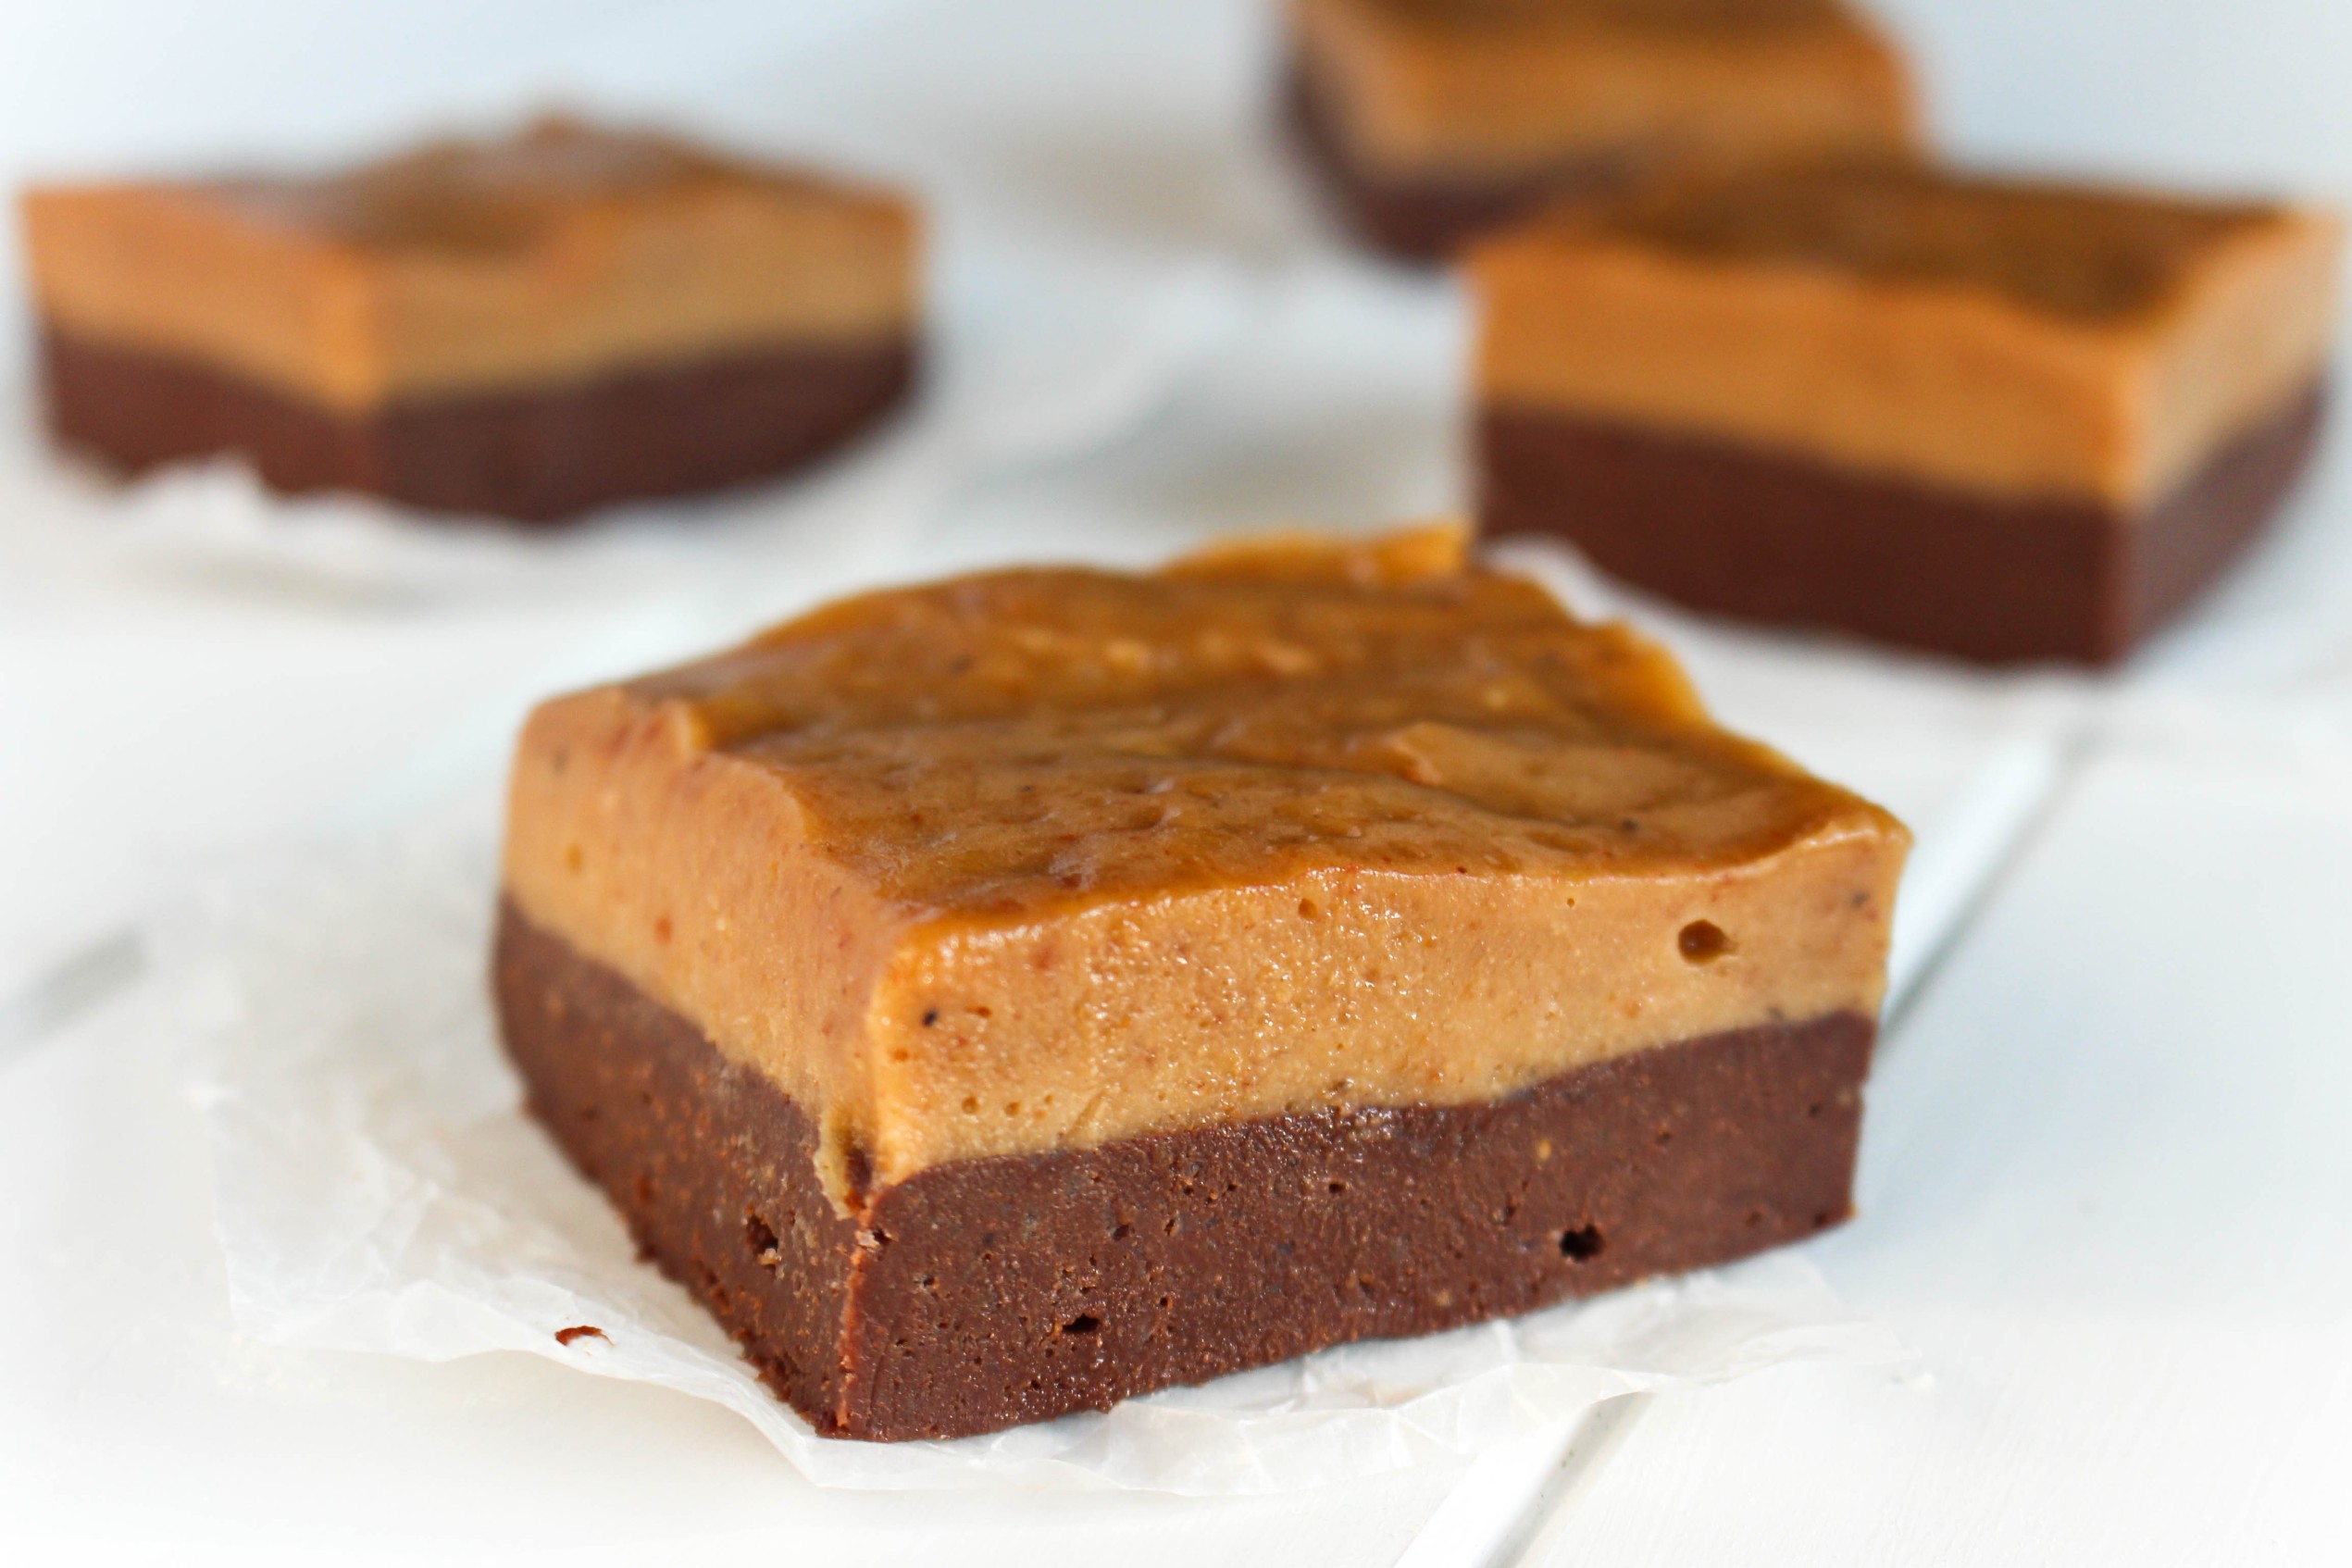
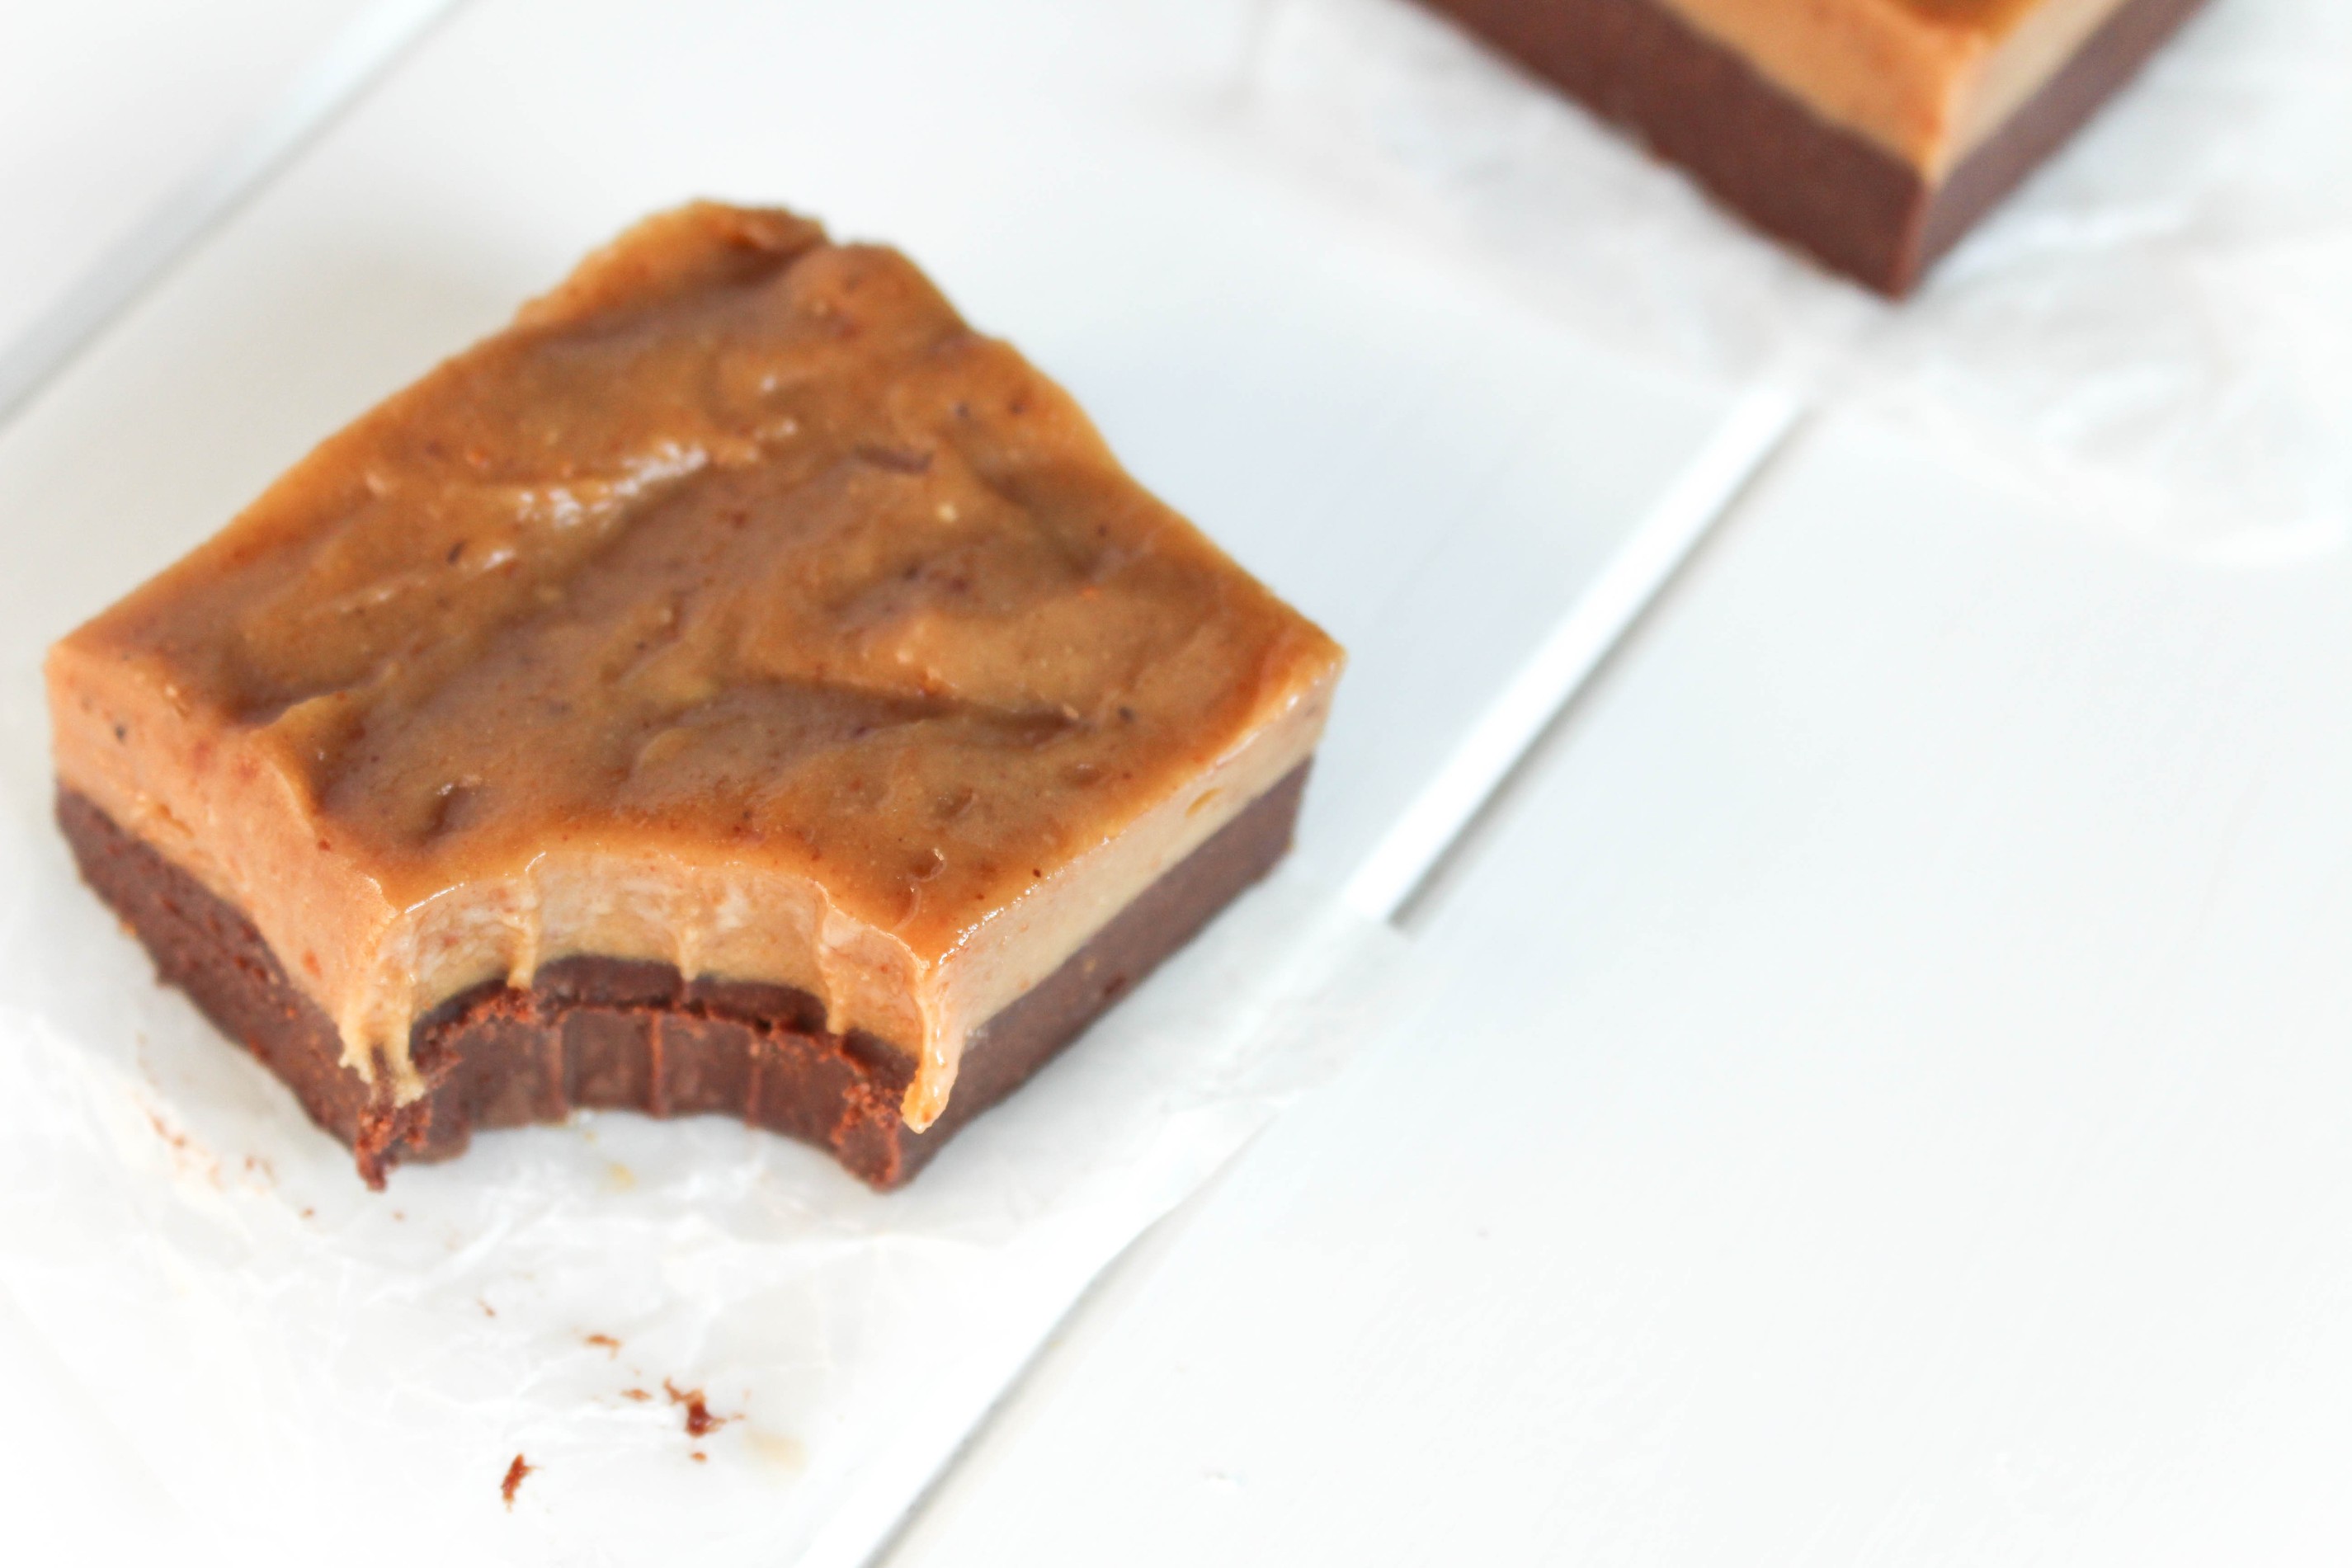
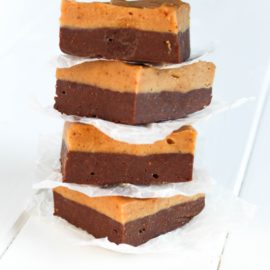
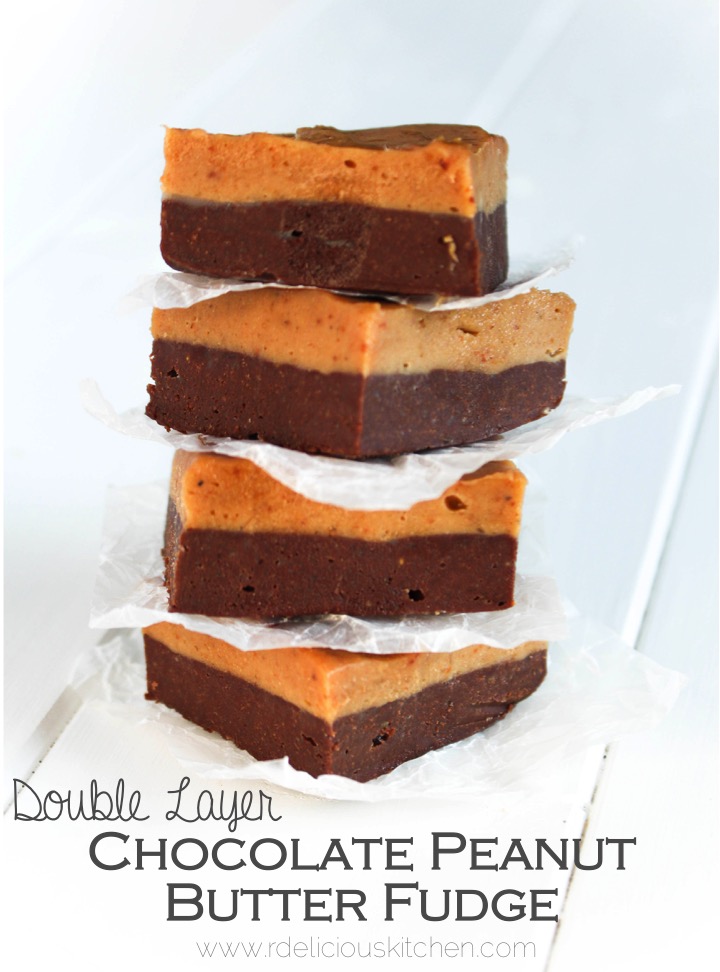
Chocolate fudge or peanut butter fudge – which one is your favorite? If you can’t decide like me, layer them together to make delicious creamy fudge. The Recipe ReDux is challenging members this month to take a trip down memory lane with recreating a fun vacation memory recipe.
A Vacation-Inspired Recipe:
Start unpacking your favorite vacation memories. Think about a trip you took state-side or internationally and create a healthy recipe from an unforgettable meal you enjoyed. Or, create a recipe from a native ingredient you saw or tasted on your travels.
When I was younger, my family used to go down to Wildwood, NJ every summer. I was recently reminiscing about our Wildwood vacations with my mom and the one place that we HAD to stop by was Fudge Kitchen. They make the silkiest fudge that just melts in your mouth. Plus, they had so many flavors to choose from, it was so hard to decide which one to get. We used to get combo boxes of fudge because everyone in my family wanted different flavors. My two favorite were the classic chocolate and peanut butter fudge. So why not get the best of both flavors and layer them! Now, I know fudge is a treat, but hey when you’re on vacation it’s okay to indulge a little. To lighten up this fudge I swapped out the sugar and sweetened it with a little maple syrup and a banana. The only problem with this fudge is you have to be patient. Since there are two layers you have a waiting time in the middle for the chocolate layer to harden before you can add the peanut butter layer.
In a small pot over low heat, combine 1/4 peanut butter, 1/2 teaspoon vanilla extract, 1 tablespoon coconut oil, 1 tablespoon maple syrup, and 1/4 cup dark chocolate chips; until melted. Let cool slightly.
In a food processor or blender combine 1/2 banana and chocolate mixture and blend until smooth.
Pour into an 8×8 pan lined with wax paper; spread evenly.
Place in the freezer for 1 hour to harden.
In a small pot over low heat, combine remaining 1/2 cup peanut butter, 1/2 teaspoon vanilla extract, 1 tablespoon coconut oil, and 1 tablespoon maple syrup; until melted. Let cool slightly.
In a food processor or blender combine 1/2 banana and peanut butter mixture and blend until smooth. Pour peanut butter mixture over the chocolate layer; spread evenly. Return back to the freezer for an hour or until fudge hardens.
(Store in the freezer)
Recipe Card powered by
FREE Ebook
Get on the list and download my free Knife Basics & Skills Ebook!
This website uses cookies to improve your experience. We'll assume you're ok with this, but you can opt-out if you wish.AcceptRejectRead More
Privacy & Cookies Policy
Privacy Overview
This website uses cookies to improve your experience while you navigate through the website. Out of these, the cookies that are categorized as necessary are stored on your browser as they are essential for the working of basic functionalities of the website. We also use third-party cookies that help us analyze and understand how you use this website. These cookies will be stored in your browser only with your consent. You also have the option to opt-out of these cookies. But opting out of some of these cookies may affect your browsing experience.
Necessary cookies are absolutely essential for the website to function properly. This category only includes cookies that ensures basic functionalities and security features of the website. These cookies do not store any personal information.
Any cookies that may not be particularly necessary for the website to function and is used specifically to collect user personal data via analytics, ads, other embedded contents are termed as non-necessary cookies. It is mandatory to procure user consent prior to running these cookies on your website.





 Confession: I am a terrible pancake flipper. I am a waffle maker pro, but when it comes to pancakes, I fall short.
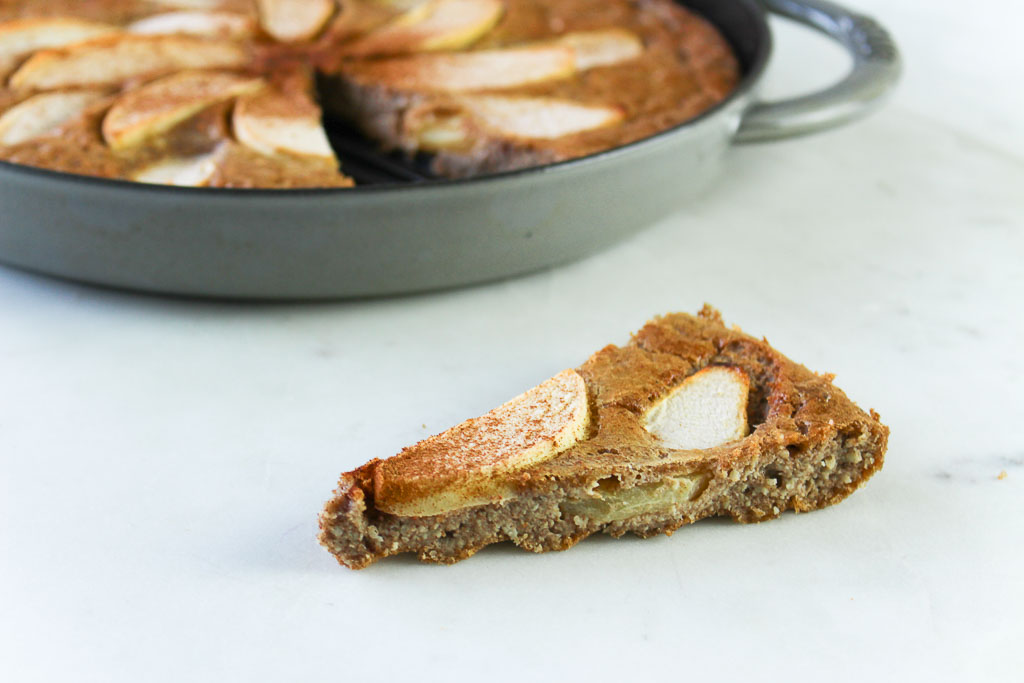 I was going to attempt to make this recipe into individual pancakes, but instead of the hassle of making a bunch of pancakes, I tried making one giant pancake and let me tell you.. it was the best idea I’ve ever had.
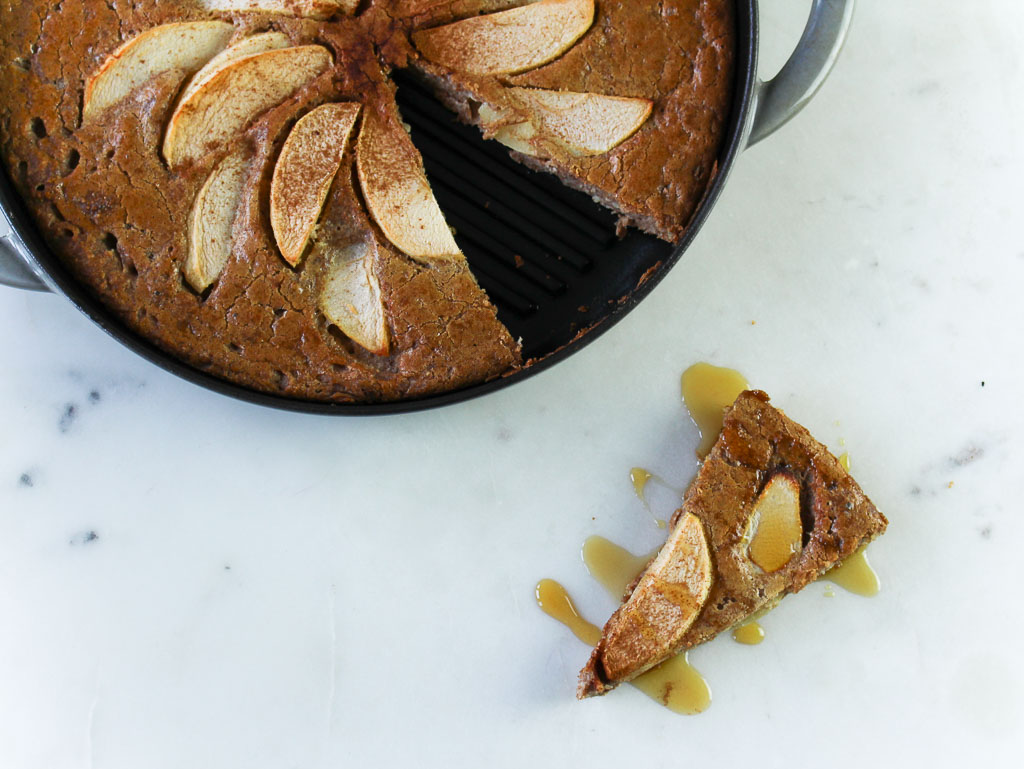 This giant pancake can now be served family style, so no more waiting for your stack on Sunday morning when everyone else is chowing down. Plus, no more pancake flipping disasters!