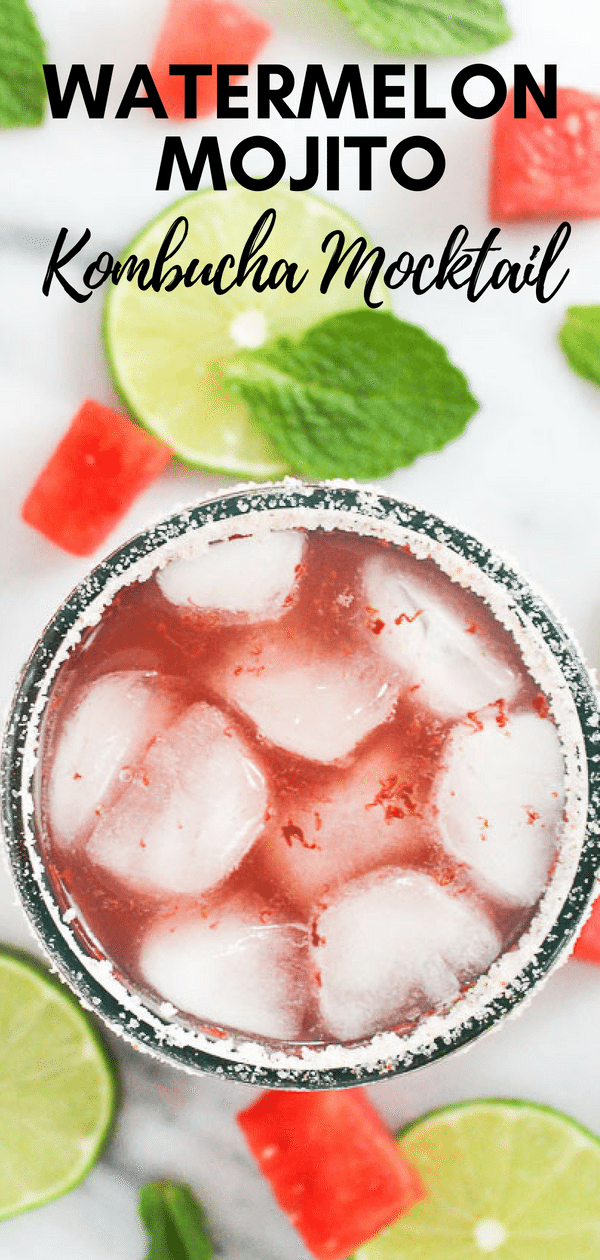
Sip on this refreshing Watermelon Mojito Kombucha Mocktails and set up a fun drink station to wow your guests this summer.

I’ve come to really enjoy kombucha.
What is kombucha?
Kombucha is a fermented tea that naturally contains probiotics. These probiotics are actually good bacteria that line your digestive tract and support your immune system, as they absorb nutrients and fight infection and illness.
With its health benefits, I wanted to make it into a fun mocktail instead of just drinking it straight. Kombucha comes in many flavors, which ranges in many colors to create a variety of colorful mocktails.
What’s a better way to enjoy your Kombucha Mocktail than with a perfectly styled drink station? A bar cart makes the perfect base for your drink station along with being a great conversation starter. They’re easy to move around your house or even outside for entertaining. The best part is that there really is a bar cart out there to match any design style or budget. You can find a glam rose gold cart with leather accents or more rustic wooden piece that’s perfect for housing all of the accouterments for fixing the perfect mocktail. Pick your favorite cart and you’ll have no problem creating a fun drink station in your home.
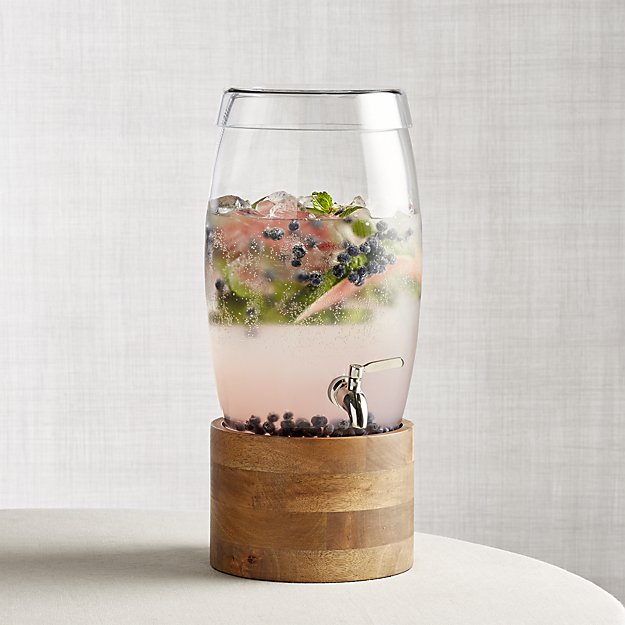
Large glass beverage dispensers are perfect for making a statement atop your bar cart. The bright fun color of your kombucha along with any floating fruit slices or herbs will become a tantalizing focal point for guests! This dispenser from Crate & Barrel has a trendy wooden stand or if you’re looking for more variety this set has two dispensers with cute chalkboard labels to tell your drinks apart. You can supplement your beverage dispensers with elegant carafes of juices or fizzy drinks for plenty of customization.
Next, add a few fun touches to really bring your station to life. There are practical additions like printed napkins or bright straws that are always sure to be a hit. A stack of books is a great way to show off your personality and can be a fun conversation starter for guests. In their post on bar cart styling tips, the professional designers at Havenly suggest hanging a piece of art above your cart to give the area a finished look. No matter how you decide to accessorize your drink station, adding thoughtful touches of your personality will elevate it from a simple beverage center to a stylish focal point in your home.
(Image source)
Accenting your station with a small potted plant atop your cart gives it a perfect touch of vibrancy and life! From succulents to bouquets of fresh flowers, plants are a great accessory for any style of decor. For extra fun, use a small herb planter set to showcase live garnishes for the drinks you’re serving, like some fresh mint for my Watermelon Mojito Kombucha Mocktail. Include a small pair of scissors so guests can snip their own fresh herbs for adding to their beverages.
Finally, when styling a drink station, your glassware is more than just functional. Pick out some fun glasses that match your personality and show them off on top of your bar cart like a decor piece. Cut crystal glasses are always a classic choice for some sophisticated sparkle or just grab some cute mason jars if your style is more casual. Varying the sizes and shapes of your glassware will add some fun diversity to the look of your station.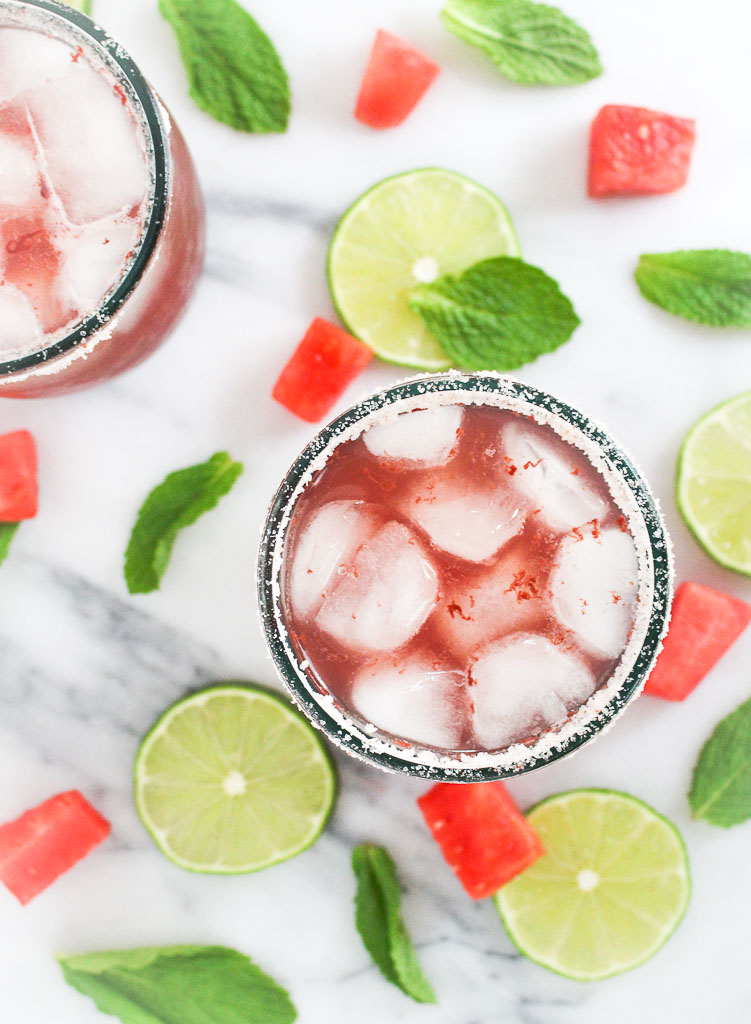
Put it all together atop your cart and you’ll have a perfectly adorable station for showing off your kombucha mocktails in style!
Design style tips provided by Havenly. I was not compensated for this post. All thoughts and opinions are my own.
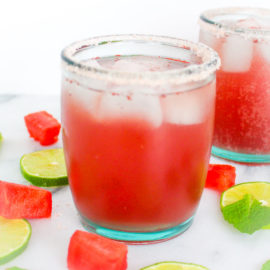
Watermelon Mojito Kombucha Mocktail
- Yield: 2
Description
Sip on this refreshing gut-healthy kombucha mocktail.
Ingredients
- 8 oz. watermelon kombucha
- 8 oz. seltzer or club soda
- 2 tablespoons lime juice, plus more for garnish
- ¼ cup mint, muddled, plus more for garnish
- salt, to garnish the rim of the glass
Instructions
- Using a mortar and pestle crush the fresh mint leaves to release the flavor.
- In a shaker, add the kombucha, lime juice. and mint. Gently shake. (Be careful, the kombucha is carbonated.)
- Pour in a glass with ice with the ridges lined with salt (optional).
- Top with seltzer. Garlic with a mint leave and/or lime wedge.


Pin for later!