This post may contain affiliate links. Read my privacy policy.
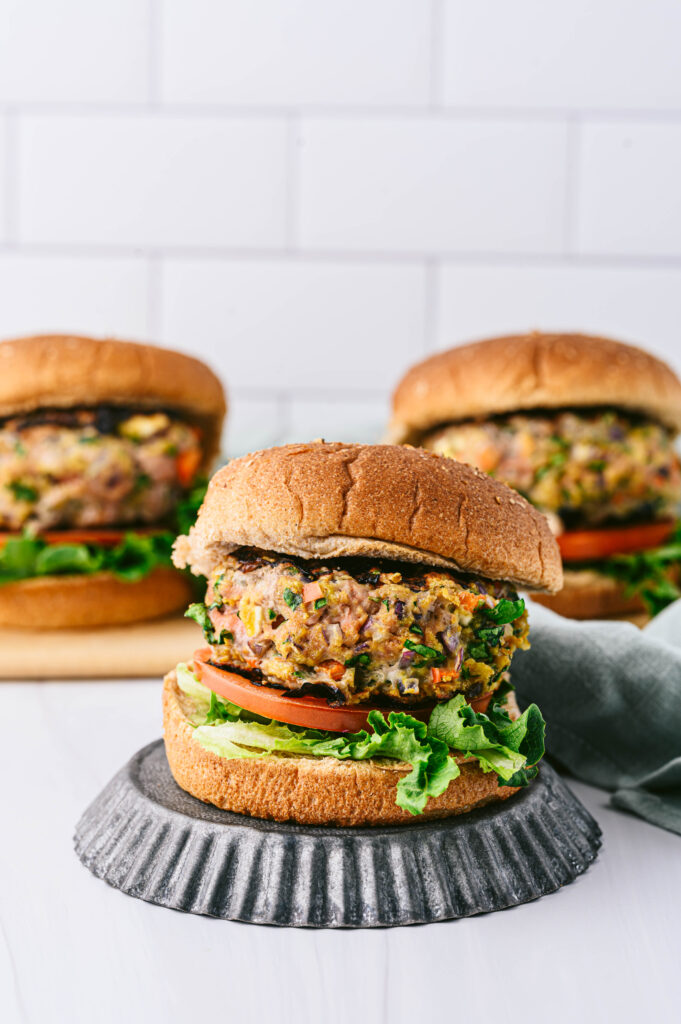
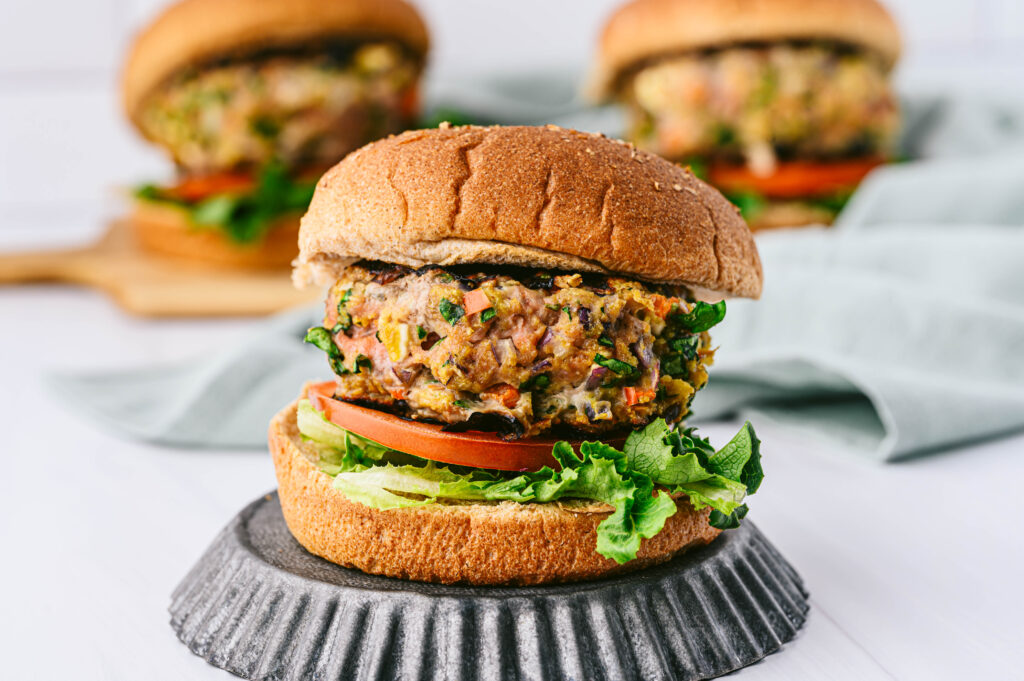
These Spinach Turkey Burgers are delicious on and off the grill! . Learn how to keep a turkey burger juicy no matter which way you choose to cook it!
It’s officially grilling season! Grilling is a healthy cooking technique. This cooking method exposes food to direct heat, leaving grilled food evenly charred on the outside and juicy in the inside. It is also a lower-fat cooking method because the fat will drip from the grill grates. Grilling can be for meats, vegetables, and fruit. Have you ever had grilled pineapple? It’s delicious!
Why You’ll Love Turkey Spinach Burgers
So often I hear complaints that turkey burgers are dry and chewy because they are very lean. Indeed, ground turkey breast is very lean with only 1% fat. Knowing that, how can we add more flavors, more moisture, and even stretch your dollar? Veggies!
Finely chopping veggies and incorporating them into the ground turkey will help keep the burger moist and tender. When cooked the water content from the vegetables is released, leaving you with a juicy burger.
Plus, by bulking up the ground turkey with veggies, it creates more burger patties, significantly stretching your dollar. One pound of ground meat often serves four, but with adding veggies it stretches it to six servings.
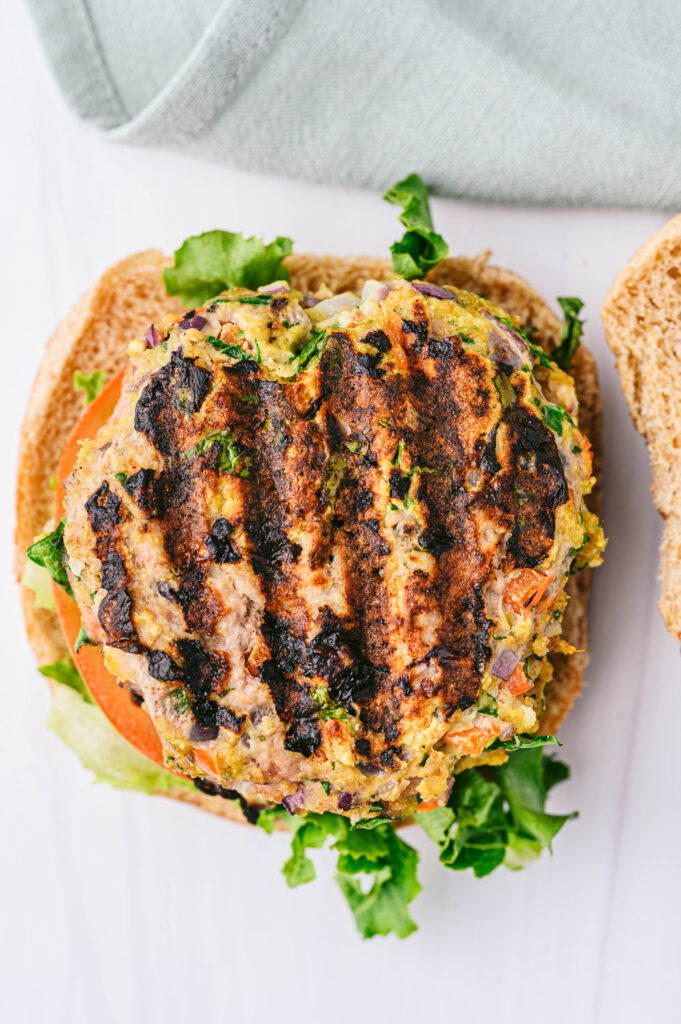
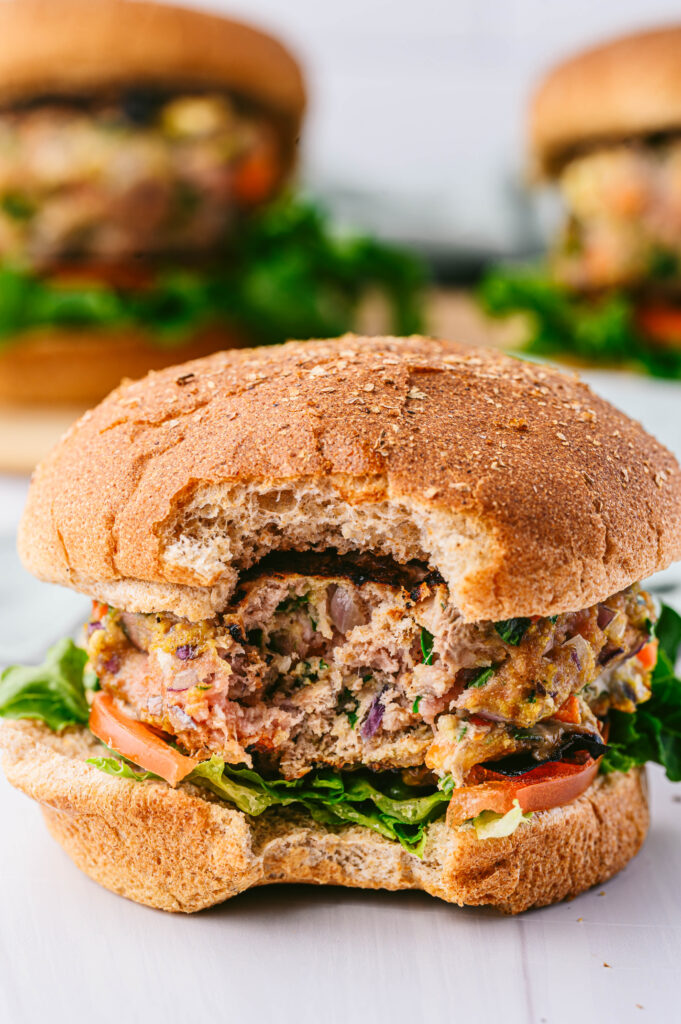
I call these confetti burgers because there are flecks of colors throughout the burger patty. The key is finely chopping vegetables so they evenly disperse throughout the patty. Play around with different veggies that you like. I always aim to add at least three different colors into the mix.
The Difference Between Charcoal and Gas Grills
Charcoal Grills
They provide a more distinct smoky flavor along with that amazing backyard aroma. It’s such a tease when I’m running through the neighborhood and all I smell are my neighbors grilling. Scented wood chips or charcoal will bring the additional flavor. However, charcoal can be a little messy and sometimes tricky to regulate the temperature
Gas Grills
Just turn on a switch and your gas grill is fired up and ready to go. You are able to easily regulate the temperature and often gas grills have different settings that you can easily regulate areas of the grill at different temperatures. You won’t really get that smoky flavor, but you are able to cook various items on the grill at the same.
Ingredients Needed for Spinach Feta Turkey Burgers
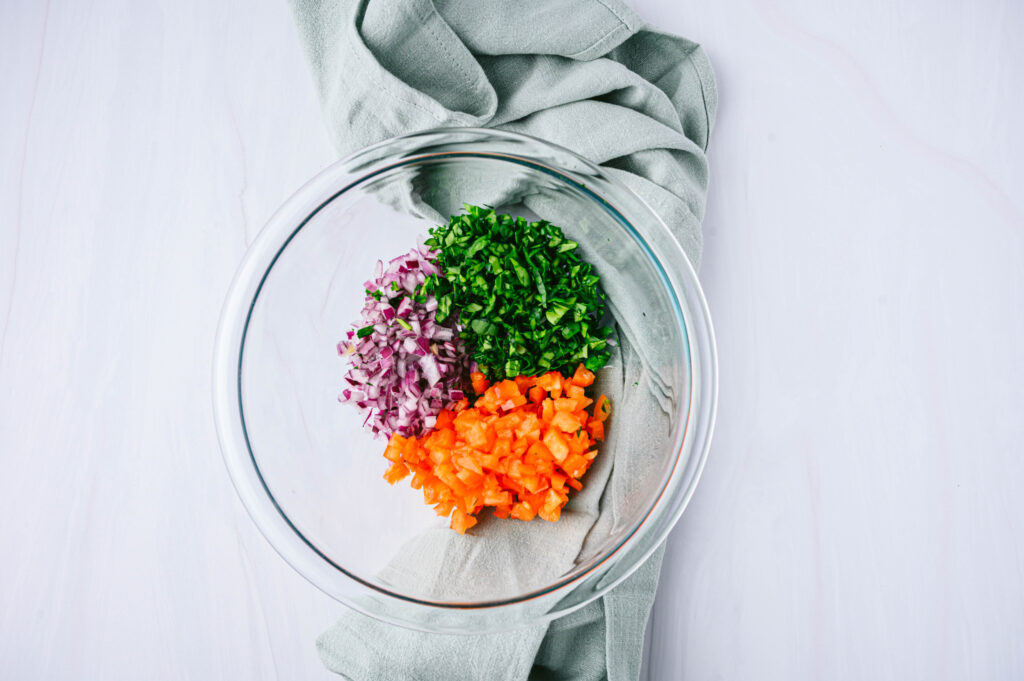
- red bell pepper
- red onion
- spinach
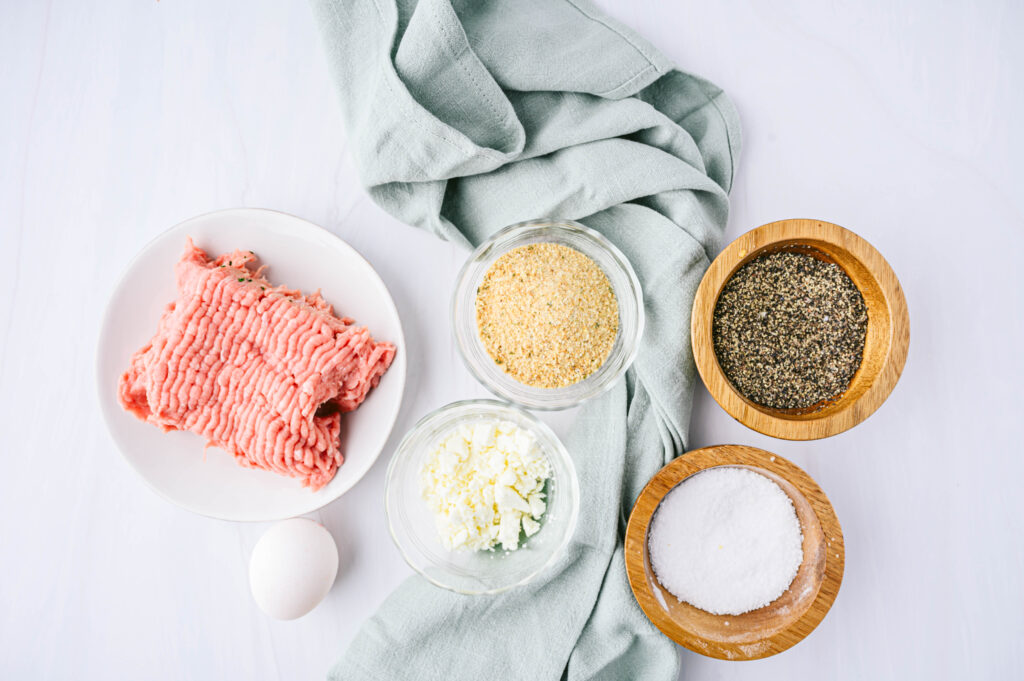
- ground turkey breast
- feta cheese
- breadcrumbs
- egg
- salt and pepper
How to Make Turkey Veggie Burgers
Prep all of the vegetables and preheat the grill.
Combine the ground turkey, feta cheese, egg, salt, pepper, and breadcrumbs in large mixing bowl.
Mix together with your hands until the ingredients are incorporated. Form 6 patties.

Grill each burger 5-7 minutes on each side or until the internal temperature reaches 165 degrees.
Serve on a whole wheat bun with your favorite toppings!
Can You Make These on the Stovetop or in the Oven?
Yes. Bake for 15 minutes at 350 degrees.
For the stovetop, get a skillet nice and hot and add a little oil. Cook for the burgers for several minutes on each side.
Tips for Making
- Be careful when flipping the burgers and only flip one time. These can be delicate, you don’t want them to fall apart.
- To make ahead of time you can store the patties in the fridge or freeze them until you are ready to serve.
- While these go great with traditional toppings, you can also add a little tzatziki sauce for a whole new flavor.
- Avoid using frozen spinach. It has too much moisture and it will be hard to keep the turkey burgers together.
- Use a veggie chopper to get the vegetables nice and small.

What Do Turkey Burgers Go With
Of course you can always serve them with fries or wedges, but here are a few of my other favorite side dishes.
- Garlic Parmesan Smashed Potatoes
- Grilled Pineapple
- Cucumber, Tomato, & Chickpea Salad
- Zucchini Carrot Fritters

Turkey Veggie Burgers
- Prep Time: 15
- Cook Time: 15
- Total Time: 30 minutes
- Yield: 6
- Category: dinner
- Cuisine: American
Description
The best turkey burgers! The secret to preventing the burgers from drying out is the added veggies!
Ingredients
- 1 medium red bell pepper, finely chopped
- 1 red onion, finely chopped
- 2 cups spinach, finely chopped
- 1 pound ground turkey breast
- ½ cup feta cheese, crumbled
- ½ cup breadcrumbs
- 1 egg
- ⅛ tsp salt
- ⅛ tsp pepper
Instructions
- Preheat grill. Prep all the vegetables, and set aside in a bowl.
- Add the ground turkey, feta cheese, breadcrumb, egg, salt, and pepper.
- Mix together until all ingredients are incorporated together. Form into 6 patties.
- Grill each side for about 5-7 minutes (or bake in the oven at 350 degrees for 15 minutes), or until internal temperature reaches 165 degrees F.
- Put on top of a whole wheat bun and with your favorite healthy toppings.
Keywords: turkey burger, burger, dinner

Did you make this recipe? Let me see! Tag me on Instagram or Facebook.