This post may contain affiliate links. Read my privacy policy.
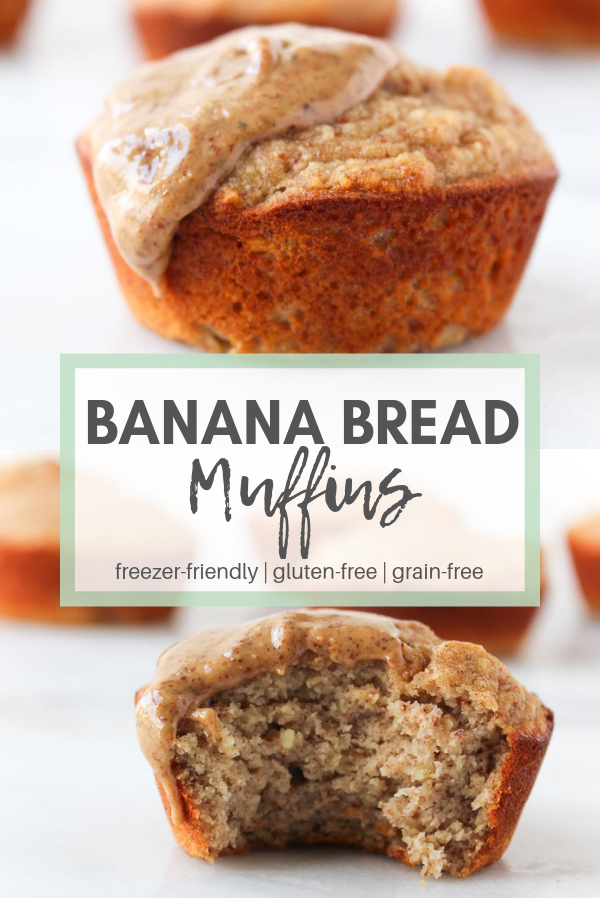
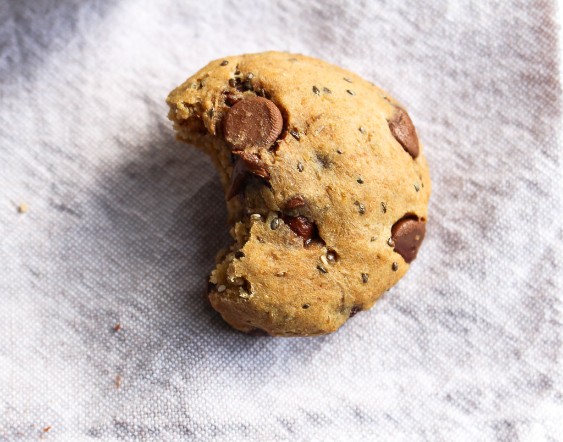
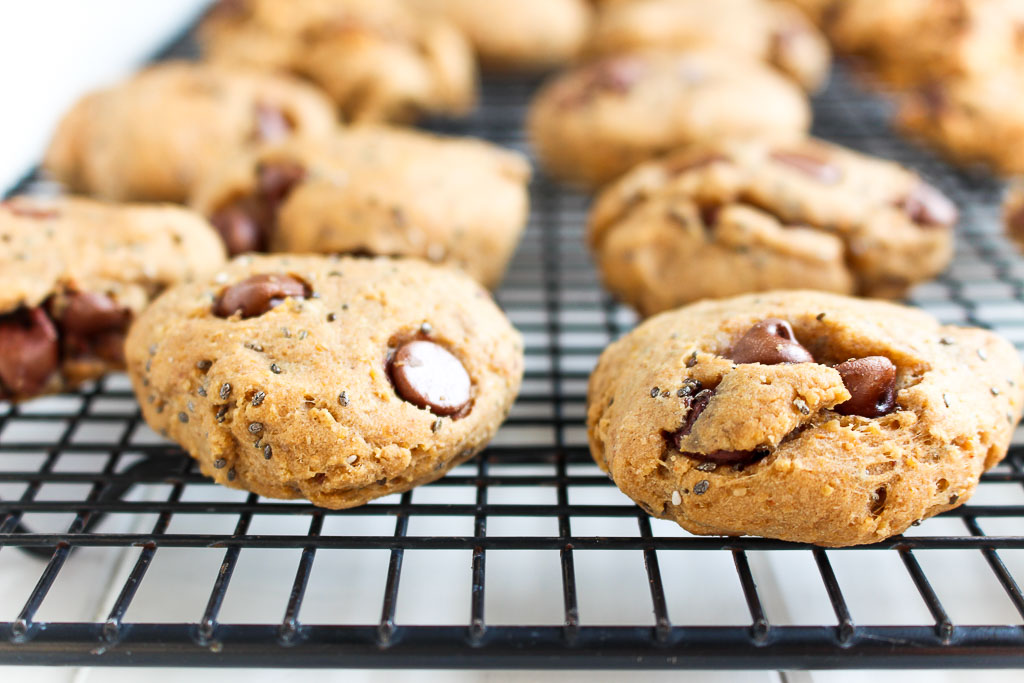
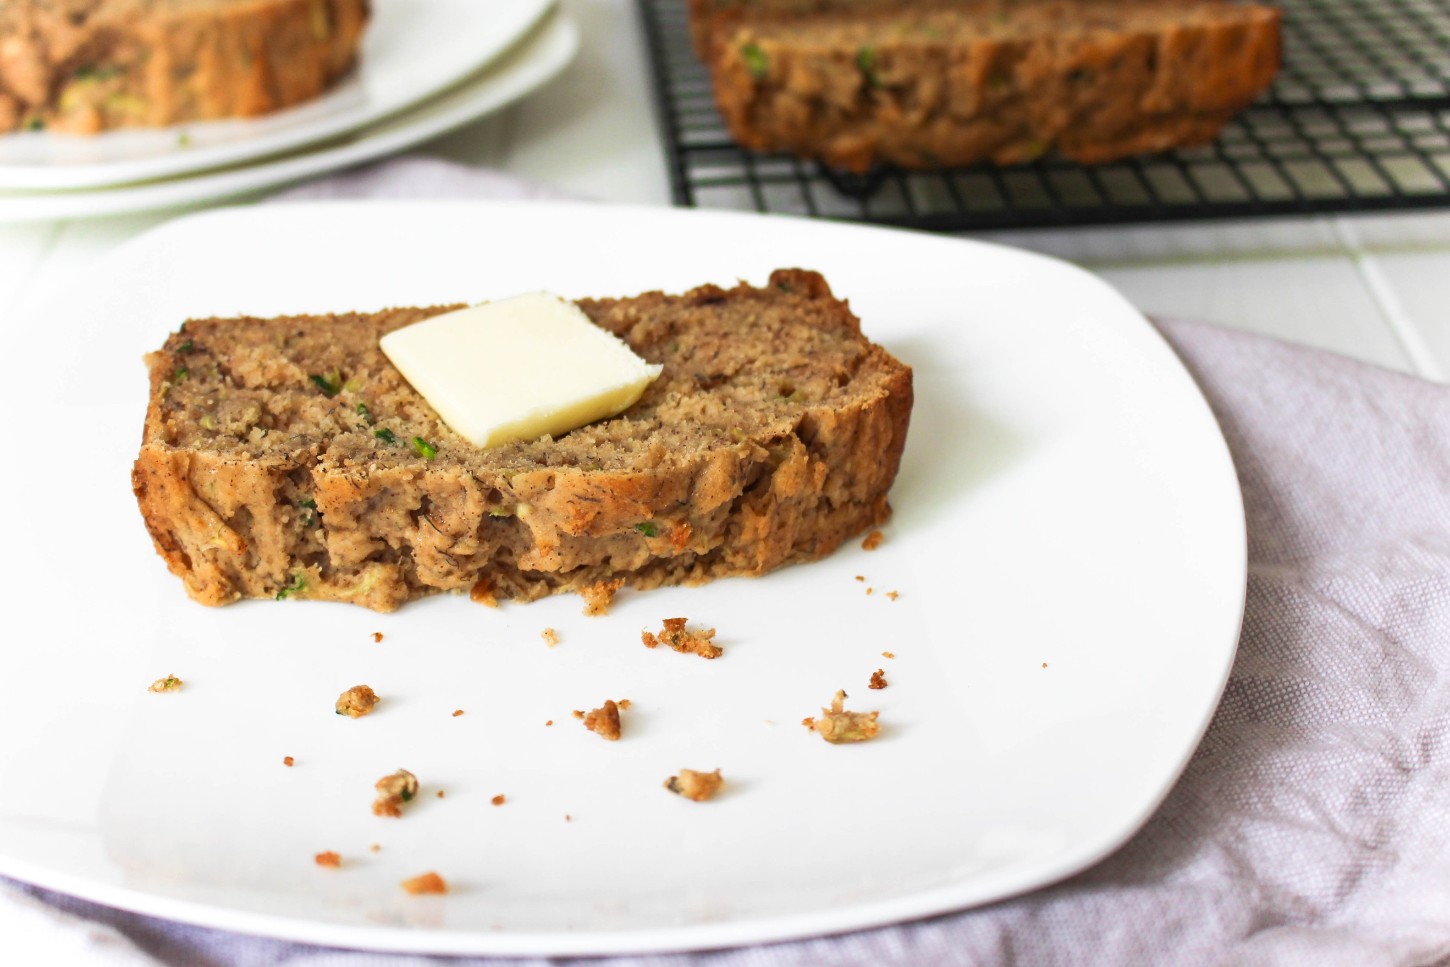
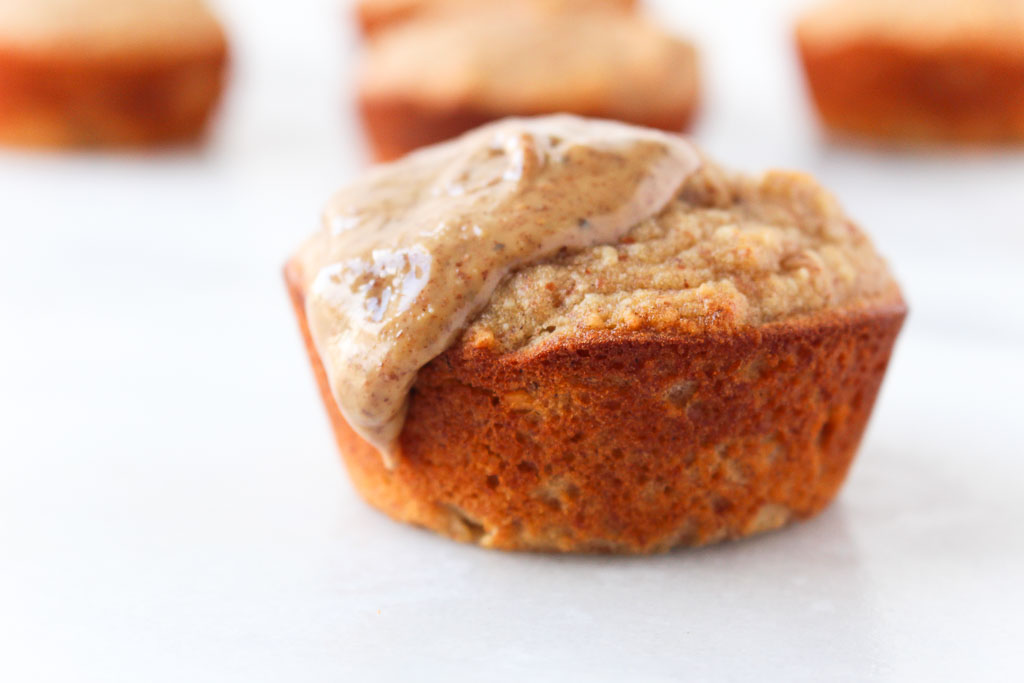
Pair with breakfast or add as a snack, these gluten-free Banana Bread Muffins can fit into any part of your day.
One of the cooking goals that I’ve been working on is working with flour alternatives. There are so many varieties of flours (almond flour, quinoa flour, coconut flour, oat flour, plus so many more!) on the shelves in the grocery store and I’ve been intrigued. Mainly, because I am a food science nerd and I want to learn and understand their baking properties, but also I think many of us are trying to trim back on the
I’ve quickly learned that these alternative flours do not have that perfect 1:1 ratio. FYI, coconut flour sucks up so much moisture. I tried baking cookies with coconut flour and when I picked one up it crumbled right in my hand. Note to self: Add more liquid and maybe pair coconut flour with other flours too. (I’m still working on that recipe!)
I had received a bag of almond flour when I was on the trip with California Almond Board and I feel like it’s been calling my name to bake with it every time I open my pantry and see it.
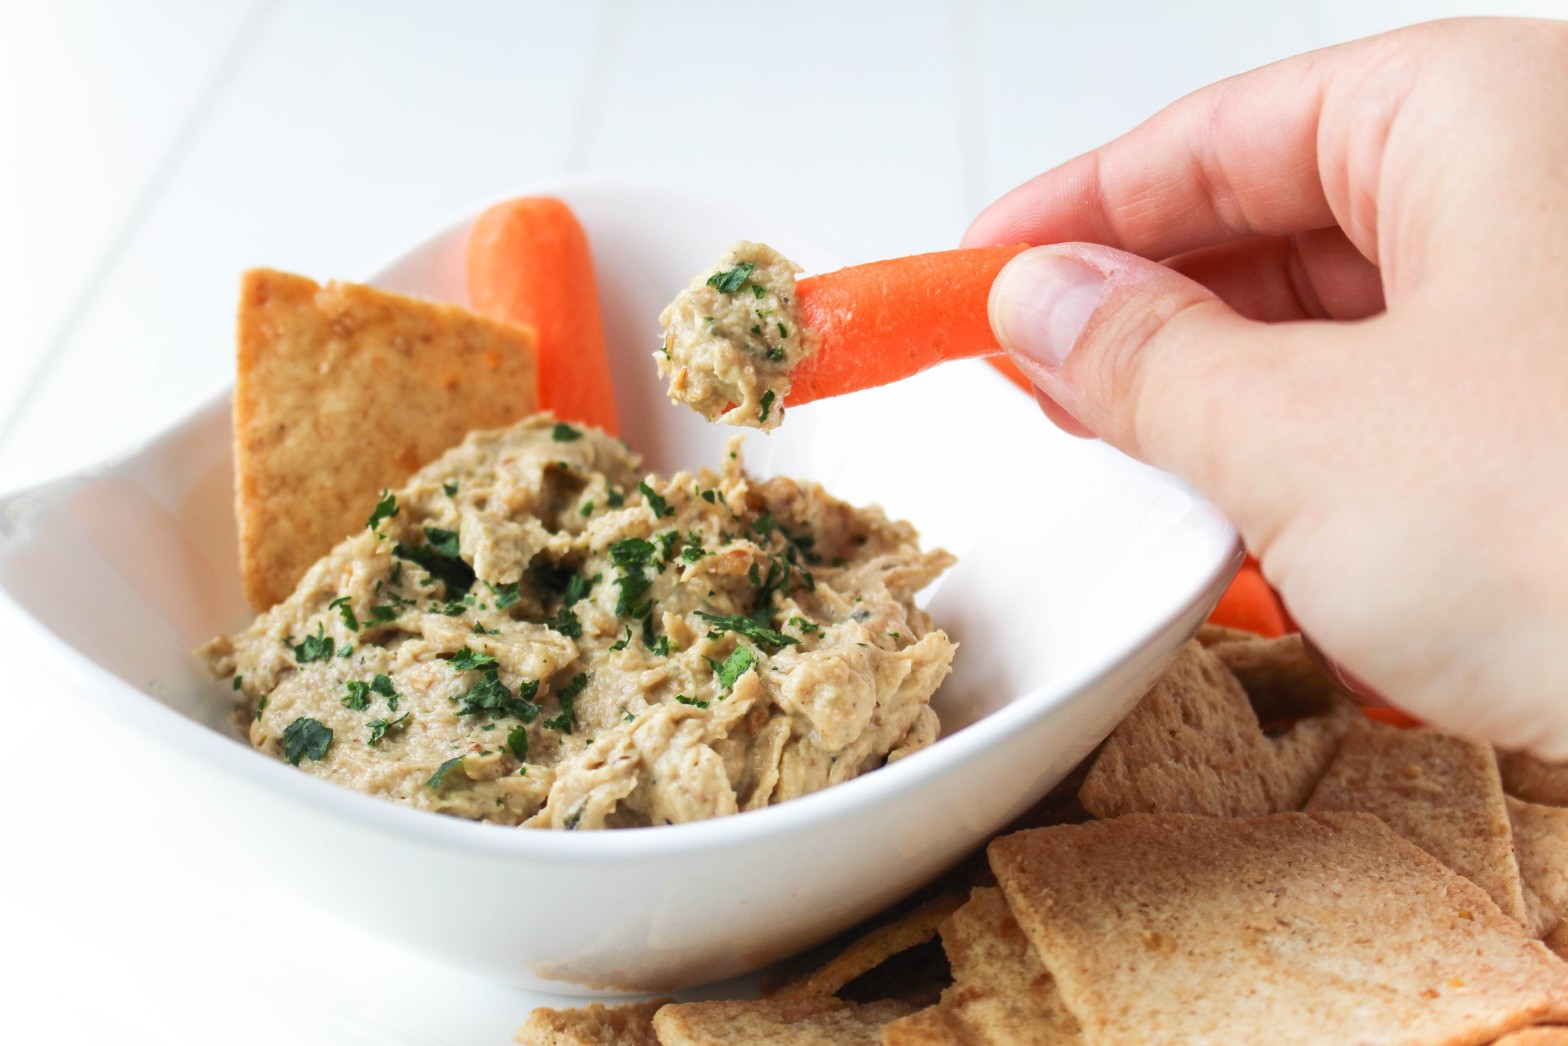
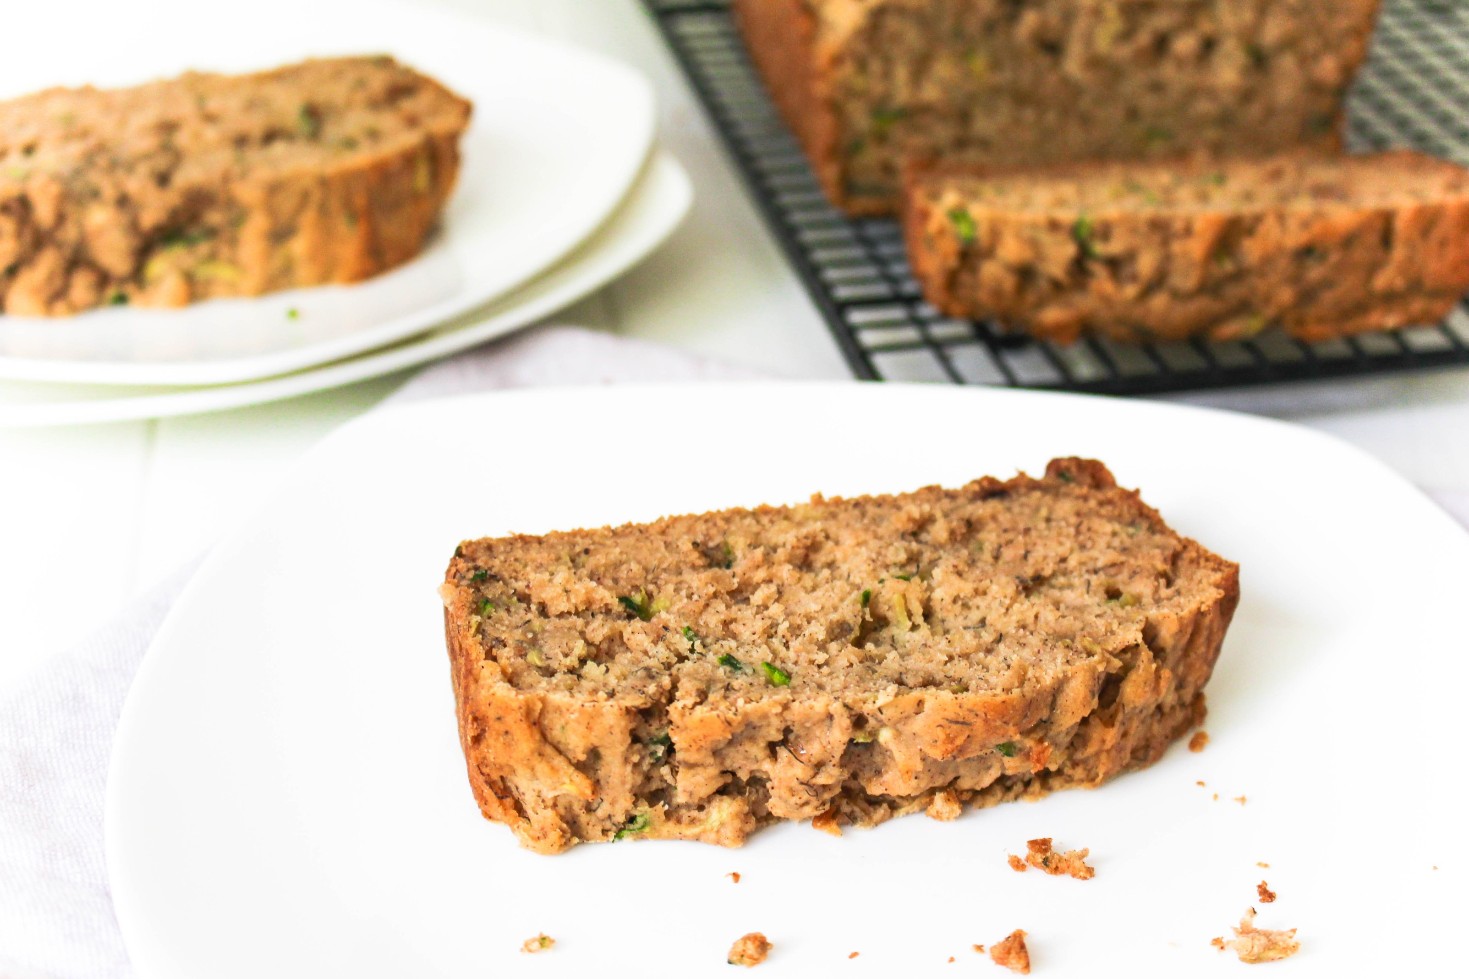
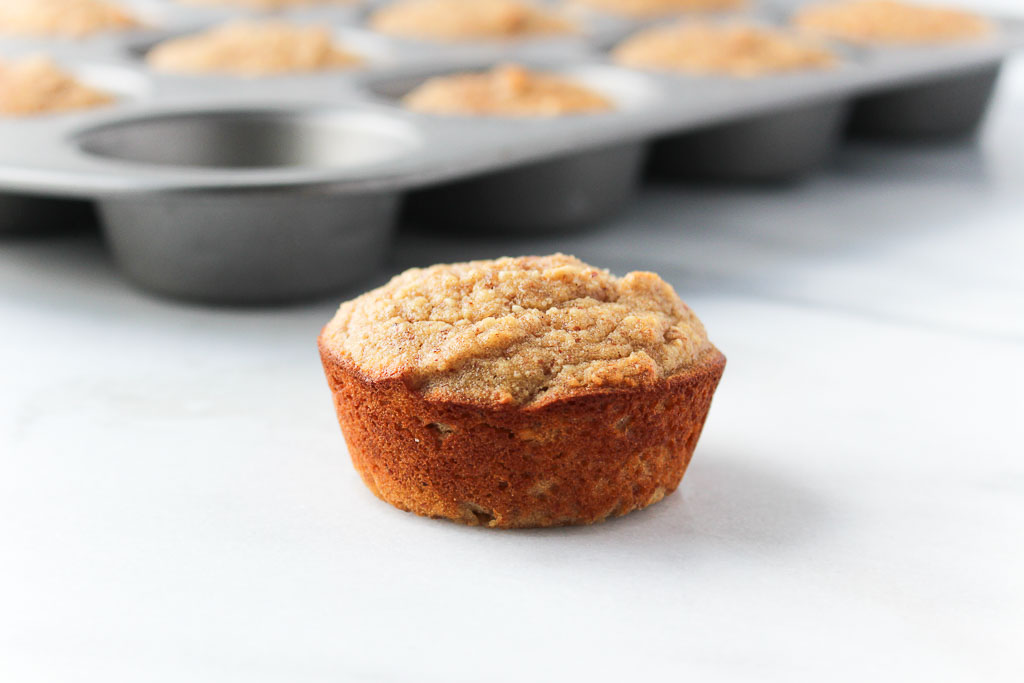
When you have overripe bananas, bake some banana bread muffin.
Print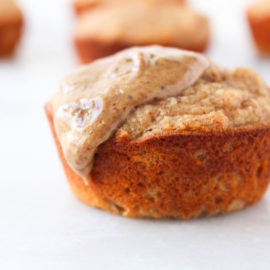
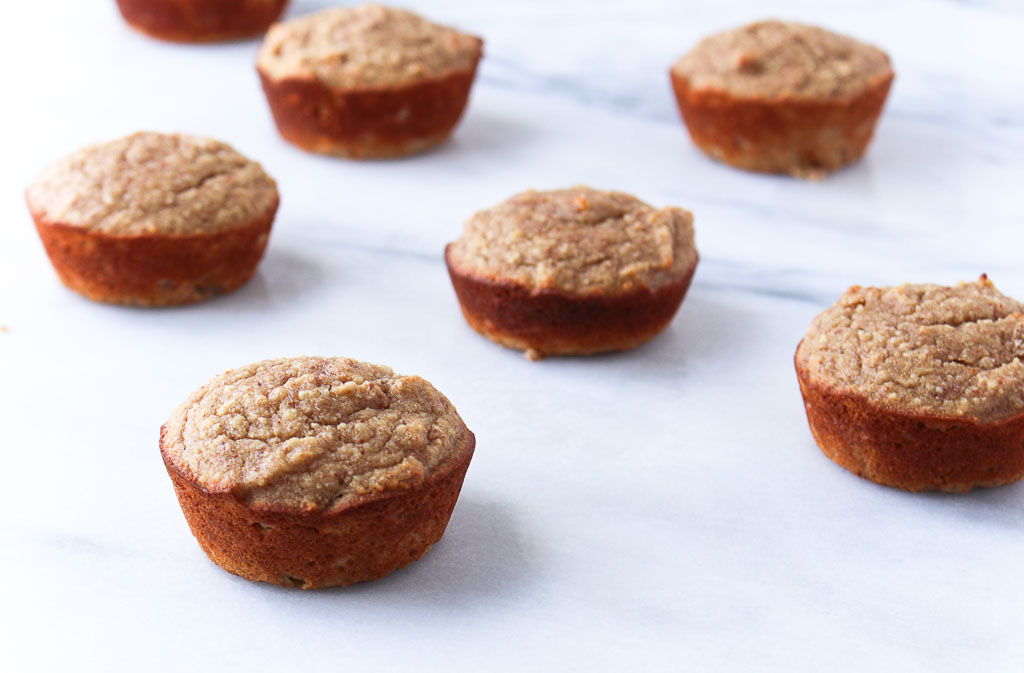
Banana Bread Muffins
- Prep Time: 15
- Cook Time: 35
- Total Time: 50 minutes
- Yield: 12 1x
- Category: Muffin
- Method: Baking
Description
Pair with breakfast or add as a snack, these grain-free Banana Bread Muffins can fit into any part of your day.
Ingredients
- 3 eggs
- 3 bananas
- 1/3 cup maple syrup
- 1 tsp vanilla extract
- 1/3 cup plain Greek yogurt
- 1 3/4 cup almond flour
- 1/4 cup coconut flour
- 1 teaspoon baking powder
- 11/2 teaspoon cinnamon
- 1/8 teaspoon salt
Instructions
- Preheat oven to 350 degrees F. Spray a muffin tin with cooking spray and set aside.
- In a food processor or blender, blend the eggs, bananas, maple syrup, and vanilla extract, until blended through and fluffy (to incorporate air). Pour into a bowl and fold in the yogurt.
- In a separate bowl, sift together the almond flour, coconut flour, baking powder, cinnamon, and salt.
- Fold wet ingredients into dry and stir until just combined.
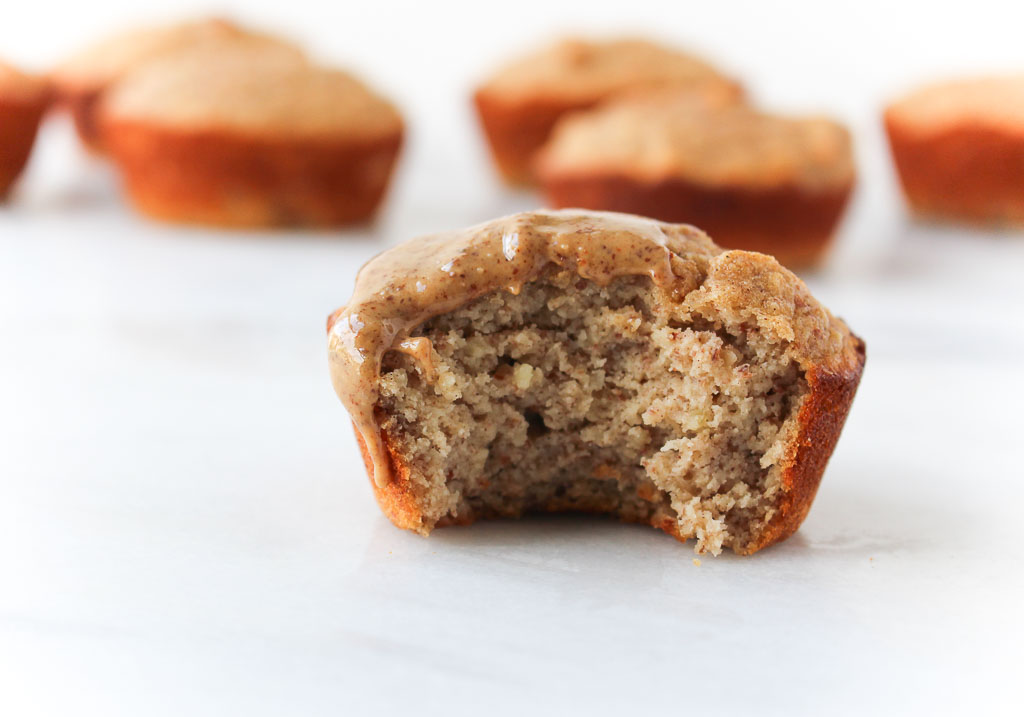
- Pour muffin batter into muffin tins and bake for 30-35 minutes or until golden brown. (Insert a toothpick into the center of a muffin at they are done when it comes out clean. Center will also spring back when pressed.)
Keywords: muffin, grain-free, gluten-free, baking