This post may contain affiliate links. Read my privacy policy.
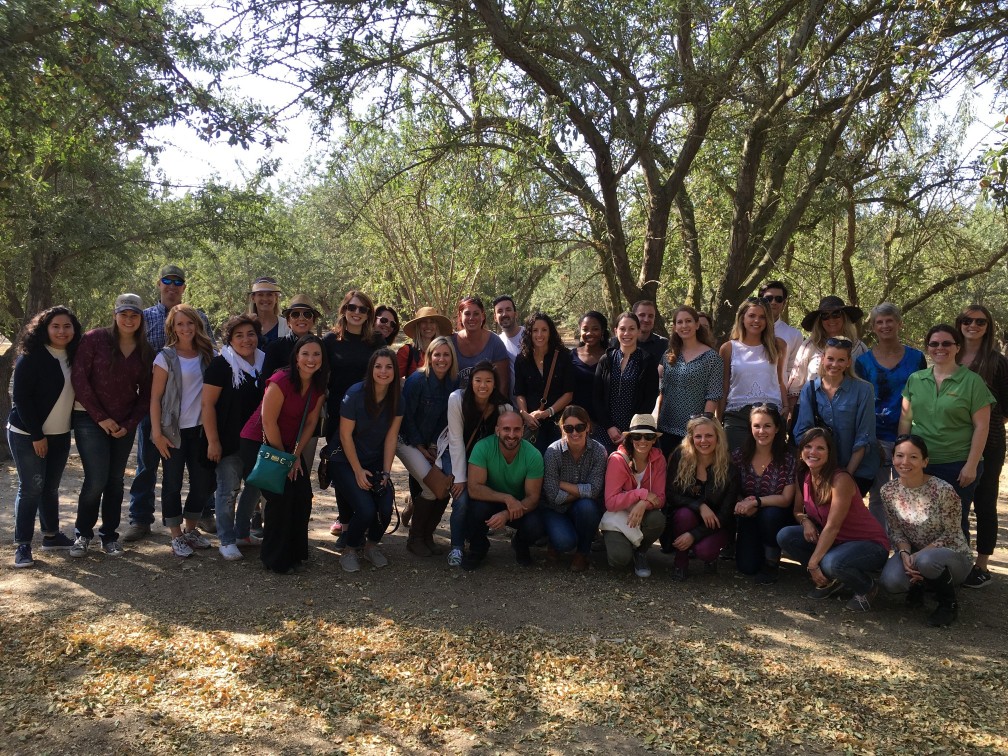
This past September I traveled to California for the first time. I was so fortunate that California Almond Board invited me on an amazing trip to the almond orchards in Lodi, California with a group of amazing Registered Dietitians and food bloggers. We learned a wealth of information of all things almonds, including sustainability, growing methods, almond life cycles and nutrition research. 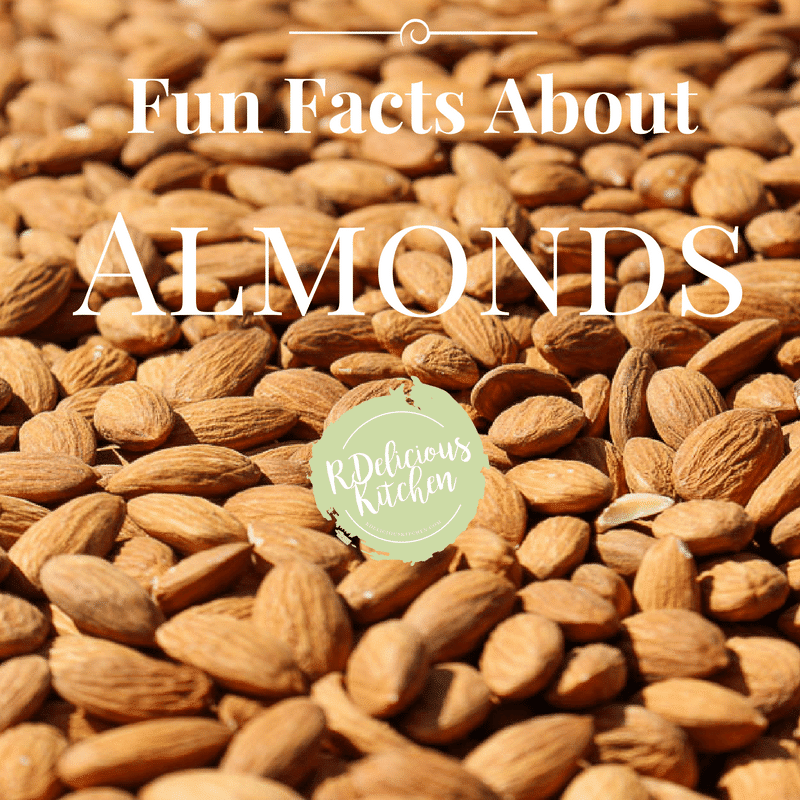 Disclosure: I was provided with free travel and accommodations to the California Almond Orchard experience. I was not additionally compensated for my time or to write this post.
Ever wonder where those almonds that are in your trail mix, granola bars, and cereals are from? The almond lifecycle has many stages before they end up in your kitchen cabinets.
Did you know, there are more than 30 different varieties of almonds? 10 of them comprise the majority of almonds produced in California.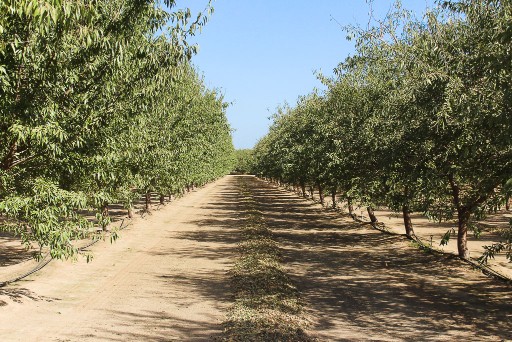
80% of the world’s almonds are produced in California, and from raw almonds and almond butter to almond flour, almond milk, and almond oil. The Central Valley of California is the perfect spot for almonds to grow due to their mild, wet winters and hot, dry summers.
The Almond Lifecycle:
November – February: Almond trees go through a period of dormancy when the cold weather lets them sit back, relax and store up almond nutrients for next year’s crop.
Late February – early March: Almond tree buds burst into light pink and white blooms in preparation for pollination. Nonpareils are among the first to bloom, while other varieties, such as Carmel and Mission, bloom later.
Many almond trees are not self-pollinating, so bees provide the missing piece of the puzzle. Populations of bees are brought to the orchard to carry pollen and initiate crop development.
March – June: Almonds continue to mature, with the shell hardening and kernel forming. Also at this time, green almonds are harvested for various culinary uses.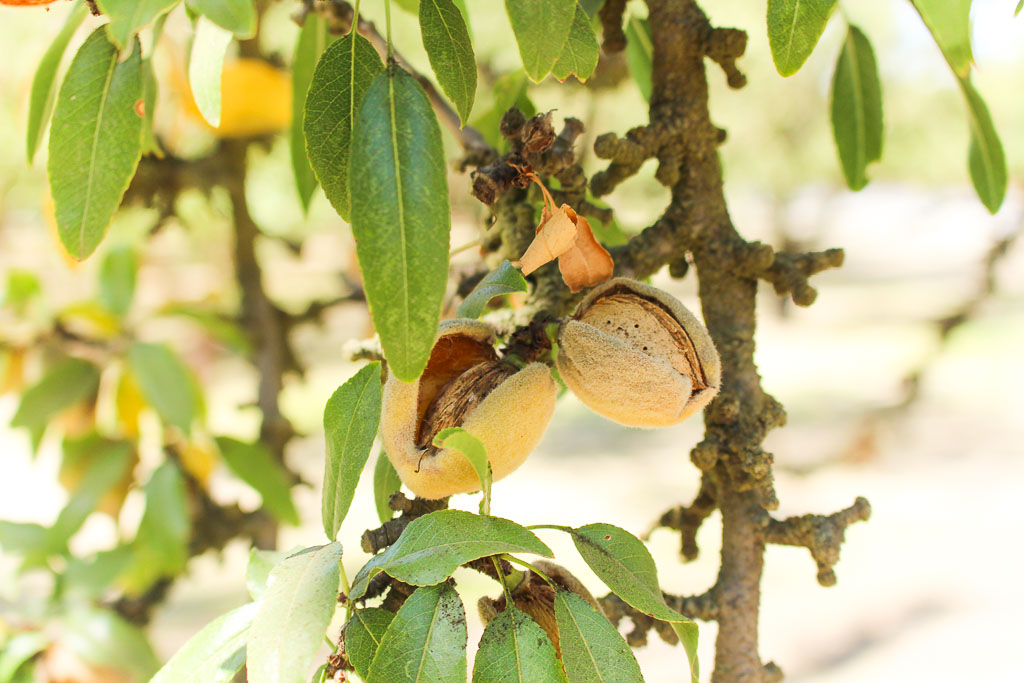 July – early August: Almond hulls begin to split open exposing the almond shell and allowing it to dry. Shortly before harvest, the hulls open completely.
Mid-August through October: Mechanical tree “shakers” harvest the almonds by vigorously shaking them to the ground. The almonds then dry naturally for 8–10 days in the orchard before they are swept into rows and picked up by machine.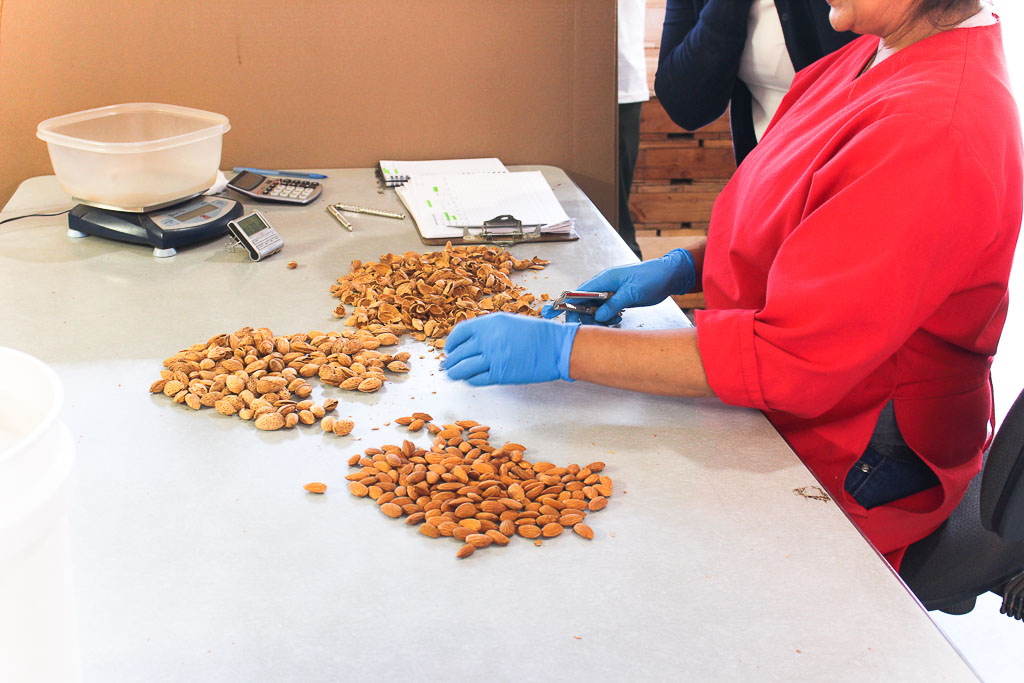 After harvest, almonds go to a huller/sheller where the kernels pass through a roller to remove the hull, shell, and any remaining debris. Next stop: the handler for sizing, where the almond kernels drop into separate bins according to size.
After sizing, almonds are kept in controlled storage conditions to maintain quality until they’re either shipped or further processed into any variety of different almond forms for diverse culinary uses. (source: California Almonds)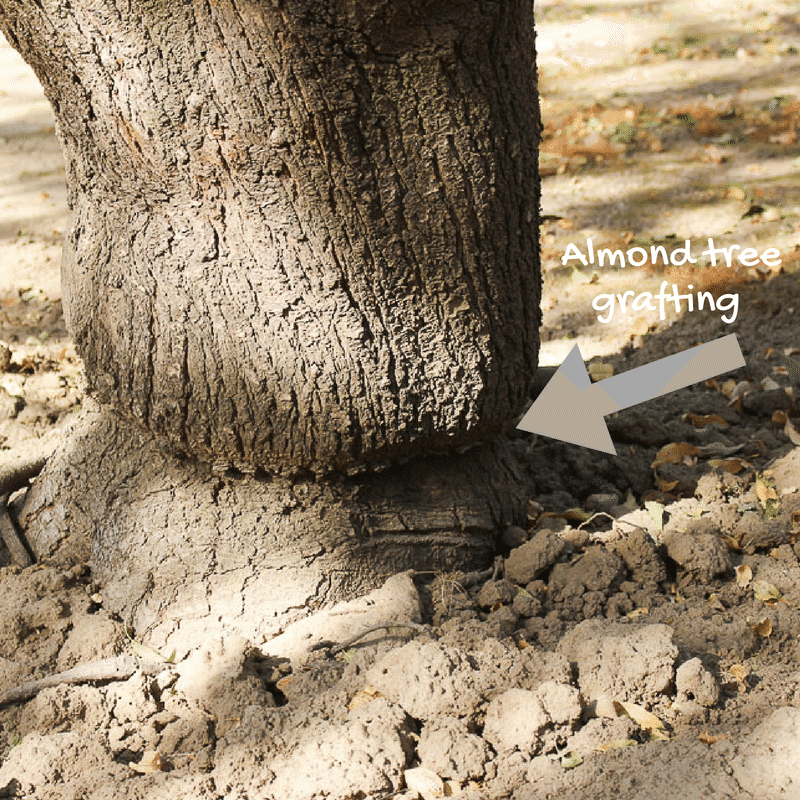
Did you know – Almond trees are grafted on the roots of peach or plum trees for a stronger root base. The almond trees are grown in a nursery, then grafted onto the root of a peach or plum tree to grow to maturity. Through the orchard you are able to see the point where they were grafted since they overlap each other.
 Did you know there are three parts to an almond? The hull, shell, and kernel make up this mighty little nut and all parts are used. The hull is the dry and fuzzy outer later. Hulls are sold as livestock feed, which reduces the amount of water used to grow other feed crops. The shells go to various alternative farming uses such as livestock bedding. The kernel, which most think of when thinking about almonds, is the nutrient-rich almond we eat. Each serving (28 g) contains 6 grams of energy-packed protein, 4 grams of hunger-fighting fiber, 13 grams of “good” unsaturated fat and only 1 gram of saturated fat.
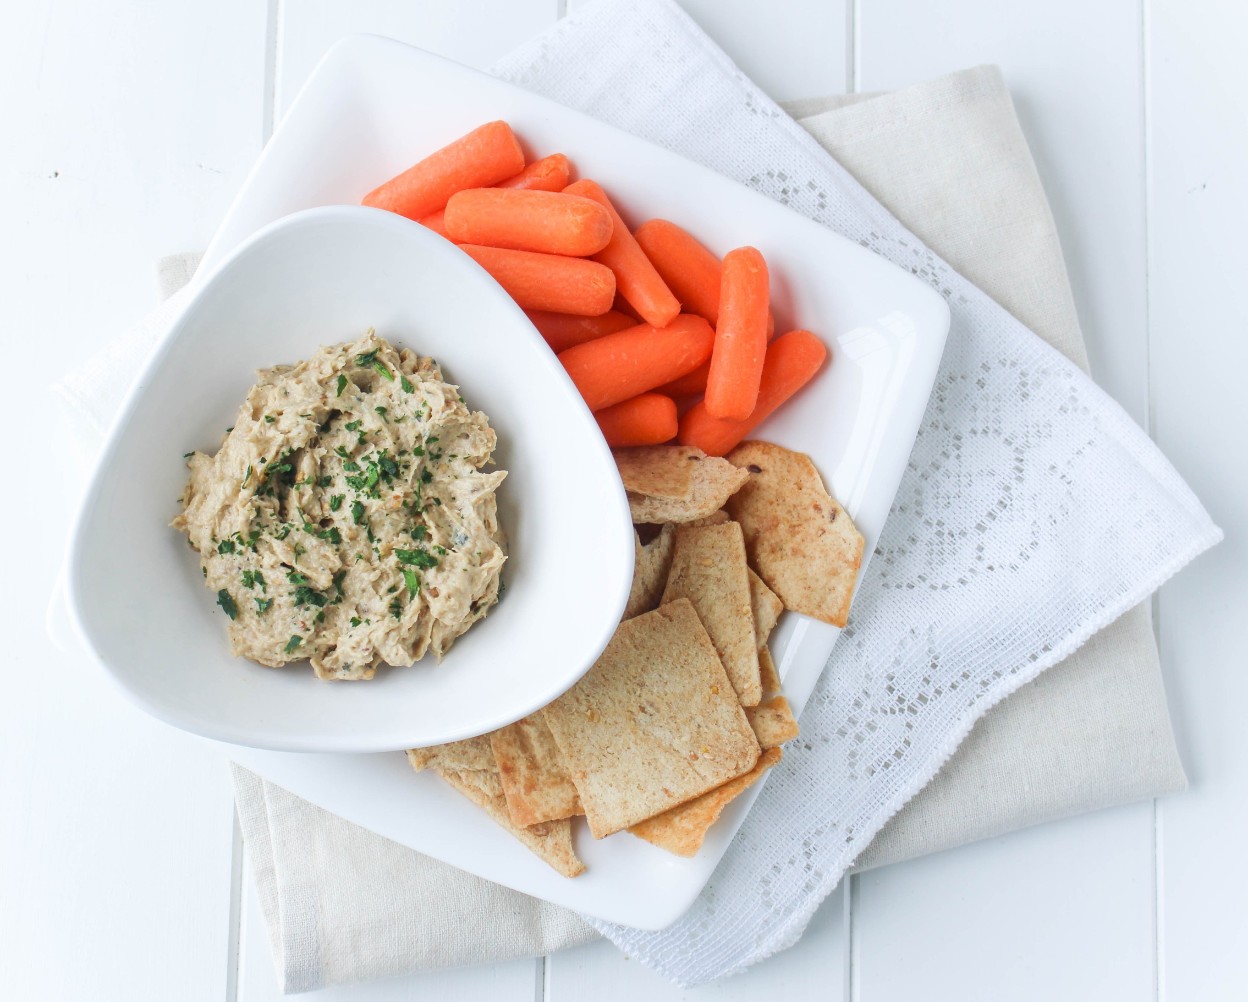
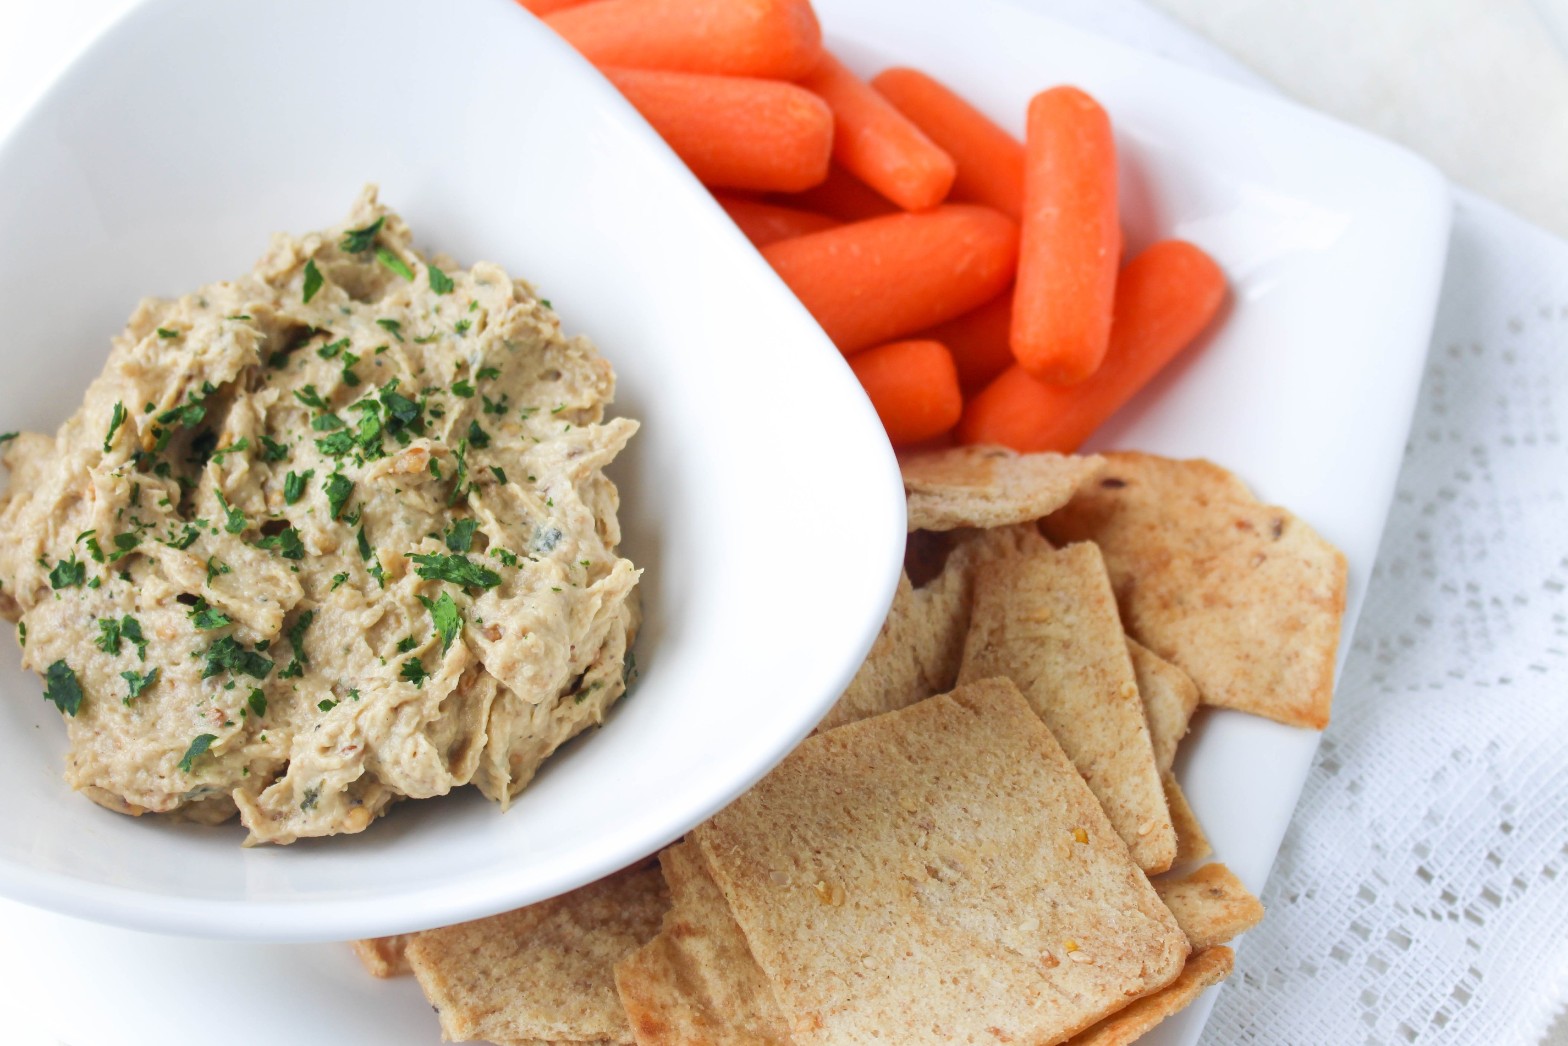
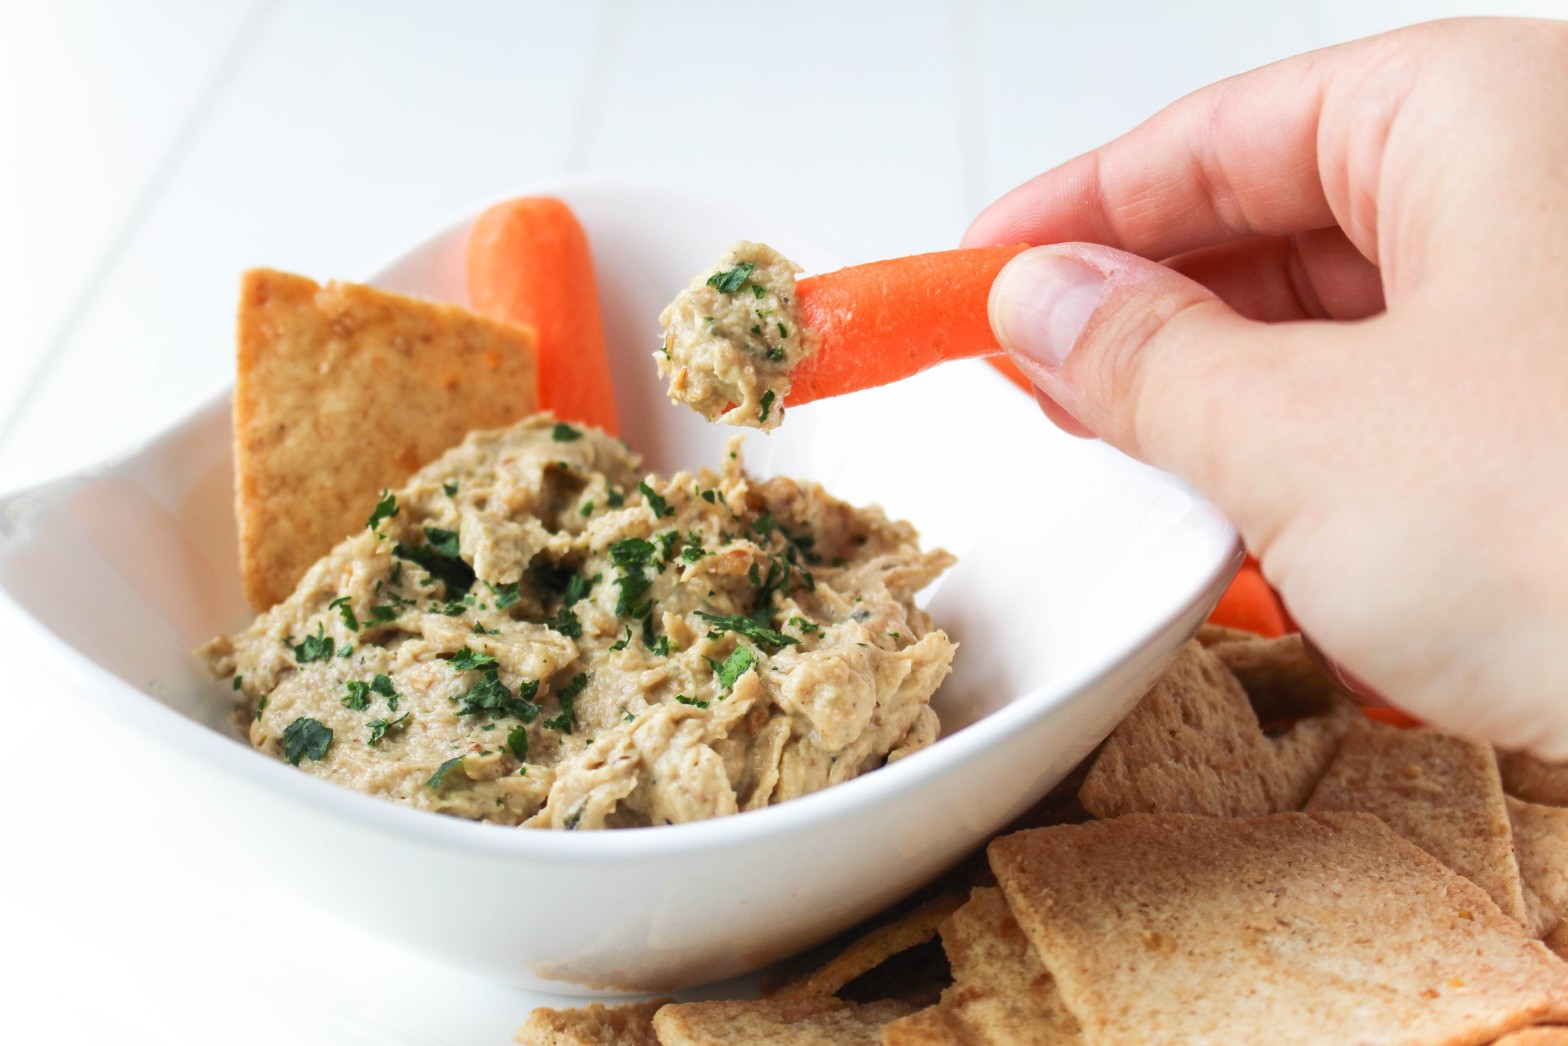
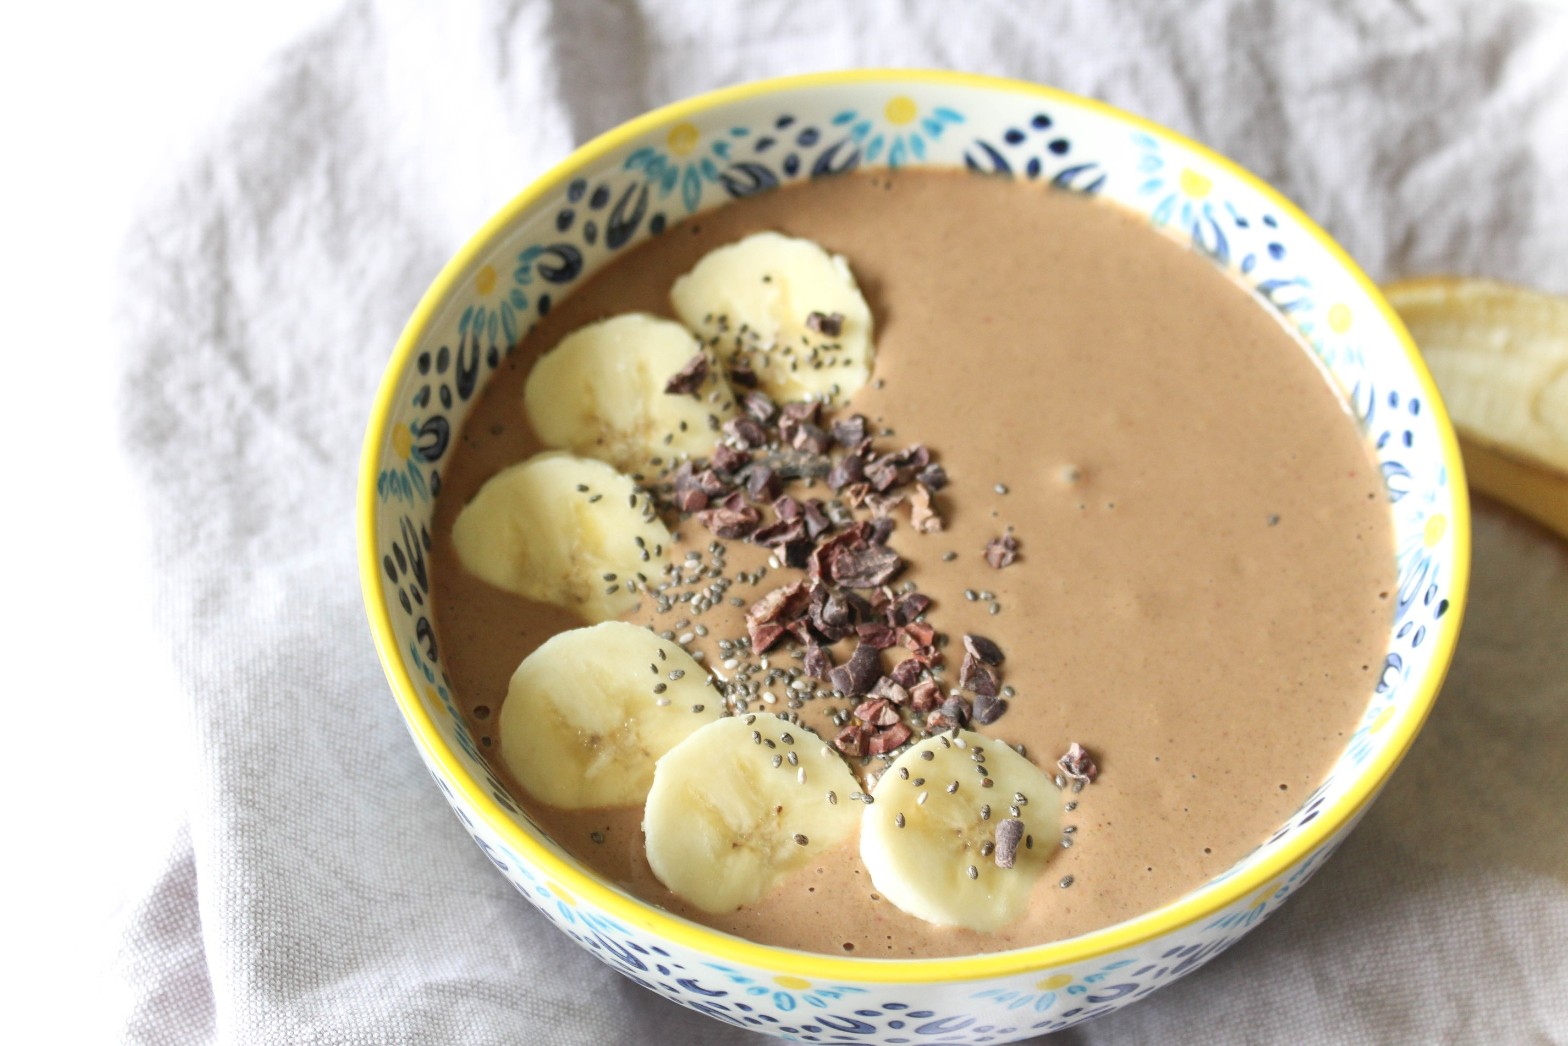
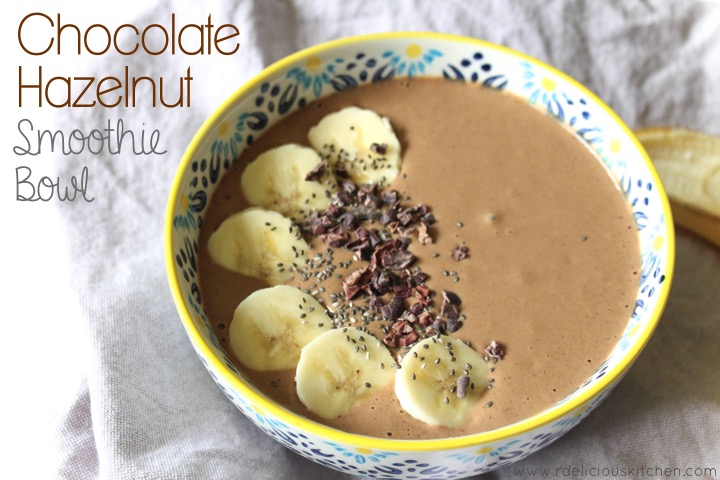
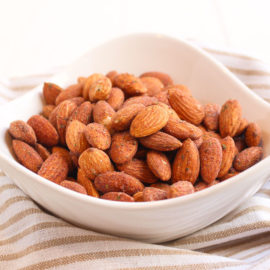
Now that I have you craving almonds, here is a delicious recipe to jazz up your almond snacks. Try these Balsamic Roasted Almonds. Just a few simple ingredients and snack time is jazzed up a little.
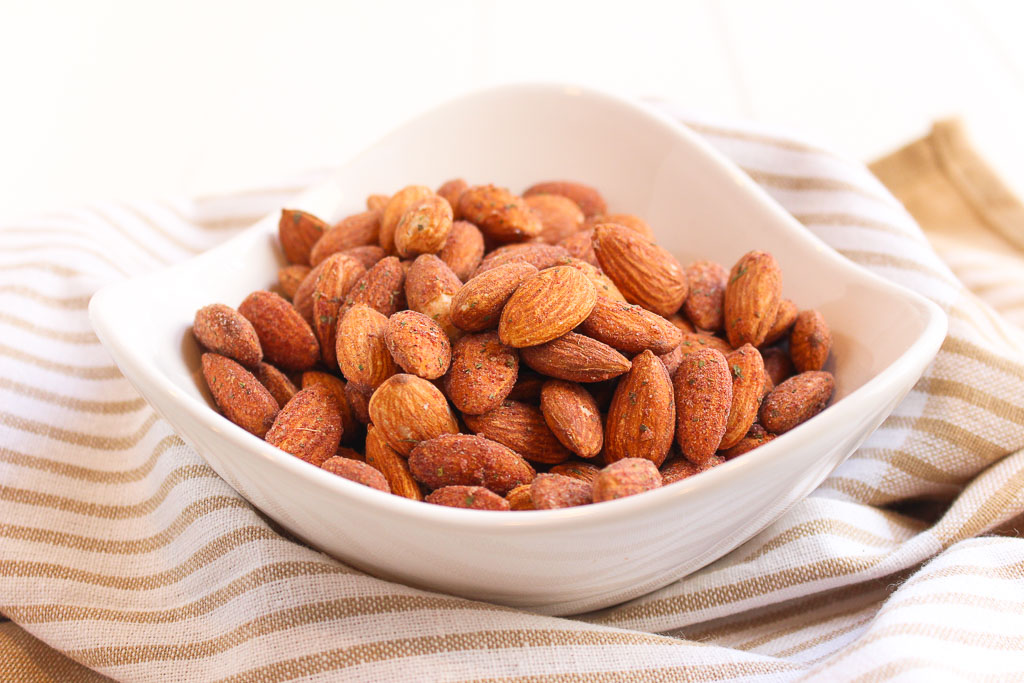
Warning: these almonds are addicting. The whole batch was gone in less than a week. Add them to salads, pair with a piece of fruit, the possibilities are endless. Be on the look out for another recipe soon using these almonds!

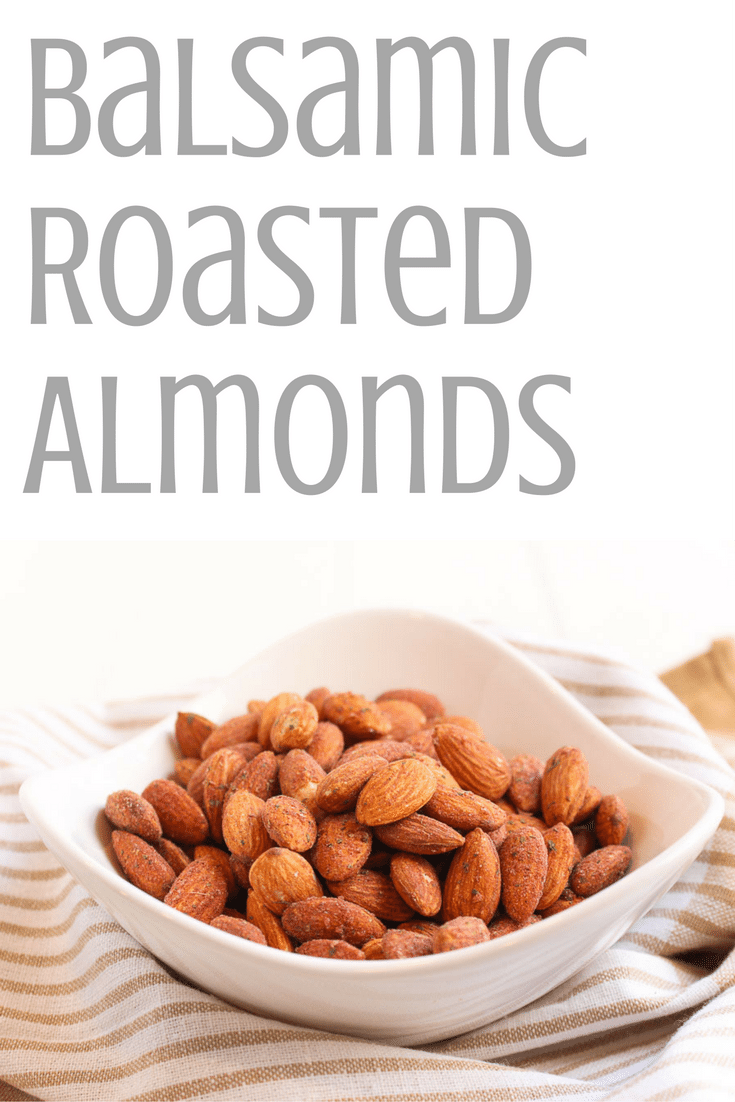
Balsamic Roasted Almonds + Fun Facts about Almonds
- Prep Time: 1 hour
- Cook Time: 8 mins
- Total Time: 1 hour 8 mins
Ingredients
- 1 cup raw almonds
- 1/2 cup balsamic vinegar
- 1 teaspoon sea salt
- 2 tablespoon rosemary, very finely chopped
Instructions
- Place almonds in a small bowl. Pour the balsamic vinegar into the bowl, stir to coat the almonds. Let sit for one hour.
- Pre-heat the oven to 350˚. Drain the vinegar from the almonds and pat almonds dry. Add sea salt and rosemary to the bowl and stir well to coat the almonds evenly. Spread almonds evenly onto a cookie sheet and bake for 8 minutes (stir the almonds halfway through cooking).
- Remove from oven and let cool for 30 minutes. Store almonds in an airtight container.


Thank you California Almonds for this amazing experience! To learn more about California Almonds check out their website. They have great resources for health professionals!
website // facebook // twitter // instagram