
This post may contain affiliate links. Read my privacy policy.
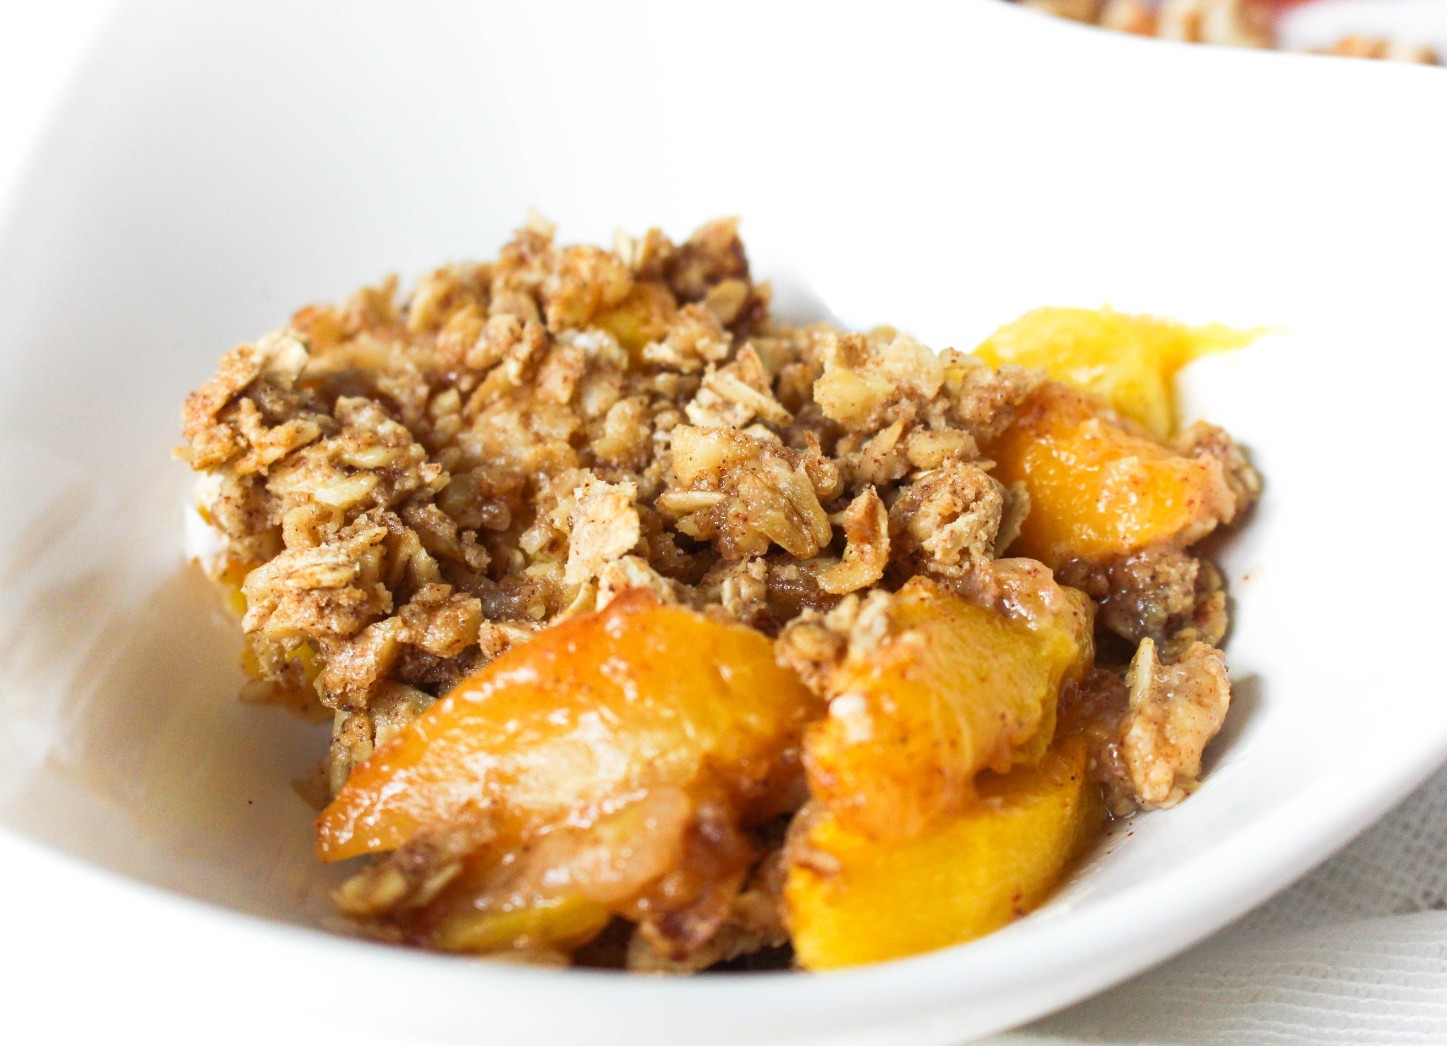
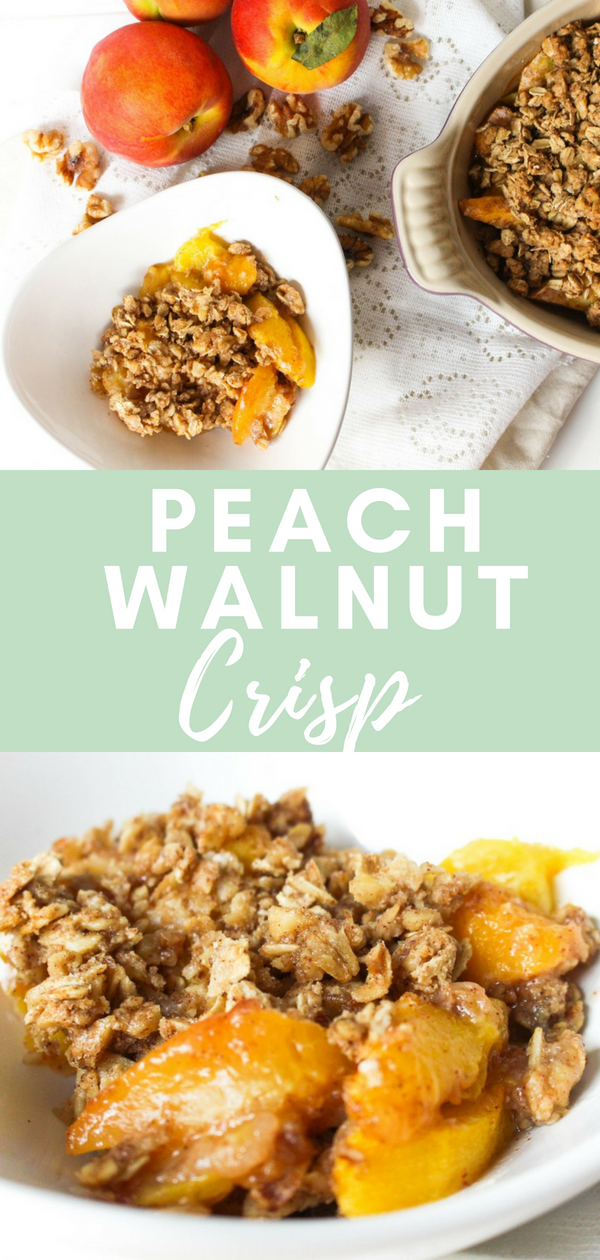
Peach Walnut Crisp is a simple summer dessert recipe, full of juicy peaches and a thick walnut crumb topping that everyone will love. 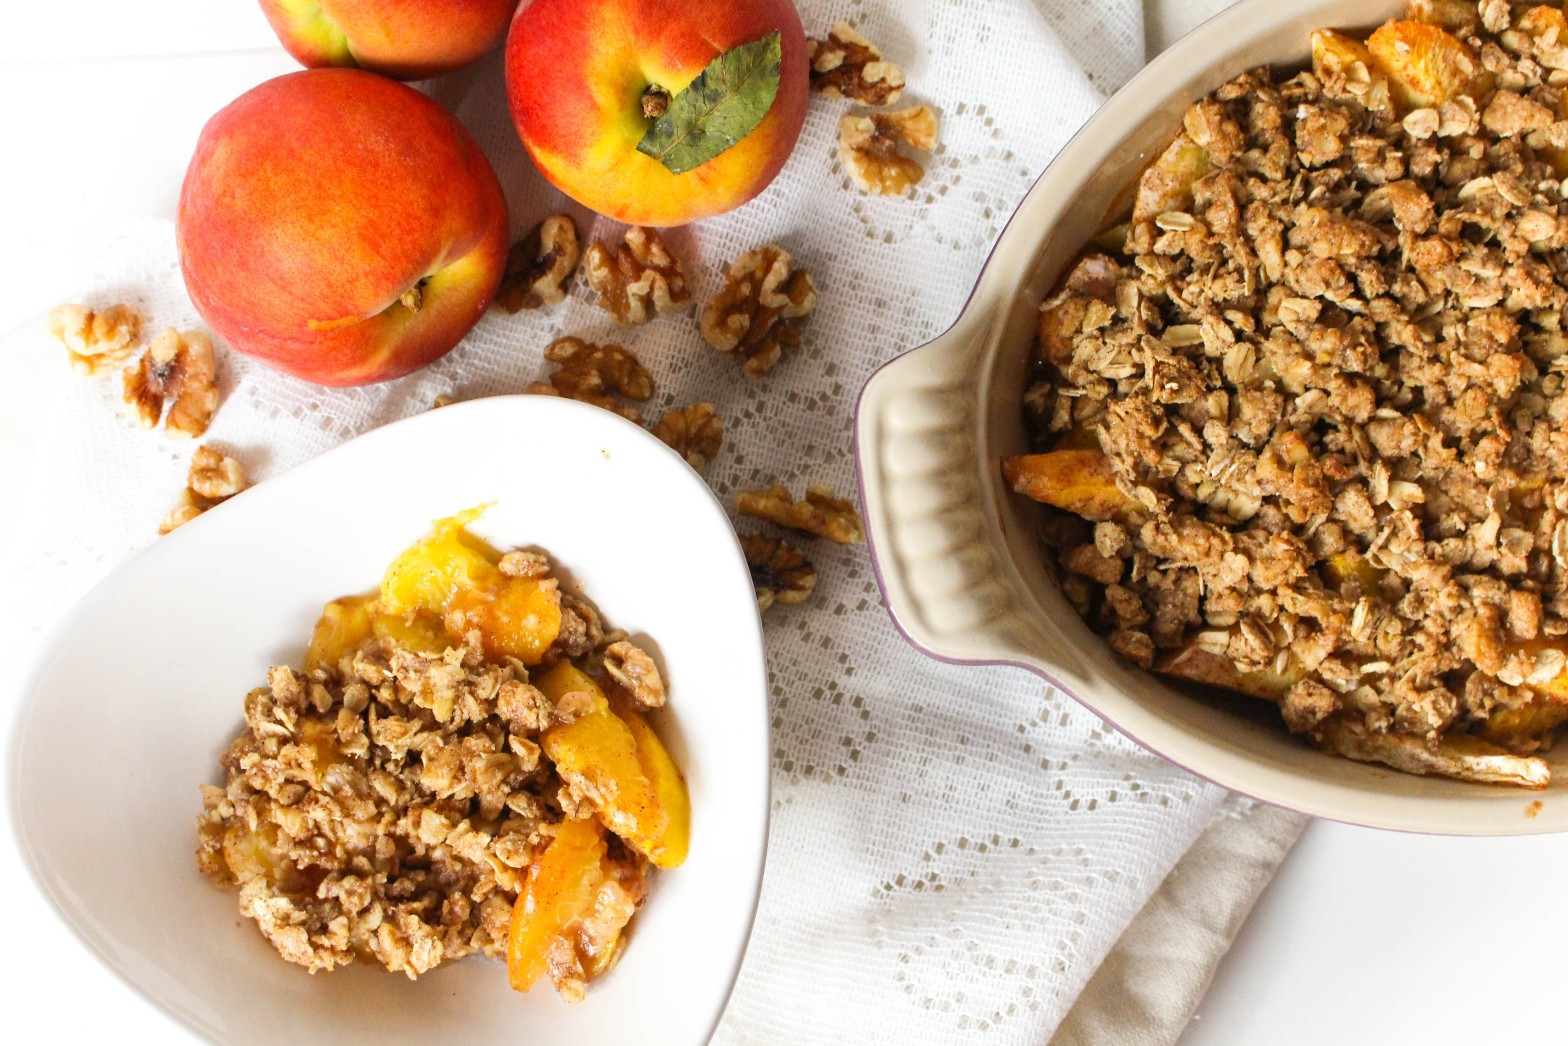 During the summer months, I love desserts that incorporate fresh produce. Pie is one of my favorite desserts, but my favorite parts are the middle and the crumble on top. Making a fruit crisp is the answer for me!
What’s the Difference Between a Cobbler, Crumble, and Crisp?
Crumbles and crisps are very similar, with the name crumble originating from England. They both contain fresh fruit with a streusel-like topping that gets baked until the fruit is cooked. The original difference between the two lay in the streusel topping: crisps would contain oats and crumbles would not. (source)
Peaches are starting to take over the produce department and as I was eating the juiciest peach on my way home from work and dripping peach juice down my arms and all over my car (not the smartest snack choice for the car) when I came up with this recipe idea.
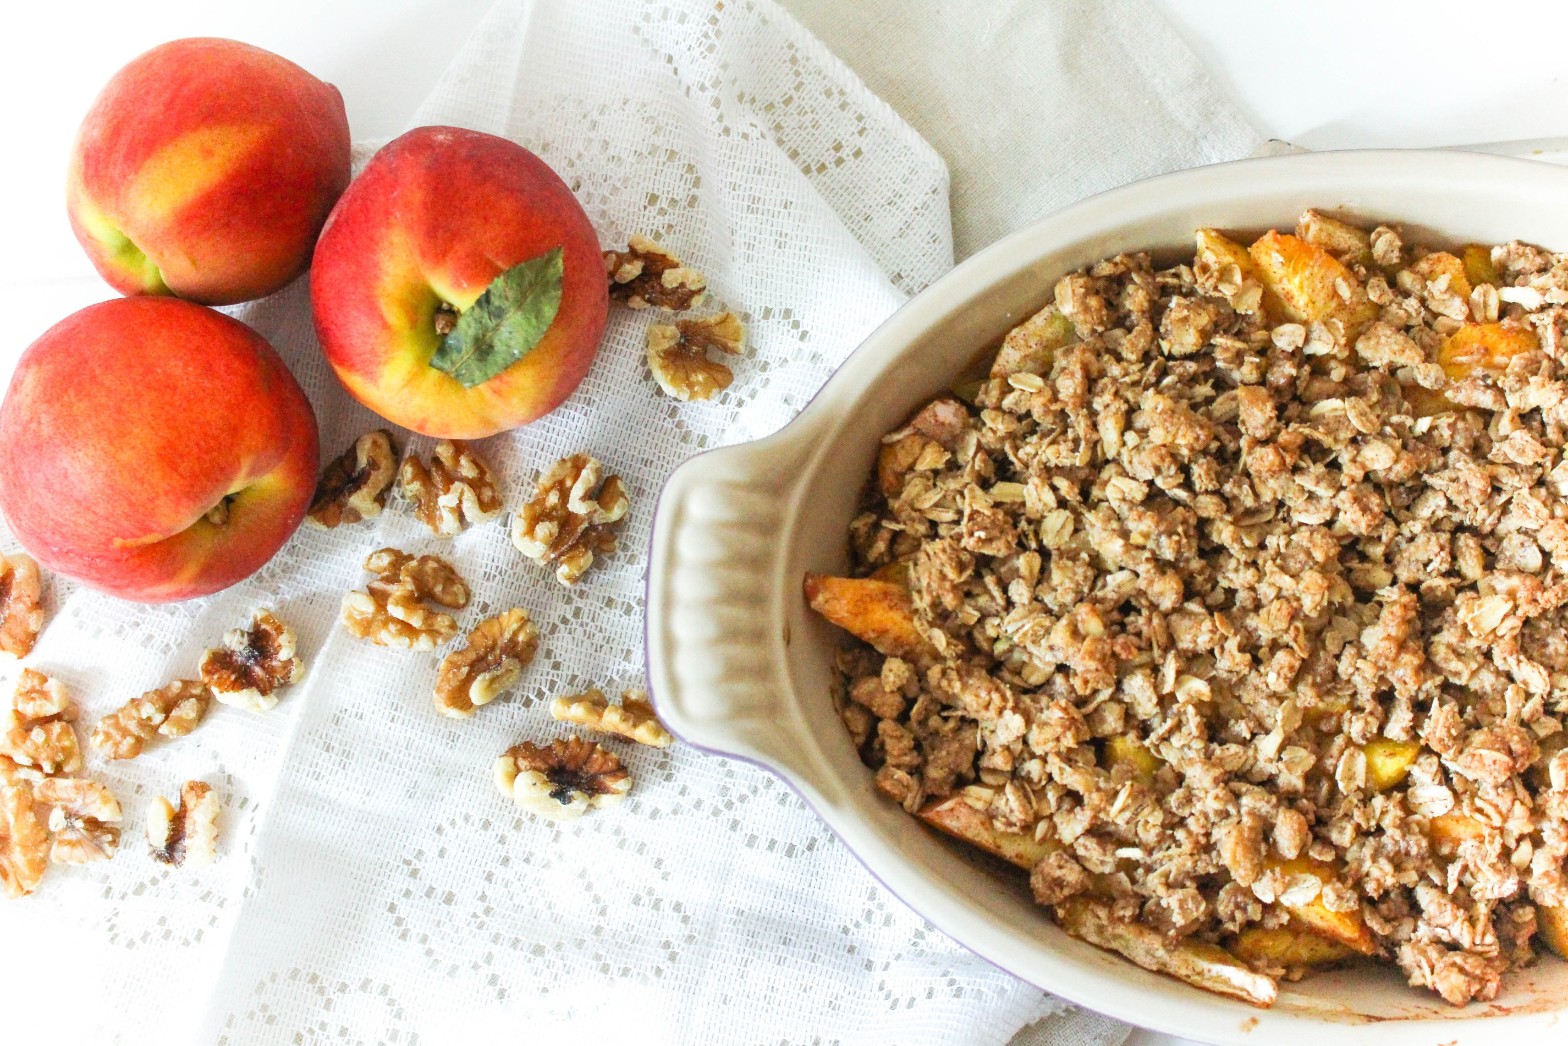
Peaches may be the seasonal featured ingredient of this recipe, but paired with this amazing thick walnut crisp topping, walnuts are the true star. Walnuts are a delicious and versatile ingredient that is the perfect complement to other whole foods for nutritious, tasty recipes.
Did you know?
Unique among nuts, walnuts contain the highest amount of ALA.
What is ALA?
Alpha-linolenic acid (ALA), is the plant-based omega-3 essential fatty acid, required by the human body. As one of the best plant food sources of omega-3s, a one-ounce serving of walnuts provides 2.5 grams of ALA. A growing body of scientific evidence is beginning to uncover a variety of benefits that ALA/omega-3s may provide to our bodies. While most nuts contain monounsaturated fats, only walnuts are comprised primarily of polyunsaturated fat (13 grams out of 18 grams total fat). Dietary guidelines recommend that people keep total fat intake between 20 to 35 percent of calories, with most fats coming from sources of polyunsaturated and monounsaturated fatty acids. Walnuts provide important components of a healthy diet – an ounce of walnuts has 2.5 grams of the essential plant-based omega-3 alpha-linolenic acid (ALA), and 4 grams of protein and 2 grams of fiber to keep you feeling full.
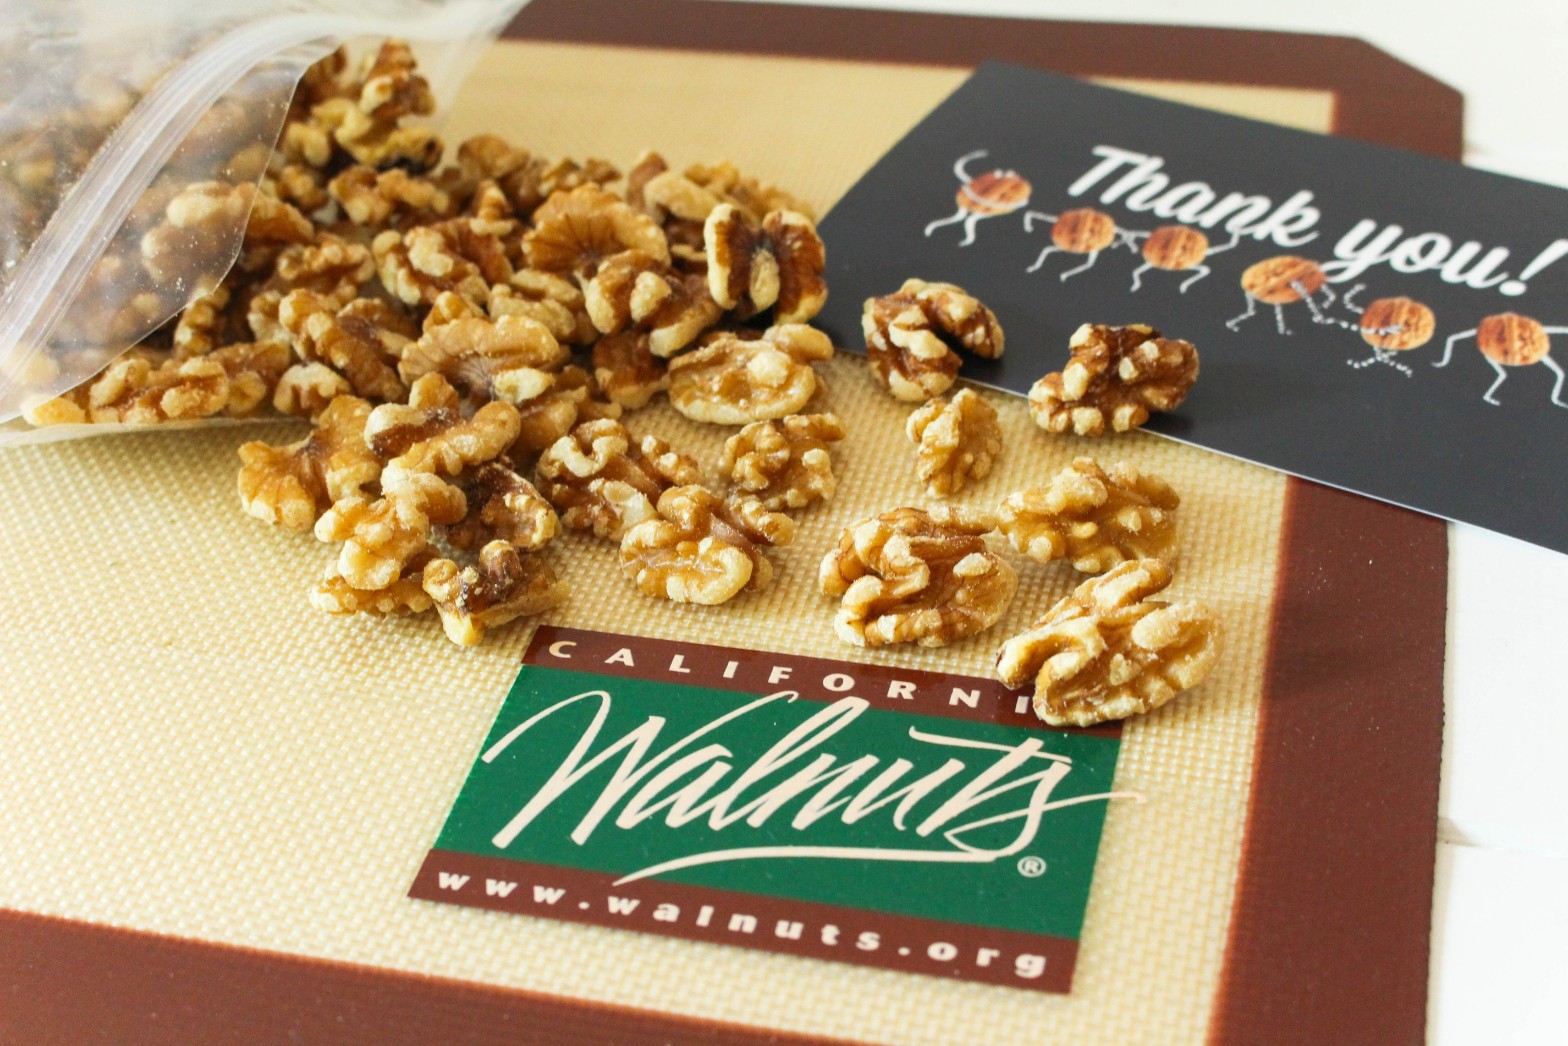
I get a lot of questions of how to store nuts in your home kitchen. I turned to the California Walnut Commission to get the most accurate answers from walnut experts!
You can maintain the fresh taste of California walnuts by keeping them cold. Walnuts go rancid when exposed to warm temperatures for long periods of time. Heat causes the fat in walnuts to change the structure, which creates off odors and flavors. Fresh walnuts smell mildly nutty and taste sweet. If your walnuts smell like paint thinner, you know they’re rancid. And if they’re rancid, you should throw them away!
When you bring walnuts home from the store, the best place to store them is in your refrigerator or freezer, depending on when you’re going to use them. If you’re going to use the walnuts right away, place them in your refrigerator. If you’ll be storing them for a month or longer, store them in your freezer. If you buy walnuts in sealed packaging, you can store the walnuts in their original packaging. Once you open the bag, transfer the walnuts to an airtight container to maintain freshness. If you buy bulk walnuts, either in-shell or shelled, place the walnuts in an airtight container for long-term cold storage.
 Happy baking!
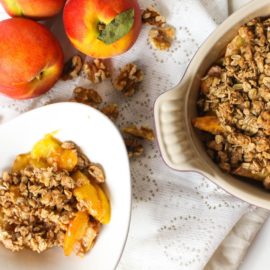
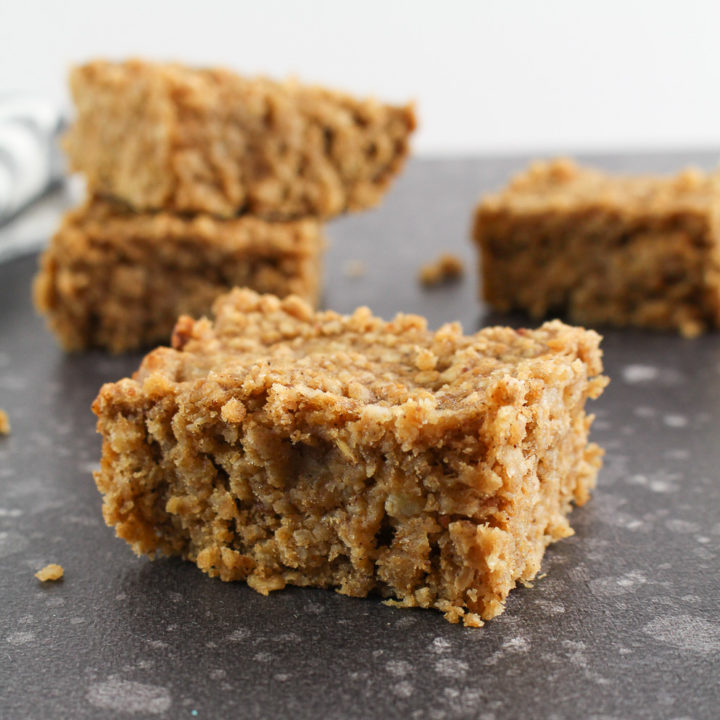
Peach Walnut Crisp
- Prep Time: 15 mins
- Cook Time: 30 mins
- Total Time: 45 mins
- Yield: 4
- Category: Dessert
Description
Enjoy this Peach Walnut Crisp for a sweet (and healthy) treat!
Ingredients
- 4 large peaches, peeled, pitted, and sliced
- 1 1/2 tablespoons arrowroot starch (or cornstarch)
- 2 teaspoons cinnamon, divided
- 1/3 cup rolled oats
- 1 cup walnuts, chopped
- 2 tablespoons oat flour
- 2 tablespoons coconut sugar
- 1/8 teaspoon salt
- 2 tablespoons maple syrup
- 2 tablespoons coconut oil (not melted)
Instructions
- Preheat oven to 350 degrees F. Coat an 8-inch baking dish with cooking spray. Set aside.
- In a large bowl, gently toss peach slices with arrowroot and 1/2 teaspoon cinnamon until evenly coated. Pour in an even layer at the bottom of the baking dish.
- In another bowl, combine the rolled oats, walnuts, oat flour, coconut sugar, and salt. Stir to combine. Mix in the maple syrup and coconut oil. Knead with the back of a fork or finger to create a crumb-like texture. Evenly layer on top of the peach slices in the baking dish.
- Bake in the oven for 30 minutes, until crumble is golden brown.
- Remove from oven and let cool for at least 30 minutes on a cooling rack. This will allow the peach mixture set.


This recipe was originally posted in June 2018. The recipe was too good, so nothing changed there. I just spruced up the post with my new website.


