This post may contain affiliate links. Read my privacy policy.
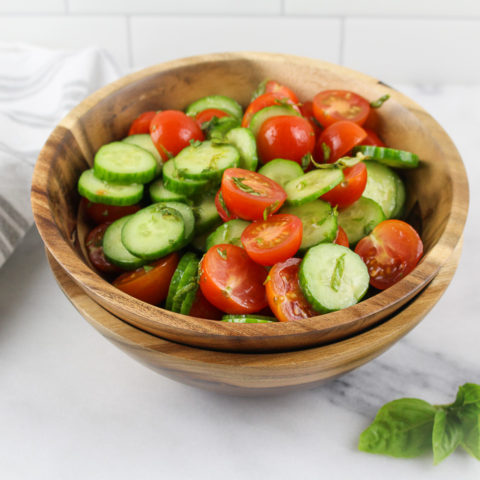
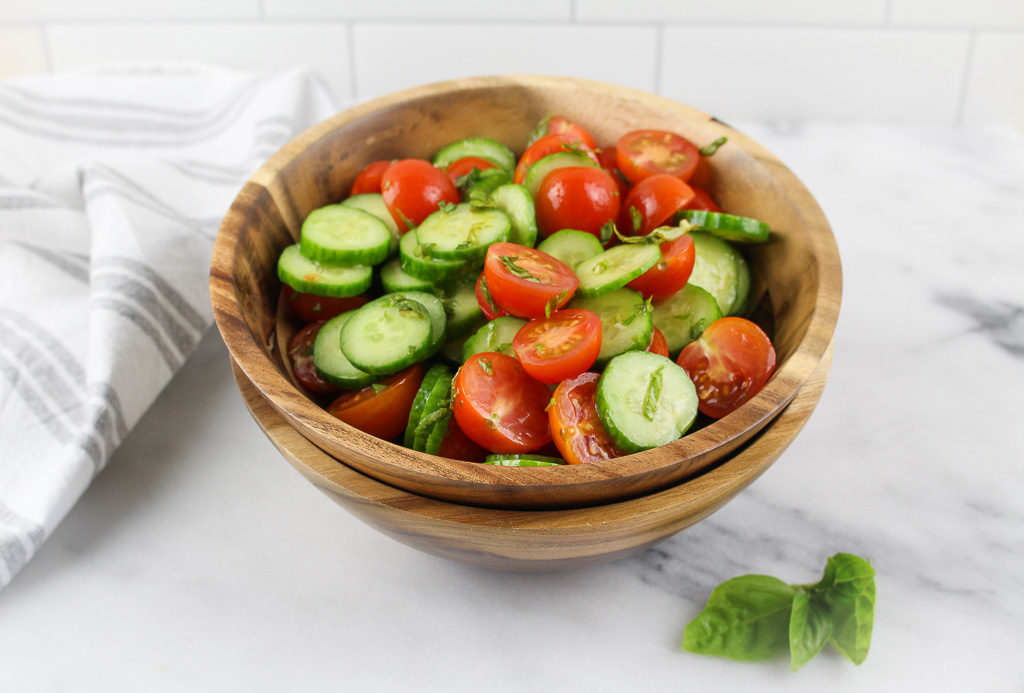
With just five simple ingredients, this Tomato Cucumber Salad will become a regular side dish to serve up with any spring or summer recipe.
Why I love this Tomato Cucumber Salad recipe
Who says salads have to start with a bed of lettuce? We’ve chatted before about how salads don’t have to be boring! What I love the most about this recipe is simple its ingredients, taking less than 10 minutes to put together, and can turn into so many new variations. (see below)
Using mini cucumbers is key
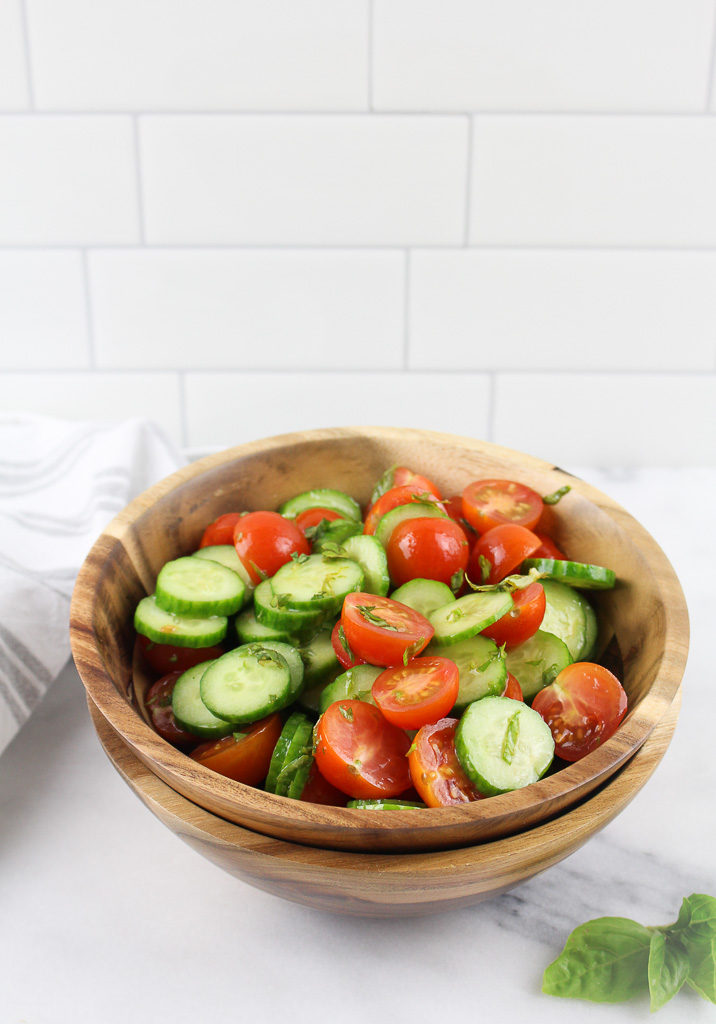
While any kind of cucumber can work in this recipe, I urge you to seek our mini cucumbers, because I think it really makes the recipe. No need to peel the skin. The skin of mini cucumbers is tender and delicate. Just simply slice into coins and they are ready to go.
When I develop a recipe, I always think about the perfect bite. When slicing mini cucumbers into a coin, it takes the same shape and size of the cherry tomatoes so you are able to get everything all in one bite. Plus, it’s more time consuming to peel, seed, and quarter a regular cucumber.
Recipe Tip
If you are using a conventional cucumber, I recommend removing the seeds. Why? Because they are bitter and don’t want any bitterness added to the dish. For a conventional cucumber, peel, scoop out the seeds, slice and cut in quarters for this recipe.
For other cooking tips, go here.
How to make this Tomato Cucumber Salad
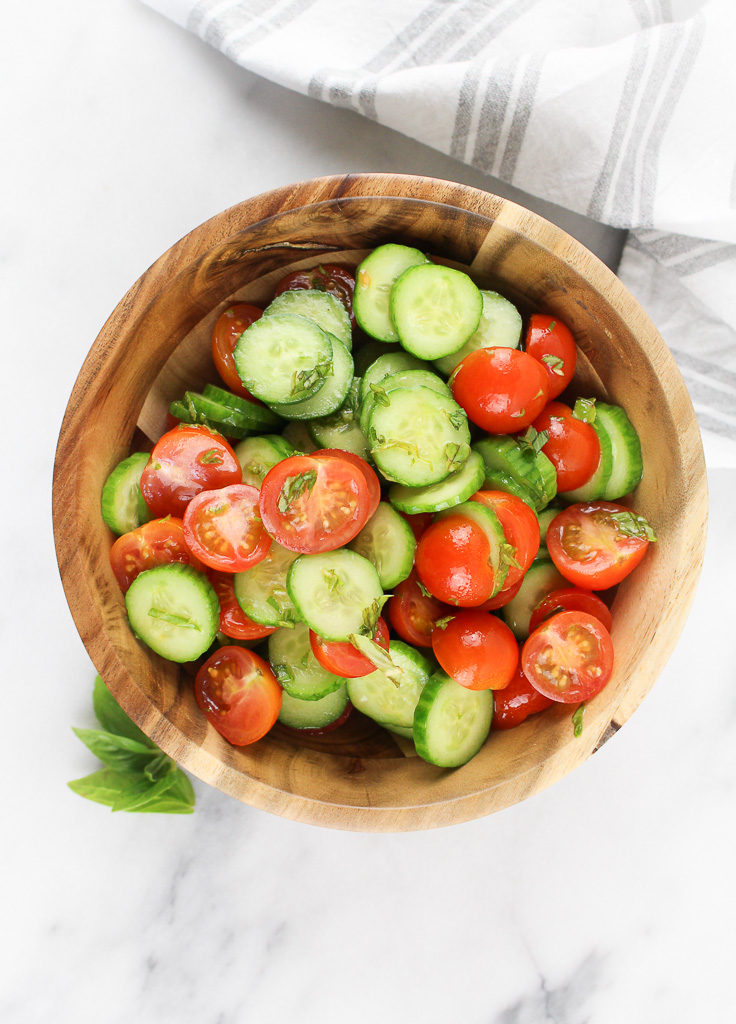
- Chop vegetables.
- Whisk together dressing.
- Toss together.
- Season with salt and pepper.
It doesn’t get much easier than that!
Storage Tip
Keep this Tomato Cucumber Salad in an airtight container in the fridge for up to 5 days.
Variations
Additions
Chickpeas: Drain and rinse a can or two of chickpeas and add to the mixture. This will add different textures, plus a good source of plant-based proteins
Feta cheese: I love feta cheese. Hold off on seasoning with salt and pepper at the end after tasting with the feta cheese. Feta cheese will add salt to the dish, so maybe a little sprinkle of pepper will be fine. Also, if making this dish in advance, add feta just before serving.
Red onions: The key is to thinly slice red onions, so they don’t overpower the whole dish. If you are looking for something a little sweeter or more tang, try adding my Quick Pickled Onions.
Print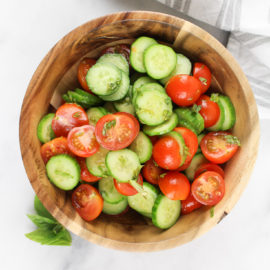
Tomato Cucumber Salad
- Prep Time: 10
- Total Time: 10 minutes
- Yield: 6
- Category: salad
- Method: no cook
- Cuisine: American
Description
Light and refreshing salad to compliment any spring or summer dish.
Ingredients
3 cups cherry tomatoes, halved
8 mini cucumbers, sliced into coins
2 tablespoons olive oil
1 tablespoon red wine vinegar
1/4 cup fresh basil leaves, chopped
salt and ground black pepper, to taste
Instructions
Notes
Variations:
– Add chickpeas
– Add feta cheese
Keywords: cucumber, tomato, salad, no cook, vegetables, low carb, recipe