This post may contain affiliate links. Read my privacy policy.
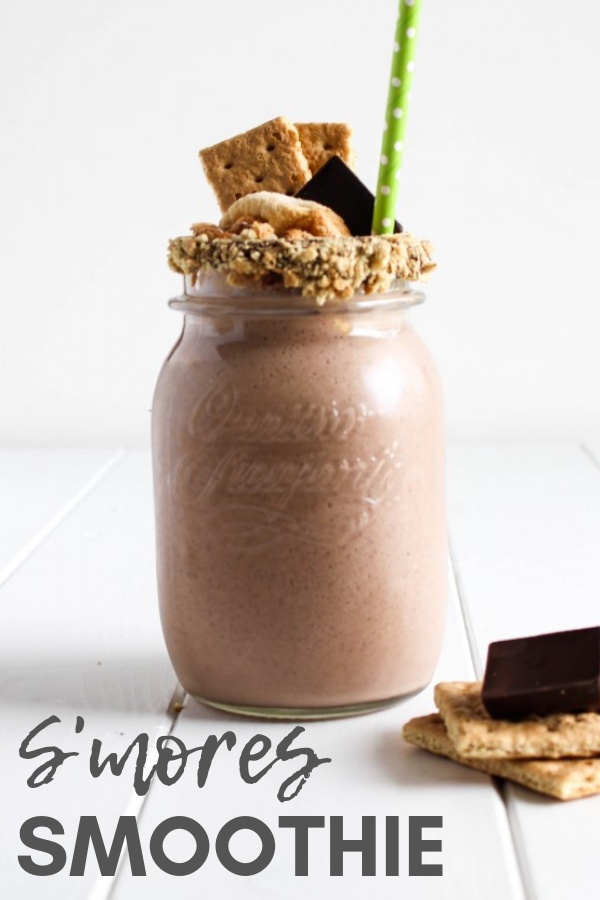
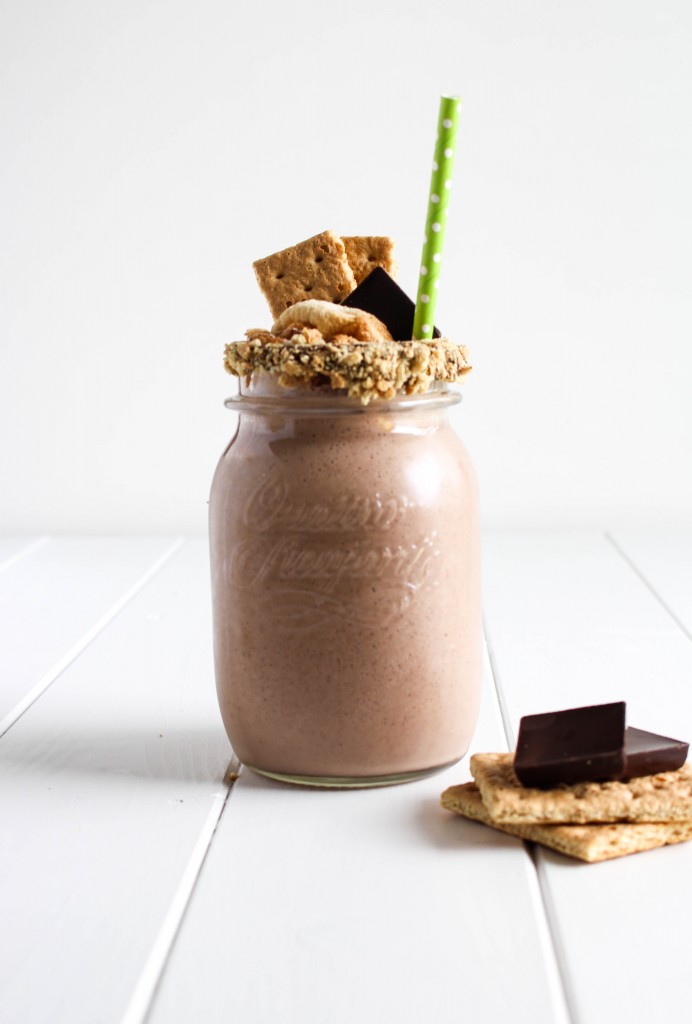
Power up your blender for a twist of a campfire favorite – s’mores!
This “Easy as Breeze” post is sponsored by Almond Breeze Almondmilk. Thank you for supporting brands who help make this website possible!

S’mores – it’s a summer time favorite. Summer is not complete without a perfect s’more over a campfire. S’mores creations have really gotten creative lately. Adding a reese pb cup instead of a chocolate square, adding in a brûlée banana slice, or even using chocolate chip cookies instead of graham crackers. I’m thinking a little more out of the box today with a drinkable form.
As crazy as this sounds, my uncle didn’t know what a s’more was. Uhhhh.. what! How do you not know what a s’more is?! And even after my cousins and I explained it to him, he never says it correctly. He pronounces it like s’moré.
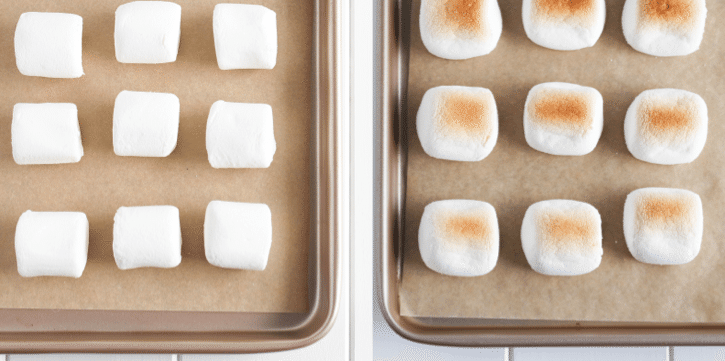
With no opportunity being around a campfire or fire pit yet this summer, I had to improvise to enjoy my s’more craving. Simply toast marshmallows by broiling them. NOTE: keep an eye on them! I burned the first batch, oops!
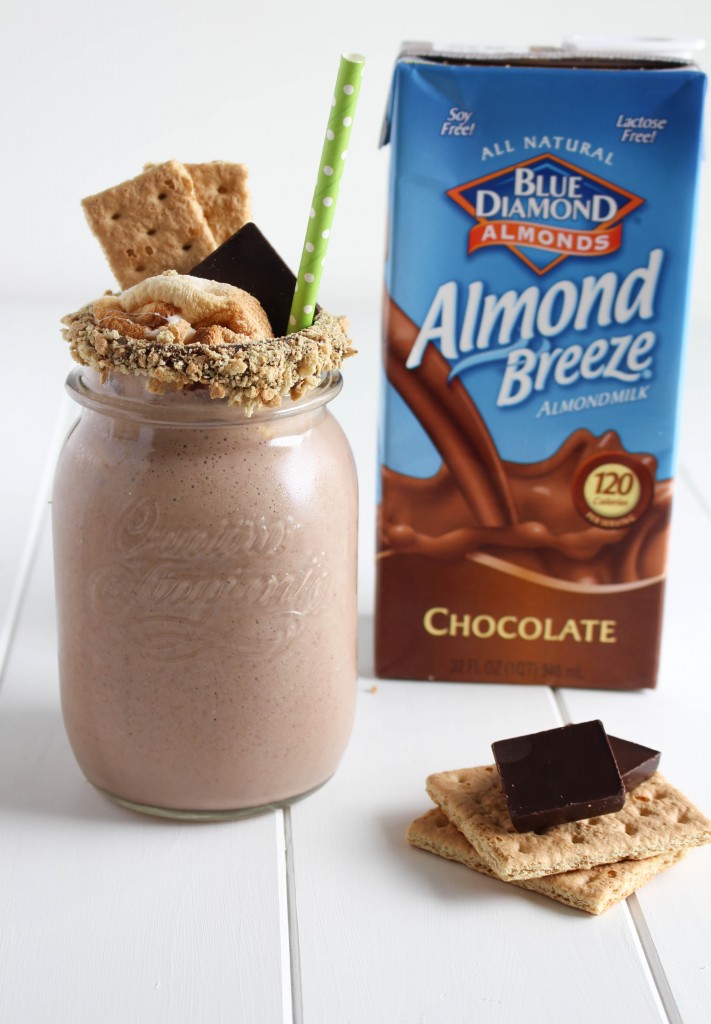
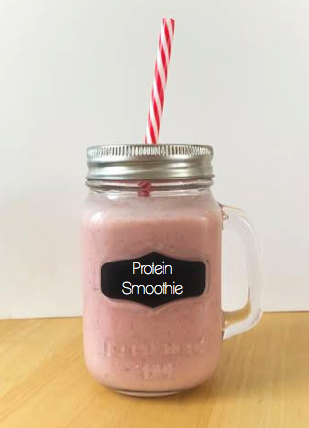
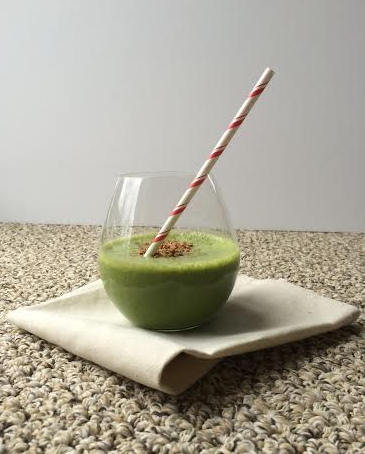
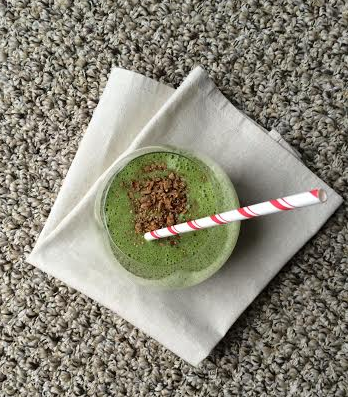
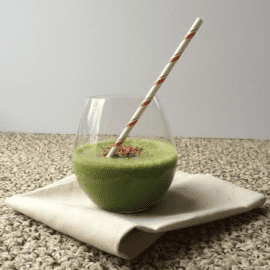
The chocolate almond milk was the perfect addition to make it taste rich and indulgent. It literally tastes like a drinkable s’more. If you have s’mores ingredients at home, it’s time to make a s’more smoothie .. now! You can thank me later.
Print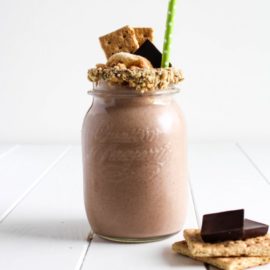
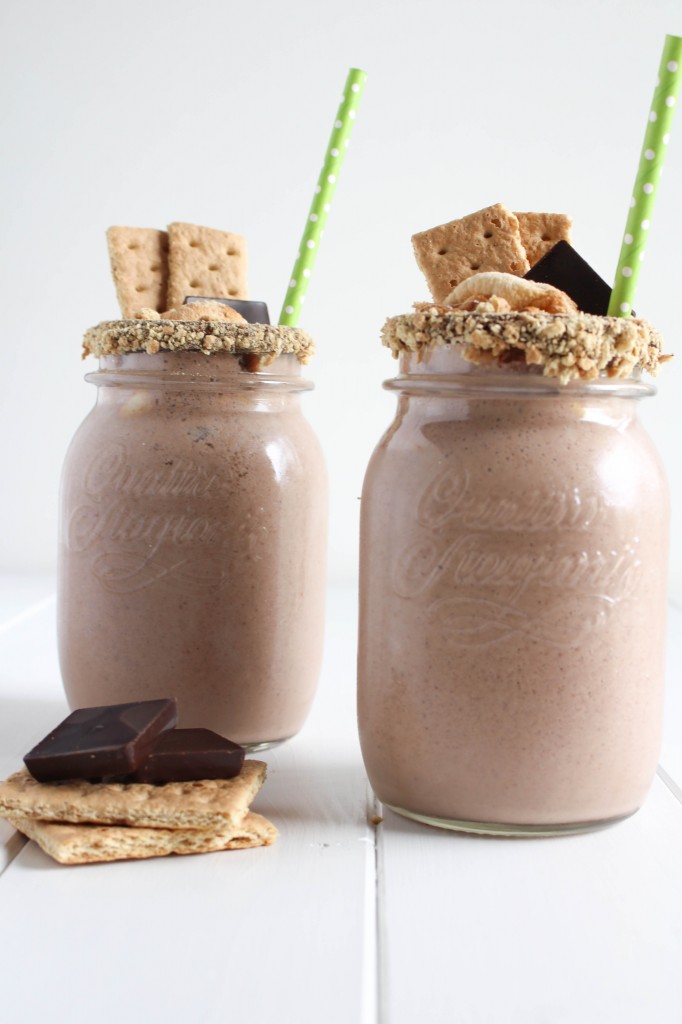
S’mores Smoothie
- Prep Time: 10 mins
- Total Time: 10 mins
- Yield: 2-4 1x
- Category: Smoothie
- Method: Blender
- Cuisine: American
Ingredients
- 1 1/2 cups chocolate almond milk
- 2 cups vanilla Greek yogurt
- 6 large marshmallows
- 4 chocolate squares
- 2 sheets honey graham crackers
Instructions
- Line a baking sheet with parchment paper. Place marshmallows on baking sheet and place under broiler on low for 2-3 minutes. (note: keep a close eye on the marshmallows as they can burn quickly)
- In a blender, combine the chocolate almond milk, vanilla Greek yogurt, toasted marshmallows, chocolate squares, and graham crackers. Blend until smooth.
- (optional) Melt additional chocolate and rim the glasses with chocolate and crushed graham crackers. Add additional toasted marshmallows, graham crackers, and chocolate for a garnish.
Notes
Don’t skip toasting the marshmallows or they will not blend up all the way in the smoothie.
Keywords: s’mores, smoothie, almond milk, chocolate