This post may contain affiliate links. Read my privacy policy.
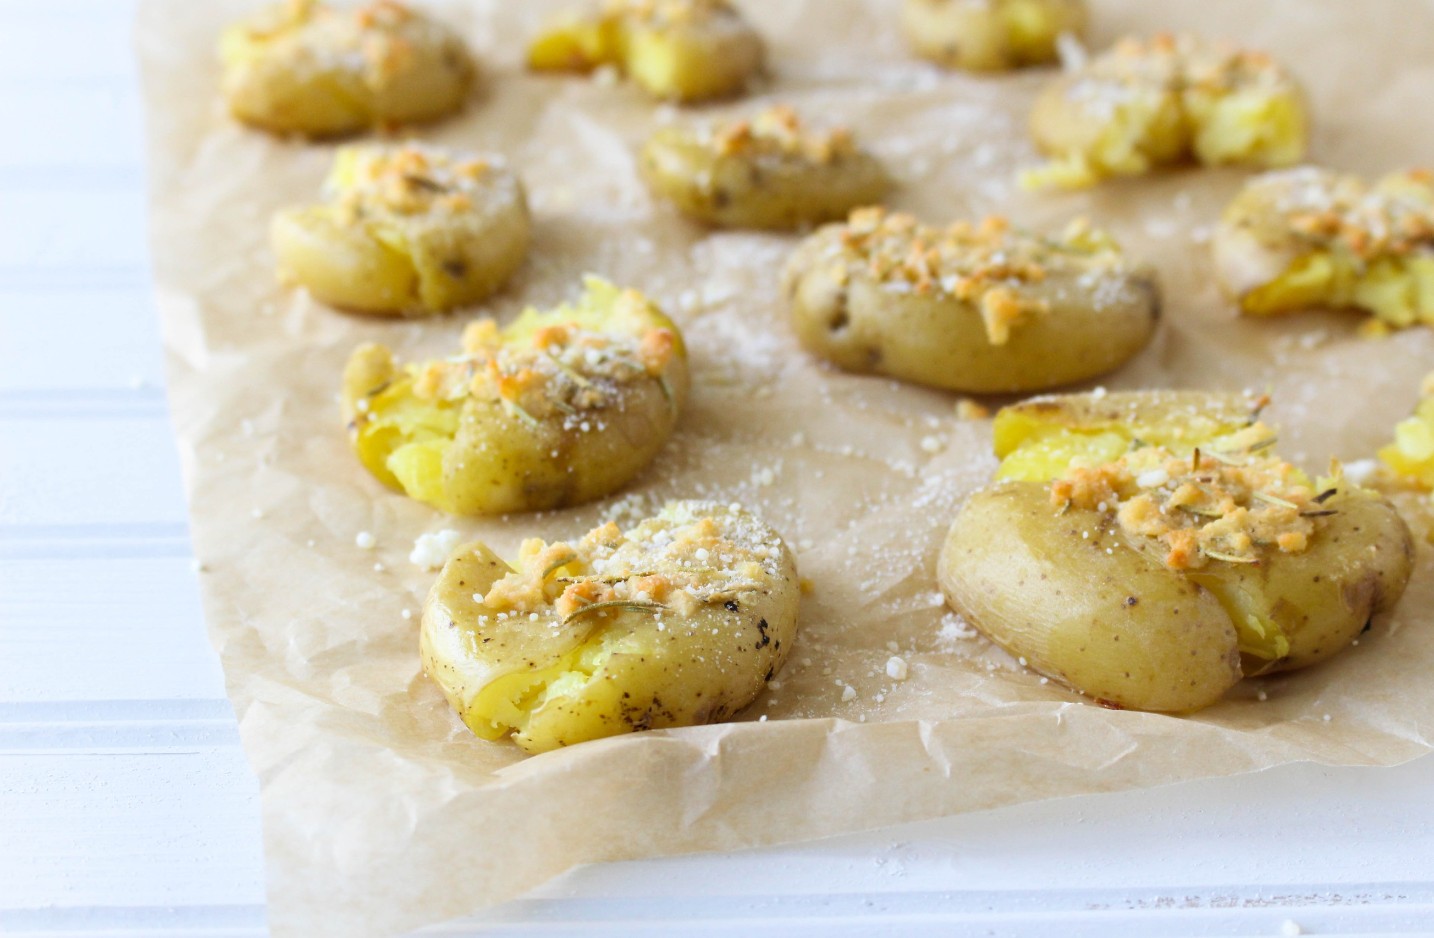
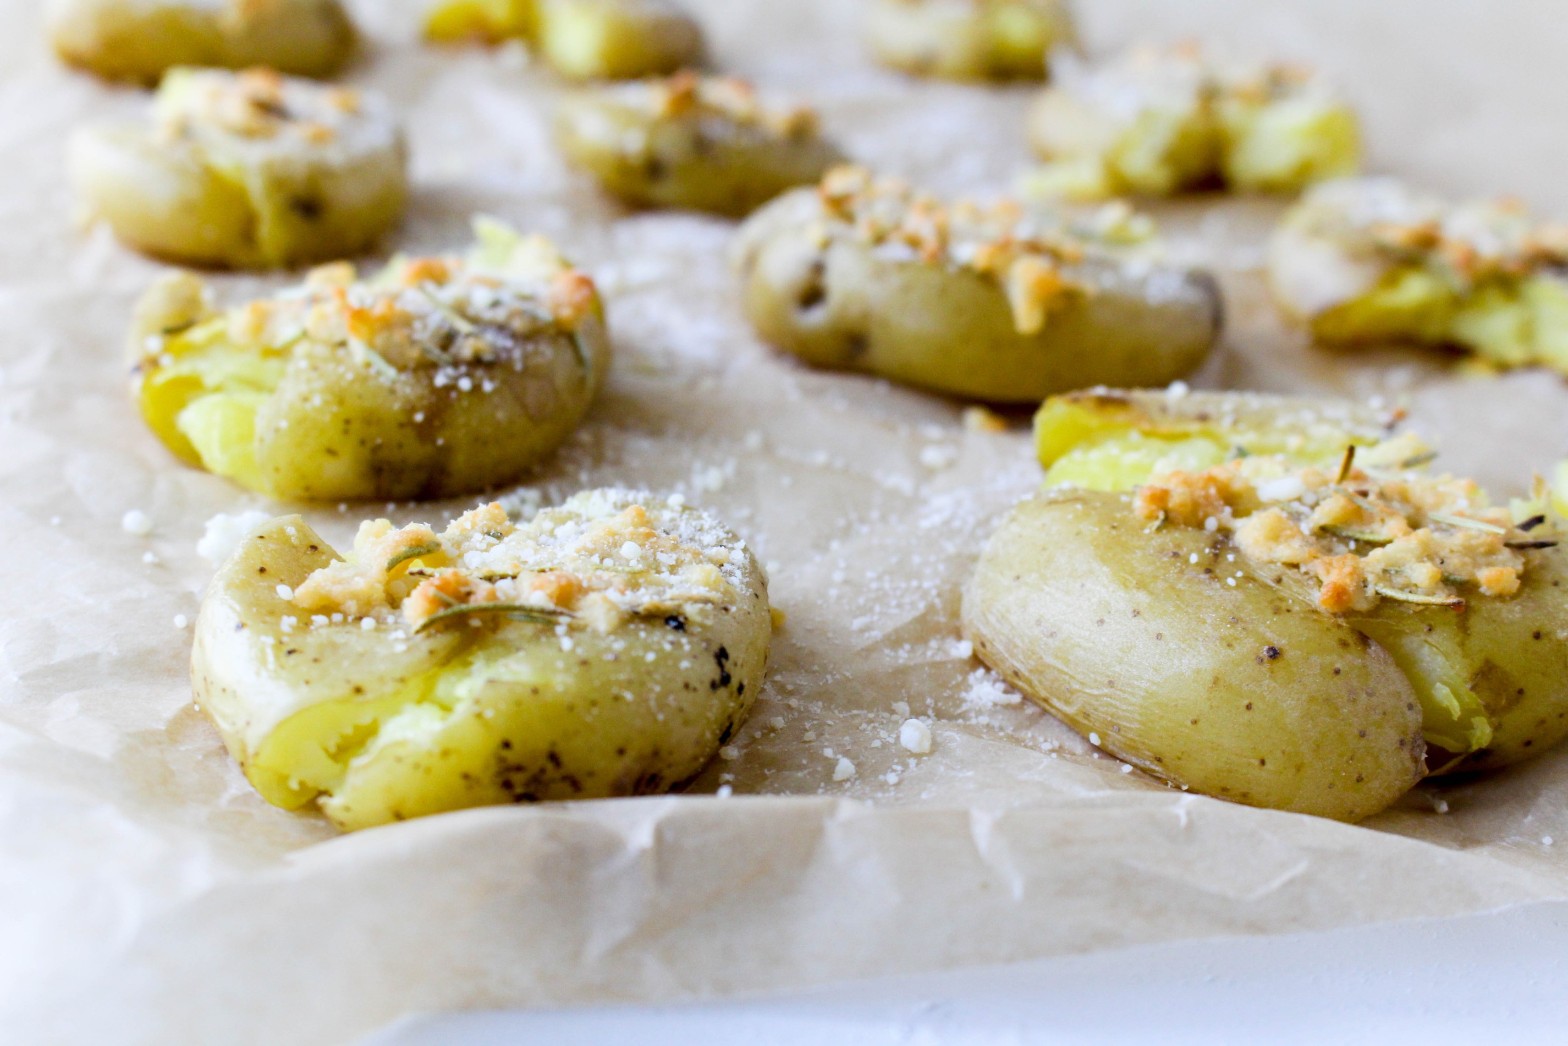
These Garlic Parmesan Smashed Potatoes are a healthy twist of a cross between baked potatoes and french fries – crispy on the outside and fluffy and tender on the inside.
Hear those crickets? I haven’t made a recipe in over a week. I am finally back in action after being sick for a few days. I’ve thought of so many recipe ideas, but I didn’t have the energy or appetite to cook this week.
When did potatoes get such a bad reputation? I’m so tired of hearing, “they are too starchy” or “potatoes have too many carbs”. Potatoes are rich in B-complex vitamins, which help your body form blood cells and make energy from the protein, carbohydrates and fat from the food you eat. Additionally, potatoes are a great source of vitamin C, magnesium, phosphorus, and potassium.

I love these smashed potatoes because they are a cross between baked potatoes and french fries – soft and fluffy on the inside and crispy on the outside. When I reheated them again for leftovers, they got even crispier, amazingggg.
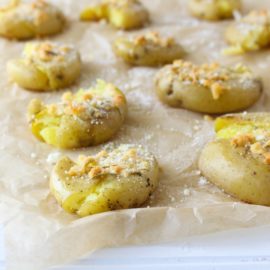
Garlic Parmesan Smashed Potatoes
- Yield: 6
Ingredients
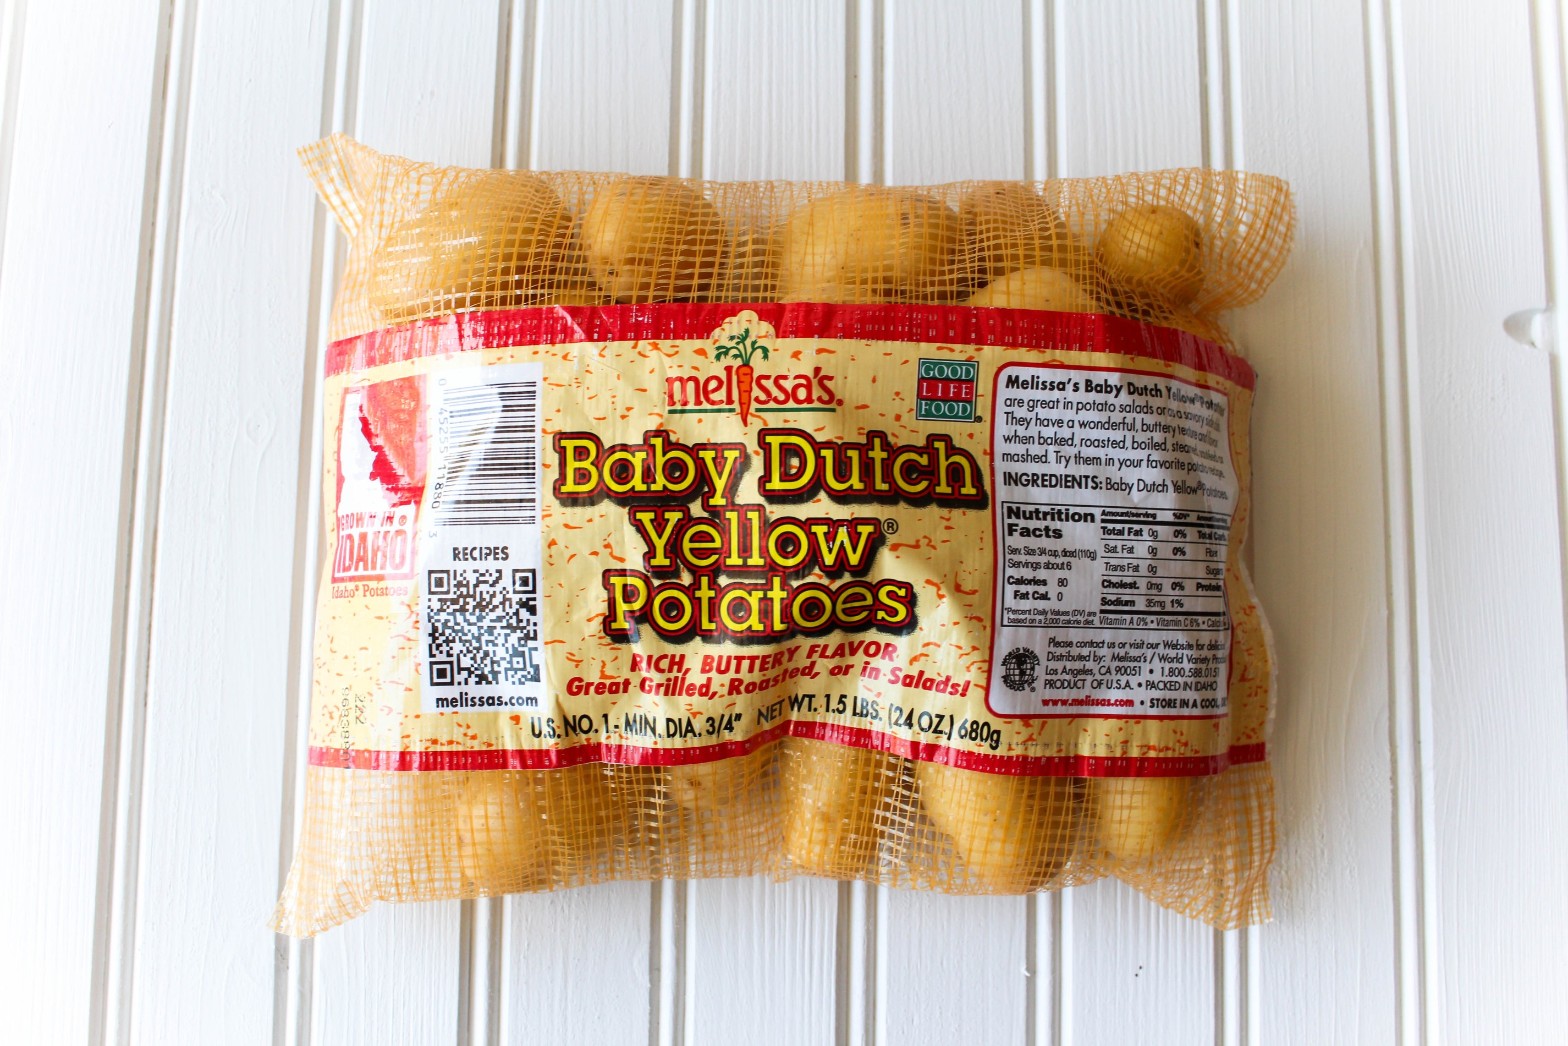
- 24 ounces baby Dutch yellow potatoes
- 2 tbsp olive oil
- 3 cloves garlic, minced
- 2 tbsp parmesan cheese
- 1 tbsp dried rosemary, roughly chopped
- salt and pepper, to taste
Instructions
- Preheat oven to 450 degrees F. Coat a large baking sheet with nonstick spray. Set aside.
- Bring a large pot of water to a boil. Cook the potatoes until fork tender, about 15-20 minutes. Drain and pat dry.
- As potatoes are cooking, in a small bowl, combine olive oil, garlic, parmesan cheese, dried rosemary, salt and pepper.
- Place potatoes onto the prepared baking sheet. Using a back of a fork, carefully smash the potatoes until flattened but still in one piece. Top each smashed potato with garlic parmesan mixture.
- Place into oven and bake for 18-20 minutes, or until golden brown and edges are crispy.