This post may contain affiliate links. Read my privacy policy.
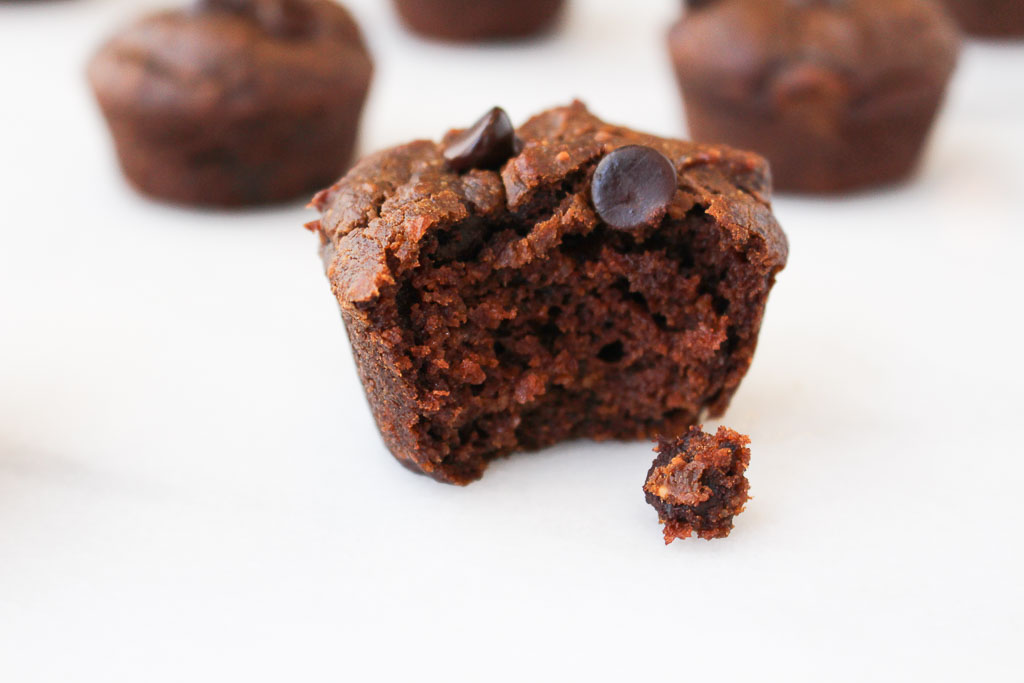
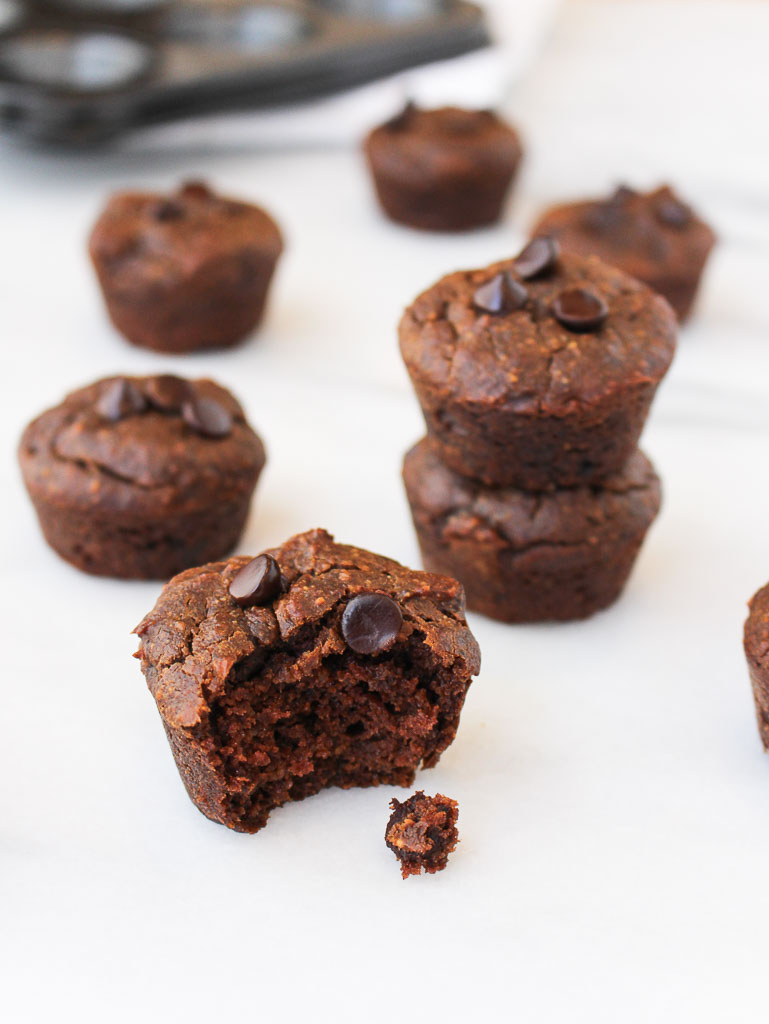
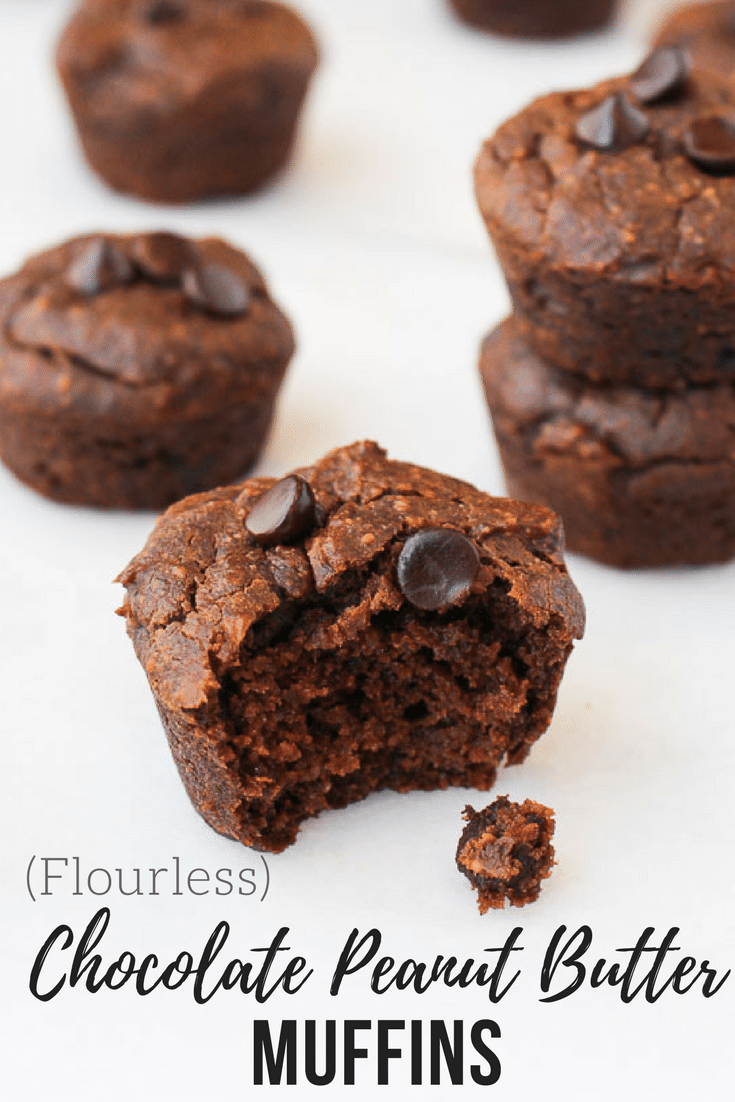
You won’t believe that these Chocolate Peanut Butter Muffins are flourless! Made with wholesome ingredients these muffins can be part of a healthy breakfast or enjoyed as a decadent dessert.
 Disclaimer: I am warning you, if you make these, they may not last a week in your house. They didn’t in mine! I found ways to enjoy these muffins with almost any meal. Crumble on top of smoothie bowls for breakfast, pair with a yogurt parfait for lunch, top with peanut butter for the ultimate dessert.

 Whenever I offer baked goods to my family and friends, they tend to be a little skeptical thinking that there is no way there is a “healthier” option that STILL tastes good. My dad’s famous words are “what’s in this” before he tries anything I make. My response is the typical eye roll with “JUST TRY IT!”. Even though my dad may question everything I make, he still always tries it. Making a flourless muffin that tastes as indulgent as dessert, this is one recipe no one will pass on.
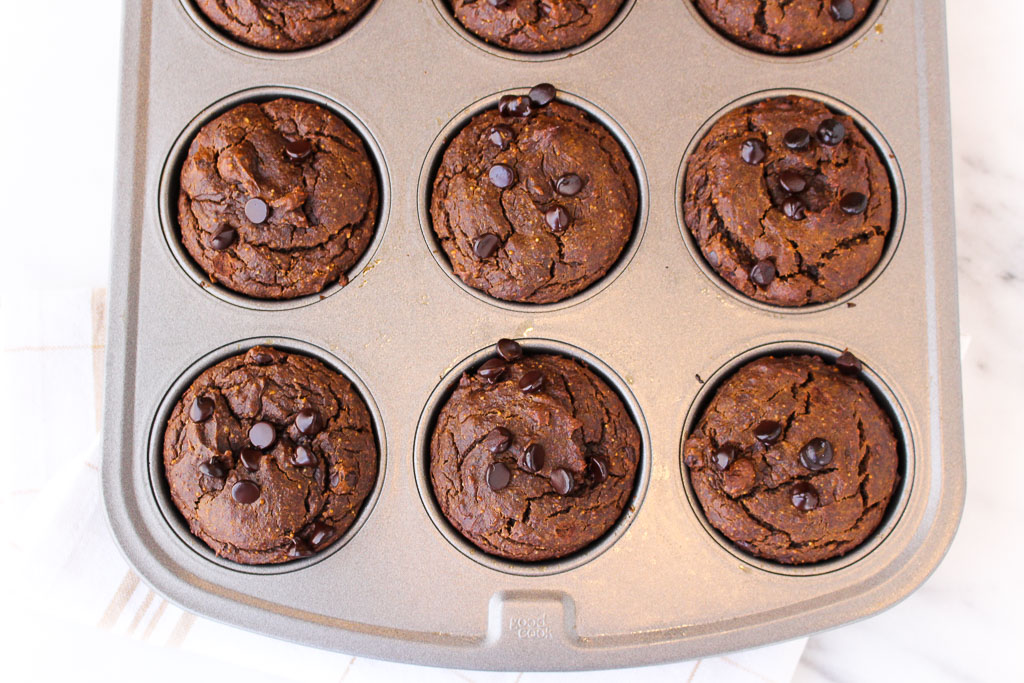
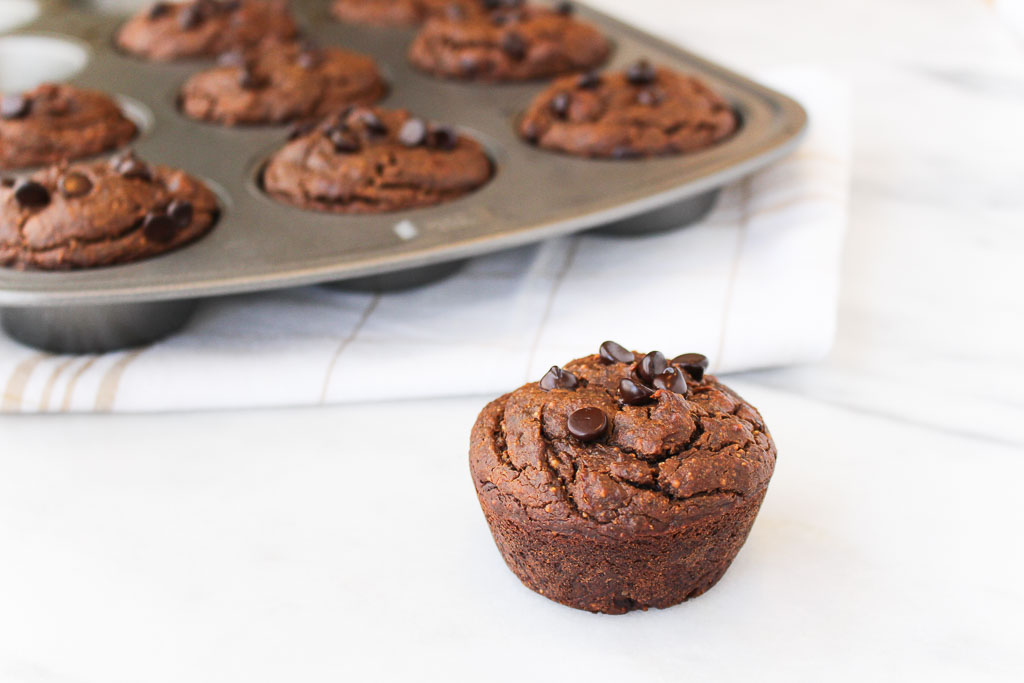
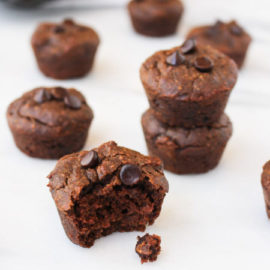
Flourless Chocolate Peanut Butter Muffins
- Yield: 14 1x
Ingredients
- 2 eggs, (at room temp) beaten
- 2 cups natural peanut butter (or almond butter)
- 1/2 cup maple syrup
- 1 1/2 cups pumpkin puree
- 6 tablespoons unsweetened cacao powder (or unsweetened cocoa powder)
- 2 teaspoons baking soda
- 2 teaspoons vanilla extract
- 1/2 cup dark chocolate chips
Instructions
- Preheat oven to 350 degrees F. Spray a muffin tray with cooking spray or line with parchment liners.
- In a large bowl, combine eggs, peanut butter, maple syrup, pumpkin puree, cacao powder, baking soda, and vanilla extract. Whisk together until smooth and creamy.
- Fold in the chocolate chips.
- Fill muffin tins 3/4 full.
- Bake for 30-35 minutes, until a toothpick, comes out clean.


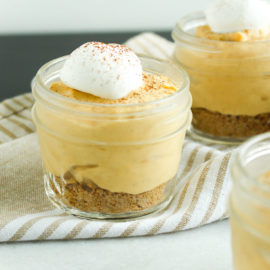
![[No Bake] Pumpkin Cheesecake Mousse via RDelicious Kitchen @RD_Kitchen](https://chefjulierd.com/wp-content/uploads/2016/10/pumpkin-cheesecake-shooters-037.jpg)
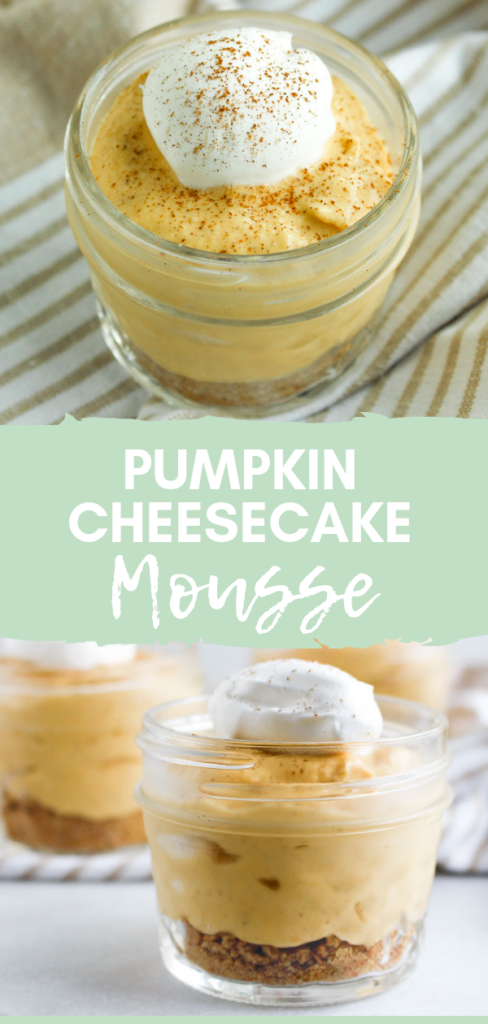
![[No Bake] Pumpkin Cheesecake Mousse via RDelicious Kitchen @RD_Kitchen](https://chefjulierd.com/wp-content/uploads/2016/10/pumpkin-cheesecake-shooters-061.jpg)
![[No Bake] Pumpkin Cheesecake Mousse via RDelicious Kitchen @RD_Kitchen](https://chefjulierd.com/wp-content/uploads/2016/10/pumpkin-cheesecake-shooters-043.jpg)
![[No Bake] Pumpkin Cheesecake Mousse via RDelicious Kitchen @RD_Kitchen](https://chefjulierd.com/wp-content/uploads/2016/10/pumpkin-cheesecake-shooters-049.jpg)