This post may contain affiliate links. Read my privacy policy.
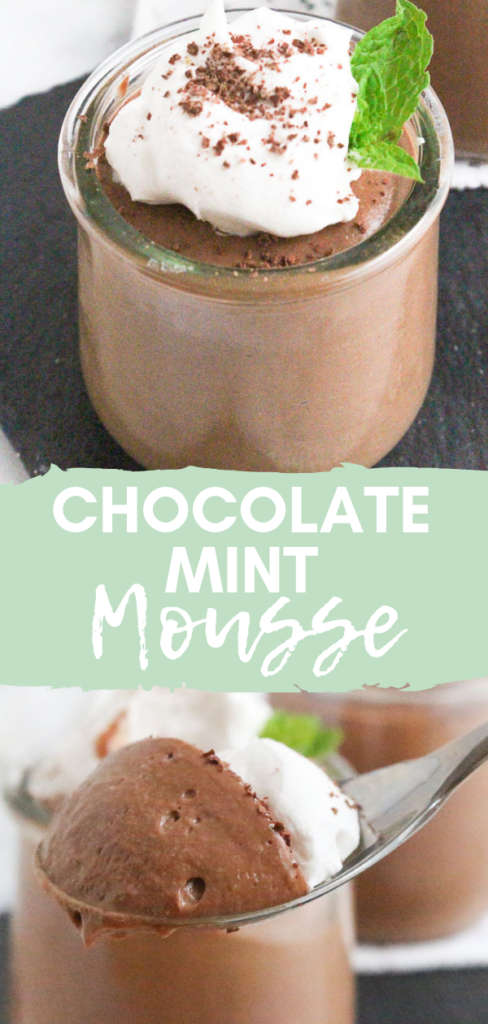
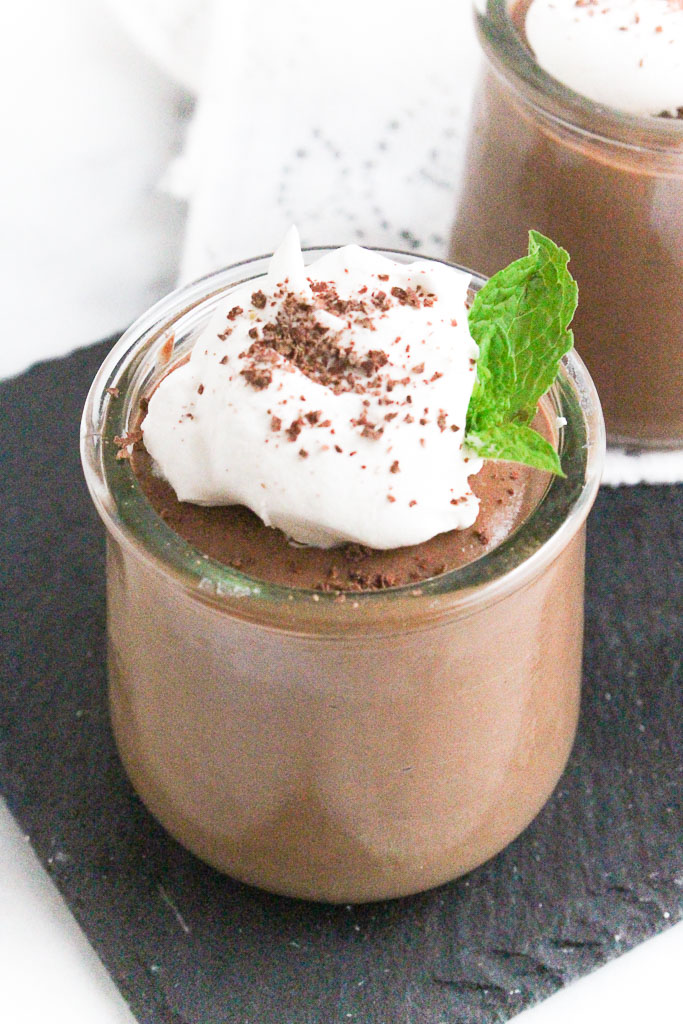
These perfectly portioned (vegan) Chocolate Mint Mousse desserts will satisfy your sweet tooth.
The great debate: Is it chocolate chip mint ice cream OR mint chocolate chip ice cream? Also, does it need to be green or is it okay being white? My family and I have discussed this in great lengths. We have different opinions, but one thing we can agree on is the love for the chocolate/mint combination.
Do you remember those Andes candies? Still, to this day, my mom put those in our Christmas stockings.
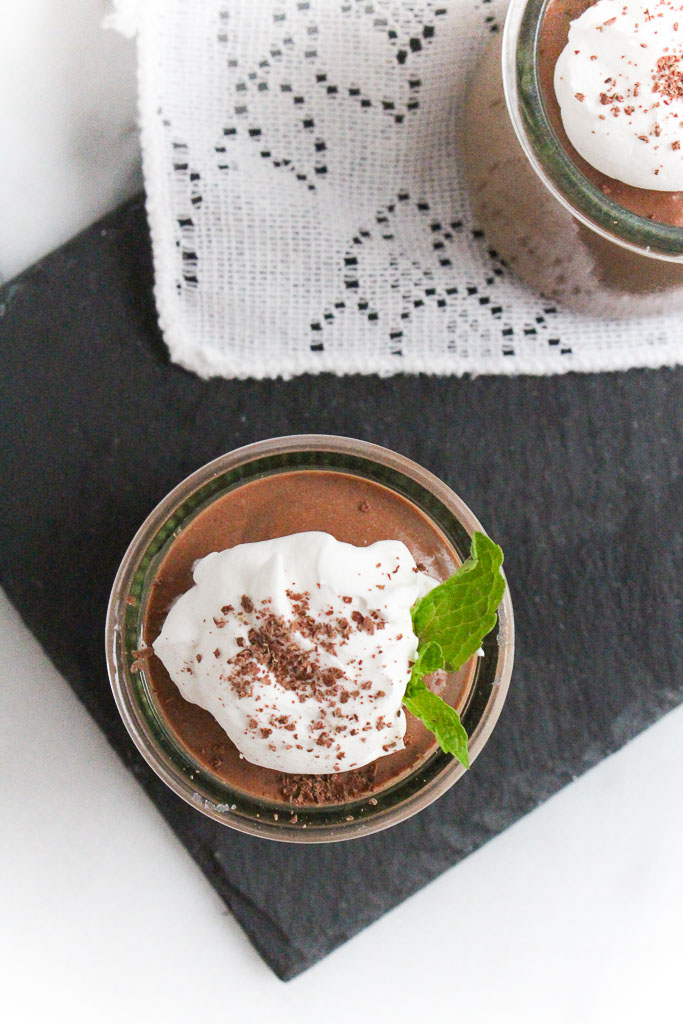
I repurposed the Oui yogurt glass containers for these perfectly portioned desserts. The secret ingredient that makes this silky and smooth vegan mousse – silken tofu!
Silken tofu is silkier than regular tofu, provides an incredibly delicate texture. That’s why it’s a natural fit in mousses and pies. Don’t worry, you would have no idea there is tofu in there. Tofu takes on the flavors of what else is in the recipe – in this case, chocolate mint!

I’m sure you knew that tofu is an excellent plant-based protein, but did you know tofu is also an excellent source of calcium? Calcium is not just found in dairy products, but also soy and dark leafy greens, which is important for bone health.
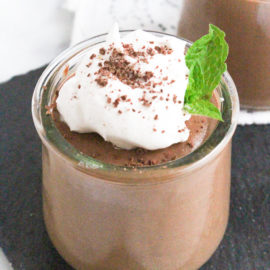
Chocolate Mint Mousse
- Prep Time: 15 minutes
- Cook Time: 2 hours
- Total Time: 2 hours 15 minutes
- Yield: 4
- Category: Dessert
Description
These perfectly portioned (vegan) Chocolate Mint Mousse desserts will satisfy your sweet tooth.
Ingredients
- 8 ounces dark chocolate, chopped
- 3 tablespoons maple syrup
- 1 teaspoon espresso powder
- 1 teaspoon mint extract
- ¼ teaspoon sea salt
- 2 cups (16 ounces) silken tofu (NOT soft tofu)
- 1 tablespoon water
- Toppings: coconut whipped cream, shaved chocolate, mint leaves
Instructions
- Melt the chocolate over a double boiler, or in a microwave-safe bowl. Remove the bowl from the heat as soon as the chocolate has melted, being careful not to burn it. Stir in the maple syrup, espresso powder, mint extract, and salt.
- In a blender, combine the silken tofu, water, and melted chocolate. Blend until thoroughly combined.
- Divide equally between 4 ramekins or little jars. Cover and refrigerate for at least 2 hours.
- Top with coconut whipped cream, shaved chocolate, and mint leaves if using.
Notes
For the (dairy free) coconut whipped cream:
https://chefjulierd.com/coconut-whipped-cream/
Keywords: #vegan #chocolate #mint #dessert #tofu #protein #chocolatemint #dairyfree