This post may contain affiliate links. Read my privacy policy.
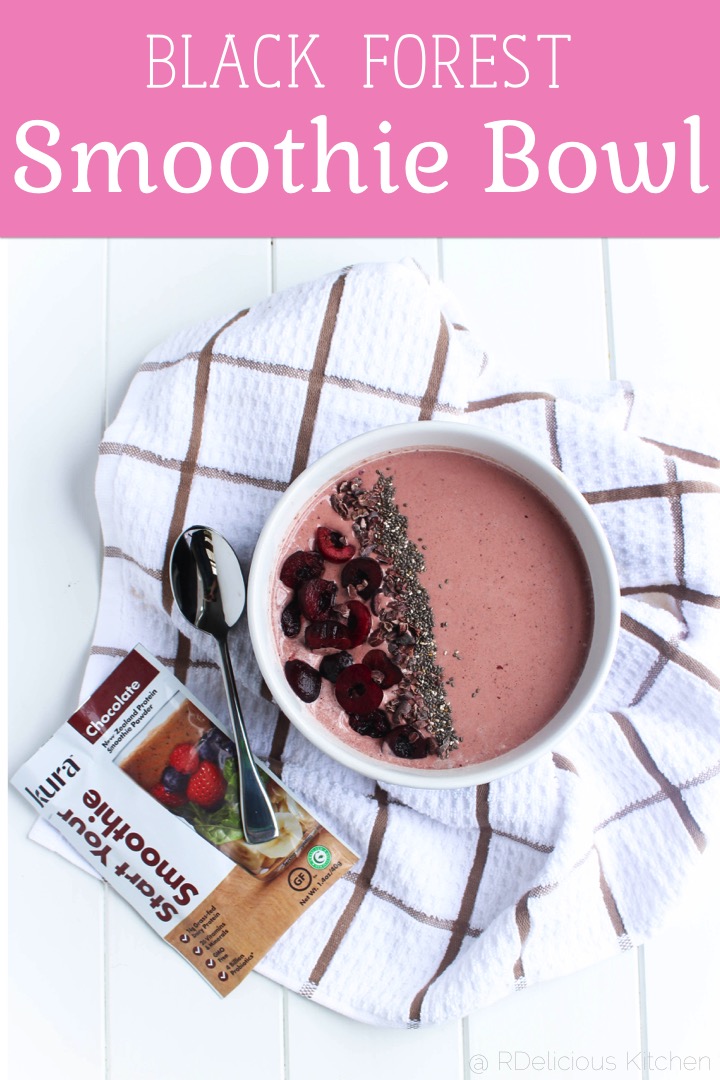
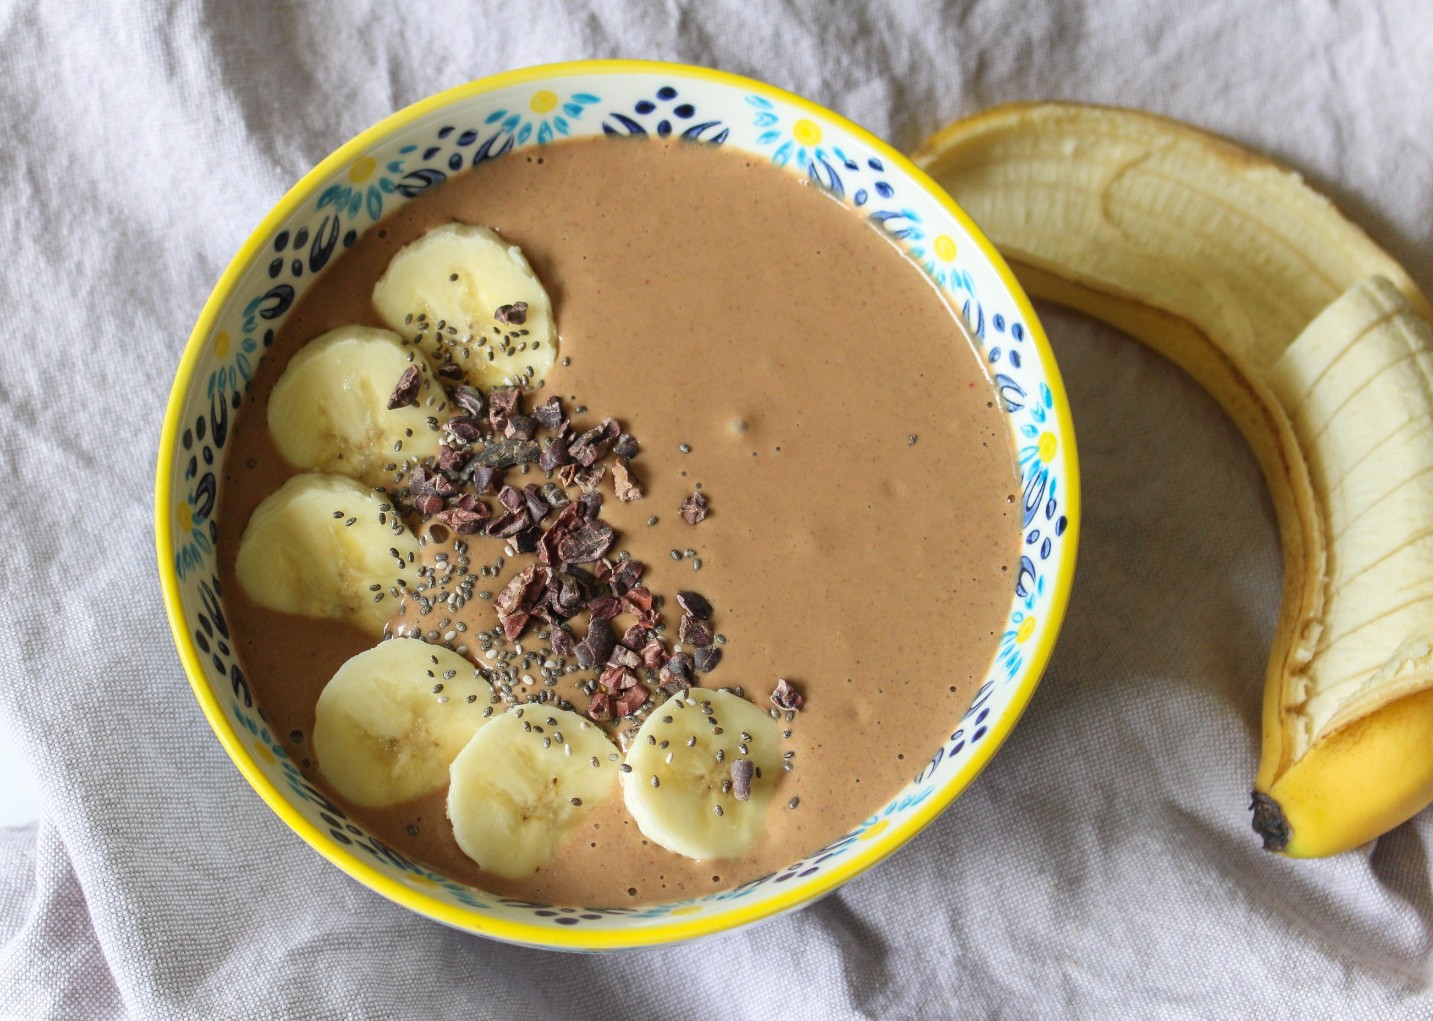
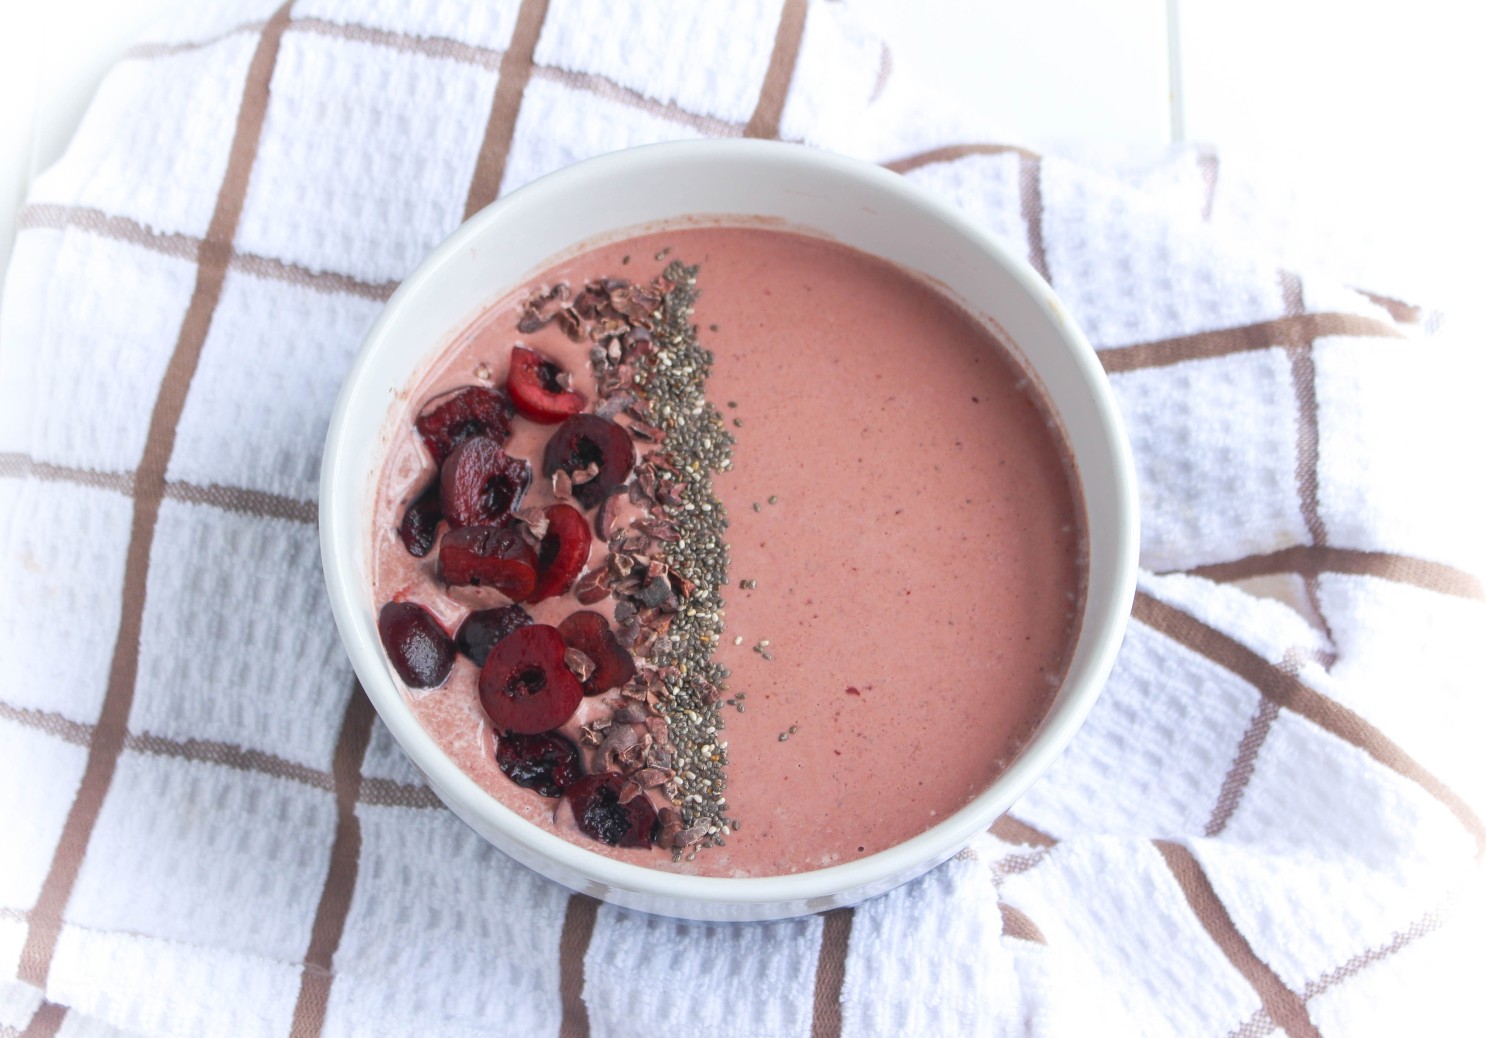
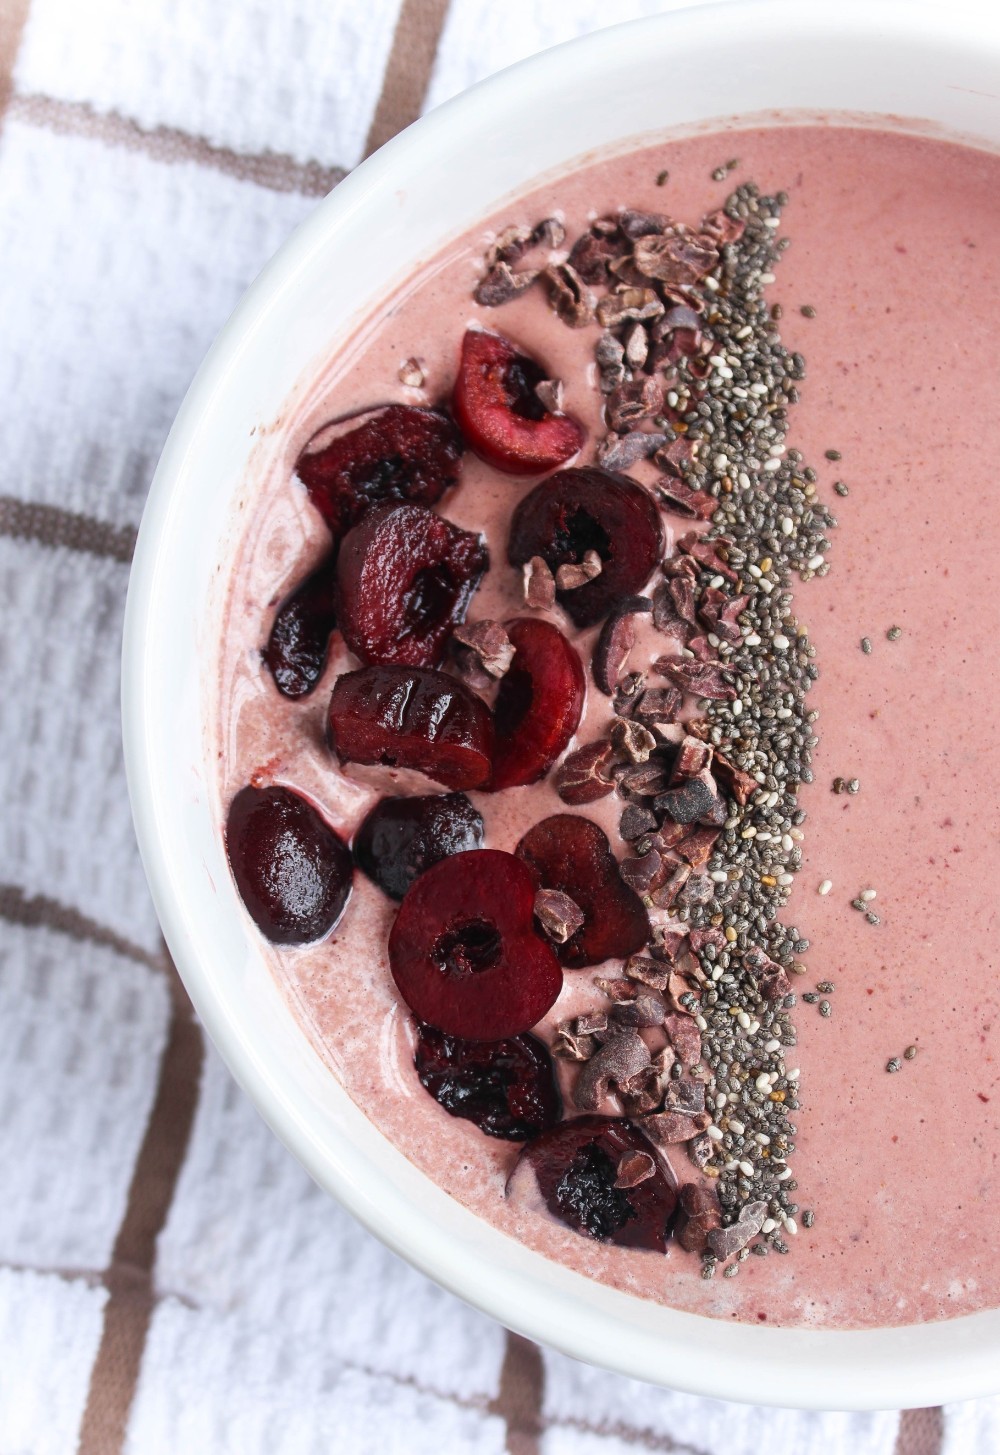
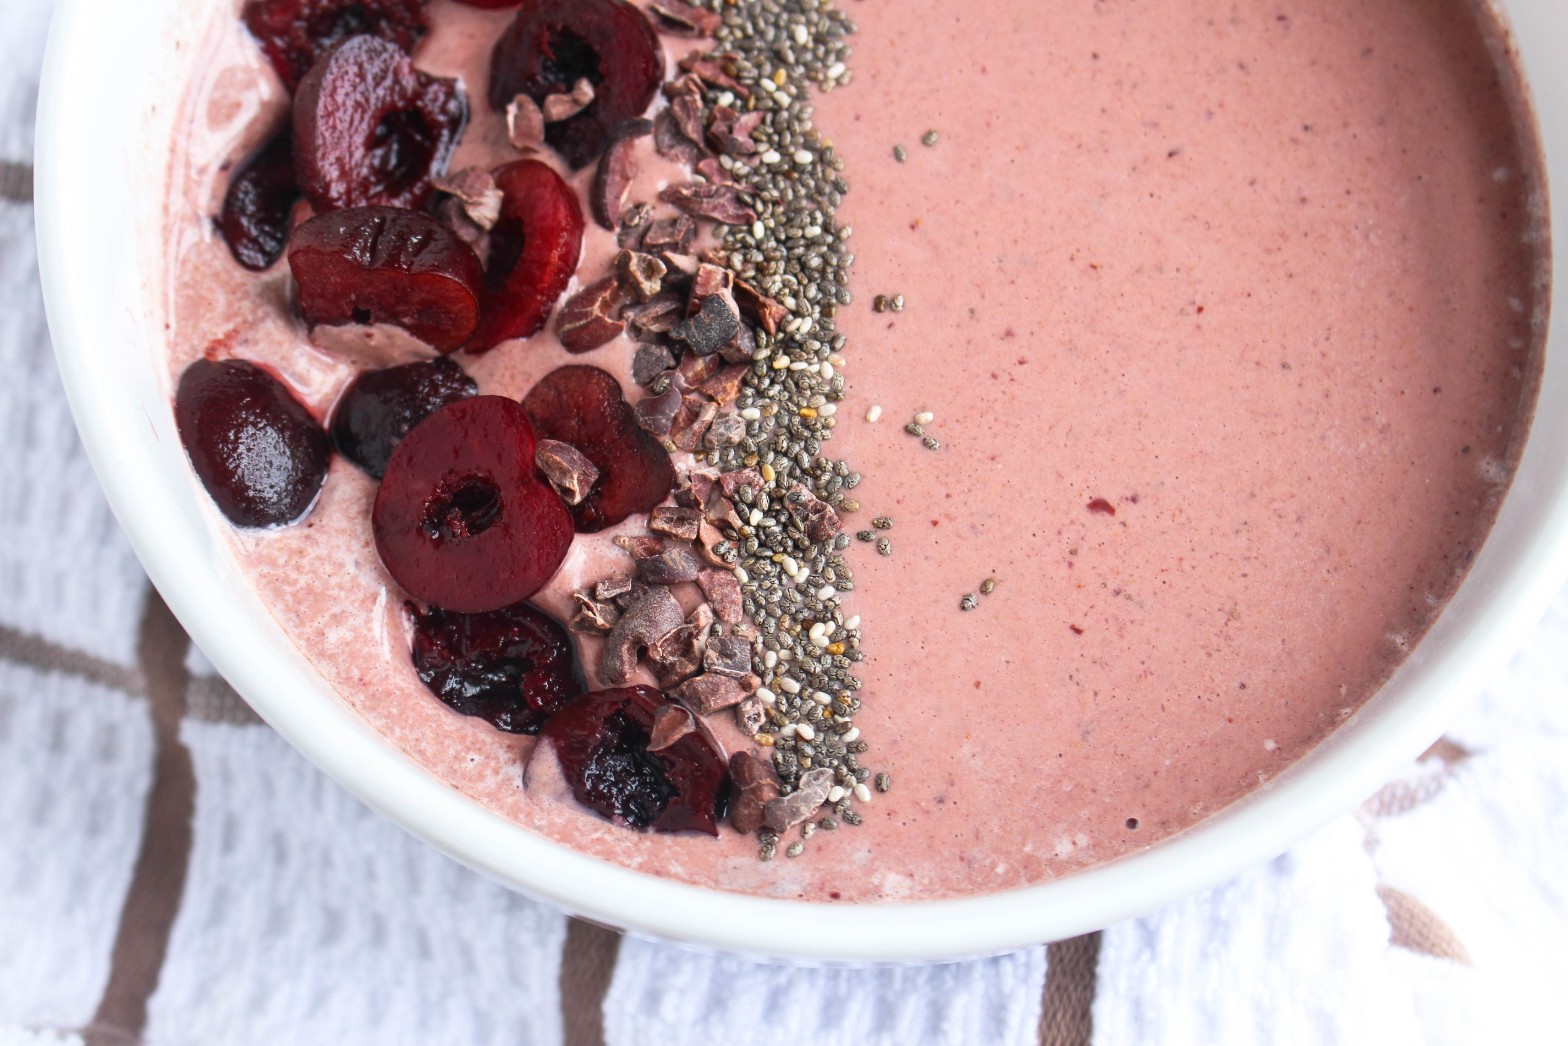
Imagine the sweet indulgent taste of black forest cake, but a healthier version for breakfast. This Black Forest Smoothie Bowl will feel like an indulgent treat, but healthy for delicious and filling breakfast.
 Disclosure: I was not compensated for this post, however I did receive free samples of Kura. All opinions are my own and not influenced in any way.
I will be the first to admit, sometimes these pretty looking bowls end up in a tumbler cup as I am rushing out the door. It’s so important to take the time to sit down and enjoy a breakfast. I personally am trying to be more mindful of that myself.
 I know I’ve talked about this before, but enjoying a smoothie bowl vs. a smoothie drink (even with the same exact ingredients) can help practice mindful eating.
Making a smoothie bowl instead of an on-the-go drink can help practice mindful eating and encourage slower eating. It’s easy to suck down a smoothie in a few big gulps. By enjoying a smoothie bowl with a spoon it can help you slow down, be more aware of what you’re eating and pay attention to whether or not you are actually hungry.
 I never used to be a fan of protein powders, because majority of them have a lot of weird sounding ingredients and additives in them and even have a weird after taste, but now there are more options out there from real food ingredients. I always promote real food first, but sometimes protein powders can be a great supplement to the meal. Key word = supplement. Protein powders alone shouldn’t replace a full meal. Take this smoothie bowl for example, it contains three food groups with a balanced mixture of carbs, fats, and proteins, coming from it’s wholesome ingredients – fruit, almond milk, yogurt, almond butter, and chia seeds. The protein powder is supplementing the meal to add that extra little boost of protein.
 I was intrigued about Kura with it’s grass-fed dairy protein and probiotic blend. Again, the protein powder is meant to supplement the meal with adding an additional 14g of New Zealand grass-fed dairy protein, which is proven to have higher levels of omega-3s than grain-fed dairy protein. (source)
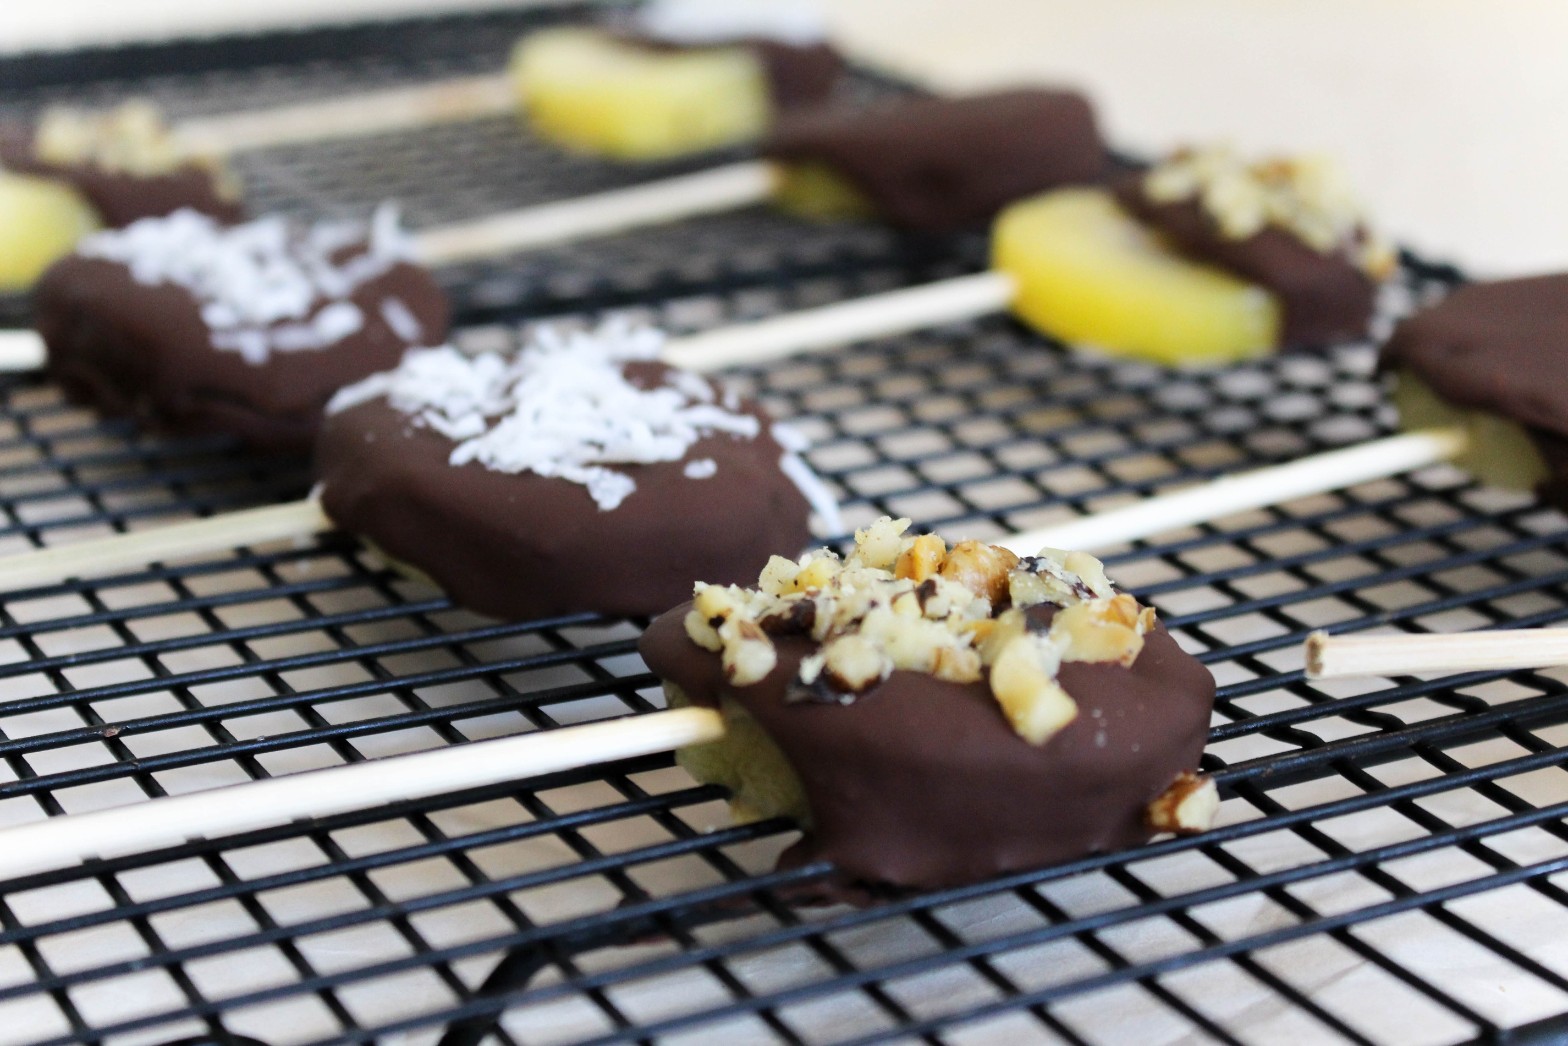
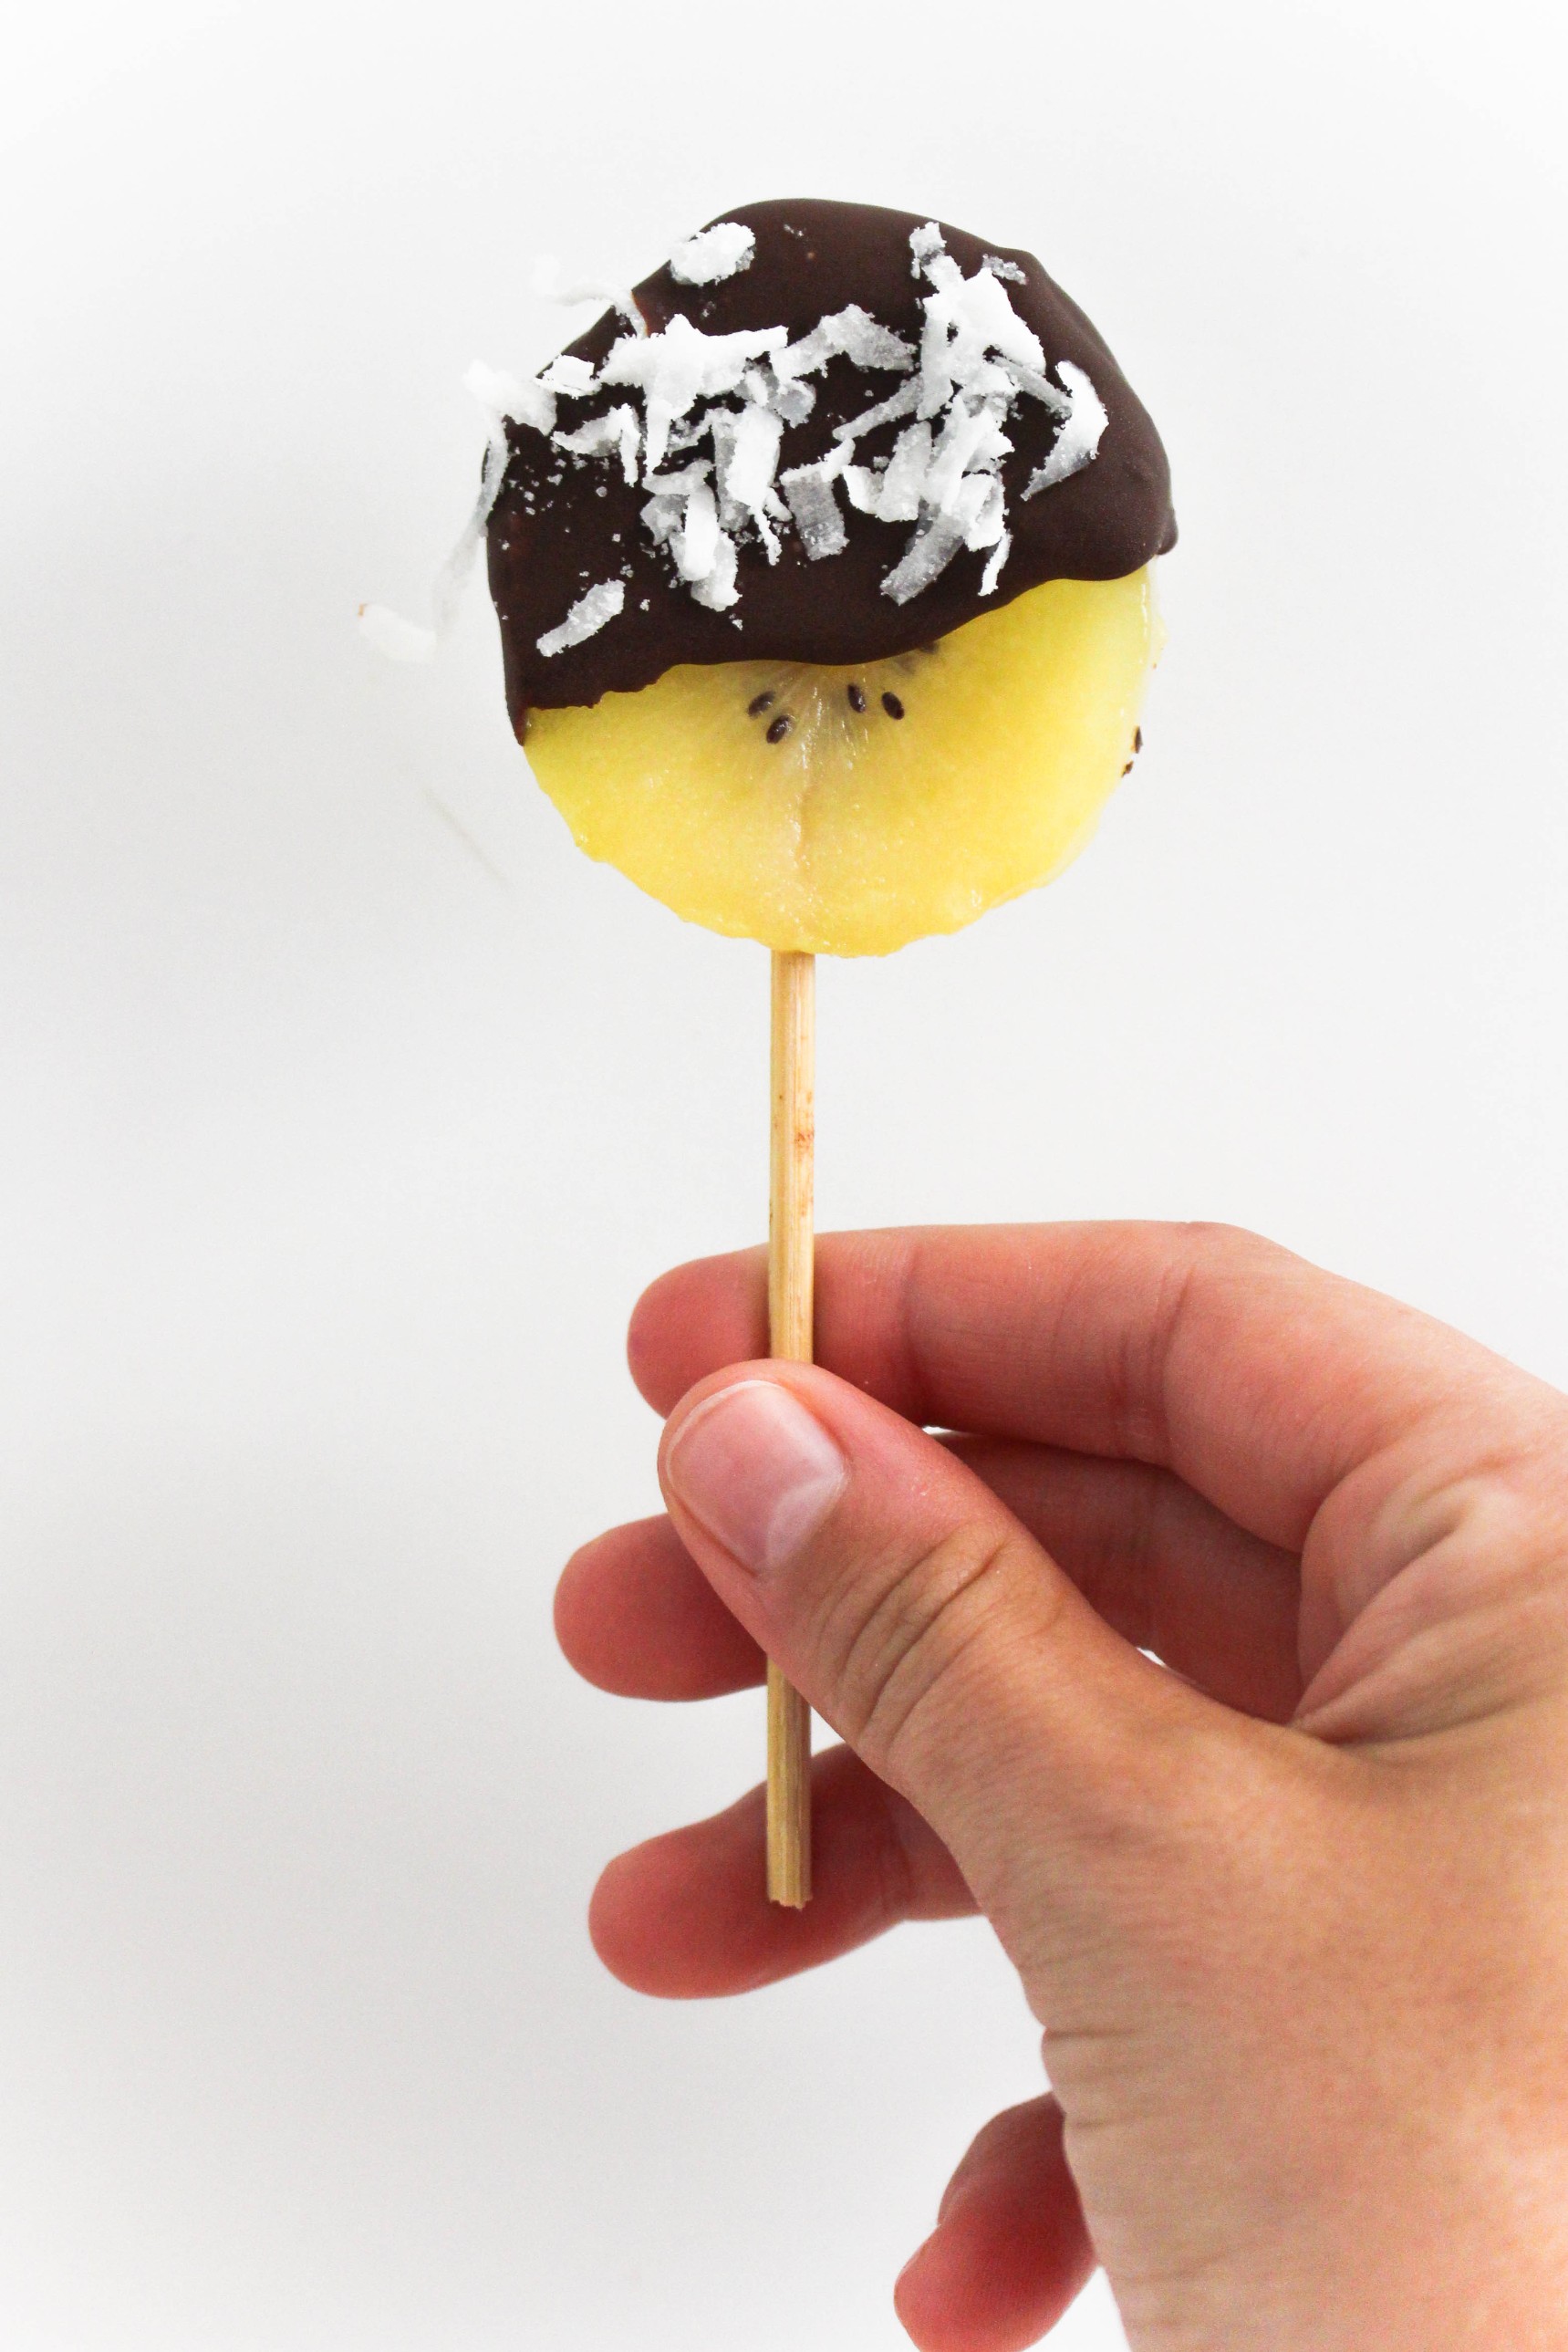
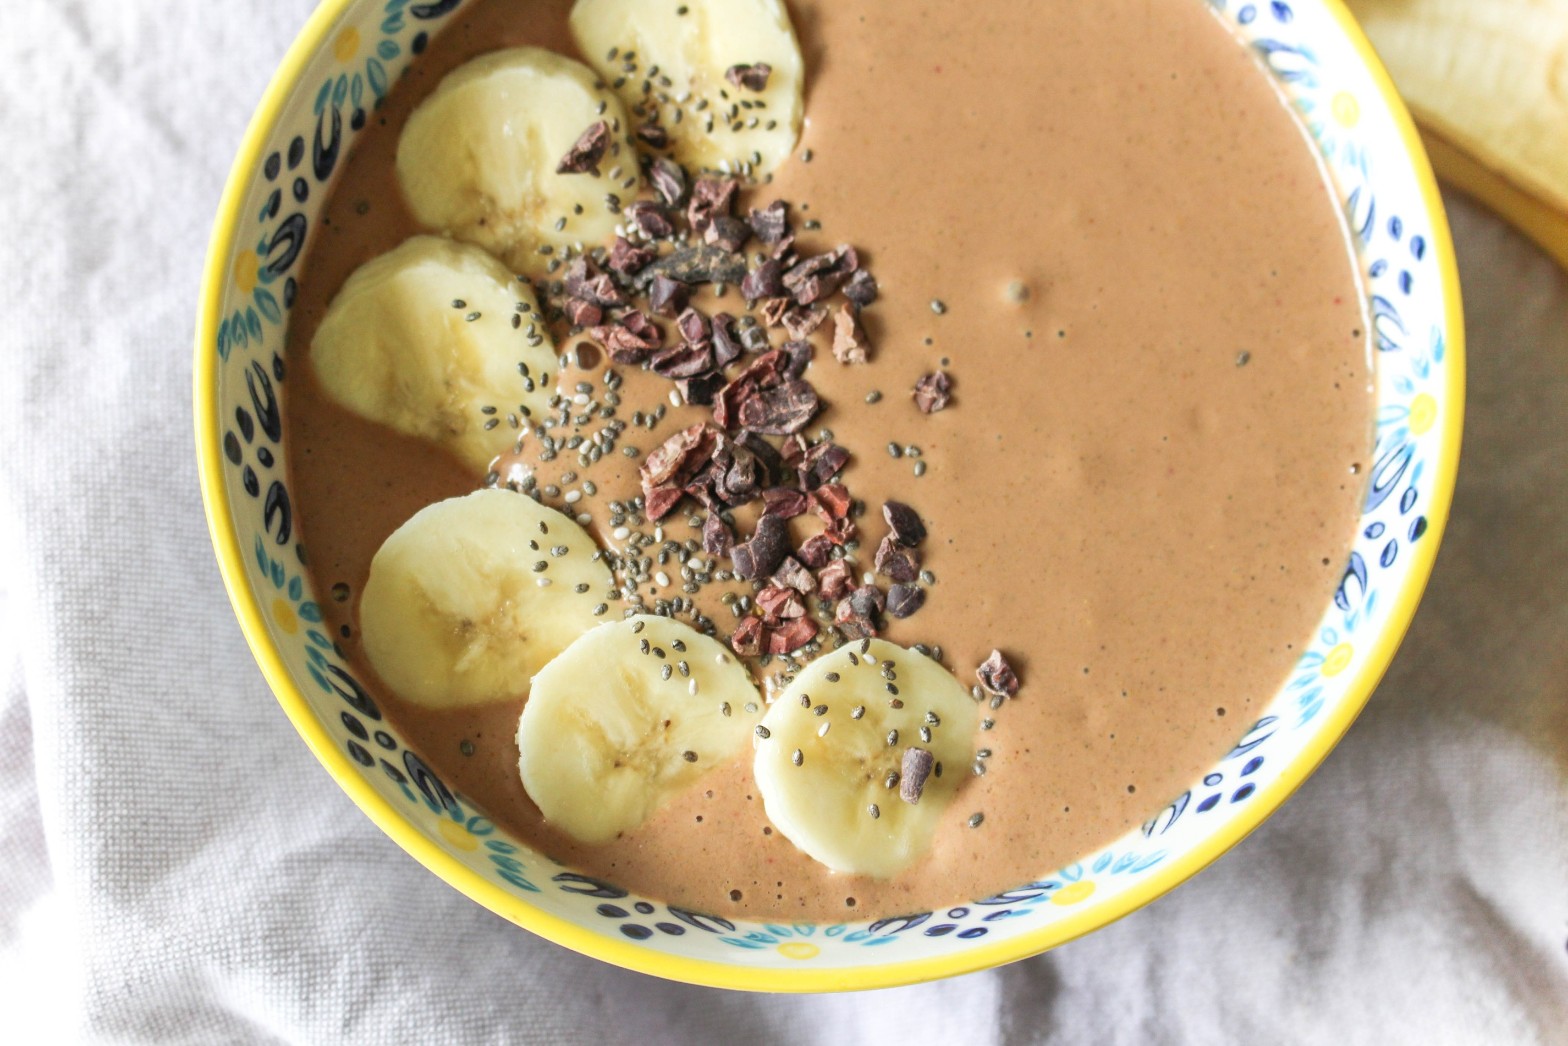
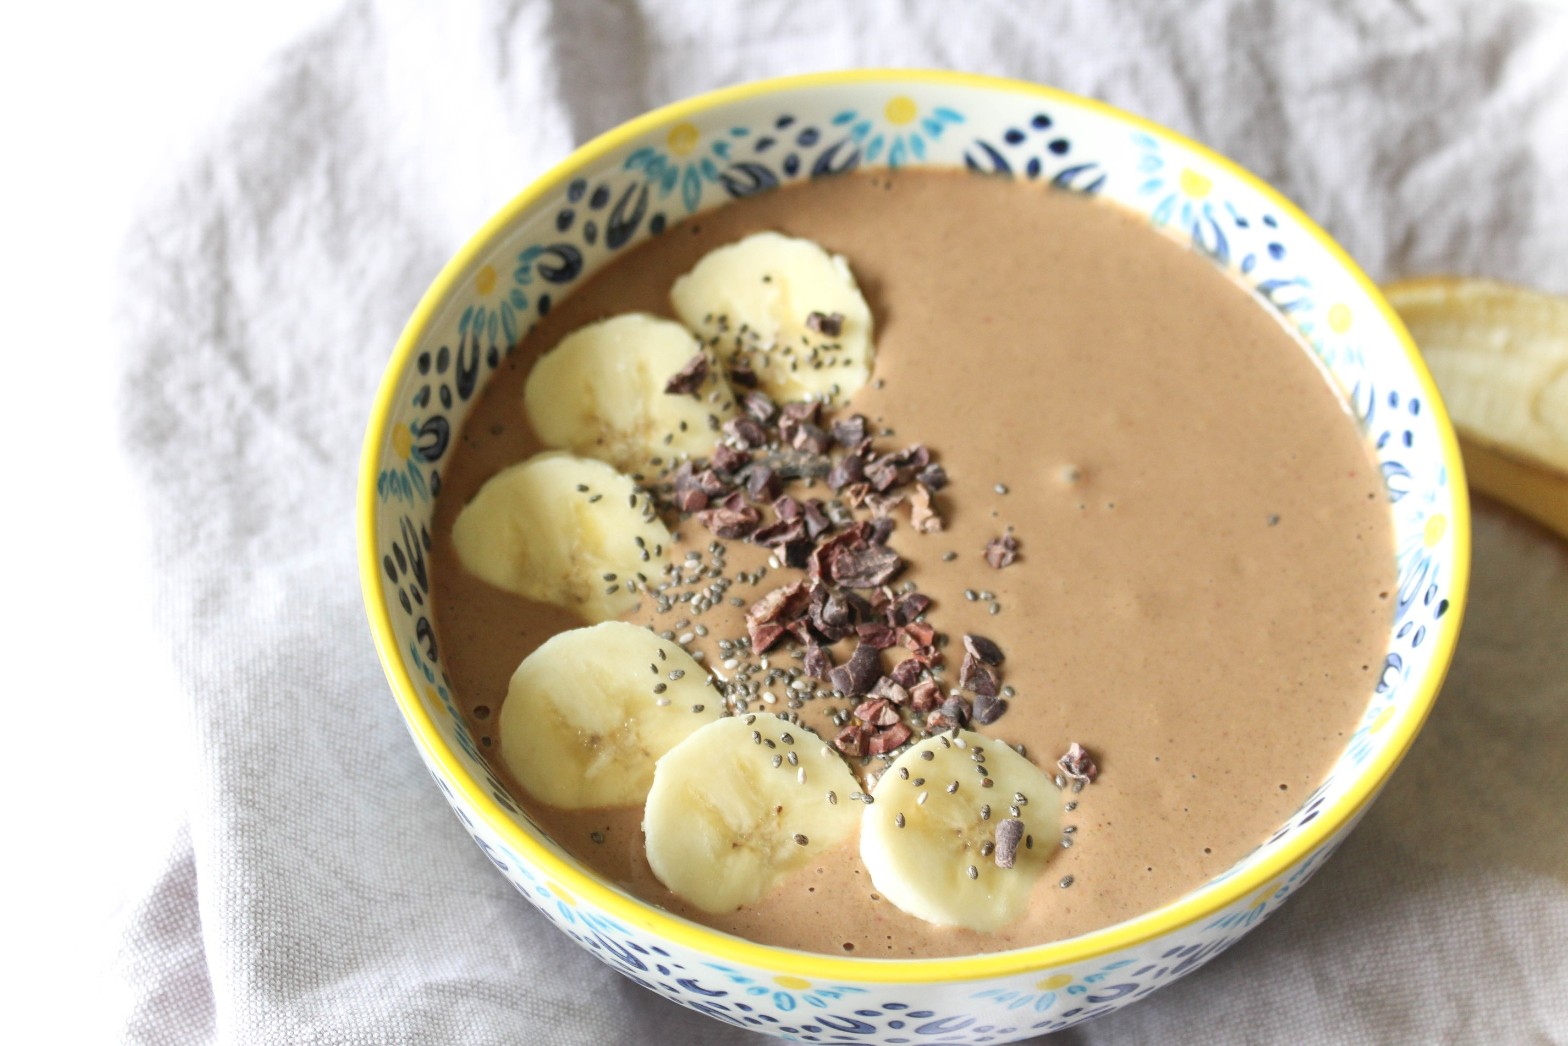
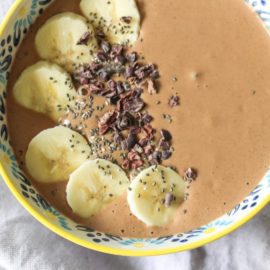
Have fun with the toppings and add your favorite healthy options!

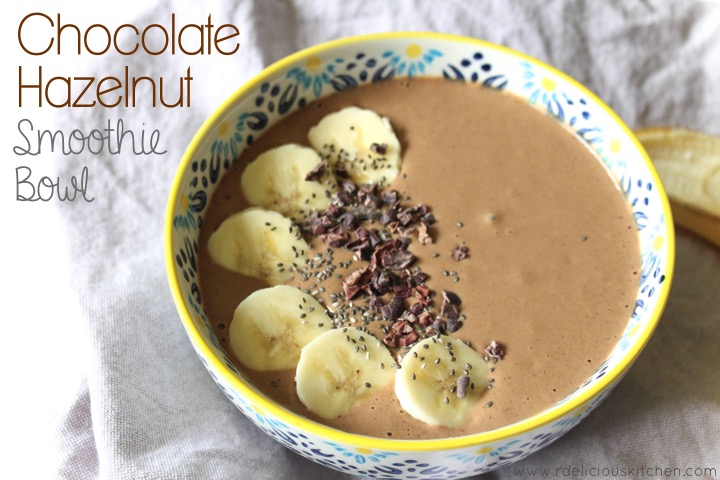
Black Forest Smoothie Bowl
- Prep Time: 5 mins
- Total Time: 5 mins
- Yield: 1
Ingredients
- 1/2 cup frozen cherries
- 1/2 banana
- 1/2 cup unsweetened almond milk
- 1/4 cup Siggi’s black cherry yogurt (or plain/vanilla yogurt)
- 1 tablespoon chia seeds
- 1 tablespoon cocoa powder
- 1 scoop chocolate protein powder (I used Kura)
- 1 tablespoon almond butter
- 1 cup ice
- (optional toppings) cherries, banana slices, chia seeds, cocoa nibs, almonds, etc.
Instructions