This post may contain affiliate links. Read my privacy policy.
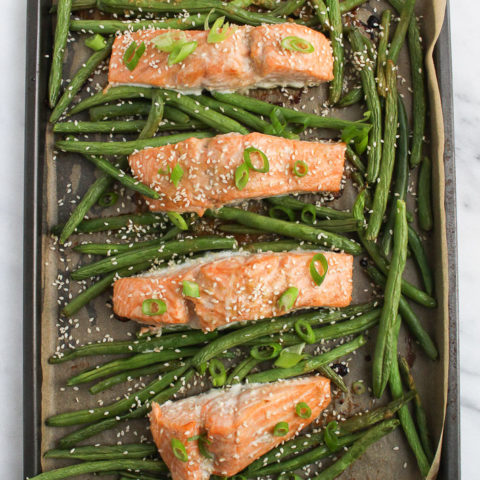
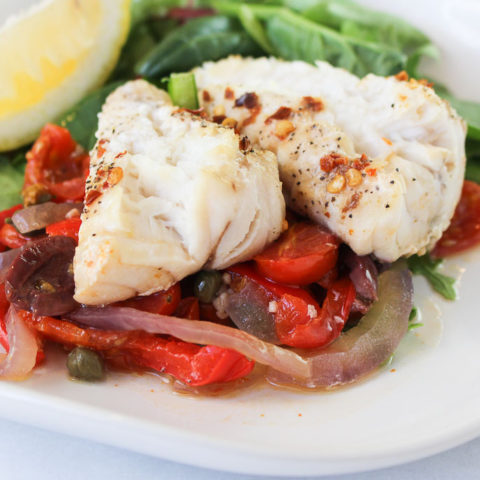
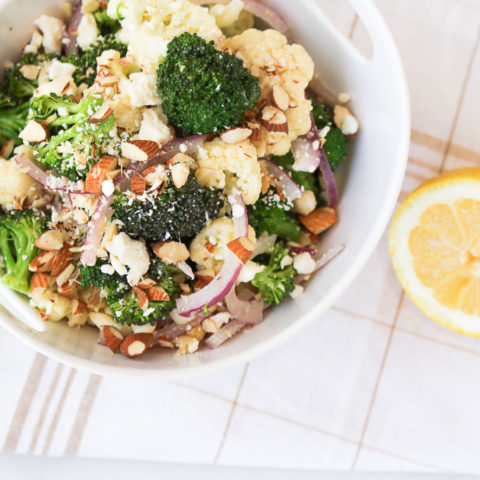
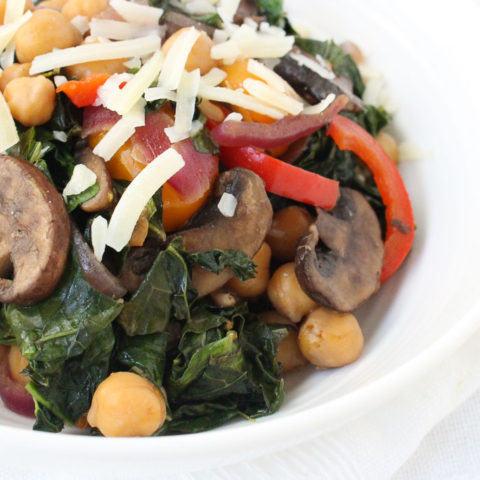
It is recommended to enjoy seafood two to three times per week. The keyword enjoy – don’t keep making the same recipe over and over again. Try this Pistachio Crusted Baked Cod.
Too many times I hear consumers they only eat fish when they are out to eat because they don’t know how to cook it at home. Fish and seafood are some of the simplest proteins to cook. It’s quick, quite forgiving, and there are so many different flavor combinations to pair with.
Why you should make this Pistachio Crusted Baked Cod recipe
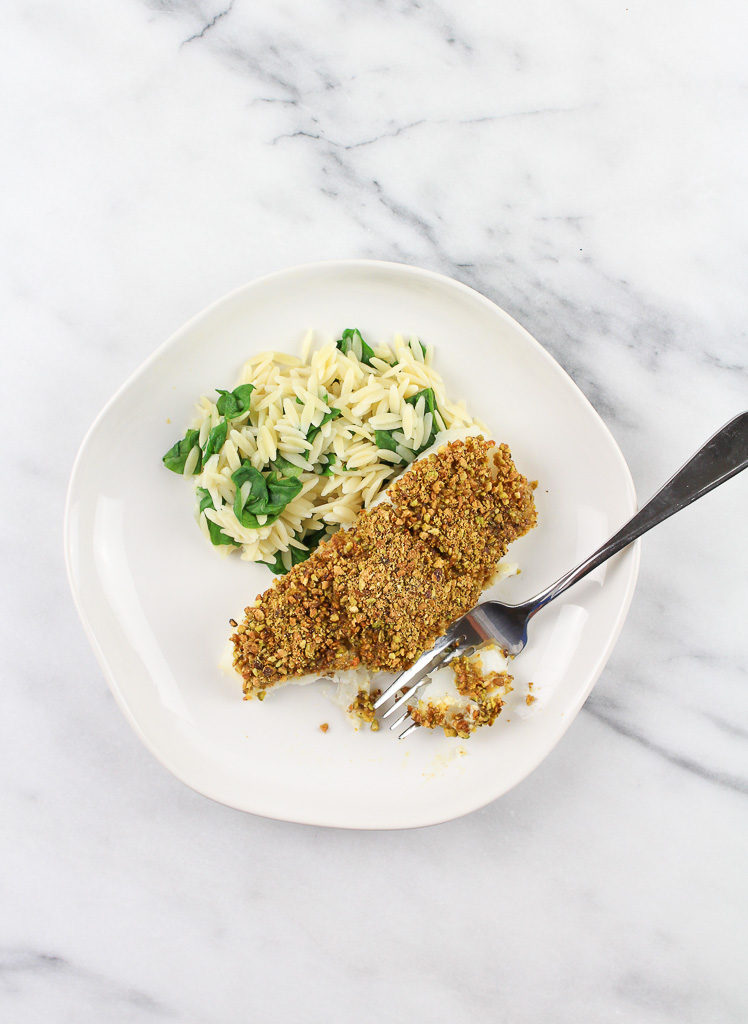
I may be biased, but this Pistachio Crusted Baked Cod is delicious! Plus, the simplicity of it is great for getting dinner on the table during busy nights. The added bonus – eating more fish includes a lot of health benefits.
Why dietitians want you to eat more seafood
Fish literally saves lives. Eating seafood two to three times per week reduced the risk of death from any health-related cause by 17 percent.
Seafood sits among the highest- quality proteins (like eggs, meats, poultry, and dairy) and offers additional health benefits. It can reduce the risk of heart disease, can help during pregnancy to help the child develop a healthy brain, and improve memory and sharpness.
Health benefits of cod
Cod is the leanest protein available, meaning the protein to calorie ratio beats out any other food.
Cod is a low fat flaky white meat fish that is a good source of protein, phosphorus, niacin, and Vitamin B-12. An individual 100 g (raw) portion of cod has less than 90 calories, less than one gram of fat, and 17 grams of protein.
Tips for baking fish
Medium-to-fatty fish with a firmer texture and richer flavor (like cod, salmon, or swordfish) are perfect grilling, baking or broiling because they can withstand the heat.
Lean, mild-flavored fish with tender, white or pale flesh, such as sea bass, flounder or grouper are usually delicate, so this cooking method works well.
When do you know when fish is done?
Many types of fish are delicate and tender, so you want to avoid overcooking them. The best way to tell if a fish is done is by testing it with a fork. Insert the fork at an angle, at the thickest point, and twist gently. The fish will flake easily when it’s done, and it will lose its translucent or raw appearance.
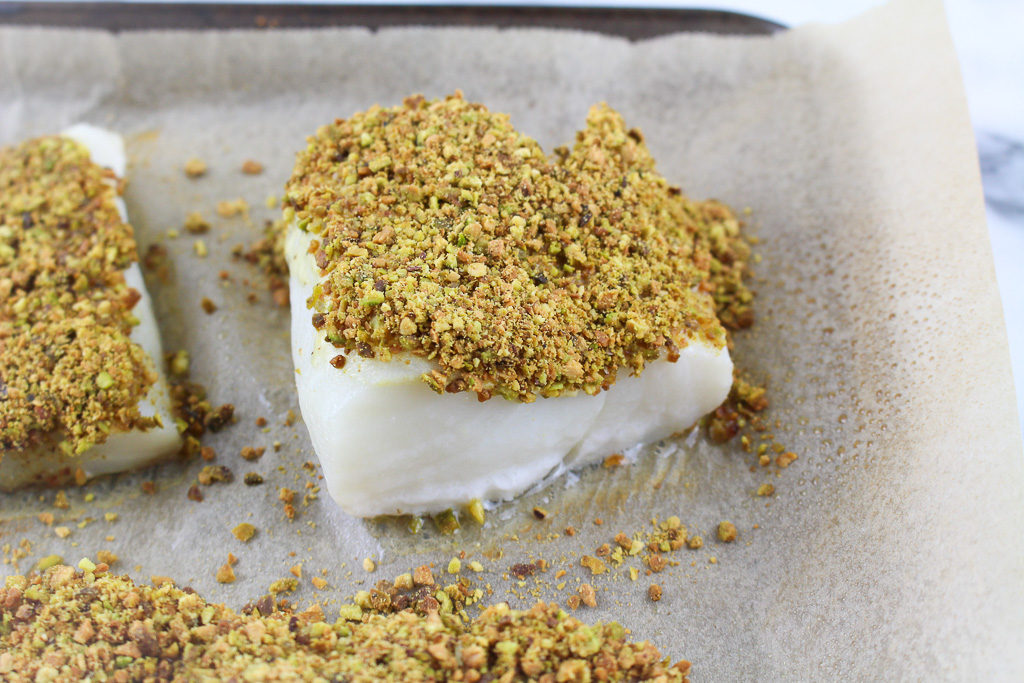
Using pistachios as the crust
Poor pistachios. I feel like they are a totally underrated nut. Pistachios are versatile in the kitchen and just as many nuts can be used with both sweet and savory applications. The caution for using nuts as a crust is they have a tendency to burn. Since the cooking process for fish is usually shorter and this Pistachio Crusted Baked Cod recipe is baked vs. seared, it will not burn.
Health benefits of pistachios
The green and red-purple hues in pistachios come from antioxidants. Pistachios are known for their fiber and protein content. Nearly 90% of the fat in pistachios are from heart-healthy (good-for-you) fats.
Print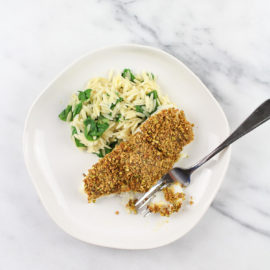
Pistachio Crusted Baked Cod
- Prep Time: 10
- Cook Time: 14
- Total Time: 24 minutes
- Yield: 4
- Category: seafood
- Method: baking
- Cuisine: american
Ingredients
4 cod fillets (about 6 ounces each), or other firm white fish
1/2 teaspoon salt, divided
1/4 teaspoon black pepper
1/2 cup shelled unsalted pistachios
1/2 cup whole-grain Panko breadcrumb
1 clove garlic
1/4 cup plain Greek yogurt
2 teaspoons Dijon mustard
1 teaspoon lemon zest
1 teaspoon olive oil
Instructions
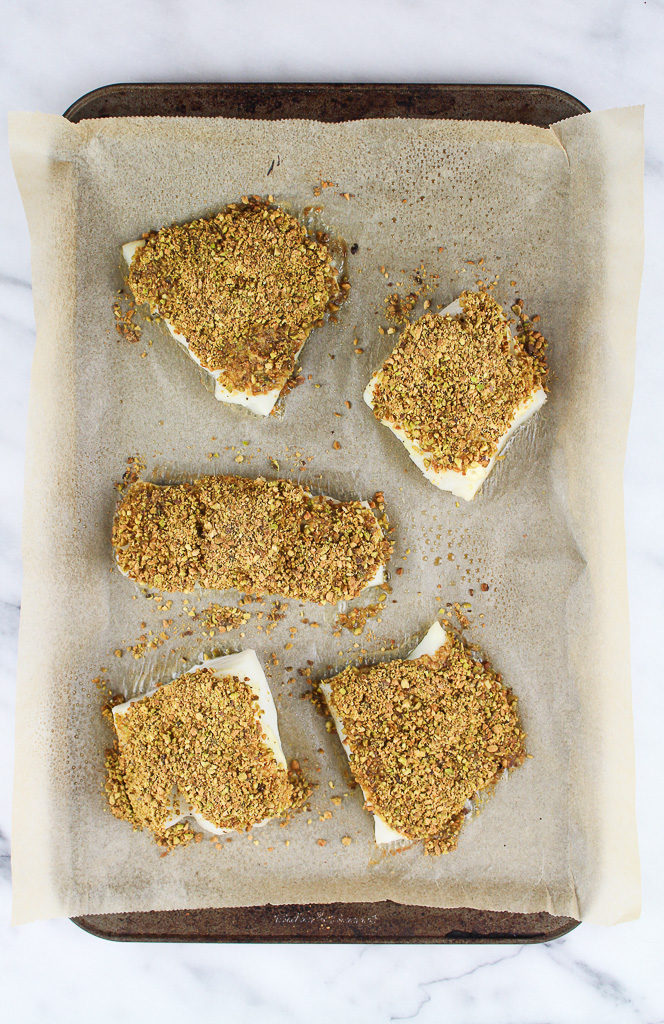
Preheat oven to 425 degrees F. Line a rimmed baking sheet with parchment paper. Place cod on the baking sheet. Sprinkle the cod fillets with 1/4 teaspoon salt and pepper.
In a food processor, pulse pistachios, panko, garlic, and remaining salt, for about 10-15 seconds until a crumbly texture is reached.
In a small bowl, mix together the yogurt, mustard, and lemon zest. Using a pastry brush or mini spatula, evenly spread the yogurt mixture in top of each fillet. Evenly, gently press the pistachio mixture on top. Drizzle olive oil over the fillets. (Alternatively use and olive oil cooking spray.
Bake until fish is opaque throughout, approximately 12 to 14 minutes.
Keywords: cod, pistachio, fish, dinner

Sources:
https://www.seafoodnutrition.org/
https://www.seafoodhealthfacts.org/