This post may contain affiliate links. Read my privacy policy.
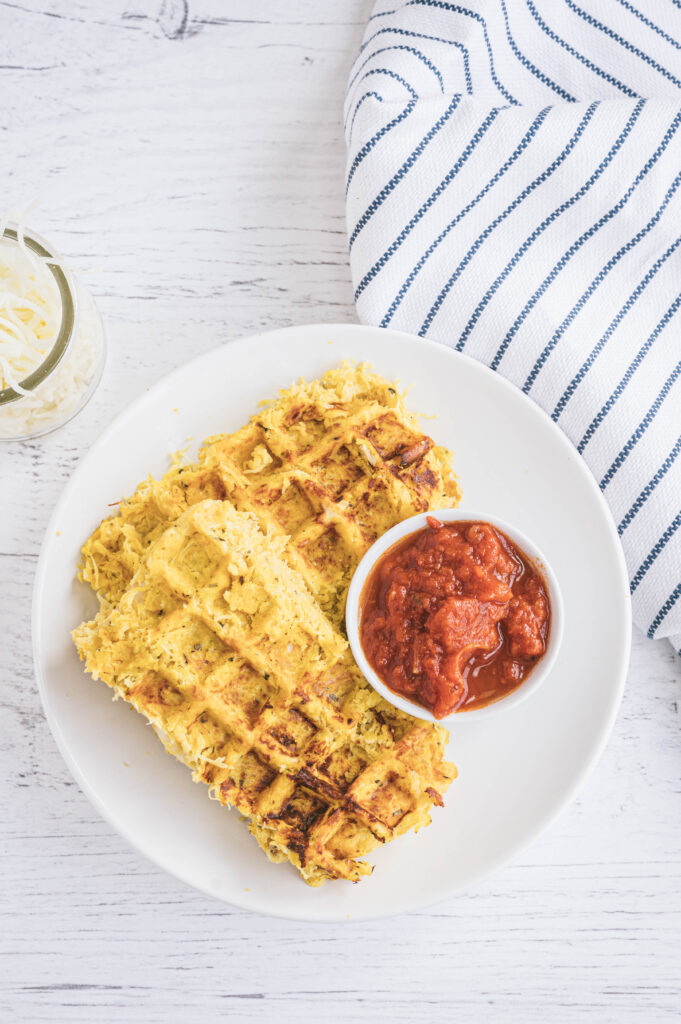
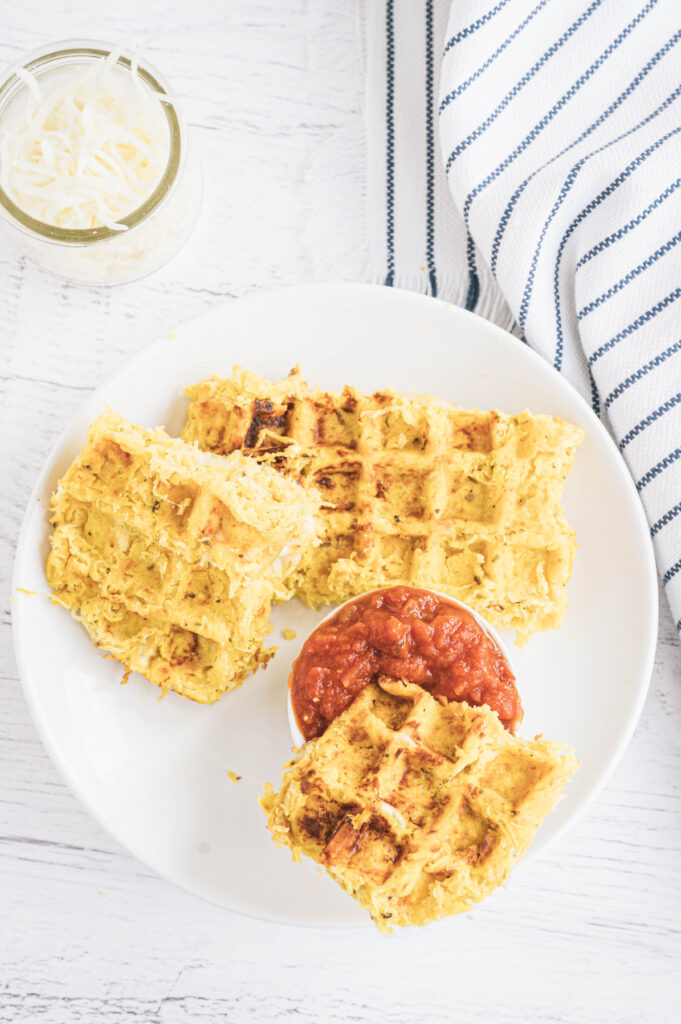
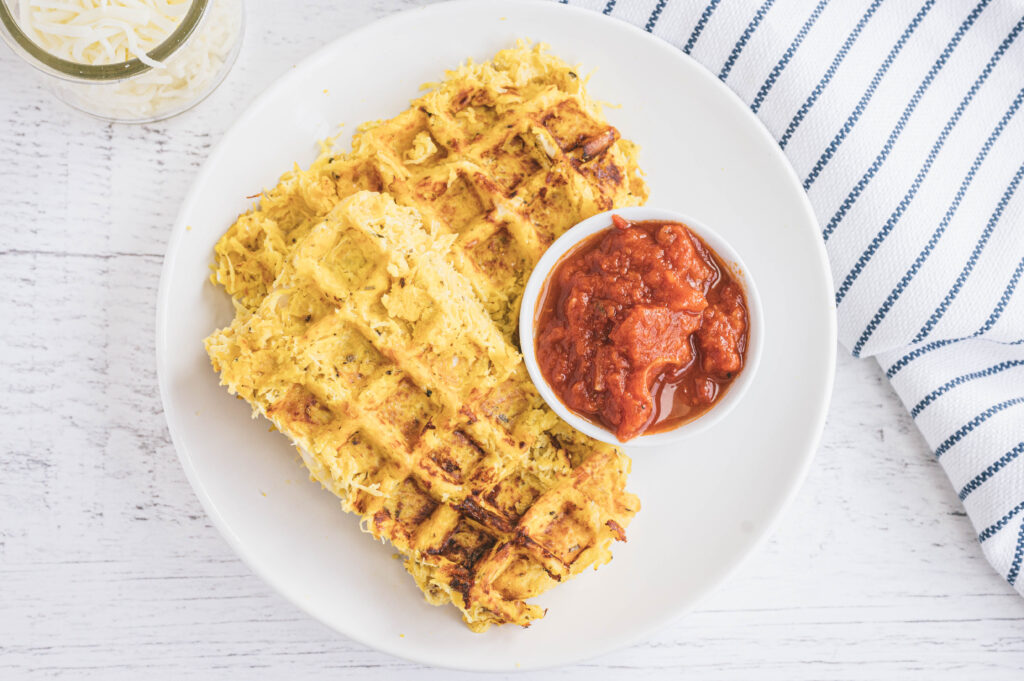
Are you looking for a new and creative way to utilize spaghetti squash? Let me introduce you to my new favorite recipe: Spaghetti Squash Waffle Grilled Cheese! It’s easy to make and the entire family will love it!
We all know that spaghetti squash has many health benefits. It’s rich in vitamins, minerals, and antioxidants. One of the reasons I love using spaghetti squash so much when I’m cooking is because of how versatile it can be.
What ingredients do I use for this Spaghetti Squash Waffle Grilled Cheese?
This recipe calls for ingredients you likely already have in your pantry. From eggs to parmesan cheese and various seasonings, I’m sure you have most of the ingredients on hand already. If you want to kick the recipe up a notch you could add other various seasonings as you see fit!
How do I make this Spaghetti Squash Waffle Grilled Cheese?
It’s very easy to make, which is another benefit if you’re busy or on the go. The most difficult part of the entire recipe is preparing the squash (which really isn’t even difficult at all!).
How do I serve the Grilled Cheese Sandwiches?
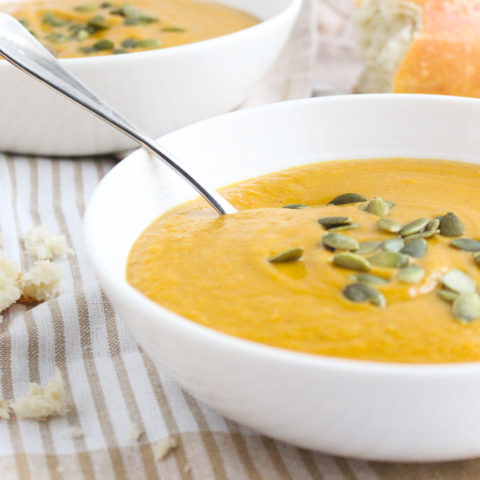
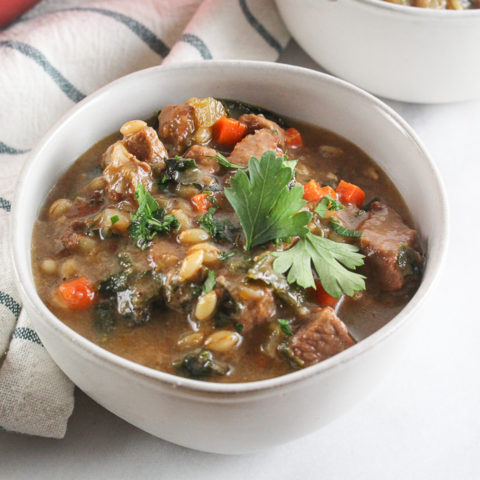
Personally, I like to each them alone for a quick lunch or snack. If you want to make these for dinner, you can serve them with your favorite soup! You’ll find some of my favorite soup recipes here: https://chefjulierd.com/recipes/?_search=soup
How do I cook spaghetti squash?
The easiest method to cook the spaghetti squash for this recipe is in the microwave. However, you can also use your instant pot or oven. You’ll find the instructions in the recipe card below!
Print
Spaghetti Squash Waffle Grilled Cheese
- Prep Time: 15
- Cook Time: 10
- Total Time: 25 minutes
- Yield: 2
- Diet: Vegetarian
Description
Do you have spaghetti squash but you aren’t quite sure what to make with it? Let me introduce you to my new favorite recipe: Spaghetti Squash Waffle Grilled Cheese! It’s easy to make and the entire family will love it!
Ingredients
1 medium spaghetti squash
2 eggs
⅓ cup grated parmesan cheese
½ tablespoon garlic powder
½ tablespoon Italian seasoning
¾ cup shredded mozzarella cheese
Instructions
- Cut spaghetti squash in half, lengthwise. Scoop out the seeds. Place the squash halves skin side up in a microwave-safe baking dish. (You can cook each squash half separately if your baking dish is too small to fit both, or cook both at once.) Fill the dish with about 1 inch of water.
- Microwave on high for 8 minutes. When done, a fork poked through the skin should slide easily into the squash. Continue microwaving on high for another 2 to 5 minutes as needed, until fork tender. When cool enough to handle, use a fork to scrape the strands of squash from the inside. (see notes below for alternative cooking methods)
- Using a cheesecloth or thin dishtowel, squeeze excess liquid from the squash (there will be a lot!).
- In a medium bowl, whisk together eggs, parmesan, garlic powder, and Italian seasoning. Add the spaghetti squash and mix well breaking up any clumps of squash.
- Preheat waffle iron to medium-high heat. Coat waffle iron well with cooking spray. Add half the squash mixture to the waffle iron and cook until golden brown, about 5-10 minutes, depending on your waffle iron.
- Open waffle iron and sprinkle one side of the waffle with half of the mozzarella cheese. Gently fold over the other half of the waffle on top of the side with the cheese. Gently press down on the waffle iron and continue cooking until the cheese has melted.
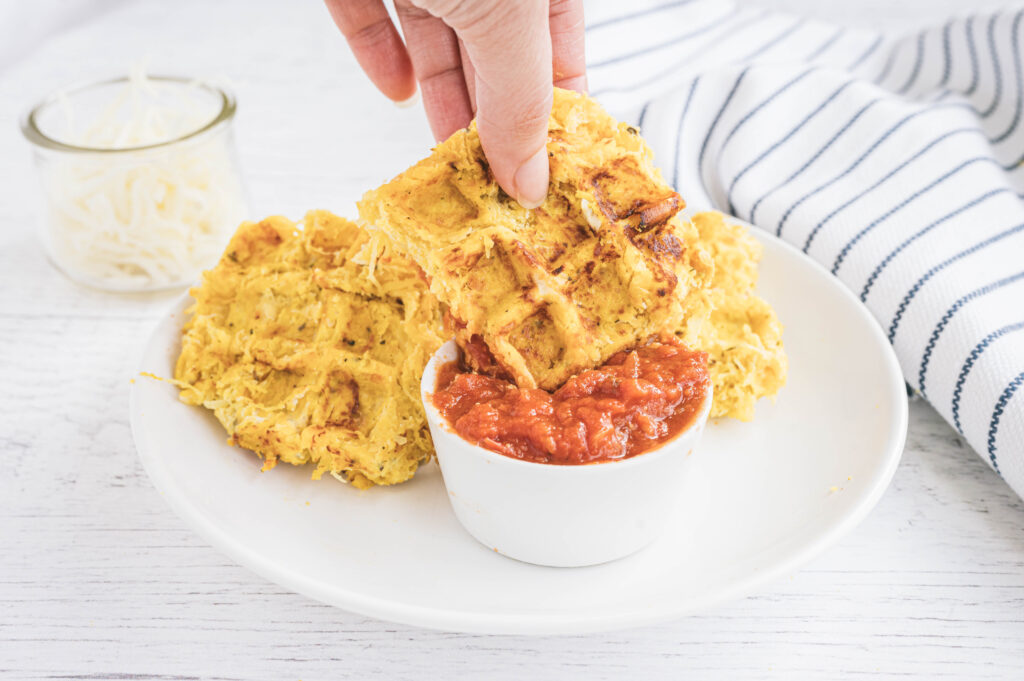
- Serve alongside tomato soup or dunk in marinara sauce. (or just enjoy it as is!)
Notes
Alternative methods to cook spaghetti squash:
Instant Pot – Slice the spaghetti squash in half and then scoop out the seeds in the center.
Place a trivet or steamer basket in the bottom of the Instant Pot and add a cup of water into the bottom. Arrange the cut squash halves on top of the trivet and secure the lid. Place the steam release valve in the lid is in the sealing position. Use the pressure cook or manual button to set the pressure cooker to cook at high pressure for 7 minutes. Release pressure and remove from Instant Pot.
In the oven – Preheat the oven to 400°F. Cut spaghetti squash in half lengthwise. Scoop out seeds. Drizzle the cut side with oil. Season with salt and pepper. Place cut side down on a baking sheet lined with parchment paper and bake 40 minutes or just until fork-tender. Let cool until able to handle. Flip spaghetti squash over and run a fork down the squash to separate into strands.
Keywords: spaghetti squash recipe, waffle, low carb, vegetarian

FAQ
Do these Spaghetti Squash Grilled Cheese Waffles freeze well? How do you reheat them?
Yes! Feel free to meal prep these in advance. I would suggest heating them in the oven to warm up to retain their crispiness.
What if I don’t have a waffle iron?
Not to worry! You can still make the concept of this recipe by adding a scoop of the spaghetti squash mixture to a frying pan, crisp both sides and add cheese in the middle.