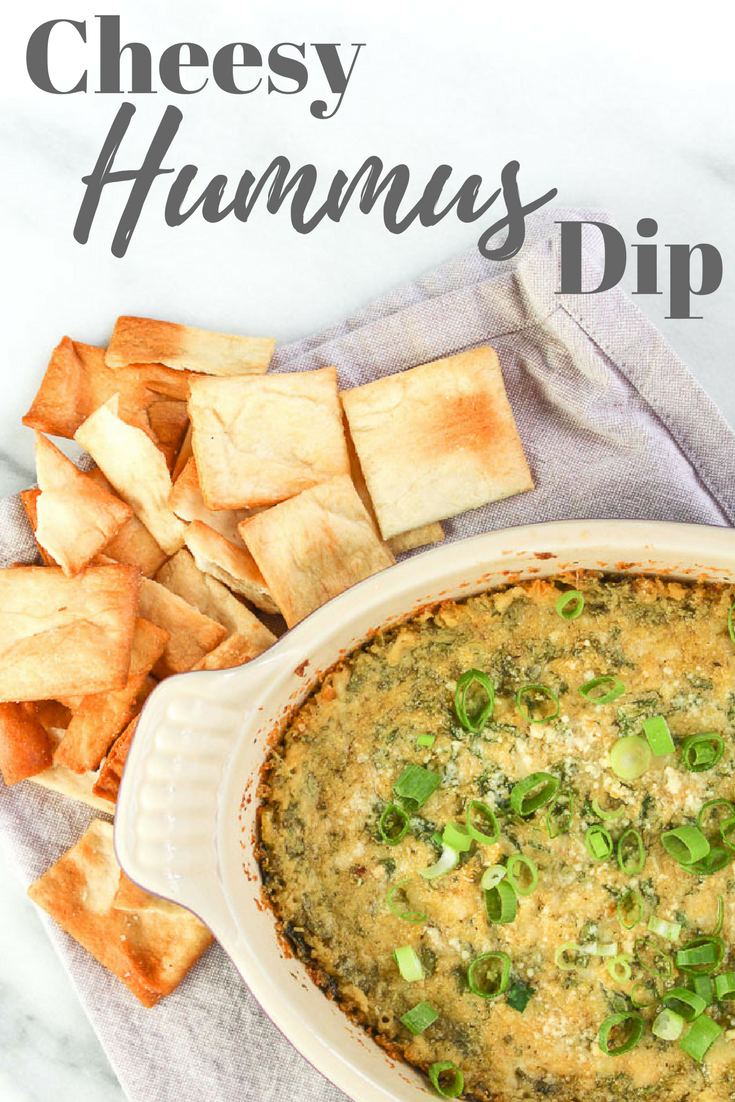
May 13th is National Hummus Day! Celebrate with this Cheesy Spinach Hummus Dip.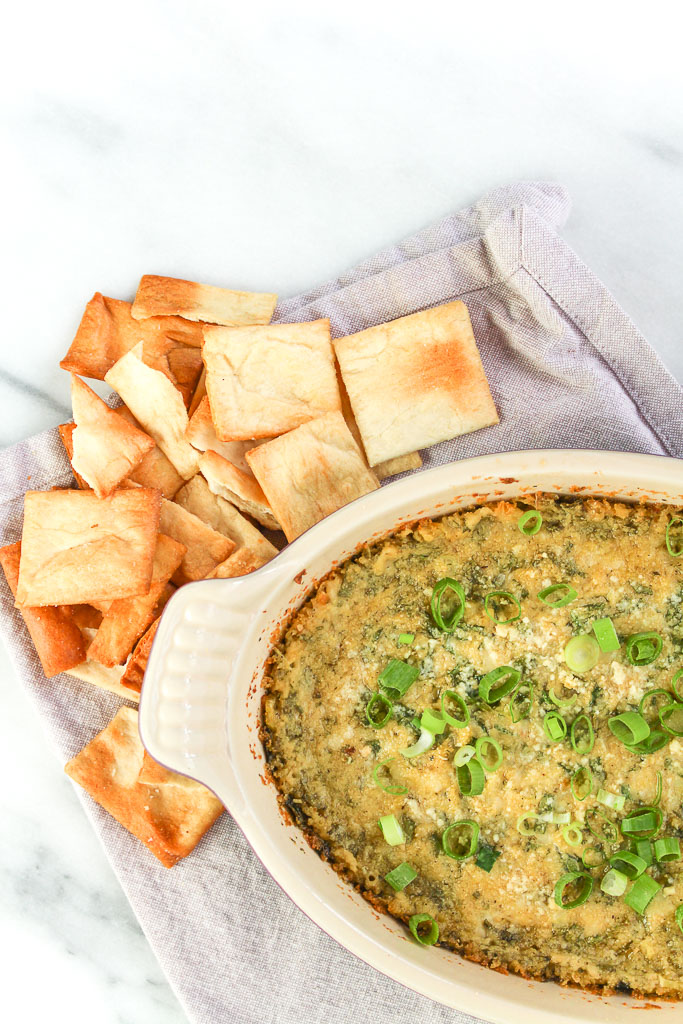
Disclosure: I received free samples of Sabra Hummus mentioned in this post. By posting this recipe I am entering a recipe contest sponsored by Sabra and am eligible to win prizes associated with the contest. I was not compensated for my time.
While it is perfectly acceptable to simply open a container of Sabra hummus and dive right in, to celebrate National Hummus Day, did you know hummus is very versatile in the kitchen?
Hummus = Happiness
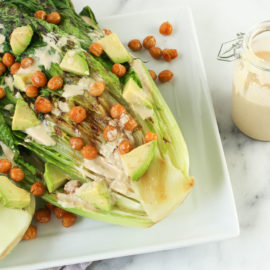
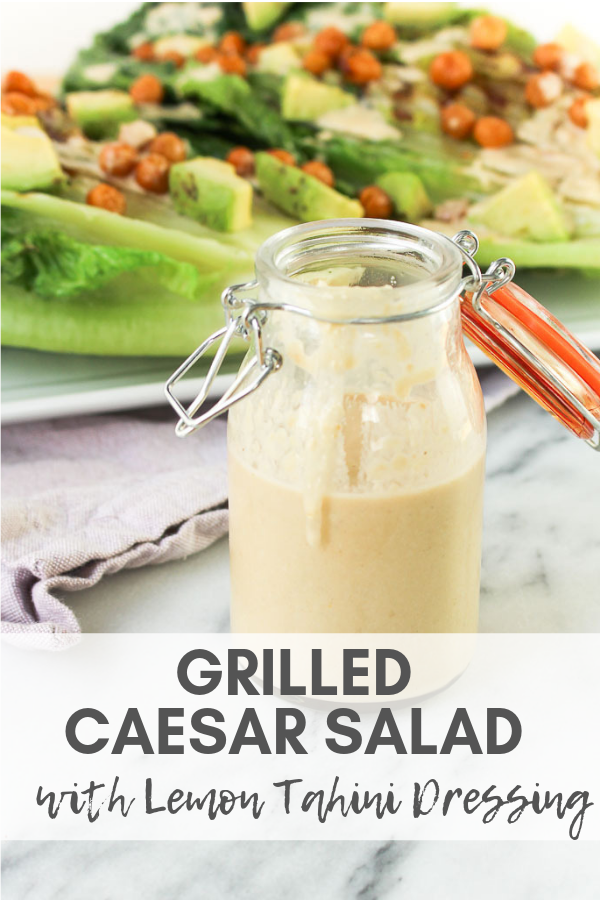
I’ve recently been loving adding hummus to dressing and marinades. It adds great flavor and helps thicken it to create a creamy dressing. I recently made a lemon hummus tahini dressing for a grilled caesar salad recipe. So good!
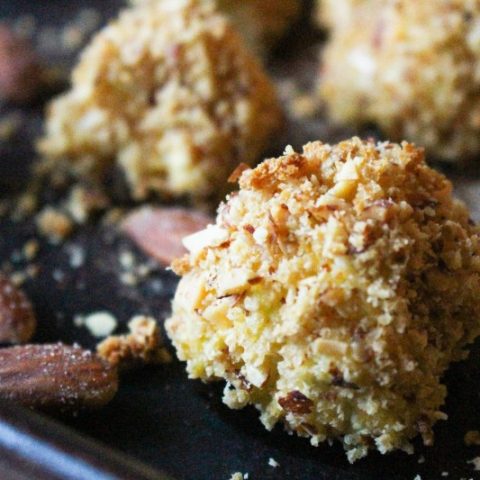
Hummus is also an interesting idea for a coating in place of your typical dredging mixture. Next time you bread chicken cutlets, skip the milk and egg mixture and roll in a thin layer of hummus, then coat in a crunchy topping.
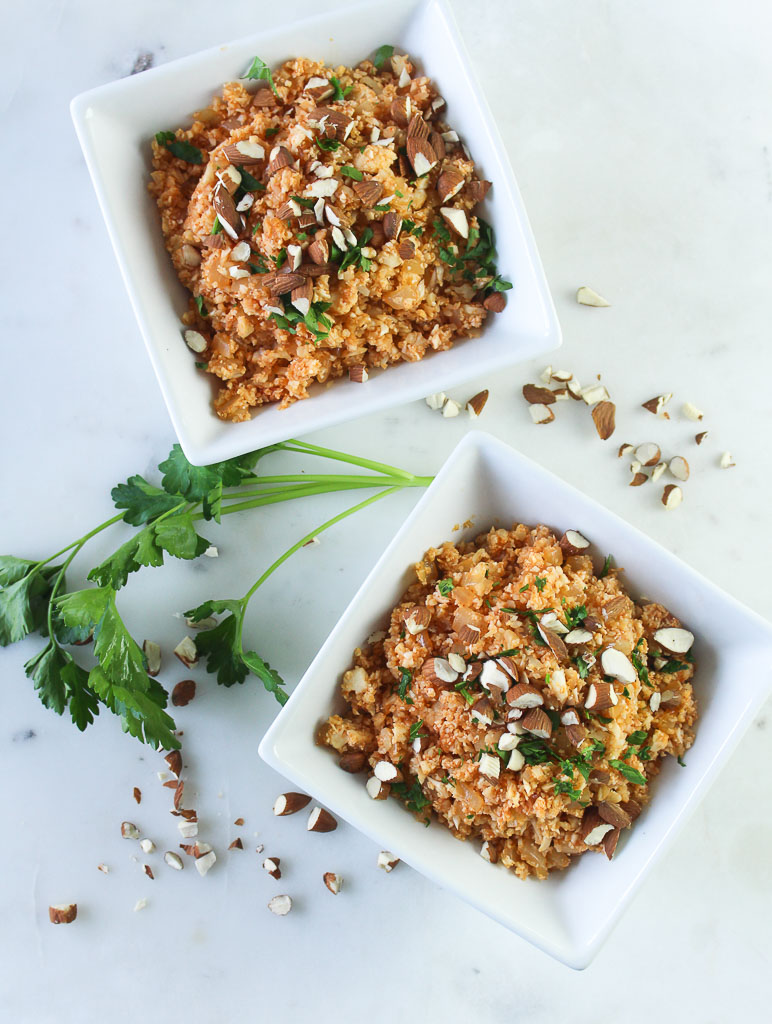
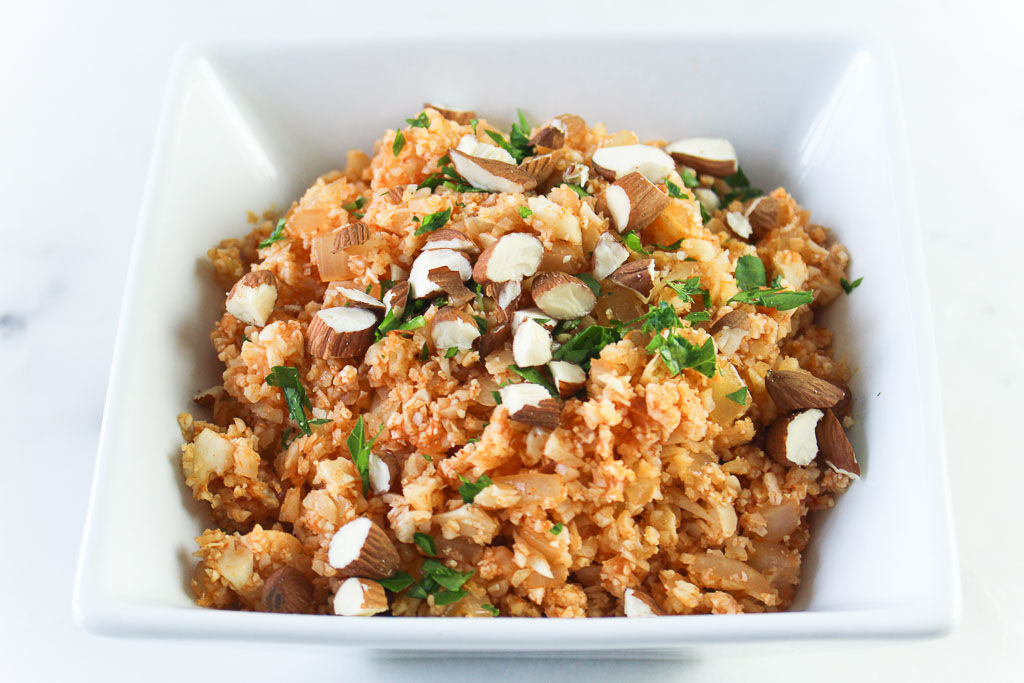
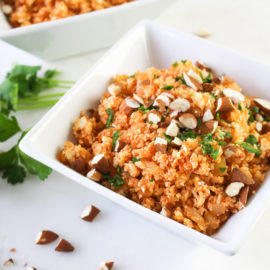
Don’t stop there! Hummus is also great in dip recipes to replace saturated fats with a heart-healthy plant-based protein hummus. A traditional warm spinach dip has at least one or a mixture of these calorically dense ingredients: cream cheese, mayonnaise, or sour cream. This Cheesy Hummus Spinach dip is just as creamy with swapping in hummus instead.
What is your favorite Sabra hummus flavor? My top three favorites are the classic, roasted red pepper, and olive tapenade. I recently saw a lemon twist flavor that I definitely need to try.
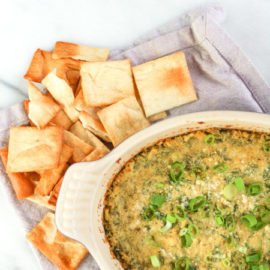
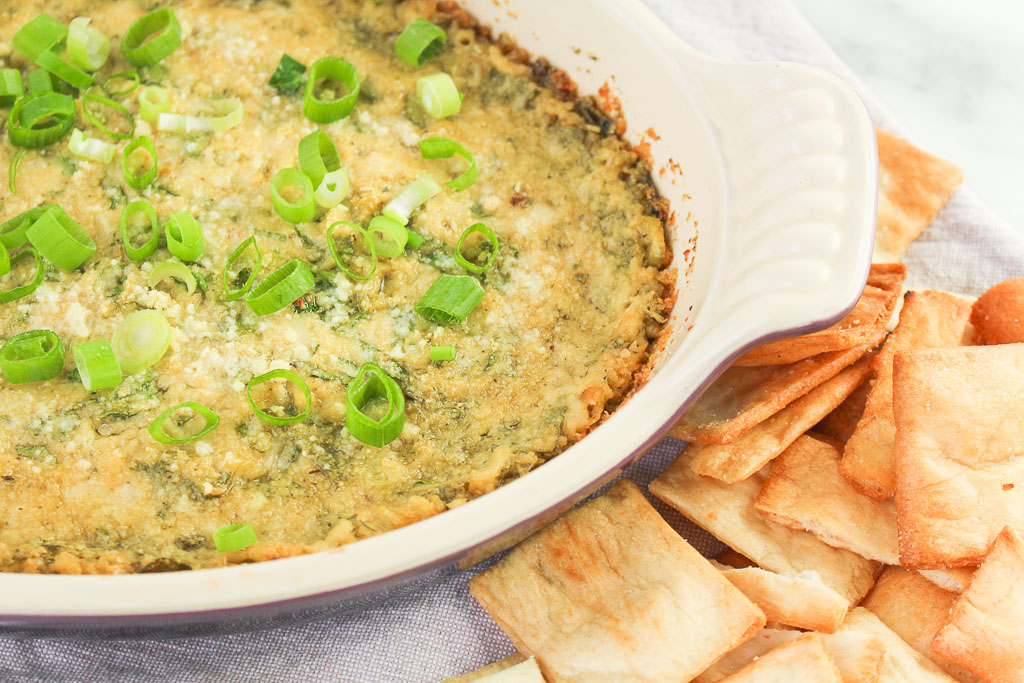
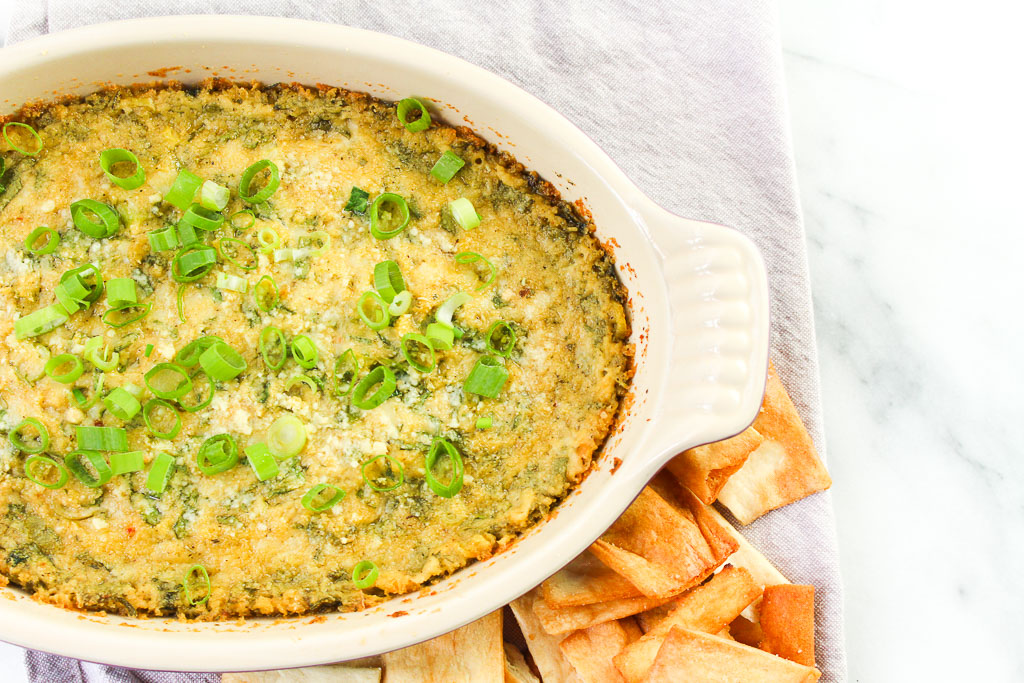
Cheesy Spinach Hummus Dip
- Yield: 8
Ingredients
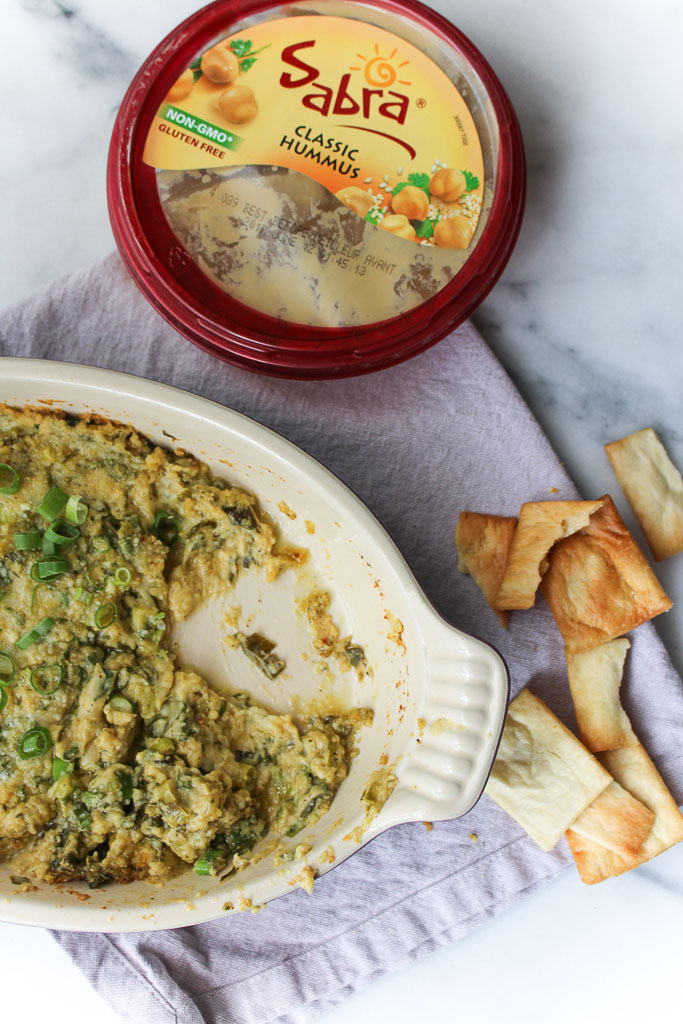
- 1 (12 oz.) container Sabra Classic Hummus
- 2 cloves garlic, minced
- 2 cups spinach, chopped
- 3/4 cups white cheddar cheese, shredded
- 2 teaspoons Italian seasonings
- 1/4 cup green onions, chopped + additional for garnish
- 1/4 cup parmesan cheese
Instructions
- Preheat oven to 375˚F.
- Combine Sabra Classis Hummus, garlic, spinach, cheddar cheese, Italian seasonings, and scallions. Spread into small casserole dish. Sprinkle parmesan cheese over the top.
- Bake for 20 minutes or until heated through and cheese on top is melted.
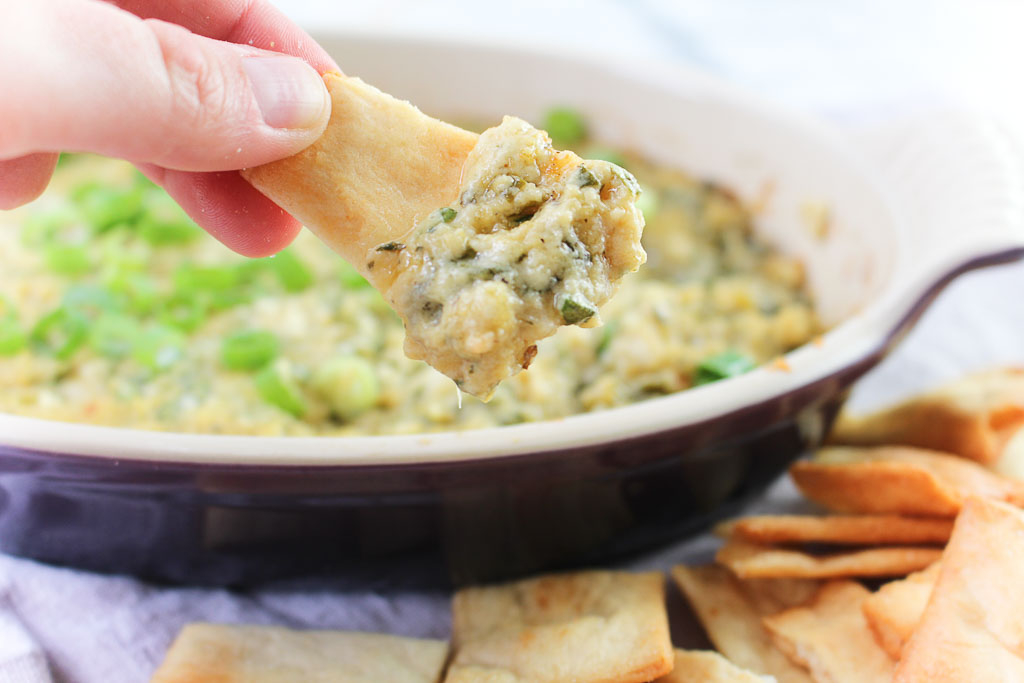
- Top with additional green onions and serve with pita crackers or vegetables.

Did you make this recipe? Tag @rdeliciouskitchen on Instagram or send me a pic, I’d love to see!