This post may contain affiliate links. Read my privacy policy.
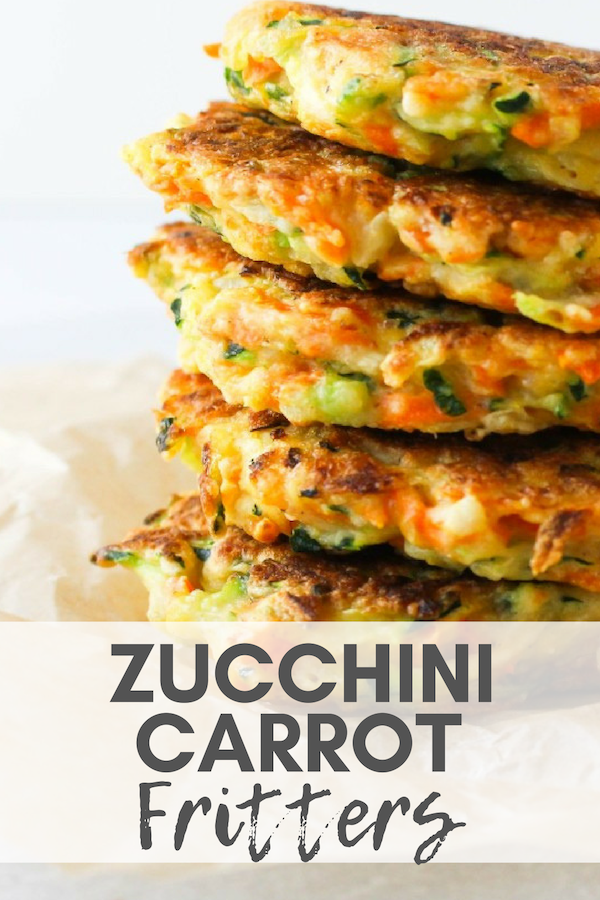
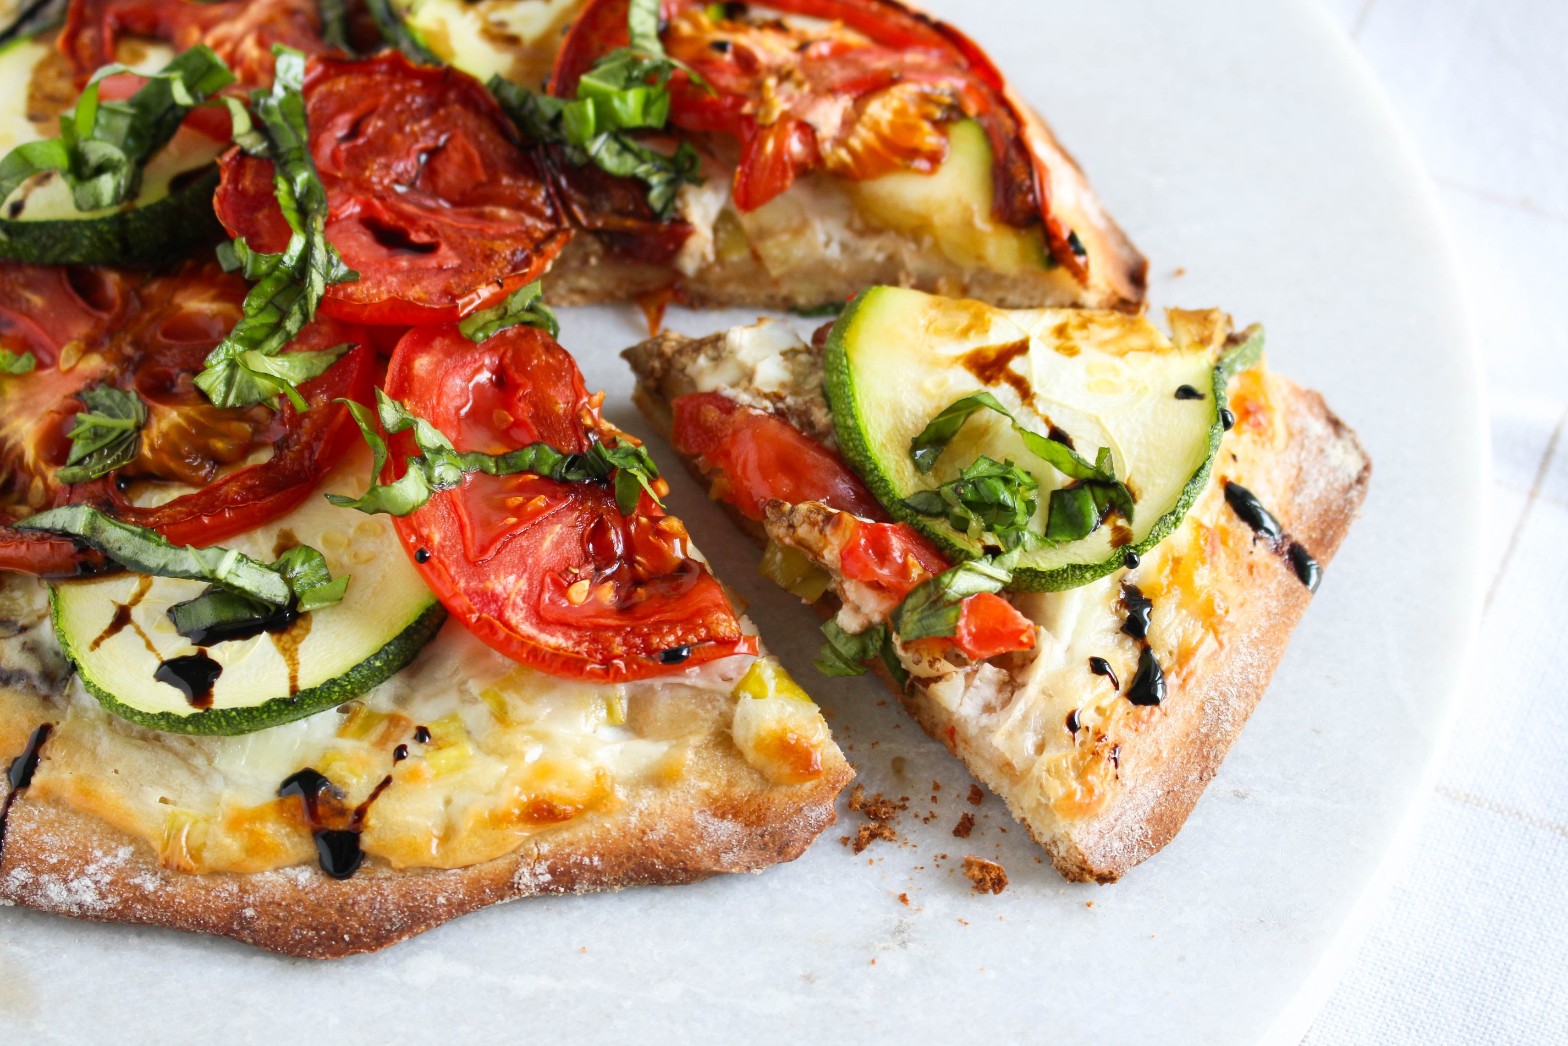
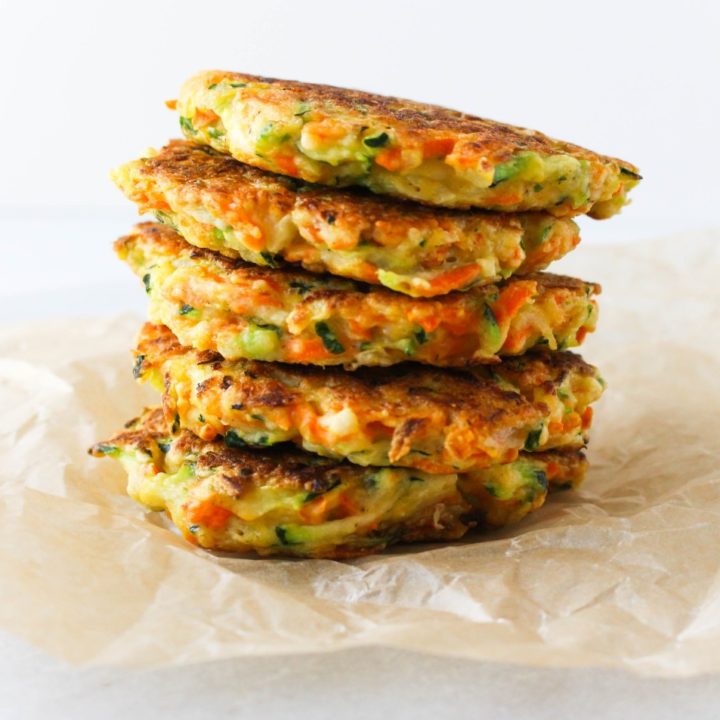
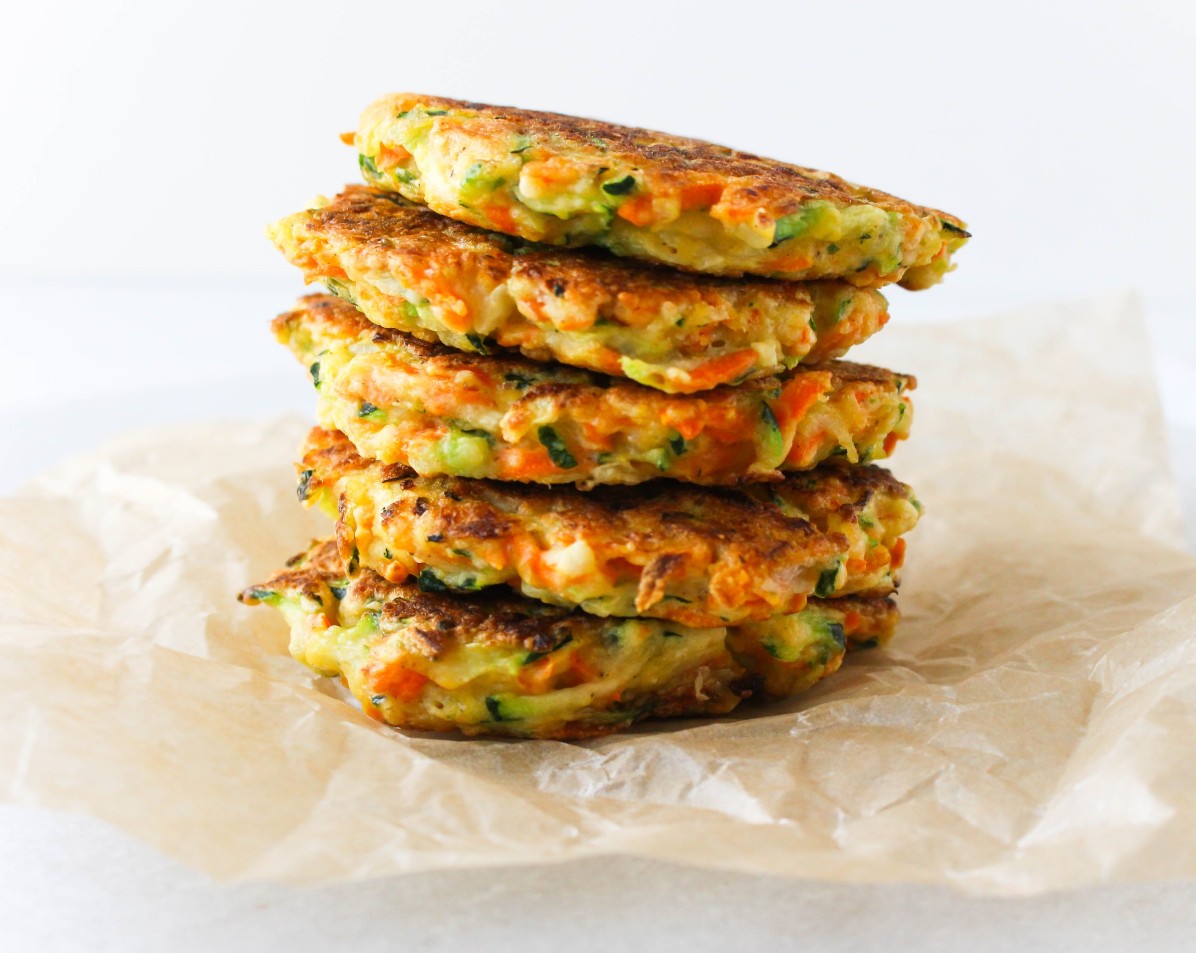
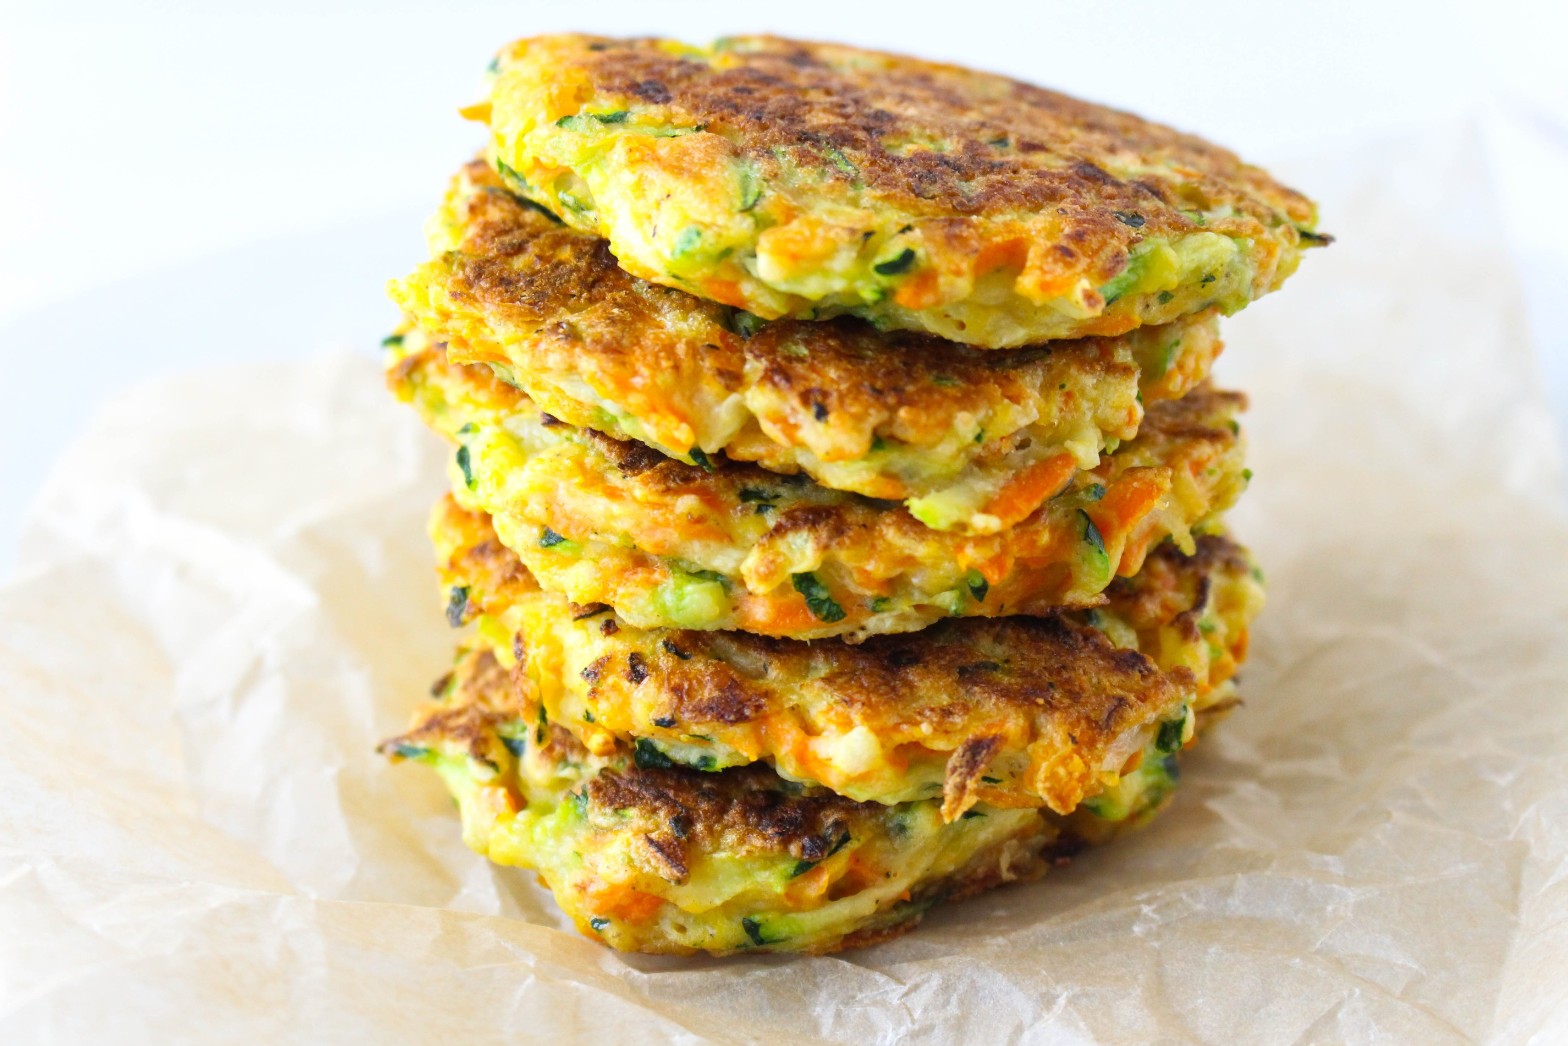
Brighten up fritters with a healthy twist. Add these Zucchini Carrot Fritters as a nutritious and delicious side dish for dinner and freeze a batch to enjoy later.
Batch cooking and freezing has been my saving grace with my crazy schedule. My schedule during the week gets pretty hectic since I don’t work regular hours and some nights when I get home super late, the last thing I want to do it cook.
How to reheat
I love the crispy crunchy outside of fritters. Don’t make the mistake I did when I popped my first batch out of the freezer warmed them in the microwave. Definitely heat them up in the oven, or let them thaw and throw them right back in the pan to warm through to keep that crisp exterior.
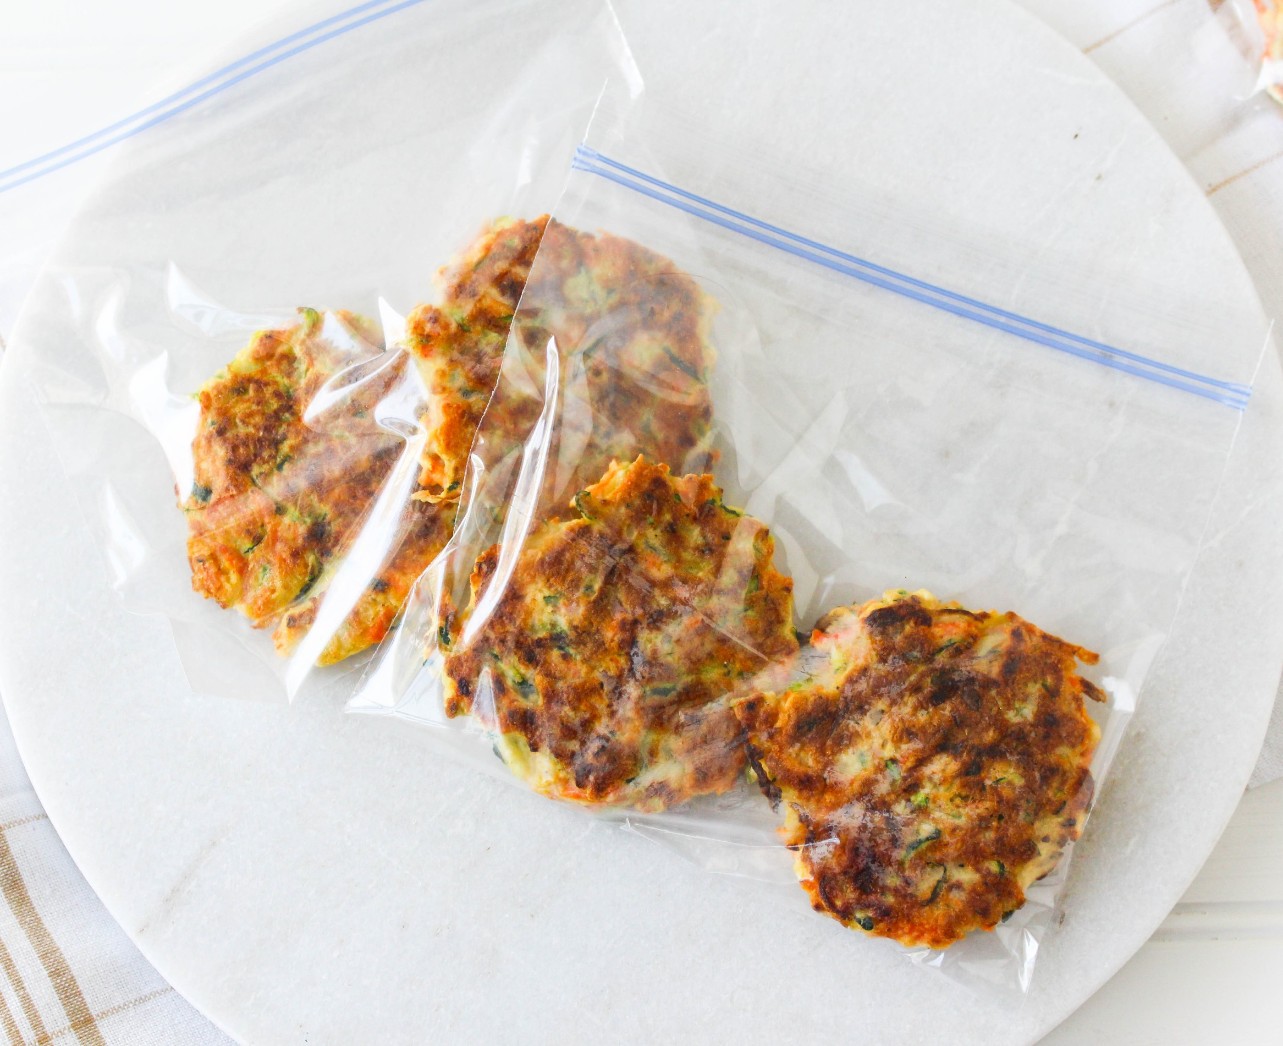
How to freeze
To freeze, simply let them cool and place into plastic ziplock bags. If you know you won’t be digging into them for a while, wrap individually in aluminum foil, then into a ziplock bag.
Alternatives to breadcrumbs as a binding agent
I used a gluten-free garbanzo bean flour with an egg to act as a binder. Garbanzo bean flour is a fun flour to work use because it has a higher protein and fiber content than other flours.
Print
Zucchini Carrot Fritters
- Prep Time: 15
- Cook Time: 10
- Total Time: 25 minutes
- Yield: 8 fritters 1x
- Category: side dish
- Method: Stove Top
- Cuisine: American
Ingredients
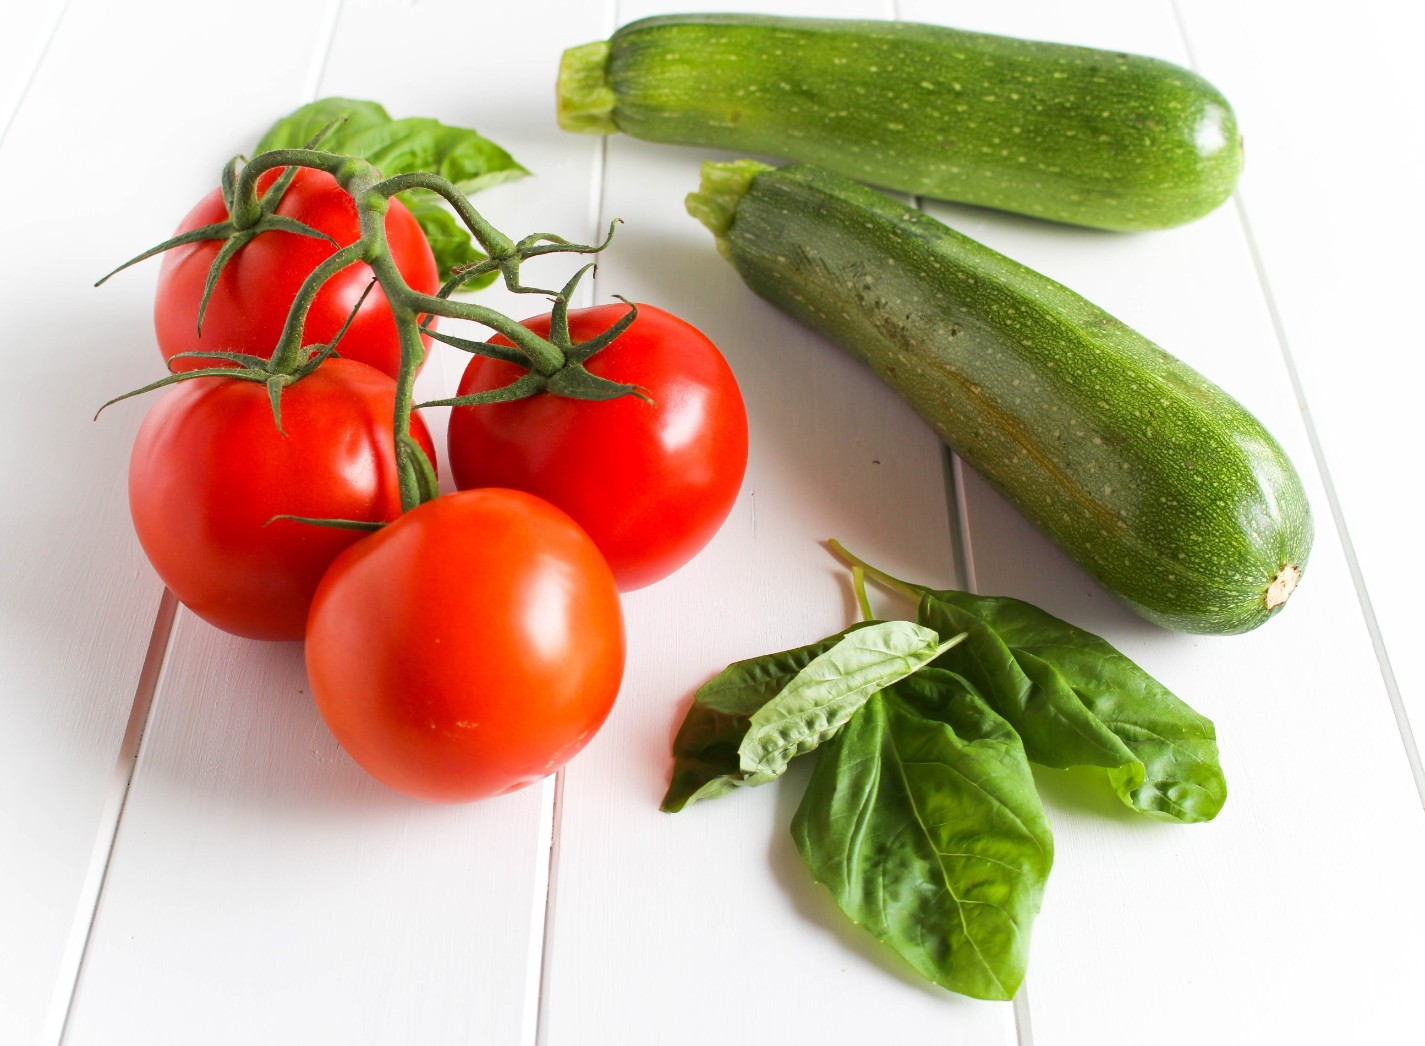
- 1 zucchini
- 2 carrots
- 1/2 cup gluten free flour (i used garbanzo bean flour)
- 1/2 tsp baking powder
- 1/4 teaspoon garlic powder
- 1/4 teaspoon onion powder
- 1/8 teaspoon salt
- 1/8 teaspoon pepper
- 1 egg
- 2 tbsp canola oil (or olive oil)
Instructions
- Using a box grater, shred the zucchini and carrots. In paper towels or a dish rag, ring out the zucchini and carrots to release excess moisture.
- In a large bowl, combine the gluten free flour, baking powder, garlic powder, onion powder, salt, and pepper with the zucchini and carrots. Toss to coat.
- In a small bowl, whisk egg, then add to the zucchini and carrot mixture. Stir to combine.
- In a large skillet, add canola over and heat over high-medium heat, drop about a 1/4 cup scoop of the mixture into the pan. Slightly flatten to create a 2-inch patty. Cook until lightly brown and then flip and cook until both sides are evenly browned.
Notes
These zucchini carrot cakes freeze well. Simply let cool and place in a plastic bag in the freezer. To reheat either 1) let thaw and put in a skillet until heated through, or 2) directly from the freezer place on a baking sheet and cook at 350 until heated through.
Keywords: fritters, zucchini, carrots, gluten free, plant-based