Green Goddess Smoothie Bowl

Start your morning with this Green Goddess Smoothie Bowl. 
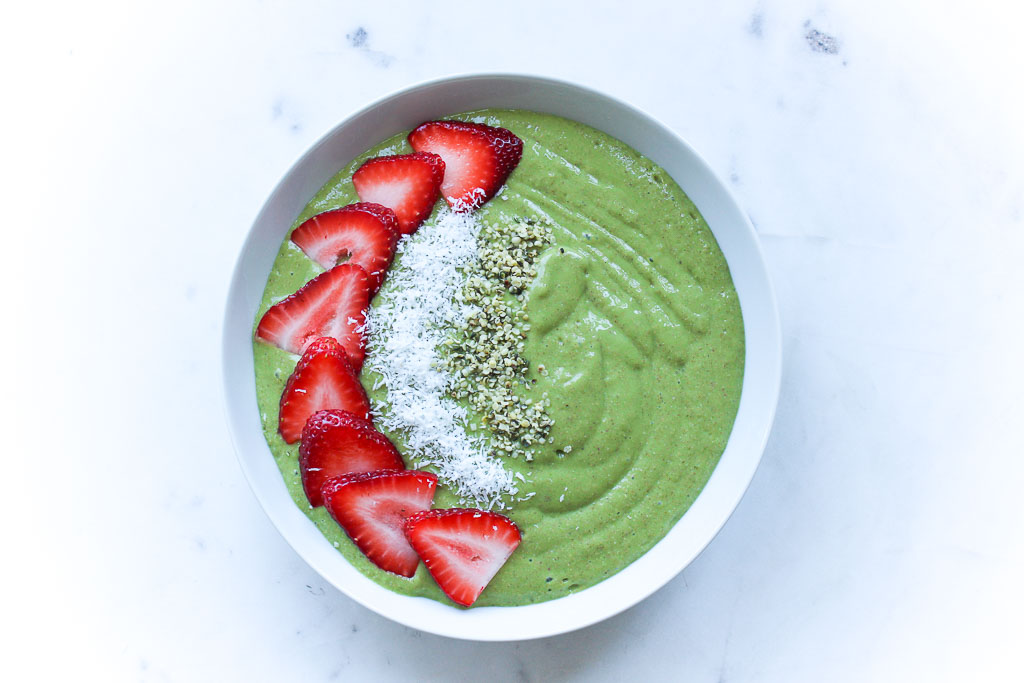
Green Goddess Smoothie Bowl
I haven’t had the best luck lately. When I was bringing groceries into my apartment, my canvas bag strap broke and the eggs in my bag ended up all over the floor of my kitchen. Back to the store I went because I was shooting a video for my Flourless Peanut Butter Chocolate Muffins that day.

Then, you may have seen on Instagram that I ended up with 3 stitches on my finger this week.

@RDeliciousKitchen InstagramThursday, I was at Living Plate getting ready for a cooking class and washing a mandolin and accidentally sliced my finger. I headed to urgent care while two interns continued to prep for the class. These dietetic interns just started working with me and with my little accident, they saved the day! I got stitched up, headed back and the class was ready to go. The interns were rock stars! The class was ready to go and the class was a success!
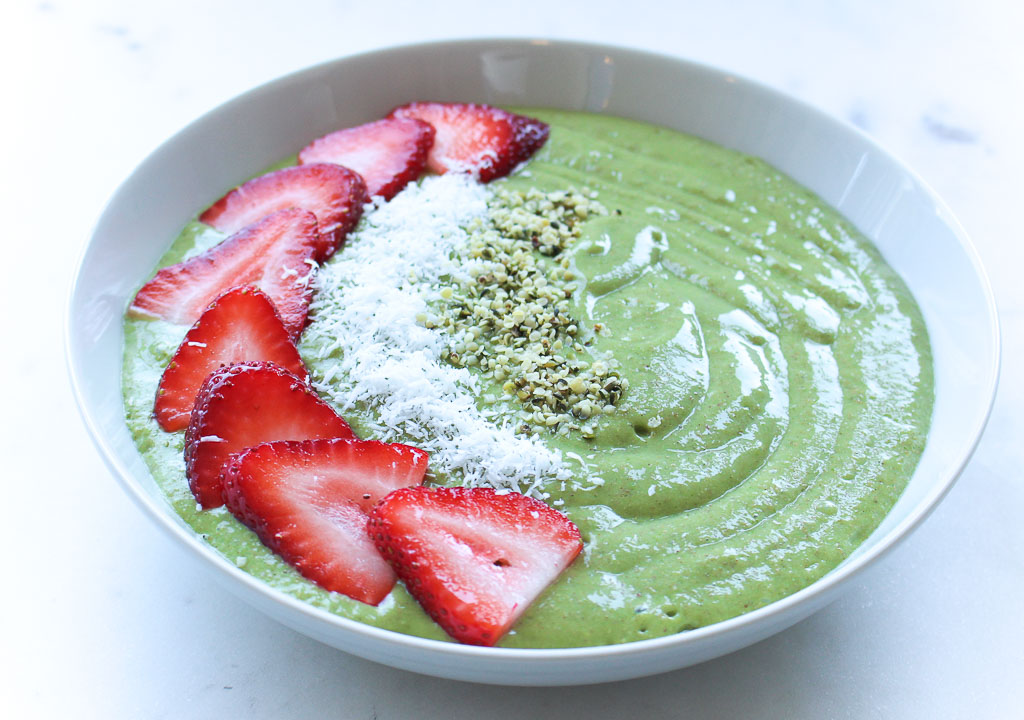
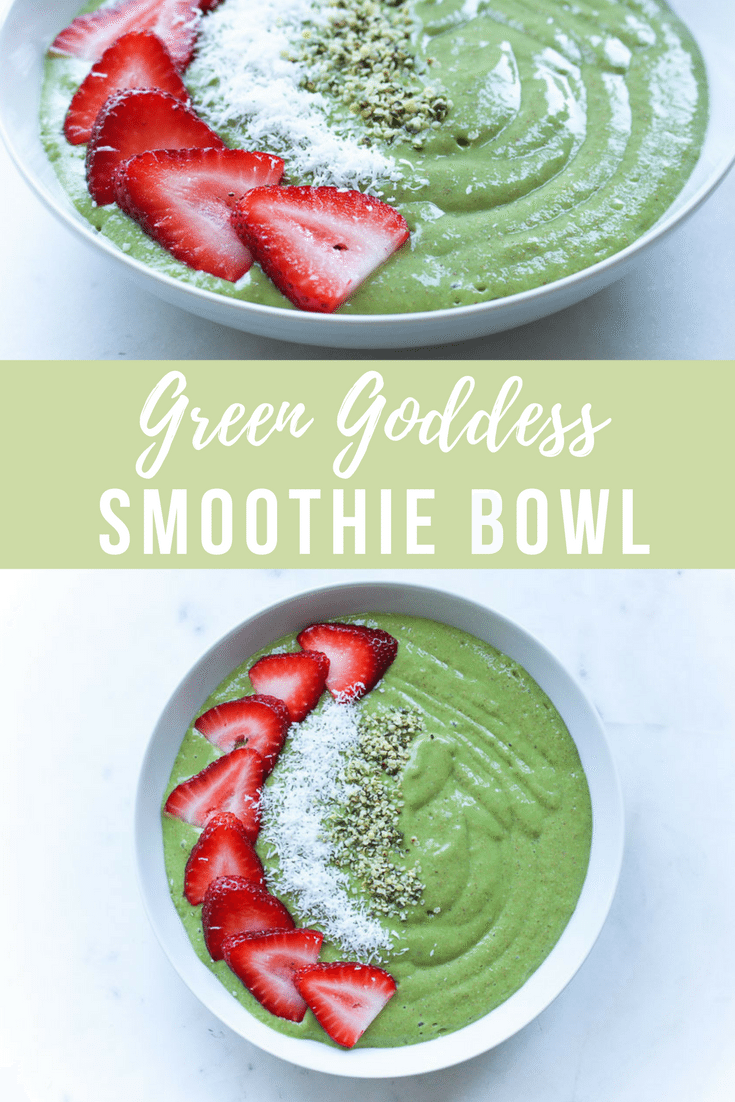
Green Goddess Smoothie BowlSo maybe it really wasn’t a bad luck week, more like a clumsy week. Yes, I may have had my kerfuffle moments, but one thing that was consistently great this week, was breakfast. This Green Goddess Smoothie Bowl was enjoyed all week. I’ve been on a total smoothie kick lately and have been making this exact combo daily. I really do enjoy the act of eating smoothie bowls with a spoon. It helps practice mindful eating and you get to enjoy it for so much longer.
After every storm is a rainbow because I am now sitting on Lake Champlain with my bff’s in Vermont for the weekend. Girls weekend!
Lake Champlain, Vermont
What is everyone doing this weekend? 

Print
clock clock iconcutlery cutlery iconflag flag iconfolder folder iconinstagram instagram iconpinterest pinterest iconfacebook facebook iconprint print iconsquares squares iconheart heart iconheart solid heart solid icon
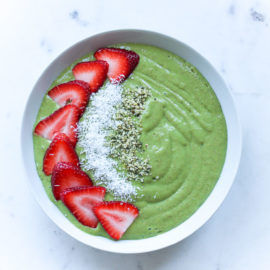
green smoothie in a white bowl with strawberries and coconut

Green Goddess Smoothie Bowl

  • Author: Julie @ RDelicious Kitchen

Ingredients

Scale
  • 1/4 cup mango, frozen
  • 1/2 avocado
  • 1/2 small banana [frozen is best for creaminess]
  • 1 cup spinach
  • 3 strawberries
  • 2 tablespoons chia seeds
  • 1 teaspoon cinnamon
  • 1 cup unsweetened almond milk
  • (optional toppings): hemp hearts, sliced strawberries, unsweetened coconut

Instructions

  1. Add all ingredients into a blender and blend until smooth.
  2. Pour into a bowl and top with your favorite toppings.

Recipe Card powered byTasty Recipes

Did you make this recipe? Tag @rdeliciouskitchen on Instagram or send me a pic, I’d love to see!RDelicious Kitchen @RD_KitchenPin this recipe for later!
Green Goddess Smoothie Bowl

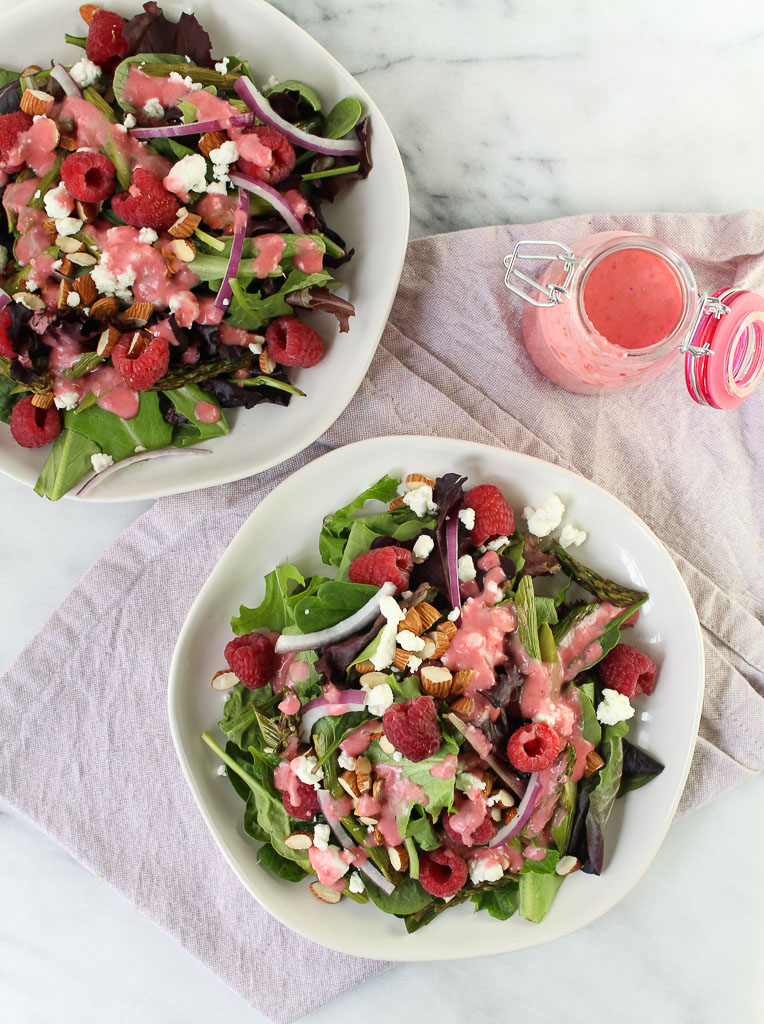
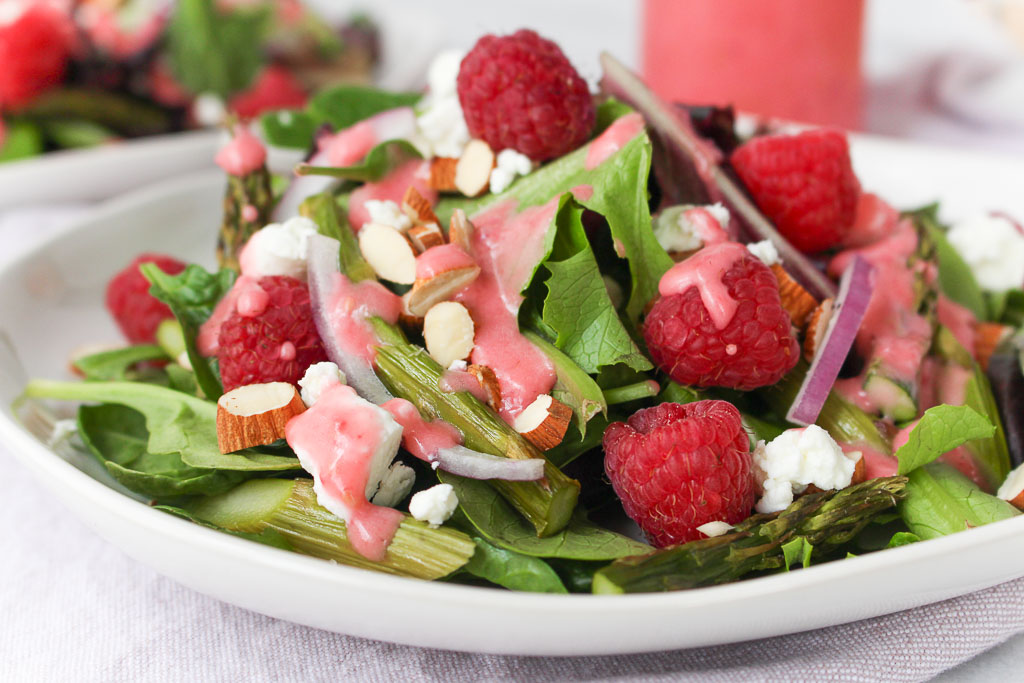
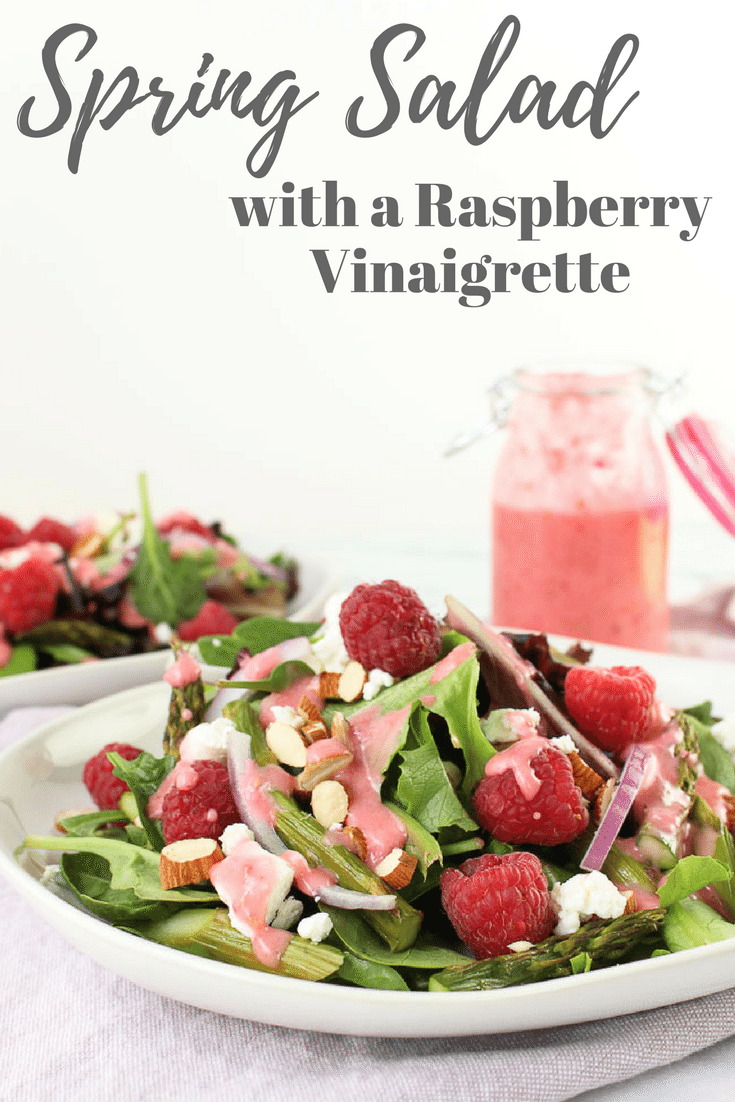
Spring Salad with Raspberry Vinaigrette

Serve up this fresh Spring Salad with Raspberry Vinaigrette. Spring Salad with Raspberry Vinaigrette via RDelicious Kitchen @RD_KitchenThe big debate: Are you for fruit on a salad or against it? I am ALL about adding fruit to salad. I love that little sweet bite. While I know some others who are completely against it, arguing otherwise.
Spring Salad with Raspberry Vinaigrette via RDelicious Kitchen @RD_Kitchen
Why not get fruits and vegetables in all in one shot? Salads don’t have to be boring. Someone recently said to me, “Since you are a Registered Dietitian, you’re probably going to tell me to eat more salads right”? As a Registered Dietitian, I’ll encourage you to eat more fruits and vegetables, that may be in the form of salad, but in other ways as well. The problem is “salad” sounds so boring. Unfortunately, most often the first thought of salad is the boring romaine lettuce, tomatoes, and maybe a few slices of cucumber.
Spring Salad with Raspberry Vinaigrette via RDelicious Kitchen @RD_Kitchen
The key to building a delicious salad is variety. Don’t get stuck with the same combination. Try adding different textures. I like to add roasted vegetables on top of a bed of greens to add an extra pop of flavor. Every week I roast a large tray of vegetables. Throughout the week they get tossed on salads, mixed into a stir fry or scrambled with eggs. That one meal prep solution has been a weekly staple for me.
Spring Salad with Raspberry Vinaigrette via RDelicious Kitchen @RD_Kitchen
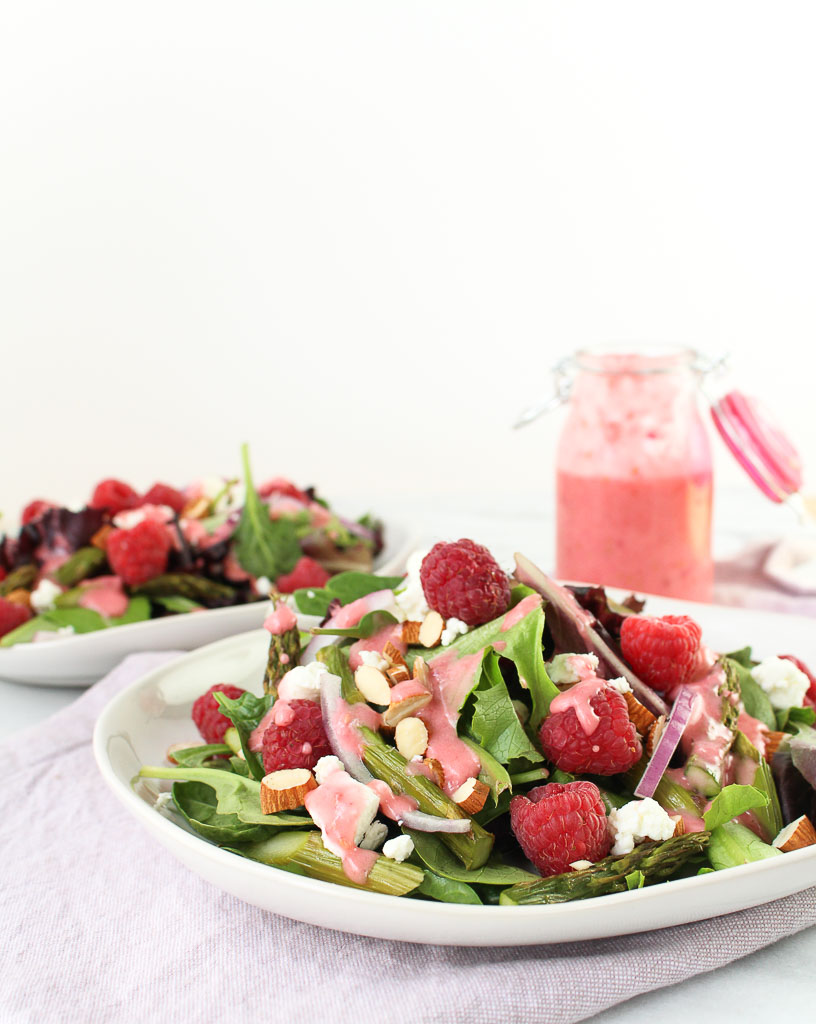
I had the most delicious raspberry vinaigrette at a restaurant and I recreated my version for this salad. The sweetness naturally comes from fresh raspberries and balanced with white wine vinegar. Salad dressings are surprisingly very easy to make. This dressing can last for about a week in the refrigerator. Just give it a gentle shake before using.

Spring Salad with Raspberry Vinaigrette via RDelicious Kitchen @RD_Kitchen

Print
clock clock iconcutlery cutlery iconflag flag iconfolder folder iconinstagram instagram iconpinterest pinterest iconfacebook facebook iconprint print iconsquares squares iconheart heart iconheart solid heart solid icon
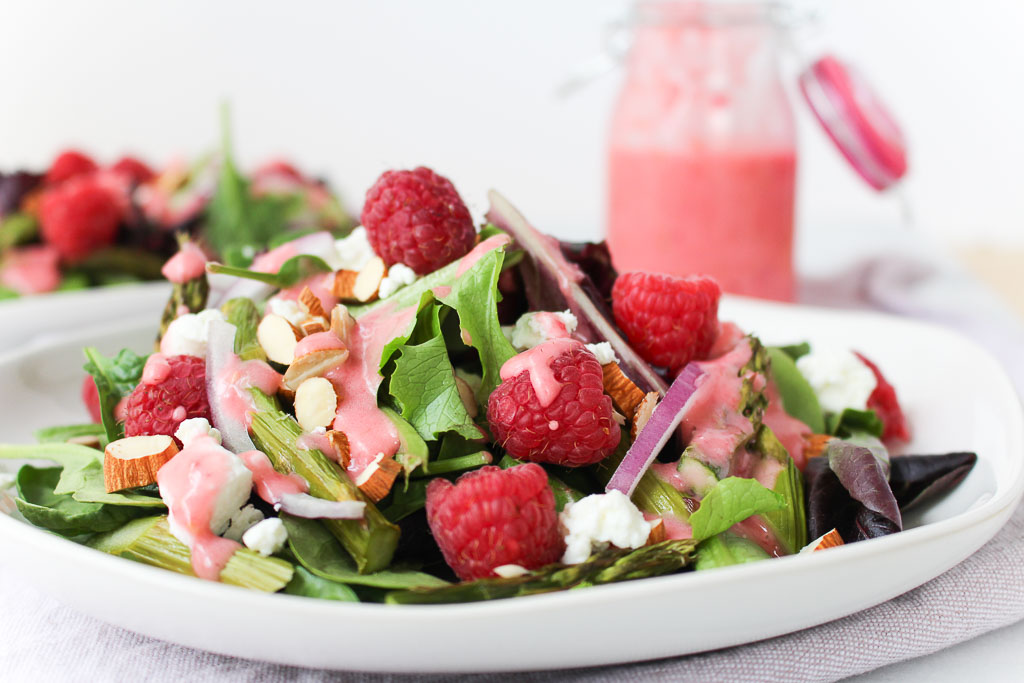
Spring Salad with Raspberry Vinaigrette on a white plate

Spring Salad with Raspberry Vinaigrette

  • Author: Julie @ RDelicious Kitchen
  • Yield: 2

Ingredients

Scale
  • 4 cups arugula
  • 1/2 cup roasted asparagus, chopped
  • 1/2 cup raspberries
  • 1/4 cup red onion, thinly sliced
  • 2 ounces almonds, chopped
  • 2 ounces goat (or feta cheese), crumbled
  • For the dressing: (makes about 3/4 cup)
  • 1/4 cup fresh raspberries
  • 1/4 cup white wine vinegar
  • 1 small shallot, finely chopped
  • 1/2 cup olive oil
  • Salt and ground pepper, to taste

Instructions

  1. On two plates, layer the arugula, asparagus, raspberries, red onion, almonds, and goat cheese.
  2. For the dressing: Combine all ingredients in a blender or food processor and blend until smooth. Season to taste with salt and pepper. Store extra dressing the in the refrigerator for up to a week.
  3. Drizzle salads with dressing.

Recipe Card powered byTasty Recipes

Did you make this recipe? Tag @rdeliciouskitchen on Instagram or send me a pic, I’d love to see!
RDelicious Kitchen @RD_Kitchen

Pin this recipe for later!Spring Salad with Raspberry Vinaigrette via RDelicious Kitchen @RD_Kitchen


Grilled Caesar Salad with Lemon Tahini Dressing

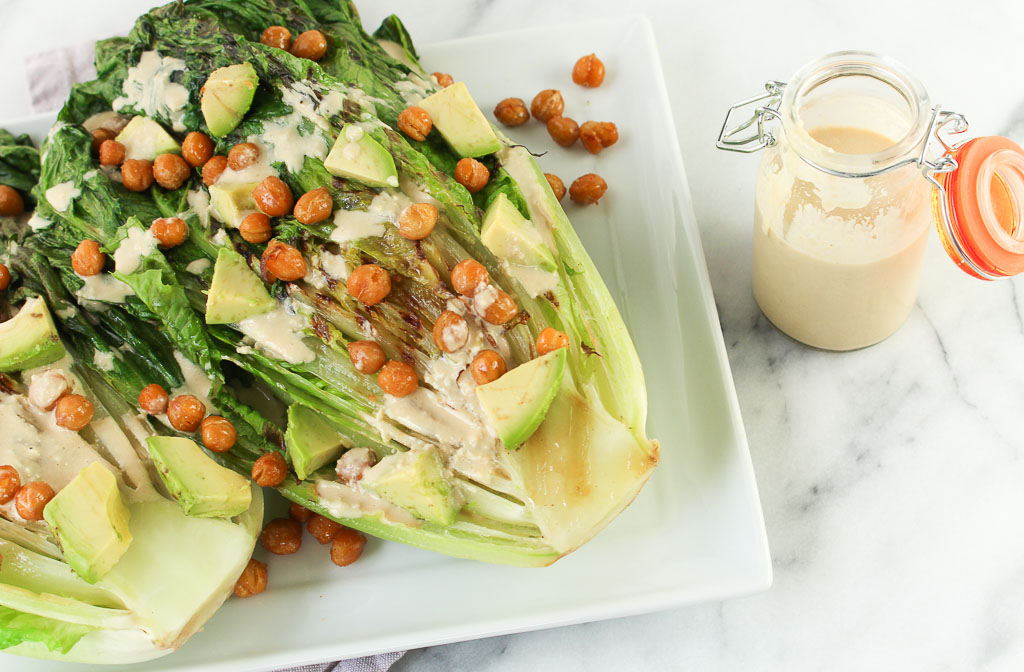
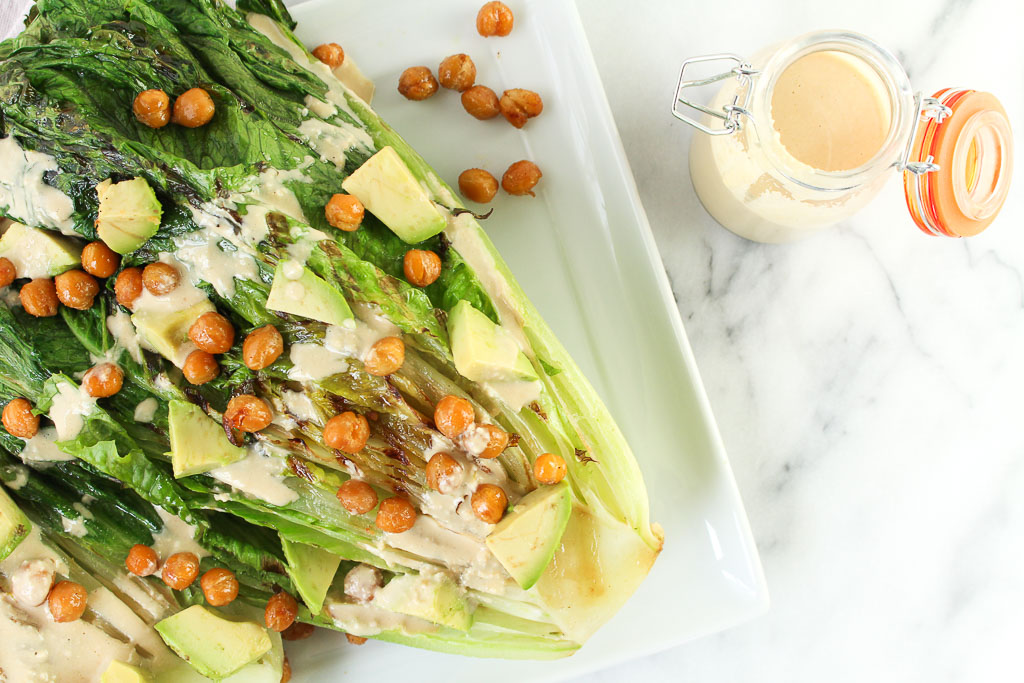
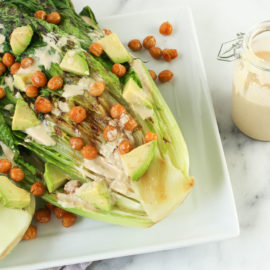
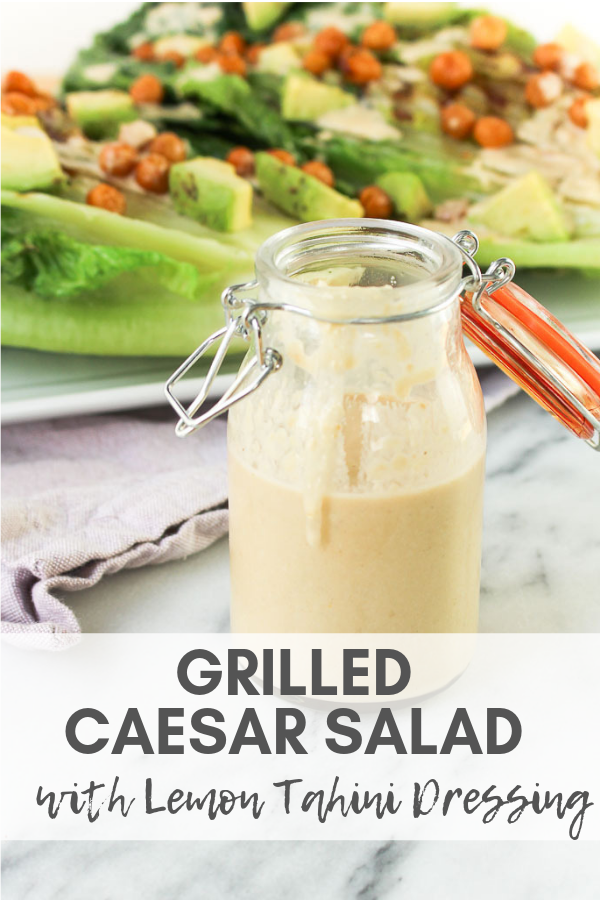
Have you ever tried grilling leafy greens? Try this Grilled Caesar Salad with Creamy Lemon Tahini Dressing this grilling season. 

Grilled Caesar Salad with Creamy Lemon Tahini Dressing - try grilling greens for a whole new salad experience via Chef Julie Harrington @ChefJulie_RD #salad #caesarsalad #vegan #vegetarian #caesar #plantbased #dressing #tahini #glutenfree

Memorial Day weekend is just around the corner, but it’s never too early to start firing up the grill. I’ve been all about the grilling scene in the blog world lately.

I started contributing to Luvo’s Fresh Blog and my first article was recently published – A Dietitian’s Guide to Building a Healthier Burger. Check out some nutritious tips for grilling burgers this summer.

Grilled Caesar Salad with Creamy Lemon Tahini Dressing - try grilling greens for a whole new salad experience via Chef Julie Harrington @ChefJulie_RD #salad #caesarsalad #vegan #vegetarian #caesar #plantbased #dressing #tahini #glutenfree

Then, to my surprise, I was nominated for the Wayfair Healthy Gas Griller Recipe Award, featuring my Chipotle Lime Shrimp Tacos.

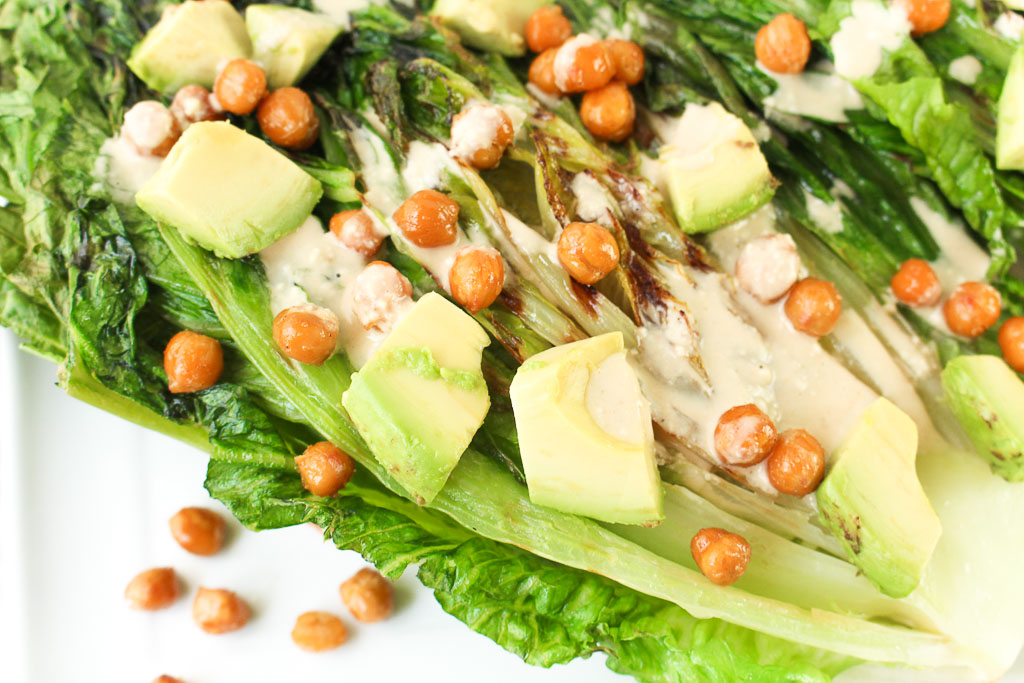
While both articles are more about the traditional grilling fare, I tried something a little different – grilling romaine lettuce. I was pleasantly surprised with the results. If you want to try grilling leafy greens, use sturdier greens like romaine, cabbage, etc.

Grilled Caesar Salad with Creamy Lemon Tahini Dressing - try grilling greens for a whole new salad experience via Chef Julie Harrington @ChefJulie_RD #salad #caesarsalad #vegan #vegetarian #caesar #plantbased #dressing #tahini #glutenfree

The key to this Caesar salad is the toppings. Skip the croutons and top with plant-based fiber packed roasted chickpeas and add creaminess with avocado.

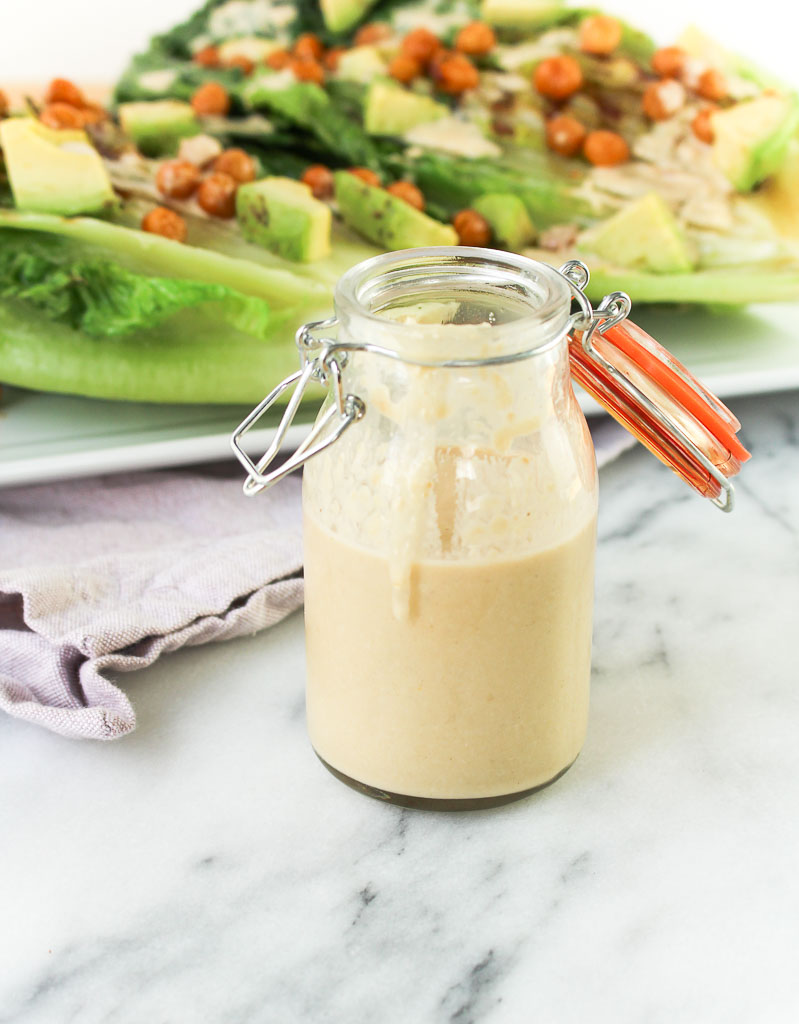
The real star is the dressing! This combination of lemon, hummus, tahini, and the secret ingredient cashews combines to create a thick and creamy dressing, minus the unwanted saturated fats and replacing them with heart-healthy unsaturated fats. 

Grilled Caesar Salad with Creamy Lemon Tahini Dressing - try grilling greens for a whole new salad experience via Chef Julie Harrington @ChefJulie_RD #salad #caesarsalad #vegan #vegetarian #caesar #plantbased #dressing #tahini #glutenfree

Have you ever tried grilling leafy greens?

Print
clock clock iconcutlery cutlery iconflag flag iconfolder folder iconinstagram instagram iconpinterest pinterest iconfacebook facebook iconprint print iconsquares squares iconheart heart iconheart solid heart solid icon
Grilled Caesar Salad with Lemon Tahini Dressing on a white platter

Grilled Caesar Salad with Creamy Lemon Tahini Dressing

  • Author: Chef Julie Harrington, RD
  • Prep Time: 15
  • Cook Time: 5
  • Total Time: 20 minutes
  • Yield: 2-4 1x
  • Category: Salad
  • Method: Grilling
  • Cuisine: American

Description

Have you ever tried grilling leafy greens? Try this Grilled Caesar Salad with Creamy Lemon Tahini Dressing this grilling season. 


Ingredients

Scale
  • 1 large romaine heart, cut in half lengthwise
  • Olive oil spray
  • 1 avocado, diced
  • 1/2 cup chickpeas, drained and rinsed
  • 1 teaspoon olive oil
  • 1/2 teaspoon garlic powder


For the dressing:

  • 1/4 cup lemon juice
  • 2 tablespoons garlic hummus
  • 1 tablespoon tahini paste
  • 2 tablespoons water
  • 1 teaspoon Worcestershire
  • 1/4 cup raw cashews, soaked in water
  • Salt, to taste

Instructions

  1. Preheat oven to 400 degrees F. In a small bowl, combine chickpeas, olive oil, and garlic powder. Line a baking sheet with parchment paper. Place chickpeas on baking sheet and roast in the oven for 20 minutes, turning occasionally.
  2. As chickpeas are roasting, preheat grill to high. Spray cut, flat side of romaine hearts and place cut-side down on the grill. Grill for about 1-2 minutes until grill marks appear on lettuce. Flip and grill for an additional minute, to sear. Remove hearts to platter cut sides up.
  3. For dressing, place all ingredients in a food processor and pulse until smooth and creamy.
  4. Drizzle romaine hearts with dressing and top with roasted chickpeas and avocado.
  5. Store extra dressing in an airtight container.

Keywords: Salad, Caesar Salad, Grilling, Romaine, Tahini, Dressing, side dish

Recipe Card powered byTasty Recipes
Chef Julie Harrington, RD - Culinary Nutrition Consultant of chefjulierd.com
Grilled Caesar Salad with Creamy Lemon Tahini Dressing - try grilling greens for a whole new salad experience via Chef Julie Harrington @ChefJulie_RD #salad #caesarsalad #vegan #vegetarian #caesar #plantbased #dressing #tahini #glutenfree

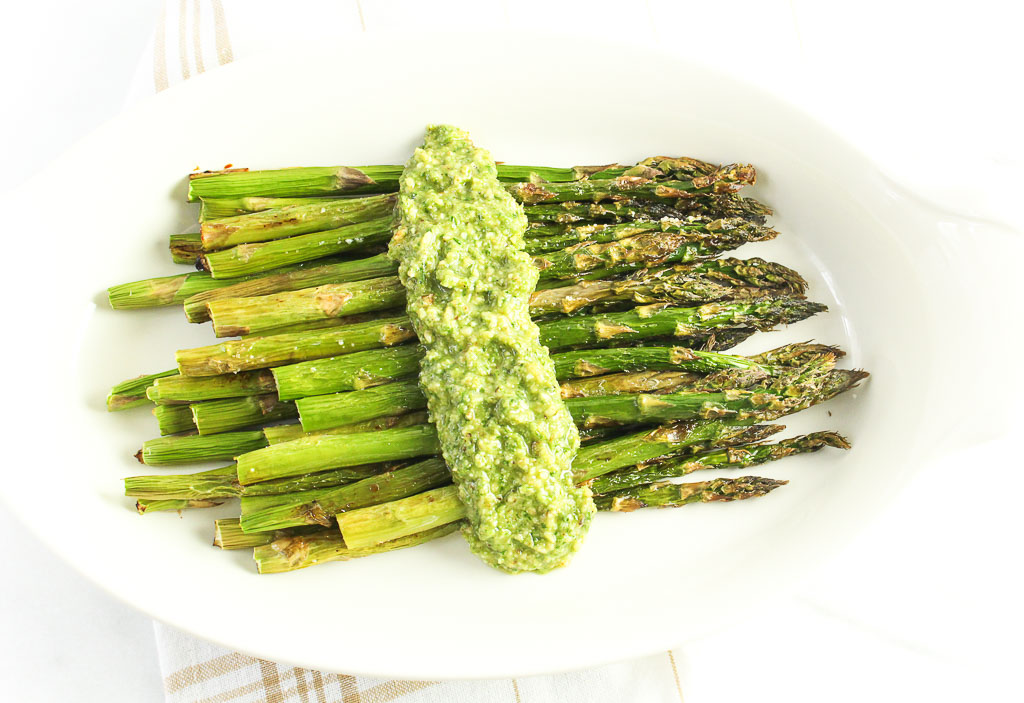
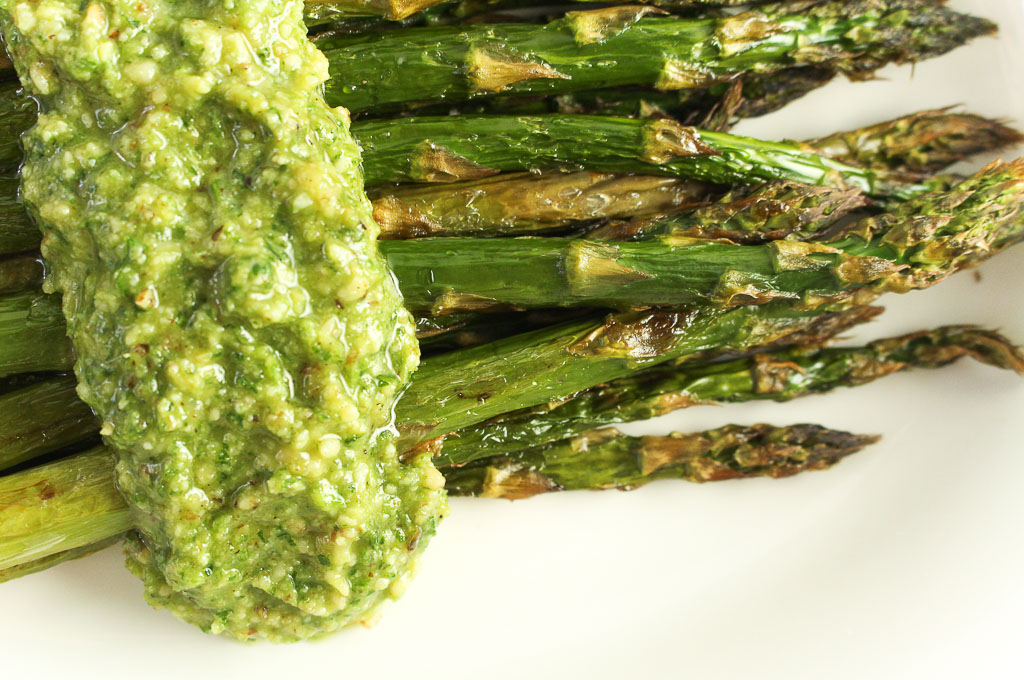
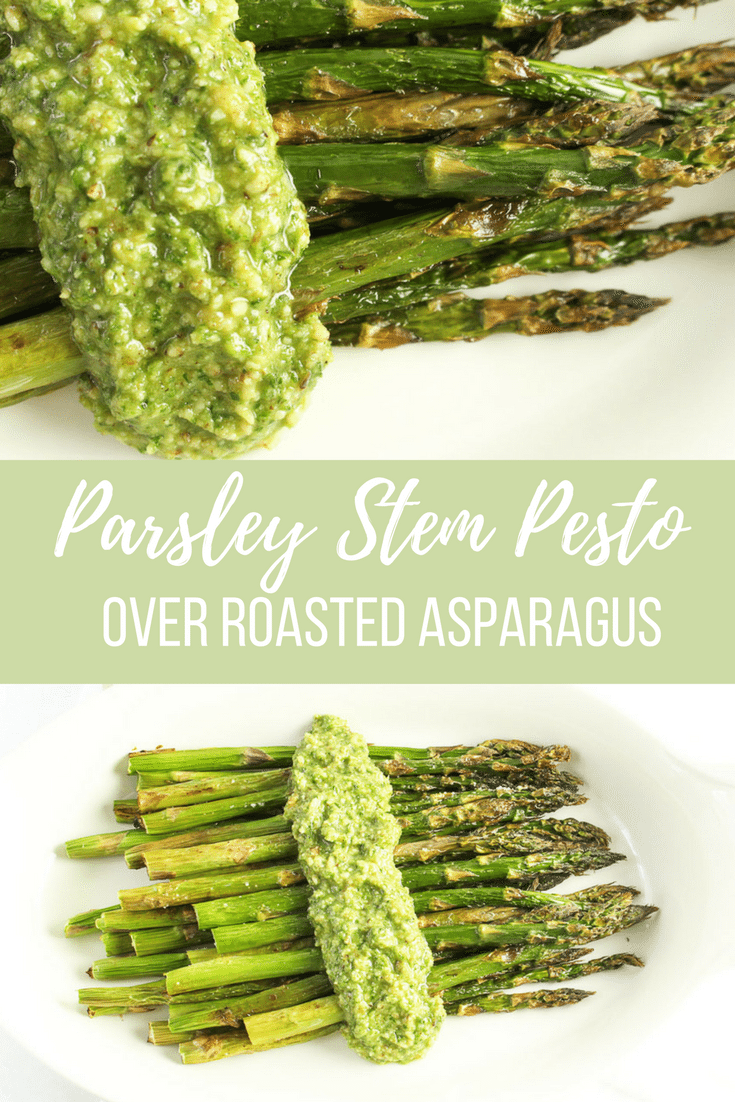
Parsley Stem Pesto over Roasted Asparagus

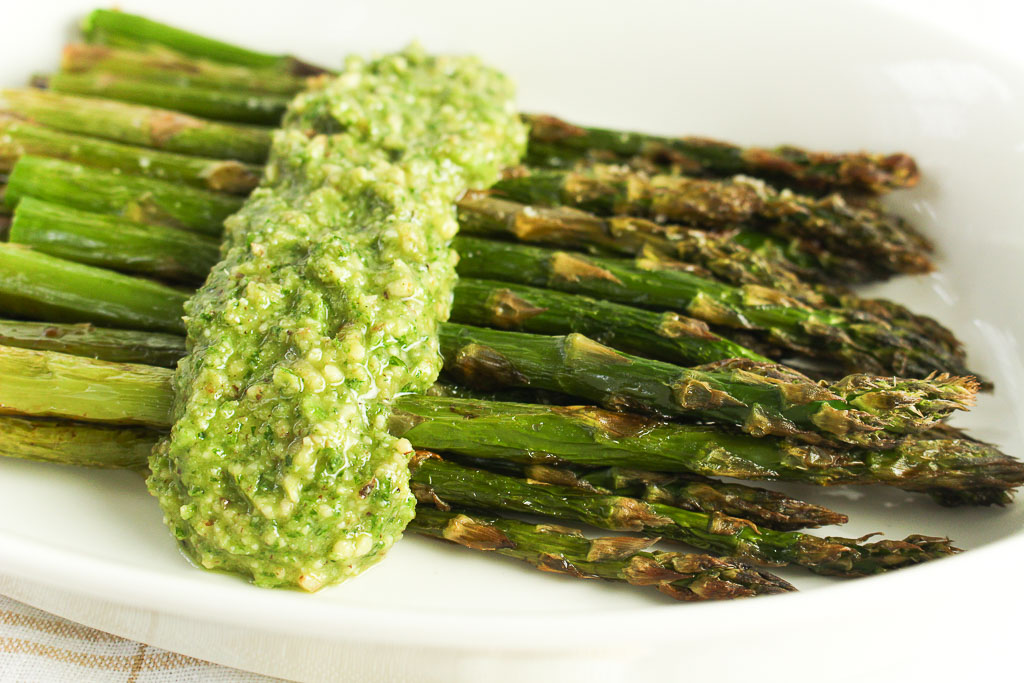
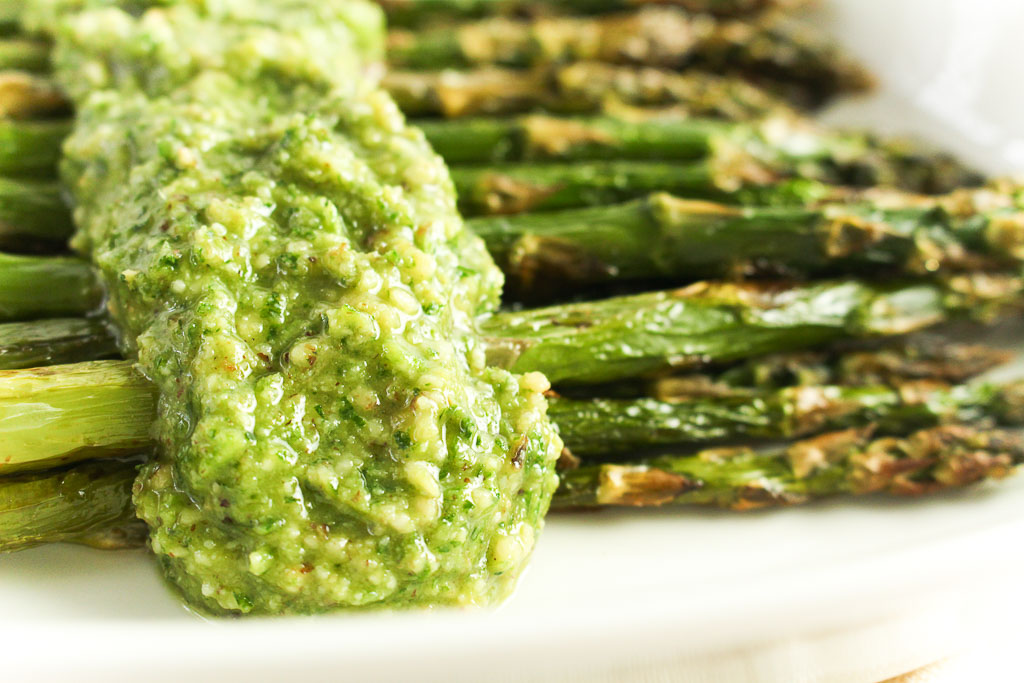
Happy Earth Day! There are so many food scraps that are often thrown out but can be repurposed into something new, just like this Parsley Stem Pesto.Parsley Stem Pesto over Roasted Asparagus via RDelicious Kitchen @RD_kitchenWith today being Earth Day, The Recipe ReDux members were challenged to show how to reduce food waste. Whatever you would normally toss, use it up! I use a lot of fresh herbs in my kitchen, but the stems usually end up in the trash, which is crazy because the stems actually have more of an intense flavor.Parsley Stem Pesto over Roasted Asparagus via RDelicious Kitchen @RD_kitchen
I loved this month’s theme because it got me thinking of the amount of food waste that tends to happen in my kitchen. So instead of tossing my parsley stems, I created a parsley stem pesto.Parsley Stem Pesto over Roasted Asparagus via RDelicious Kitchen @RD_kitchenThe typical herb to use in pesto is basil, but really any herb will do. Boy, do those stems have great flavor! The pesto is this intense green color with a fresh and flavorful zing to it.Parsley Stem Pesto over Roasted Asparagus via RDelicious Kitchen @RD_kitchenI also subbed pine nuts for walnuts. I tend to like my pesto a little thicker, so the walnuts are great for that. Plus, walnuts were what I had on hand and a great source of polyunsaturated fats!

Print

clock clock iconcutlery cutlery iconflag flag iconfolder folder iconinstagram instagram iconpinterest pinterest iconfacebook facebook iconprint print iconsquares squares iconheart heart iconheart solid heart solid icon
Parsley Stem Pesto over Roasted Asparagus on a white plate

Parsley Stem Pesto over Roasted Asparagus

  • Author: Julie @ RDelicious Kitchen
  • Yield: 6

Ingredients

Scale
  • 1/2 cup walnuts
  • 1 cup parsley stems, roughly chopped
  • 1/4 cup parmesan cheese
  • 2 garlic cloves, roughly chopped
  • 1 tablespoon lemon juice
  • 1/2 teaspoon salt
  • 1/2 cup + 1 tablespoon olive oil, divided
  • 1 bunch asparagus, ends trimmed

Instructions

  1. Preheat an oven to 425 degrees F.
  2. Place the asparagus into a mixing bowl, and drizzle with the olive oil. Season with salt and pepper. Toss to coat.
  3. Bake in the preheated oven until just tender, 12 to 15 minutes depending on thickness.
  4. While the asparagus is cooking, add walnuts, parsley, parmesan cheese, garlic, lemon juice, and salt in a food processor and pulse for a few seconds to combine. Scrape down the sides of the bowl and pulse again.
  5. Slowly drizzle in the olive oil while the food processor is running just long enough to incorporate the oil, about 20-30 seconds.
  6. Spread pesto over asparagus and serve.

Notes

Reserve extra pesto in an airtight container in the refrigerator.

Recipe Card powered byTasty Recipes

RDelicious Kitchen @RD_Kitchen
Parsley Stem Pesto over Roasted Asparagus via RDelicious Kitchen @RD_kitchen

Broccoli Cauliflower Salad

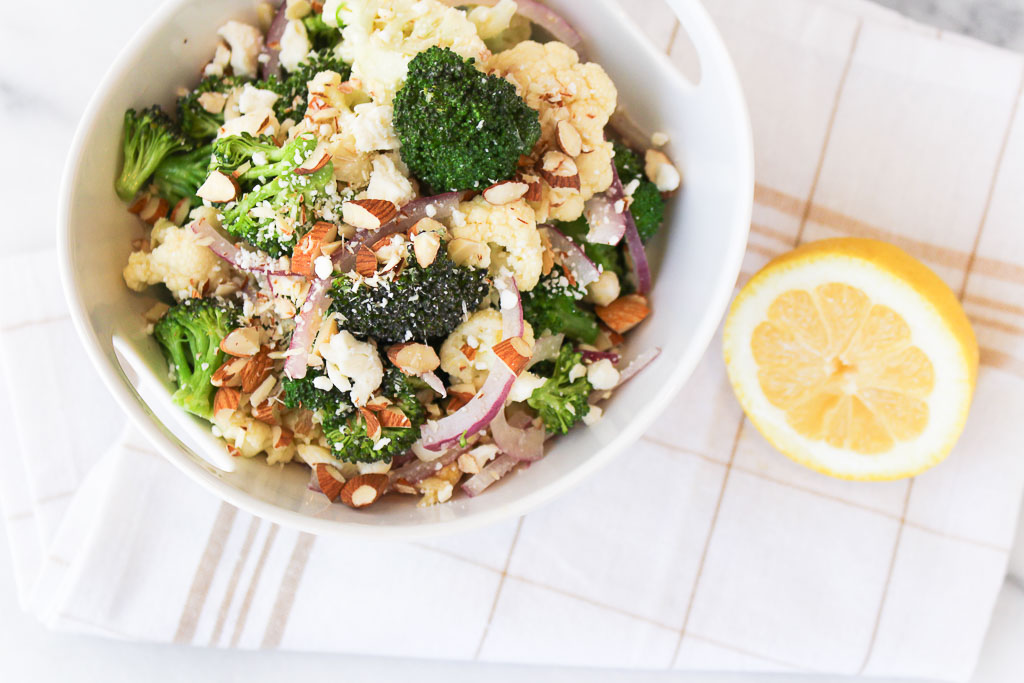
This Broccoli Cauliflower Salad is light and refreshing, being a perfect addition to your spring menu.

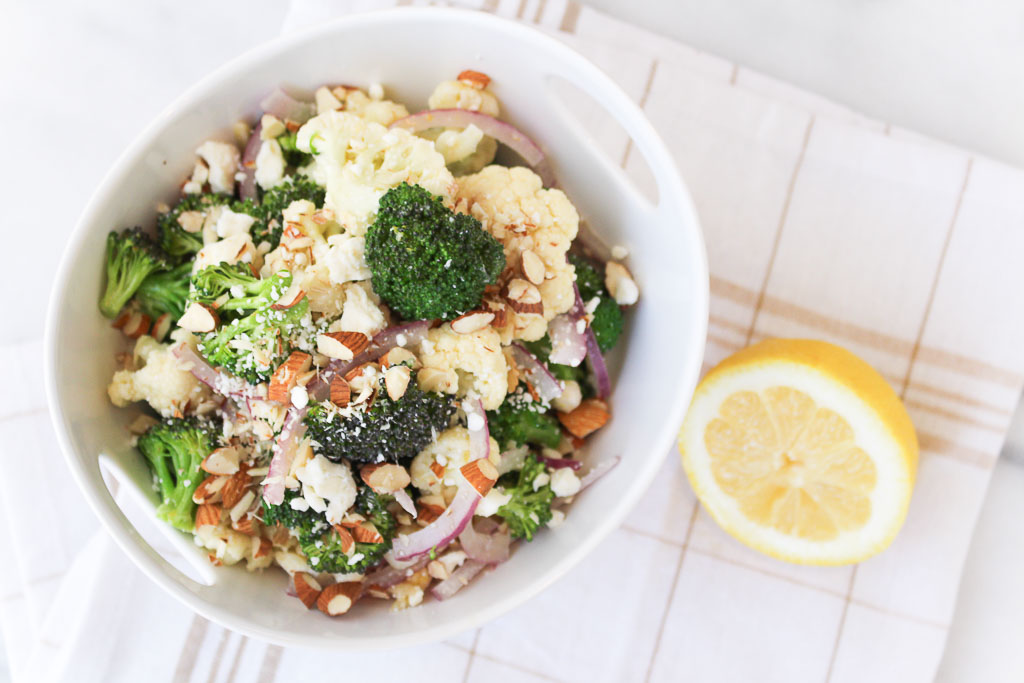
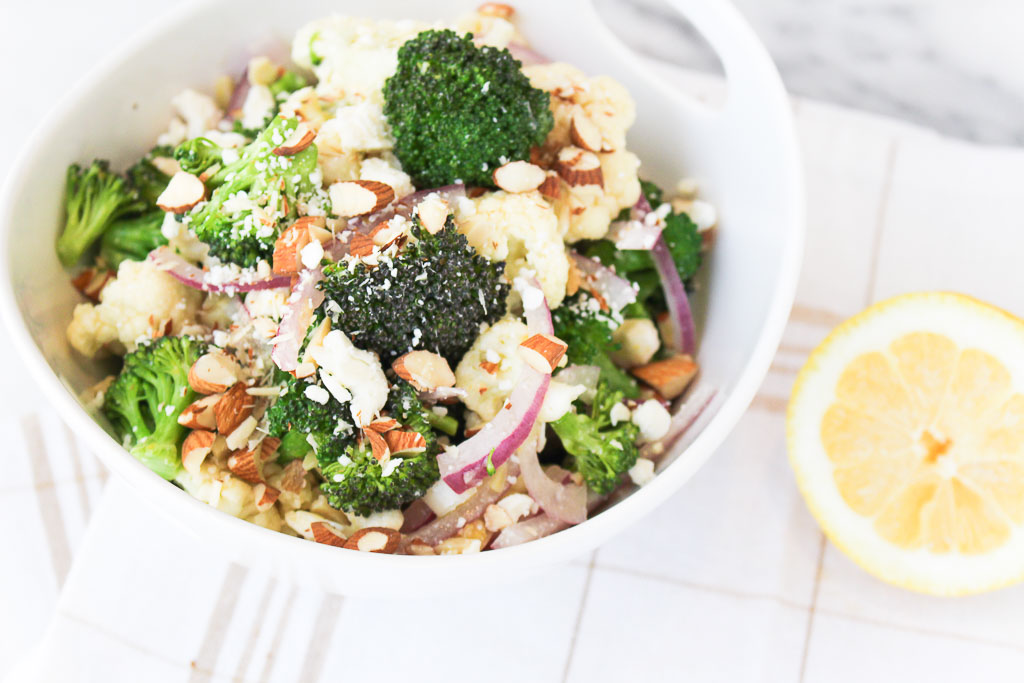
Broccoli cauliflower salad with red onions and almonds in a white bowl

Now that the weather is finally warming up here in NJ, my cooking methods start to shift. Roasting is one of my favorite cooking methods for vegetables, but as the weather warms I begin to not use my oven as frequently.

cold broccoli and cauliflower salad with red onions

All winter long I’ve been on a roasted broccoli kick. Broccoli was on my shopping list every week. I am surprised I didn’t get sick of it after a while. This time when I grabbed the broccoli from the fridge, I knew I wanted to do something different.

Instead of roasting this head of broccoli, this time I steamed it. Steaming was never my favorite until I figured out how to perfectly steam broccoli to my liking. Before steamed veggies would always be a little blah and mushy. I like a good crunch to them. Now I gently steam them, then shock them to keep their crisp.

broccoli cauliflower salad in a white bowl

Culinary term: Shocking

“Shocking” is a culinary term that refers to a rapid change in temperature, usually caused by plunging the food into an ice bath.  It’s most often used with veggies that are being steamed or boiled.

Oh, don’t forget about the cauliflower. I steamed and shocked that too to keep some crunchy texture to those florets too. This salad is so refreshing and a perfect addition to your spring menu.

Print
clock clock iconcutlery cutlery iconflag flag iconfolder folder iconinstagram instagram iconpinterest pinterest iconfacebook facebook iconprint print iconsquares squares iconheart heart iconheart solid heart solid icon
Broccoli Cauliflower Salad in a white bowl

Broccoli Cauliflower Salad

  • Author: Chef Julie Harrington, RD
  • Prep Time: 20 minutes
  • Total Time: 20 minutes
  • Yield: 810 1x
  • Category: side dish
  • Method: No Cook
  • Cuisine: American

Description

This Broccoli Cauliflower Salad is light and refreshing, being a perfect addition to your spring menu.


Ingredients

Scale
  • 2 cups cauliflower, cut into florets
  • 2 cups broccoli, cut into florets
  • 1 red onion (small), thinly sliced
  • 1/2 cup almonds, chopped
  • 2 tablespoons feta cheese
  • 1 lemon, zested and juiced
  • 1/4 cup olive oil
  • 1 teaspoon Dijon mustard
  • salt and pepper, to taste

Instructions

  1. In a large pot, steam cauliflower and broccoli in a steamer basket for about 3-4 minutes. Remove from pot and plunge in an ice bath or run under cold water (to stop the cooking process). Drain well and place in a large salad bowl.
  2. In a small bowl, whisk together lemon juice, lemon zest, olive oil, dijon mustard, and season with salt and pepper.
  3. Add red onion, almonds, and feta cheese to the broccoli and cauliflower. Toss together with the dressing.

Notes

Don’t love raw red onions? Try adding pickled onions instead!

Keywords: salad, broccoli, cauliflower, side dish, fresh

Recipe Card powered byTasty Recipes

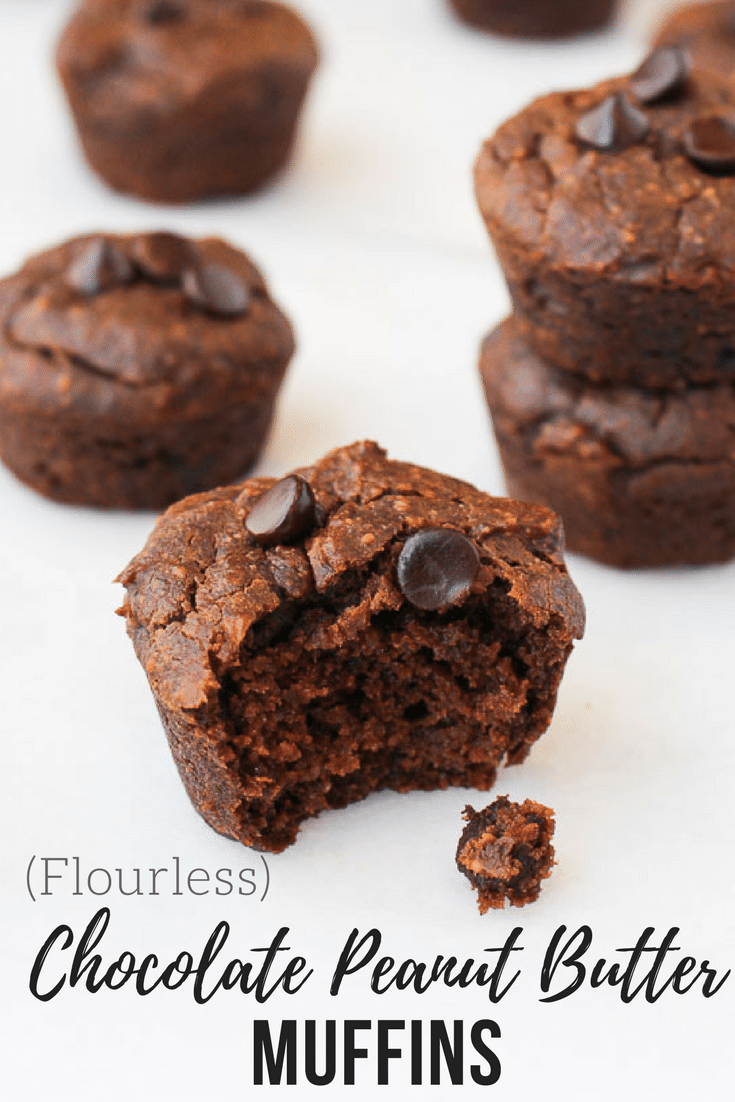
Flourless Chocolate Peanut Butter Muffins

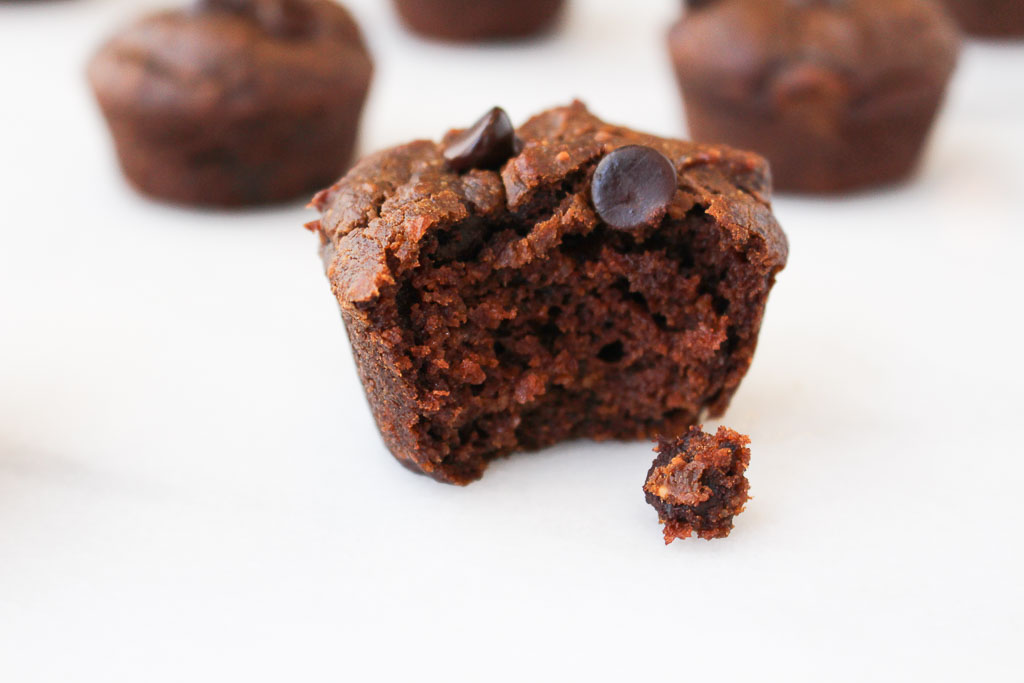
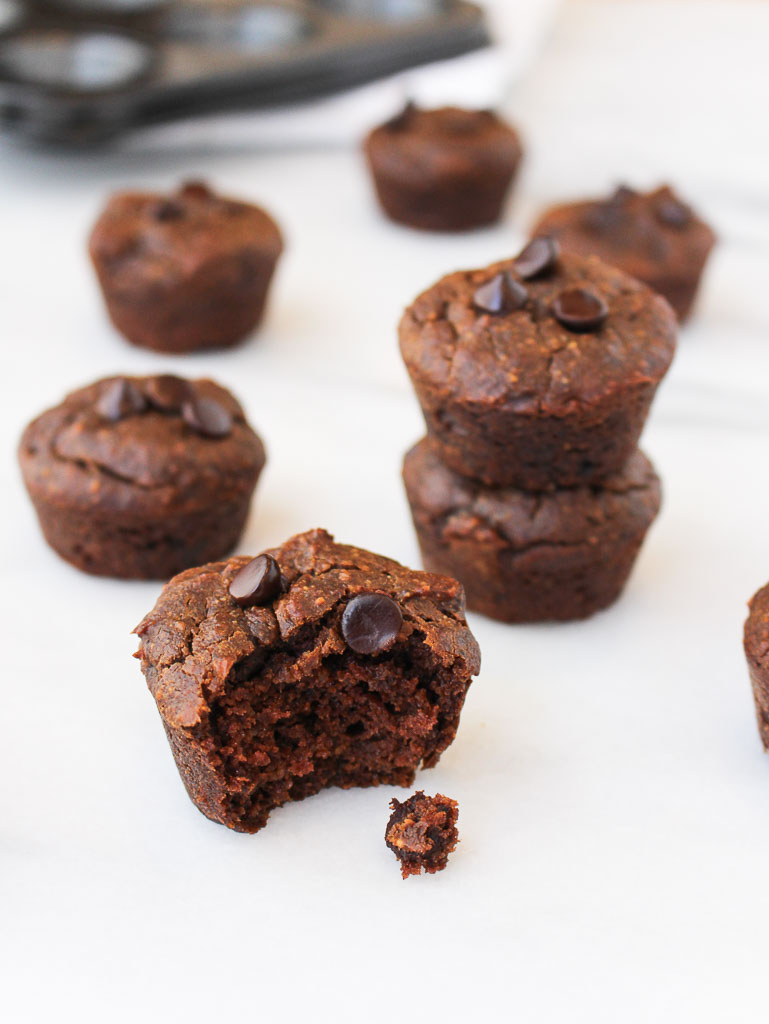
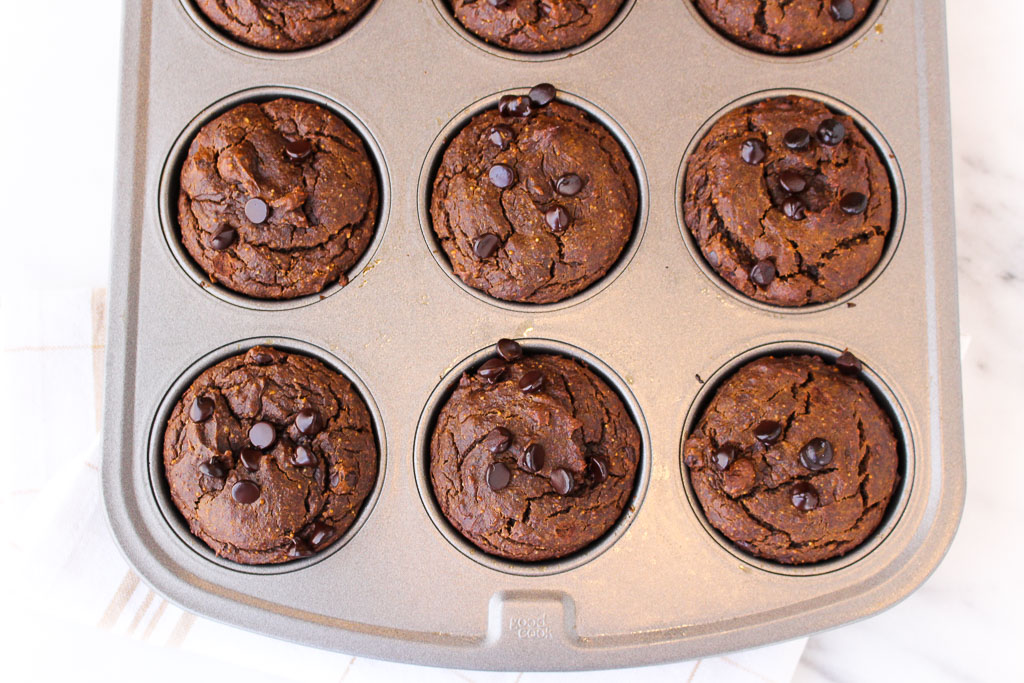
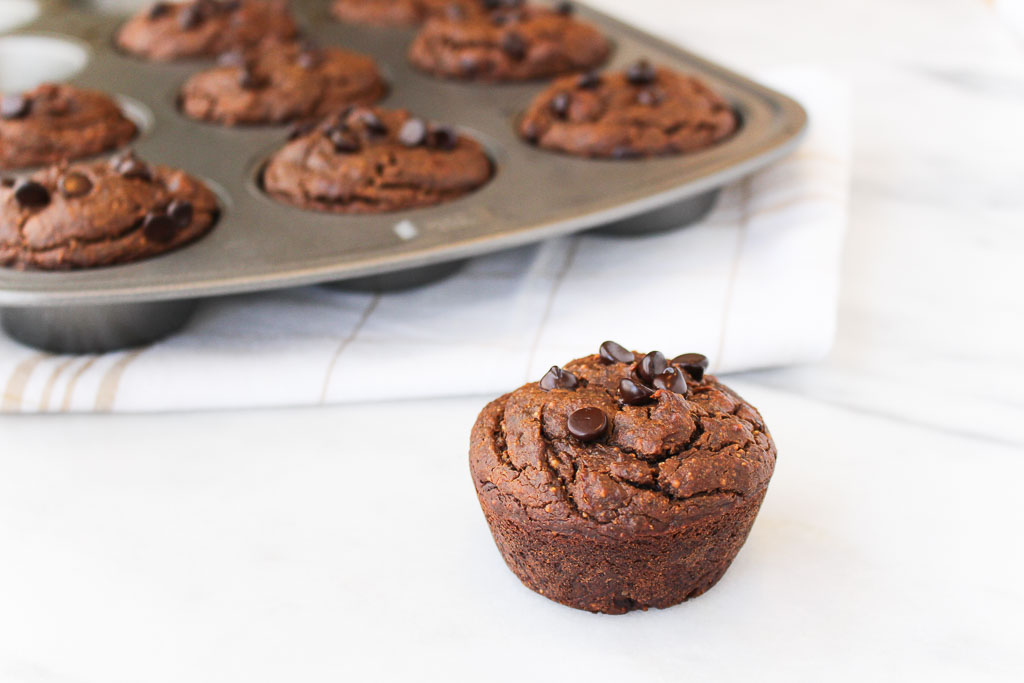
You won’t believe that these Chocolate Peanut Butter Muffins are flourless! Made with wholesome ingredients these muffins can be part of a healthy breakfast or enjoyed as a decadent dessert.
Flourless Chocolate Peanut Butter Muffins via RDelicious Kitchen @RD_KitchenDisclaimer: I am warning you, if you make these, they may not last a week in your house. They didn’t in mine! I found ways to enjoy these muffins with almost any meal. Crumble on top of smoothie bowls for breakfast, pair with a yogurt parfait for lunch, top with peanut butter for the ultimate dessert.

Flourless Chocolate Peanut Butter Muffins via RDelicious Kitchen @RD_Kitchen

Flourless Chocolate Peanut Butter Muffins via RDelicious Kitchen @RD_KitchenWhenever I offer baked goods to my family and friends, they tend to be a little skeptical thinking that there is no way there is a “healthier” option that STILL tastes good. My dad’s famous words are “what’s in this” before he tries anything I make. My response is the typical eye roll with “JUST TRY IT!”. Even though my dad may question everything I make, he still always tries it. Making a flourless muffin that tastes as indulgent as dessert, this is one recipe no one will pass on. Flourless Chocolate Peanut Butter Muffins via RDelicious Kitchen @RD_KitchenFlourless Chocolate Peanut Butter Muffins via RDelicious Kitchen @RD_Kitchen

Print

clock clock iconcutlery cutlery iconflag flag iconfolder folder iconinstagram instagram iconpinterest pinterest iconfacebook facebook iconprint print iconsquares squares iconheart heart iconheart solid heart solid icon
Flourless Chocolate Peanut Butter Muffins

Flourless Chocolate Peanut Butter Muffins

  • Author: Julie @ RDelicious Kitchen
  • Yield: 14 1x

Ingredients

Scale
  • 2 eggs, (at room temp) beaten
  • 2 cups natural peanut butter (or almond butter)
  • 1/2 cup maple syrup
  • 1 1/2 cups pumpkin puree
  • 6 tablespoons unsweetened cacao powder (or unsweetened cocoa powder)
  • 2 teaspoons baking soda
  • 2 teaspoons vanilla extract
  • 1/2 cup dark chocolate chips

Instructions

  1. Preheat oven to 350 degrees F. Spray a muffin tray with cooking spray or line with parchment liners.
  2. In a large bowl, combine eggs, peanut butter, maple syrup, pumpkin puree, cacao powder, baking soda, and vanilla extract. Whisk together until smooth and creamy.
  3. Fold in the chocolate chips.
  4. Fill muffin tins 3/4 full.
  5. Bake for 30-35 minutes, until a toothpick, comes out clean.

Recipe Card powered byTasty Recipes

RDelicious Kitchen @RD_Kitchen Flourless Chocolate Peanut Butter Muffins via RDelicious Kitchen @RD_Kitchen

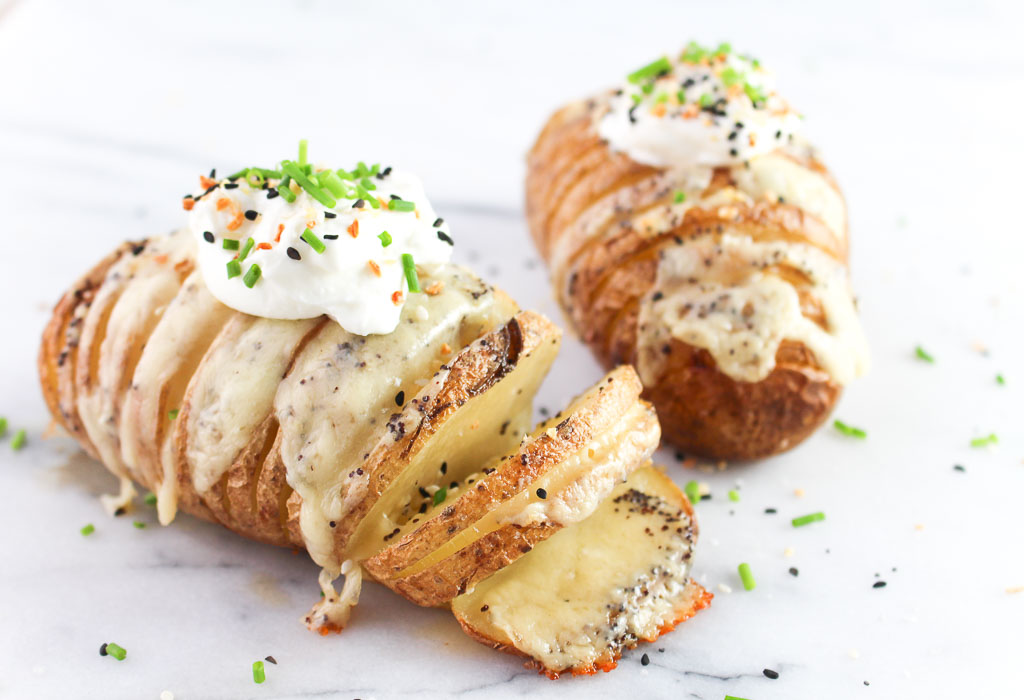
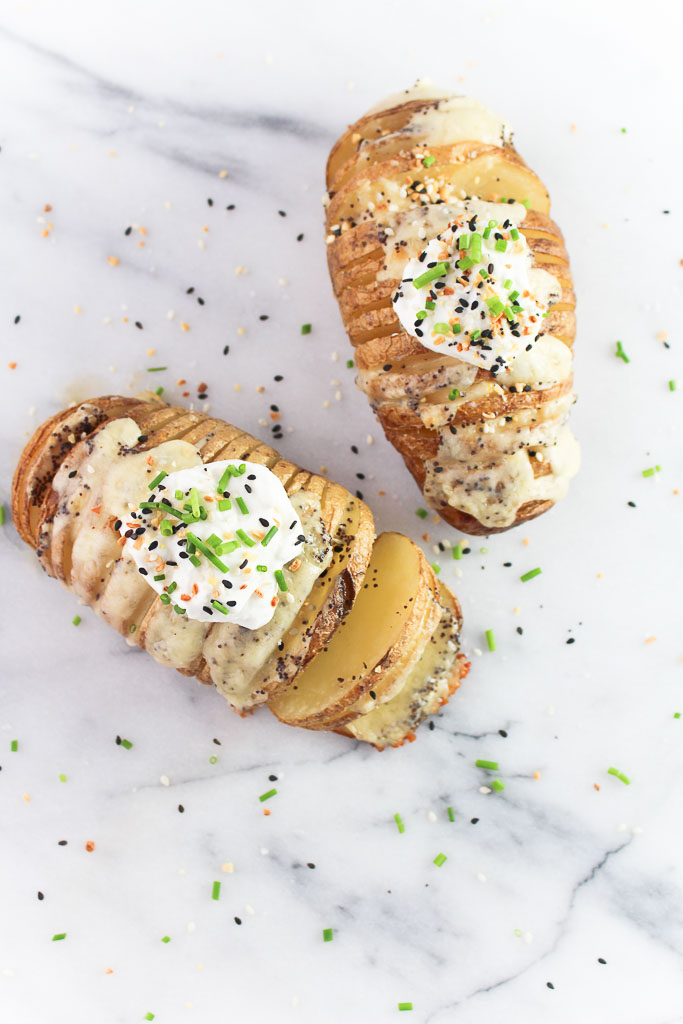
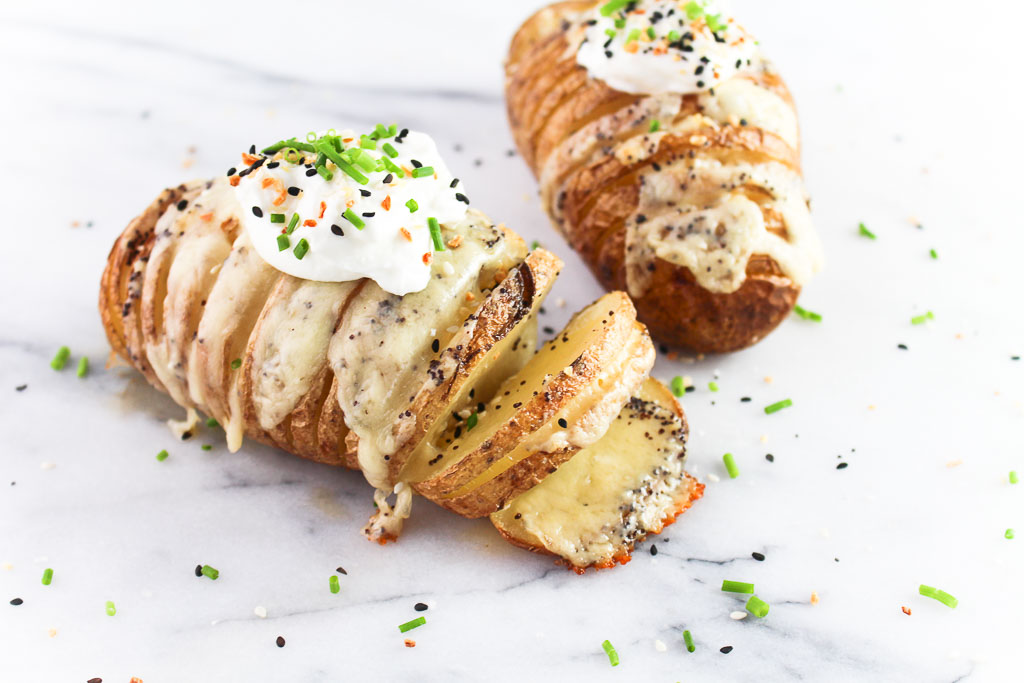
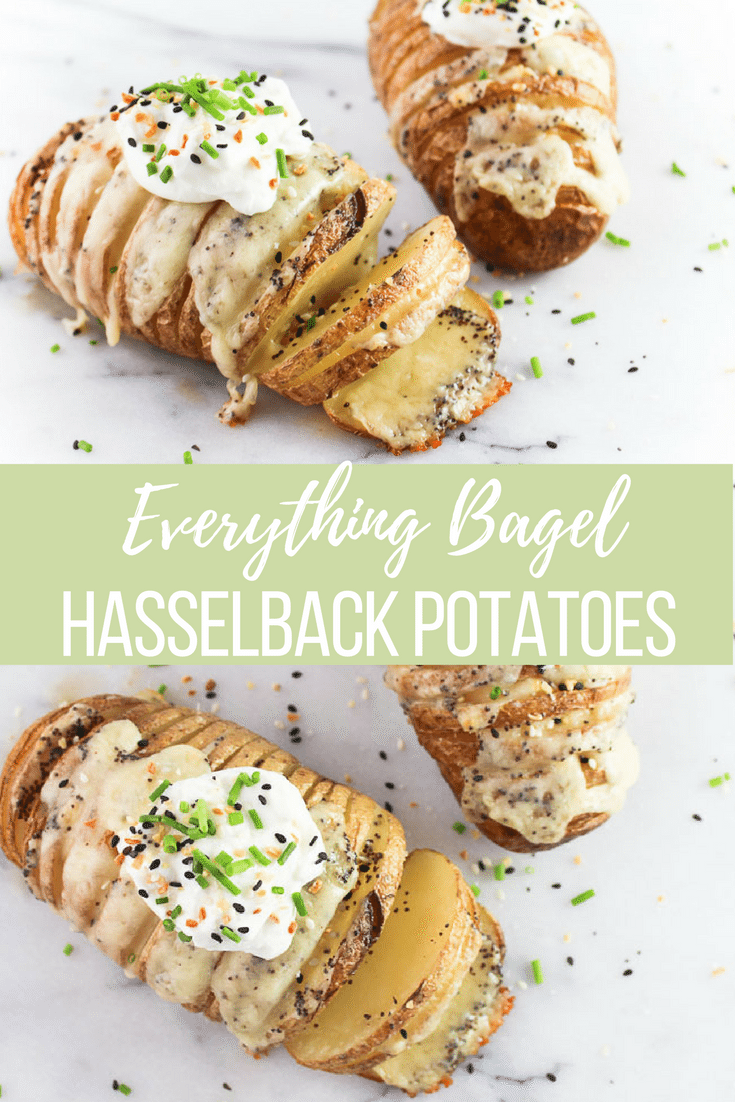
Everything Bagel Hasselback Potatoes

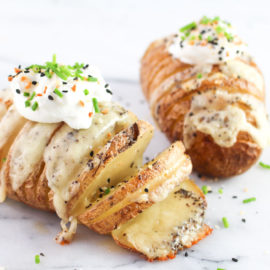
Who doesn’t like cheesy potatoes? Add these Everything Bagel Hasselback Potatoes as a side dish for dinner tonight.
Everything Bagel Hasselback Potatoes via RDelicious Kitchen @RD_KitchenConfession: I am obsessed with Cabot’s everything bagel cheddar cheese. Then Trader Joe’s came out with an everything but the bagel sesame seasoning blend. It’s like everything bagel heaven (without the bagel).
Everything Bagel Hasselback Potatoes via RDelicious Kitchen @RD_KitchenBefore this recipe, I’ve never actually made hasselback potatoes before, but I saw a version on one of Buzzfeed’s Tasty videos and with my new everything bagel goodies I knew it would be a perfect pair.

Everything Bagel Hasselback Potatoes via RDelicious Kitchen @RD_KitchenNote: I made these for my boyfriend and I. It serves two, but definitely double it because you’ll want leftovers!

Print

clock clock iconcutlery cutlery iconflag flag iconfolder folder iconinstagram instagram iconpinterest pinterest iconfacebook facebook iconprint print iconsquares squares iconheart heart iconheart solid heart solid icon
Everything Bagel Hasselback Potatoes on a marble slab

Everything Bagel Hasselback Potatoes

  • Author: Julie @ RDelicious Kitchen
  • Yield: 2

Ingredients

Scale
  • 2 russet potatoes
  • 1 tablespoon olive oil
  • 1/4 teaspoon sea salt
  • 1/8 teaspoon pepper
  • 4 oz. Everything Bagel Cabot Cheddar Cheese, sliced thin
  • 1 tablespoon Trader Joe’s Everything but the Bagel Sesame Seasoning Blend
  • 1/4 cup plain yogurt (I used Siggi’s)
  • (optional) chives, to garnish

Instructions

  1. Heat the oven to 425°F. Wash and dry the potatoes: Scrub the potatoes clean and pat them dry.
  2. Cut slits in the potatoes, leaving the bottom intact. (Cut slits into the potato, stopping just before you cut through so that the slices stay connected at the bottom of the potato)
  3. Place the potatoes in a baking dish. Brush the potatoes with olive oil, including the bottoms. Sprinkle with salt and pepper.
  4. Bake 30 minutes, then brush with olive oil again, making sure some of the olive oil drips down into the space between the slices.
  5. Bake for another 30 to 40 minutes, until the potatoes are crispy on the edges and potatoes are fork tender.
  6. Remove from oven and carefully place slices of cheddar in between the slits. Bake for another 5 minutes until cheese has melted.
  7. Remove from oven and add Everything but the Bagel Sesame Seasoning Blend, a dollop of yogurt, and chives. Serve warm

Recipe Card powered byTasty Recipes

Disclosure: this is not a sponsored post. I am, however, a part of Cabot’s Cheeseboard and receive samples of their products on a quarterly basis.
RDelicious Kitchen @RD_Kitchen
Everything Bagel Hasselback Potatoes via RDelicious Kitchen @RD_Kitchen

The Ultimate PB&J

Calling all PB&J lovers – this recipe is for you! Turn a classic into something new and exciting, like this Ultimate PB&J.
The Ultimate PB&J via RDelicious Kitchen @RD_KitchenI lived off PB&J growing up. It is so quick and easy to make, plus portable. This month The Recipe ReDux challenged members to cook with at least 3 ingredients that are actually in your refrigerator or pantry right now. 99% of the time, my kitchen will never be without peanut butter, bananas, bread, and chia seeds. They are staples.
The Ultimate PB&J via RDelicious Kitchen @RD_Kitchen

I was craving a classic PB&J this weekend, but with this challenge, I wasn’t just going to slather peanut butter and jelly on bread and call it a recipe, so I decided to add a little culinary twist to this classic for this RR challenge.

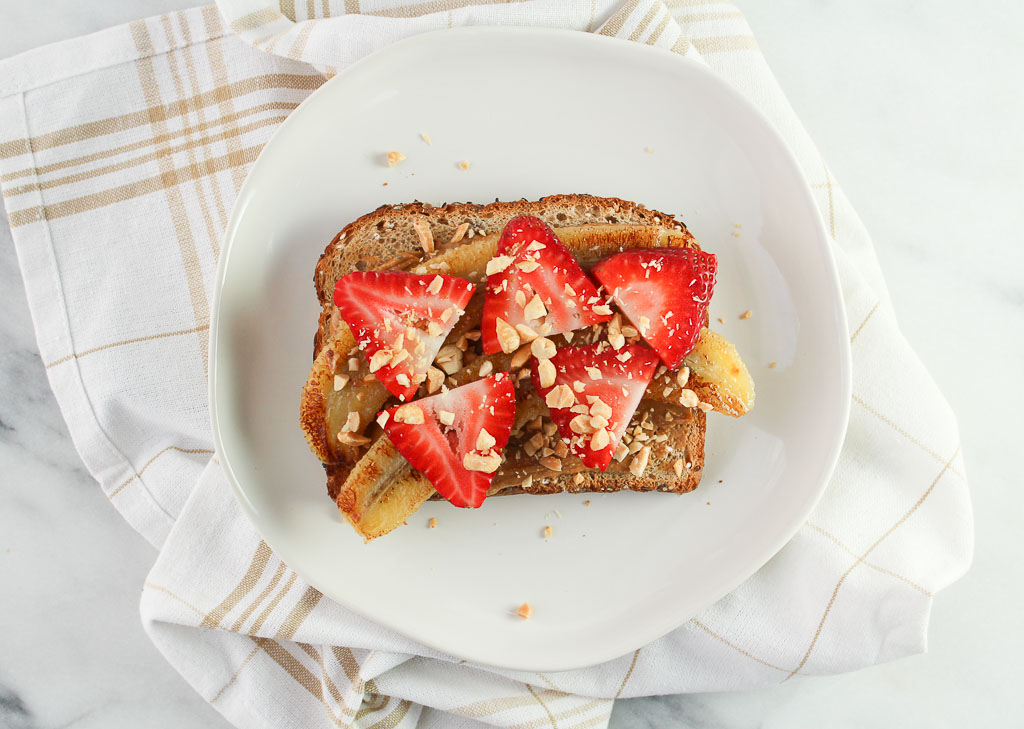
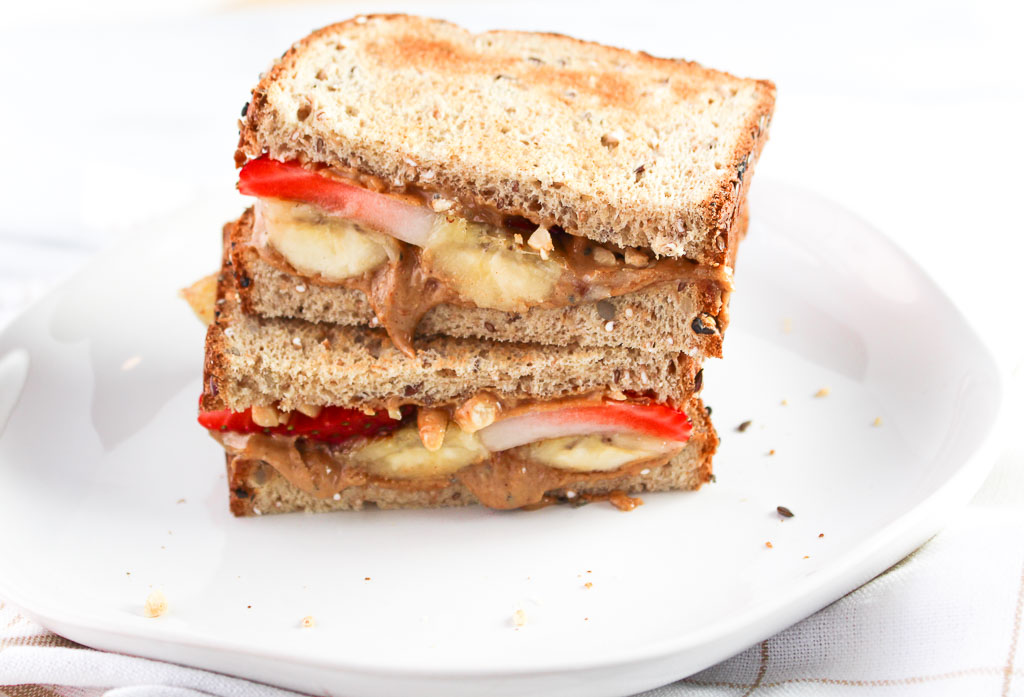
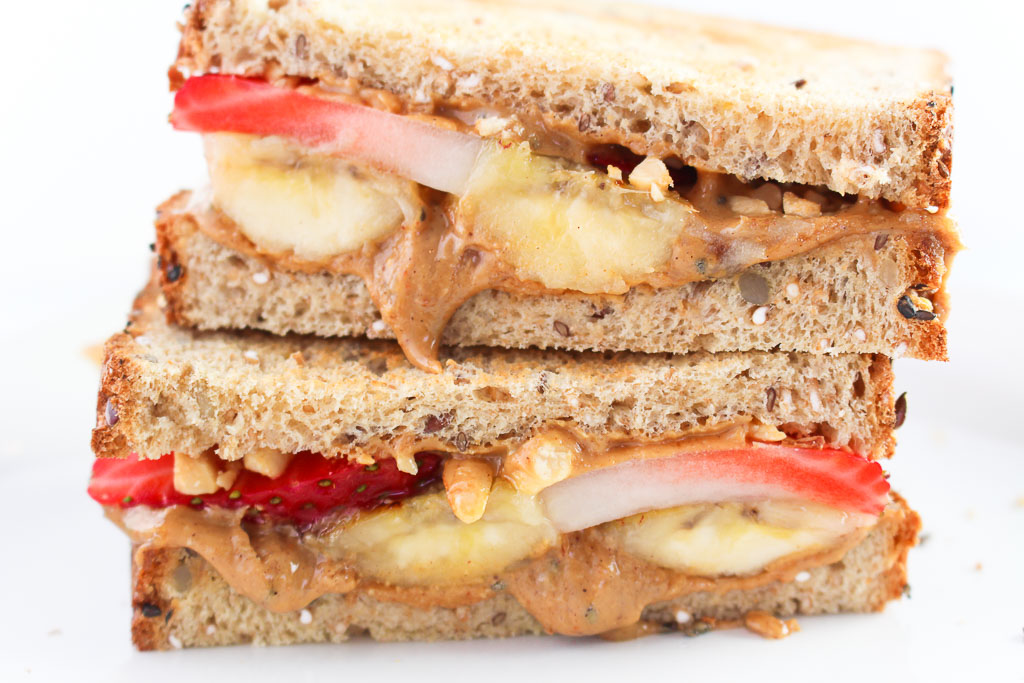
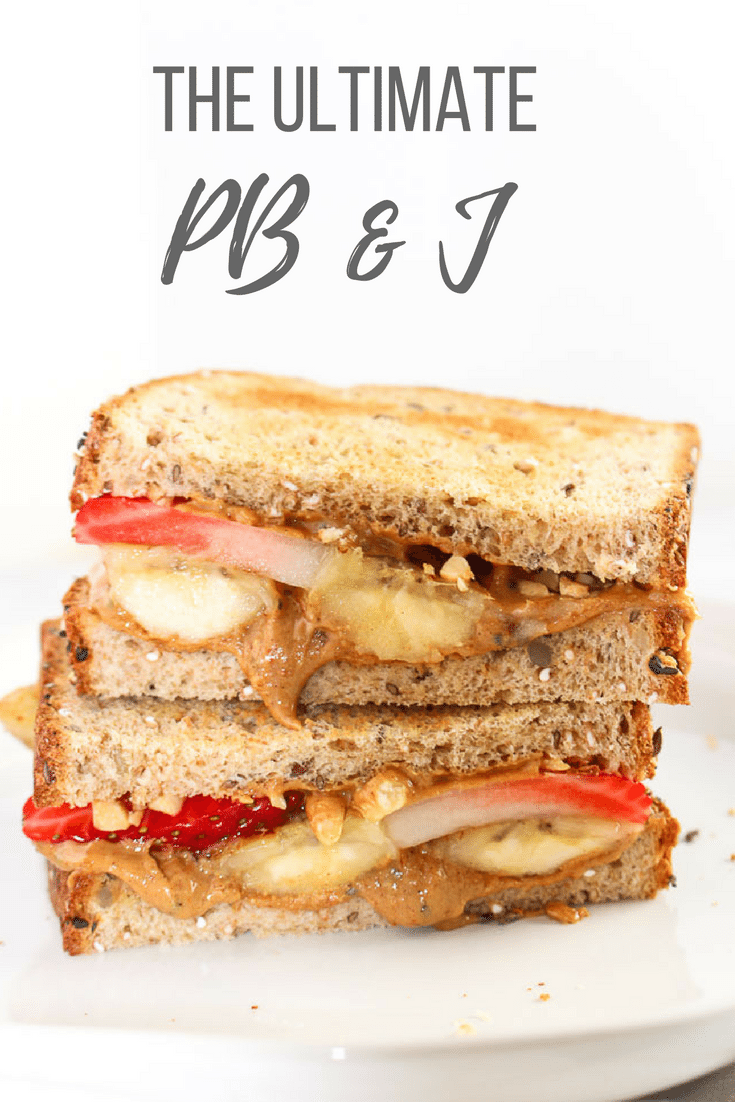
For a good PB&J (or any sandwich), make sure to start with hearty whole grain bread. Next, comes my favorite part, the peanut butter! I ran out of one of my favorites, Betsy’s Best, so I made my own version by mixing natural peanut butter with cinnamon and chia seeds. Then, topped with bruleed bananas, strawberries, and chopped peanuts, I’d say this is definitely gourmet compared your standard PB&J.
Print

clock clock iconcutlery cutlery iconflag flag iconfolder folder iconinstagram instagram iconpinterest pinterest iconfacebook facebook iconprint print iconsquares squares iconheart heart iconheart solid heart solid icon
the ultimate peanut butter and jelly cut in half on a white plate

The Ultimate PB&J

  • Author: Julie @ RDelicious Kitchen
  • Yield: 1

Ingredients

Scale
  • 2 slices whole grain bread, lightly toasted
  • 2 tablespoons natural peanut butter
  • 1 teaspoon cinnamon
  • 1 teaspoon chia seeds
  • 1 teaspoon coconut oil
  • 1 banana, sliced in half lengthwise
  • 2 strawberries, sliced
  • 1 tablespoon peanuts, chopped

Instructions

  1. In a small bowl, stir together the peanut butter, cinnamon, and chia seeds. Set aside.
  2. In a small pan over medium heat, melt the coconut oil. Place bananas in pan and cook until golden brown.
  3. On one slice of bread, spread the peanut butter. Top with the cooked bananas, strawberry slices, and chopped peanuts. Place other slice of bread on top and enjoy!

Recipe Card powered byTasty Recipes

RDelicious Kitchen - Julie Harrington Consulting LLC - @rdkitchen
The Ultimate PB&J via RDelicious Kitchen @RD_Kitchen

The Ultimate PB&J via RDelicious Kitchen @RD_Kitchen

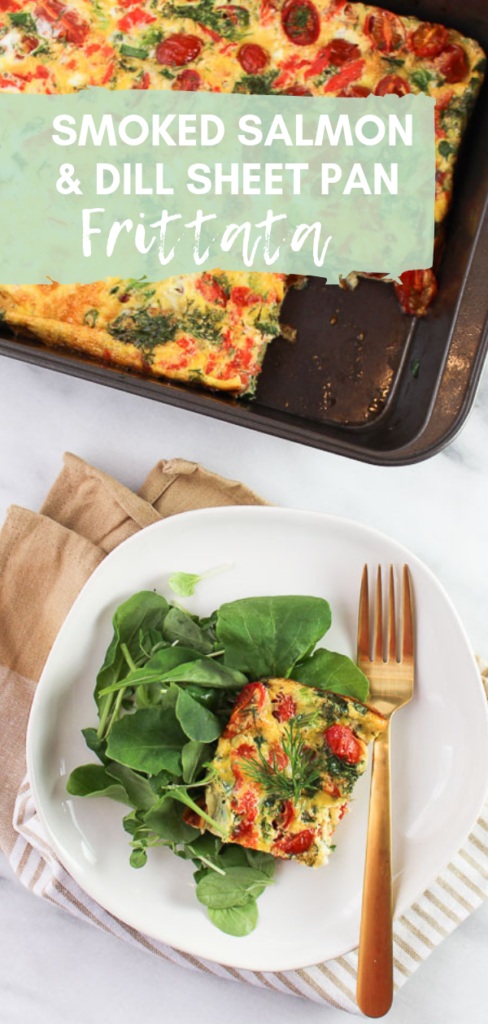
Smoked Salmon and Dill Sheet Pan Frittata

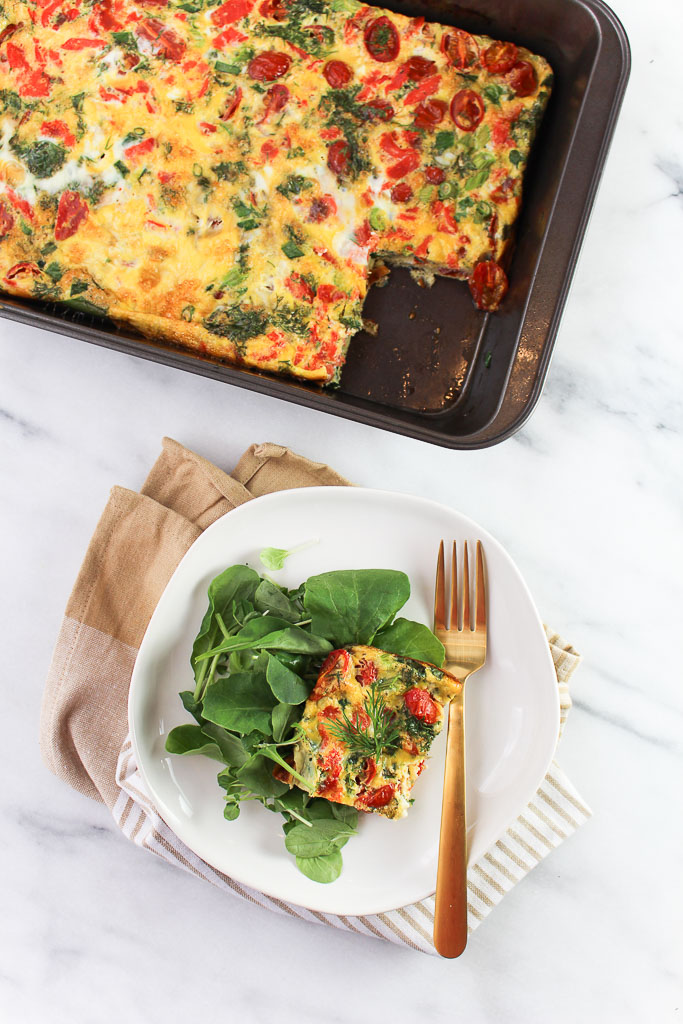
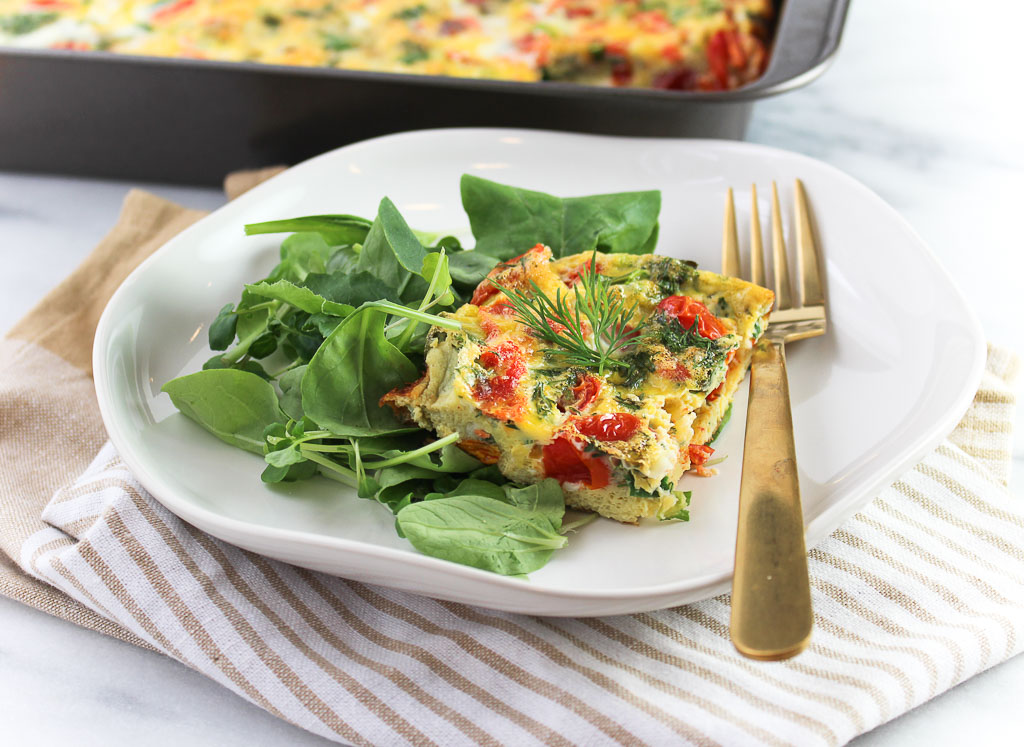
Serve eggs family-style with this Smoked Salmon and Dill Sheet Pan Frittata that will kick your breakfast or brunch up a notch.
Smoked Salmon and Dill Sheet Pan Frittata via Chef Julie Harrington, RD @ChefJulie_RD #smokedsalmon #salmon #breakfast #frittata #eggs #sheetpan #seafoodWay back when one of my first jobs was at a bagel shop. It was one of my favorite jobs. I worked with my friends and got to enjoy endless bagels and coffee. The only downside was getting to work at 5:00 am on a weekend.
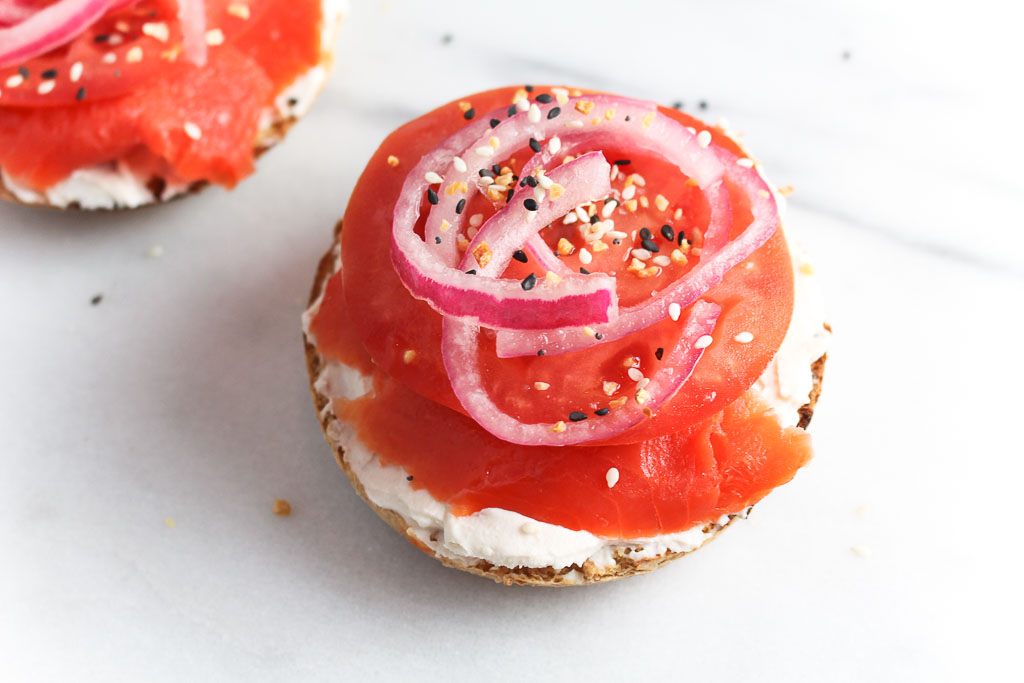
Smoked Salmon and Dill Sheet Pan Frittata via Chef Julie Harrington, RD @ChefJulie_RD #smokedsalmon #salmon #breakfast #frittata #eggs #sheetpan #seafoodNow, I love enjoying a leisurely brunch on the weekend. One thing the bagel shop introduced me to was smoked salmon or also known as lox. I still remember this one customer who always ordered – an everything bagel with cream cheese, lox, tomato, red onion, and capers. Of course, I had to try it.

Smoked Salmon and Dill Sheet Pan Frittata via Chef Julie Harrington, RD @ChefJulie_RD #smokedsalmon #salmon #breakfast #frittata #eggs #sheetpan #seafoodThat’s when my smoked salmon love affair began. It is now a staple at my brunches. I love the addition of the smoked salmon in this frittata. Plus, baking it in the sheet pan makes it so easy to serve! Smoked Salmon and Dill Sheet Pan Frittata via Chef Julie Harrington, RD @ChefJulie_RD #smokedsalmon #salmon #breakfast #frittata #eggs #sheetpan #seafoodOften times the term lox and smoked salmon are used interchangeably, but there is a difference. Lox was traditionally only made from the belly of salmon. The salmon is salt-cured or brined but never cooked or even smoked. It has a very smooth silky texture. Smoked salmon is a much more generic term than lox. Smoked salmon can be made from any part of the fish, and it starts with salt curing or brining, just as in lox.

Print

clock clock iconcutlery cutlery iconflag flag iconfolder folder iconinstagram instagram iconpinterest pinterest iconfacebook facebook iconprint print iconsquares squares iconheart heart iconheart solid heart solid icon
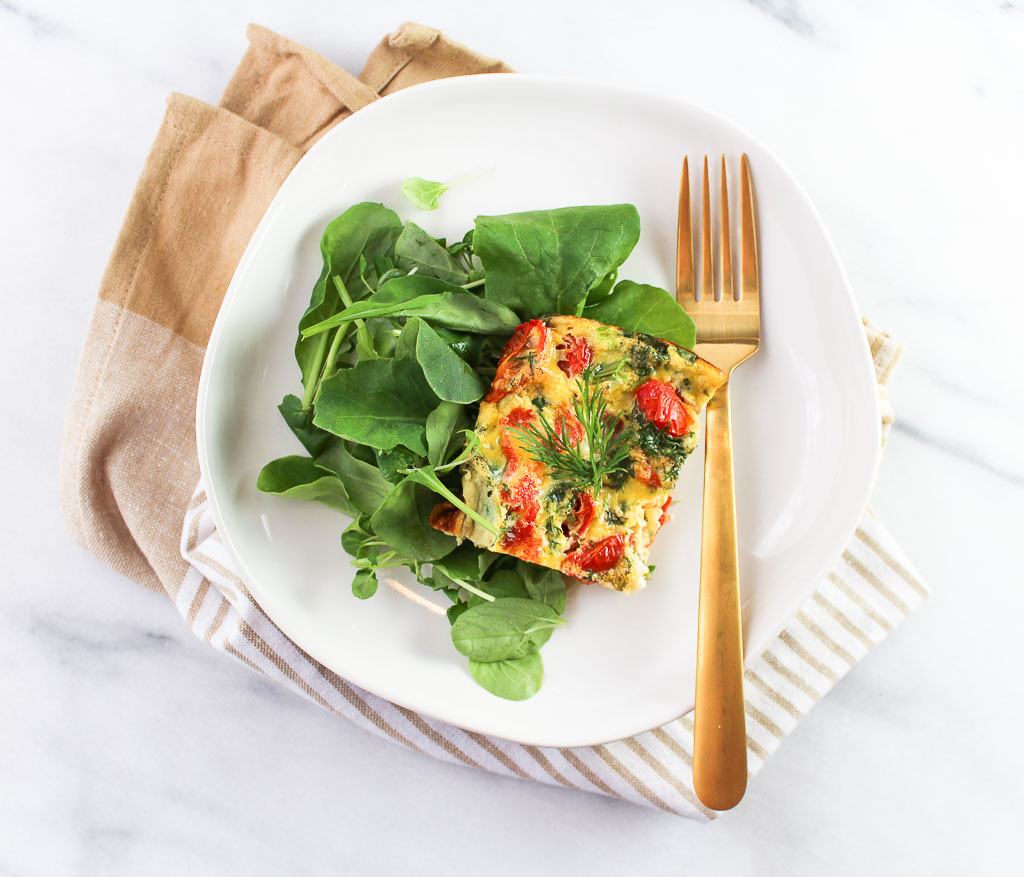
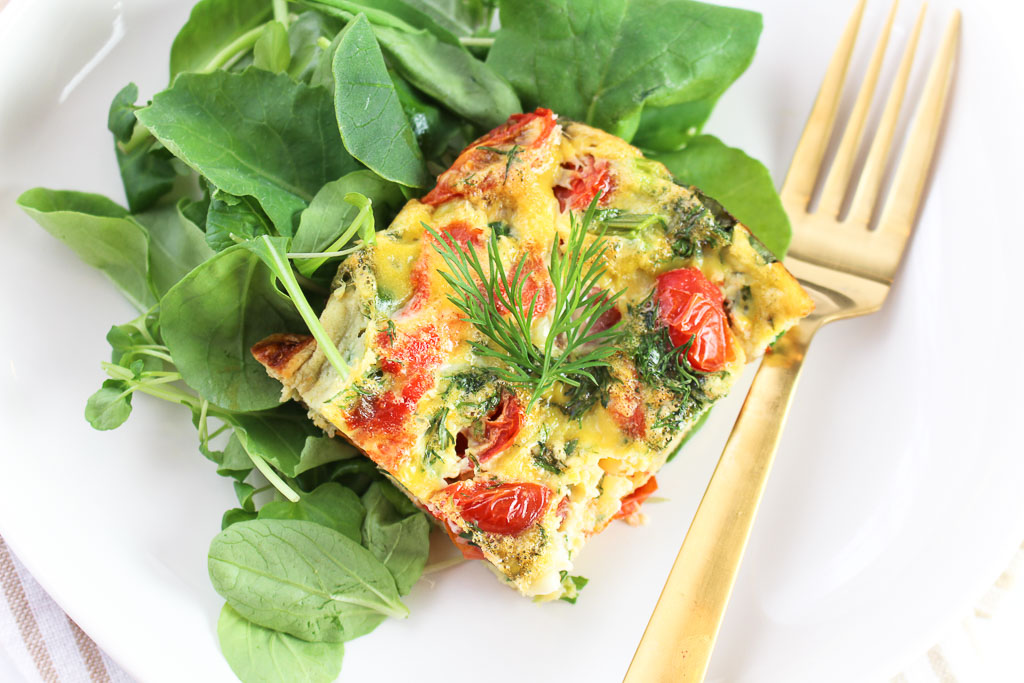
piece of Smoked Salmon and Dill Sheet Pan Frittata on a white plate with a gold fork

Smoked Salmon and Dill Sheet Pan Frittata

  • Author: Chef Julie Harrington, RD
  • Prep Time: 10 mins
  • Cook Time: 20 mins
  • Total Time: 30 mins
  • Yield: 8
  • Category: Breakfast
  • Method: Oven-Baked

Ingredients

Scale
  • 12 eggs
  • 5 ounces smoked salmon (lox), chopped
  • 3 scallions, chopped
  • 1/2 cup dill, roughly chopped
  • 1-pint grape tomatoes, sliced in half
  • salt and pepper, to taste

Instructions

  1. Prep:
  2. Preheat the oven to 350 degrees F. Spray a 13×9 inch deep baking dish with cooking spray. Set aside.
  3. Whisk eggs in a large bowl. Season with salt and pepper.
  4. Spread smoked salmon, scallions, dill, and grape tomatoes evenly in the bottom of the baking dish.
  5. Gently pour eggs over the smoked salmon mixture.
  6. Bake in the oven for 20 minutes, until eggs are cooked through and top begins to brown.

Keywords: #smokedsalmon #salmon #breakfast #frittata #eggs #sheetpan #seafood

Recipe Card powered byTasty Recipes

Chef Julie Harrington, RD - Culinary Nutrition Consultant of chefjulierd.com

Smoked Salmon and Dill Sheet Pan Frittata via Chef Julie Harrington, RD @ChefJulie_RD #smokedsalmon #salmon #breakfast #frittata #eggs #sheetpan #seafood

Quick Pickled Onions

A jar of quick pickled onions in your refrigerator gives you last-minute, tangy addition to many dishes.

Quick Pickled Onions via Chef Julie Harrington @ChefJulie_RD #pickledonions #onions #pickling #fermentedfoods #topping #condiment #makeahead

My fiance LOVES red onion. In my opinion a little too much. Now every time he makes tuna salad, I need to supervise because the last time he made it I think there was more red onion then actual tuna. It should have been called a red onion salad.

Quick Pickled Onions via Chef Julie Harrington @ChefJulie_RD #pickledonions #onions #pickling #fermentedfoods #topping #condiment #makeahead

While I do enjoy onions, raw onions are not always my favorite. I sometimes feel like they overpower a dish. Have you ever tried pickled onions instead? I now have been adding these tangy slices into my dishes to get more of a tangy red onion flavor instead that sharp and pungent red onion flavor that can take over the whole dish.


Quick Pickled Onions via Chef Julie Harrington @ChefJulie_RD #pickledonions #onions #pickling #fermentedfoods #topping #condiment #makeahead

There are so many uses for pickled onions. Add to sandwiches, use as a condiment to top tacos or egg salad, or toss them into grain salads. Their tart and tangy flavor and their bright pink color will perk up any dish.

Quick Pickled Onions via Chef Julie Harrington @ChefJulie_RD #pickledonions #onions #pickling #fermentedfoods #topping #condiment #makeahead

As the pickled onions continue to brine in the refrigerator, they will turn to vibrant pink in color. Make sure to store your pickled onions in a glass container (I used a mason jar). Most metals will react with vinegar and plastic will absorb the flavors. Plus, being able to see them is always a little reminder when I open my refrigerator to top my dishes with them.

Print
clock clock iconcutlery cutlery iconflag flag iconfolder folder iconinstagram instagram iconpinterest pinterest iconfacebook facebook iconprint print iconsquares squares iconheart heart iconheart solid heart solid icon
quick pickled onions in a mason jar

Quick Pickled Onions

  • Author: Chef Julie Harrington, RD
  • Prep Time: 2 hours
  • Total Time: 2 hours
  • Yield: 8
  • Category: side dish
  • Method: no cook

Ingredients

Scale
  • 1/2 cup apple cider vinegar
  • 1 tablespoon sugar
  • 1 1/2 teaspoon kosher salt
  • 1 cup water
  • 1 red onion, thinly sliced

Instructions

  1. In a mason jar, combine the apple cider vinegar, sugar, salt, and water. Close the lid and shake until sugar and salt have dissolved. (Or can be whisked in a bowl)
  2. Add the onions to the mason jar, making sure all the onions are submerged. Let sit at room temperature for at least 2 hours. (see notes for the make ahead version)
  3. Drain onions before using.

Notes

MAKE AHEAD: Can be made 2 weeks ahead. Cover and chill.

Keywords: quick pickled onions, pickled onions, onions, condiment, topping

Recipe Card powered byTasty Recipes