This post may contain affiliate links. Read my privacy policy.
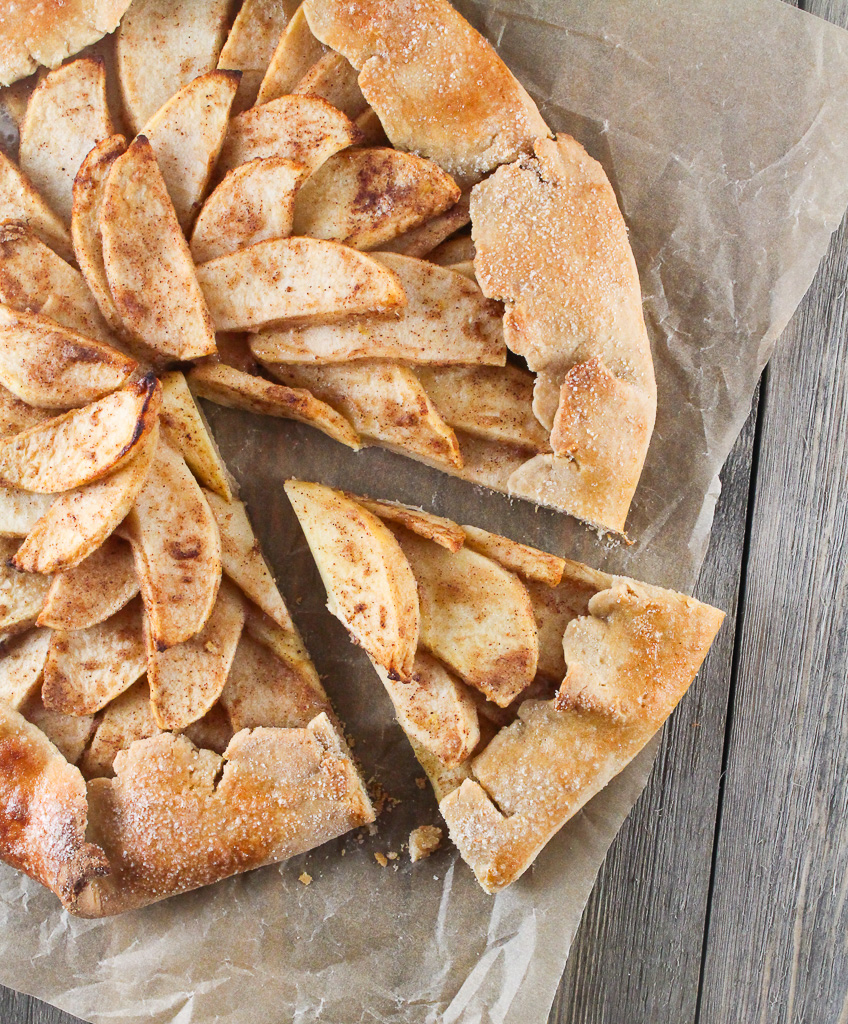
Get creative with apples this season and switch it up by making this Rustic Apple Galette.
We are all creatures of habit. When I have apples on my grocery list, I walk straight to the produce department and pick the same few apple varieties each time. When I was in culinary school, it really opened my eyes to exploring new foods. I’m not just talking about unique foods, but rather some of the everyday foods that we don’t necessarily take advantage of. The majority of grocery stores carry over six varieties of apples at a time. When I was a supermarket dietitian, during the fall season, I’ve seen even up to 15 varieties taking up a spot in the produce department.
It’s not just apples to apples. Different apples contain different tastes, culinary uses, and may even ripen at different times during the season. Here are some apple varieties to look out for and ways to use them in the kitchen.
Best apples for making applesauce:
- Pink Lady
- Granny Smith
- Braeburn
The best apple for making tart applesauce is a Pink Lady (for a tangy-sweet flavor) or, depending on taste, you could opt for a true tart variety like Granny Smith. Unless you have a high-powered blender, be sure to peel the skin prior to cooking. Add a hint of sweetness without added sugar, by sweetening applesauce with cinnamon.
Best apples for baking:
- Granny Smith
- Pink Lady
- Golden Delicious
- Fuji
There are a few! Apples on the sweeter end of things are a good choice, as their higher sugar content means you can go a bit lighter on added sugars in the recipes. If you want your apples to maintain a bit of crispness, look for firmer apples that will maintain texture under the heat.
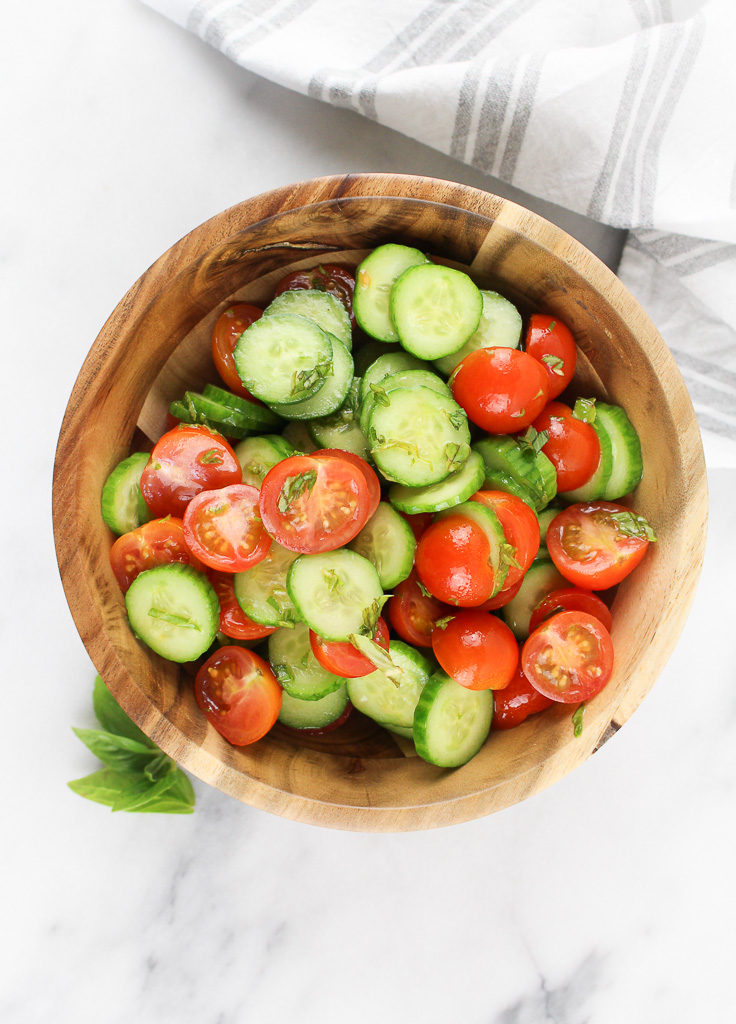
Best apples for salads:
- Honeycrisp
- Pink Lady
- Fuji
- Jazz
- Empire
For salads, you’ll want a crunchy apple that doesn’t brown too quickly when sliced or chopped. Honeycrisp, Pink Lady, Fuji, Jazz, and Empire apples have bright white flesh that resists browning when cut.
Best apples for stuffing:
- Pink Lady
- Golden Delicious
Looking for a balance of sweet and savory in your stuffing recipe? Both Pink Lady and Golden Delicious varieties make a great addition to savory stuffing with their firm texture and sweet/tart flavor.
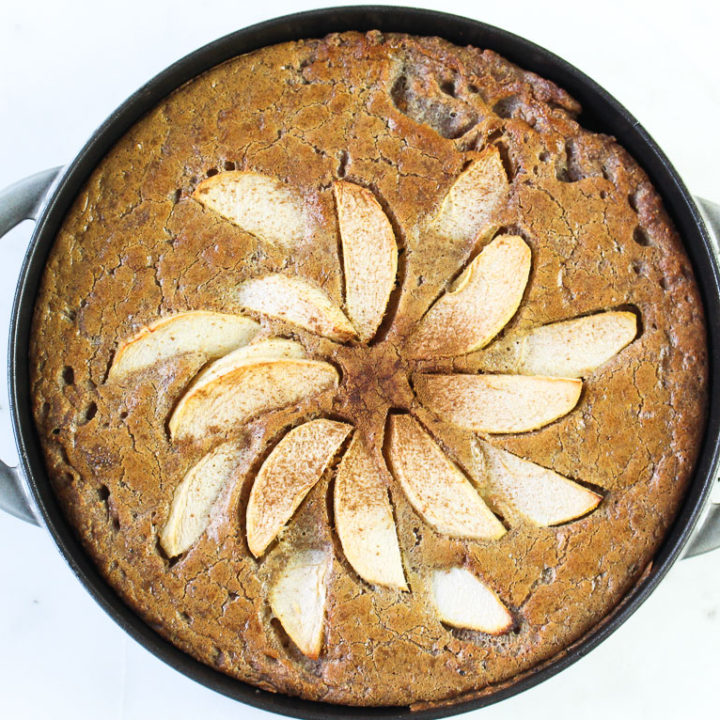
Best apples for making galettes:
- Golden Delicious
- Pink Lady
- Honeycrisp
- Golden Delicious
What is a galette?
A galette is a French term for round or freeform crusty cakes. The fillings can be made with both sweet or savory ingredients.
The best apples to use for making an apple galette is one that is sweet and tart that holds up exceptionally well to heat, like pink lady, fuji, or honey crisp. If you are looking for a little extra tartness, using Golden Delicious apples is a great way to go too.
Next time apples are on your grocery list, I challenge you to choose a different apple variety than your typical choice.
Print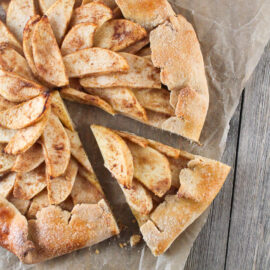
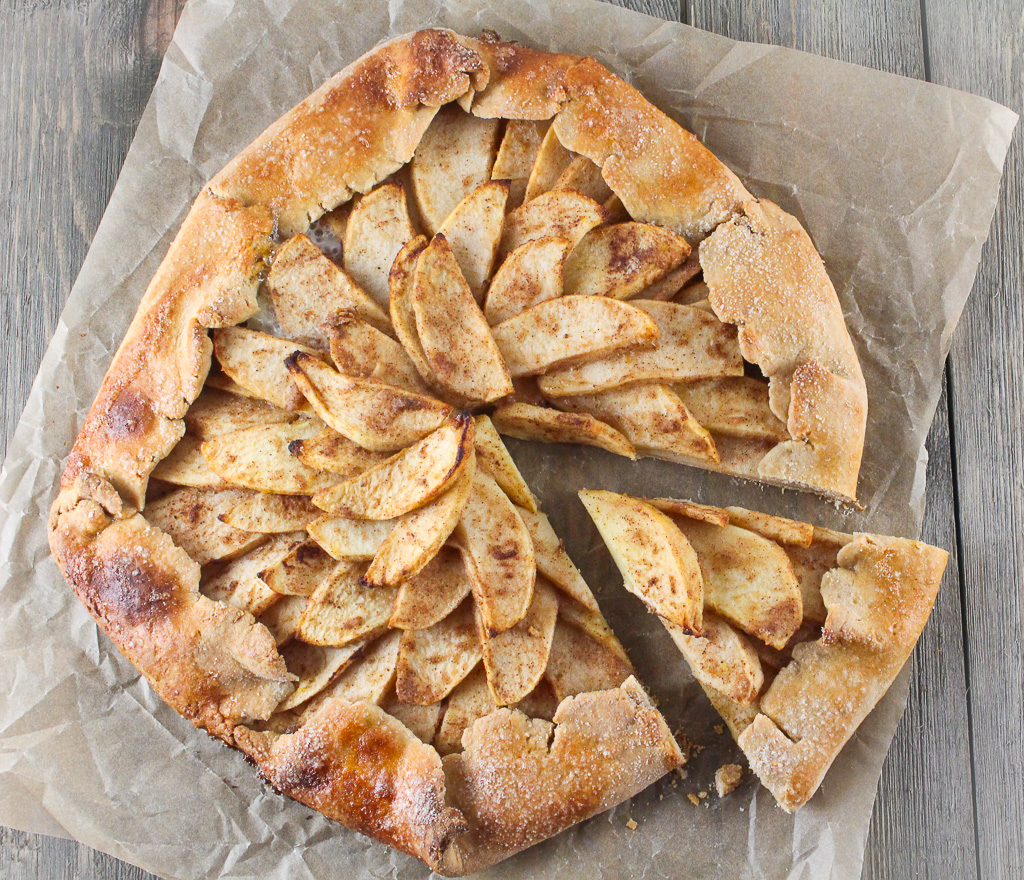
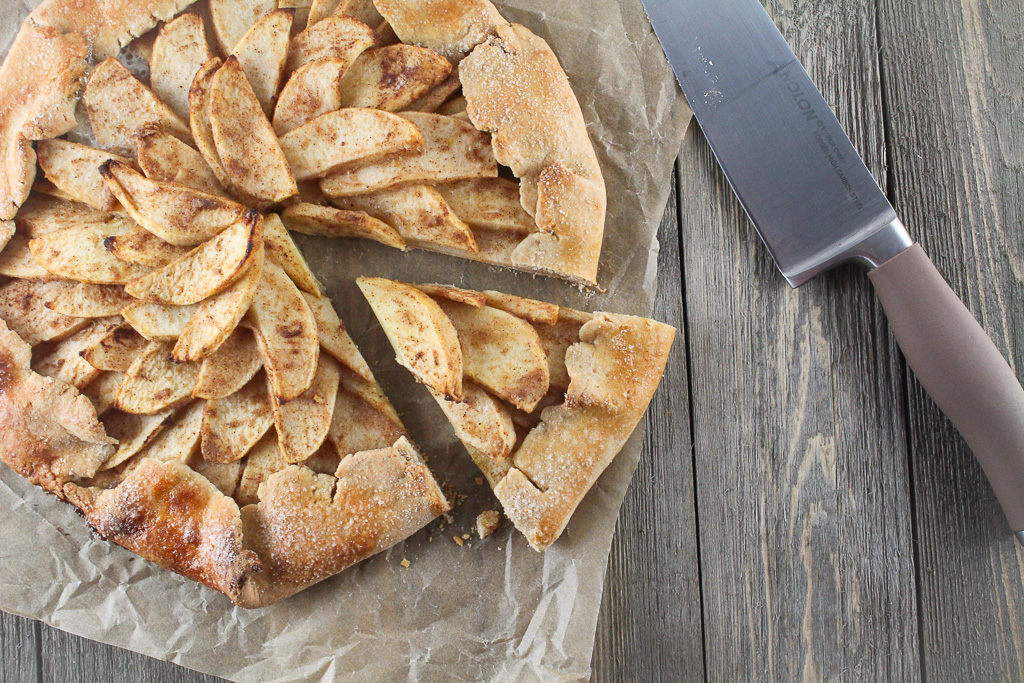
Rustic Apple Galette
Ingredients
For the crust:
¾ cup white whole-wheat flour
2/3 cup all-purpose flour
½ tablespoon sugar
½ teaspoon salt
1/3 cup unsalted butter (5 tablespoons), cut into ½ inch pieces
3 tablespoons low-fat milk
¼ cup plain Greek yogurt
For the filling:
3 apples, peeled and thinly sliced (choose a firm, sweet and tart variety, like Pink Lady)
2 tablespoons white whole-wheat flour
2 tablespoons maple syrup
2 tablespoons lemon juice
1 teaspoon lemon zest
½ teaspoon ground cinnamon
1/8 teaspoon ground nutmeg
1/8 teaspoon ground ginger
1 large egg white, lightly beaten
(optional) 1 teaspoon sugar
Instructions
- Preheat oven to 425 degrees F. Line a large baking sheet with parchment paper.
- Unwrap dough and place on a floured surface. Roll out dough to a 15-inch circle. Place the dough on the baking sheet. Evenly, spoon the apple mixture onto the dough, leaving a 2-inch border around the edges.
- Fold the edges of the dough over the apples. Brush edges with the whisked egg white. Sprinkle with sugar, if using.
- Bake for 25-30 minutes until the crust is golden brown. Let cool for at least 20 minutes before cutting. Cut into 8 wedges.

This recipe was originally posted in the November 2018 issue of Today’s Dietitian.
FAQ:
Do I have to make a homemade crust?
Nope! You can definitely skip that step and use a pre-made pie crust.
What other fruits would work well in this recipe?
Any fruits that don’t have too much moisture. Pears, plums, and peaches work well in galettes.
What savory flavor combinations would you try?
I developed a savory root vegetable galette for the American Pecan Council that was delicious!